Irresistible Lemon Berry Tart: Your Ultimate Guide to a Perfect Spring & Summer Dessert
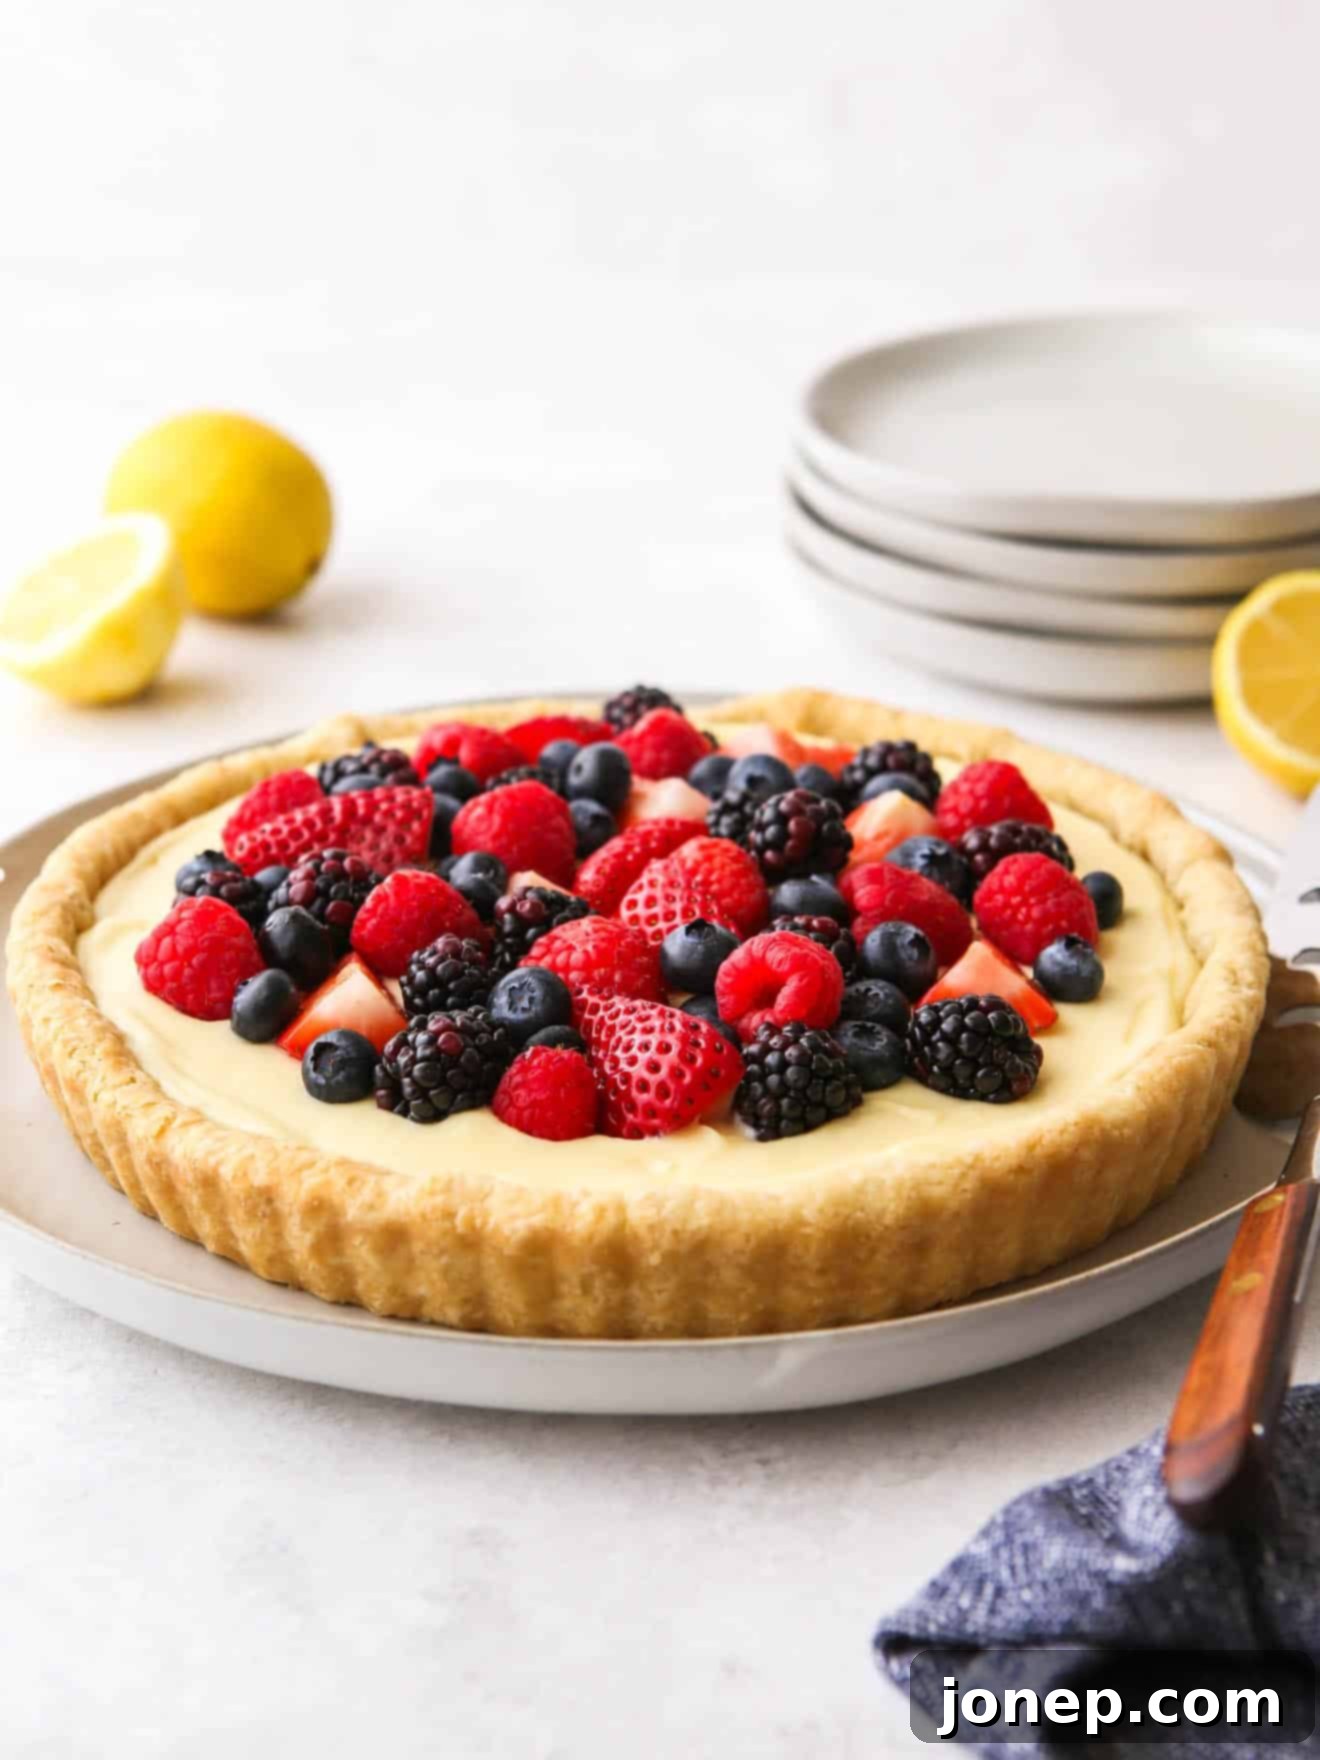
There’s nothing quite like a homemade tart to brighten up a special occasion or simply elevate an everyday meal. This Lemon Berry Tart, in particular, is an exquisitely elegant and utterly delicious dessert that perfectly encapsulates the fresh, vibrant flavors of spring and summer. It brings together a perfectly buttery, sweet tart dough, a luxuriously creamy and subtly tangy lemon filling, and a colorful crown of the freshest seasonal berries, including strawberries, raspberries, blackberries, and blueberries. This recipe promises not just a dessert, but a delightful culinary experience that will impress and satisfy every palate.
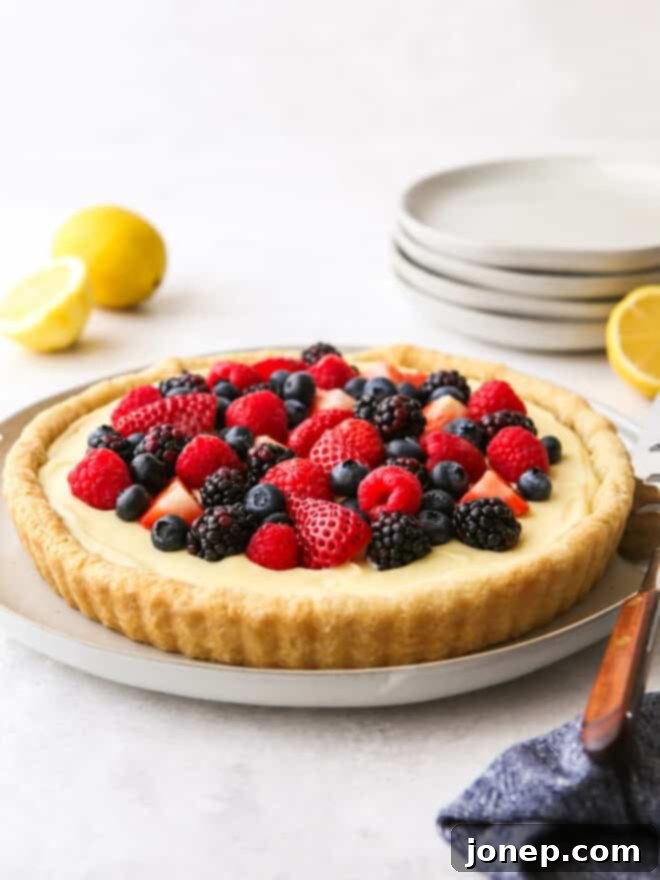
For many home bakers, tarts can seem intimidating, but I can assure you they are remarkably achievable and incredibly rewarding. I still remember one of my first “serious” baking projects after deciding to pursue culinary school – a sweet pastry dough tart, filled with vanilla pastry cream and topped with an abundance of fresh berries. It wasn’t without its learning curves, but the sense of accomplishment from creating a bakery-quality treat in my own kitchen was immense. That moment, when I looked at the finished tart, was a turning point, making me think, “Okay, I can really do this.” And I truly believe you can too!
While this recipe involves a few distinct stages – preparing the crust, crafting the filling, and then assembling it all – each step is straightforward, and the end result is unequivocally worth the effort. The synergy of textures and flavors in this Lemon Berry Tart is simply unparalleled. You get the satisfying crispness and rich butteriness of the crust, the smooth, velvety texture and delicate lemon notes of the filling, all brilliantly contrasted by the juicy burst and natural sweetness of the fresh summer berries. This tart isn’t just a dessert; it’s a celebration of seasonal ingredients and a testament to the joys of baking.
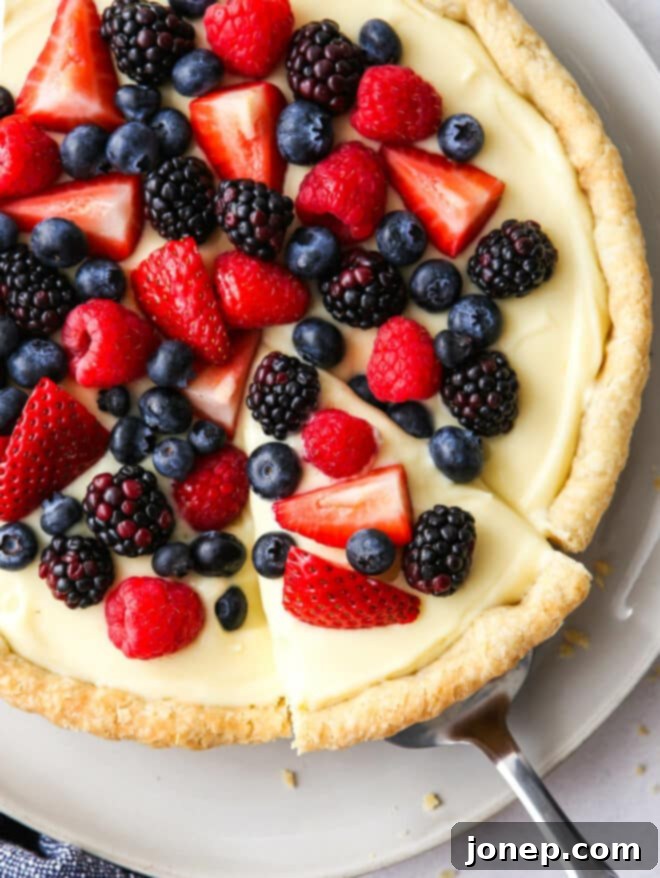
Table of Contents
- The Three Pillars of This Delightful Tart
- Essential Ingredients for Your Lemon Berry Tart
- How to Bake the Perfect Lemon Berry Tart: Step-by-Step
- Common Questions About Lemon Berry Tarts: FAQs
- Explore More Delectable Dessert Recipes
- Ready to Bake? Get the Full Recipe!
The Three Pillars of This Delightful Tart
Crafting this incredible Lemon Berry Tart involves three distinct yet harmonious components, each playing a crucial role in the final masterpiece. Understanding each part will help you appreciate the balance and care that goes into creating such a stunning dessert.
- Buttery Sweet Tart Crust: This isn’t just any crust; it’s a foundation of pure indulgence. Similar to a classic pie crust, but elevated with a higher ratio of butter and sugar, and the addition of an egg yolk. This combination creates a dough that’s not only sweeter and richer but also results in a wonderfully tender yet crisp texture that perfectly complements the creamy filling. Its golden-brown edges provide a delightful textural contrast.
- Luscious Lemon Pastry Cream: Imagine a velvety-smooth, rich filling, akin to a gourmet pudding, infused with bright lemon zest and the warm, comforting notes of vanilla. This pastry cream is cooked on the stovetop, where egg yolks and cornstarch work their magic to create a thick, stable, and incredibly creamy custard. After a good chill in the fridge, it transforms into the perfect tangy-sweet partner for the tart shell and fresh fruit.
- Vibrant Fresh Berry Topping: This is where you can truly unleash your creativity and make the tart your own. The beauty of this dessert lies in its flexibility when it comes to fruit. While I’ve chosen a classic medley of sliced strawberries, juicy blueberries, tart raspberries, and plump blackberries, you are free to use any combination of berries (or even other sliced fruits like peaches or kiwi!) that are in season and capture your fancy. The natural sweetness and slight tartness of the berries cut through the richness of the pastry cream, making each bite a symphony of flavors.
Essential Ingredients for Your Lemon Berry Tart
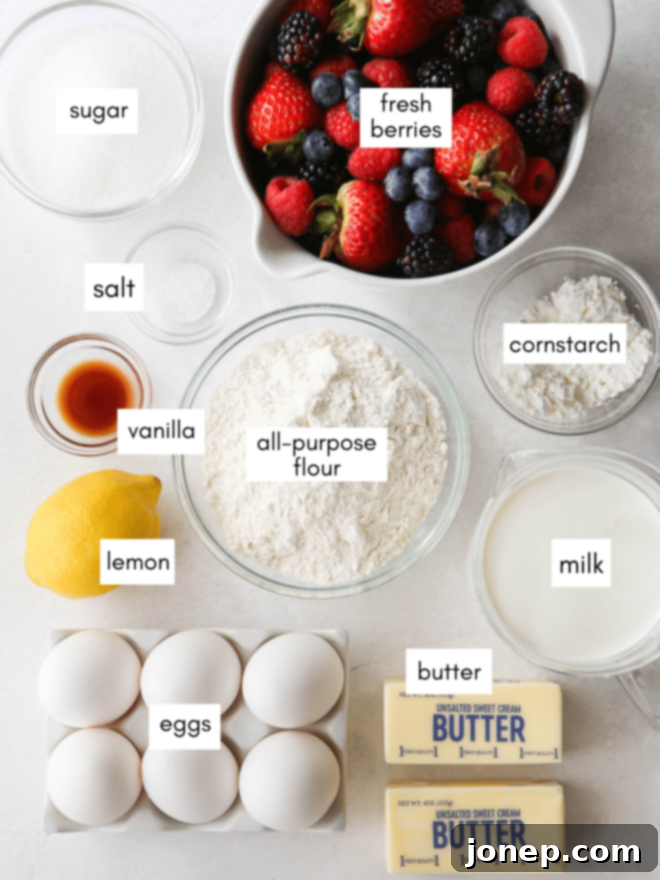
Great baking starts with great ingredients. For this Lemon Berry Tart, selecting fresh, high-quality components will truly make a difference in the final taste and texture. Ensure your butter is cold for the crust, your lemons are zesty, and your berries are ripe and vibrant. Gather these essential items, and you’re well on your way to a truly memorable dessert.
How to Bake the Perfect Lemon Berry Tart: Step-by-Step
Creating this stunning Lemon Berry Tart is a process of love, with each step building towards a spectacular outcome. Follow these detailed instructions to ensure a perfectly baked crust, a luscious filling, and a beautifully assembled tart that will be the star of any table.
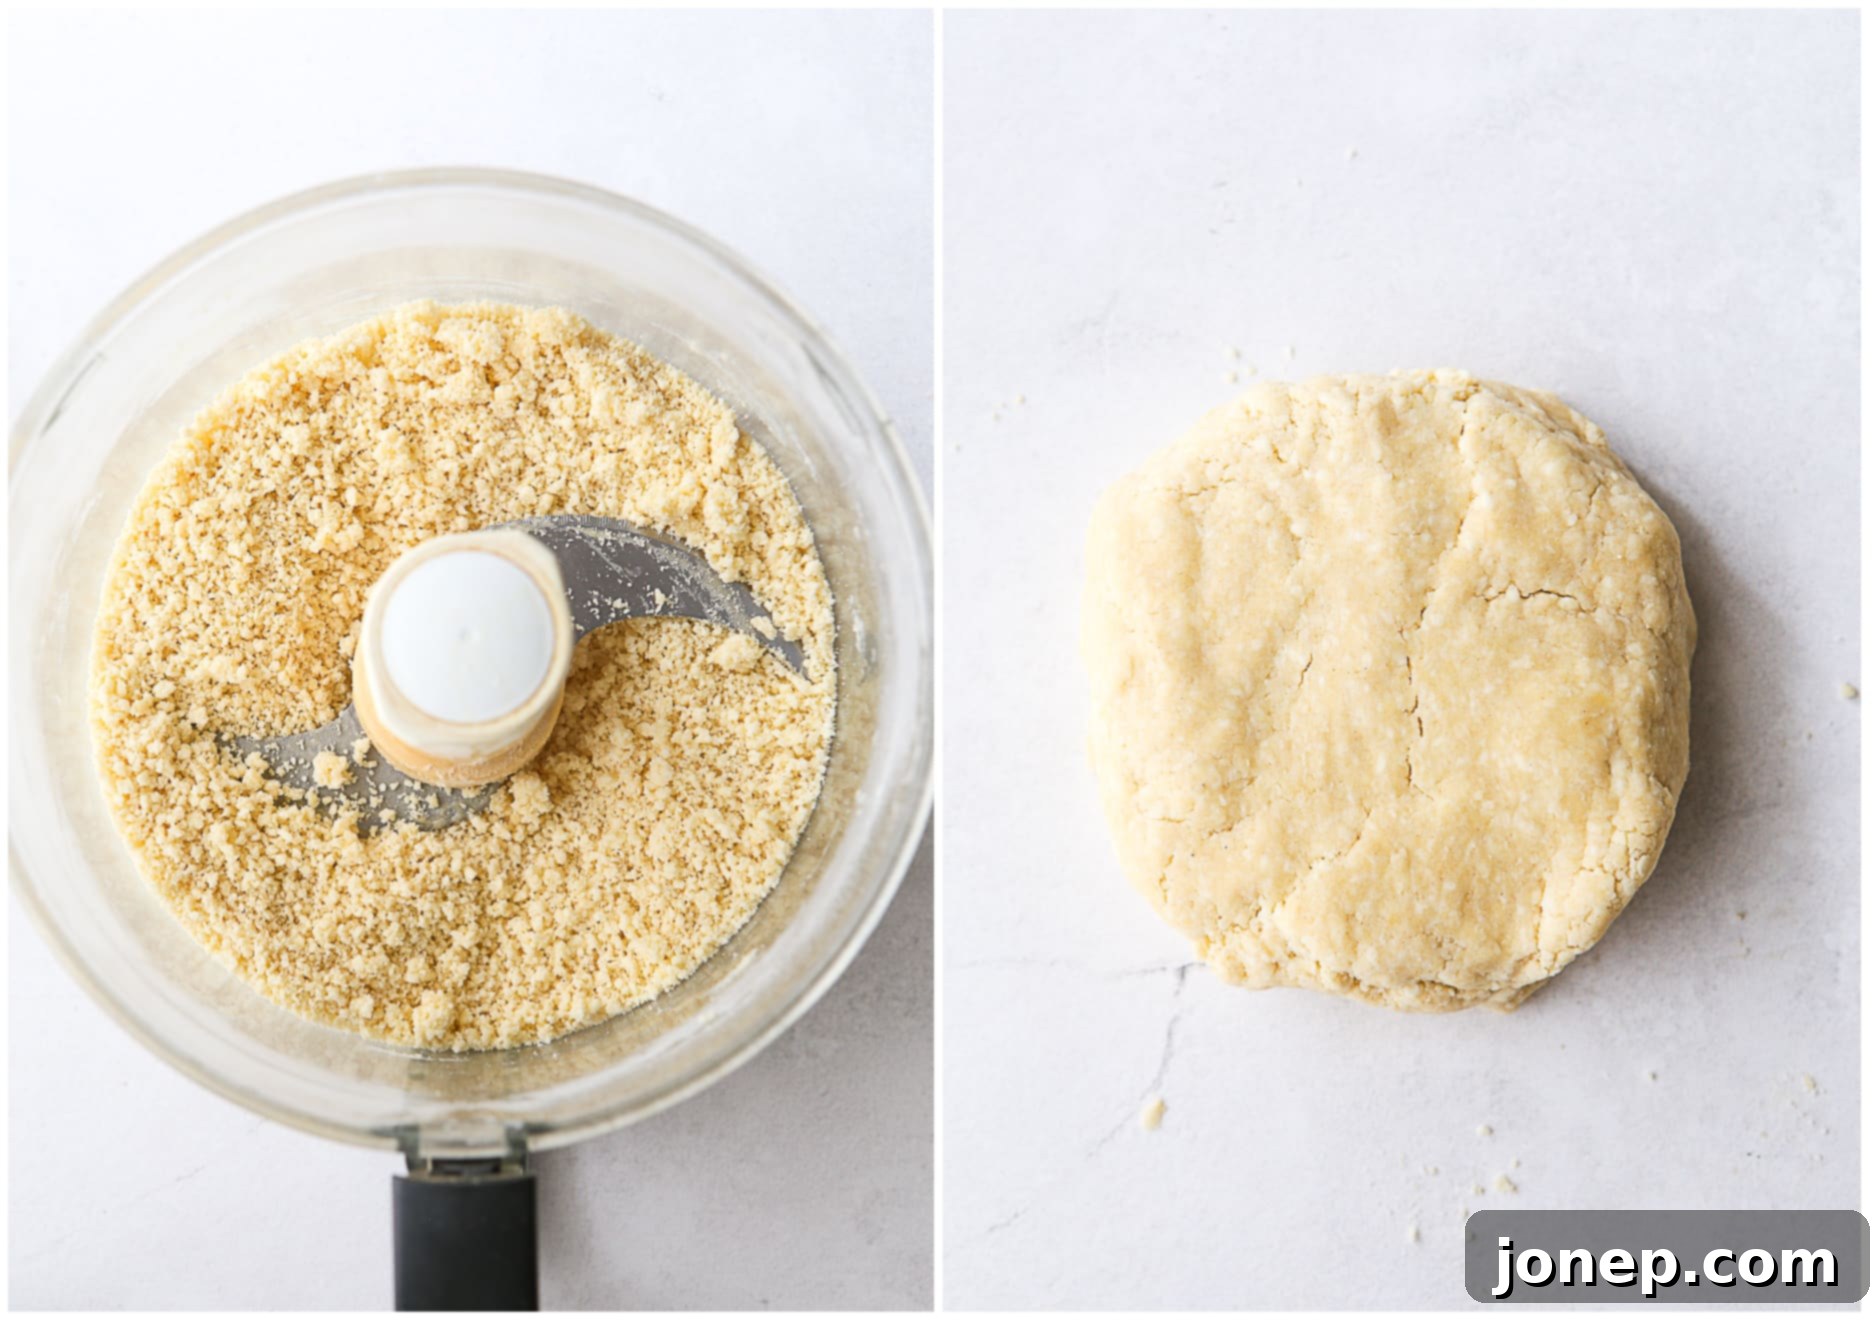
- Prepare the Tart Dough: This sweet tart dough comes together surprisingly quickly, especially if you use a food processor. Simply pulse together the dry ingredients, then cut in the cold, cubed butter until coarse crumbs form. Finally, add the egg yolk and ice water to bring the dough together. If you’re mixing by hand, a pastry blender works wonders. Once combined, form the dough into a flat disk, wrap it tightly in plastic, and chill it in the refrigerator for at least 1 hour. This chilling period is crucial as it allows the butter to firm up, preventing the crust from shrinking during baking, and makes the dough easier to handle. You can even prepare the dough up to 3 days in advance!

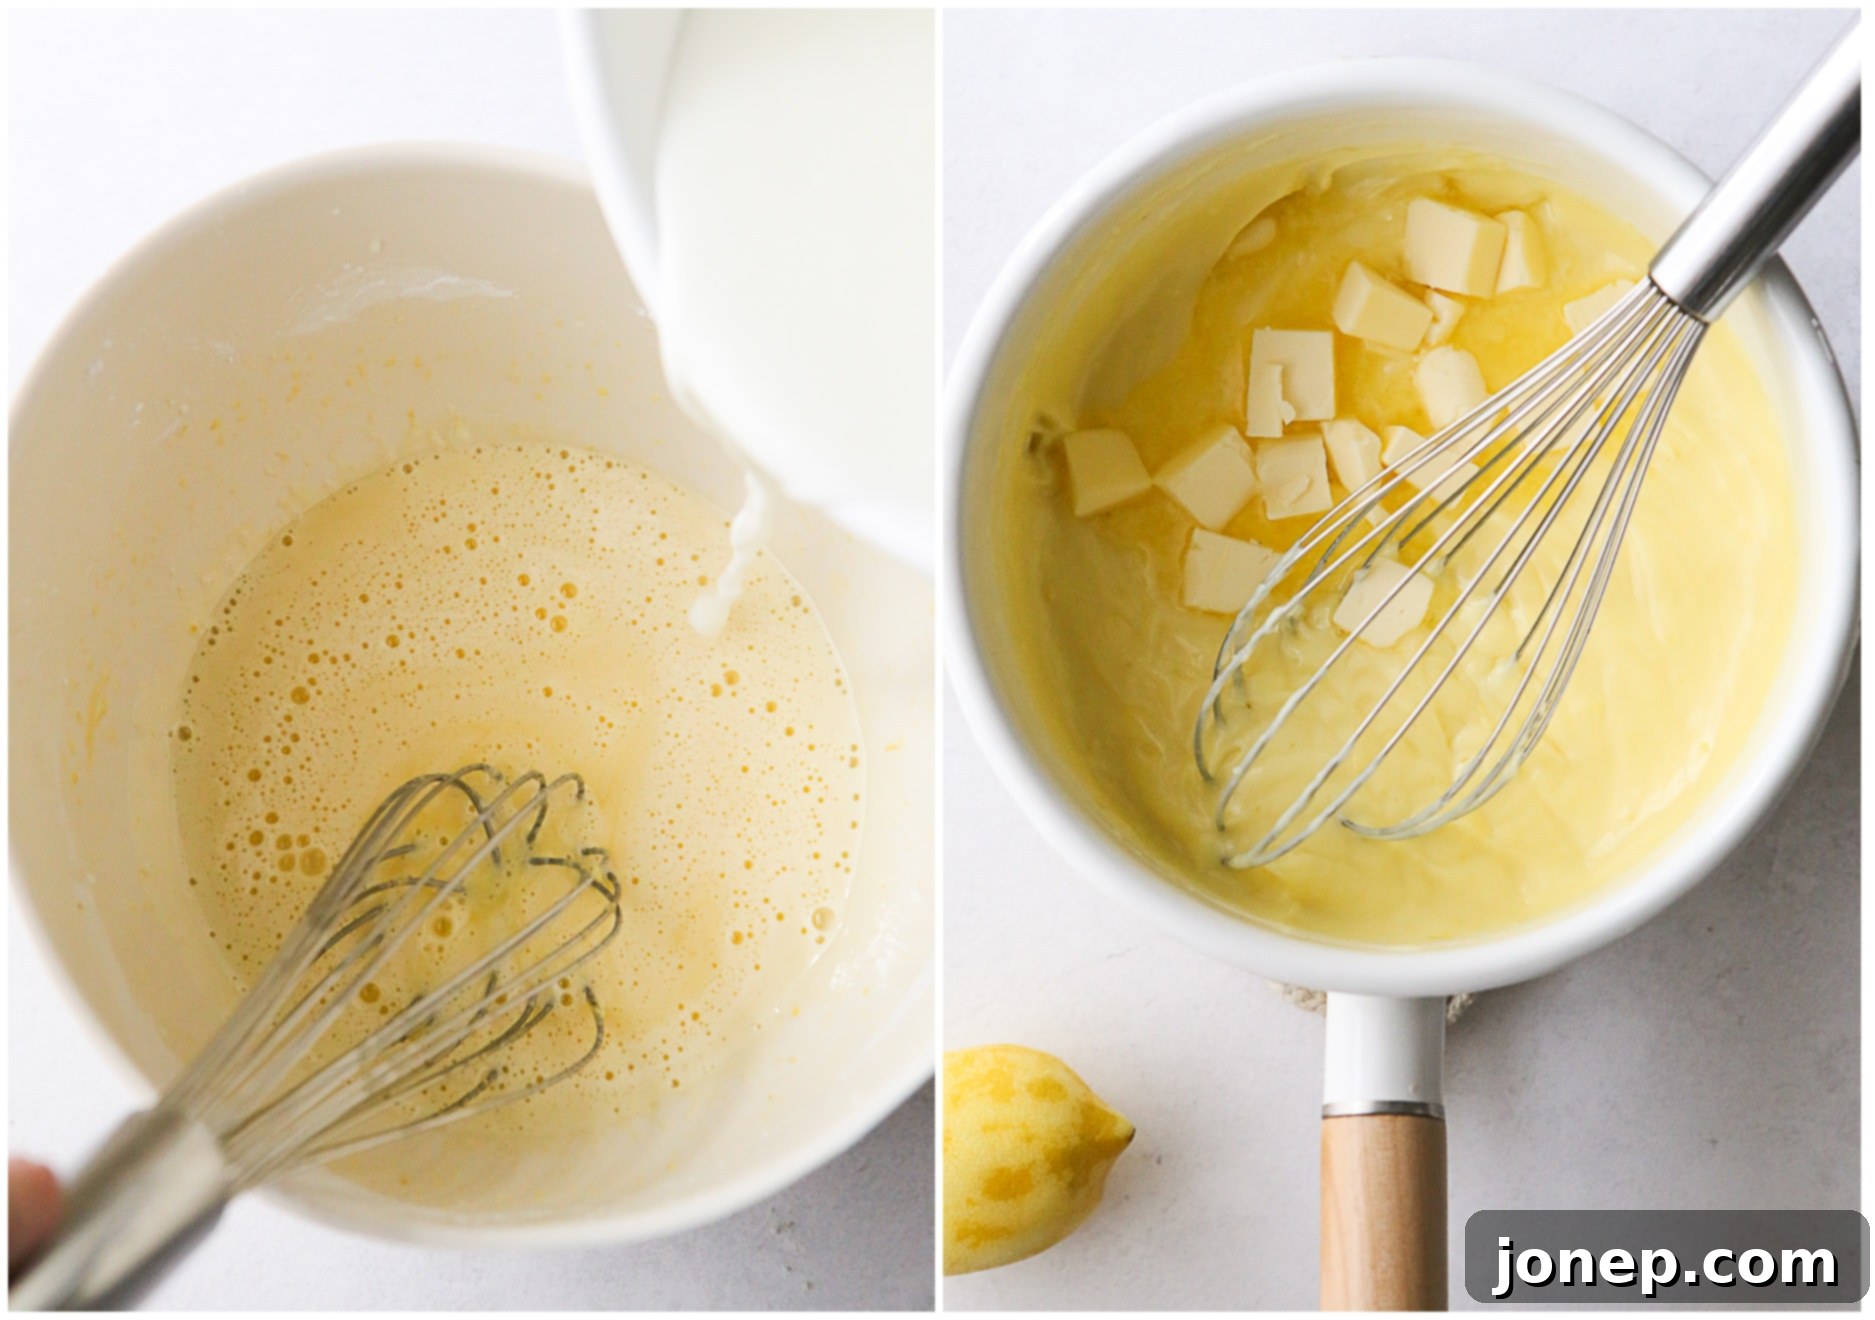
- Make the Lemon Filling: This creamy lemon filling is a highlight of the tart. In a heatproof bowl, whisk together egg yolks, granulated sugar, cornstarch, and fresh lemon zest until thoroughly combined and pale. Meanwhile, gently warm the whole milk in a saucepan until it’s steamy, but not boiling. Slowly temper the warm milk into the egg yolk mixture, whisking constantly to prevent the eggs from scrambling. Pour this mixture back into the saucepan and cook over medium heat, stirring continuously with a rubber spatula, until it thickens significantly. Remove from heat, then whisk in the unsalted butter until melted and smooth, followed by vanilla extract and fresh lemon juice. The butter adds richness, and the lemon juice brightens the flavor. Pour the custard into a bowl, cover it with plastic wrap directly on the surface to prevent a skin from forming, and chill it in the fridge until completely set and cold, which usually takes 1-2 hours.

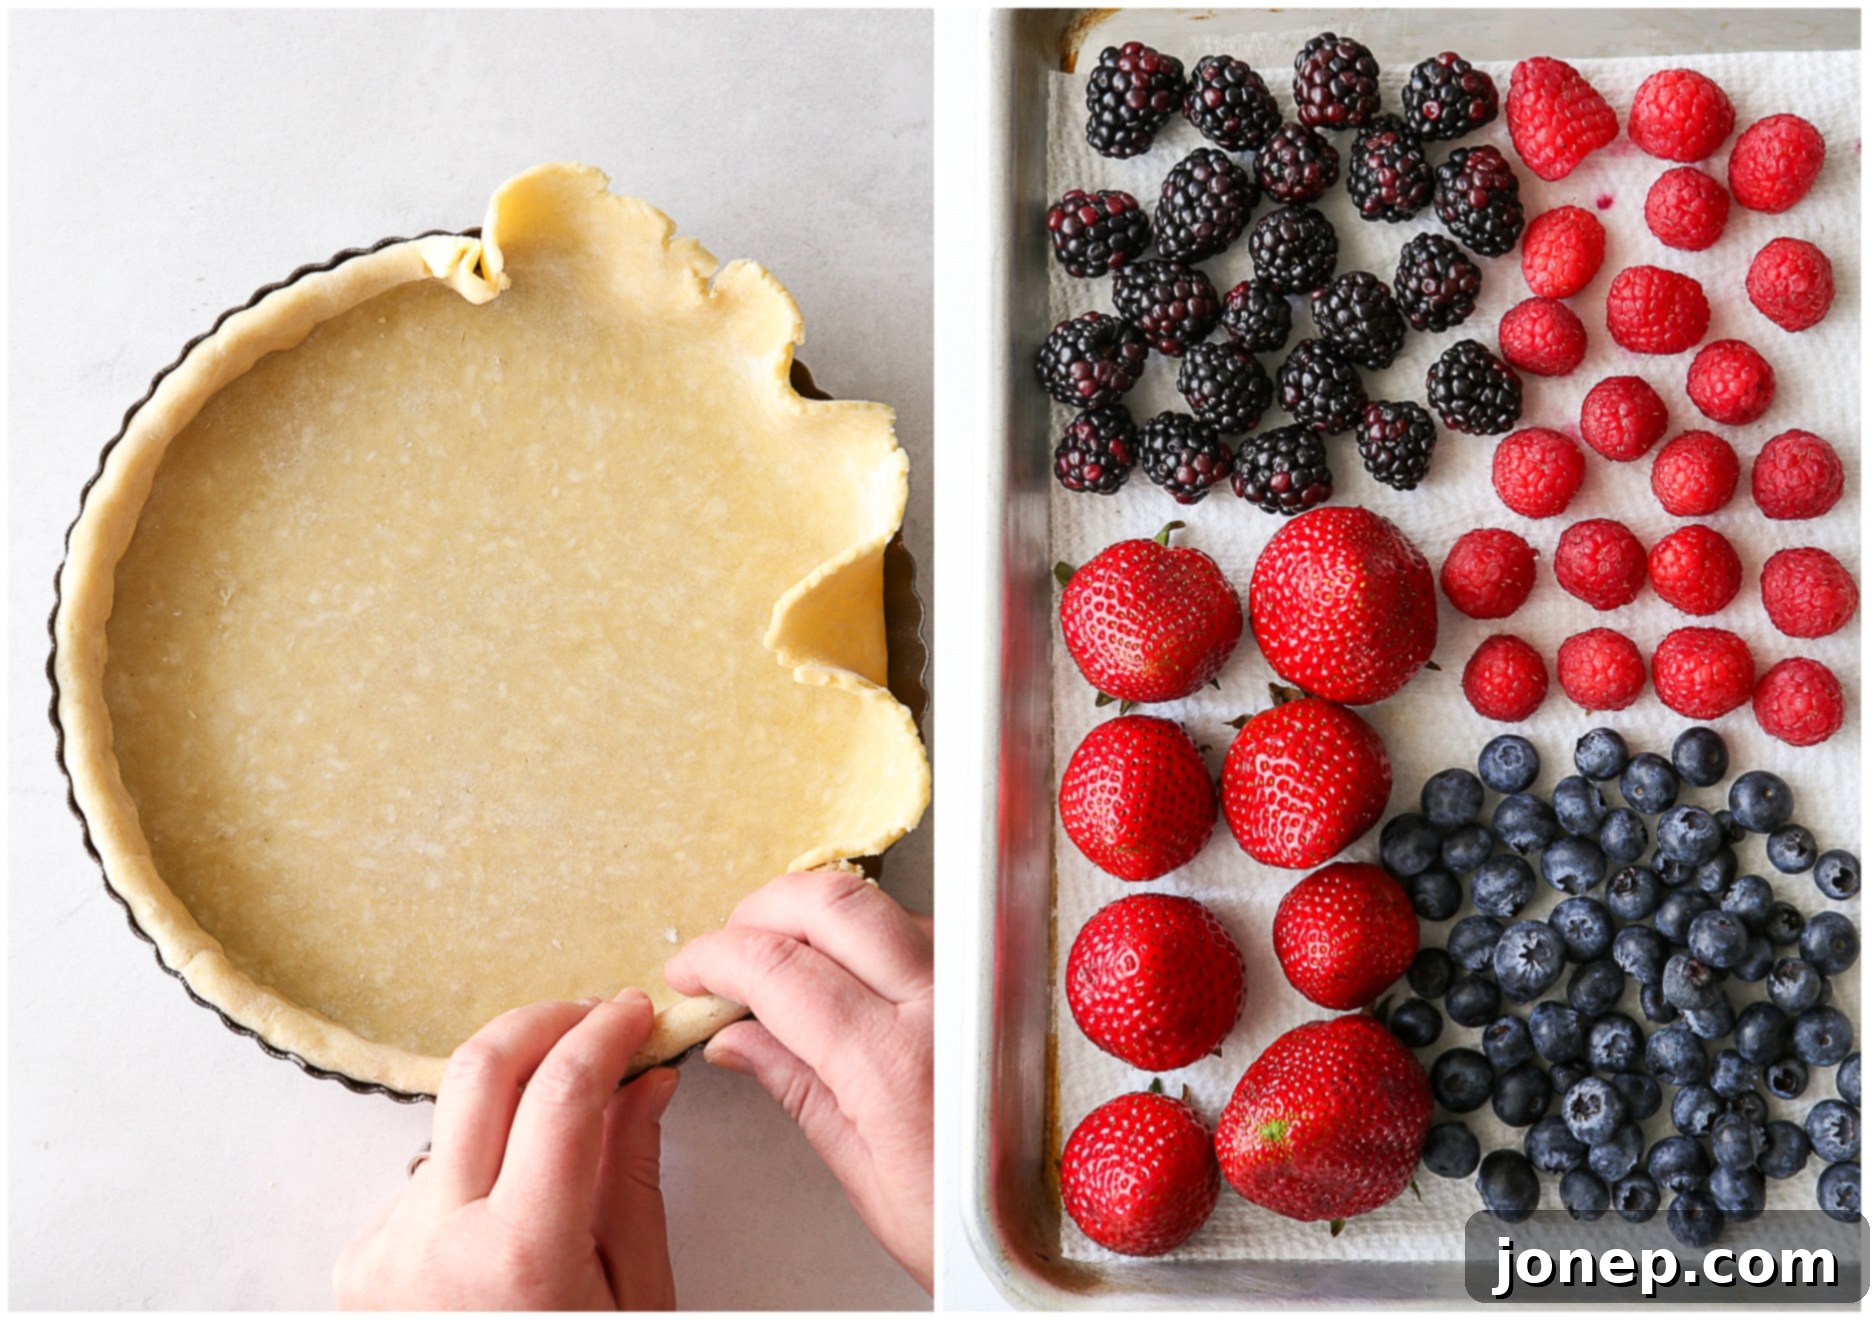
- Bake the Tart Shell: Once the dough is properly chilled, lightly flour your work surface and roll out the dough into a circle roughly 12-13 inches in diameter. Carefully transfer the rolled dough into a greased 8-inch tart pan with a removable bottom. Gently press the dough into the pan’s fluted sides, ensuring it’s evenly distributed. Trim any excess dough with a knife or neatly tuck it under the edges. For the best results and to prevent shrinkage, do a quick freeze of the dough in the pan for about 30 minutes while your oven preheats to 400°F (200°C). Line the chilled crust with parchment paper or greased foil, and fill it with pie weights, dried beans, or rice. This “blind baking” prevents the crust from puffing up. Bake for 18-20 minutes until the edges are set. Remove the weights and parchment, then bake for another 5-8 minutes until the crust appears dry and is lightly golden brown. Let it cool completely on a wire rack.

- Wash and Prepare Berries: While the tart shell cools and the lemon filling chills, take this opportunity to prepare your fresh berries. Gently wash them under cool water and spread them in a single layer on paper towels to air dry thoroughly. Ensure they are completely dry before topping the tart, as excess moisture can make the filling watery. If using strawberries, slice them or hull them according to your preference.
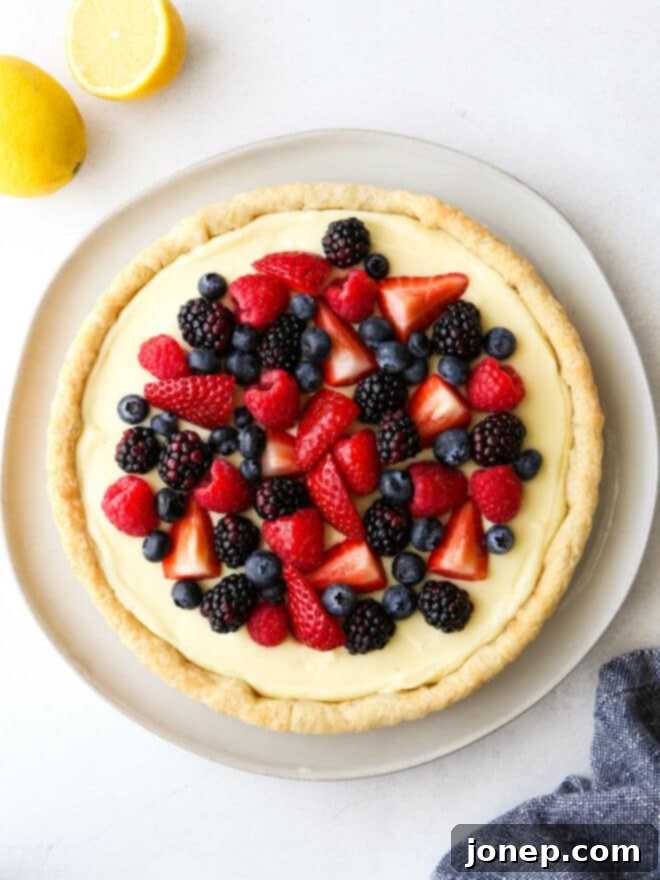
- Assemble Tart & Chill: Carefully remove the cooled tart shell from its pan by pushing up the removable bottom. Transfer it to a serving plate or a beautiful cake stand. Give the chilled pastry cream a quick stir to smooth it out, then evenly spread it into the baked tart crust. Arrange your prepared fresh berries artfully over the lemon filling. This is your chance to make it visually stunning! Once assembled, place the tart back in the fridge for at least 30 minutes. This allows the filling to fully set into the crust and prevents it from spreading when sliced.

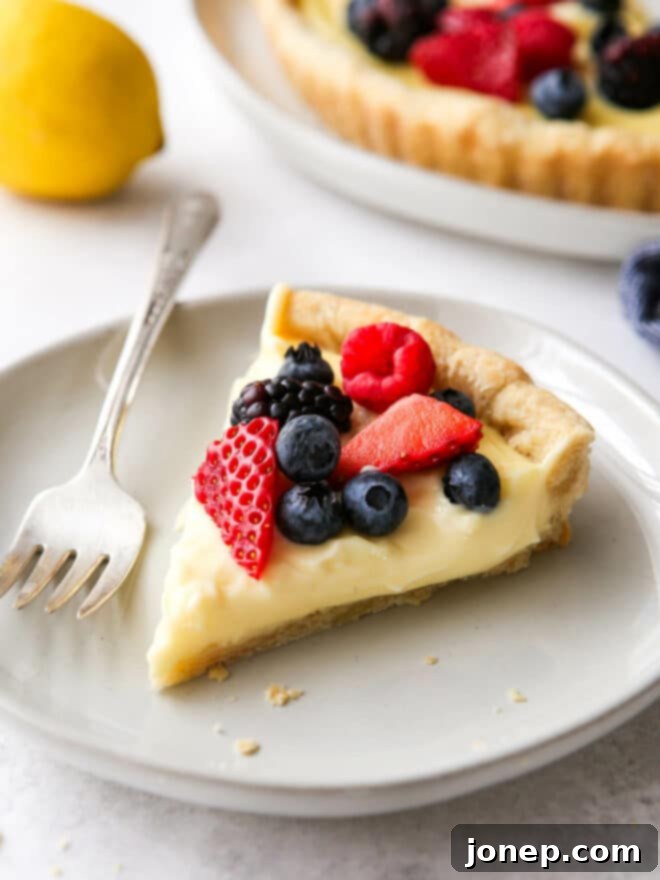
- Enjoy! When you’re ready to serve, use a sharp, thin knife to carefully slice the tart. For the cleanest cuts, wipe your knife clean between each slice. A little trick: use the side of your knife to gently wiggle the berries to the side of your cut, helping them stay intact and creating a beautiful presentation. Serve immediately to enjoy the tart at its peak freshness, with its crisp crust, creamy filling, and bright, juicy berries.

Common Questions About Lemon Berry Tarts: FAQs
Here are some frequently asked questions to help you master this delicious Lemon Berry Tart recipe and ensure a smooth baking experience:
Can I make this recipe in advance?Absolutely! The beauty of this tart is that many components can be prepped ahead of time, which significantly reduces stress on serving day. The tart dough can be stored in the fridge for up to 3 days or frozen for up to a month. The pastry cream filling can also be made up to 3 days in advance and stored covered in the fridge. Even the baked tart shell can be kept at room temperature, tightly wrapped, for a few days. However, for the very best flavor and presentation, it’s recommended to assemble the tart no more than a few hours before serving, adding the fresh berries just before it’s time to enjoy.
How long does this lemon berry tart last in the fridge?While this tart is truly at its peak on the day it’s assembled, leftovers will keep well. Once assembled, cover the tart loosely with plastic wrap or store slices in an airtight container. It will remain delicious for 1-2 days after assembly, but can generally be stored in the fridge for up to 3-4 days. Note that the crust might soften slightly over time, and the berries might release some juice, so consuming it sooner is always better for optimal texture and appearance.
Can I use a different type of pan if I don’t have an 8-inch tart pan?Yes, you can certainly adapt! If you don’t have an 8-inch tart pan with a removable bottom, a shallow 9-inch pie pan can work as an alternative. Keep in mind that the filling will likely be a bit thinner in a larger pan, but the flavors will still be fantastic. Follow the same par-baking instructions outlined in the recipe, and for easier serving, it’s best to serve the tart directly from the pie pan rather than attempting to remove it.
What are some tips for perfectly blind baking the tart crust?Blind baking is essential for a crisp, non-soggy crust. First, ensure your dough is very cold before rolling it out and placing it in the pan, and then chill it again in the pan before baking. This helps prevent shrinkage. Use plenty of pie weights (or dried beans/rice) to fill the crust right up to the top edges; this supports the sides and keeps them from collapsing. Don’t skip removing the weights and baking for a few more minutes uncovered; this dries out the bottom of the crust, ensuring it’s fully cooked and beautifully golden.

Explore More Delectable Dessert Recipes
If you’ve fallen in love with the bright, fresh flavors and elegant presentation of this Lemon Berry Tart, you’re in for a treat! We have a collection of other fruit-forward desserts that are equally delightful and perfect for various occasions. From light and airy cakes to rustic pastries, there’s something to satisfy every craving. Discover your next favorite sweet indulgence below!
If you love this lemon berry tart, you should try these other fruit desserts!
Lemon Olive Oil Cake Puff Pastry Tart Summer Berry Trifle Ready to Bake? Get the Full Recipe!
Now that you’re well-versed in the delightful components and careful steps required, it’s time to gather your ingredients and start baking. This detailed recipe card provides precise measurements and timings to ensure your Lemon Berry Tart turns out perfectly. Get ready to create a stunning and incredibly flavorful dessert that will be cherished by everyone who takes a bite!

Lemon Berry Tart
Servings: 8 servingsPrep Time: 30 minutesCook Time: 30 minutesChill Time: 3 hoursTotal Time: 4 hoursA light and summery tart filled with a creamy lemon filling and topped with fresh berries, perfect for any occasion.Print Recipe
Pin Recipe
Leave a ReviewIngredients
For the crust:
- 1 ⅓ cup (160 grams) all-purpose flour
- 2 tablespoons (25 grams) granulated sugar
- ¼ teaspoon salt
- ½ cup (113 grams) cold unsalted butter , cubed
- 1 large egg yolk
- 2-3 tablespoons ice water
For the filling:
- 2 cups (450 grams) whole milk
- 5 large egg yolks
- ½ cups (100 grams) granulated sugar
- ¼ cup (28 grams) cornstarch
- Zest of 1 lemon
- ¼ cup (56 grams) unsalted butter , cubed
- ½ teaspoon vanilla extract
- 1 tablespoon fresh lemon juice
- 2-3 cups (240-360 grams) fresh berries , such as strawberries, raspberries, blueberries and blackberries
Prevent your screen from going darkEquipment
8-inch tart panPastry blenderPie weightsFood processorInstructions
To make the crust:
-
Combine the flour, sugar and salt in a large bowl or the bowl of a food processor. Make sure these dry ingredients are well mixed before adding the butter.
-
Add the cold, cubed butter and cut into the other ingredients using a pastry blender until the mixture resembles coarse, sandy crumbs with some pea-sized butter pieces remaining. If using a food processor, pulse in short bursts, being careful not to overmix, to achieve the same texture.
-
In a separate small bowl, whisk together the egg yolk and 2 tablespoons of the ice water. Add this liquid mixture to the flour mixture and use a sturdy spoon or your hands (or a few quick pulses in the food processor) to bring it together into large, shaggy chunks. If the dough seems too dry and isn’t coming together, add more ice water, ½ tablespoon at a time, until it just barely forms a cohesive mass. (Don’t add too much water; the dough won’t necessarily form a perfect ball in a food processor, and that’s perfectly fine.)
-
Turn the dough out onto your counter and gently gather it, forming it into a flat disk. Wrap the disk tightly with plastic wrap and chill in the fridge for at least 1 hour. This chilling period is crucial for developing flavor and making the dough easier to roll. The dough can be made up to 3 days ahead and stored in the fridge.
-
On a lightly floured surface, roll the chilled crust out to a rough 12 or 13-inch circle. Carefully transfer the rolled dough to a greased 8-inch tart pan with a removable bottom and press it in gently, ensuring it fits snugly into the fluted sides. Remove any overhanging crust by either cutting it off with a sharp knife or neatly folding it under to create a thicker edge.
-
Freeze the tart shell in the pan for 30 minutes while you preheat your oven to 400°F (200°C). This extra chill helps prevent the crust from shrinking during baking.
-
Line the chilled crust with a piece of greased foil or parchment paper, pressing it gently against the dough. Fill the tart with baking weights, dry rice, or dried beans, distributing them evenly to weigh down the bottom and sides. Bake for 18-20 minutes until the crust appears set around the edges. Carefully remove the foil and weights, then return the tart shell to the oven and bake for an additional 5-8 minutes more, or until it looks dry, feels firm, and is lightly golden brown. Let it cool completely on a wire rack before filling.
For the filling:
-
Warm the whole milk in a medium saucepan over medium heat just until you see small bubbles appearing around the edges of the pan. Be careful not to bring it to a full rolling boil.
-
Meanwhile, in a separate heatproof bowl, vigorously whisk together the large egg yolks, granulated sugar, cornstarch, and lemon zest until the mixture is pale yellow and very thick. When the milk is warm, slowly add it to the egg mixture in a small, steady stream, whisking constantly and thoroughly to temper the egg yolks and prevent them from scrambling.
-
Return the tempered mixture to the saucepan. Cook over medium heat, stirring constantly with a rubber spatula, making sure to scrape the bottom and sides of the pan. Continue to cook until the mixture thickens significantly and coats the back of the spatula, reaching a pudding-like consistency. This process should take approximately 3-4 minutes.
-
Remove the saucepan from the heat. Stir in the cubed unsalted butter until it is completely melted and incorporated, then add the fresh lemon juice and vanilla extract. Stir until everything is smooth and well combined.
-
Pour the finished lemon pastry cream into a clean bowl. Cover it immediately with plastic wrap, pressing the wrap directly onto the surface of the custard to prevent a skin from forming. Chill completely in the fridge for 1-2 hours, or until thoroughly cold and set.
To assemble tart:
-
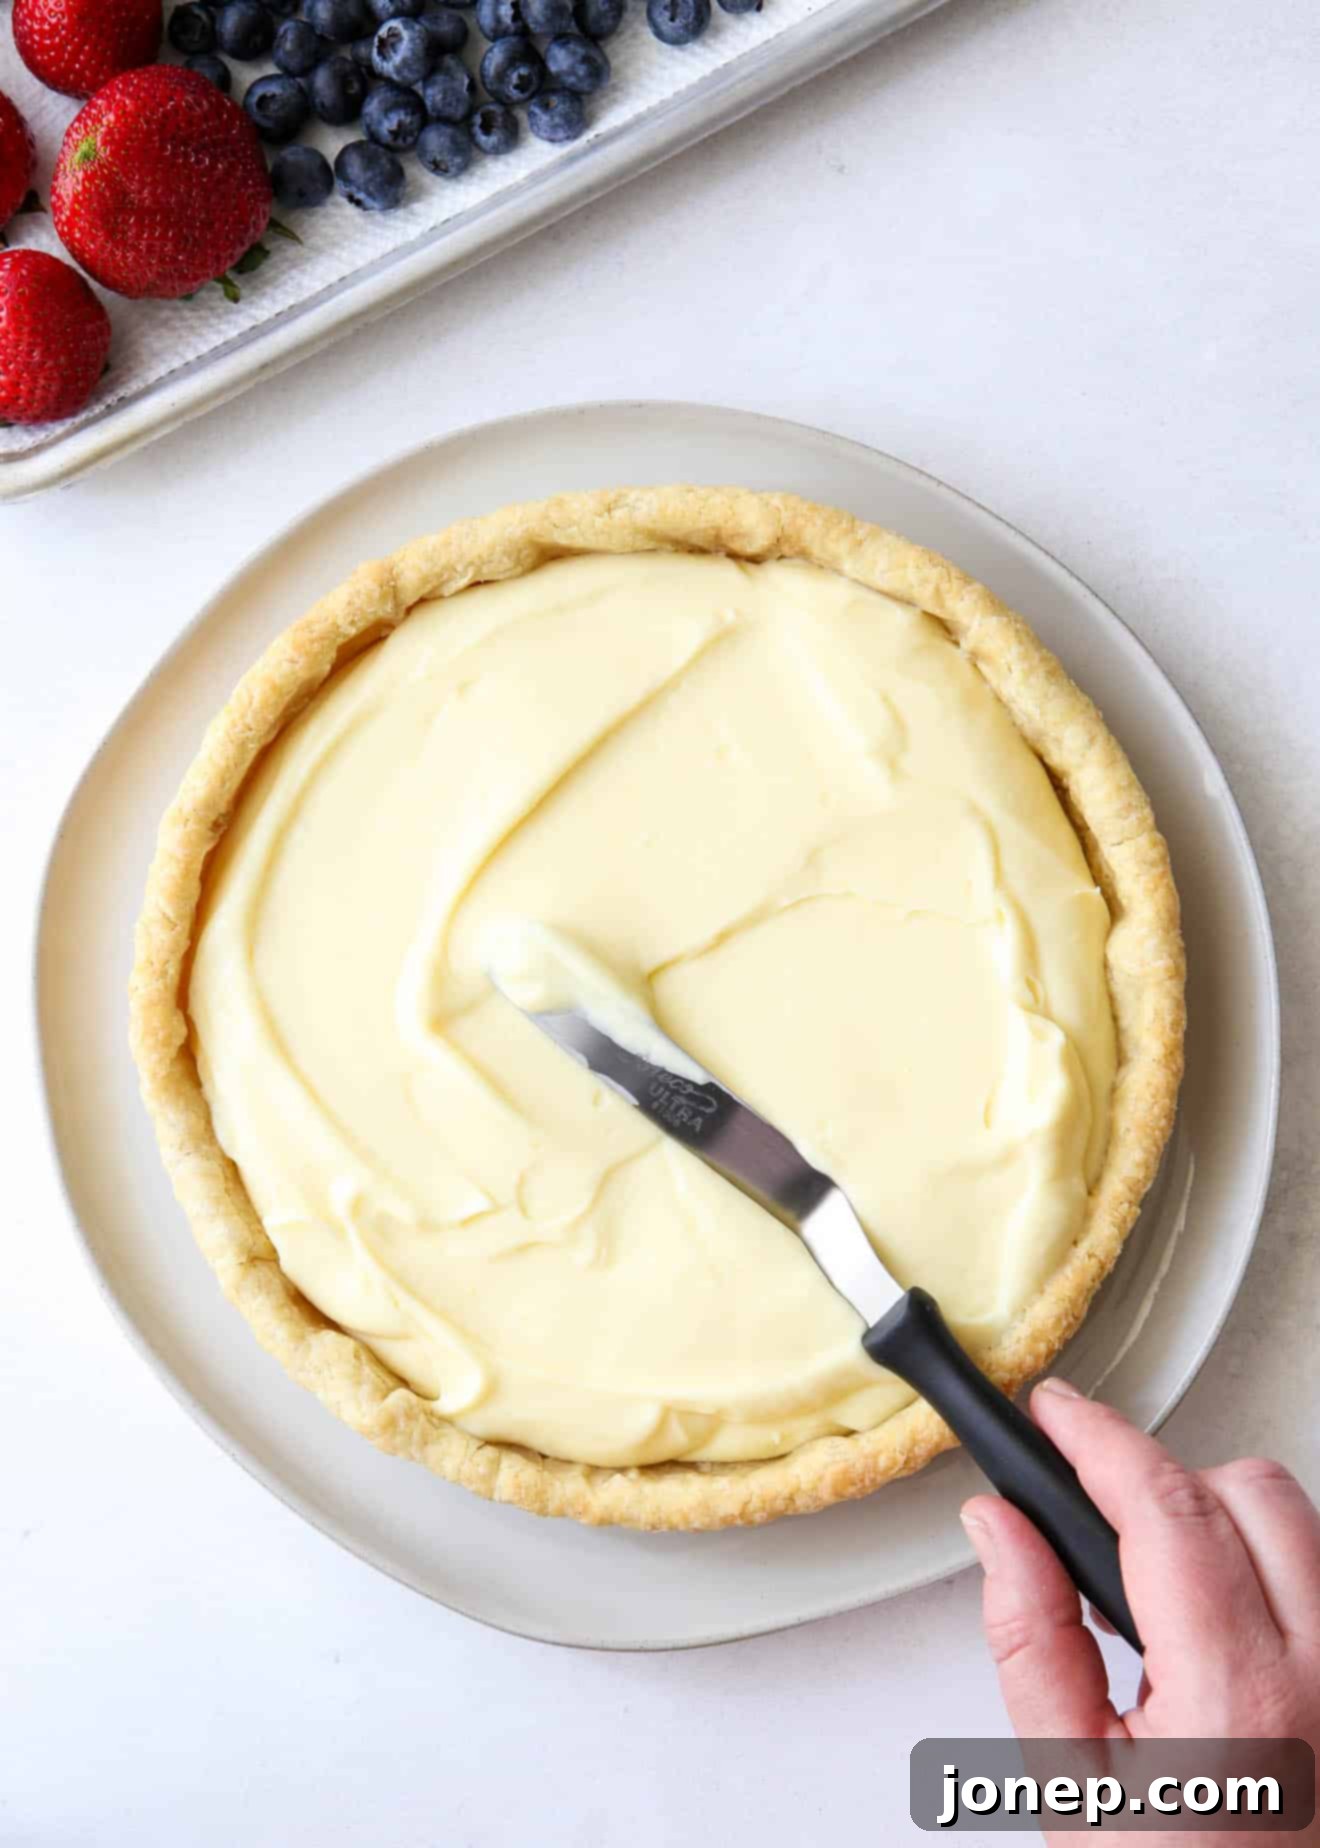
Once the tart crust is completely cool and the lemon custard is thoroughly chilled and firm, remove the tart shell from its pan. Give the cooled custard a quick whisk to ensure it’s smooth and spreadable, then spoon it into the baked tart crust, spreading it evenly with an offset spatula.
-
Artfully arrange your washed and dried fresh berries over the lemon filling. You can create a pattern or simply scatter them for a rustic look. Serve the tart immediately for the freshest experience, or chill it in the fridge for up to 2 hours to allow the filling to further set with the berries. While best on the day it’s assembled, the tart can be stored in the fridge for a few days.
Notes
- For easiest removal and a pristine presentation, always use a tart pan with a removeable bottom.
- The tart crust is highly versatile for make-ahead convenience. You can store the unbaked dough (wrapped tightly) in the fridge for up to 3 days or in the freezer for up to 1 month. A baked (unfilled) tart shell can be stored at room temperature, well-covered with plastic wrap, for up to 3 days.
- The creamy lemon filling can also be prepared in advance. It can be made at any point while the crust dough is chilling or baking, and will keep beautifully in an airtight container in the fridge for up to 1 week.
- If you find yourself without a dedicated tart pan, a shallow 9-inch pie pan can serve as a suitable substitute. Be aware that the filling will spread a bit thinner in a larger pan, but the delightful taste will remain. Simply follow the same par-baking instructions as detailed in the recipe, and for best results, serve the tart directly from the pie pan.
Calories: 400kcal, Carbohydrates: 43g, Protein: 7g, Fat: 23g, Saturated Fat: 13g, Cholesterol: 198mg, Sodium: 109mg, Potassium: 189mg, Fiber: 2g, Sugar: 21g, Vitamin A: 825IU, Vitamin C: 28mg, Calcium: 104mg, Iron: 2mgCuisine: FrenchCourse: DessertAuthor: Annalise SandbergHave you tried this recipe?I’d love to hear about it! Leave a rating and review below, or take a photo and tag it on Instagram @completelydelicious with #completelydelicious.This recipe was originally published in July 2016 and has been updated for clarity and enhanced instructions.
