The Ultimate Guide to Homemade Granola: Customizable Recipes for Delicious, Healthy Snacking
Are you ready to elevate your breakfast and snack game? Look no further than homemade granola! This simple guide empowers you to create your own perfectly tailored batch, fitting your specific cravings or making clever use of ingredients already in your pantry. Say goodbye to boring, expensive store-bought options and hello to a world of customizable, crunchy goodness. Get ready to craft your next batch of granola precisely the way you want it!
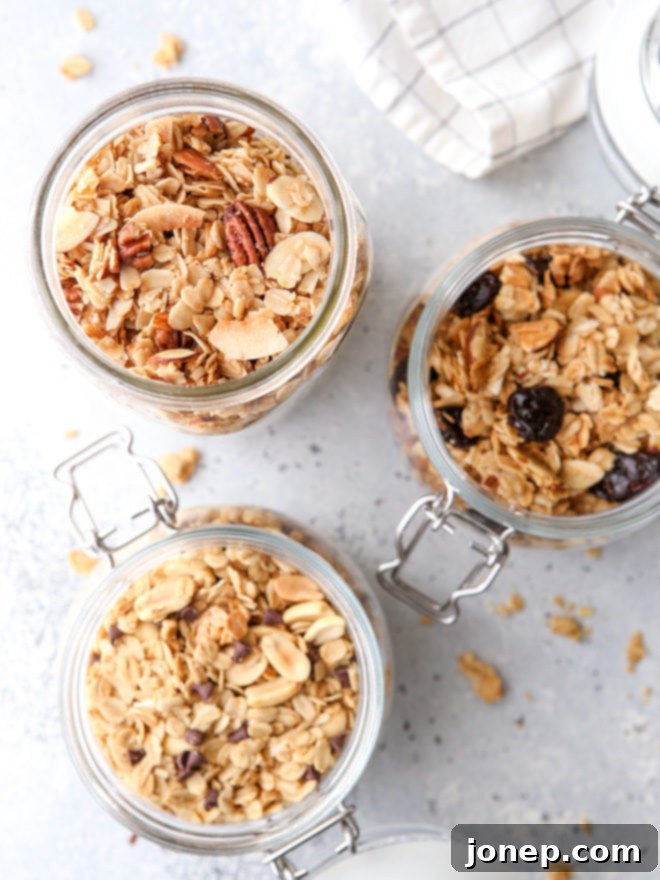
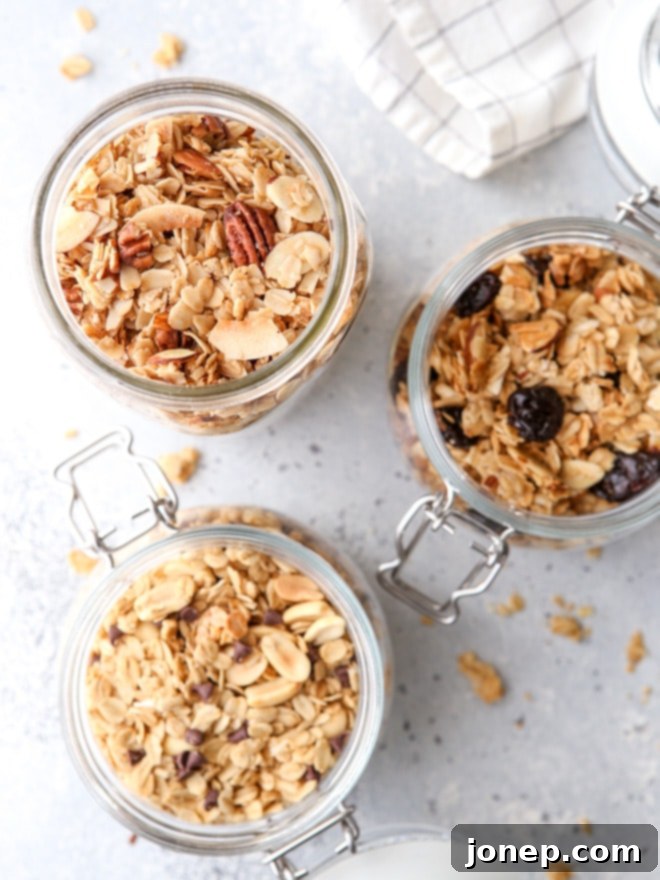
A few years ago, I had a culinary revelation: homemade granola is SO MUCH BETTER than anything you can buy at the grocery store. The difference in freshness, flavor, and texture is truly astonishing, and I’ve never once considered going back to pre-packaged versions. Once you experience the rich aroma filling your kitchen and the delightful crunch of a freshly baked batch, you’ll understand exactly what I mean.
This easy homemade granola recipe is designed to be sweet, incredibly crunchy, and bursting with flavor. But its greatest advantage? It’s completely adaptable! This means you have full control. You can select any mix-ins your heart desires, choose your preferred natural sweetener like golden honey or rich maple syrup, and amplify the taste with warm ground cinnamon or aromatic vanilla extract. The possibilities are truly endless, making every batch a unique culinary adventure.
To get you started, I’ve included suggestions for delectable flavor combinations such as the comforting Nutty Coconut, the vibrant Cherry Almond, and the indulgent Peanut Butter Chocolate. More importantly, this guide provides comprehensive instructions and invaluable tips to help you confidently create your very own signature granola combination, ensuring it perfectly matches your taste preferences every time.
Why Make Your Own Granola? The Unbeatable Advantages
Opting for homemade granola isn’t just a fun kitchen project; it comes with a host of benefits that far outweigh buying it off the shelf:
- Unrivaled Freshness: Store-bought granola can sit for months. Yours will be fresh from the oven, offering superior taste and aroma.
- Complete Ingredient Control: Avoid unwanted artificial flavors, preservatives, excessive added sugars, and unhealthy oils often found in commercial granolas. You decide exactly what goes into your body.
- Tailored to Your Tastes: Love almonds but hate raisins? No problem! This recipe is a blank slate for your favorite nuts, fruits, and spices.
- Cost-Effective: Buying oats and bulk ingredients is generally more economical in the long run compared to purchasing specialty granolas, especially those with premium ingredients.
- Dietary Adaptability: Easily make it gluten-free (using certified GF oats), vegan (using maple syrup and coconut oil), or low-sugar to suit various dietary needs and preferences.
- No More Stale Granola: Because it’s so delicious and customizable, you’ll likely eat it faster, meaning no more half-eaten bags going stale in the pantry!
The Foundational Six: Essential Ingredients for Homemade Granola
At its core, making granola at home requires just six key types of ingredients. These are the building blocks you’ll customize to create your perfect batch:
- Old-fashioned rolled oats: The indispensable base that gives granola its characteristic texture.
- Sweetener: To add delicious flavor and help bind the ingredients into clusters.
- Oil or butter: Crucial for achieving that desirable crispiness and even browning.
- Salt: A simple but vital ingredient that enhances all other flavors and balances sweetness.
- Mix-ins: Add variety, texture, and nutrition with ingredients like nuts, seeds, or dried fruit.
- Additional flavorings: Extracts and spices that elevate the overall taste profile.
Crafting Your Granola Base: Oats and Your Choice of Mix-ins
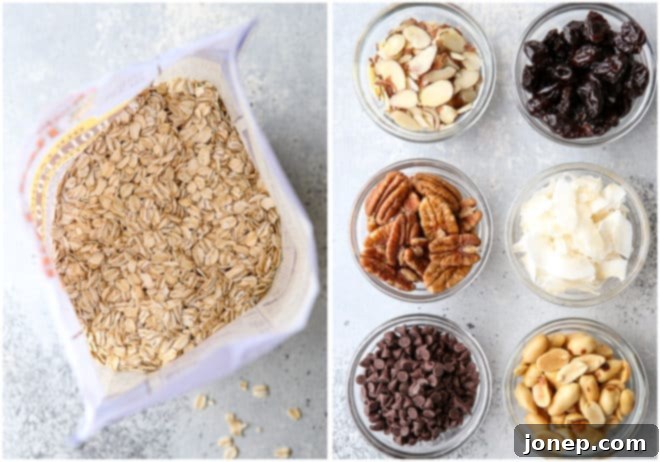
The foundation of any truly great granola is **old-fashioned rolled oats**. These are preferred over quick or instant oats because they retain their shape, provide a satisfying chewiness, and absorb liquids without becoming mushy. Steel-cut oats, while hearty, are too dense for traditional granola and won’t yield the right texture.
Once you’ve got your trusty oats, the fun really begins with choosing your mix-ins! These additions are not just for taste; they contribute significantly to the granola’s texture, heartiness, and nutritional profile. For a balanced granola, I typically aim for a ratio of **2 cups of oats to 1-2 cups of total mix-ins**. This ensures every spoonful is packed with flavor and crunch without overpowering the wholesome oats. Feel free to combine several options to create a truly bespoke blend:
- Nuts: From classic pecans, walnuts, and almonds (sliced, slivered, or chopped) to cashews, hazelnuts, and peanuts. Nuts are fantastic for adding healthy fats, protein, and a robust crunch. You can leave them whole, give them a rough chop, or even lightly toast them beforehand for a deeper, more pronounced flavor.
- Seeds: Boost nutrition and texture with pumpkin seeds (pepitas), sunflower seeds, chia seeds, flax seeds, or sesame seeds. These tiny powerhouses offer essential fatty acids and a variety of micronutrients.
- Coconut: I’m particularly fond of unsweetened wide-slice coconut flakes or coconut “chips” because they provide a substantial bite and a wonderful tropical flavor. Shredded or flaked coconut can also be used, but keep a close eye on it during baking as it tends to toast faster.
- Dried Fruit: Introduce natural sweetness and a chewy contrast with dried cranberries, cherries, blueberries, raisins, chopped apricots, dates, or figs. These are best added after baking to maintain their soft texture and prevent burning.
- Chocolate Chunks or Chips: For a touch of indulgence, add your favorite kind of chocolate – dark, milk, or white chocolate chips, or even chunks from a roughly chopped chocolate bar. Like dried fruit, these should be folded in after the granola has baked and cooled.
Important Note: To ensure the best texture and prevent burning, always add delicate ingredients like dried fruit and chocolate chunks or chips *after* your granola has been baked and has completely cooled.
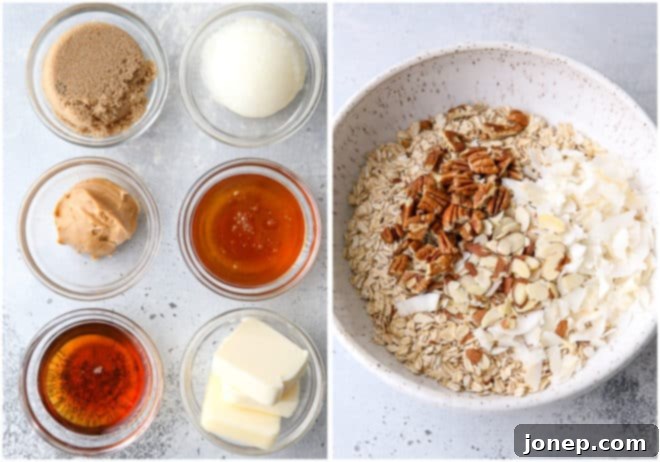
The Liquid Elements: Sweeteners, Flavorings, and Fats for Richness
The wet components of your granola recipe are what bind all the dry ingredients together, creating those irresistible clusters, promoting even browning, and infusing your batch with deep, delectable flavors.
Selecting Your Sweetener:
Beyond adding sweetness, these ingredients help achieve the desired crispy texture and beautiful golden color. Don’t be afraid to experiment to discover your perfect sweet spot!
- Maple Syrup: A popular choice for its distinctive earthy, caramel-like notes and its ability to create wonderfully crispy granola. It’s also an excellent vegan option.
- Honey: Offers a unique floral sweetness and is known for producing very firm, crunchy clusters.
- Brown Sugar (packed): Can be used alongside liquid sweeteners or as the primary sweetener when combined with melted fat. It lends a deep, molasses-rich flavor.
- Agave Nectar: A good plant-based alternative that provides a more neutral sweetness, allowing other flavors to stand out.
Choosing Your Oil or Fat:
Fat is indispensable for ensuring your granola gets beautifully crispy and toasts evenly. It also contributes a subtle richness and helps with cluster formation.
- Olive Oil (light or mild): Imparts a slight fruity note that complements many granola flavors and results in a crisp texture.
- Canola Oil or Vegetable Oil: These are neutral in flavor, making them ideal if you want the taste of your mix-ins and spices to be the stars.
- Melted Coconut Oil: A fantastic choice that adds a delicate tropical aroma and aids in creating solid clusters as it solidifies upon cooling.
- Melted Butter: For a richer, more traditional flavor profile and a beautiful golden-brown finish. Clarified butter, or ghee, is another excellent option.
Boosting Flavor with Extracts and Spices:
These are the secret ingredients that can truly transform a good granola into an extraordinary one. Don’t skip them!
- Vanilla Extract: A universally loved enhancer that beautifully rounds out the flavors in almost any granola variation.
- Other Extracts: Consider almond extract for cherry or berry granolas, coconut extract for tropical blends, or even a touch of orange or lemon extract for a zesty twist.
- Ground Spices:
- Cinnamon: The quintessential granola spice, offering warmth and a comforting aroma.
- Cardamom: For an exotic touch, especially delightful with pistachios or citrus zest.
- Pumpkin Pie Spice: Perfect for autumn-inspired granolas featuring pecans, dried cranberries, or apples.
- Ginger: Adds a lively, warming kick, particularly good with dried apricots or candied citrus peel.
- Nutmeg: Provides a subtle, sweet warmth that pairs well with many nuts and fruits.
- Nut Butters: For an extra layer of flavor, richness, and chunkiness, whisk melted peanut butter, almond butter, or cashew butter into your liquid mixture. This adds protein and a delightful depth.
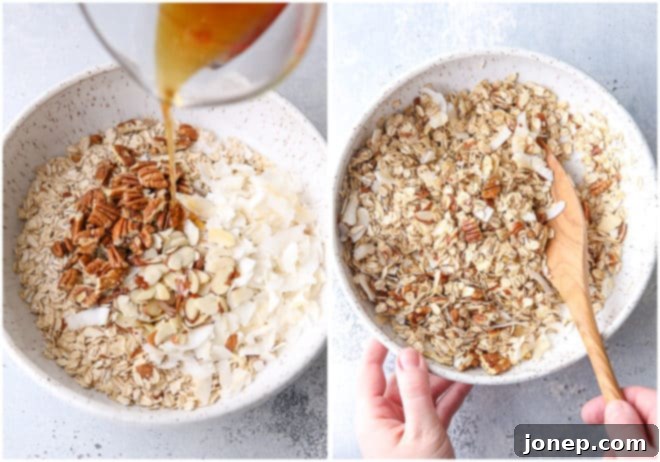
The Art of Perfect Granola: Combine, Bake, and Cool for Clumps
Follow these detailed steps to ensure your homemade granola comes out perfectly toasted, deliciously crunchy, and full of those coveted clusters every single time.
- Prepare Your Oven and Pan: Begin by preheating your oven to 325°F (160°C). Crucially, line a large, rimmed baking sheet with either parchment paper or a silicone baking mat. This step is essential for preventing your granola from sticking and makes cleanup a breeze.
- Combine Dry Ingredients: In a generously sized mixing bowl, combine all your dry ingredients. This includes your old-fashioned rolled oats, any nuts (chopped or whole), seeds, coconut (if you’re using it in the bake), salt, and any ground spices you’ve chosen (like cinnamon, ginger, etc.). Mix them thoroughly with a spoon or your hands until everything is evenly distributed. Remember to save dried fruit and chocolate for later!
- Whisk Liquid Ingredients: In a separate, smaller bowl, whisk together your chosen liquid sweetener (maple syrup, honey, etc.), melted oil or butter, and any liquid flavorings such as vanilla, almond, or coconut extract. Ensure these are completely blended into a uniform liquid.
- Thoroughly Combine Wet and Dry: Pour the liquid mixture over the dry ingredients in the large bowl. Using a sturdy spatula, wooden spoon, or even your clean hands (food-safe gloves are great here!), toss and mix everything until the dry ingredients are uniformly coated. Every oat flake should look moistened; this step is vital for even browning and flavor development.
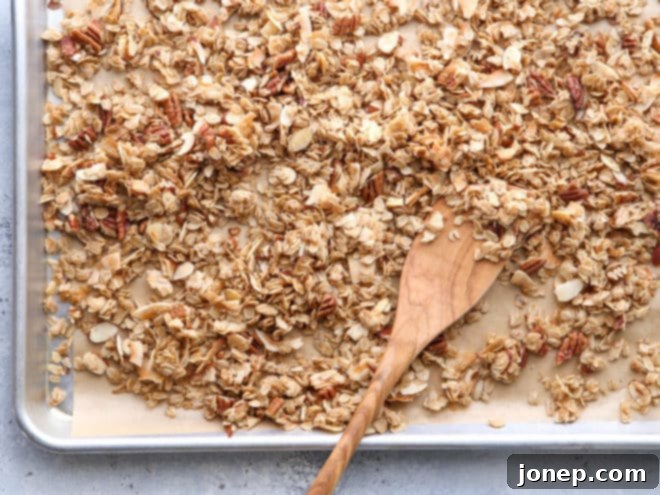
- Spread and Bake “Low and Slow”: Transfer the entire moistened granola mixture onto your prepared baking sheet. Spread it out into a single, even layer. Avoid piling it too high, as this can lead to uneven baking and some parts burning while others remain undercooked. Bake for 25-35 minutes at 325°F (160°C).
- The “One Stir” Rule: During the baking process, resist the urge to constantly stir. Stir the granola only *once*, typically about halfway through the baking time (around the 15-20 minute mark). Over-stirring will disrupt the formation of those desirable granola clusters. Baking at a lower temperature for a longer time allows the oats and mix-ins to toast gradually and dry out perfectly without burning.
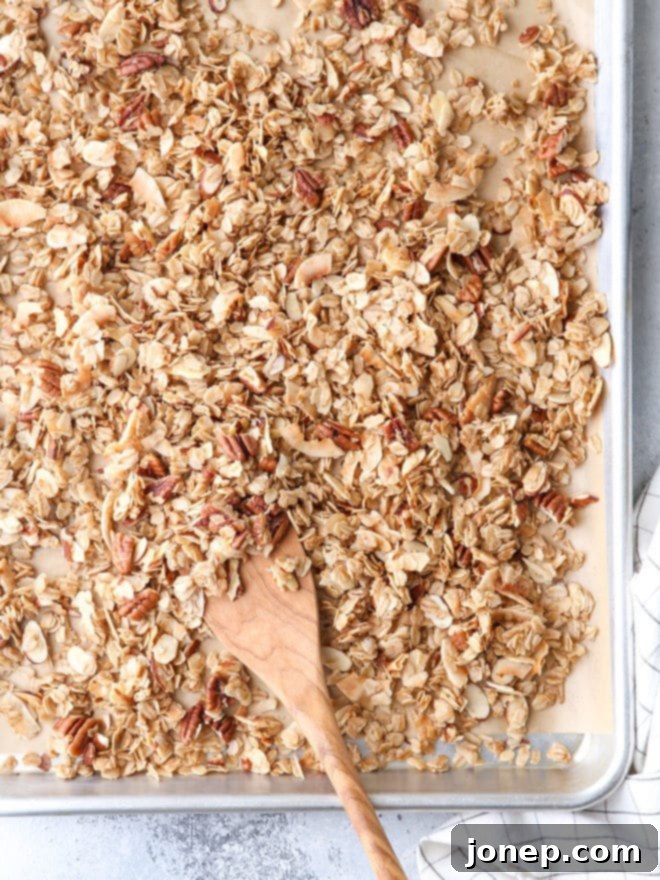
- Crucial Cooling for Clumps: This is arguably the most critical step for achieving wonderfully clumpy granola! Once you remove the granola from the oven, resist *all* temptation to stir it. Let it cool *completely, undisturbed,* in the pan. As it cools, the sugars and fats will solidify and bind the ingredients together, forming large, crunchy clusters. If you stir it while it’s still warm, you’ll break apart all these beautiful clumps, resulting in a looser granola.
- Final Mix-ins: Once the granola is entirely cool and has hardened, use your hands to gently break it into your preferred size of chunks. Now is the perfect time to fold in any dried fruits, chocolate chunks, or chocolate chips you wish to include.
Expert Tip: It can be challenging to determine when granola is perfectly baked because it often still appears somewhat wet or slightly soft when it comes out of the oven – it will continue to crisp as it cools. Instead, look for visual cues: the oats and nuts should be lightly golden brown, and your kitchen should be filled with a wonderfully delicious sweet and buttery aroma. Trust your senses more than the immediate texture!
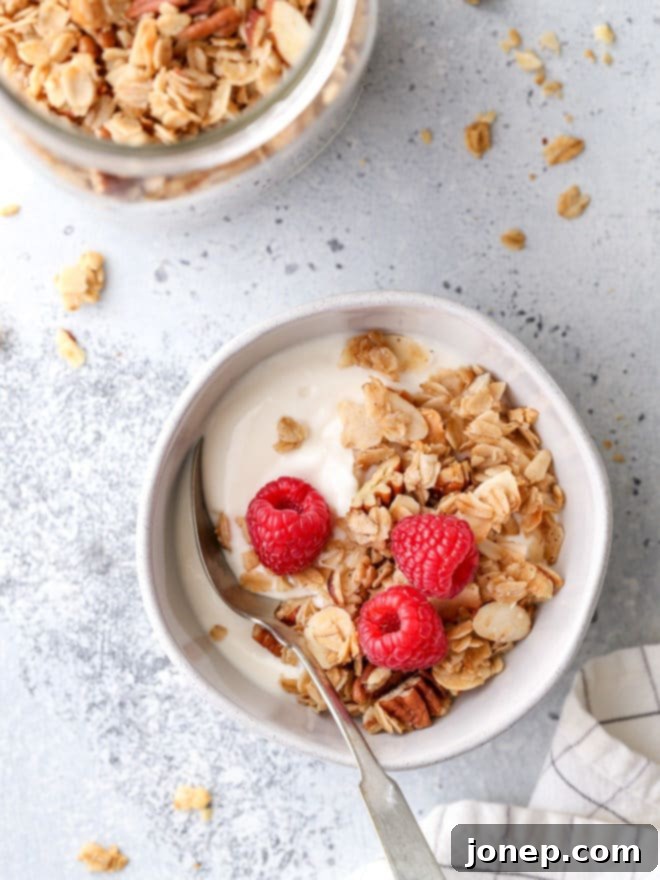
Delightful Ways to Enjoy Your Versatile Homemade Granola
Once you’ve crafted your perfect batch of homemade granola, you’ll discover its incredible versatility. There truly is no wrong way to enjoy this delightful creation, and I guarantee you’ll savor every bite! Here are a few popular and creative ideas to inspire you:
- Classic Breakfast Bowl: Serve it generously with your favorite milk – whether dairy or a plant-based alternative.
- Yogurt Parfait Perfection: Layer your crunchy granola with creamy Greek yogurt and fresh seasonal fruit (berries, sliced bananas, peaches) for a visually appealing and incredibly satisfying breakfast or dessert. You can find more ideas here.
- Simple Snacking: Grab a handful straight from the jar for a quick, energizing, and satisfying snack anytime, anywhere.
- Elevated Trail Mix: Incorporate your granola into a custom trail mix alongside other nuts, seeds, and dried fruits for a homemade power snack.
- Ice Cream Topping: Sprinkle a generous amount over a scoop of vanilla or chocolate ice cream for an unexpected and delightful textural contrast.
- Smoothie Booster: Blend a quarter to half a cup into your morning smoothie for added fiber, thickness, and a subtly sweet, nutty flavor.
- Fruit Crumble Topping: Use it as a crunchy, flavorful topping for baked apples, fruit crumbles, or other warm fruit desserts.
Storing Your Freshly Baked Granola for Lasting Crunch
Proper storage is essential to keep your homemade granola fresh, crispy, and delicious for as long as possible. Once your granola has completely cooled down to room temperature and you’ve broken it into your desired chunks, it’s ready for storage.
Transfer the granola to an airtight container. Glass jars with tight-fitting lids, sturdy food storage containers, or heavy-duty zip-top bags all work wonderfully. The key is to minimize air exposure, which can lead to staleness. Store the container in a cool, dry place at room temperature, away from direct sunlight or any sources of heat (like above the stove).
When stored correctly, your delightful homemade granola will maintain its optimal freshness, satisfying crunch, and rich flavor for up to one month. While it rarely lasts that long in my pantry, it’s comforting to know you have a delicious and healthy option readily available!
Recommended Tools for Granola Success
While homemade granola is a relatively simple recipe, having a few basic tools on hand can make the process even more efficient and enjoyable. These are standard kitchen items that will serve you well beyond just granola making:
- Large Mixing Bowls: Essential for comfortably combining both your dry and wet ingredients without making a mess.
- Sturdy Spatula or Wooden Spoon: For thorough and efficient mixing to ensure all ingredients are evenly coated.
- Large Rimmed Baking Sheets: Crucial for spreading the granola in a single, even layer, which is key for uniform toasting and crispness. Rimmed edges prevent ingredients from sliding off.
- Parchment Paper or Silicone Baking Mats: These are lifesavers for preventing sticking and making cleanup incredibly easy. They also promote even baking.
- Airtight Storage Containers: Necessary for keeping your finished granola fresh and crunchy for an extended period.
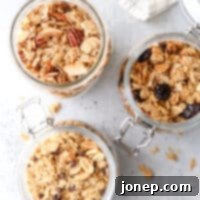
How To Make Easy Homemade Granola
Pin Recipe
Leave a Review
Ingredients
Basic Granola Recipe:
- 2 cups old-fashioned oats (180 grams)
- 1 – 2 cups nuts, coconut, dried fruit, seeds, or chopped chocolate (140-280 grams)
- ½ teaspoon salt
- ¼ – ½ teaspoon spice such as cinnamon, ginger, cardamom, pumpkin pie spice
- ⅓ cup olive oil, vegetable oil, melted butter, or melted coconut oil (about 66 grams)
- ¼ cup sweetener such as sugar, maple syrup or honey (about 84 grams)
- 1 teaspoon flavoring such as vanilla, coconut, or almond extract
Nutty Coconut Granola:
- 2 cups old-fashioned rolled oats (180 grams)
- ½ cup sliced almonds (43 grams)
- ½ cup chopped pecans (57 grams)
- ½ cup unsweetened coconut (30 grams)
- ¼ teaspoon ground cinnamon
- ⅓ cup coconut oil , melted (75 grams)
- ¼ cup maple syrup (77 grams)
- 1 teaspoon vanilla extract
Cherry Almond Granola:
- 2 cups old-fashioned rolled oats (180 grams)
- ½ cup sliced almonds (43 grams)
- ½ teaspoon salt
- ⅓ cup melted butter (75 grams)
- ¼ cup honey (66 grams)
- ½ teaspoon vanilla extract
- ½ teaspoon almond extract
- ½ cup dried cherries (71 grams)
Peanut Butter Chocolate Granola:
- 2 cups old-fashioned rolled oats (180 grams)
- ⅔ cup peanuts (95 grams)
- ¼ teaspoon salt
- ⅓ cup coconut oil , melted (75 grams)
- 2 tablespoons peanut butter , melted (33 grams)
- ¼ cup maple syrup (77 grams)
- 1 teaspoon vanilla extract
- ⅔ cup mini chocolate chips (116 grams)
Instructions
-
Preheat oven to 325°F (160°C). Line a large, rimmed sheet pan with parchment paper or a silicone baking mat to prevent sticking.
-
In a large mixing bowl, combine all your chosen dry ingredients: old-fashioned rolled oats, nuts, coconut (if using as part of the bake), salt, and any ground spices (e.g., cinnamon, cardamom). Mix thoroughly to ensure even distribution. Remember, dried fruit and chocolate chips are added later!
-
In a separate medium bowl, whisk together your liquid ingredients: the oil/melted butter, your chosen liquid sweetener (maple syrup, honey, etc.), and any liquid extracts (vanilla, almond, coconut). Whisk until completely blended.
-
Pour the thoroughly mixed wet ingredients over the dry ingredients in the large bowl. Using a sturdy spatula or spoon, mix everything together very well. Ensure that all the oats and mix-ins are evenly coated with the liquid mixture. This step is crucial for flavor and proper browning.
-
Spread the granola mixture evenly in a single layer across the prepared baking sheet. Bake for 25-30 minutes at 325°F (160°C). Stir the granola only *once* during baking, about halfway through (around the 15-minute mark), to promote even toasting. The granola should appear lightly golden and fragrant. It will still feel a bit soft or wet when you remove it from the oven, but it will crisp up considerably as it cools.
-
Allow the granola to cool *completely* on the baking sheet without disturbing it. This step is essential for forming those wonderful, crunchy clusters. Once it is fully cooled and firm, use your hands to break the granola into chunks of your desired size. Now, you can gently fold in any dried fruit or chocolate chips you plan to use.
-
Store your finished homemade granola in an airtight container at room temperature. It will remain fresh, crunchy, and delicious for up to 1 month.
Notes
- Feel free to use the Basic Granola Recipe as a creative starting point to develop your unique flavor combination, or simply choose one of the delicious variations provided.
- This recipe is designed to yield approximately 4 cups of homemade granola.
- Please note that the nutritional information displayed has been calculated specifically for the “Nutty Coconut” combination.
- For best results and to prevent burning or melting, always ensure that delicate mix-ins like dried fruit or chocolate are added *after* the baked granola has completely cooled.
