The Ultimate Guide to Making the Best Fluffy Vanilla Buttercream Frosting
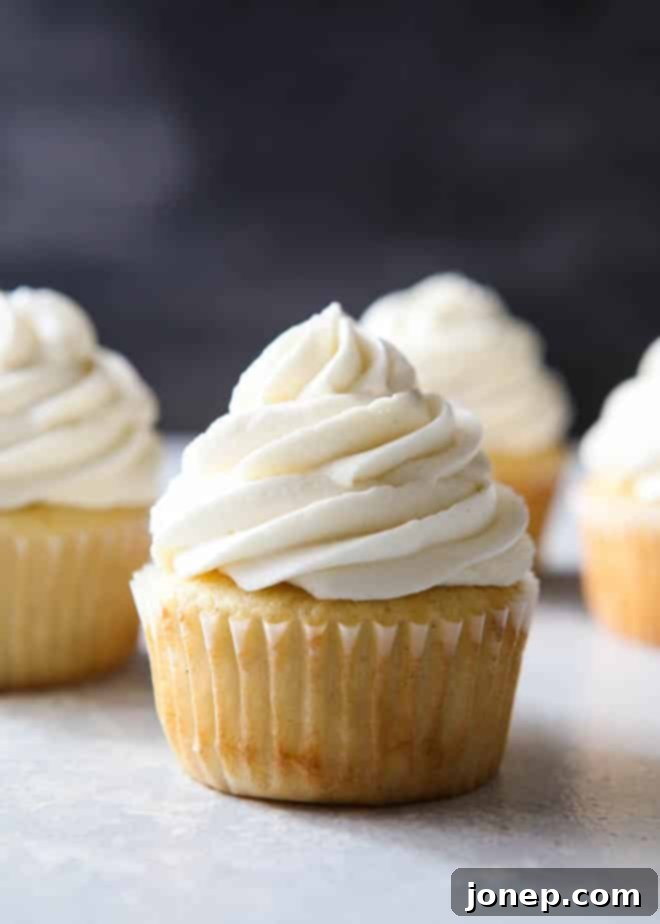
Are you, like me, utterly devoted to the magic of a perfectly crafted frosting? While the cake beneath is certainly important, there’s something undeniably special about a generous swirl of light, airy, and creamy frosting that truly elevates any dessert. This isn’t just any vanilla buttercream; it’s the result of countless experiments, baking sessions, and a relentless pursuit of perfection. Over many years and countless cakes, cupcakes, and cookies, I’ve refined this recipe, and I’m thrilled to share what I confidently believe is the absolute best vanilla buttercream frosting you’ll ever make. Prepare yourself for a frosting experience that is truly cloud-like, rich in vanilla flavor, and surprisingly easy to achieve.
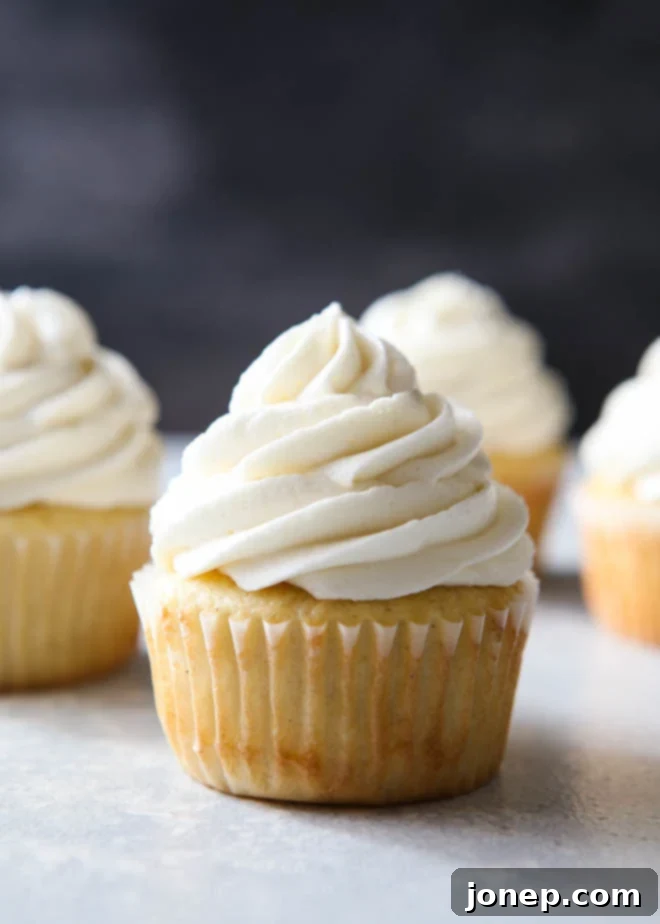
There’s a special place in my heart for frosting. It’s not just a topping; it’s an integral part of the dessert experience, providing that perfect balance of sweetness and texture. For me, the ideal frosting isn’t overly dense or sickly sweet. Instead, it should be incredibly light, exquisitely creamy, and melt-in-your-mouth soft, almost like a sweet cloud. This quest for the perfect texture and balanced flavor led me to develop this particular vanilla buttercream recipe, which stands out for its billowy consistency and delightful taste.
Table of Contents
- Ingredients You’ll Need for Perfect Vanilla Buttercream
- Unlocking the Secret to Fluffy Frosting
- Creative Ways to Use Your Whipped Vanilla Frosting
- The Full Whipped Vanilla Buttercream Frosting Recipe
Ingredients You’ll Need for Perfect Vanilla Buttercream
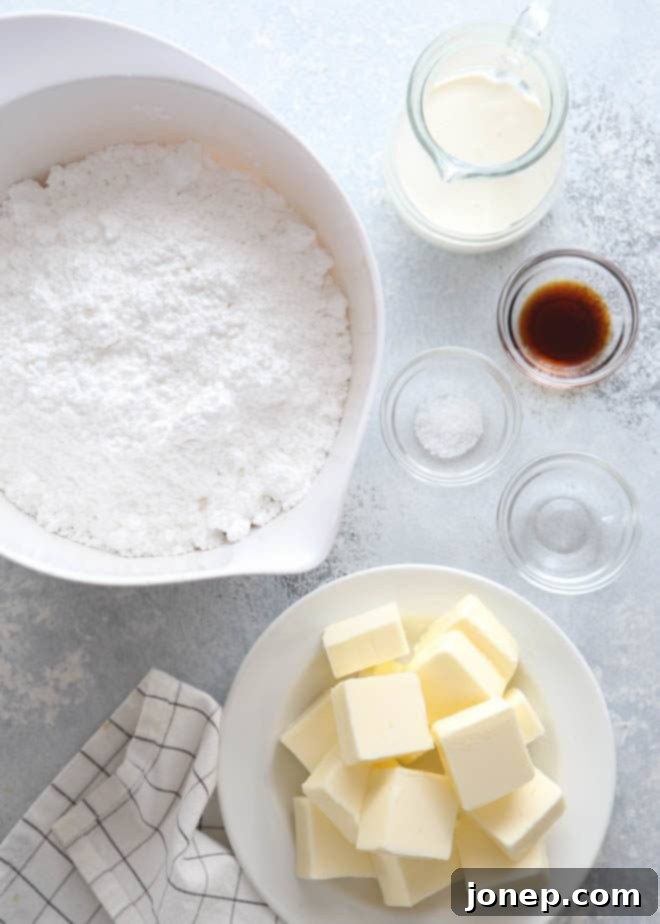
Crafting the perfect whipped vanilla buttercream frosting starts with understanding the role of each ingredient. While simple, the quality and preparation of these components are key to achieving that desirable light and fluffy texture that makes this recipe truly special.
- Butter: This forms the rich base of our buttercream. You can use either salted or unsalted butter, depending on your preference. However, if you opt for salted butter, remember to completely omit the additional salt listed in the recipe to avoid over-salting your frosting. It’s crucial that your butter is at room temperature – not melted, but soft enough to easily indent with your finger. This allows it to cream properly with the sugar, creating a beautifully emulsified base that holds air like a dream.
- Powdered or Confectioner’s Sugar: Also widely known as icing sugar, this finely milled sugar is absolutely crucial for a smooth, lump-free frosting. Sifting it before adding to your mixture is a non-negotiable step. This extra effort prevents any grainy texture in your final product and ensures your buttercream is velvety and easy to pipe. Its fine consistency dissolves quickly, contributing to the frosting’s luxurious mouthfeel.
- Heavy Whipping Cream: This is arguably the star ingredient for achieving that signature whipped, ethereal quality. Unlike milk, which would make the frosting too thin and less stable, heavy cream whips up magnificently, incorporating significant amounts of air and creating a light, fluffy body that holds its shape. Don’t skimp on this! It’s what gives the buttercream its cloud-like texture.
- Vanilla Extract: For a “vanilla” buttercream, high-quality vanilla extract is paramount. It provides the core, beloved flavor that everyone recognizes and enjoys. Feel free to use pure vanilla extract for the most authentic and robust taste, or a good quality imitation if preferred. The better the vanilla, the more delightful your frosting will be.
- Almond Extract: This is my little secret ingredient! While optional, a tiny dash of almond extract (just ¼ teaspoon) doesn’t make the frosting taste distinctly “almond.” Instead, it subtly enhances the vanilla and other flavors, adding a sophisticated depth and a hint of “fancy” that will have everyone wondering what your secret ingredient is. Trust me, this small addition makes a remarkable difference, elevating the flavor profile without overpowering it.
- Salt: A pinch of fine salt is vital to balance the sweetness of the sugar and butter. It acts as a flavor enhancer, bringing out the best in the vanilla and almond extracts, and preventing the frosting from being overly cloying. (Remember to adjust if you’re using salted butter – you likely won’t need to add any additional salt in that case!)
Unlocking the Secret to Fluffy, Cloud-Like Vanilla Buttercream
While all the ingredients play a critical role, two elements truly elevate this vanilla buttercream frosting from simply good to absolutely extraordinary: the strategic use of heavy whipping cream and a subtle, almost imperceptible touch of almond extract. Mastering these two aspects is the key to achieving that coveted light, airy, and incredibly delicious frosting.
The Power of Heavy Whipping Cream
Many traditional American buttercream recipes often call for milk, but through extensive experimentation, I’ve discovered that substituting it entirely with heavy whipping cream makes all the difference in achieving a truly superior texture. Heavy cream, when whipped vigorously, incorporates significantly more air than milk, resulting in a frosting that is wonderfully light, voluminous, and structurally sound enough to hold intricate piped designs.
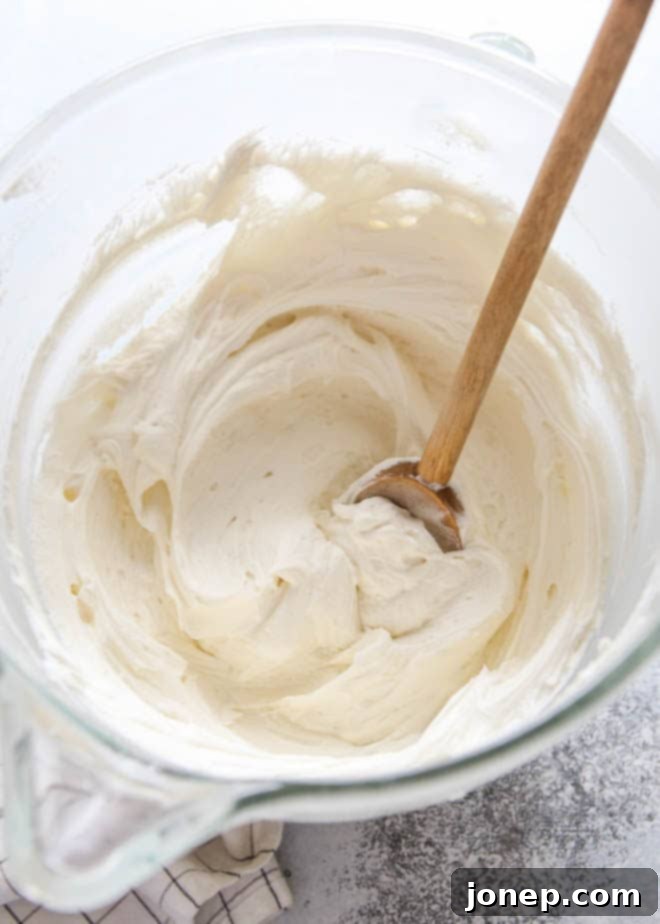
Here’s how to maximize its potential during the mixing process: When you first begin combining your ingredients, start on a very low speed. This initial phase is crucial for gently bringing everything together and preventing a messy cloud of powdered sugar from erupting in your kitchen! Once the powdered sugar and butter are mostly incorporated, and the mixture begins to resemble a thick, somewhat lumpy paste, it’s time to unleash the power of your mixer. Increase the speed to high and let it whip! Don’t be afraid to allow it to beat for a substantial amount of time—about 3 minutes initially. This extended high-speed whipping allows the heavy cream to fully aerate and transform the buttercream into a voluminous, billowy masterpiece. After this initial intense whip, stop your mixer and thoroughly scrape down the sides and bottom of your bowl to ensure all ingredients are evenly incorporated and no pockets of unmixed butter or sugar remain. Then, continue whipping for another 1-2 minutes on high speed. This precise process consistently delivers a perfectly whipped, airy, and remarkably stable vanilla buttercream every single time.
The Magic of Almond Extract
My other secret weapon, a subtle yet impactful ingredient, is a tiny amount of almond extract. And when I say “tiny,” I truly mean it—we’re talking just 1/4 teaspoon for the entire batch of frosting. The goal here isn’t to create an almond-flavored frosting; rather, it’s to use its delicate, nuanced notes to enhance and deepen the vanilla flavor, adding a complex layer that makes the frosting taste incredibly “fancy” and gourmet. It provides a sophisticated background note that elevates the overall flavor profile without being overtly identifiable as almond. It’s the kind of subtle addition that makes people pause, savor, and say, “What is that amazing flavor?” without quite being able to put their finger on it. It adds a professional touch that will truly impress.
Creative Ways to Use Your Best Whipped Vanilla Frosting
This incredibly versatile whipped vanilla buttercream frosting is wonderfully adaptable, making it perfect for a wide array of baked goods. One batch of this recipe yields a generous amount, making it ideal for various decorating needs. Here’s a detailed breakdown of how far one recipe will take you and how best to utilize it:
- Layer Cakes: You’ll have enough frosting to beautifully fill and generously frost a double-layer 8 or 9-inch round cake. This will provide a smooth, elegant finish that’s sure to impress. If you’re working with a taller cake (specifically 3 or more layers) or planning elaborate piping decorations that require a lot of volume and detail, I highly recommend doubling the recipe to ensure you don’t run short. Alternatively, for multi-layer cakes, you could use a complementary, less voluminous filling option for some internal layers and reserve this fluffy buttercream for the exterior and top decorations.
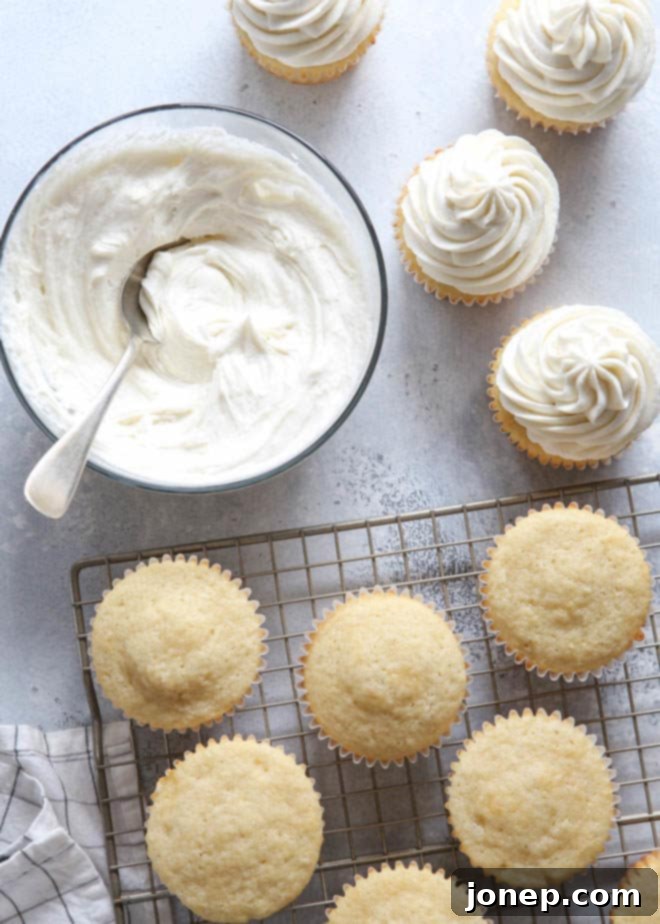
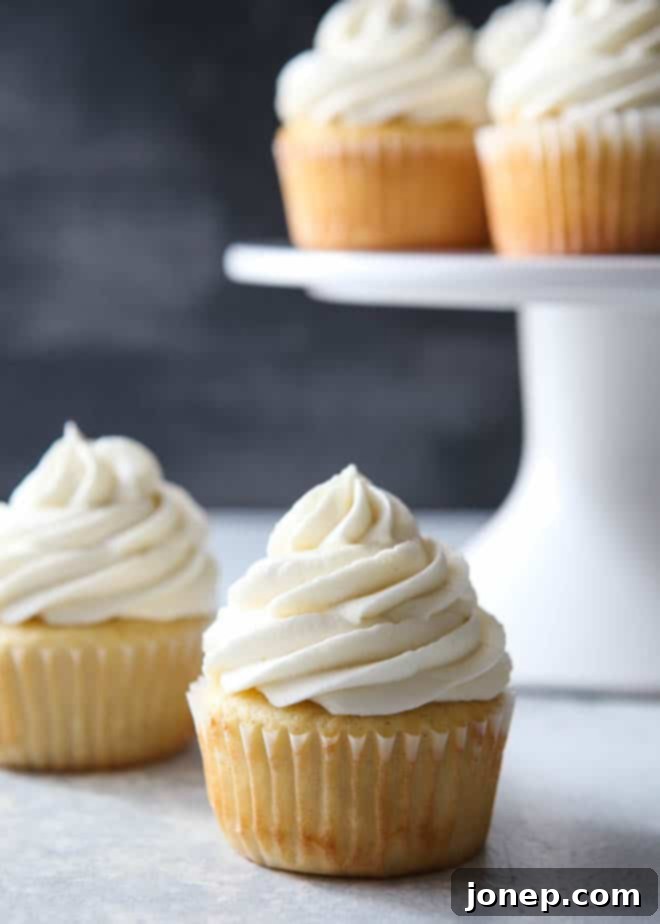
- Cupcakes: This recipe is perfectly proportioned for frosting approximately 24 standard-sized cupcakes with a moderate, yet satisfying, amount of frosting per cupcake. However, if you prefer a more generous swirl, similar to the billowy, sky-high mounds often featured in bakery displays (as beautifully shown in the accompanying photos), one batch will generously frost 12-15 cupcakes. Each cupcake will boast a luxurious, cloud-like topping that stands tall and invites a delicious bite.
- Sugar Cookies: For cookie decorating, one batch of this whipped vanilla buttercream will provide ample frosting for 24-36 standard sugar cookies, typically around 3-4 inches in size. The exact number will depend on the size of your cookies and how intricately or thickly you plan to decorate them. This frosting holds its shape exceptionally well, making it suitable for both piping crisp outlines and filling in designs.
Customizing Your Whipped Vanilla Buttercream
Don’t hesitate to personalize this fantastic base recipe! While it’s absolutely delicious as-is, you can easily adapt it to suit your specific taste or occasion:
- Food Coloring: If you wish to add color, always opt for gel food coloring (refer to the “Baking Tips” section below for a detailed explanation of why gel is superior!). Simply add a small amount of gel color at a time using a toothpick, mixing thoroughly until your desired hue is achieved. Gel colors provide vibrant results without affecting the frosting’s consistency.
- Other Flavorings and Extracts: While vanilla and almond create a winning combination, feel free to experiment with other extracts to create exciting new flavor profiles. Lemon, orange, peppermint, coconut, or even a touch of coffee or espresso extract can transform your classic vanilla buttercream into something unique and unexpectedly delightful. Just add a small amount, taste, and adjust as needed.
Tips for Working with and Storing Your Frosting
This frosting is wonderfully stable for piping and decorating, making it a joy to work with. However, if you’re working in a particularly warm environment or taking your time with intricate designs, you might find it starts to soften slightly. If this happens, simply pop your bowl or piping bag into the refrigerator for about 10-15 minutes. A quick chill will help it firm up to a perfectly workable consistency again.
Planning ahead? You’ll be delighted to know that this whipped vanilla buttercream frosting stores beautifully! You can prepare it in advance and store it in an airtight container in the refrigerator for up to 1 week, or in the freezer for up to 1 month. When you’re ready to use it, simply let it come back to room temperature on your countertop (this can take a few hours, depending on the ambient temperature). Once it’s softened, give it a good beat with your stand mixer or hand mixer for 1-2 minutes until it regains its incredibly light and fluffy texture. It’ll be just as perfect as when it was freshly made, ready for all your decorating needs!
baking tip:How to Frost Like a Pro with Vanilla Buttercream
Even if you’re not a professional pastry chef, you can achieve stunning results with your frosting! I’ve learned a few simple yet effective tricks over the years to make my decorations look polished and impressive. Here are some invaluable tips to easily elevate your frosting game and achieve that professional finish:
- Sift Your Powdered Sugar: This step might seem like an extra chore, but it’s absolutely crucial for a truly smooth, lump-free frosting. Powdered sugar often clumps in its packaging, and sifting it before you begin making the frosting effectively removes these small, hard lumps. This ensures your buttercream is silky smooth, easy to pipe without clogs, and delivers a delightful, consistent texture every time.
- Opt for Gel Food Coloring: When adding color to your frosting, always choose gel food coloring over liquid varieties. Liquid food coloring can introduce excess moisture into your buttercream, thinning it out and potentially affecting its beautiful, fluffy consistency. Gel colors, on the other hand, are highly concentrated, allowing you to achieve vivid, rich colors with just a tiny amount, thus preserving the frosting’s perfect texture and stability. Look for gel food coloring at your local craft or baking supply store, or purchase it conveniently online for a wide selection of shades.
- Invest in Quality Piping Tools: A good quality piping bag and a selection of basic plain round tips (for smooth lines and dots) and star tips (for beautiful swirls and rosettes) can dramatically enhance the professional appearance of your decorated cakes and cupcakes. Even simple swirls and borders look incredibly impressive with the right tools. While practice certainly makes perfect, having the correct equipment gives you a significant head start and makes the decorating process much more enjoyable and effective.
The Full Whipped Vanilla Buttercream Frosting Recipe
Whipped Vanilla Buttercream Frosting
Pin Recipe
Leave a Review
Ingredients
- 4 cups powdered sugar (1 lb, 455 grams), sifted after measuring
- 1 cup unsalted butter (2 sticks, 226 grams), at room temperature
- ⅛ teaspoon salt
- ¼ cup heavy whipping cream
- 2 teaspoons vanilla extract
- ¼ teaspoon almond extract , optional, but highly recommended!
Instructions
-
In the bowl of a stand mixer fitted with a paddle attachment (or a large bowl if using a hand-held mixer), begin by adding all of the listed ingredients: sifted powdered sugar, room temperature unsalted butter, salt, heavy whipping cream, vanilla extract, and almond extract. Mix on low speed initially, just until the ingredients start to come together and form a cohesive mixture. This prevents any powdered sugar from flying out of the bowl!
-
Once the ingredients are mostly combined, increase the mixer speed to high. Beat for a full 4-5 minutes. During this intensive whipping time, the heavy cream will incorporate abundant air, transforming your mixture into a wonderfully light, airy, and fluffy frosting. Make sure to pause once or twice throughout this process to scrape down the sides and bottom of the bowl thoroughly, ensuring everything is evenly whipped and no unmixed ingredients remain.
-
(Optional Step for Silky Smoothness): After the high-speed whipping, your frosting will be beautifully fluffy but might contain tiny air bubbles, giving it a slightly porous appearance. For an ultra-smooth, professional, and dense finish – ideal for smooth coating cakes or intricate piping that requires crisp lines – switch to a wooden spoon or sturdy spatula and beat the frosting by hand for 2-3 minutes. This manual step gently pushes out excess air bubbles, resulting in a dense, satiny texture.
-
Your magnificent whipped vanilla buttercream is now perfectly ready to use! Apply it as desired to decorate your favorite cakes, cupcakes, cookies, or any other sweet treats. Remember, one batch is sufficient for a double-layer 8 or 9-inch cake, two dozen standard cupcakes (with a moderate swirl), or approximately 24-36 four-inch cookies, making it a highly versatile recipe.
-
For storage, keep any leftover frosting in an airtight container at room temperature for 1-2 days (ensure your kitchen isn’t excessively warm). For longer storage, refrigerate for up to 2 weeks or freeze for up to several months. Always allow refrigerated or frozen frosting to come back to room temperature before re-whipping with your mixer for 1-2 minutes until it regains its light and fluffy consistency.
This delightful whipped vanilla buttercream frosting recipe was originally published in April 2016 and has been extensively updated and refined over time to ensure the most perfect results for your baking endeavors.
