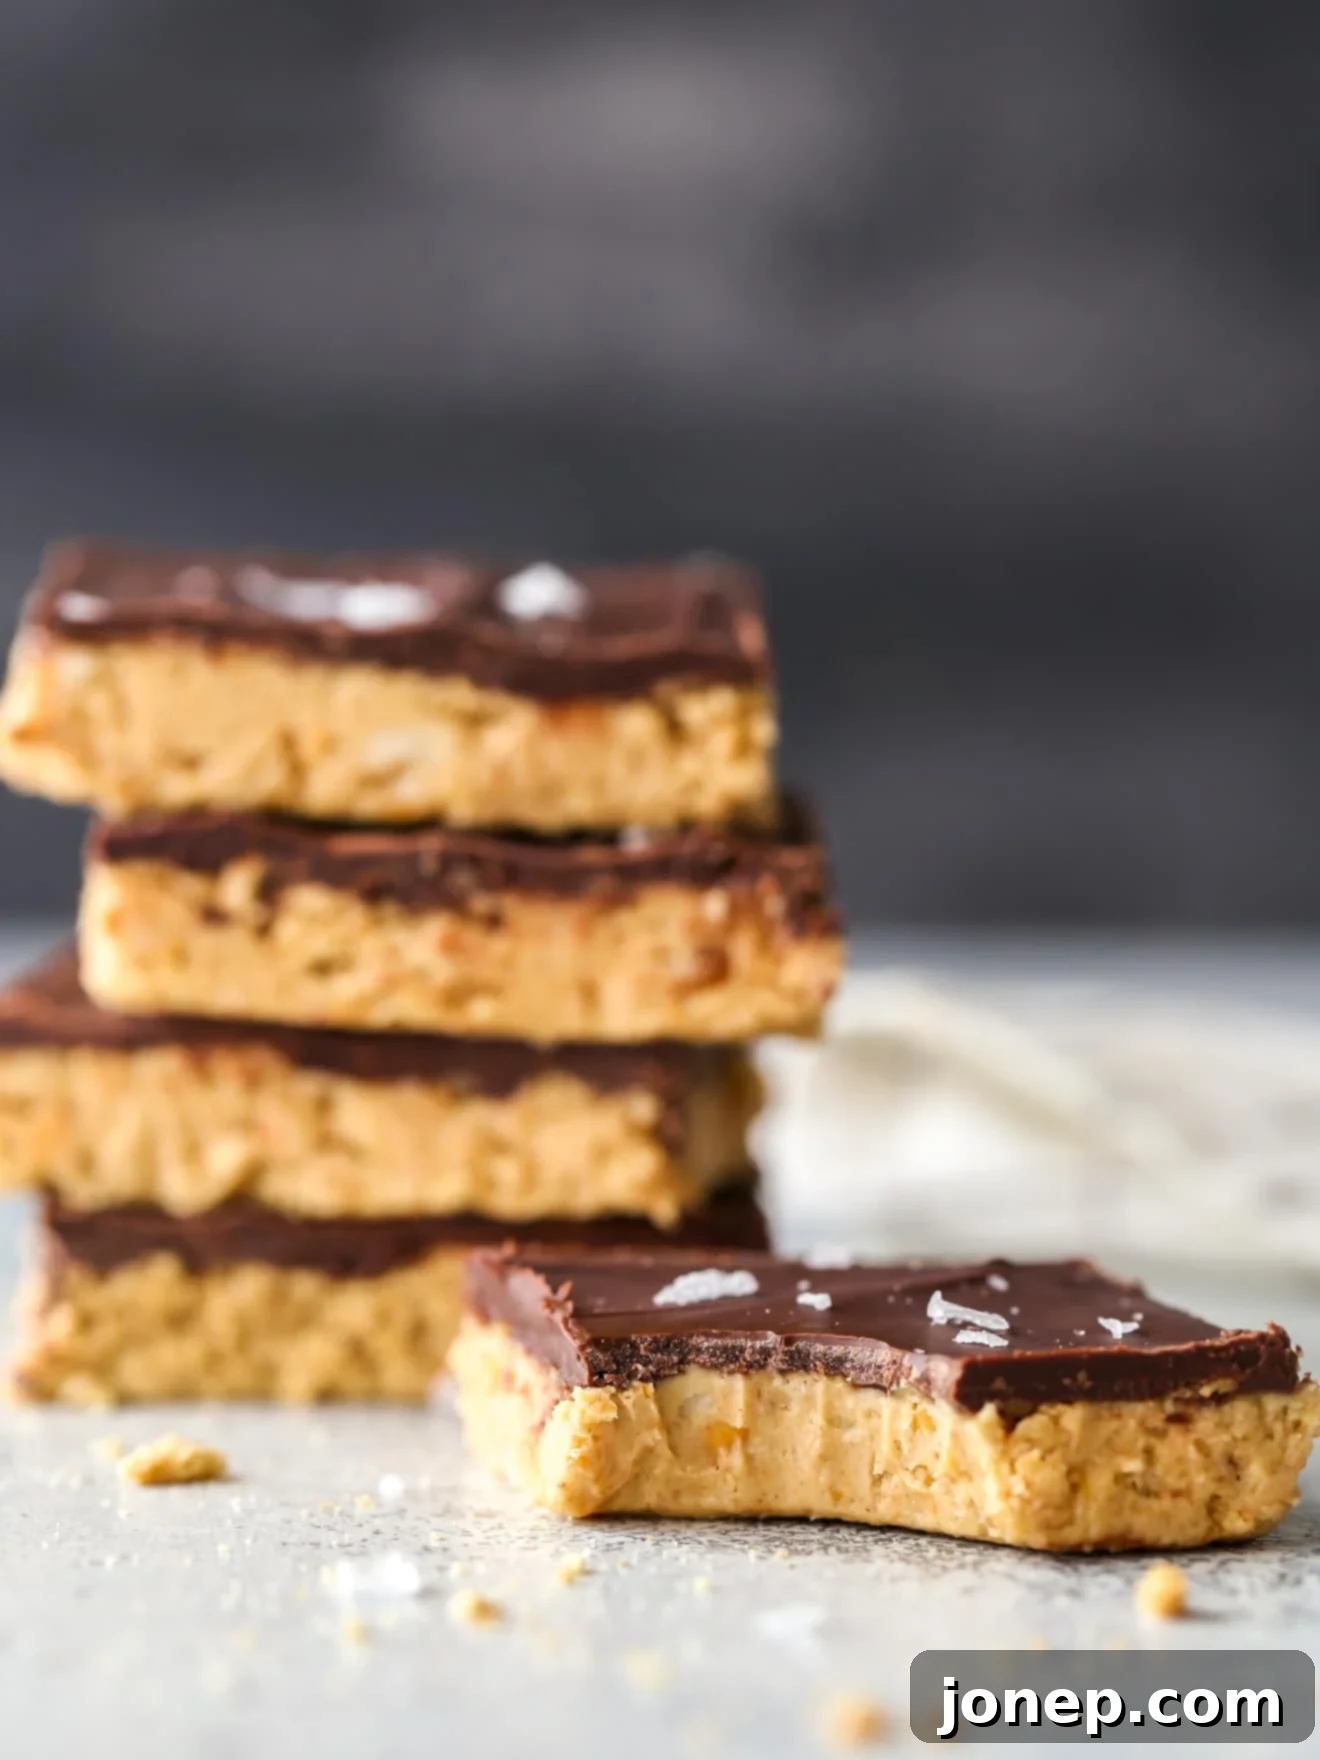
Irresistible 5-Ingredient No-Bake Chocolate Peanut Butter Bars: Your Easy Guide
Prepare to fall in love with these incredibly easy no-bake chocolate peanut butter bars! Requiring just 5 simple ingredients and absolutely no oven time, this recipe is a dream come true for dessert lovers. Imagine layers of rich, creamy peanut butter filling perfectly complemented by a crisp, semi-sweet chocolate topping – a combination so utterly irresistible, it’s bound to become your new favorite homemade treat. Whether you’re a seasoned baker or just starting out, these bars promise a fuss-free, delicious experience that’s perfect for satisfying any sweet craving.
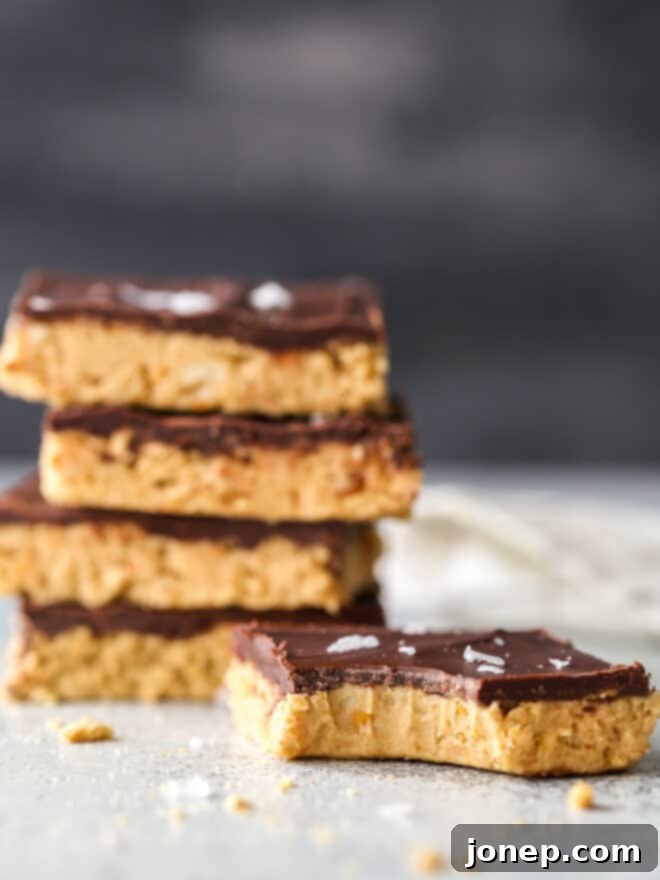
For many of us, the flavor combination of chocolate and peanut butter holds a special place in our hearts, often tied to nostalgic childhood memories. These no-bake bars are a beloved homemade rendition, a super easy cousin to the famous Reese’s Peanut Butter Cups. They are the quintessential treat that defined my childhood cravings, and honestly, they still hit the spot every single time. Their simplicity, paired with that iconic sweet and savory duo, makes them a timeless classic that appeals to all ages.
What makes this particular recipe stand out? It’s the ultimate trifecta of convenience, flavor, and minimal effort. With only 5 ingredients, a few minutes of active preparation time, and absolutely no need to turn on your oven, these bars are the perfect solution for a quick dessert, especially on warm days or when you’re short on time. The winning combination of rich chocolate and smooth peanut butter creates a harmonious balance that makes these bars completely addictive and a joy to share (or keep all to yourself!).
Table of Contents
- Why You’ll Love These No-Bake Chocolate Peanut Butter Bars
- The 5 Magical Ingredients You’ll Need
- Step-by-Step: How to Craft Your Chocolate Peanut Butter Bars
- Achieving Perfect Slices: Pro Tips for Clean Cuts
- Essential Tips for Success & Customization
- Why No-Bake Desserts Are a Game Changer
- More Decadent Chocolate Peanut Butter Creations
- Chocolate Peanut Butter Bars Recipe
Why You’ll Love These No-Bake Chocolate Peanut Butter Bars
There are countless reasons why these no-bake bars have captivated so many hearts, making them a go-to dessert for busy weeknights, potlucks, and special gatherings alike:
- Effortlessly Easy: With only five ingredients and straightforward steps, this recipe is incredibly beginner-friendly. No complex techniques or fancy equipment needed!
- No Oven Required: Perfect for hot summer days or when your oven is already occupied, these bars offer a delightful treat without heating up your kitchen.
- Classic Flavor Combination: The timeless pairing of rich chocolate and creamy peanut butter is universally loved and always a crowd-pleaser.
- Quick Prep Time: You can have these bars assembled and chilling in the fridge in under 20 minutes, making them ideal for last-minute dessert emergencies.
- Completely Irresistible: The contrasting textures of the smooth peanut butter filling and the snappy chocolate topping create an addictive bite that keeps you coming back for more.
- Versatile & Customizable: Easily adapt them with different toppings or nut butters to suit your taste.
The 5 Magical Ingredients You’ll Need
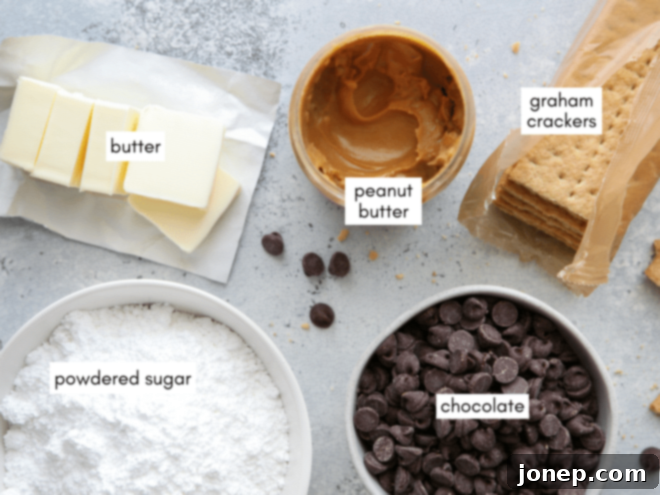
This recipe relies on a handful of pantry staples to create its delicious magic. Each ingredient plays a crucial role in achieving that perfect balance of flavor and texture:
- Peanut Butter: This is the heart of our bars! For the best results and proper structure, it’s crucial to use a “no-stir” or “processed” peanut butter (like Jif or Skippy). Natural-style peanut butter, which often separates, tends to result in bars that are too soft and oily, struggling to hold their shape. You have the freedom to choose between smooth or crunchy peanut butter, depending on your preferred texture. While smooth is often favored for its velvety mouthfeel, I grew up loving the added bite from crunchy peanut butter, so don’t hesitate to experiment!
- Graham Crackers: These crushed crackers are essential for providing structure and a delightful, subtle sweetness to the peanut butter filling. They act as a binder, helping to hold the bars together firmly, creating that classic dense, chewy texture. If graham crackers aren’t available, you can often substitute with digestive biscuits or even vanilla wafers for a slight flavor variation.
- Powdered Sugar: Also known as confectioners’ sugar, this finely milled sugar not only adds the necessary sweetness but also contributes to the smooth, melt-in-your-mouth consistency of the peanut butter layer. Unlike granulated sugar, powdered sugar dissolves instantly into the mixture, ensuring no gritty texture and a perfectly homogenous filling.
- Butter: Butter brings richness and helps bind the peanut butter filling together. You can use either salted or unsalted butter; just adjust a tiny pinch of salt in the filling if using unsalted, to enhance the flavors. Ensure your butter is at room temperature to cream easily with the peanut butter, making the filling light and fluffy.
- Semi-sweet or Bittersweet Chocolate: For the glorious topping, you can opt for chopped chocolate bars or readily available chocolate chips. I typically reach for semi-sweet chocolate chips for a balanced sweetness, but bittersweet chocolate offers a deeper, more intense chocolate flavor that beautifully contrasts with the sweet peanut butter. Choose a good quality chocolate, as it will significantly impact the final taste and texture of your topping.
Step-by-Step: How to Make These Chocolate Peanut Butter Bars
Creating these delightful no-bake bars is surprisingly simple. Follow these easy steps to bring your irresistible treat to life:
- Prepare the Graham Crackers: Begin by transforming your graham crackers into fine crumbs. You can achieve this quickly using a food processor; pulse until no large pieces remain. Alternatively, place the crackers in a sturdy ziplock bag, seal it, and use a rolling pin or a heavy object to crush them into fine crumbs. Set these aside for later.
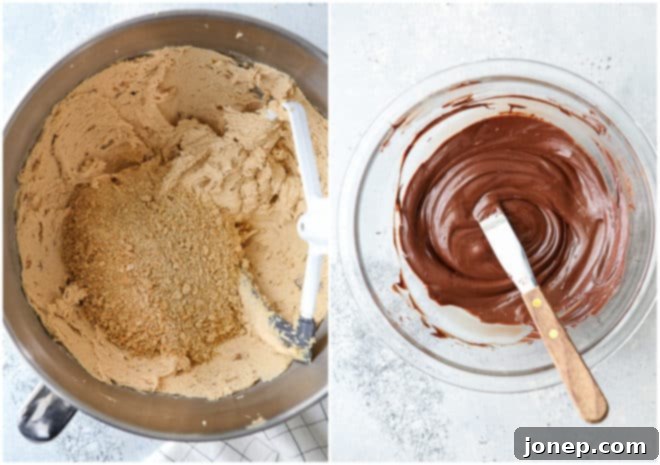
- Whip the Peanut Butter Layer: In a large mixing bowl, or the bowl of an electric stand mixer, combine the softened butter and peanut butter. Beat them together on medium speed until the mixture is beautifully smooth and well-combined. Next, gradually add the powdered sugar, beating on high speed for about two minutes until the mixture becomes wonderfully light, fluffy, and airy. This step is key to a melt-in-your-mouth peanut butter filling.
- Combine with Graham Crackers: Incorporate the reserved graham cracker crumbs into the peanut butter mixture. At first, the mixture will be quite thick and stiff. Continue beating on medium-high speed. The mixture will lighten up and start to stick to the sides of the bowl as the crumbs are fully integrated, indicating it’s ready.
- Spread into a Pan: For easy removal and clean slicing later, line a 9×13-inch pan (or a quarter-sheet pan) with greased foil or parchment paper, leaving an overhang on the sides. Alternatively, you can simply grease the pan with cooking spray. Transfer the peanut butter filling into the prepared pan and press it down firmly and evenly across the bottom. A greased spatula or even the butter wrappers can help smooth it out.
- Make the Chocolate Topping: Melt your chosen chocolate. You can do this in a double boiler set over a pan of simmering water, stirring until smooth and completely melted. Be careful not to let the water touch the bottom of the chocolate bowl. If using a microwave, place chocolate chips in a microwave-safe bowl and heat in 30-second intervals, stirring well after each interval, until smooth and glossy.
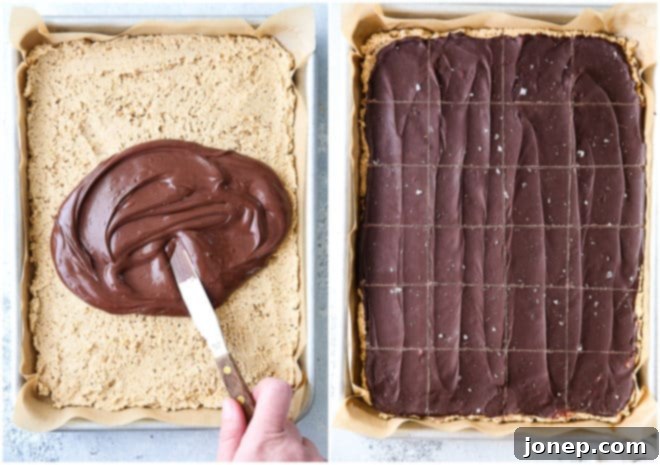
- Assemble and Chill: Pour the melted chocolate evenly over the pressed peanut butter filling in the pan. Use a spatula to gently spread it from edge to edge, creating a uniform layer. If you desire, sprinkle a touch of flaky sea salt or chopped peanuts on top for an extra layer of flavor and visual appeal before the chocolate sets. Place the pan in the refrigerator for at least 1 hour, or until the bars are completely solid and the chocolate topping is firm to the touch.
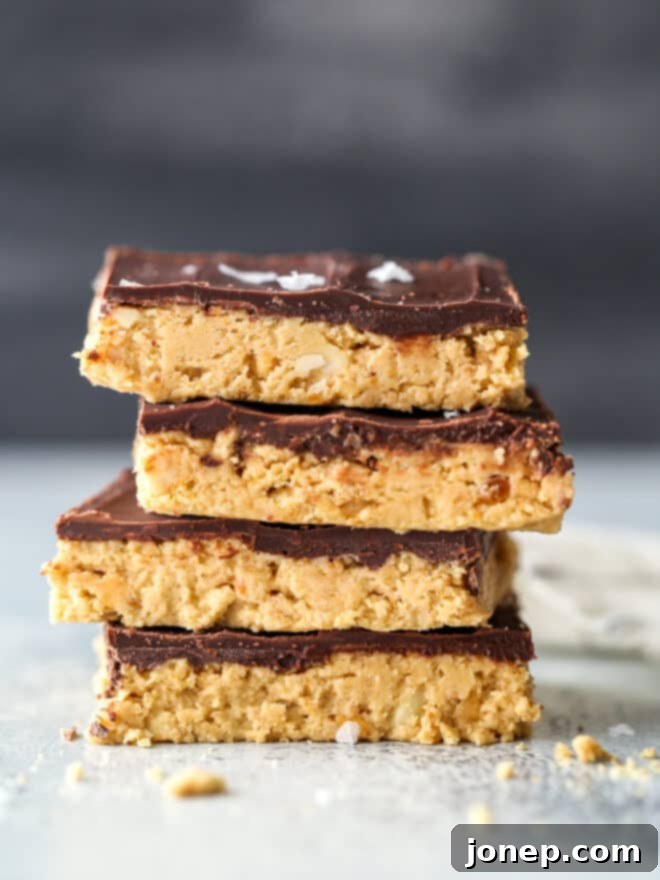
- Slice and Enjoy: Once chilled, use the foil or parchment paper overhang to lift the entire slab of bars out of the pan and transfer it to a cutting board. Refer to our slicing tips below for the cleanest cuts. You can slice them into 4×6 (24 small bars) or 3×4 (12 larger bars) pieces. These bars are best enjoyed chilled and should be stored in the refrigerator to maintain their perfect texture.
Achieving Perfect Slices: Pro Tips for Clean Cuts
One common challenge with these delightful bars is slicing them cleanly. Since the peanut butter filling remains relatively soft while the chocolate topping becomes quite firm, you might find the chocolate tends to crack or shatter. While they will taste absolutely amazing regardless of their appearance, here are my top tips for achieving beautifully neat, square slices that look as good as they taste:
- Ensure Adequate Chilling: Follow the recipe instructions precisely and ensure the bars are thoroughly chilled in the refrigerator for at least 1-2 hours, or until the chocolate topping is completely firm. This firm chocolate layer is essential for preventing excessive cracking.
- Score the Chocolate First: Before making deep cuts, gently score the chocolate topping with a sharp knife along your desired slice lines. This can be done when the chocolate is fully set or even while it’s still slightly soft but firm enough to hold a score mark. Scoring creates a guide and helps minimize major cracks when you apply more pressure.
- Lift from the Pan: If you lined your pan with parchment paper or foil, use the overhang to carefully lift the entire block of bars out of the pan and transfer it onto a sturdy cutting board. This provides a flat, stable surface for slicing.
- Heat Your Knife: This is the most crucial tip for clean cuts! Fill a tall glass with hot water. Dip a sharp, thin knife into the hot water, then immediately wipe it completely dry with a clean towel. The warm blade will effortlessly glide through the chocolate, making a clean cut without cracking.
- Repeat for Each Cut: After each slice, re-dip your knife in the hot water and wipe it clean and dry. This ensures that every cut is as clean as the first, preventing chocolate buildup and sticky residue that can mar subsequent slices. This little extra step makes a huge difference in presentation!
Essential Tips for Success & Customization
Mastering these no-bake chocolate peanut butter bars is easy, but a few key tips can elevate your results and allow for fun variations:
- Mind the Chocolate Melting: When melting your chocolate for the topping, always use gentle heat. Whether you’re using a double boiler or a microwave, be very careful not to overheat it. Overheating can cause chocolate to scorch, making it taste burnt, or seize up, turning it into a thick, unusable paste. The best practice is to remove the chocolate from the heat (or microwave) when it’s mostly melted but still has a few small chunks remaining. A good stir will usually melt these last few pieces, resulting in a perfectly smooth, glossy chocolate topping.
- Creative Toppings & Flair: While delicious on their own, a little extra garnish can add both visual appeal and a burst of flavor. Before the chocolate topping sets in the fridge, consider sprinkling a pinch of flaky sea salt – it wonderfully enhances the chocolate and peanut butter flavors. Chopped peanuts or other nuts (like pecans or almonds) can add a lovely crunch. For a playful touch, a scattering of mini chocolate chips, sprinkles, or even crushed candy pieces like mini Reese’s Pieces would be fantastic, especially for a party.
- Experiment with Nut Butters: While peanut butter is classic, this recipe is quite forgiving and often works well with other nut butters. Almond butter or cashew butter can be excellent alternatives, offering a slightly different flavor profile. Just be mindful of their consistency; if using a very runny natural nut butter, your bars might be softer, so adjust chilling time or add a touch more graham cracker crumbs if needed.
- Scaling the Recipe: This recipe is easily adaptable! If you’re feeding a crowd or simply want more of these amazing bars, you can easily double the recipe. A doubled batch fits perfectly into a standard baking sheet pan (typically 18×13 inches), allowing you to make a larger quantity without adjusting the proportions.
- Optimal Storage for Freshness: These peanut butter chocolate bars are best kept in the refrigerator. The filling and topping can become too soft if left out at room temperature for extended periods, especially on a warm day, leading to a messy dessert. Storing them in the fridge keeps them firm, fresh, and perfectly enjoyable. They also freeze exceptionally well! Wrap individual bars or the entire slab tightly in plastic wrap and then in foil. They can be frozen for up to 2-3 months. Thaw them in the refrigerator for a few hours before serving.
Why No-Bake Desserts Are a Game Changer
In the world of home baking, no-bake desserts hold a special, cherished place. They offer a refreshing alternative to traditional baked goods, bringing a host of benefits that make them incredibly popular:
- Ultimate Convenience: Forget preheating ovens, monitoring baking times, or dealing with cooling racks. No-bake recipes simplify the entire dessert-making process.
- Beat the Heat: Perfect for summer months or anytime you want a sweet treat without warming up your kitchen.
- Time-Saving: With minimal active prep time, you can whip up impressive desserts in a fraction of the time it takes for baked counterparts.
- Beginner-Friendly: They often involve straightforward mixing and chilling, making them ideal for new cooks or those looking for foolproof recipes.
- Less Mess: Generally, no-bake recipes require fewer dishes and less clean-up, letting you enjoy your creation sooner.
More Chocolate Peanut Butter Treats to Love
If you’re as enamored with the chocolate and peanut butter combination as we are, then you’ll definitely want to explore these other fantastic recipes:
- Peanut Butter Chocolate Chip Cookies: A classic cookie with the perfect blend of salty peanut butter and sweet chocolate chips.
- No-Churn Peanut Butter Chocolate Chunk Ice Cream: Indulge in creamy, homemade ice cream with swirls of peanut butter and generous chocolate chunks, no ice cream maker needed!
- Peanut Butter Blondies with Chocolate Frosting: Soft, chewy blondies packed with peanut butter flavor, topped with a luscious chocolate buttercream.
Chocolate Peanut Butter Bars Recipe
No-Bake Chocolate Peanut Butter Bars
Pin Recipe
Leave a Review
Ingredients
- 8 sheets (100 grams) graham crackers (1 sleeve, about 1 cup crumbs)
- ½ cup (113 grams) unsalted butter , at room temperature (113 grams)
- 1 cups (270 grams) smooth or crunchy peanut butter (see Notes) (270 grams)
- 2 cups (227 grams) powdered sugar (227 grams)
- 1 ½ cups (255 grams) semisweet or dark chocolate chips (255 grams)
- Coarse salt , for topping (optional)
Instructions
-
Pulse the graham crackers in a food processor until they are fine crumbs. Alternatively, place them in a sturdy ziplock bag and crush them thoroughly with a rolling pin or heavy object. Set aside.
-
In the bowl of an electric mixer (stand mixer or with a hand-held mixer), beat together the room temperature butter and peanut butter until the mixture is smooth and fully combined. Gradually add the powdered sugar and continue beating on high speed until the mixture becomes light and fluffy, usually for about 2 minutes.
-
Add the prepared graham cracker crumbs to the peanut butter mixture. Mix on medium-high speed until they are fully incorporated. Initially, the mixture will be very thick, but it will lighten and start to cling to the sides of the bowl as you continue to beat it, indicating it’s well mixed.
-
Prepare a quarter-sheet pan or a 9×13-inch pan by lining it with parchment paper, leaving an overhang on the sides for easy removal. Alternatively, grease the pan lightly with cooking spray. Dump the peanut butter mixture into the prepared pan and press it down evenly and firmly, using greased fingers or a greased spatula (butter wrappers work perfectly for this task).
-
In a double boiler set over barely simmering water, melt the chocolate chips, stirring continuously until the chocolate is completely smooth and glossy. Be careful not to let any water get into the chocolate. Remove the bowl from the heat and pour the melted chocolate evenly over the peanut butter mixture. Use a spatula to spread it smoothly to all edges. If desired, sprinkle with coarse salt or other toppings now, before the chocolate sets.
-
Chill the bars in the refrigerator for 1-2 hours, or until the chocolate topping is fully set and firm. Once chilled, lift the bars out of the pan using the parchment paper overhang, transfer to a cutting board, and slice into desired bar sizes. For the best texture and freshness, store these delicious no-bake chocolate peanut butter bars in an airtight container in the fridge.
Video
Notes
NOTES
- For the best structural integrity and texture in these bars, it is highly recommended to use a “no-stir” or “processed” peanut butter (e.g., Jif, Skippy). While you can use natural-style peanut butter, be aware that the bars will likely be much softer and may not hold their shape as firmly due to the higher oil content and tendency to separate.
Note: This recipe was originally published in January 2016 and has been updated for clarity and enhanced instructions.
