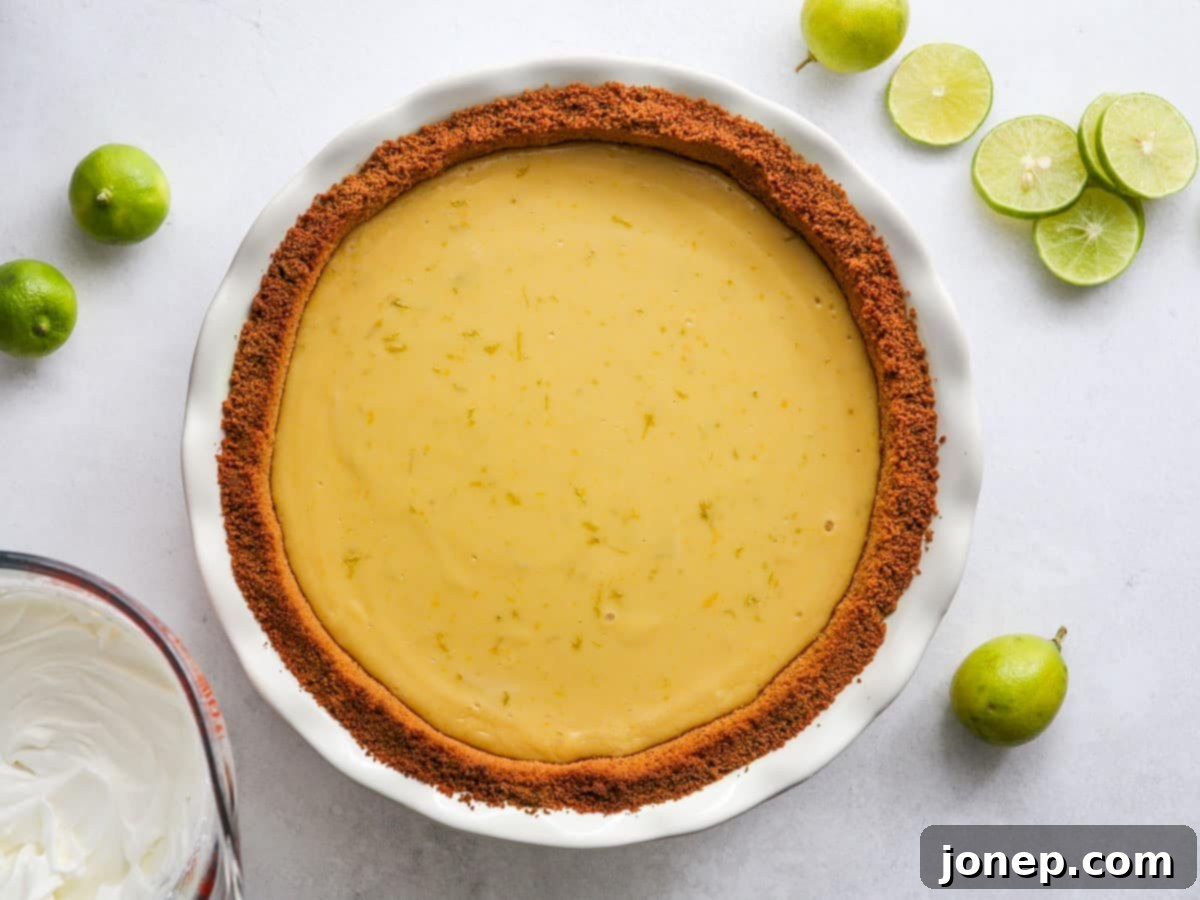
The Ultimate Classic Key Lime Pie Recipe: Easy, Zesty & Irresistibly Creamy
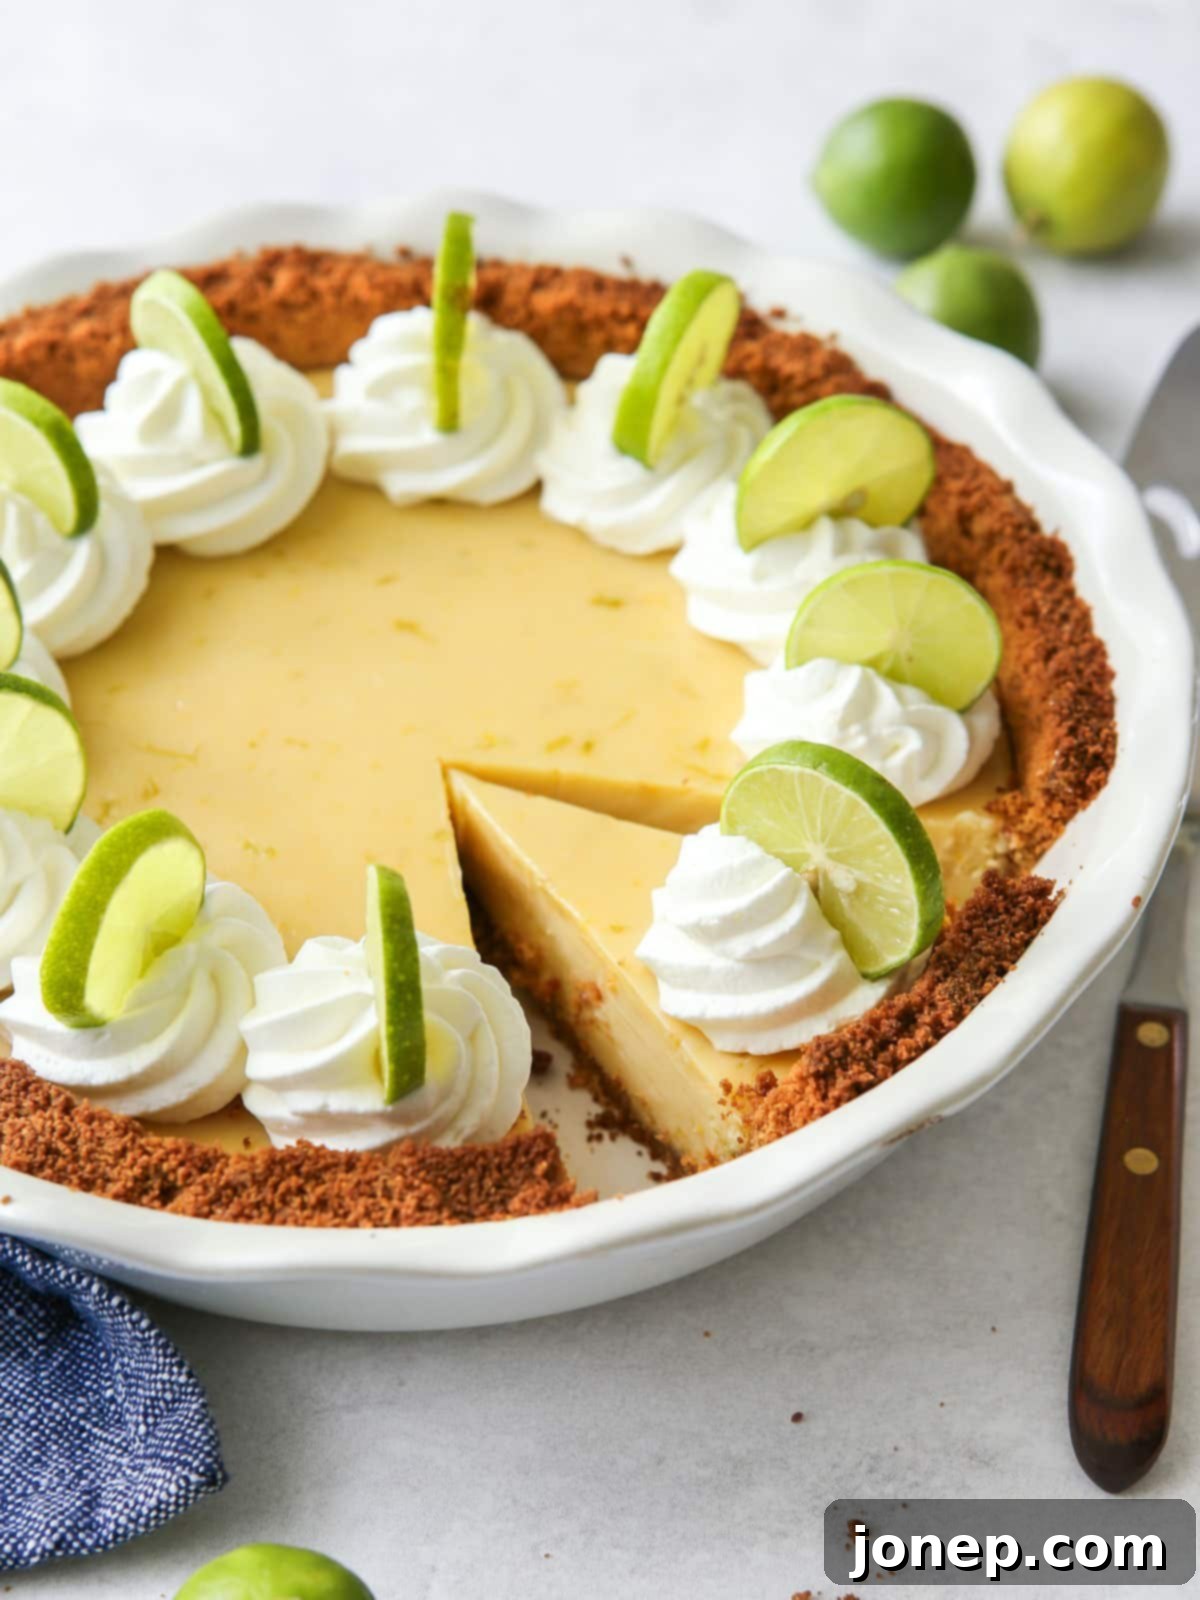
There’s nothing quite like a slice of classic Key Lime Pie to transport you to sun-drenched beaches and tropical breezes. This beloved dessert, cherished for its perfect balance of tart and sweet, features a crisp graham cracker crust, a velvety smooth, zesty lime filling, and a generous topping of sweetened whipped cream. It’s a dessert that consistently delights, offering a refreshing finish to any meal, and is surprisingly simple to create in your own kitchen.
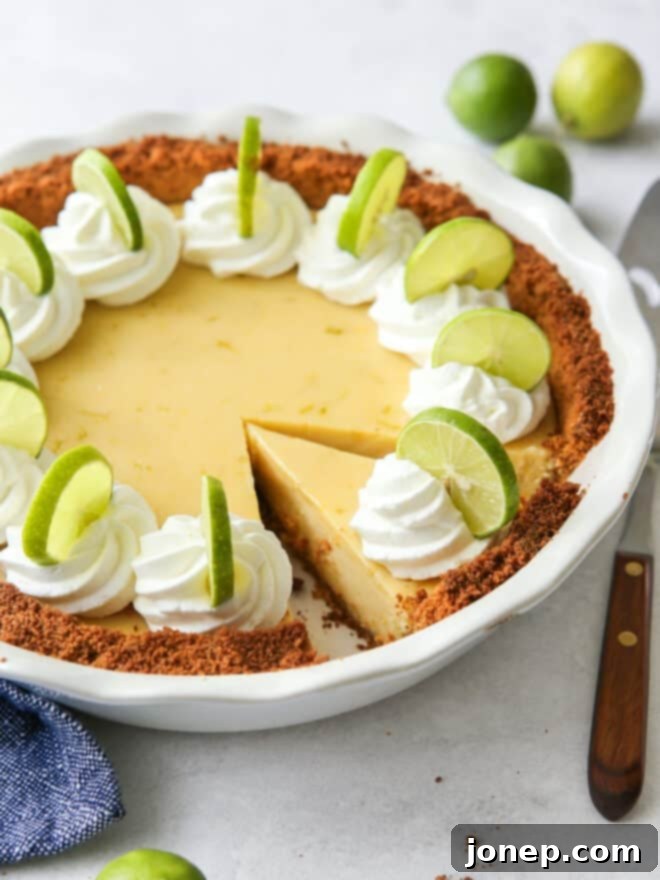
For years, Key Lime Pie has held a special place in my family’s dessert repertoire. It’s often the celebratory request for birthdays and Father’s Day, and I eagerly seize any opportunity to bake one. This particular recipe has been a staple since 2008, meaning it’s been tried, tested, and perfected countless times over more than a decade. You can trust this method to deliver consistently delicious results every time.
What makes this dessert truly exceptional is its ability to deliver a massive flavor punch with remarkably minimal effort. You’ll need fewer than 10 total ingredients to assemble the entire pie – including the rich crust, the tangy filling, and the luxurious topping. An added bonus? You don’t even need to track down specific Key limes; regular Persian limes work beautifully, making this iconic dessert accessible no matter where you live.
From the very first bite, I am confident you’ll agree: this truly is the BEST Key Lime Pie. The harmonious blend of the sweet, buttery graham cracker crust, contrasting with the rich, silky, and refreshingly zesty lime filling, all crowned with a cloud of fluffy, homemade whipped cream, creates a nostalgic and utterly irresistible experience that will have everyone asking for seconds.
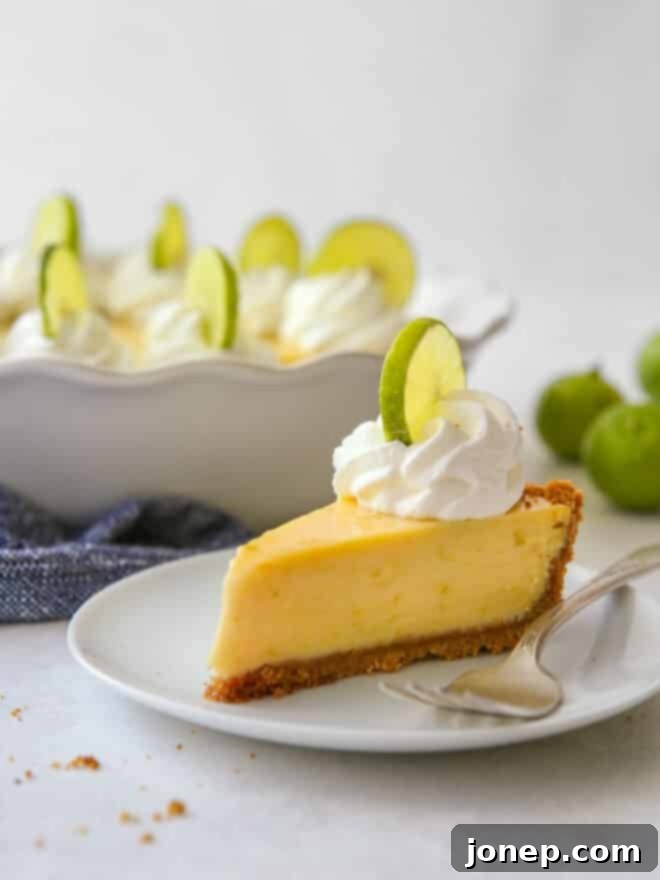
Table of Contents
- A Little Key Lime Pie History Lesson
- Ingredients You’ll Need for the Perfect Pie
- Key Limes vs. Regular Limes: Which to Use?
- How to Make the Best Key Lime Pie
- Key Lime Pie Topping and Garnish Suggestions
- Recipe FAQs: Your Key Lime Pie Questions Answered
- Get the Full Key Lime Pie Recipe
A Little Key Lime Pie History Lesson
My family recently embarked on a wonderful trip to Southern Florida and the iconic Florida Keys, where we fully embraced the local culture by savoring as much authentic Key Lime Pie as we possibly could. During our culinary adventure, I also delved deeper into the origins and fascinating history of this beloved dessert. Here’s a condensed look at what I discovered, offering a glimpse into its humble beginnings.
Back in the early 1900s, before modern transportation made fresh goods readily available throughout the isolated Florida Keys, fresh milk was a rare commodity. Sweetened condensed milk, however, was a pantry staple, easily stored and accessed by everyone. Legend has it that a resourceful fisherman, off the coast, ingeniously combined locally abundant Key limes, cans of sweetened condensed milk, eggs, and soda crackers to create a simple, satisfying snack. This improvised creation is widely considered to be the very first “Key Lime Pie.” The natural acidity of the lime juice remarkably curdled and thickened the mixture of eggs and milk without any baking. He then shared his brilliant recipe with a local cook, and from there, a culinary icon was born, making its way into the hearts and kitchens of the Keys and eventually the world.
Over time, the original soda cracker crust evolved, replaced by the now-classic graham cracker crust, which offers a delightful sweetness and crumbly texture. The initial meringue topping, often crafted by locals using leftover egg whites, gradually gave way to the lighter, airier, and equally delicious whipped cream topping that we commonly enjoy today. Furthermore, while Key Lime Pie was originally a no-bake confection (thanks to the lime’s natural curdling action), modern recipes typically call for baking. This shift primarily addresses concerns about consuming raw eggs and results in a sturdier pie that holds its shape better, allowing for cleaner, more elegant slices.
*My primary source for this fascinating historical insight is the Blond Giraffe Key Lime Pie Factory in Key Largo, which also happens to be our absolute favorite spot for Key Lime Pie when visiting the Keys!
Ingredients You’ll Need for the Perfect Pie
Crafting your own delicious Key Lime Pie at home requires a handful of essential ingredients. Each component plays a crucial role in achieving that signature tart, sweet, and creamy perfection.
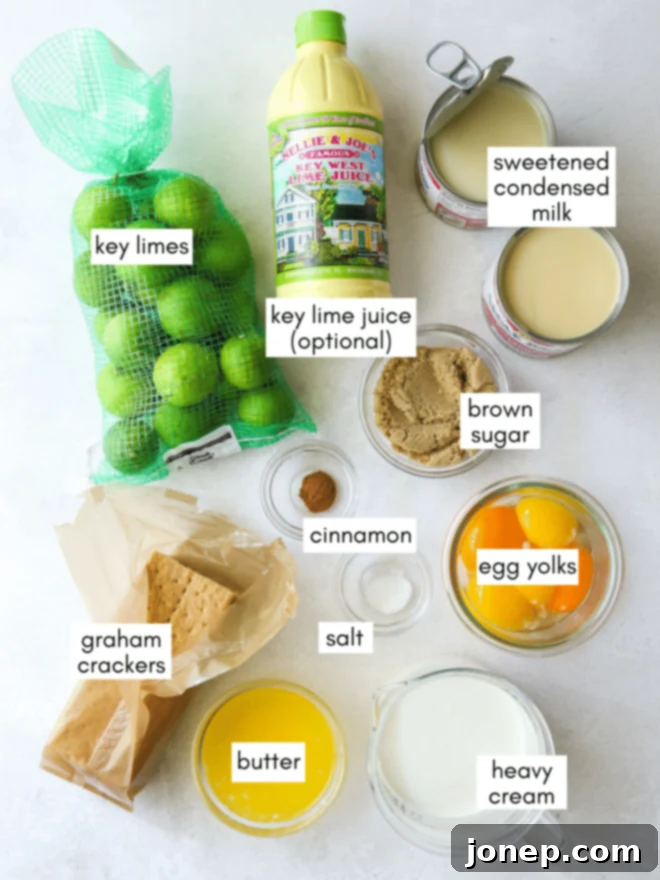
- For the Crust: You’ll need graham cracker crumbs to form the foundation. These provide a sweet, subtly spiced base. To bind them, you’ll use brown sugar for added sweetness and caramel notes, along with melted butter for richness and to hold the crumbs together. A pinch of salt balances the flavors, and a touch of cinnamon (optional, but highly recommended) adds a warm, aromatic depth that complements the lime beautifully.
- For the Filling: The heart of Key Lime Pie relies on two cans of sweetened condensed milk. This ingredient is paramount, providing intense sweetness, a rich creamy texture, and the necessary thickener for the filling, eliminating the need for traditional custard-making from scratch.
- The Essential Lime Flavor: This recipe offers flexibility with your lime choice. You can opt for traditional Key limes for their distinctive aromatic and slightly sweeter juice, or readily available regular limes (Persian limes) for a bolder tartness. Many bakers, including myself, find a combination of fresh lime juice and high-quality bottled key lime juice to be an ideal solution for achieving perfect flavor with ease. We’ll discuss this in more detail below.
- For Richness and Set: Egg yolks are incorporated into the filling to lend a luxurious richness and help the pie set into its iconic creamy, yet firm, custard-like consistency when baked.
- For the Whipped Topping: A generous amount of cold heavy cream or heavy whipping cream is essential for creating the light, airy, and luscious topping. This can be sweetened and flavored with vanilla to your preference.
Key Limes vs. Regular Limes: Which to Use?
The choice between Key limes and regular limes (also known as Persian limes) is a common question, and thankfully, this recipe is incredibly versatile. Key limes are smaller, rounder, and possess a distinct aromatic flavor that is often described as slightly sweeter and more floral than their larger counterparts. However, their diminutive size means juicing enough of them to get a full cup can be a tedious and time-consuming task.
The good news is, for this Key Lime Pie recipe, you can confidently use either Key limes or regular Persian limes, or even a combination of both fresh and bottled lime juice. Regular limes, easily found in any grocery store, offer a bolder, more intensely tart flavor that works wonderfully in this pie, providing that signature zing. The slight difference in flavor profile between Key limes and Persian limes is often subtle once combined with the sweetened condensed milk and sugar, making either a fantastic choice.
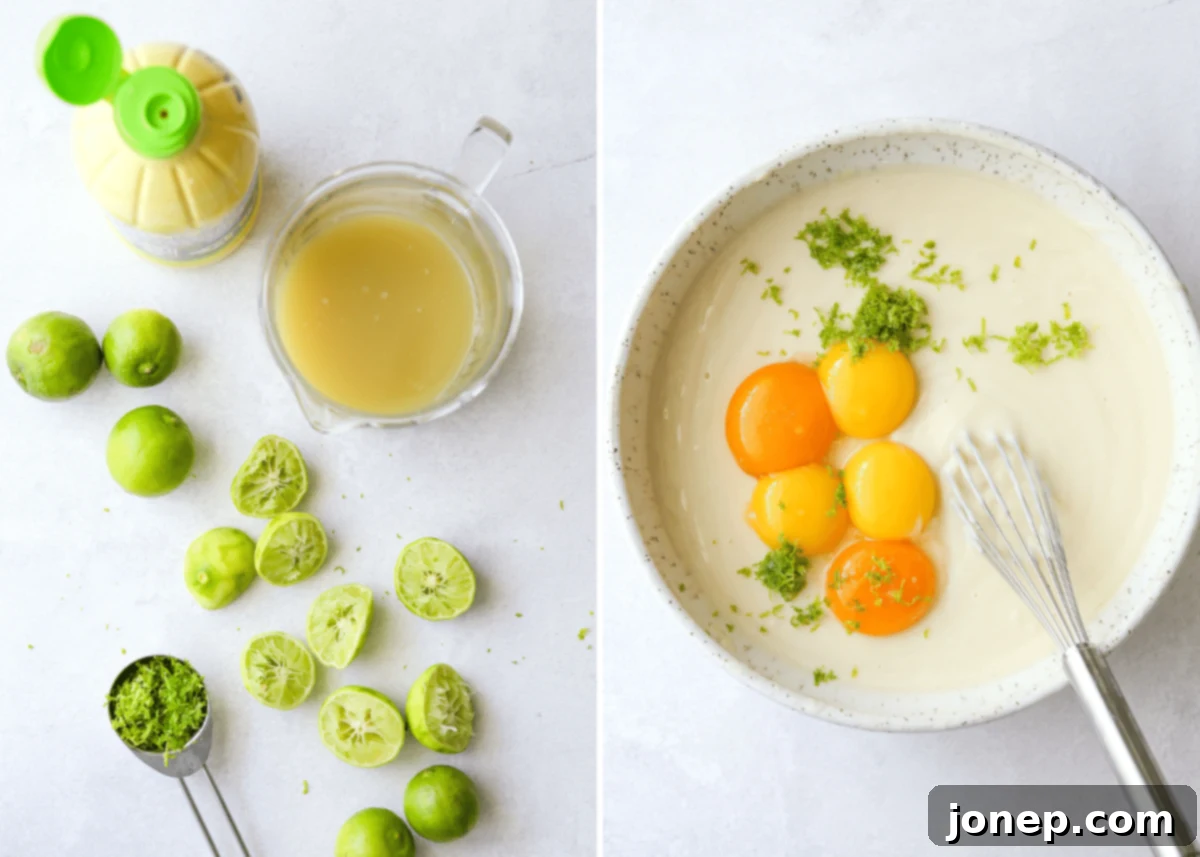
For a perfect balance of fresh flavor and convenience, I often recommend a combination approach. Begin by zesting and juicing approximately 6-8 small Key limes or 1-2 larger regular limes to extract some fresh, vibrant juice and all-important zest. Then, supplement with high-quality bottled Key lime juice until you reach the required 1 cup total. This method ensures you get the bright, fresh notes from real limes while making the preparation process much quicker and easier. My absolute favorite brand for bottled Key lime juice is Nellie’s and Joe’s, which you can typically find readily available in the juice aisle of most major grocery stores.
How to Make the Best Key Lime Pie
Creating this irresistible Key Lime Pie is a straightforward process, broken down into a few simple steps. Follow these instructions for a dessert that’s sure to impress:
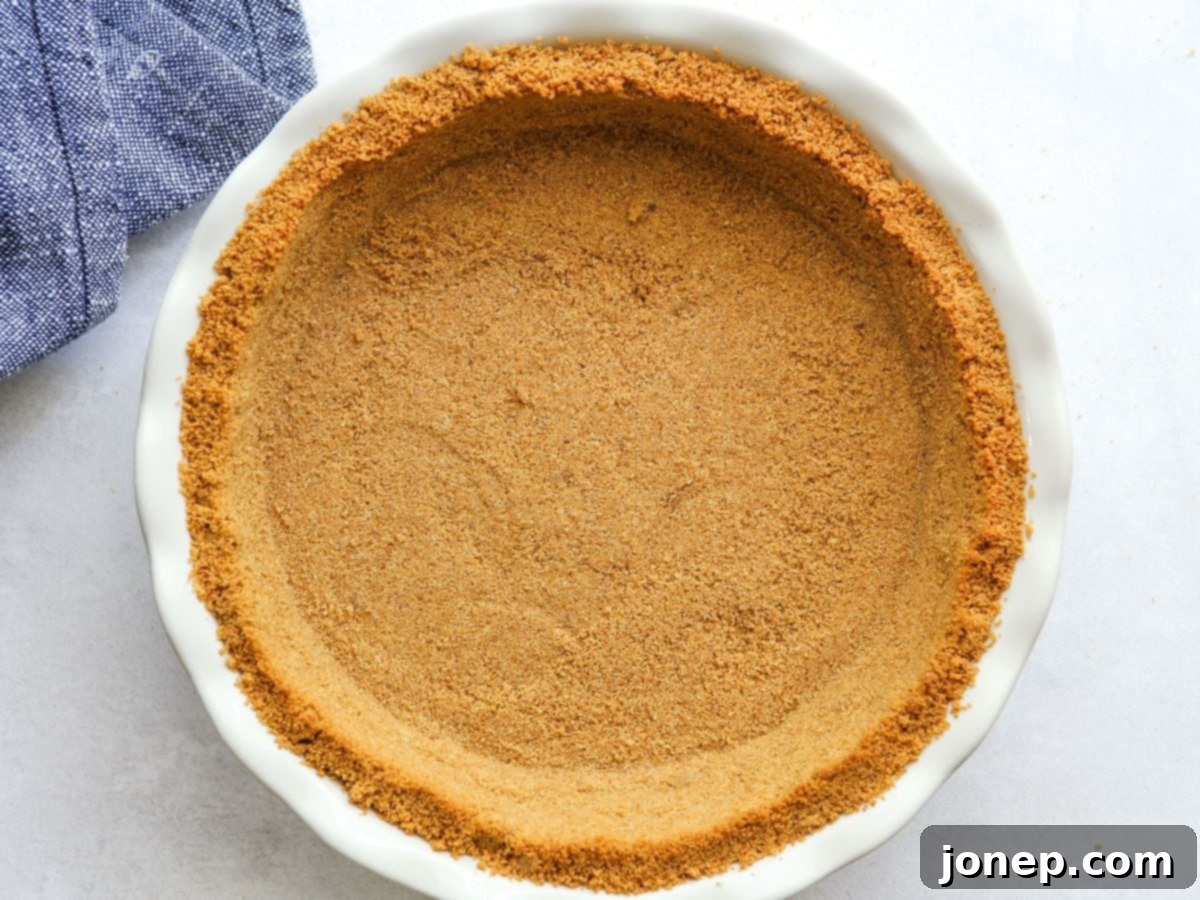
- Prepare the Graham Cracker Crust: Begin by making your graham cracker crust. You can quickly crush the graham crackers into fine crumbs using a food processor. Alternatively, place them in a sturdy ziplock bag and crush them with a rolling pin – a great way to relieve some stress! Once you have your crumbs, combine them thoroughly with the brown sugar, melted butter, salt, and optional cinnamon. Press this mixture firmly and evenly into the bottom and up the sides of a 9-inch pie pan. Ensure the crust is packed tightly for a sturdy base.

- Pre-bake the Crust for Crispness: This crucial step prevents a soggy crust. Place your prepared graham cracker crust in a preheated oven (350°F or 175°C) and bake it by itself until it becomes fragrant, develops a lightly golden hue, and starts to crisp up. This usually takes about 6-8 minutes. Pre-baking creates a barrier, ensuring your crust remains perfectly crisp even after the creamy filling is added.
- Combine the Silky Filling: In a large mixing bowl, whisk together the sweetened condensed milk, egg yolks, fresh lime zest, and lime juice until thoroughly combined. The mixture will be quite thick and smooth. The acid from the lime juice reacts with the condensed milk and egg yolks, beginning the thickening process even before baking, creating that signature creamy texture.

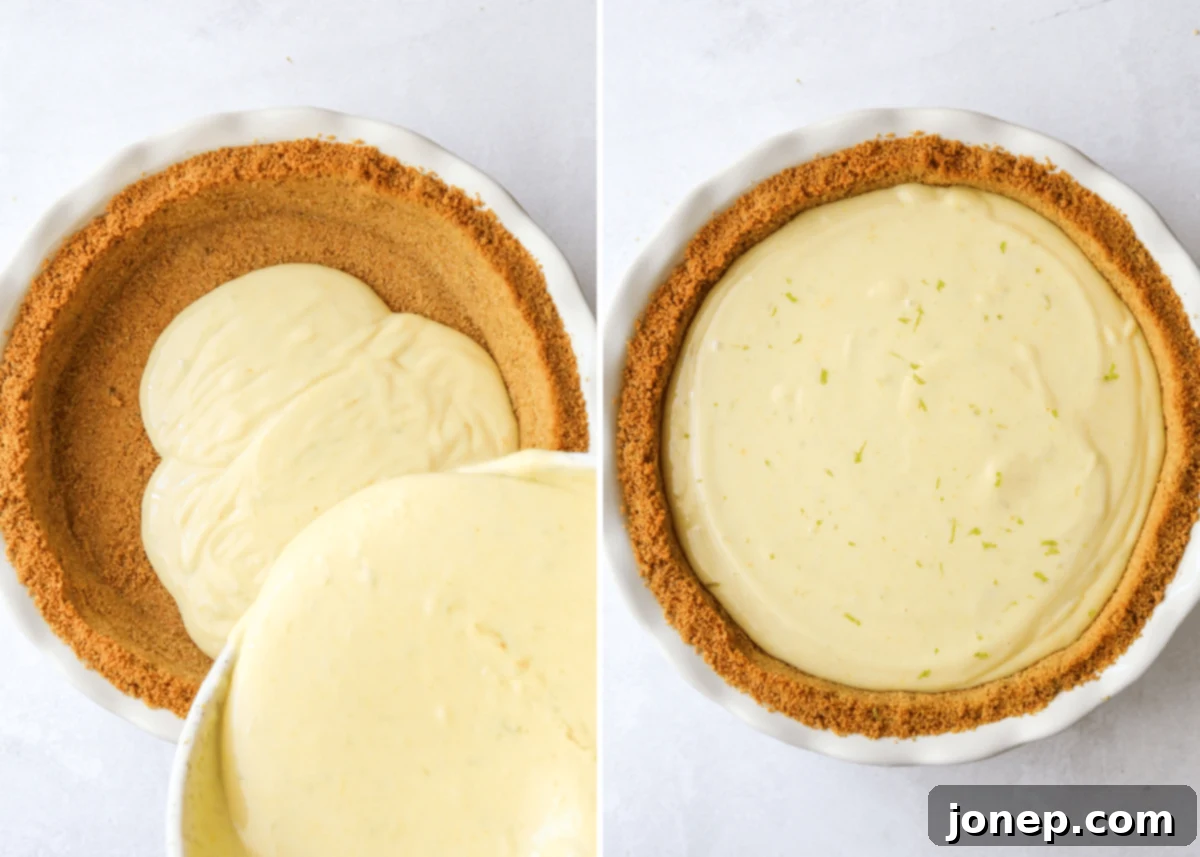
- Bake the Pie to Perfection: Carefully pour the prepared lime filling into your pre-baked crust. Transfer the pie to the oven and bake for approximately 18-22 minutes. The pie is done when the edges of the filling appear firm and set, but the very center still has a slight, gentle wobble when you delicately jiggle the pie pan. This slight jiggle indicates that the pie is perfectly cooked; the residual heat will continue to set the center as it cools, resulting in a beautifully smooth and creamy texture.

- Chill Thoroughly for Best Results: Allow the freshly baked pie to cool completely to room temperature on a wire rack. Once cooled, place it in the refrigerator for at least an hour to firm up completely. For the sturdiest, cleanest slices and the best texture, I highly recommend chilling the pie for several hours, or even overnight. This step is crucial for the filling to achieve its ideal set.

- Add Toppings and Serve: Just before serving, prepare your whipped cream topping. Using an electric mixer, beat cold heavy cream until it forms medium peaks. For added flavor, you can sweeten it with granulated sugar and a dash of vanilla extract to taste. Once whipped, generously spread or pipe the cream onto the cooled pie. Garnish with thin slices of fresh lime or a sprinkle of lime zest for a beautiful presentation and an extra burst of fresh aroma. Slice and enjoy your homemade masterpiece!
Key Lime Pie Topping and Garnish Suggestions
While Key Lime Pie is a star in its own right and truly doesn’t need much embellishment, a few simple toppings and garnishes can elevate its presentation and enhance its fresh, zesty appeal. Here are some elegant and easy suggestions to make your pie truly shine:
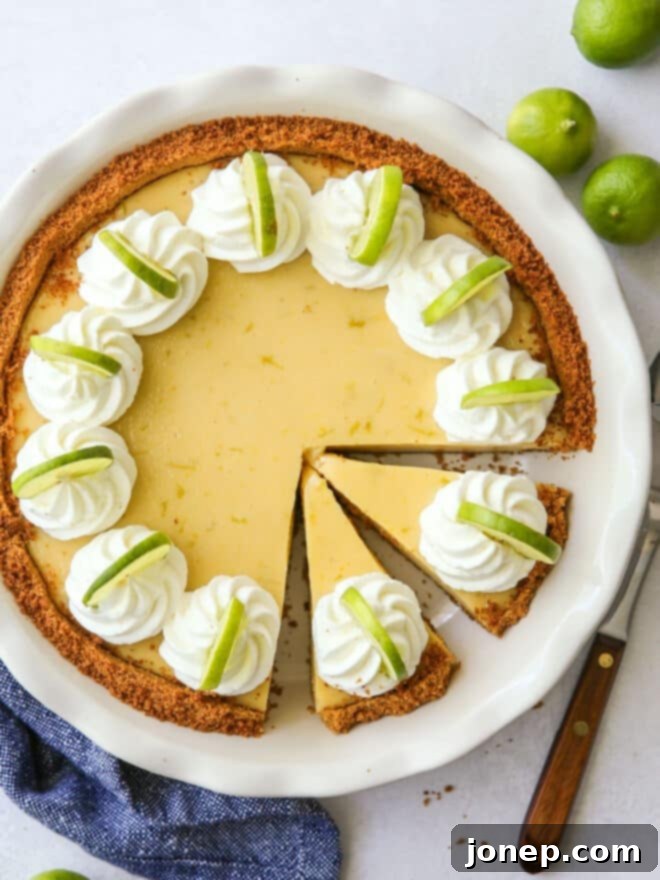
- Decorative Whipped Cream: Instead of simply spreading the whipped cream, use a piping bag fitted with a decorative tip (such as a medium Ateco open star tip, as seen in these photos) to create beautiful swirls, rosettes, or elegant borders. This adds a professional touch and an extra layer of visual appeal.
- Classic Spread: If you prefer a more rustic and effortless look, simply pile the freshly whipped cream high on top of the pie. Then, use an offset spatula or the back of a spoon to gently spread it into an even, inviting layer that extends to the very edges of the crust.
- Fresh Lime Zest: For an immediate pop of vibrant green color and an intensified citrus aroma, finely grate a little fresh lime zest directly over the whipped cream just before serving. This not only looks stunning but also offers an extra sensory experience with every bite.
- Elegant Lime Slices: Arrange thin, delicate slices or wedges of fresh lime on top of the whipped cream. These can be placed in a circular pattern, fanned out, or simply scattered artfully for a sophisticated and refreshing garnish.
- Toasted Coconut Flakes: For an extra tropical twist, lightly toast some unsweetened coconut flakes until golden brown, then sprinkle them over the whipped cream. The nutty flavor and added texture pair wonderfully with the zesty lime.
- Shaved White Chocolate: For a touch of indulgence, delicately shave some white chocolate over the pie. The creamy sweetness of white chocolate offers a delightful contrast to the tart lime.
Recipe FAQs: Your Key Lime Pie Questions Answered
How do you know when Key Lime Pie is done baking?
Determining the perfect doneness for Key Lime Pie can indeed be a bit perplexing for first-timers, but it’s simpler than you might think! A Key Lime Pie is properly baked when the edges of the filling are set and firm, but the center still exhibits a slight, gentle wobble when you delicately shake the pie pan. It shouldn’t be liquid, but a subtle jiggle in the middle is exactly what you’re looking for. This ensures a creamy, smooth custard once cooled. The residual heat within the pie will continue to set the center as it cools down to room temperature and then chills in the refrigerator. If the filling wobbles all the way out to the edges, it needs a few more minutes in the oven. Conversely, if there’s no wobble at all, the pie is likely overbaked, which can lead to a less creamy texture and may cause the filling to crack as it cools.
Can I make the crust with something other than graham crackers?
Absolutely! While graham crackers are the classic choice for Key Lime Pie and offer a universally loved sweet and slightly spiced flavor, there are several delicious alternatives if you’re looking to experiment with different flavor combinations or if graham crackers aren’t available. For a warm, spicy kick that pairs beautifully with lime, consider using crushed gingersnap cookies. If you prefer a buttery, caramelized flavor, Biscoff cookies make an exceptional crust. For those outside the US or if graham crackers are hard to find, plain digestive biscuits are an excellent, readily available substitute, providing a similar texture and mild sweetness. Each of these options will lend a unique character to your pie, so don’t hesitate to try them! You can find more variations and detailed instructions on making different crusts in my dedicated graham cracker crust recipe post.
How do you store Key Lime Pie? How long does Key Lime Pie last?
Proper storage is key to maintaining the freshness and deliciousness of your Key Lime Pie. Once cooled to room temperature, the pie should be securely covered with plastic wrap to prevent it from drying out or absorbing other odors from the refrigerator. Store your Key Lime Pie in the fridge, where it will generally last for 3-4 days while maintaining optimal flavor and texture. It might even keep a bit longer, though the graham cracker crust can gradually become a little softer over time. For the best enjoyment, I recommend consuming it within the first few days.
Get the Full Key Lime Pie Recipe

Key Lime Pie
Pin Recipe
Leave a Review
Ingredients
Graham Cracker Crust
- 2 cups (225 grams) graham cracker crumbs
- ¼ cup (55 grams) packed light or dark brown sugar
- 6 tablespoons (85 grams) butter , melted
- ¼ teaspoon salt
- ¼ teaspoon ground cinnamon (optional)
Key Lime Filling
- 28 ounce (795 grams) sweetened condensed milk (2 14-oz cans)
- 5 large egg yolks
- 1 cup (224 grams) lime or key lime juice
- 1 tablespoon fresh lime zest
Whipped Cream Topping
- 1 cup (227 grams) heavy cream
- 1-2 tablespoon granulated sugar (optional)
- ½ teaspoon vanilla extract (optional)
Equipment
Instructions
-
Preheat your oven to 350°F (175°C).
-
In a medium bowl, combine the graham cracker crumbs, brown sugar, melted butter, salt, and cinnamon (if using). Mix until all ingredients are well incorporated and resemble wet sand. Press this mixture firmly and evenly into the bottom and up the sides of a 9-inch pie pan. Bake the crust for 6-8 minutes, or until it just starts to turn golden brown and smells fragrant. This pre-baking step is crucial for a crisp, sturdy crust. Remove from oven and let cool slightly.
-
While the crust cools, prepare the filling. In a large bowl, vigorously whisk together the sweetened condensed milk, large egg yolks, fresh lime juice, and lime zest until the mixture is smooth and well combined. It will thicken noticeably as you whisk.
-
Carefully pour the creamy lime filling into the pre-baked graham cracker crust. Return the pie to the oven and bake for 18-22 minutes. The pie is done when the edges of the filling are set and firm, but the center still has a slight, gentle jiggle when you delicately shake the pan. Do not overbake.
-
Remove the pie from the oven and let it cool completely to room temperature on a wire rack. Once at room temperature, transfer the pie to the refrigerator and chill for at least 1 hour before serving. For optimal firmness and cleaner slices, I highly recommend chilling for several hours, or even overnight.
-
Before serving, prepare the whipped cream topping. Using an electric mixer (or whisk), beat the cold heavy whipping cream with the optional granulated sugar and vanilla extract until medium peaks form. You can either gently spread the whipped cream into an even layer over the chilled pie or use a piping bag with a decorative tip for a more elegant presentation. Garnish with fresh lime slices or additional lime zest, if desired.
-
Slice the chilled Key Lime Pie into wedges, serve immediately, and enjoy the perfect balance of tart and sweet!
Video
Notes
- This recipe is wonderfully adaptable, allowing you to use either traditional Key limes or more readily available regular Persian limes for the juice and zest. If you prefer to use bottled key lime juice, my top recommendation is Nellie’s and Joe’s brand, which consistently delivers excellent flavor and can be found in most grocery stores. For the best of both worlds, I suggest juicing and zesting a few fresh limes (typically 1-2 regular limes or 6-8 Key limes) to capture their vibrant aroma, then topping up the remaining volume with bottled juice to reach the required 1 cup.
- The exact baking time for your Key Lime Pie may vary slightly depending on the specific pie dish you use. Wider, shallower pie dishes may require a slightly shorter baking time, while deeper or narrower dishes where the filling is thicker might need a few extra minutes. Always rely on the “jiggle test” as described in the instructions to ensure perfect doneness.
- To keep your Key Lime Pie fresh and delicious, cover it tightly with plastic wrap and store it in the refrigerator. It will maintain its optimal flavor and texture for 3-4 days. While it might last a bit longer, the graham cracker crust can soften over time, so for the best experience, enjoy it within that timeframe.
Note: This classic recipe was originally published in September 2008, a testament to its enduring appeal and my long-standing love for this delightful dessert!
