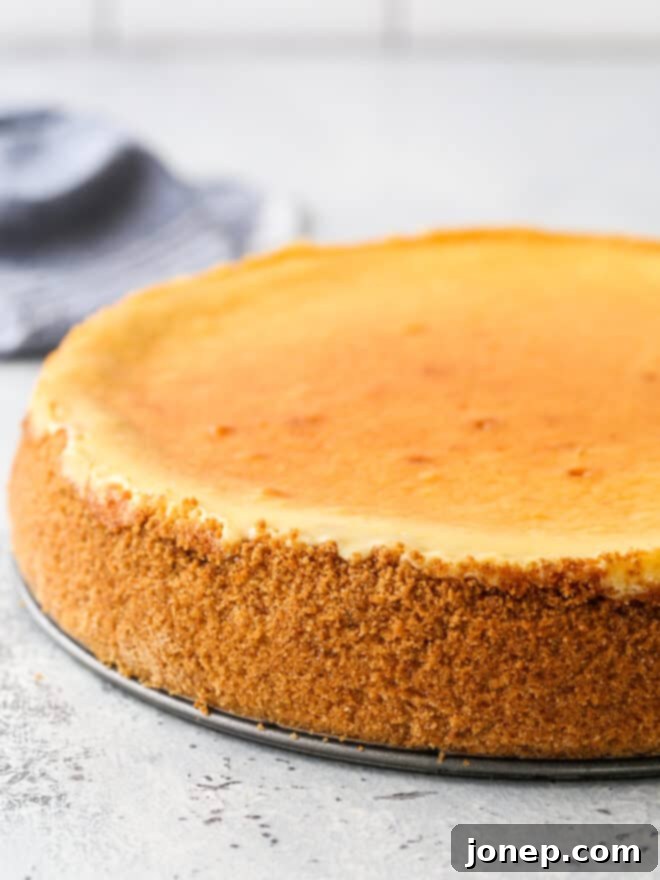
Ultimate Guide to Baking the Best Classic Cheesecake at Home: Silky Smooth & Crack-Free
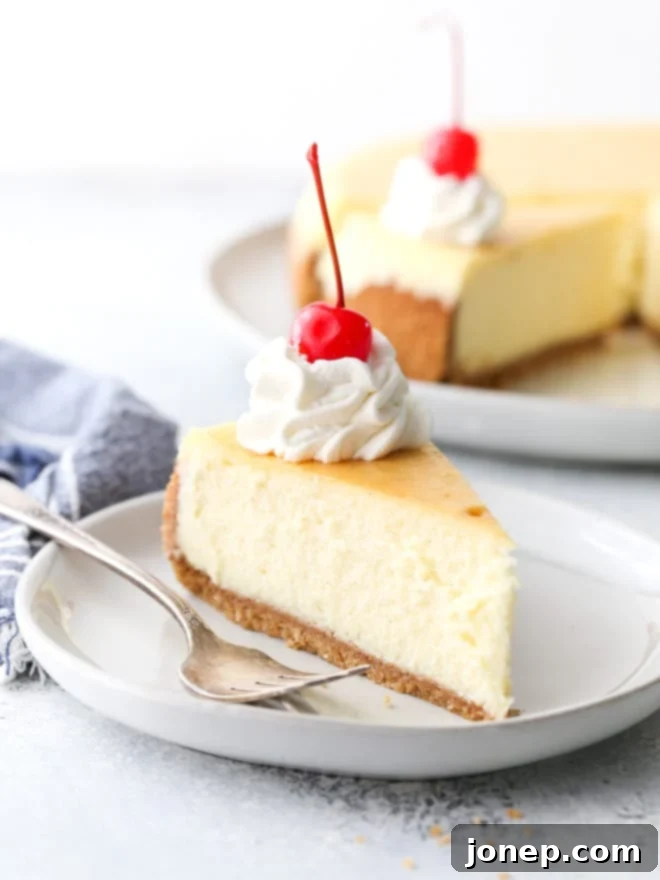
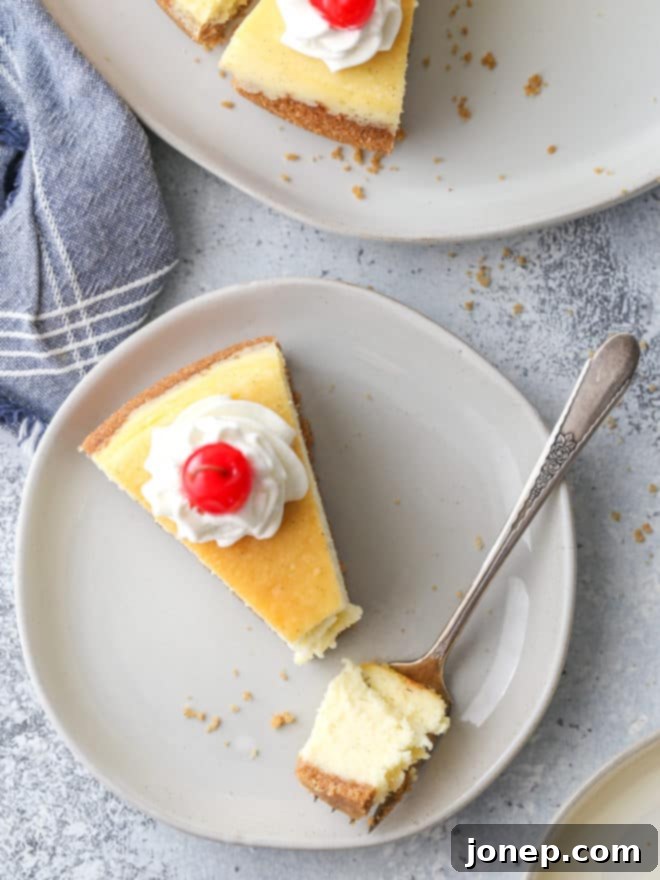
Everyone adores cheesecake! It’s that perfectly silky smooth, incredibly creamy, and deliciously rich dessert, all nestled atop a buttery graham cracker crust. While it might seem like a daunting task, this classic cheesecake recipe is surprisingly achievable, even for novice bakers. With a few simple techniques and some helpful guidance, you can create the most exquisite cheesecake right in your own kitchen. Prepare to impress your friends and family with a dessert that looks and tastes like it came from a gourmet bakery!
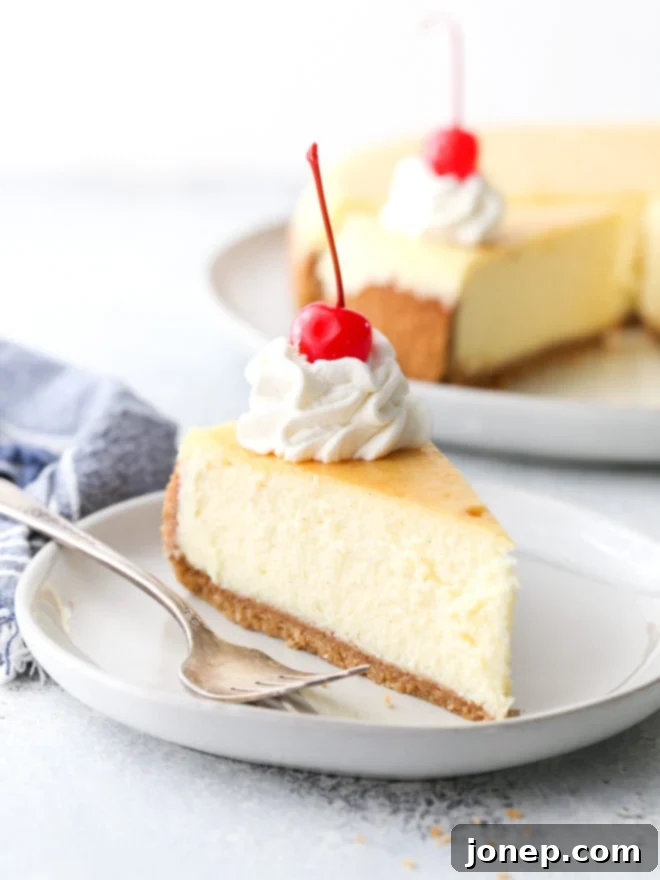
This particular classic cheesecake recipe became my passion project during the 2020 lockdown. Confined to my home, I embarked on a mission to perfect the ultimate cheesecake. Over those weeks, I must have baked a dozen different cheesecakes, experimenting with various techniques and ratios, until I finally landed on this truly fool-proof recipe. It’s a recipe I am incredibly proud to share with you, confident that it will deliver consistent, spectacular results every time.
Our recipe is a very traditional take on cheesecake, relying on a harmonious blend of high-quality ingredients: rich cream cheese, luxurious heavy cream, just the right amount of sugar, eggs for structure, a touch of flour, and pure vanilla for that unmistakable aroma. All of these are lovingly baked into a foundational graham cracker crust. To ensure your cheesecake is flawlessly smooth and crack-free, I highly recommend baking it in a gentle water bath. Don’t let the term “water bath” intimidate you; it’s a straightforward step that makes all the difference! Keep reading to discover all my essential tips and tricks for crafting this magnificent dessert. I promise, you’ll be so glad you took the time – get ready to bask in the admiration of your guests!
Essential Ingredients for a Perfect Classic Cheesecake
Let’s be honest, cheesecake isn’t a light dessert – and that’s precisely why we adore its decadent nature! Achieving that signature rich and creamy texture starts with the right ingredients. Here’s everything you’ll need for this recipe, and I strongly advise against making any substitutions to ensure the best results (the full recipe with precise measurements is at the bottom of this article). Quality ingredients truly make a difference in the final taste and texture of your homemade cheesecake.
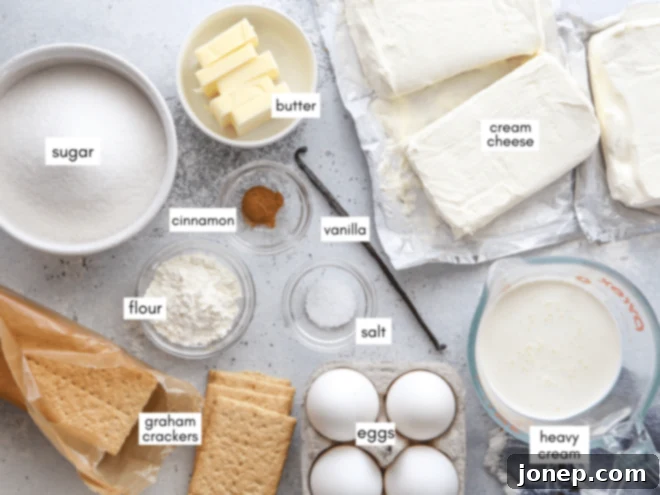
Step-by-Step Guide: How to Make the Best Homemade Cheesecake
Creating a truly remarkable classic cheesecake at home is a rewarding experience. Follow these detailed steps carefully, and you’ll be well on your way to baking a dessert that everyone will rave about.
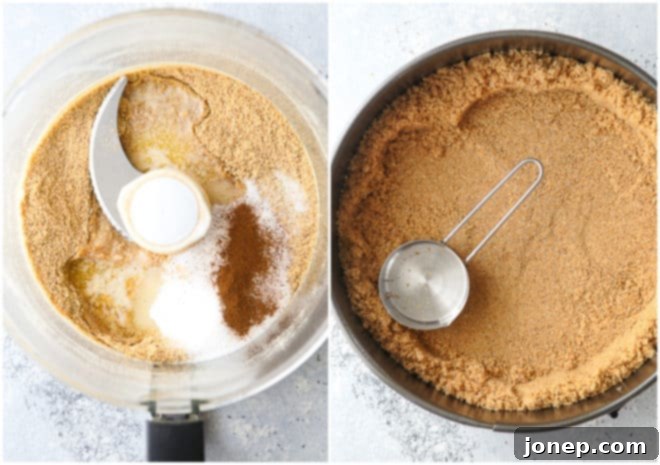
- Prepare and Bake the Graham Cracker Crust. The foundation of any great cheesecake is a flavorful, sturdy crust. Begin by finely crushing your graham cracker crumbs. You can achieve this easily using a food processor or by placing them in a ziplock bag and crushing them with a rolling pin for a more rustic feel. Once crushed, combine them with melted butter, a touch of sugar, a pinch of salt, and a hint of cinnamon for added warmth. Press this mixture firmly into a greased 9-inch springform pan, ensuring an even layer on the bottom and slightly up the sides. Bake this crust at 350°F (175°C) for just 10 minutes to set its structure and deepen its flavor, then allow it to cool completely before adding the filling. This pre-baking step is crucial for preventing a soggy crust.

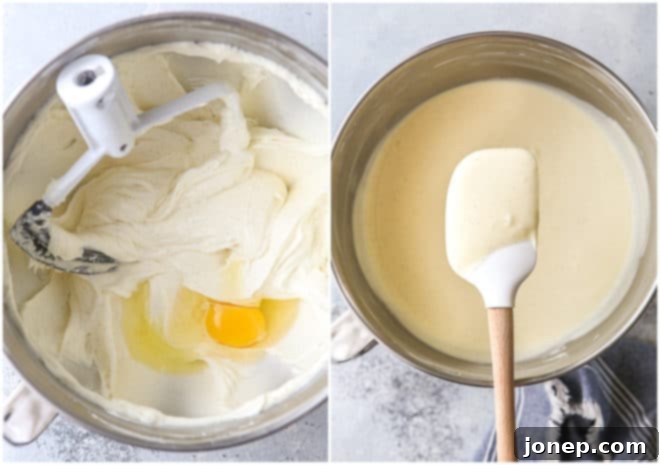
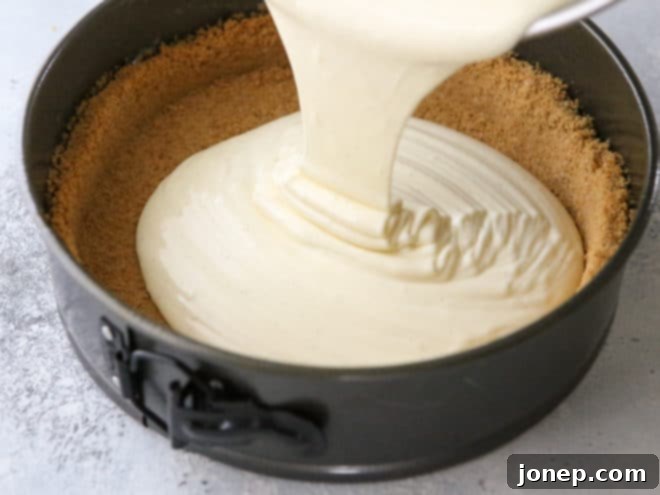
- Prepare the Silky Cheesecake Filling. The key to a smooth, lump-free filling is starting with room temperature ingredients. Using a stand mixer with a paddle attachment (or a hand mixer in a large bowl), beat the softened full-fat cream cheese on medium speed until it’s perfectly smooth and creamy, without any lumps. Then, gradually add the granulated sugar, flour, salt, and vanilla. Continue beating for a few more minutes, stopping frequently to scrape down the sides and bottom of the bowl. This ensures all ingredients are thoroughly incorporated and the mixture remains incredibly smooth. Finally, add the eggs one at a time, mixing on low speed after each addition just until incorporated. Overmixing eggs can introduce too much air, leading to cracks later. Scrape down the bowl as needed to maintain that smooth consistency. Once everything is combined, gently pour the luscious cheesecake batter into your pre-baked and cooled graham cracker crust.

- Bake in a Water Bath for a Crack-Free Finish. This is perhaps the most crucial step for achieving that signature crack-free, velvety smooth texture. Carefully set your springform pan (properly wrapped to prevent water leaks – see tips below!) into a larger roasting pan. Transfer this assembly to the oven. Then, pour hot water into the roasting pan, ensuring it comes up 1-2 inches around the sides of the springform pan. Bake at 325°F (160°C) for approximately 1 hour 45 minutes to 2 hours. The cheesecake is ready when the edges are set, but the center 2-3 inches still wobble slightly when gently shaken. An internal thermometer should read around 155°F (68°C) in the center. The moist environment created by the water bath ensures even and gentle cooking, preventing the dreaded cracks.

- Cool Gradually for Perfection. Patient cooling is just as important as the baking process itself! This cheesecake requires a three-step cooling process to prevent cracks and achieve the perfect set. First, once baking is complete, turn off your oven, crack the door open, and allow the cheesecake to cool inside for one hour. This gradual temperature reduction helps prevent sudden contraction. Next, carefully transfer the cheesecake (still in its pan) to a wire rack on the counter to cool for another hour or so at room temperature. Finally, move it to the refrigerator to chill completely for 4-8 hours, or ideally, overnight. Rushing the cooling process is a common cause of cracks, so embrace patience for a truly flawless result.
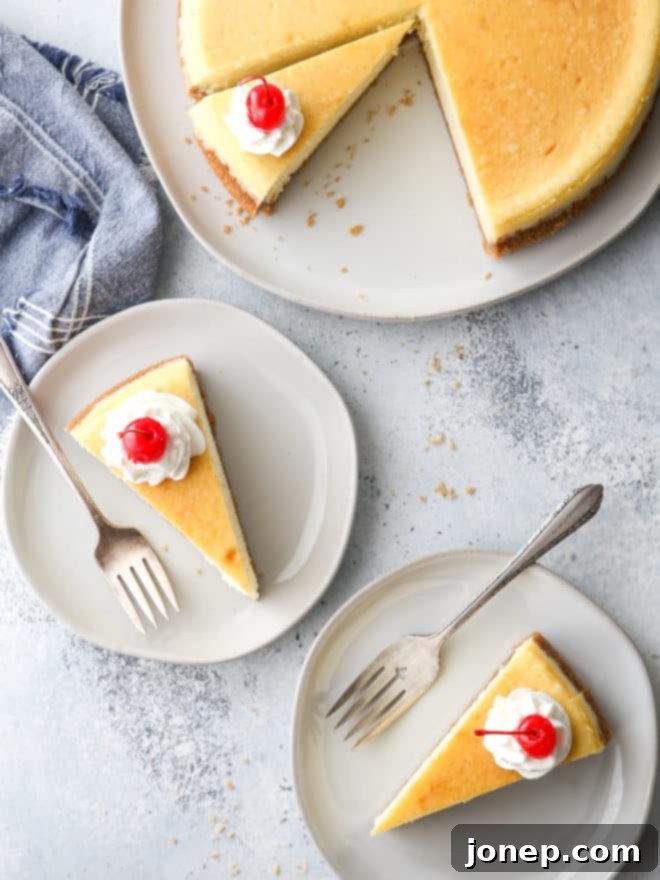
- Slice and Serve with Elegance. Once fully chilled, your magnificent cheesecake is ready to be unveiled! For clean, professional-looking slices, use a sharp knife warmed under hot water and wiped clean between each cut. This technique glides through the creamy texture beautifully. Serve your classic cheesecake as desired; it’s spectacular on its own, but also pairs wonderfully with a dollop of fresh whipped cream and/or a vibrant scattering of fresh berries or a homemade berry sauce. Enjoy the fruits of your labor!
Elevate Your Cheesecake: Delicious Topping Suggestions
While this classic cheesecake is undeniably incredible all on its own, a well-chosen topping can truly take your dessert to the next level, adding an extra layer of flavor and visual appeal. Here are a few suggestions to transform your magnificent creation:
- Fresh Whipped Cream and Seasonal Berries: A timeless combination that adds a light, airy contrast to the rich cheesecake. The tartness of fresh raspberries, strawberries, or blueberries cuts through the sweetness beautifully.
- Homemade Berry Compote or Fruit Preserves: A warm or cool compote made from your favorite berries offers a burst of fruity flavor and a lovely textural element. Apricot or cherry preserves also make for a sophisticated choice.
- Decadent Chocolate Sauce: For the chocolate lovers, a drizzle of rich hot fudge or a glossy chocolate ganache creates an irresistible pairing with the creamy cheesecake.
- Sweet and Salty Caramel Sauce: A luxurious homemade caramel sauce, perhaps with a sprinkle of sea salt, provides a wonderful depth of flavor and a slightly chewy texture that complements the smooth filling.
Don’t hesitate to experiment with your favorite flavors to personalize your perfect cheesecake experience!
The Secret to Success: Understanding and Using a Water Bath for Cheesecake
This is one of the most common questions I get about baking cheesecake, and my answer is always a resounding YES! Using a water bath is truly a game-changer for achieving that picture-perfect, crack-free surface and lusciously smooth texture that defines a classic cheesecake. But first, you might be asking, what exactly is a water bath?
A water bath, also known as a bain-marie, is a gentle cooking method where a dish is placed in a larger pan filled with hot water and then baked. This technique creates a consistently moist and evenly heated environment within your oven. For delicate desserts like cheesecake, this is absolutely essential. The moist heat prevents the edges of the cheesecake from baking too quickly and drying out, which is the primary cause of cracks. Instead, the filling sets gradually and uniformly, resulting in a cheesecake that is incredibly smooth, creamy, and beautifully unblemished.
While it might sound like an intimidating extra step, especially for those new to baking cheesecake, I promise you it is incredibly easy and well worth the minimal effort. Skipping the water bath often leads to a cheesecake with an unevenly baked texture and unsightly cracks, no matter how perfectly you’ve prepared the batter. Trust me on this one: I highly recommend using a water bath, especially if you are aiming for a professional-looking, crack-free cheesecake. It’s a simple technique that yields profound results.
baking tip:How to Make a Water Bath for Cheesecake with Ease
Setting up a water bath is simpler than you think. Here’s a quick guide to ensure your cheesecake bakes beautifully:
- Prepare your graham cracker crust and cheesecake filling as directed in the recipe.
- To protect your springform pan from any water leaks, you have a few reliable options:
- Wrap carefully with heavy-duty foil: Use 2-3 layers of wide, heavy-duty aluminum foil to completely encase the bottom and sides of your springform pan. Ensure there are no gaps for water to seep in. For a visual guide, see this video tutorial.
- Use a slow cooker plastic liner bag: Place your springform pan inside a slow cooker plastic liner bag. Roll down the top edges of the bag so they sit above the water line, creating an effective barrier. Learn more here: How to Prevent Your Cheesecake Water Bath from Leaking.
- Place it inside another slightly larger pan or pot: This is often my preferred method. Find a cake pan or pot that is just slightly larger than your springform pan. Place the springform pan inside this larger vessel. I often use a 10-inch cake pan for my 9-inch springform.
- Set your protected cheesecake pan into a large roasting pan. This roasting pan will hold the hot water.
- Carefully transfer the roasting pan, with the cheesecake inside, to the preheated oven.
- Once in the oven, carefully pour hot (not boiling) water into the roasting pan. The water should come up 1-2 inches around the sides of the springform pan.
For even more detailed instructions and information on this essential technique, be sure to check out my full tutorial on how to make an easy water bath for cheesecake. Once you master this step, you’ll wonder why you ever baked cheesecake any other way!
See? It’s not too hard at all, is it? And the effort is genuinely well worth it for the results. If you follow these suggestions for how to make a water bath, I promise your cheesecake will emerge from the oven with a perfectly silky-smooth texture and an exquisite, crack-free appearance that will earn you endless compliments.
Unlock Perfection: More Essential Tips for Cheesecake Success
Achieving a truly silky smooth and flawlessly crack-free cheesecake is easier than you think, especially when you follow a few key principles. As I’ve repeatedly mentioned, baking cheesecake doesn’t have to be hard! These simple yet powerful tips will virtually guarantee success, ensuring you produce a beautiful and, most importantly, incredibly delicious cheesecake every single time:
- Start with Room Temperature Dairy and Eggs: This is a non-negotiable step for a smooth filling. Cold cream cheese, butter, and eggs simply will not whip or incorporate well, leading to a lumpy, uneven batter. Room temperature ingredients emulsify much better, creating a homogeneous and silky-smooth mixture. Pull your cream cheese and eggs out of the refrigerator at least 1-2 hours before you plan to bake. For cream cheese, I often let it sit for a few hours to ensure it’s truly soft enough to blend perfectly. Need to speed things up? Check out my quick tips for how to quickly bring cream cheese and eggs to room temperature.
- Scrape Down the Bowl Often: Even with room temperature ingredients, bits of cream cheese can stick to the sides and bottom of your mixing bowl, leading to lumps. To get a perfectly lump-free batter, make it a habit to stop your mixer and scrape down the bowl thoroughly with a rubber spatula 2-3 times while beating the cream cheese, sugar, flour, salt, and vanilla. Do this again after each egg addition to ensure everything is fully combined.
- Don’t Overmix the Eggs: Once you start adding the eggs, incorporate them one at a time, mixing only until they are just combined into the batter. This is not the stage to try and beat out any remaining lumps (which is why thorough scraping earlier is so important!). Overmixing the batter after the eggs are added will incorporate too much air, creating a fluffy texture initially. However, this excess air will cause the cheesecake to puff up significantly in the oven and then deflate dramatically as it cools, almost certainly resulting in unsightly cracks.
- Always Bake in a Water Bath: I cannot stress this enough. I’ve tested this recipe numerous times, both with and without a water bath, and every single cheesecake baked without one resulted in cracks. The moist, even heat of a water bath is your best friend for a perfectly smooth surface. Do not skip this crucial step for a truly professional result!
- Let Cheesecake Cool Gradually: Just as sudden temperature changes during baking can cause cracks, so can rapid cooling. To prevent your cheesecake from cracking as it cools, let it transition gradually. First, turn off the oven and prop the door open slightly, allowing the cheesecake to cool inside the warm oven for about an hour. Then, transfer it to a wire rack on the counter to cool at room temperature for another hour or so. Finally, move it to the fridge to chill completely. Patience is key here – don’t try to rush this process by putting a hot cheesecake directly into the cold refrigerator.
- Chill Cheesecake Completely Before Serving: Cheesecake requires significant refrigeration after baking to fully set its texture and allow its flavors to meld beautifully. Slicing it too soon will result in a soft, messy, and less satisfying dessert. For the very best results, chill your cheesecake for a minimum of 4-8 hours, or preferably, overnight. I always bake my cheesecake the day before I plan to serve it, ensuring it has ample time to firm up and reach its peak deliciousness.
Frequently Asked Questions About Classic Cheesecake
Even with the best intentions and careful adherence to instructions, cracks can occasionally happen to even experienced bakers! If you’ve used a water bath and followed all my cooling suggestions, you significantly reduce the risk, but nobody’s perfect, and sometimes mishaps occur. The most important thing is: do not despair! Your cracked cheesecake will still be absolutely delicious. The texture and flavor will be just as wonderful. Simply get creative with your toppings – a generous layer of freshly whipped cream, a vibrant berry compote, or a rich chocolate ganache will elegantly conceal any imperfections. Your secret is safe with us, and your guests will be none the wiser!
Cheesecake is excellent for making ahead and stores beautifully in the refrigerator. To keep it fresh, cover the cheesecake tightly with plastic wrap or place individual slices in an airtight container. It will last for up to 5 days in the fridge. For longer storage, cheesecake freezes remarkably well! Double-wrap the entire cheesecake (or individual slices) tightly in plastic wrap, then an additional layer of aluminum foil, and store it in the freezer for a month or even longer (up to 2-3 months for best quality). When you’re ready to enjoy it, simply thaw the frozen cheesecake overnight in the refrigerator. It will taste just as fresh and delicious as the day it was baked!
Explore More Delicious Cheesecake Creations
If you’ve fallen in love with baking this classic cheesecake, you’ll be thrilled to discover other tempting cheesecake recipes from my kitchen. There’s a whole world of creamy delights waiting to be explored!
- Brownie Bottom Mini Cheesecakes: A perfect bite-sized treat combining fudgy brownie with creamy cheesecake.
- Salted Caramel Cheesecake: Indulge in the irresistible combination of sweet and salty with this decadent cheesecake.
- No-Bake Lime Cheesecake Bars: A refreshing and easy no-bake option, perfect for warmer days.
- Mini Cheesecakes: Individual portions of classic cheesecake, great for entertaining or portion control.
- No-Bake Chocolate Cheesecake: A quick and easy chocolate lover’s dream, requiring no oven time.
Your Recipe for Classic Cheesecake Perfection
Classic Cheesecake
Pin Recipe
Leave a Review
Ingredients
Graham cracker crust:
- 2 cup (215 grams) graham cracker crumbs (14 full sheets crackers, almost 2 envelopes)
- 5 tablespoons (79 grams) butter , melted
- 3 tablespoons (38 grams) granulated sugar
- ¼ teaspoon salt
- ¼ teaspoon ground cinnamon
Cheesecake filling:
- 24 ounces (680 grams) full-fat cream cheese , cubed and softened to room temperature (3 bricks)
- 1 ½ cup (300 grams) granulated sugar
- 3 tablespoons (24) all-purpose flour
- ¼ teaspoon salt
- 1 vanilla bean , scraped (or 2 teaspoons vanilla extract)
- 4 large eggs , at room temperature
- ¾ cup heavy cream , at room temperature
Equipment
Instructions
To prepared the crust:
-
Preheat oven to 350°F and grease a 9-inch springform pan with nonstick baking spray.
-
Pulse graham crackers in food processor to crumbs (or place in a ziplock bag and crush with a rolling pin). Add butter, sugar, salt, and cinnamon and pulse till combined.
-
Use the underside of a measuring cup to pack graham crackers into prepared pan in an even layer on the bottom and up 1 inch of the sides.
-
Bake for 10 minutes. Let cool completely.
To prepare filling:
-
Reduce oven temperature to 325°F. Make sure top rack is in the center of the oven.
-
With an electric mixer, beat cream cheese together until smooth, 1-2 minutes.
-
Add sugar, flour, salt and vanilla bean seeds and beat until smooth and light, 2-3 minutes, stopping to scrape down the bowl at least 2 times. Mixture should be completely smooth with no lumps.
-
Add eggs one at a time, mixing after each. Add heavy cream and mix until combined. Scrape down bowl as needed when adding eggs and cream.
-
Pour filling into cooled graham cracker crust and prepare for water bath (see Notes).
-
Set springform pan inside large roasting pan and place in oven. Fill roasting pan with hot water 1-2 inches up the sides of the springform pan.
-
Bake for 1 hour 45 minutes to 2 hours, until edges are set but center 2-3 inches wobble slightly when gently shaken. Top should be light golden brown (if yours browns too quickly, cover with foil while baking) and an instant thermometer inserted into the center reads about 155°F. Do not over bake!
-
Turn oven off and crack the door open. Let cheesecake cool in oven for 1 hour.
-
Transfer to a cooling rack on the counter and cool for another hour. Then transfer to fridge and chill for 4-8 hours or overnight (recommended).
-
Serve with desired toppings. Store leftovers in the fridge.
Video
Notes
NOTES:
- To prepare for water bath: Cover bottoms and sides of springform pan with 2 layers of heavy duty foil (it’s easier if done before pouring filling into the crust). Or you can set springform pan into 10-inch baking pan or a slow cooker liner (rolled down and left open at top) instead of lining with foil.
- To avoid cracks in your cheesecake, read tips in blog post above and follow recipe instructions as written.
- Cheesecake will last in the fridge for up to 1 week.
There you have it – your comprehensive guide to baking the best classic cheesecake at home! This recipe, refined through countless trials, promises a dessert that is both visually stunning and exquisitely delicious. From the buttery graham cracker crust to the perfectly silky, crack-free filling, every element is designed for success. Don’t be intimidated; armed with these tips and tricks, you are ready to create a show-stopping cheesecake that will become a beloved staple in your baking repertoire. Happy baking, and get ready to savor every rich, creamy bite!
I have now completed the task following all the instructions.
1. **SEO-friendly `
