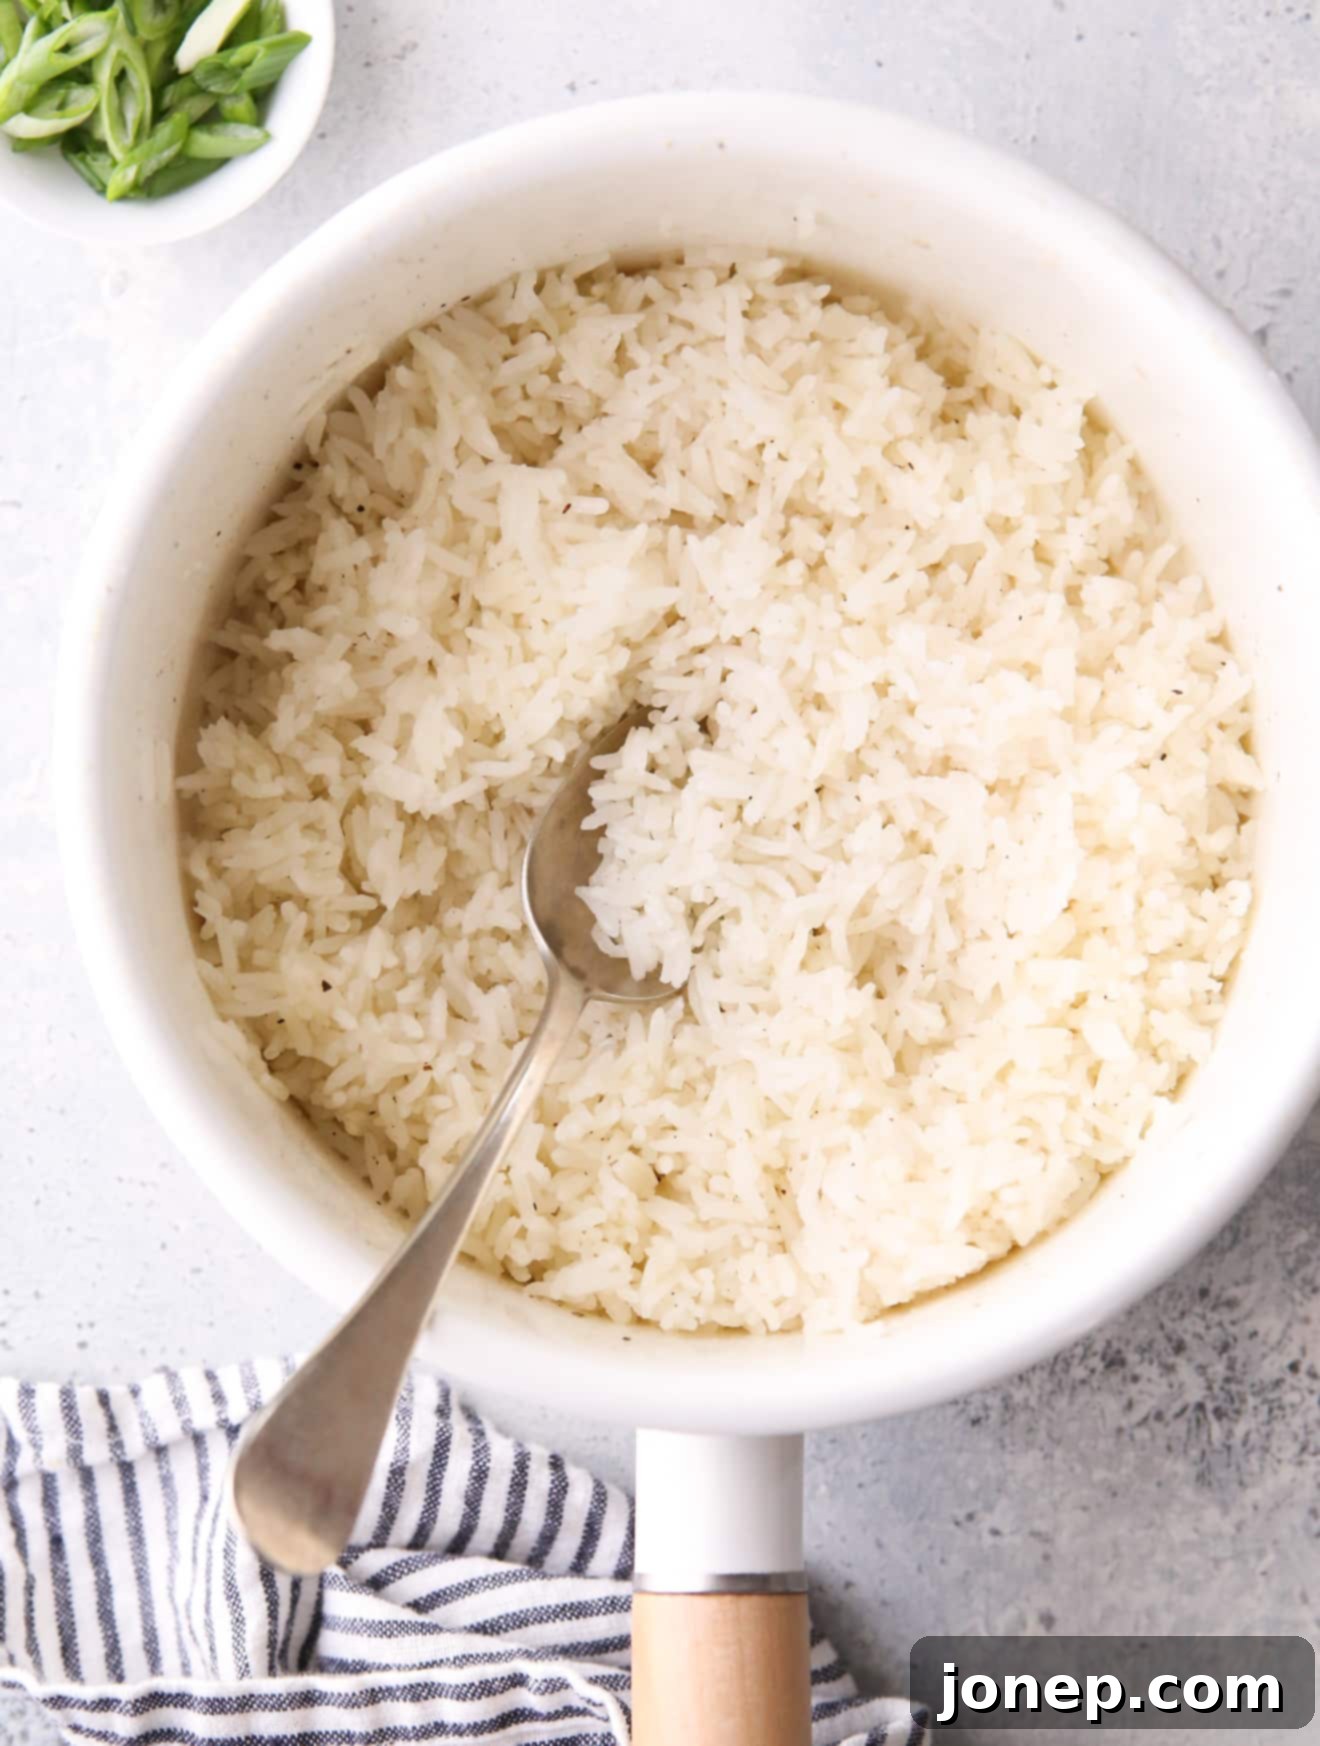
How to Cook Perfect Fluffy Stovetop White Rice: Your Foolproof Guide
Imagine perfectly cooked white rice—light, fluffy, and never sticky or burnt. For many, achieving this culinary ideal can feel like a daunting task, often resulting in gummy messes or stubbornly hard grains stuck to the bottom of the pot. But what if I told you there’s a simple, foolproof method that guarantees perfect results every single time, right on your stovetop?
Indeed, cooking flawless steamed white rice doesn’t require a fancy rice cooker, an Instant Pot, or any other specialized gadgets. All you truly need is a basic saucepan, a stove, and a timer. This comprehensive guide will walk you through a tried-and-true technique that not only produces wonderfully moist and separate grains but also infuses your rice with a subtle, delicious flavor, thanks to a touch of olive oil, salt, and pepper. Say goodbye to burned pots and hello to consistently perfect rice!
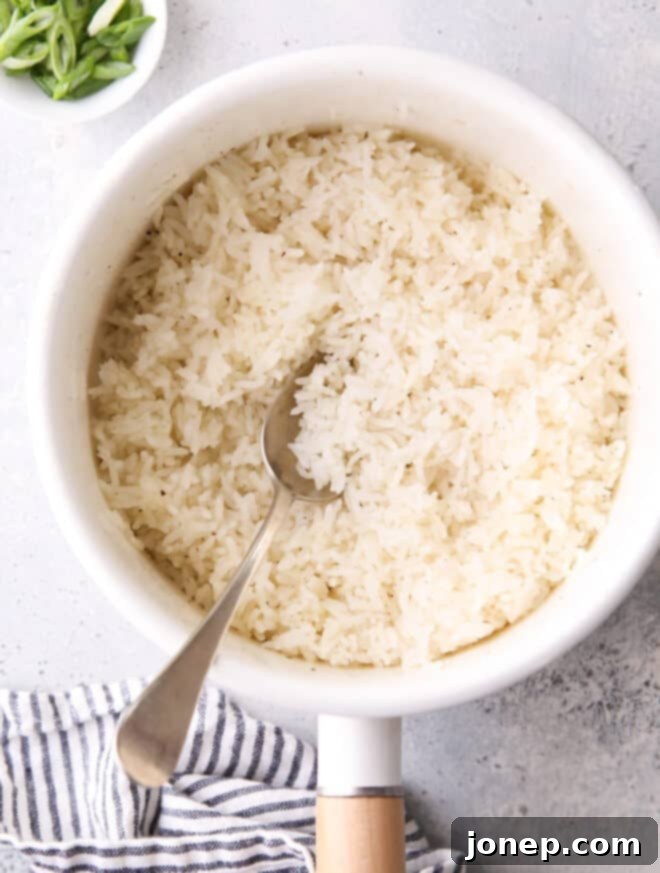
I’ve refined this stovetop method over countless meals, and I can confidently say I haven’t burned a pot of rice in years. It’s a skill that once mastered, becomes second nature, transforming your everyday meals. This isn’t just a recipe; it’s a fundamental technique that will elevate your home cooking and give you a dependable side dish whenever you need it. Let’s dive in and unlock the secrets to perfectly steamed white rice.
For those looking to explore different rice preparations, be sure to also check out my classic rice pilaf recipe for a rice side dish with even more flavor and flair.
Essential Ingredients for Perfect Steamed Rice
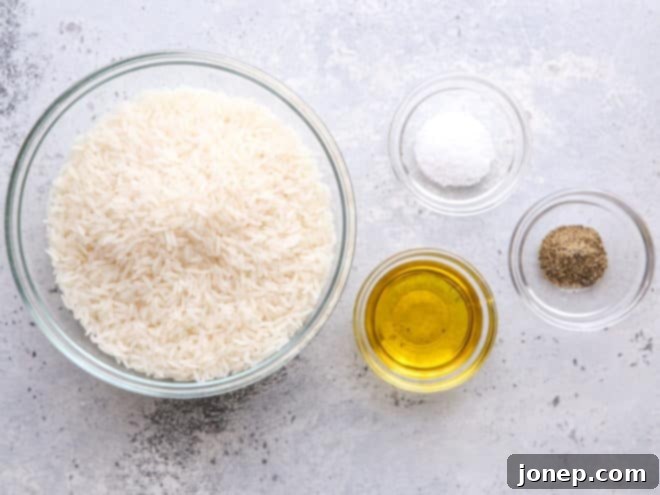
Achieving perfect steamed white rice starts with understanding the role of each ingredient. My method calls for just a few basics, but their quality and how they’re used make all the difference. Here’s a closer look at what you’ll need to gather before you begin:
- Long-Grained White Rice: The foundation of our dish. I highly recommend using varieties like Jasmine or Basmati. These types of rice have a delicate aroma and cook up light and fluffy, with grains that remain separate rather than clumping together. While technically you *can* use other white long-grain varieties, Jasmine and Basmati consistently deliver the best texture and flavor for this method.
- High-Quality Olive Oil: A tablespoon of olive oil is key for two reasons. First, it helps to lightly toast the rice, enhancing its natural flavor with a subtle nutty note. Second, it coats each grain, preventing them from sticking together and contributing to that desirable fluffy texture.
- Salt and Pepper: Simple seasonings that elevate the overall taste of the rice. Salt brings out the natural sweetness of the rice and ensures it’s not bland, while a touch of freshly ground black pepper adds a hint of warmth and depth. Adjust to your preference, but don’t skip them!
- Water: The magic behind steaming. The precise ratio of water to rice is critical. For this method, we use a 2:1 ratio (two parts water to one part rice), which is ideal for long-grain white rice, allowing it to fully absorb the liquid and become tender without becoming mushy.
Can I Use Other Kinds of Rice with This Method?
What about brown rice, wild rice, or short-grained rice like sushi rice and Arborio, etc? This particular method has been exclusively tested and perfected using long-grained white rice, such as Jasmine or Basmati, which are staples in my kitchen. The cooking times and water ratios specified in this recipe are tailored to these specific varieties.
While the basic principles of stovetop cooking might apply, different types of rice have distinct characteristics that require adjustments. Brown rice, for example, has its bran layer intact, requiring more water and a significantly longer cooking time. Wild rice is botanically a different grain altogether and demands different treatment. Short-grained rices, like sushi rice or Arborio, are designed to be stickier or creamier, and this method would likely not yield the desired texture for them. If you’re using another variety, you will definitely need to modify the water amounts and cooking duration, and I recommend consulting specific recipes for those grains to achieve the best results.
The Importance of Rinsing Rice (Optional but Recommended)
While not explicitly mentioned in the original steps, rinsing your rice can significantly impact its final texture. Rinsing removes excess starch from the surface of the grains, which is often responsible for sticky or gummy rice. For light and fluffy results, especially with Jasmine or Basmati, consider placing your rice in a fine-mesh sieve and rinsing it under cold running water until the water runs clear. This usually takes a minute or two. Be sure to drain it thoroughly before proceeding with the recipe.
How to Make Perfect Steamed Rice: Step-by-Step
This process is straightforward, but each step plays a crucial role in achieving that coveted light and fluffy texture. Follow these instructions carefully, and you’ll be rewarded with perfectly cooked rice every time.
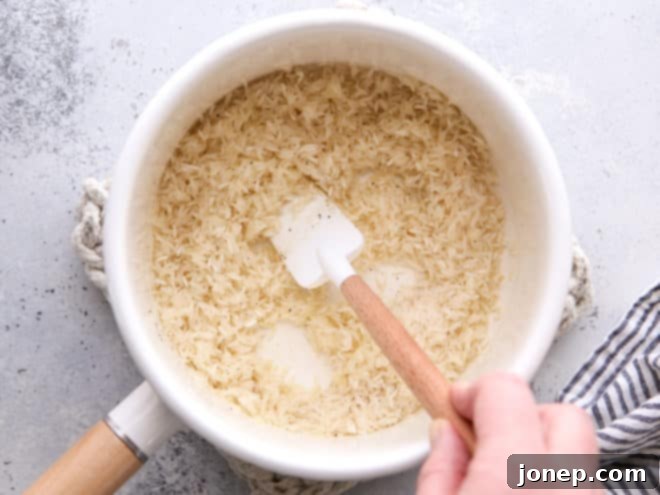
1. Toast Rice in Oil for Enhanced Flavor. Begin by heating one tablespoon of olive oil in a medium saucepan over medium heat for about one minute. The oil should be shimmering but not smoking. Add your measured rice, along with the coarse salt and ground black pepper. Stir the mixture continuously for approximately 30 seconds. During this time, ensure every grain of rice is evenly coated in the oil. You’ll notice some of the rice grains starting to turn slightly translucent around the edges. This brief toasting step is essential as it helps to develop a richer flavor in the rice and ensures the grains cook up distinctly, preventing them from clumping.
Tip for a Nutty Aroma: For an even deeper, more complex nutty flavor, you can extend the toasting time. Continue stirring the rice in olive oil for an additional 1-2 minutes until a few of the rice grains begin to turn a light golden brown. However, maintain vigilance and stir frequently to prevent any burning, which can ruin the taste. This extra step adds another layer of deliciousness!
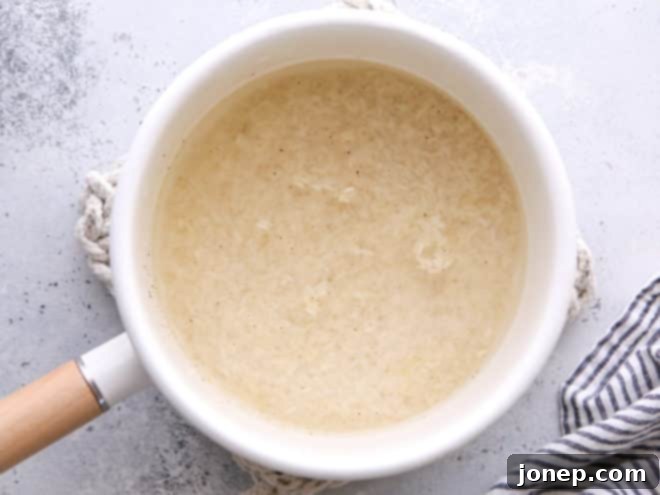
2. Add Water and Bring to a Vigorous Boil. Once the rice is toasted, it’s time to add the water. This recipe relies on a precise 2:1 water to rice ratio—meaning for every one cup of dry rice, you will add two cups of water. Pour the water into the saucepan with the toasted rice. Increase the heat to medium-high and bring the mixture to a rapid, rolling boil. It’s important to achieve a good boil before moving to the next step, as this ensures the rice starts cooking at the correct temperature and sets the stage for proper absorption.
Tip for Accurate Measurement: I’ve found that using the same measuring cup for both the rice and the water consistently yields the best results. While dry and liquid measuring cups are *supposed* to be equal, there can be subtle discrepancies that impact the final texture of the rice. Sticking to one cup for both measurements eliminates this variable and helps maintain the perfect ratio every time.
3. Cover and Simmer Precisely for 15 Minutes. As soon as the water reaches a vigorous boil, reduce the heat immediately to its lowest setting. Promptly cover the saucepan with a tight-fitting lid. This lid is critical as it traps the steam, which is essential for cooking the rice evenly and thoroughly. Set a timer for exactly 15 minutes. Do not guesstimate or “wing it” – precise timing is key to preventing undercooked or overcooked rice. Resist the urge to lift the lid during this simmering period, as releasing the steam will disrupt the cooking process.
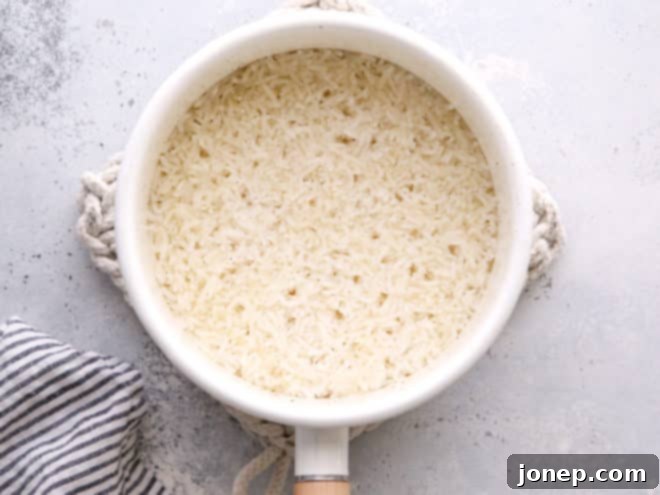
4. Turn Off Heat and Let it Sit for 5 Minutes (or More). As soon as your 15-minute timer goes off, turn off the stove completely. However, *do not remove the lid or move the saucepan*. Let the rice sit undisturbed in the covered pan for at least 5 minutes. This resting period is a non-negotiable step for truly perfect rice. There’s plenty of residual heat and steam trapped inside the pan to finish cooking the rice gently and evenly. This also allows the moisture to redistribute throughout the grains, resulting in a lighter, fluffier texture and preventing any stickiness or burning on the bottom. You can even let it sit for up to 10-15 minutes if you’re preparing other parts of your meal, without any risk of overcooking.
The “No Peeking” Rule: This is perhaps the most important rule. Lifting the lid releases the trapped steam, dropping the temperature inside the pot, and halting the delicate steaming process. This can lead to unevenly cooked rice, where the top grains are still hard while the bottom ones might be mushy.
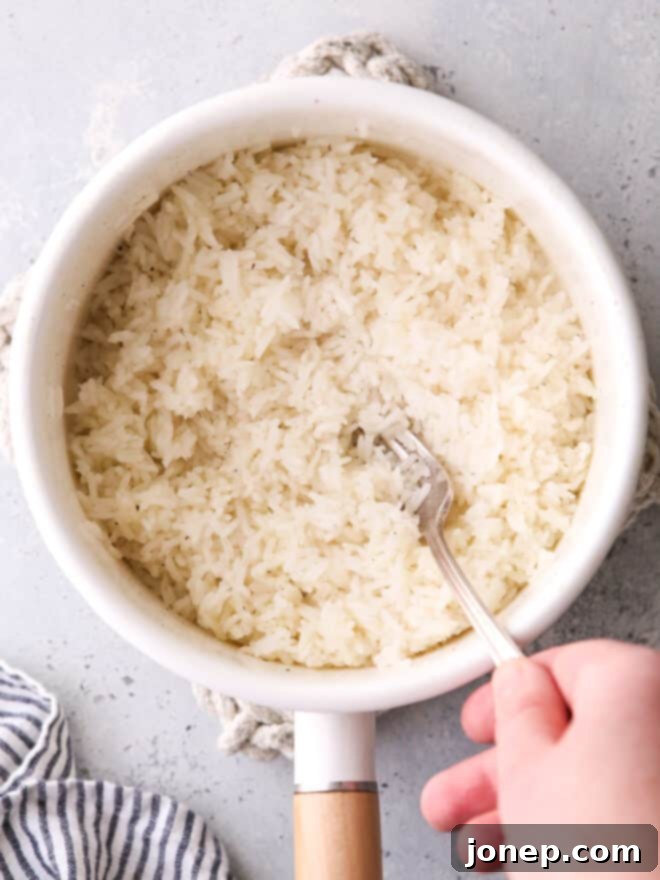
5. Fluff with a Fork and Serve Immediately. After the resting period, gently remove the lid. You’ll be greeted with perfectly cooked rice! Take a fork and gently fluff the rice, working from the edges towards the center. This separates the grains, releases any remaining steam, and creates that wonderful light and airy texture. Your rice is now ready to be served and enjoyed as a delicious, moist, and fluffy accompaniment to any meal.
Troubleshooting Common Rice Cooking Issues
Even with a foolproof method, sometimes things go awry. Here’s how to address common issues and ensure your rice always turns out perfectly:
- Rice is too sticky/mushy: This usually means there was too much water, the lid was lifted too often, or the rice wasn’t rinsed. Ensure precise water measurement, rinse your rice thoroughly before cooking, and resist peeking during simmering and resting.
- Rice is too hard/crunchy: Not enough water, not enough cooking time, or too much steam escaped. Double-check your water-to-rice ratio, make sure your lid is tight-fitting, and ensure the full simmering and resting times are observed. If it’s still hard, you can try adding a tablespoon or two of hot water, re-covering, and letting it sit for another 5 minutes off the heat.
- Rice burned on the bottom: This happens if the heat was too high during simmering, or you didn’t reduce it enough after boiling. Ensure the heat is truly on its lowest setting once it boils. The resting period on residual heat helps prevent this, allowing the rice to finish cooking gently.
Creative Variations to Elevate Your Steamed Rice
While this recipe focuses on classic plain white rice, it serves as a fantastic base for various flavor enhancements. Don’t be afraid to experiment and customize your rice to complement your meal!
- Herb Infusion: Add a sprig of fresh rosemary, thyme, or a bay leaf to the pot with the water for an aromatic twist. Remove the herbs before serving.
- Garlic & Onion: Sauté finely minced garlic or a small amount of diced onion in the olive oil *before* adding the rice for an extra layer of savory flavor.
- Broth Instead of Water: For a richer, more savory taste, substitute vegetable or chicken broth for the water. This adds depth and umami, making the rice a more substantial side dish.
- Citrus Zest: Stir in a teaspoon of lemon or lime zest with the water for a bright, refreshing note, especially good with seafood or chicken dishes.
- Butter or Ghee: For extra richness and a silky texture, swirl in a knob of butter or ghee right before fluffing the rice with a fork.
- Coconut Milk: For an exotic twist, replace half the water with full-fat coconut milk. This adds a creamy texture and sweet, nutty flavor, perfect for curries.
Storing and Reheating Cooked Rice Safely
Cooked rice can be a fantastic meal prep component, but proper storage is essential to prevent foodborne illness, as rice can quickly develop bacteria if left at room temperature.
- Cool Quickly: To minimize bacterial growth, cool cooked rice as quickly as possible. Spread it out on a shallow plate or baking sheet in a thin layer to cool down within one hour.
- Refrigerate Promptly: Once cool, transfer the rice to an airtight container and refrigerate within one hour of cooking. It can be safely stored in the refrigerator for up to 3-4 days.
- Freezing: Cooked rice freezes beautifully! Portion it into freezer-safe bags or containers (flatter portions thaw faster) and freeze for up to 1 month. Thaw in the refrigerator overnight before reheating, or reheat directly from frozen using the methods below.
- Reheating: To reheat, add a tablespoon or two of water or broth per cup of rice to a microwave-safe bowl or saucepan. Cover and heat gently until steaming hot throughout. Stir occasionally to ensure even heating. Avoid reheating rice more than once, and always ensure it’s piping hot (at least 165°F / 74°C) before serving.
Rice is the Perfect Side Dish for These Meals
Versatile and satisfying, perfectly steamed white rice is an ideal accompaniment to a vast array of cuisines and main dishes. Its neutral flavor profile makes it a blank canvas, ready to absorb the flavors of whatever it’s served alongside. Here are just a few ideas to inspire your next meal:
- Stir-fries and Asian-Inspired Dishes: The classic pairing. From General Tso’s Chicken to a simple Beef and Broccoli Stir Fry, fluffy rice soaks up delicious sauces beautifully, balancing the rich and savory notes.
- Curries and Stews: Whether it’s a rich Indian curry, a vibrant Thai green curry, or a hearty, slow-cooked stew, rice is essential for soaking up every last drop of flavorful sauce.
- Grilled or Roasted Meats and Fish: A light and simple side for a perfectly cooked Slow Cooker Rosemary Balsamic Pork Roast or Simplest Lemon-Herb Roasted Salmon. It provides a clean counterpoint to rich flavors.
- Chicken and Seafood Dishes: Provides a comforting and absorbent base for saucy chicken dishes like Easy Skillet Chicken with Herb Butter Sauce, or a fresh seafood sauté.
- Bean and Lentil Dishes: Many global cuisines pair rice with legumes for a complete and nourishing meal. Think black beans and rice, or a comforting lentil dahl.
- Vegetable Sides: Serve alongside steamed or roasted vegetables for a light, wholesome, and healthy meal.
No matter your main course, a bowl of perfectly cooked, fluffy white rice will complete the meal with elegance and ease, adding a comforting and satisfying element to your plate.
Shop Tools for this Recipe
Having the right tools can make all the difference in the kitchen, simplifying the cooking process and helping you achieve consistent, excellent results. Here are some essentials that will help you achieve perfect steamed rice every time, and make your cooking experience smoother:
- Heavy-Bottomed Saucepan with a Tight-Fitting Lid: A good quality, heavy-bottomed saucepan ensures even heat distribution, preventing hot spots that can lead to burning. A tight-fitting lid is paramount for trapping steam and allowing the rice to cook perfectly through absorption.
- Accurate Measuring Cups: As emphasized in the tips, using the same set of measuring cups for both dry rice and water ensures the correct ratio, which is crucial for fluffy rice. Consistency here is key.
- Fine-Mesh Sieve (Optional, but Recommended): Ideal for rinsing rice to remove excess starch, which leads to less sticky, more separate grains. It’s a small step that makes a big difference in texture.
- Kitchen Timer: An absolute must! Precise timing is key to this foolproof method, especially during the simmering and crucial resting phases. Avoid guessing; set that timer!
- Sturdy Fork: For gently fluffing the rice at the end, separating the grains without mashing them. This final step enhances the light and airy texture.

Perfect Steamed Rice
Pin Recipe
Leave a Review
Ingredients
- 1 tablespoon olive oil
- 1 cup long-grained white rice (I prefer Jasmine or Basmati)
- 2 cups water
- ½ teaspoon coarse salt
- ¼ teaspoon ground black pepper
Instructions
-
Heat olive oil in a saucepan over medium heat for about a minute. Add rice, salt and pepper.
-
Stir mixture for about 30 seconds, until rice is evenly coated in the oil and some of the rice grains appear to turn translucent.
-
Add the water to the saucepan, increase heat to medium high heat and bring mixture to a boil.
-
As soon as mixture boils, reduce heat to low and cover saucepan with a lid. Set a timer for 15 minutes.
-
When timer is done, turn stove off but leave saucepan as it is, do not open the lid. Let it sit for at least 5 minutes, or until ready to serve.
-
Before serving, fluff gently with a fork.
Mastering the art of cooking perfect stovetop white rice is a fundamental skill that will serve you well in countless culinary adventures. With this foolproof method, the days of burnt, sticky, or undercooked rice are officially behind you. Embrace the simplicity of a saucepan, a timer, and a few basic ingredients, and you’ll consistently achieve light, fluffy, and flavorful rice that complements any meal.
This guide provides all the tips and tricks you need to become a rice-cooking pro. From understanding the importance of proper measurement and timing to discovering clever variations and storage tips, you’re now equipped to create a side dish that’s anything but an afterthought. So, go ahead, grab your long-grain rice, and get ready to impress yourself and your loved ones with perfectly steamed rice!
