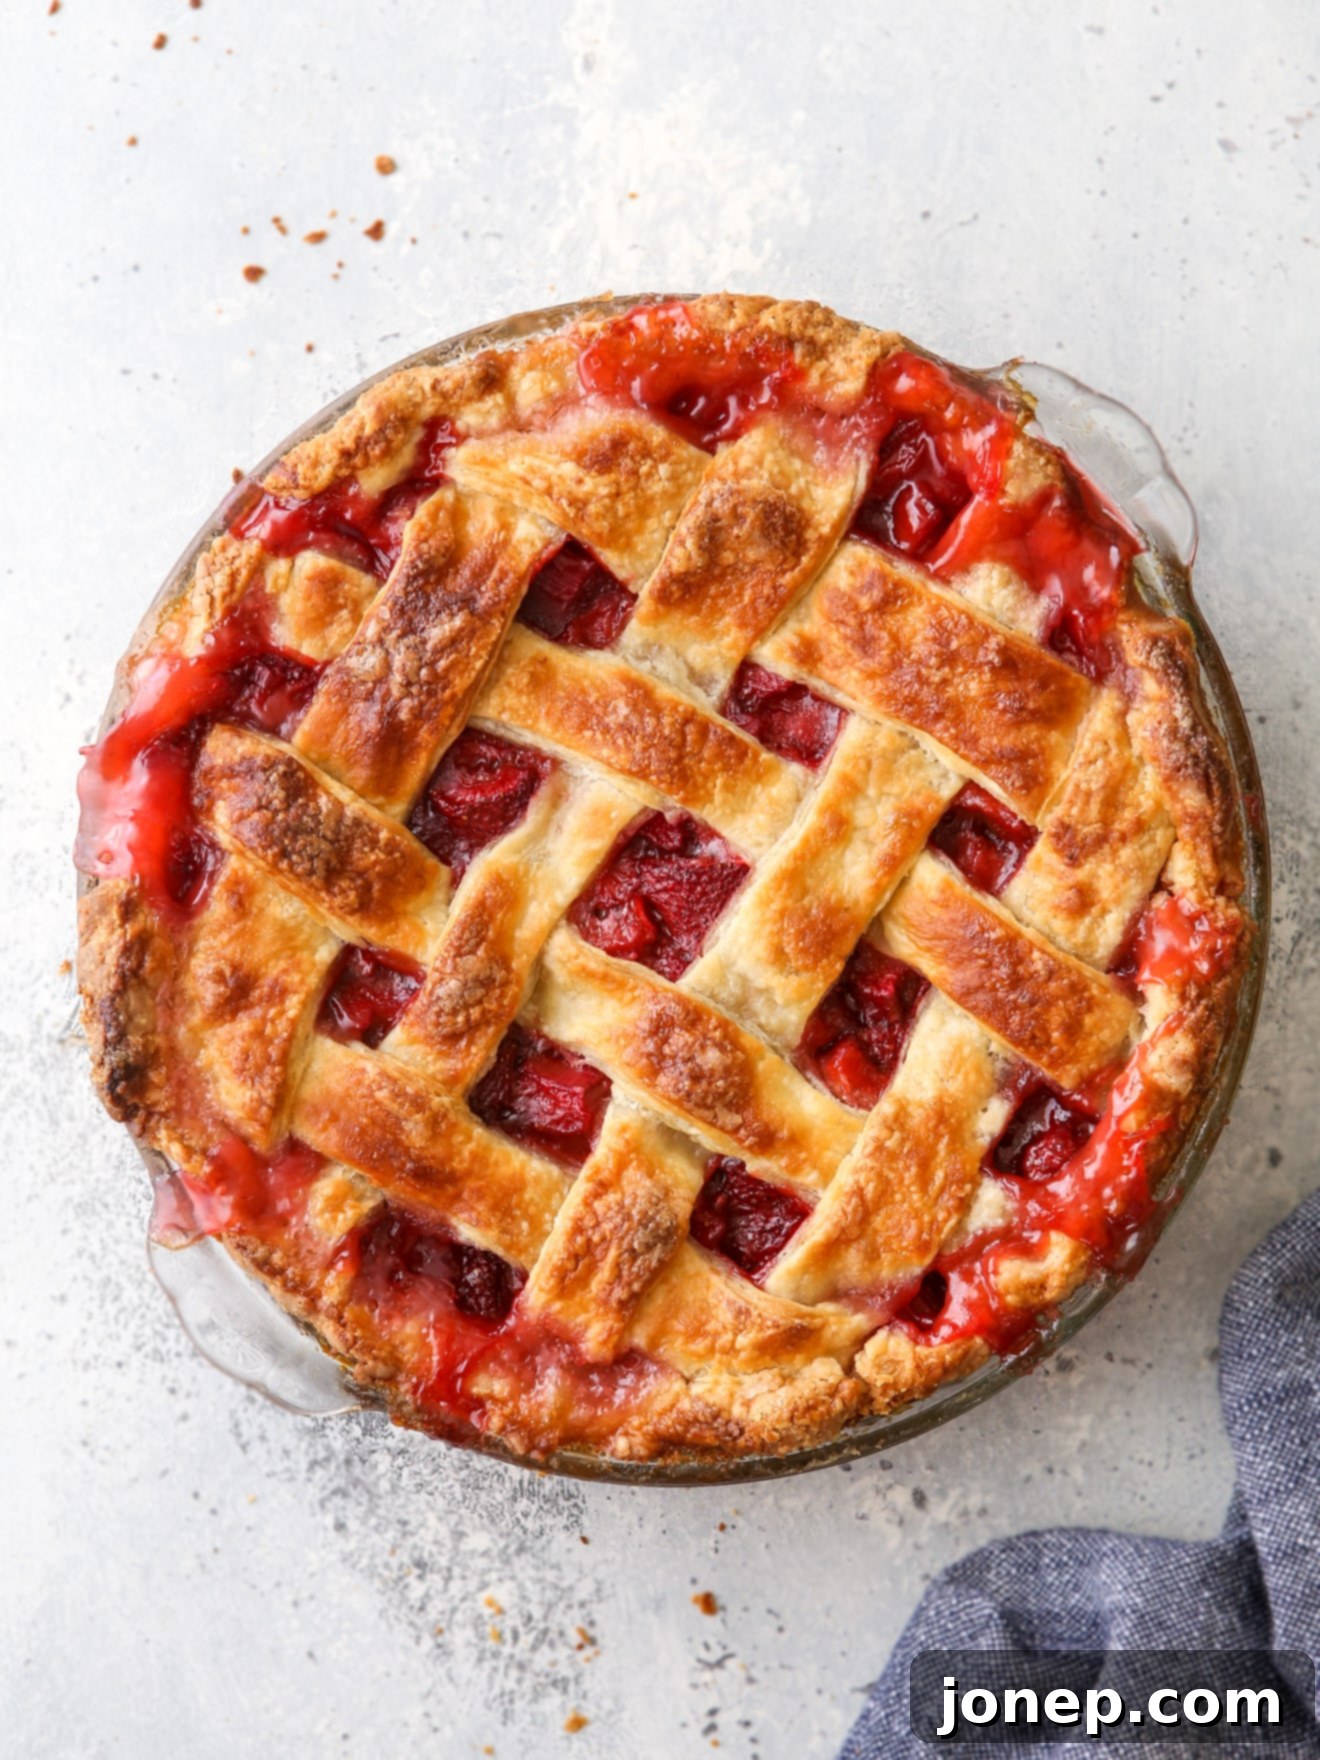
The Ultimate Classic Strawberry Rhubarb Pie Recipe: Sweet, Tart & Perfectly Flaky
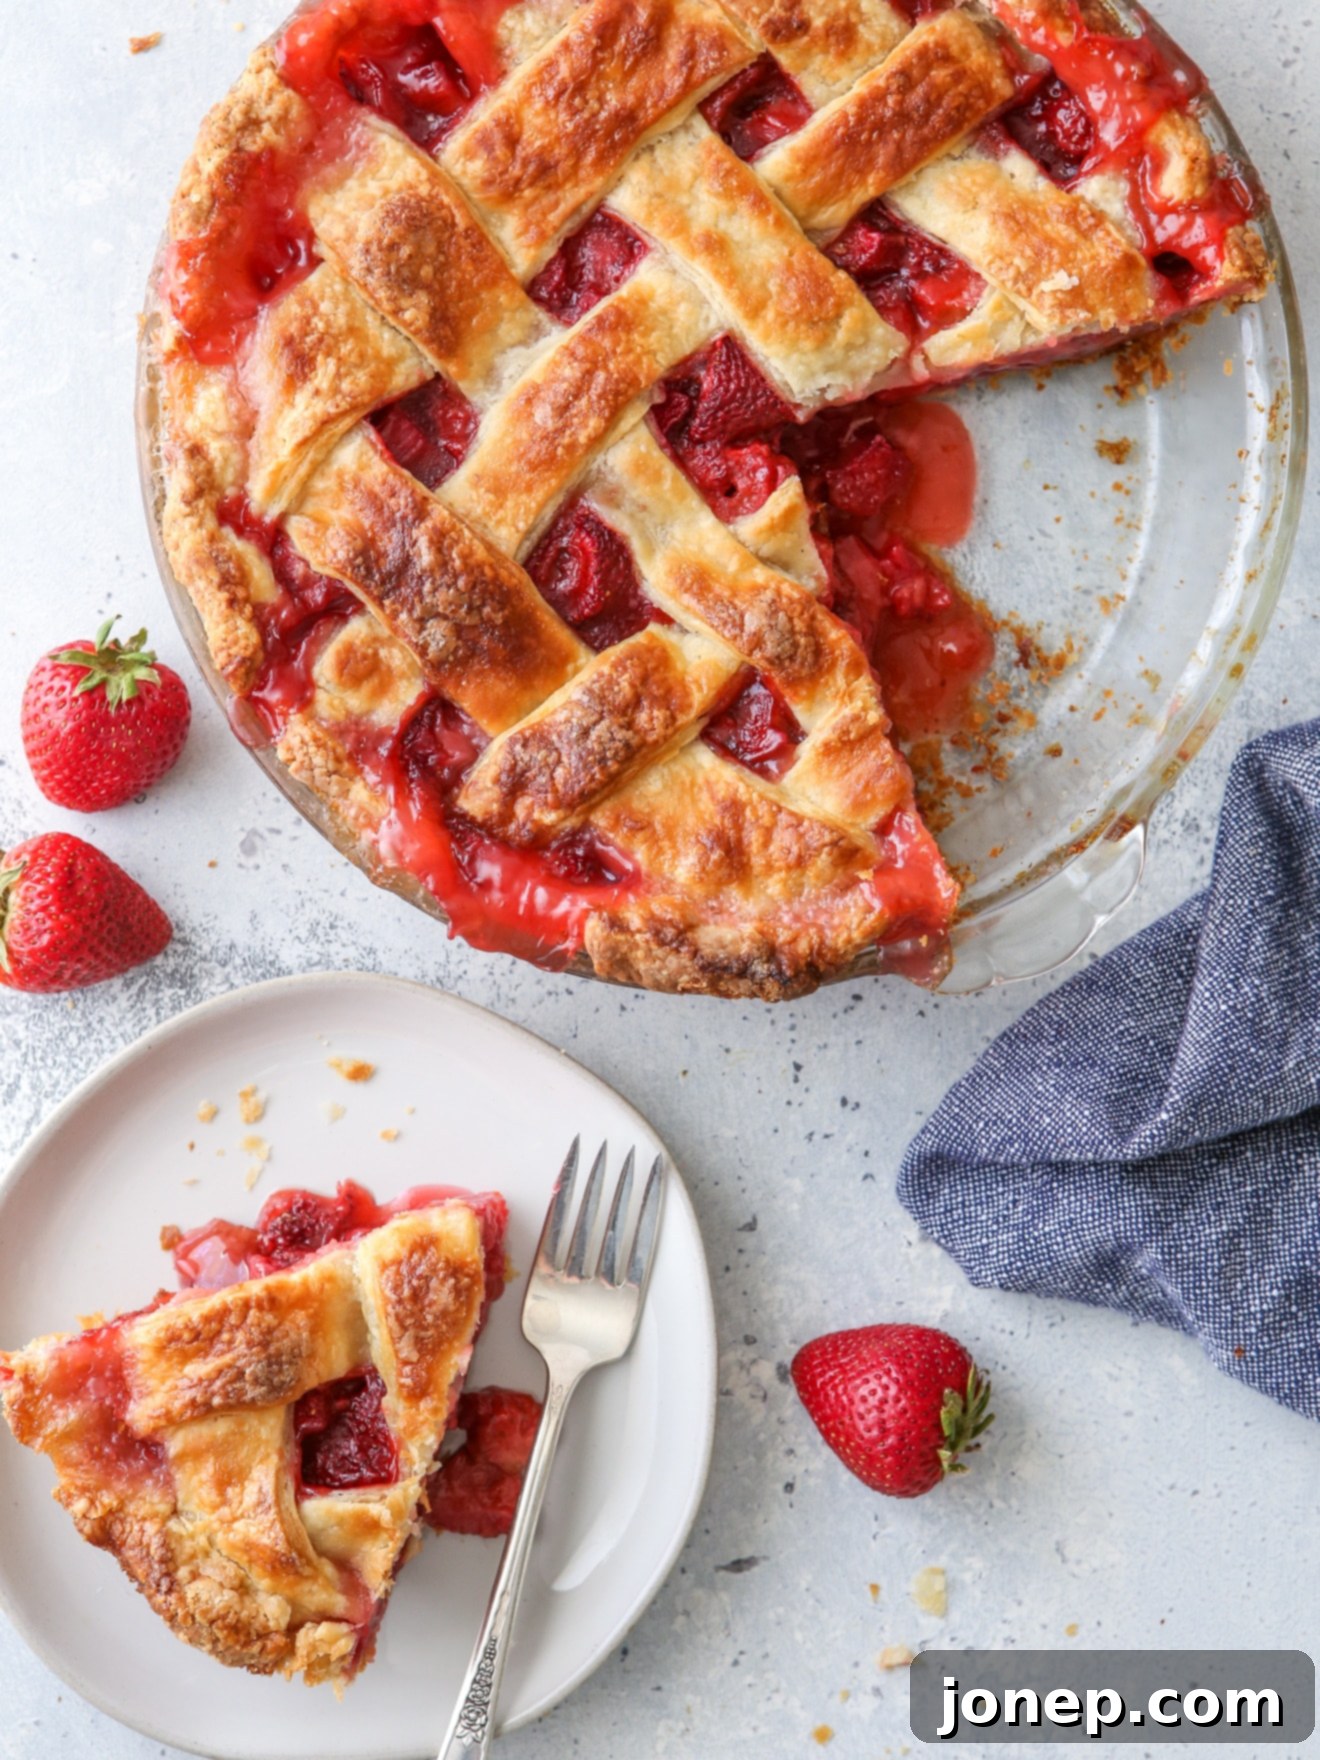
There are some desserts that just need no fuss, no fancy adornments, and no over-the-top embellishments to capture your heart. Classic strawberry rhubarb pie is precisely one of them. With just a single bite, you’ll understand why this delightful combination of juicy, sweet strawberries, brightly tart rhubarb, and a wonderfully flaky, buttery pie crust has legions of fans and remains a quintessential treat for spring and summer. It’s truly a taste that defines the season, bringing together contrasting flavors in perfect harmony.
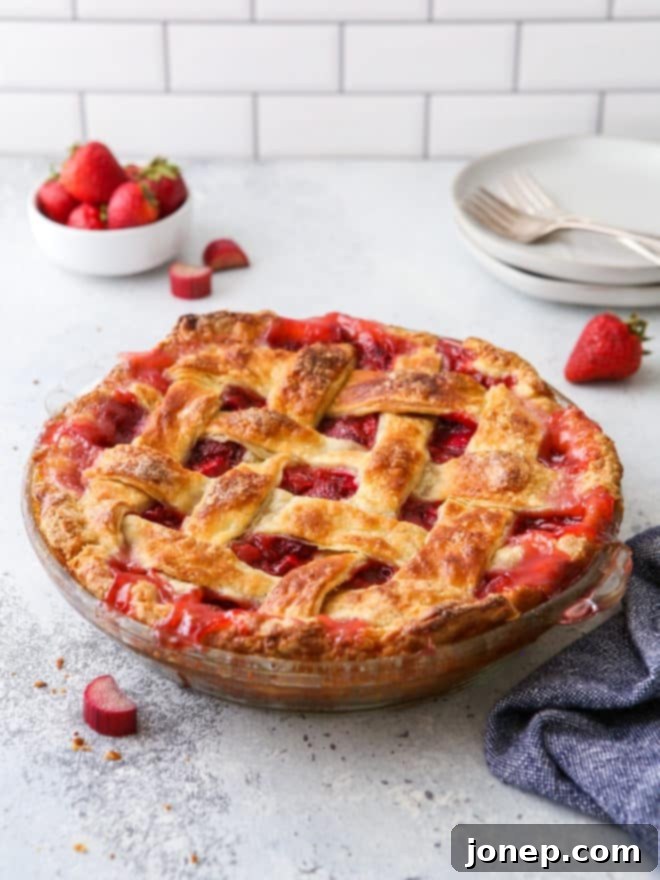
Year after year, as soon as rhubarb appears in season, my friends and family eagerly request this pie, and I happily oblige. It’s more than just a recipe; it’s a cherished tradition and one of my absolute favorite desserts to bake. The process of transforming humble ingredients into something so spectacular is incredibly rewarding, and the resulting aroma filling the kitchen is simply intoxicating.
If you’re new to baking with rhubarb, please don’t let its unique appearance or tart reputation deter you. It’s surprisingly easy to work with and readily available in grocery stores and farmer’s markets during the spring and early summer months. Many who have savored a slice of this magnificent pie will tell you without hesitation that the vibrant flavor it brings makes every bit of effort utterly worthwhile.
This fantastic and relatively simple recipe is a beloved adaptation, inspired by the classic Betty Crocker strawberry rhubarb pie. I’ve been perfecting it for years, and I can confidently say, it’s truly the BEST. Its balanced flavors and perfect texture make it a standout. For an unforgettable dessert experience, serve warm slices with a generous scoop of creamy vanilla ice cream or a dollop of sweetened whipped cream. Prepare to enjoy one of the most comforting and delicious seasonal desserts imaginable.
Table of Contents
- Ingredients You’ll Need for the Perfect Pie
- Using Fresh or Frozen Fruit
- Is Rhubarb Hard to Find? Sourcing Tips
- How to Bake the Best Strawberry Rhubarb Pie: Step-by-Step Guide
- Expert Tips for Making a Perfect Pie Every Time
- Mastering Your Pie Crust
- Essential Pie Baking Pointers
- Storage & Make-Ahead Strategies
- More Delightful Strawberry Rhubarb Recipes
- Get the Full Recipe Card
Ingredients You’ll Need for the Perfect Pie
Crafting this incredible strawberry rhubarb pie starts with a selection of fresh, quality ingredients. Here’s what you’ll need, along with a few insights into each component:
- Double Crust Pie Dough: This is the foundation of your pie! A truly flaky, buttery crust is essential for complementing the sweet-tart filling. I wholeheartedly recommend using my buttermilk pie crust recipe for its superior flavor and texture. It truly elevates this pie to another level.
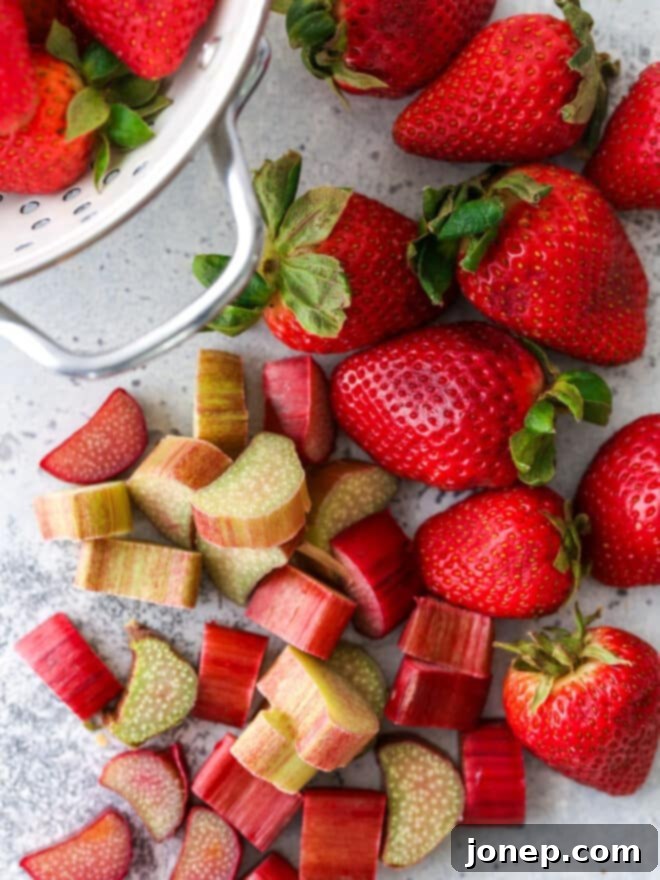
- Fresh Strawberries: Look for ripe, vibrant red strawberries that are firm and fragrant. They provide the natural sweetness and beautiful color to the filling.
- Fresh Rhubarb: The tart hero of this pie! Choose firm, crisp stalks, typically reddish-pink to green. Its sour notes perfectly balance the sweetness of the strawberries.
- Orange Zest or Lemon Zest: A touch of citrus zest brightens all the fruit flavors and adds a subtle aromatic complexity to the filling. Don’t skip this for an extra layer of taste!
- Granulated Sugar: Essential for sweetening the tart rhubarb and enhancing the strawberries. The amount is carefully balanced to ensure a harmonious sweet-tart profile.
- Cornstarch: This acts as our primary thickener, ensuring the pie filling sets beautifully and isn’t too runny, allowing for clean, elegant slices.
- Salt: Just a pinch of salt is crucial for enhancing all the other flavors, making the fruit taste even fruitier and balancing the sweetness.
- Egg (for egg wash): A simple egg wash (one whisked egg with a touch of water) brushed over the top crust before baking gives the pie a gorgeous golden-brown, glossy finish.
Using Fresh or Frozen Fruit
While I typically bake this pie in the glorious embrace of spring, when both fresh rhubarb and luscious strawberries are at their peak and readily available, don’t despair if you crave this pie outside of peak season! This recipe is wonderfully adaptable, allowing you to use either fresh or frozen chopped rhubarb and strawberries.
Expert Tip: Both rhubarb and strawberries contain a significant amount of moisture. If you’re using frozen fruit, I highly recommend thawing it completely before you begin. Once thawed, gently strain away any excess liquid. This crucial step helps prevent a watery pie filling, ensuring your pie sets up beautifully for those picture-perfect slices.
Is Rhubarb Hard to Find? Sourcing Tips
Rhubarb often sparks questions about its availability. In my experience, many local grocery stores reliably stock fresh rhubarb from around April to June, and sometimes even extending into the later summer months. It’s worth getting to know the produce section of your local markets; don’t hesitate to ask the produce manager if they can order some for you – often, they are happy to accommodate!
Another excellent source for fresh, seasonal rhubarb is your local farmer’s market. Not only will you find incredibly fresh produce, but you’ll also be supporting local growers. If fresh isn’t an option, remember that you can always buy frozen rhubarb online or in the frozen fruit section of larger supermarkets, ensuring you can enjoy this pie year-round.
How to Bake the Best Strawberry Rhubarb Pie: Step-by-Step Guide
Baking this classic pie is a straightforward and enjoyable process. Follow these detailed steps for a truly exceptional result:
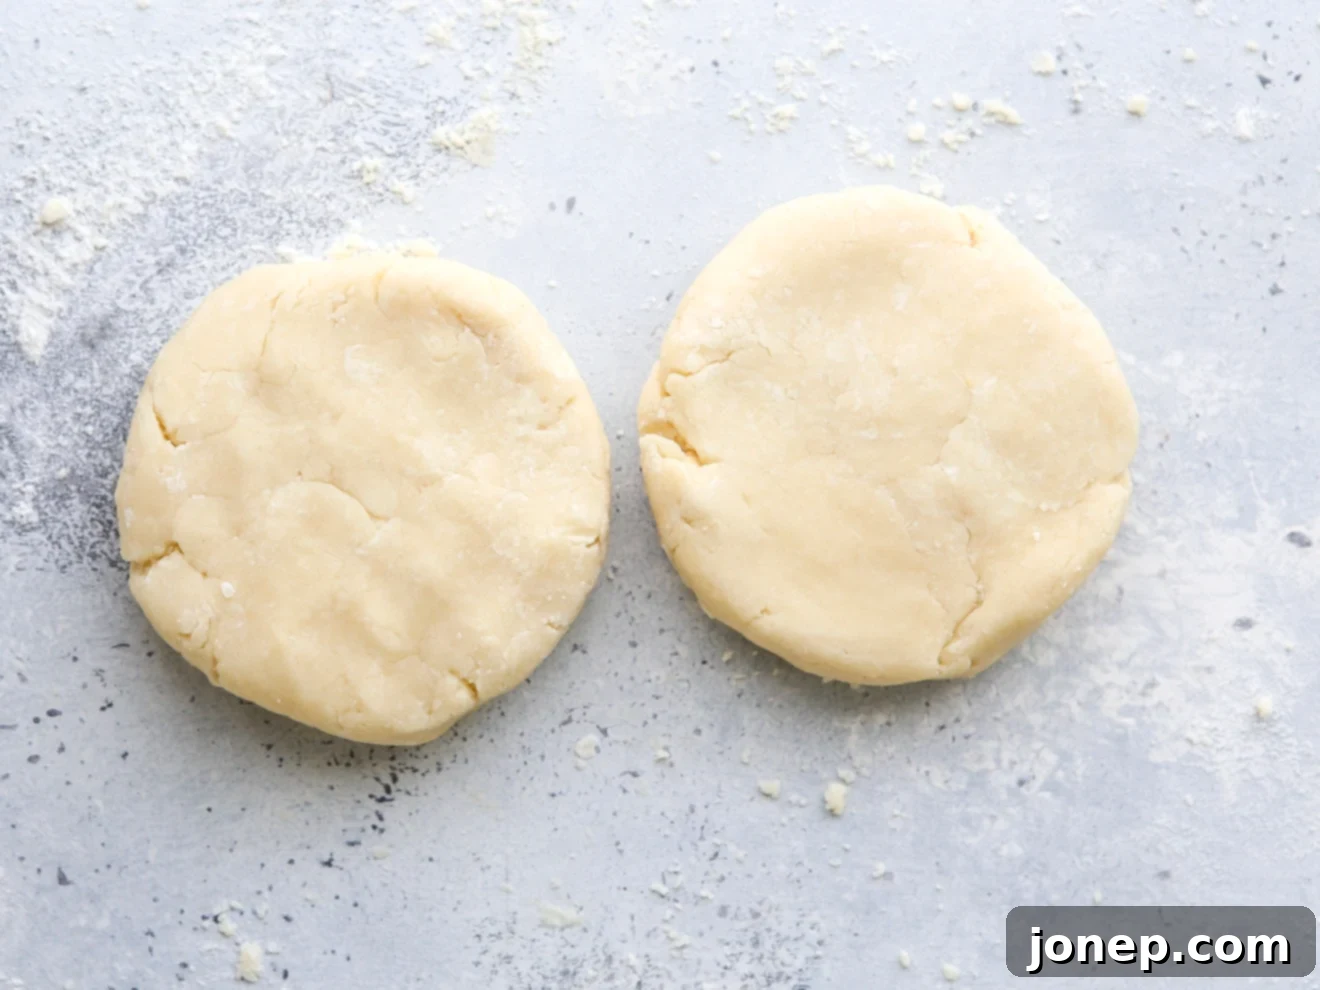
- Prepare and Chill Pie Crust: Begin with your prepared double pie crust dough. For the best flaky texture, it’s absolutely essential that your pie crusts are well-chilled in the refrigerator for at least 2 hours before you start assembling the pie. This helps the butter stay cold and prevents a tough crust.
- Roll Out Pie Crusts: On a lightly floured surface, carefully roll out one half of your chilled pie dough into a rough 13-inch circle. Gently transfer this circle to a 9-inch pie dish, carefully pressing it into the bottom and up the sides without stretching. Roll out the second pie crust as well. Decide if you want a solid top crust (and remember to cut steam vents) or if you’d like to create an elegant lattice topping (cut into strips for this option). Have it ready to go.

Ensuring your pie dough is properly chilled and ready for rolling is key to a flaky crust. - Combine Filling Ingredients: In a large mixing bowl, whisk together the granulated sugar, cornstarch, orange or lemon zest, and a pinch of salt until well combined. This ensures even distribution of the thickener and flavor enhancers. Then, add your prepared chopped strawberries and rhubarb. Gently toss the fruit with the dry mixture until every piece is coated.

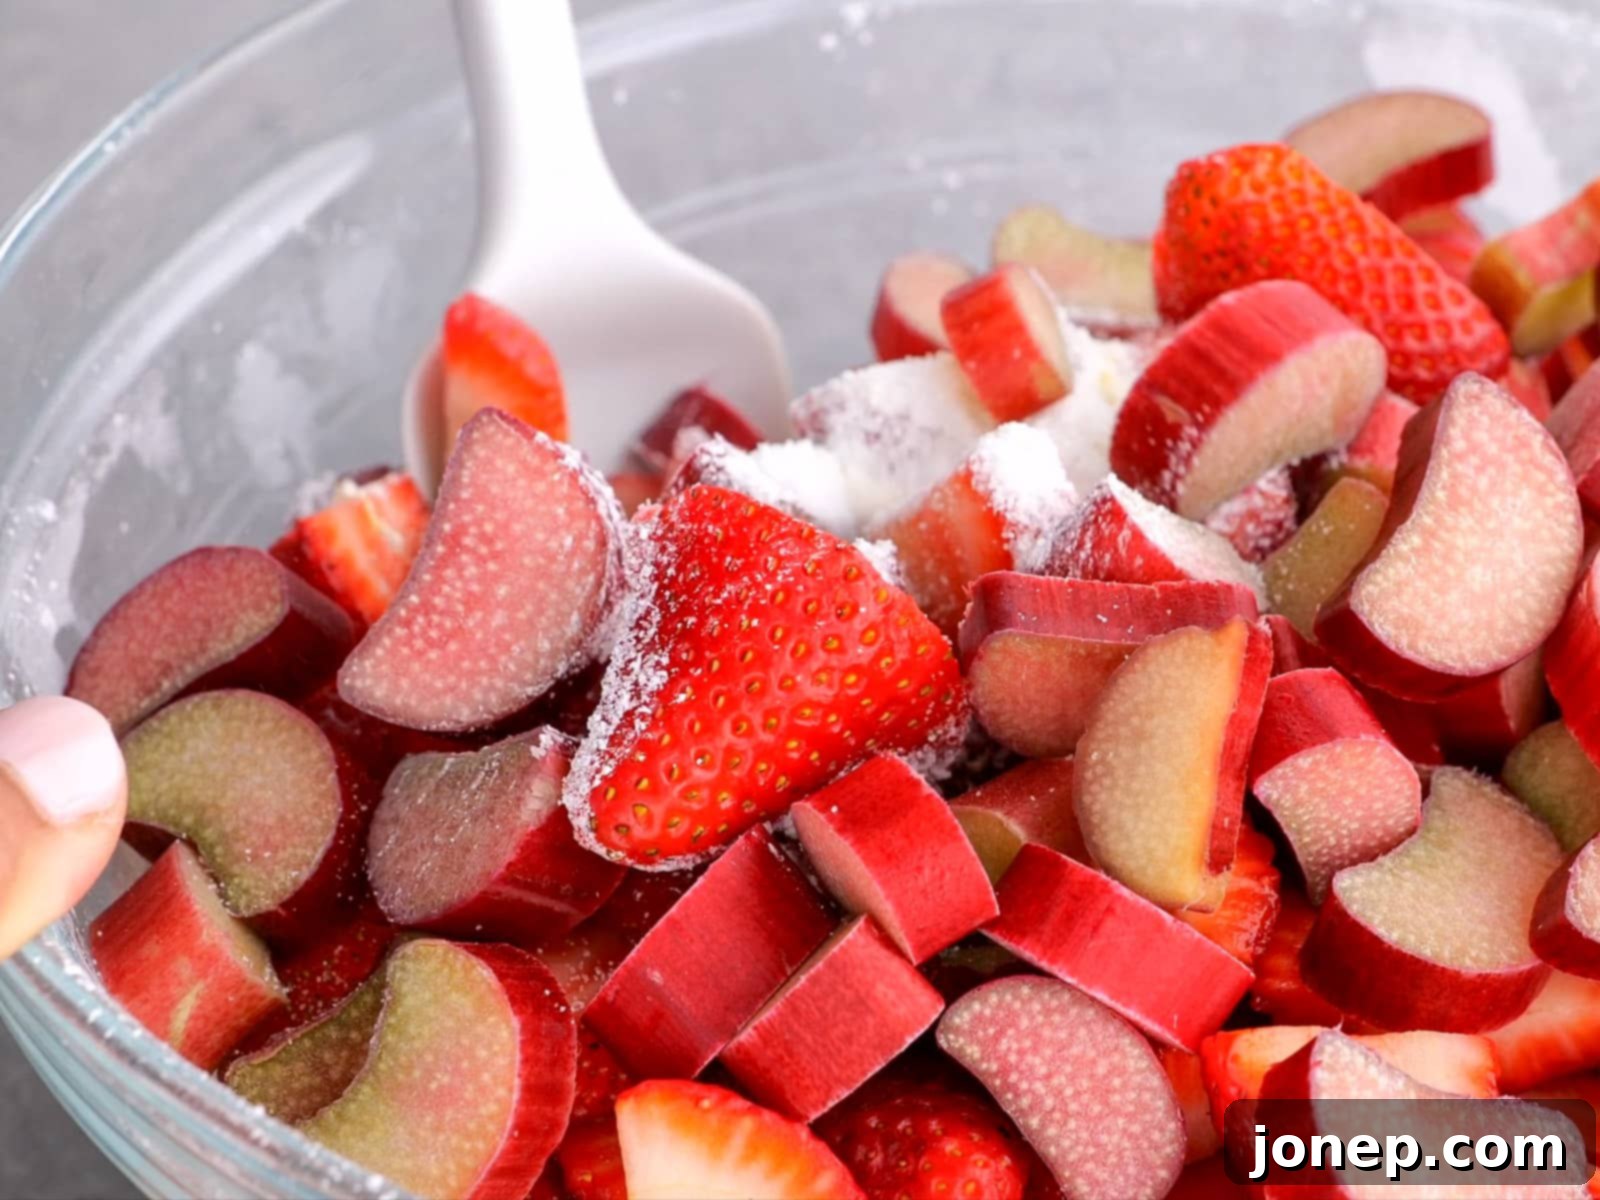
Mixing the vibrant strawberry and rhubarb filling with sugar and thickener. - Assemble the Pie: Pour the luscious fruit filling evenly into the bottom pie crust already situated in your pie dish. Carefully place your prepared top crust over the filling – whether it’s a solid circle or intricate lattice strips. Once the top is in place, firmly pinch the top and bottom crusts together around the edges, then gently tuck them under to create a neat seal. Crimp the edges decoratively as desired for a beautiful finish.

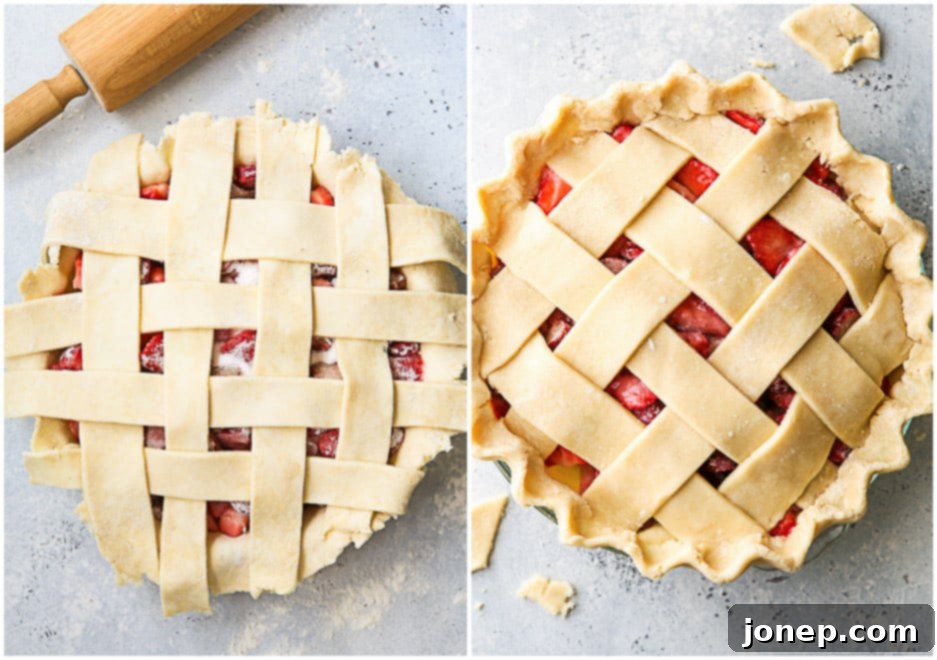
Carefully adding a beautiful lattice topping to the strawberry rhubarb pie. - Bake to Perfection: Brush the entire top surface of the pie with your egg wash to ensure a golden, shiny crust. Place the pie on a baking sheet (to catch any potential drips) and bake in a preheated 400°F (200°C) oven for approximately 60-75 minutes. You’ll know it’s done when the crust is a rich golden brown and, crucially, the filling is visibly bubbling thickly in the center of the pie, not just around the edges. This bubbling indicates the cornstarch has activated, ensuring a set filling.
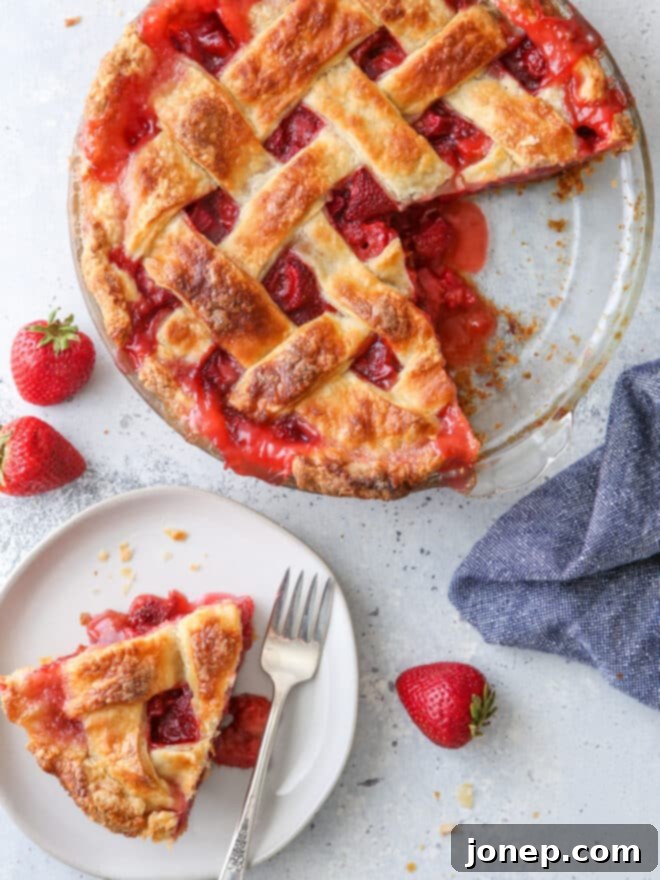
- Let Cool Completely: This step is arguably the most important for a perfectly set pie. Remove the pie from the oven and allow it to cool completely to room temperature, which can take about 2-3 hours. Resisting the urge to cut into it early will be hard, but it’s vital for the filling to fully set, resulting in clean, beautiful slices. Then, finally, enjoy! For an extra special treat, I highly recommend serving slices topped with a scoop of premium vanilla ice cream or a cloud of homemade whipped cream.

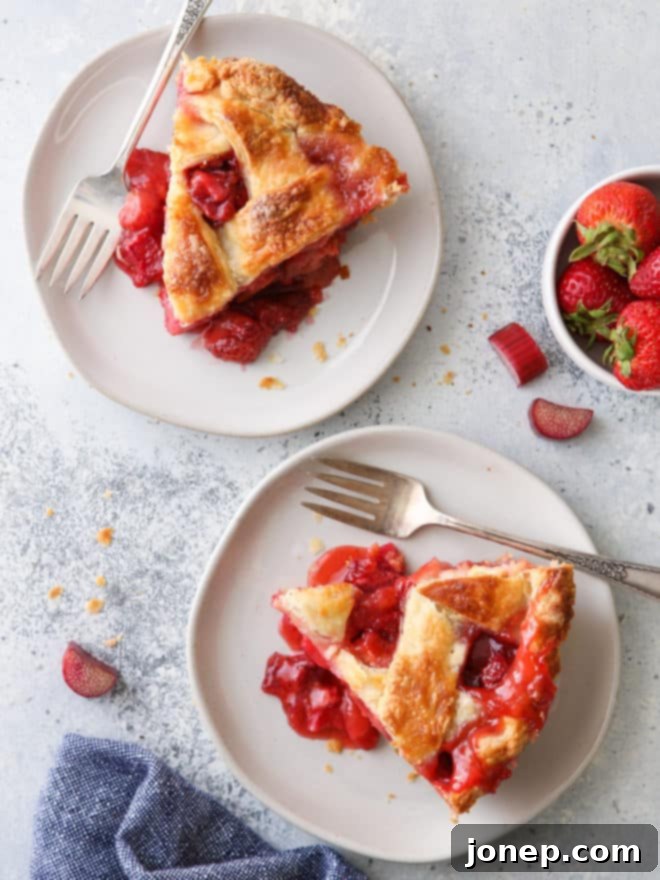
The finished, beautifully baked strawberry rhubarb pie, golden and bubbly.
Baking Tip: How to Achieve a Perfectly Set Pie Filling (No More Runny Pies!)
Fruit pies, with their high moisture content, can sometimes be a bit tricky to get just right. “Why is my pie filling so runny?” is a question often asked by home bakers. Achieving a thick, beautifully set filling that yields clean slices is totally achievable with these key suggestions:
- Stick to the Recipe’s Ratios: It’s tempting to adjust ingredients, but resist the urge to alter the amounts of fruit, sugar, and thickener (like cornstarch or flour) listed in the recipe. Changing this delicate balance will directly impact how well the filling sets. Adding more fruit without increasing the thickener will add excess moisture, while reducing the thickener will lessen its binding power.
- Ensure Complete Baking: This is a common pitfall! Cornstarch, specifically, needs to reach a boiling temperature to fully activate and thicken the filling. Don’t pull your pie out of the oven until you see the filling vigorously bubbling up in the very center of the pie, not just around the edges. This ensures the thickener has done its job.
- Allow the Pie to Cool Fully: Patience is a virtue when it comes to fruit pies! The filling isn’t truly set until the pie has cooled down completely to room temperature. If you slice into a warm pie, the filling will almost certainly be runny. Give it the recommended 2-3 hours (or even more for very large pies) to cool and firm up.
Expert Tips for Making a Perfect Pie Every Time
Having baked countless pies over the years, I’ve gathered a wealth of knowledge to share. You’ll find answers to many common pie baking FAQs here, but for even more in-depth advice, check out my comprehensive article on the best tips for making perfect pies!
Mastering Your Pie Crust
A phenomenal pie starts with an equally phenomenal crust. Here’s how to ensure yours is perfectly flaky and delicious:
- Choose the Right Recipe: My foolproof flaky pie crust recipe offers detailed tips and step-by-step photos, making scratch-made pie crust approachable for everyone. For fruit pies like this one, I particularly love using my buttermilk pie crust variation; its slight tang and tenderness complement the fruit beautifully. Of course, a good quality store-bought crust is always an option if you’re short on time.
- Lattice Topping Assistance: If you’re aiming for that impressive woven top, my full tutorial on how to make a lattice pie crust topping will guide you through each step.
- Achieve a Golden Glow: For a beautiful, shiny golden-brown crust, don’t forget the egg wash! A simple mixture of 1 whisked large egg and 1 tablespoon of water brushed generously over the pastry before baking makes all the difference.
- Prevent Over-Browning: To ensure your top crust doesn’t burn before the filling and bottom crust are fully cooked, place your pie on a rack in the bottom third of your oven. If you notice the crust browning too quickly during baking, loosely tent it with aluminum foil.
Essential Pie Baking Pointers
These general tips will help you navigate the baking process with confidence and achieve consistent results:
- Protect Your Oven: Always bake your pie on a sturdy sheet pan. This simple step catches any fruit filling that might bubble over, saving you from a messy oven cleanup. Lining the sheet pan with parchment paper makes cleanup even easier.
- Know When It’s Done: A strawberry rhubarb pie is perfectly baked when its crust is a beautiful golden brown all over. Most importantly, look for the filling to be actively bubbling in the very center of the pie, not just around the edges. This bubbling ensures the fruit is tender and the thickener has fully activated.
- Say Goodbye to Soggy Bottoms: A soggy bottom crust is a common pie frustration. The easiest and most effective solution is to choose the right pie pan! Ceramic or metal pie dishes are superior to glass because they conduct heat more efficiently, baking the bottom crust faster and more thoroughly, leading to a crisp, golden base.
Storage & Make-Ahead Strategies
Plan ahead or savor your pie for days with these convenient storage and make-ahead options:
- How to Store Strawberry Rhubarb Pie: This pie is undoubtedly at its peak on the day it’s baked, offering the freshest flavors and flakiest crust. However, it remains absolutely delicious for up to 3 days after baking. To store leftovers, simply cover the pie tightly with plastic wrap and keep it refrigerated.
- Make This Pie Ahead of Time: If you’re looking to save time, this pie freezes exceptionally well before baking. Once completely assembled (with both crusts and filling), wrap the entire pie tightly in several layers of plastic wrap, then an additional layer of aluminum foil. Freeze it solid. When you’re ready to bake, you can bake it straight from frozen – just make sure you use a tempered pie plate that can withstand extreme temperature changes from freezer to oven. You’ll need to add about 10-15 minutes to the total baking time.
- How to Reheat Pie: For serving warm slices with that desirable clean, firm texture, it’s best to allow the pie to cool completely and set properly first. Once set, you can gently reheat individual slices or the whole pie in a 350°F (175°C) oven for 20-30 minutes before serving. If you don’t mind slightly looser slices, it’s perfectly fine to serve the pie when it’s mostly cooled but still a little warm – just be aware the slices might not hold their shape as perfectly.
More Delightful Strawberry Rhubarb Recipes
Can’t get enough of this fantastic flavor combination? Explore these other delicious strawberry rhubarb recipes:
Get the Full Recipe Card
Ready to bake this classic? Here’s the complete recipe card with all the measurements and instructions you need to create your own perfect strawberry rhubarb pie.

Strawberry Rhubarb Pie
Pin Recipe
Leave a Review
Ingredients
- 1 double-crust pie dough recipe (preferably a flaky, buttery one)
- 6 Tablespoons (42 grams) cornstarch
- 2 cups (400 grams) granulated sugar
- Zest of 1 orange or lemon
- Pinch of salt
- 3 cups (500 grams) strawberries , stems removed and sliced (fresh or thawed frozen, liquid drained)
- 3 cups (370 grams) fresh rhubarb , cut into 1-inch chunks (fresh or thawed frozen, liquid drained)
- 1 large egg + 1 teaspoon water , for egg wash
Equipment
Instructions
-
Preheat your oven to 400°F (200°C) and ensure an oven rack is placed in the bottom third of the oven.
-
Roll out one half of your chilled pie crust dough into a rough 13-inch circle. Carefully transfer this to a 9-inch pie dish, gently fitting it without stretching.
-
Roll out the second pie crust and set it aside. You can either leave it as a whole circle for a solid top or cut it into strips if you plan to create a lattice topping.
-
In a large bowl, combine the cornstarch, granulated sugar, orange/lemon zest, and salt. Add the prepared sliced strawberries and 1-inch rhubarb chunks, tossing gently until all the fruit is evenly coated. Pour this vibrant filling into the bottom pie crust.
-
Carefully place the top crust (whole or lattice) over the fruit filling. Pinch the edges of the top and bottom crusts together, then gently tuck them under. Crimp the edges decoratively using your fingers or a fork. If you chose a whole top crust, remember to cut a few steam vents into the center with a sharp knife. Finally, brush the entire top crust with the egg wash.
-
Place the pie on a baking sheet to catch any drips and bake in the preheated oven for 60-75 minutes. The pie is done when the crust is golden brown and the filling in the center is visibly bubbling thick. If the crust starts to brown too quickly, loosely cover it with aluminum foil.
-
Remove the pie from the oven and let it cool completely to room temperature for at least 2 hours. This crucial cooling period allows the filling to fully set, ensuring clean and beautiful slices. Then, serve and enjoy your delicious homemade pie!
Video
Notes
This beloved recipe was originally published in May 2014 and has been continuously refined and updated to bring you the best version today.
