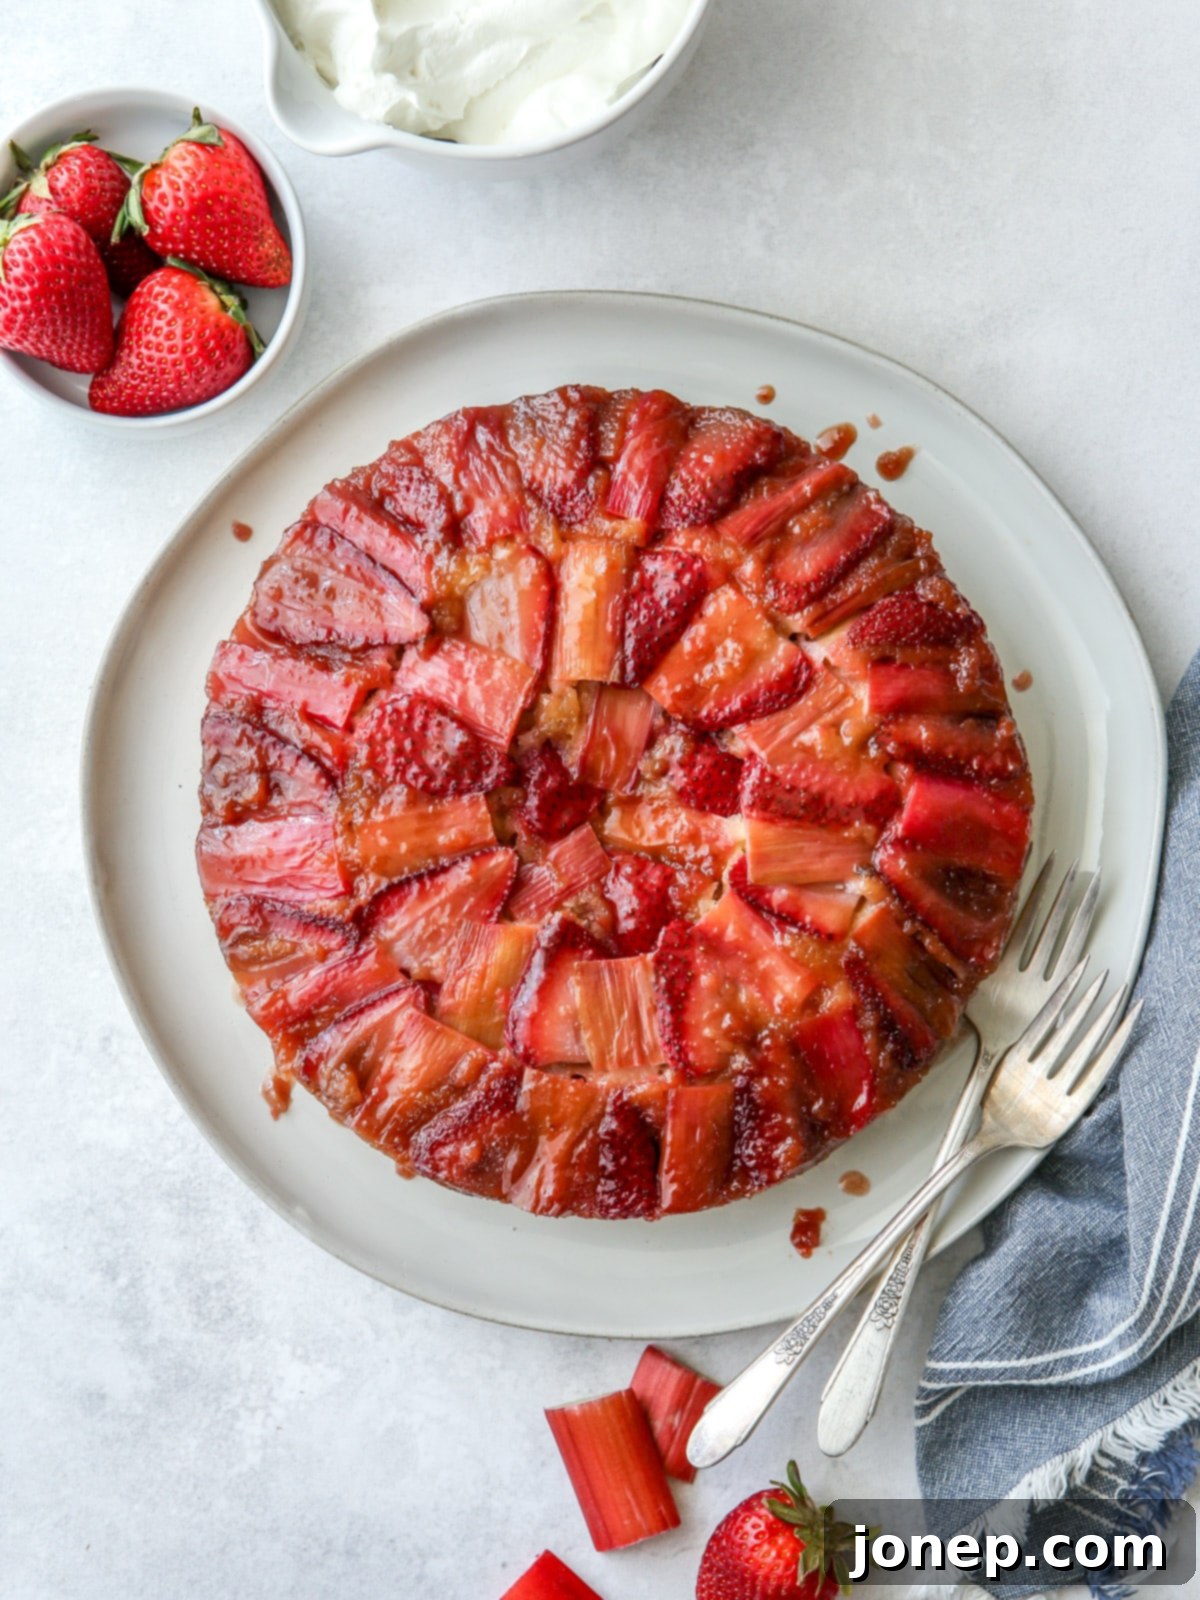
Irresistible Strawberry Rhubarb Upside-Down Cake: A Perfect Spring & Summer Dessert
As the days grow longer and the air turns crisp, the arrival of spring brings with it a bounty of fresh produce, none more anticipated than vibrant strawberries and delicate, tart rhubarb. This dynamic duo is a match made in heaven, signaling the start of warmer seasons and inspiring countless delightful recipes. And what better way to celebrate this seasonal splendor than with a stunning Strawberry Rhubarb Upside-Down Cake? It’s a dessert that perfectly captures the essence of spring and summer – simple, elegant, and utterly delicious.
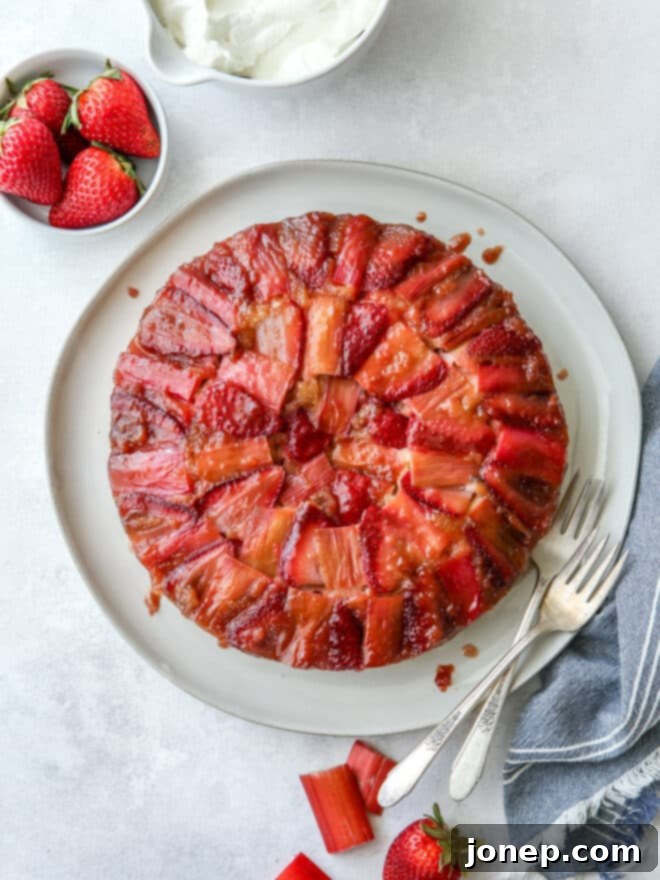
For many home bakers and food enthusiasts, the first sighting of rhubarb at the grocery store or farmer’s market each spring is a moment of pure joy. Its unique tang pairs exquisitely with the natural sweetness of ripe strawberries, creating a flavor profile that is both comforting and exhilarating. This particular upside-down cake recipe takes this classic combination to new heights, transforming fresh strawberries and rhubarb into a glistening, caramelized topping over a tender vanilla butter cake.
The beauty of an upside-down cake lies in its effortless charm. The fruit, nestled at the bottom of the pan with butter and brown sugar, caramelizes beautifully during baking, creating a stunning visual and flavor spectacle when the cake is inverted. Each slice offers a perfect balance of sweet and tart, moist cake, and juicy, tender fruit. It’s a versatile dessert, equally suited for a casual weeknight treat or an impressive centerpiece at a spring brunch or summer gathering. All it truly needs is a generous dollop of sweetened whipped cream or a scoop of vanilla bean ice cream to reach peak perfection.
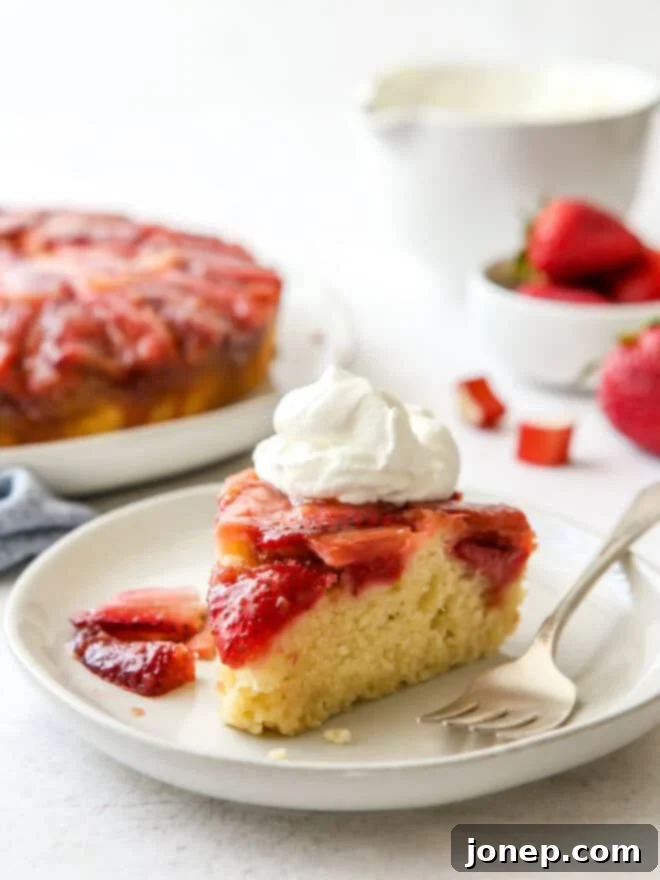
Table of Contents
- What is an Upside-Down Cake?
- Essential Ingredients You’ll Need
- Finding Fresh Rhubarb: Tips & Tricks
- How to Make Strawberry Rhubarb Upside-Down Cake
- Expert Tips for Baking the Perfect Upside-Down Cake
- Serving & Storing Your Delicious Cake
- More Delightful Strawberry Rhubarb Recipes
- Get the Full Recipe
What is an Upside-Down Cake?
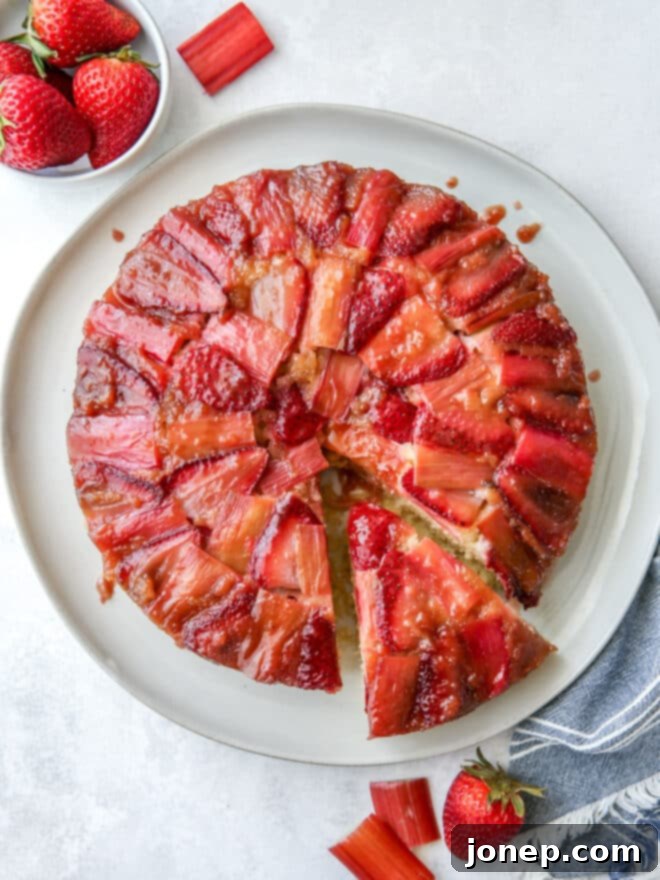
An upside-down cake is a classic baking technique where the fruit, often arranged in a decorative pattern, along with butter and sugar, is placed at the bottom of the cake pan before the batter is poured over it. During the baking process, the fruit slowly cooks in the buttery sugar mixture, creating a rich, caramelized layer. Once baked, the cake is carefully inverted onto a serving platter, revealing the beautiful fruit topping, which now sits proudly on top.
While the pineapple upside-down cake is perhaps the most famous and beloved variation, the beauty of this dessert lies in its adaptability. You can use almost any fruit that holds its shape well when baked, from peaches and plums to cherries and apples. This strawberry-rhubarb rendition is a quintessential spring and early summer treat, showcasing the best of seasonal produce. However, don’t limit yourself! For autumn, a caramel apple upside-down cake offers a similarly comforting and visually appealing option.
Beyond its aesthetic appeal, the upside-down cake offers a delightful textural contrast. The tender cake is complemented by the soft, slightly chewy caramelized fruit, each bite a symphony of flavors. It’s also incredibly forgiving, making it an excellent choice for bakers of all skill levels. The “upside-down” nature means any imperfections in the batter are hidden, and the fruit topping takes center stage, making it an impressive yet surprisingly simple dessert.
Essential Ingredients You’ll Need
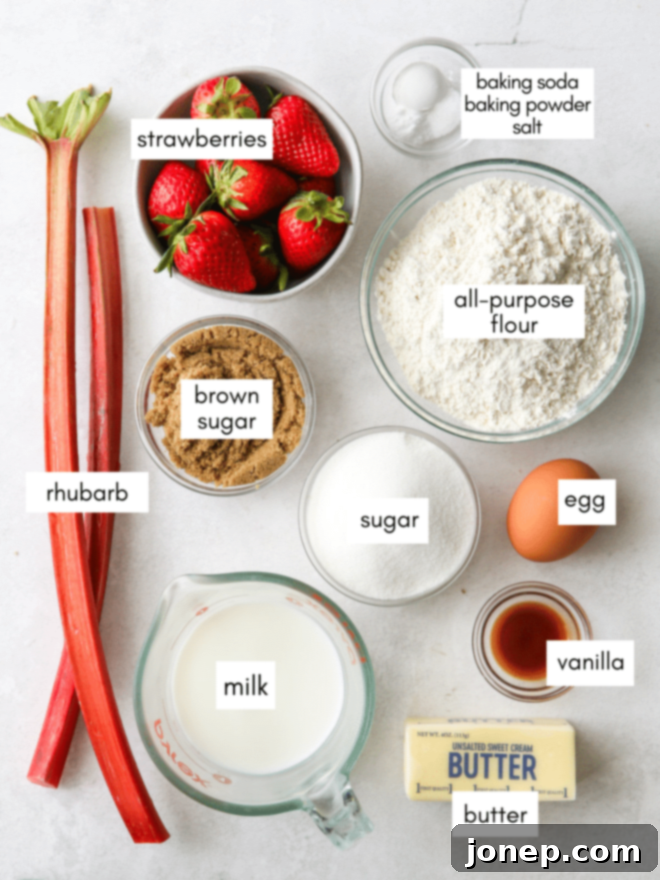
Crafting this delicious Strawberry Rhubarb Upside-Down Cake requires a few simple, high-quality ingredients. For the vibrant, caramelized fruit topping, you’ll need fresh strawberries and rhubarb, unsalted butter, and packed light or dark brown sugar. The cake itself is a moist and flavorful vanilla butter cake, made with unsalted butter (at room temperature), granulated sugar, a large egg, vanilla extract, all-purpose flour, baking powder, baking soda, salt, and buttermilk. Each component plays a crucial role in achieving the perfect balance of flavor and texture.
Finding Fresh Rhubarb: Tips & Tricks
Rhubarb, often mistaken for a fruit but botanically a vegetable, is a seasonal superstar, typically available from early spring (around April) through early summer (June, and sometimes even into July). Its availability can vary depending on your location and local climate. In many regions, you can find fresh rhubarb stalks in well-stocked grocery stores during its peak season.
If you’re having trouble locating it, don’t despair! Here are some tips:
- Local Grocery Stores: Get familiar with the produce section of a few larger local supermarkets. Often, they will carry rhubarb during its season. Don’t hesitate to ask the produce manager if they can special order it for you – many are happy to oblige!
- Farmer’s Markets: Your best bet for the freshest, most vibrant rhubarb is often a local farmer’s market. Growers who specialize in seasonal produce are almost guaranteed to have it when it’s in season.
- Online Retailers: If all else fails, or if you live in an area where fresh rhubarb is scarce, you can sometimes find fresh or frozen rhubarb available for purchase online from specialty food purveyors.
- Frozen Rhubarb: Many grocery stores carry frozen, pre-chopped rhubarb year-round. This is an excellent alternative if fresh is unavailable. Simply thaw it before using, and drain any excess liquid.
When selecting fresh rhubarb, look for firm, crisp stalks with a vibrant red or pink hue. Avoid any stalks that appear limp, bruised, or have significant blemishes. A good quality stalk will snap easily when bent.
How to Make Strawberry Rhubarb Upside-Down Cake
Creating this stunning cake is simpler than you might think! Follow these steps for a beautiful and delicious result:
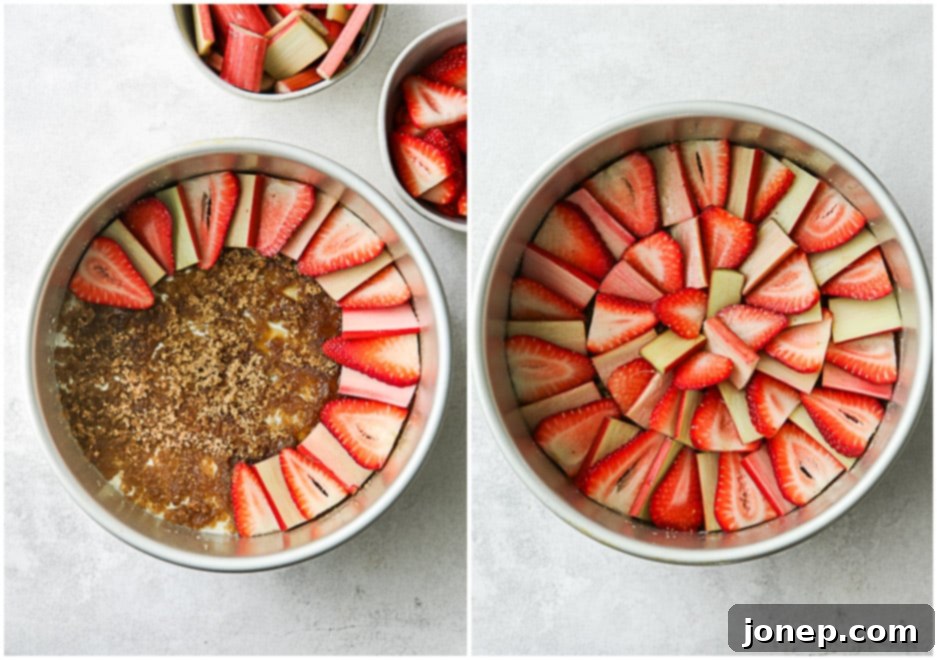
- Prepare Your Pan and Fruit Base: Start by thoroughly greasing your 8 or 9-inch round cake pan with nonstick baking spray. For an extra layer of non-stick insurance and easier release, you can also line the bottom with a parchment paper round. Pour in the melted butter, ensuring it coats the entire bottom, then evenly sprinkle the brown sugar over it. Arrange your sliced strawberries and rhubarb as desired – you can create an artistic pattern or simply scatter them evenly. Ensure the entire bottom of the pan is covered with fruit for the best caramelization.

- Mix the Cake Batter: In a large mixing bowl (or the bowl of a stand mixer fitted with a paddle attachment), cream together the softened unsalted butter and granulated sugar until the mixture is light, fluffy, and pale in color. This process incorporates air, giving the cake a tender crumb. Beat in the large egg and vanilla extract until well combined, scraping down the sides of the bowl as needed. In a separate bowl, whisk together the dry ingredients: all-purpose flour, baking powder, baking soda, and salt. Gradually add the dry ingredients to the wet mixture, alternating with the buttermilk, mixing just until combined. Be careful not to overmix, as this can lead to a tough cake. The batter will be thick and rich.

- Bake to Golden Perfection: Carefully spread the prepared cake batter evenly over the fruit layer in the pan. Transfer the pan to a preheated 350°F (175°C) oven and bake for approximately 25-35 minutes. The baking time can vary slightly depending on your oven and pan size (an 8-inch pan might take longer than a 9-inch). The cake is ready when the top is lightly golden brown, and a wooden skewer or toothpick inserted into the center comes out clean. The center should also spring back gently when lightly pressed.

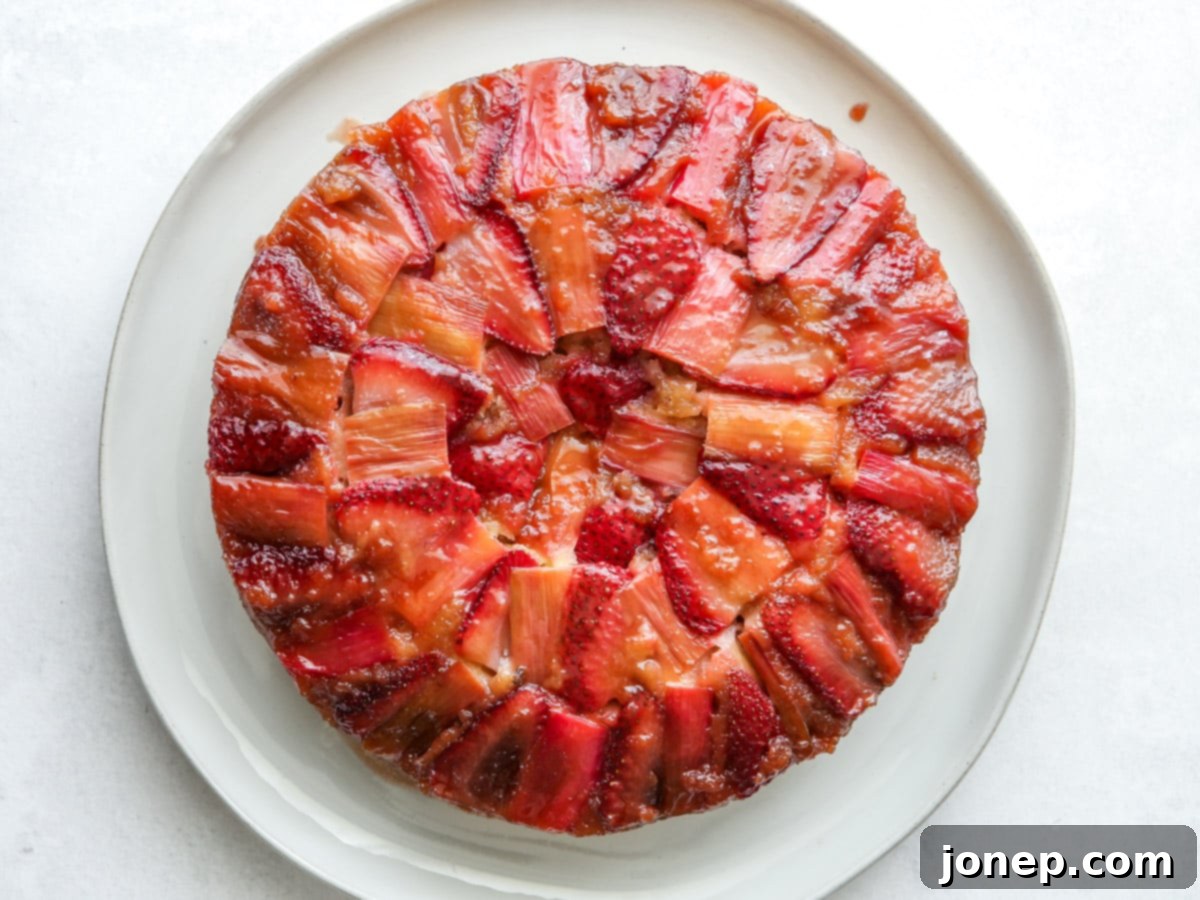
- The Grand Flip: This is the moment of truth! Once baked, let the cake cool in the pan for about 5-10 minutes. This crucial cooling period allows the cake to set slightly, making it easier to release. While still warm (but not piping hot), place your desired serving platter upside down over the cake pan. In one swift, confident motion, flip the cake and pan together. Let it rest for another few minutes, allowing gravity to assist in releasing the cake. Carefully lift the cake pan. If any fruit happens to stick to the bottom of the pan, gently scrape it off with a spatula and re-place it onto the cake – no one will ever know!
- Cool and Serve: Allow the cake to cool to room temperature on the serving platter for about 1-2 hours before slicing. This allows the flavors to meld and the cake to fully set, ensuring clean slices. Once cooled, cut into generous slices and serve as is, or with your favorite accompaniments.
Baking Tip: Expert Advice for Perfect Upside-Down Cakes Every Time
- Choose the Right Pan: While an 8 or 9-inch round cake pan is standard, consider using a cast-iron skillet for an extra-crisp, rustic edge and superior caramelization. Whichever pan you choose, ensure it is at least 2 inches deep to contain the batter and fruit.
- Grease Your Pan Generously: This is arguably the most crucial step! Apply a very heavy coating of non-stick baking spray that includes flour (like Baker’s Joy), or meticulously grease and flour the pan yourself. Ensure every inch of the bottom and sides is coated to prevent sticking.
- Cool, But Not Completely: After baking, resist the urge to flip the cake immediately or let it cool entirely. Allow it to cool in the pan for about 5-10 minutes. This short cooling period helps the cake structure set and the caramelized topping to firm up slightly, preventing it from breaking apart when inverted. If it cools too much, the caramel can harden and stick to the pan.
- Execute the Flip with Confidence: Before inverting, run a thin knife around the edges of the cake to loosen any stuck spots. Place your serving plate upside down directly on top of the cake pan. With a firm grip on both the pan and the plate, quickly and confidently flip them over together. Let the cake sit on the plate, still covered by the pan, for a few minutes. Gravity will gently encourage the cake to release cleanly in one piece.
- Gentle Pan Removal: Carefully lift the cake pan off the inverted cake. If a piece of fruit or some caramel remains stuck to the pan, don’t panic! Simply use a small spatula to gently scrape it off and carefully place it back onto the cake. A little imperfection adds character, and often, it’s barely noticeable.
Serving & Storing Your Delicious Cake
This Strawberry Rhubarb Upside-Down Cake is truly at its peak when served on the day it’s baked. The fresh strawberries, while delightful when warm, tend to release more moisture and can become slightly soggy or turn a bit brown over time. For the best flavor and presentation, enjoy it within a few hours of baking and cooling.
However, if you do have leftovers, they can be stored. Tightly cover the cake with plastic wrap or place it in an airtight container and refrigerate for up to 2-3 days. While the texture of the fruit may soften slightly, the cake will still be delicious. You can enjoy leftovers chilled or gently warm individual slices in the microwave for a few seconds to refresh the flavors.
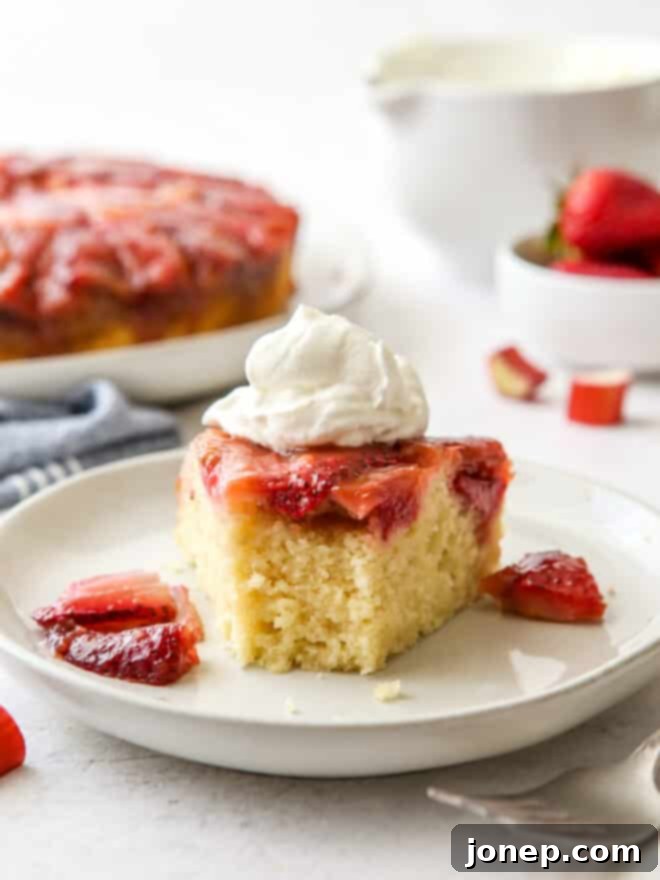
To elevate your serving experience, pair warm or room-temperature slices of this cake with a dollop of sweetened vanilla whipped cream, a scoop of premium vanilla bean ice cream, or even a spoonful of crème fraîche for a slightly tangy contrast. These accompaniments beautifully complement the cake’s rich flavors and textures.
More Delightful Strawberry Rhubarb Recipes
If you’ve fallen in love with the combination of sweet strawberries and tart rhubarb, you’re in luck! This dynamic duo shines in a variety of desserts, each offering a unique way to savor their seasonal goodness. From comforting crisps to classic pies and convenient bars, there’s a strawberry rhubarb recipe for every occasion. Explore these other fantastic options:
Can’t get enough? Find even more irresistible strawberry rhubarb recipes here to celebrate the season!
Get the Full Recipe
Ready to bake your own show-stopping Strawberry Rhubarb Upside-Down Cake? Here’s the detailed recipe for this delightful spring and summer dessert. Follow these precise measurements and instructions to create a cake that’s sure to impress!

Strawberry Rhubarb Upside-Down Cake
12
servings
15 minutes
30 minutes
Pin Recipe
Leave a Review
Ingredients
Topping:
- 2 Tablespoons (28 grams) unsalted butter , melted
- ⅓ cup (71 grams) packed light or dark brown sugar
- 1 cup (115 grams) sliced strawberries
- 1 cup (140 grams) sliced rhubarb
Cake:
- ½ cup (113 grams) unsalted butter , at room temperature
- ⅔ cup (66 grams) granulated sugar
- 1 large egg
- 1 teaspoon vanilla extract
- 1 ⅓ cup (160 grams) all-purpose flour
- 1 teaspoon baking powder
- ¼ teaspoon baking soda
- ¼ teaspoon salt
- ⅔ cup (150 grams) buttermilk
- Whipped cream or vanilla ice cream , for serving (optional)
Prevent your screen from going dark
Equipment
Instructions
-
Preheat oven to 350°F (175°C). Generously grease the inside of an 8 or 9-inch round cake pan with nonstick baking spray. For easier release, line the bottom with a parchment paper round (optional). Add the melted butter to the pan, ensuring it coats all sides and the bottom.
-
Evenly sprinkle the brown sugar over the melted butter at the bottom of the pan. Arrange the sliced strawberries and rhubarb on top of the brown sugar. You can create a visually appealing pattern or simply scatter them into a single, even layer. (The exact amount of fruit needed may vary slightly depending on your arrangement and the size of your cake pan, but aim to cover the entire bottom.)
-
In the bowl of a stand mixer fitted with a paddle attachment, or using a large bowl with a hand-held mixer, beat the softened unsalted butter and granulated sugar together until the mixture is light, fluffy, and creamy (about 2-3 minutes). Add the large egg and vanilla extract, mixing until just incorporated.
-
In a separate medium bowl, whisk together the dry ingredients: all-purpose flour, baking powder, baking soda, and salt. Add this dry mixture to the butter mixture in two additions, alternating with the buttermilk. Mix only until the ingredients are just combined, being careful not to overmix the batter. Scrape down the sides of the bowl as necessary to ensure everything is evenly incorporated.
-
Carefully spread the prepared cake batter evenly over the fruit layer in the pan. Transfer to the preheated oven and bake until the cake is lightly browned on top and a wooden skewer inserted into the center comes out clean, or the center springs back when gently pressed. This will take approximately 25-35 minutes (baking time will vary depending on if you use an 8 or 9-inch pan).
-
Let the cake cool in the pan for 5-10 minutes. Then, run a thin knife around the edges to loosen it. While the cake is still warm (but not hot), place a serving plate upside down over the pan and, in one swift motion, invert the cake onto the plate. Allow the cake to cool completely to room temperature (about 1-2 hours) before slicing and serving. Serve individual slices with sweetened whipped cream or vanilla ice cream if desired.
American
Dessert
Annalise Sandberg
Have you tried this recipe?
I’d love to hear about it! Leave a rating and review below, or take a photo and tag it on Instagram @completelydelicious with #completelydelicious.
Disclosure: This recipe was originally published April 206. It was created in partnership with Go Bold with Butter and the American Butter Institute.
