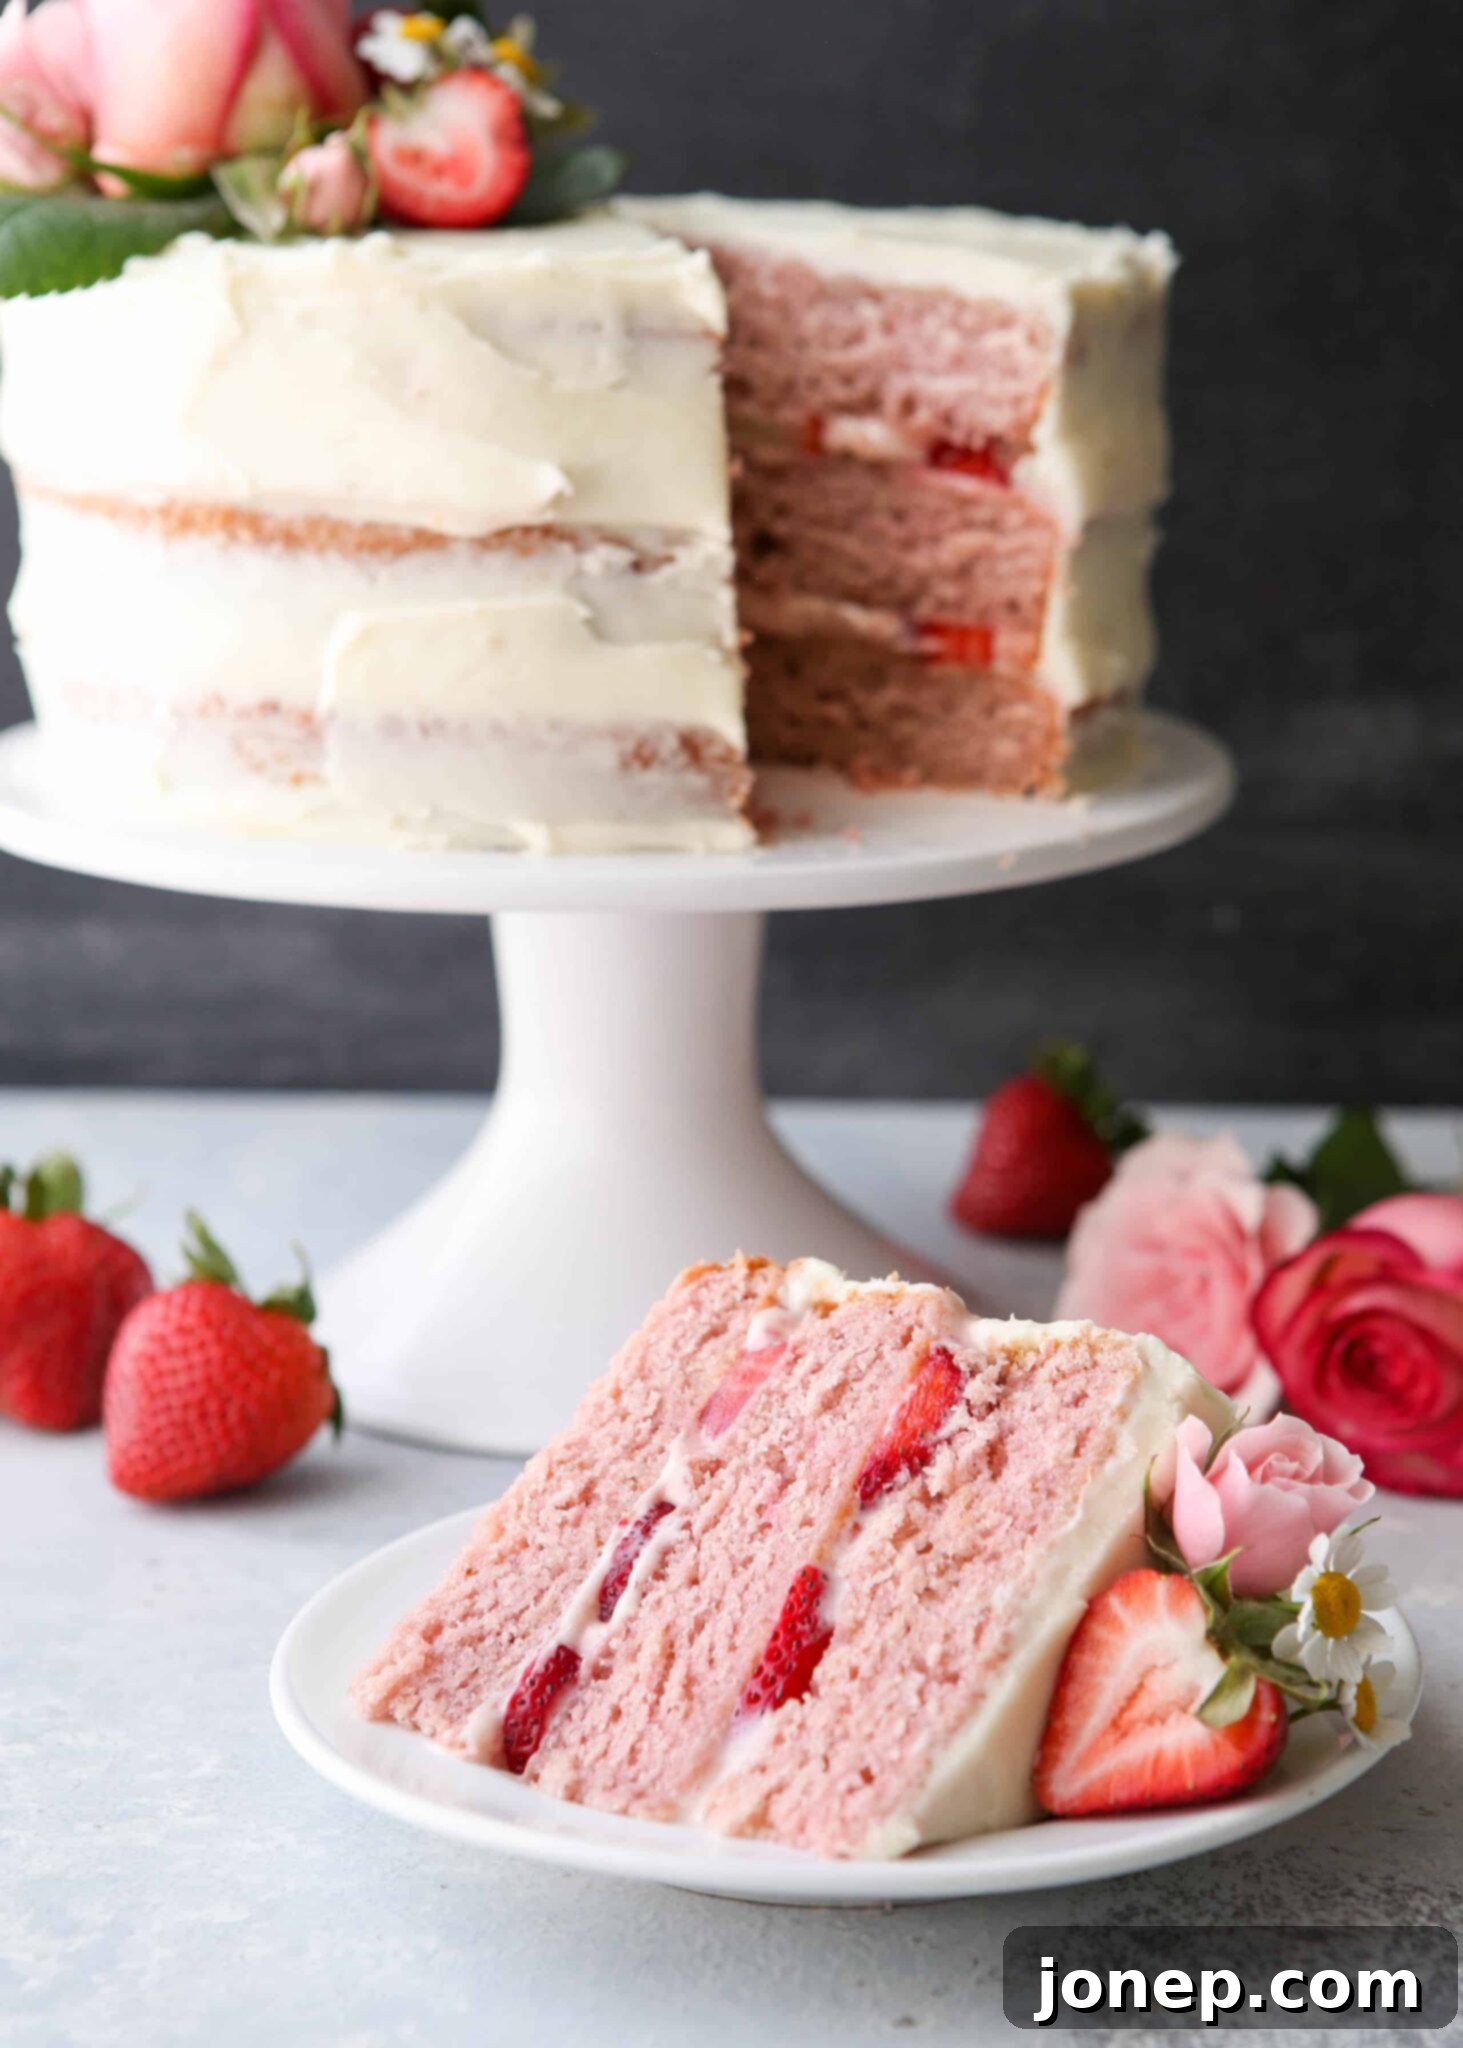
Indulge in the Best Homemade Strawberry Layer Cake with Velvety Cream Cheese Frosting
This exquisite, pretty-in-pink cake is a true labor of love, crafted 100% from scratch. It showcases the vibrant flavor of fresh strawberries in every bite, beautifully complemented by a luscious cream cheese buttercream. Get ready to bake a showstopper that tastes as incredible as it looks!
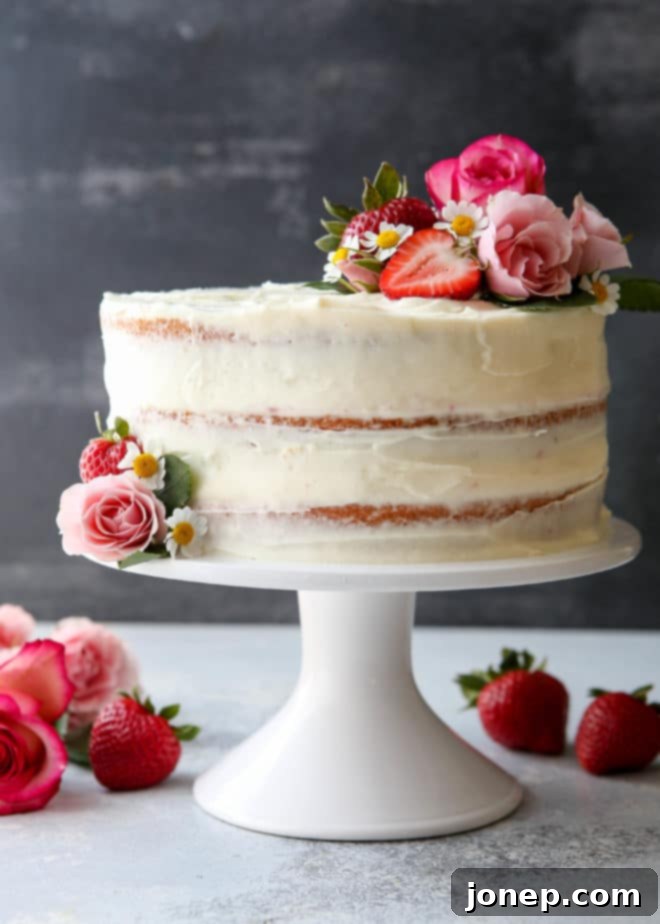
A Decade of Deliciousness: Celebrating with Our Favorite Strawberry Cake
It’s hard to believe, but exactly 10 years ago today, I hit “publish” on my very first blog post – a recipe for chocolate chip cookies. What started as a small passion project has blossomed into nearly 1,000 recipes and countless shared moments in the kitchen. To mark this incredible milestone, I wanted to do something truly special. Besides hosting a fantastic stand mixer giveaway (the “something big”), I baked this absolutely stunning and flavorful strawberry cake, a recipe that truly embodies celebration and joy.
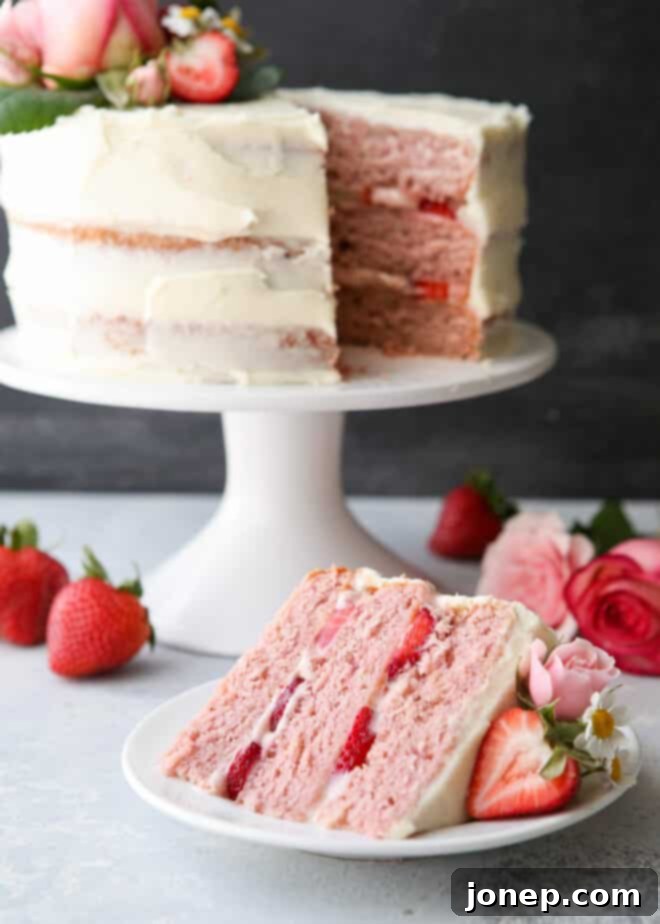
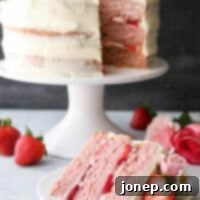
And let me tell you, this cake is indeed special! We’re talking multiple layers of tender, homemade strawberry cake, each infused with a generous amount of puréed fresh strawberries. But it doesn’t stop there! In between these delightful layers, you’ll find a creamy strawberry-cream cheese filling, plus thin slices of fresh strawberries for an extra burst of bright, natural fruit flavor. This combination makes it, quite possibly, the most “strawberry-y” cake you will ever taste. The entire creation is then enrobed in the creamiest, most irresistible cream cheese frosting, making every slice an experience to savor. For this celebratory occasion, I dressed it up with fresh roses and delicate chamomile flowers, but this elegant cake stands beautifully on its own, easily adaptable to any level of decoration you desire.
I genuinely wish I could share a slice with each and every one of you to say thank you for 10 amazing years on this culinary journey. Here’s to hoping we can share many more delicious moments for another decade to come!
Essential Tips for Baking Your Perfect Strawberry Layer Cake
Creating a magnificent layer cake, especially one as flavorful as this strawberry delight, involves a few key techniques and considerations. These notes are designed to help you achieve the best possible results, from perfect purée to flawless layers.
Achieving Authentic Strawberry Flavor: The Power of Purée
- This recipe relies heavily on fresh strawberry purée to deliver a truly pronounced and authentic strawberry flavor in the cake batter itself. To get that smooth consistency, you’ll need a food processor or a high-powered blender. Don’t skimp on this step – it’s what makes the cake sing! While many recipes incorporate chopped strawberries into the batter, I’ve found that thinly sliced fresh strawberries layered between the cake and filling provide a more vibrant, fresh burst of flavor and a lovely textural contrast without making the cake soggy.
- Fresh vs. Frozen Strawberries for Purée: You can absolutely use frozen strawberries for the purée if fresh ones aren’t in season or readily available. Just be sure to thaw them completely and drain any excess liquid before blending. This prevents too much moisture from being introduced into your cake batter, which could affect its texture.
- You’ll need approximately 10-12 ounces (283-340 grams) of fresh or thawed, drained strawberries to yield enough purée for both the cake and the filling.
Enhancing the Hue: A Touch of Pink
- While the strawberry purée will naturally tint your cake, sometimes it can bake out a bit, resulting in a paler color. You don’t *need* to use food coloring, but I’ve found that a small amount of pink gel food coloring (about 1 teaspoon) beautifully enhances the natural pink of the strawberries, making the cake look as delightful as it tastes. Gel food coloring is preferred over liquid as it provides more concentrated color without adding extra moisture.
Pan Perfection: Choosing Your Cake Layers
- This versatile strawberry cake recipe works wonderfully in either 8-inch or 9-inch round cake pans. Your choice will primarily affect the cake’s dimensions:
- 8-inch pans: Will yield a taller cake with slightly smaller diameter slices.
- 9-inch pans: Will result in a wider, slightly shorter cake.
- You also have flexibility with the number of layers:
- Double layer: Use 2 pans.
- Triple layer: Use 3 pans for an impressive height and more filling.
- Quadruple layer: Bake in 2 pans, then once cooled, carefully slice each layer in half horizontally for an even taller, more dramatic presentation. This technique also creates more opportunities for delicious filling!
- Baking times will vary slightly depending on your pan size and number of layers. The cakes are done when the edges begin to pull away from the sides of the pan, the top springs back when gently pressed, and a wooden skewer inserted into the center comes out clean. I personally swear by these trusty cake pans for consistently great results. For detailed guidance on preparing your cake pans and achieving perfectly flat layers, check out my tutorial on how to prep cake pans.
The Secret to Tender Crumb: Cake Flour vs. All-Purpose
- For the absolute best texture – light, airy, and incredibly tender – I highly recommend using cake flour for this recipe. Its lower protein content results in a softer crumb. However, if you only have all-purpose flour on hand, don’t despair! I’ve tested the recipe with all-purpose flour, and it still produced a good cake, though it was noticeably denser.
- DIY Cake Flour: No cake flour? No problem! You can easily make your own. For every 1 cup of all-purpose flour, remove 2 tablespoons. Then, add 2 tablespoons of cornstarch back into the flour. Sift this mixture together thoroughly. This homemade blend can be used as a 1:1 substitute for commercial cake flour.
Mastering Layer Cake Assembly
- Building a beautiful layer cake can seem intimidating, but with a few simple tricks, you’ll be frosting like a pro. For comprehensive tips on how to prepare cake pans, bake flat, even cake layers, and assemble your masterpiece flawlessly, be sure to consult my dedicated tutorial: How to Build a Layer Cake. It covers everything you need to know for a stunning finish.
Shop Essential Tools for Your Strawberry Cake Adventure
Having the right tools can make all the difference in your baking experience. Here are some of my go-to items that will help you create this perfect strawberry layer cake. (Affiliate links below)
Strawberry Layer Cake
Pin Recipe
Leave a Review
Ingredients
Strawberry Cake:
- 1 cup unsalted butter (2 sticks, 226 grams), softened to room temperature
- 2 cups granulated sugar (400 grams)
- 4 large eggs
- 2 teaspoons vanilla extract
- ½ teaspoon almond extract
- 1 teaspoon pink gel food coloring , optional
- 3 cups cake flour (360 grams)
- 2 teaspoons baking powder
- ½ teaspoon salt
- 1 ¼ cup strawberry purée (310 ml), see Notes
Cream Cheese Buttercream:
- 8 ounces full-fat cream cheese (1 brick, 226 grams), softened to room temperature
- ½ cup unsalted butter (1 stick, 113 grams), softened to room temperature
- 4 cups powdered sugar (455 grams), sifted
- 2 teaspoons vanilla extract
- ½ teaspoon salt
Strawberry Filling:
- 1 cup of cream cheese buttercream , above
- 1 tablespoon strawberry purée
- 1-2 cups thinly sliced fresh strawberries , depending on how many cake layers you have
Instructions
To make the cake:
-
Preheat oven to 350°F (175°C). Thoroughly grease your chosen 8 or 9-inch round cake pans (refer to Notes for pan options) and line the bottoms with parchment paper for easy release. See my full tutorial on how to prep cake pans for a perfect bake every time.
-
In a large mixing bowl, using an electric mixer, beat the softened unsalted butter and granulated sugar together on high speed until the mixture is light, fluffy, and creamy. This should take approximately 3-4 minutes. Remember to stop and scrape down the sides of the bowl at least once to ensure all ingredients are well combined.
-
Add the large eggs one at a time, mixing well and scraping down the bowl after each addition. The mixture might appear slightly curdled at this stage, which is completely normal. Stir in the vanilla extract, almond extract, and pink gel food coloring (if you are using it to enhance the cake’s color).
-
In a separate medium bowl, sift together the cake flour, baking powder, and salt. Gradually add this dry mixture to the wet ingredients in 3 alternating additions, beginning and ending with the flour mixture, and incorporating the strawberry purée in between. Mix on low speed until just combined after each addition. The final batter will be thick and wonderfully fragrant.
-
Evenly divide the thick batter among your prepared cake pans. Bake for 30-35 minutes, or until the cake edges pull away from the pan, the tops are lightly golden and spring back when gently touched.
-
Allow the cake layers to cool in their pans for about 15 minutes before carefully inverting them onto a wire rack. Let them cool completely to room temperature. For easier handling and assembly, you can chill the cooled cake layers in the fridge for a short period.
-
Make ahead tip: Baked and cooled cake layers can be individually wrapped tightly in plastic wrap and stored in the fridge for up to 5 days. For longer storage, double-wrap them in plastic wrap and then in foil, and freeze for up to several months. If frozen, thaw the wrapped layers overnight in the refrigerator before using.
To make the buttercream and filling:
-
In your electric mixer, combine the softened full-fat cream cheese, unsalted butter, sifted powdered sugar, vanilla extract, and salt. Beat on low speed until all ingredients are just incorporated. Increase the speed to high and beat for 4-5 minutes until the buttercream is incredibly smooth, light, and wonderfully creamy.
-
To create the strawberry cream cheese filling, remove all but 1 cup of the prepared cream cheese buttercream from the mixer bowl and set it aside in another bowl (this will be for frosting the exterior of the cake). Add 1 tablespoon of strawberry purée to the remaining cup of buttercream in the mixer bowl and beat on low speed until perfectly smooth and uniformly pink.
-
Make ahead tip: Both the plain and strawberry-infused cream cheese buttercreams can be stored in an airtight container in the fridge for up to 1 week, or in the freezer for at least a month. Before using, allow them to come to room temperature and re-whip with an electric mixer until smooth and fluffy again.
To assemble the cake:
-
Place your first cooled cake layer onto a cake stand or serving plate. Evenly spread a generous amount of the strawberry cream cheese filling over the top. The exact amount you use per layer will depend on how many cake layers you have – use all of it for a two-layer cake, or divide it in half or thirds for taller cakes.
-
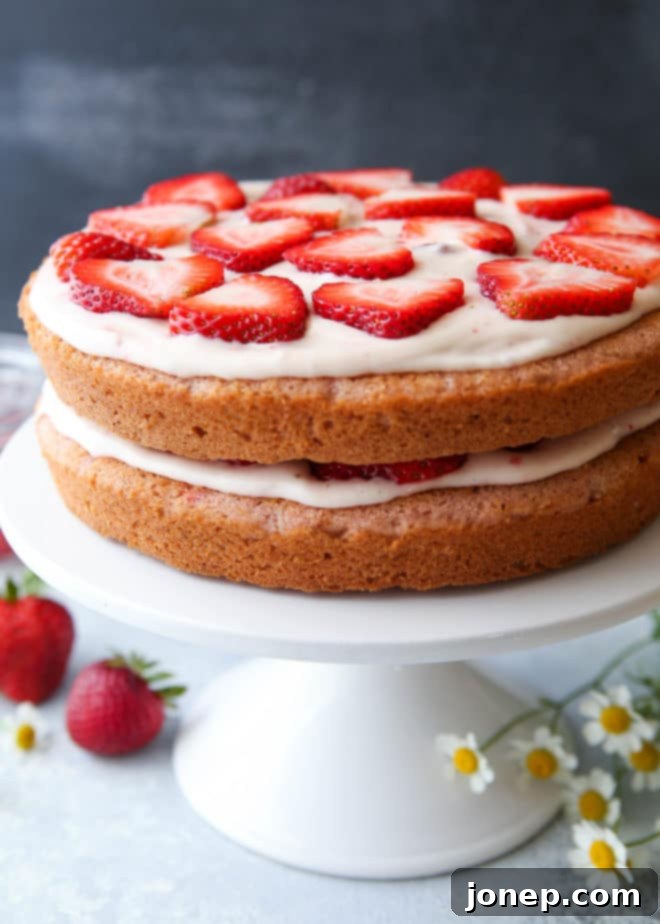
Arrange a layer of thinly sliced fresh strawberries directly on top of the strawberry filling. This adds an incredible burst of fresh fruit flavor and beautiful texture.
-
Carefully place another cake layer on top, gently pressing down. Repeat the process of adding strawberry filling and fresh sliced strawberries, stacking additional cake layers as needed until your cake is built.
-
Once assembled, use the reserved plain cream cheese frosting to cover the entire cake. Frost it smoothly, or create decorative swirls and peaks as desired. For a detailed guide on achieving a professional-looking finish, refer to my tutorial on how to frost a layer cake.
-
Chill the finished cake in the fridge for at least 1 hour before slicing and serving. This allows the frosting to firm up and the flavors to meld beautifully. Store any leftover cake in an airtight container in the fridge, where it will remain delicious for several days.
Notes
- You’ll need approximately 10-12 ounces (283-340 grams) of fresh strawberries to make the purée for the cake and filling. Add to a high-powered blender or food processor (what I used) and blend until smooth.
- You can use frozen strawberries for the purée. Thaw and drain to remove excess liquid before blending.
- This cake can be baked in either 8 or 9-inch round pans. 8-inch will be taller, 9-inch will be wider and shorter. You can use 2 or 3 pans, depending on the look you’re going for: double layer (2 pans), triple layer (3 pans), or quadruple layer (2 pans, then slice each layer in half). Baking times will vary slightly. These are the pans I use.
