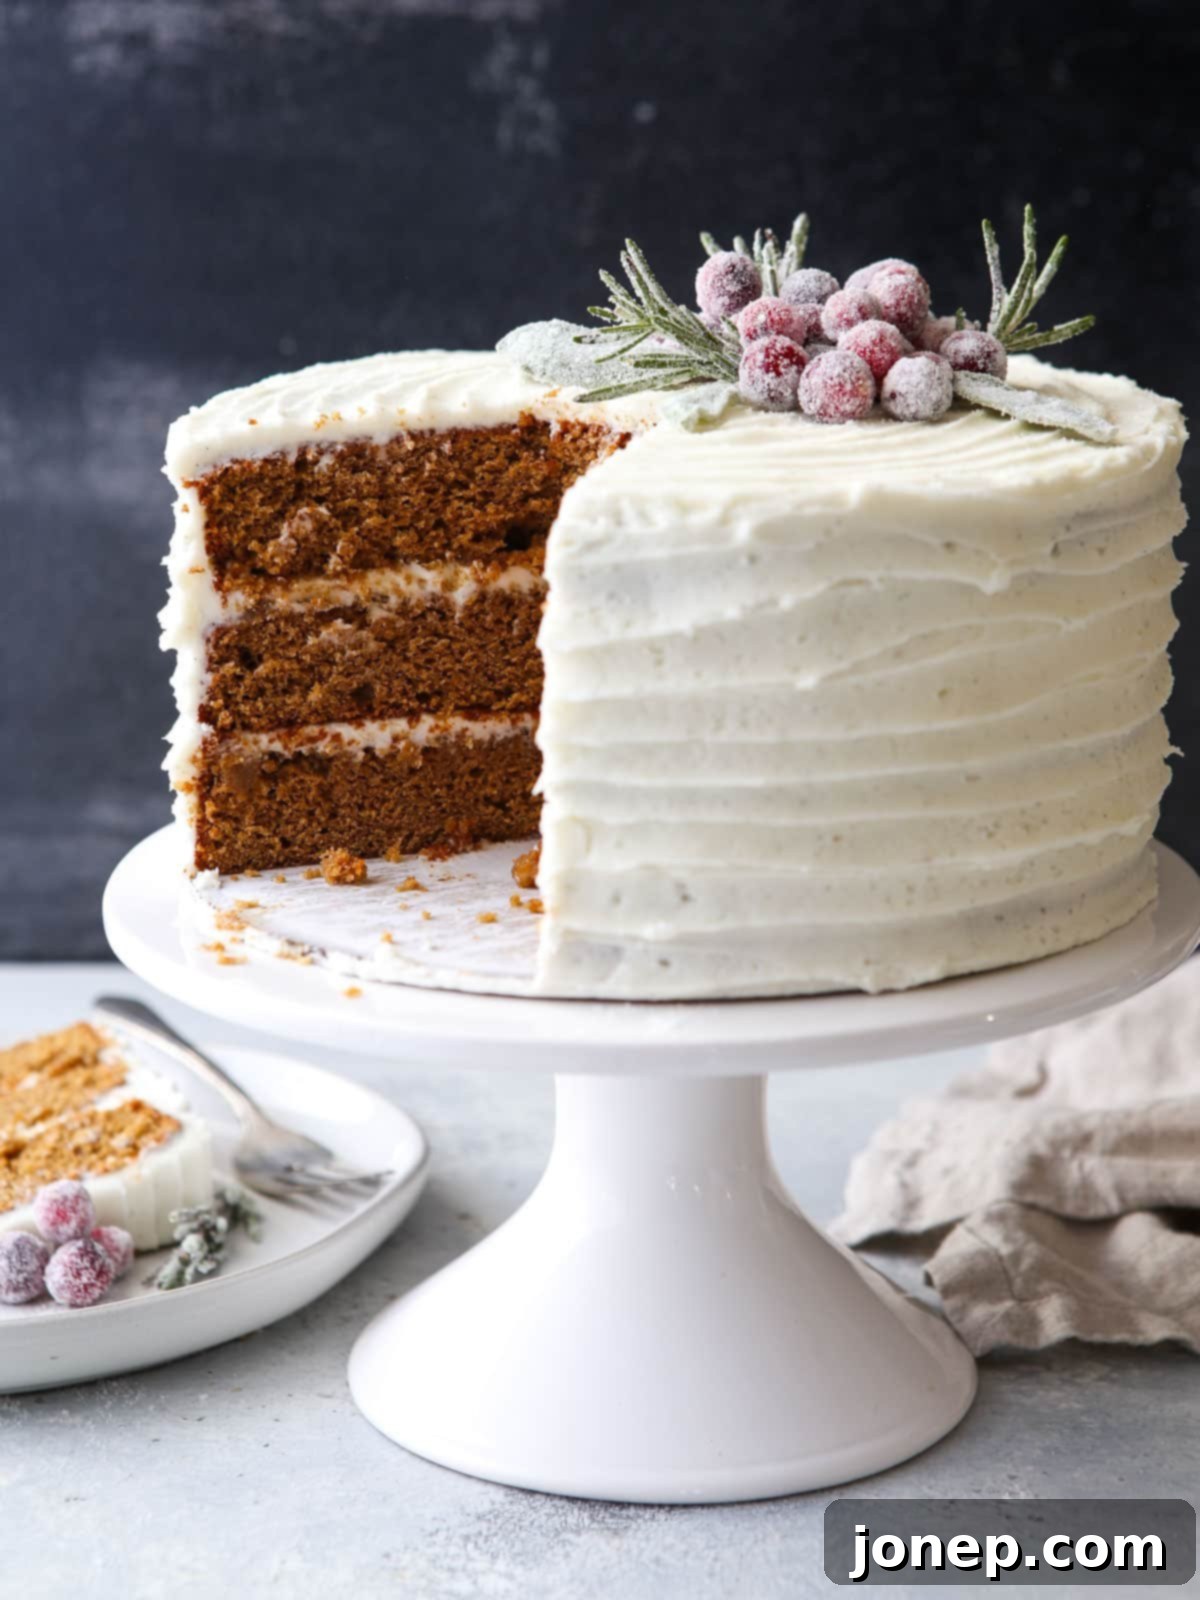
Irresistible Gingerbread Layer Cake with Cream Cheese Buttercream: Your Ultimate Holiday Dessert
Prepare to enchant your guests this holiday season with the most exquisite dessert centerpiece: an utterly delightful Gingerbread Layer Cake generously frosted with luscious Cream Cheese Buttercream. This stunning cake is a harmonious blend of warm, inviting winter flavors, delivering an incredibly delicious experience that will undoubtedly become a treasured part of your festive traditions. Whether you choose to keep its preparation wonderfully simple or elevate it with a few optional flourishes, this Gingerbread Layer Cake is undeniably perfect for any celebration during the most wonderful time of the year.
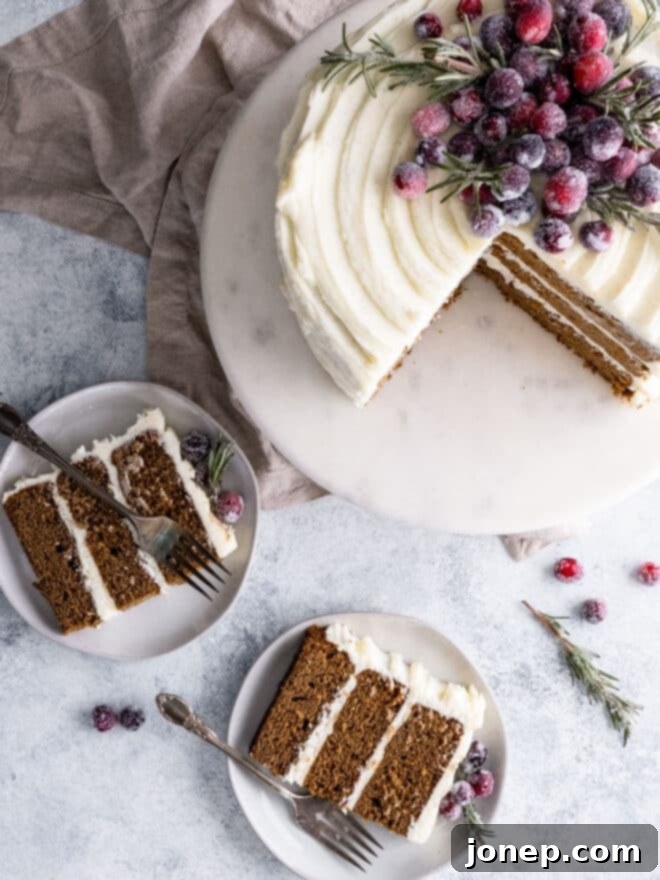
This show-stopping gingerbread cake recipe isn’t just a dessert; it’s an experience. Imagine the rich, aromatic scent of ginger and molasses filling your home, promising a taste of pure holiday magic. This beautiful cake is designed to impress, making it the ideal focal point for any festive gathering or celebratory meal. Its vibrant presentation and comforting flavors ensure it will be the only dessert you need to truly wow everyone.
We confidently believe this is the best gingerbread cake you’ll ever encounter. It boasts a perfectly balanced profile of deep molasses and aromatic spiced flavor, all while maintaining a wonderfully light and tender crumb. The entire creation is generously covered in a silky vanilla bean cream cheese frosting, adding a delightful tang that perfectly complements the rich cake. For an extra boost of complex flavor and moisture, we’ve included an optional rum cake soak. To complete this festive masterpiece, the cake is elegantly adorned with glistening sugared cranberries and fresh rosemary sprigs, providing a beautiful flourish of classic holiday red and green that looks as good as it tastes.
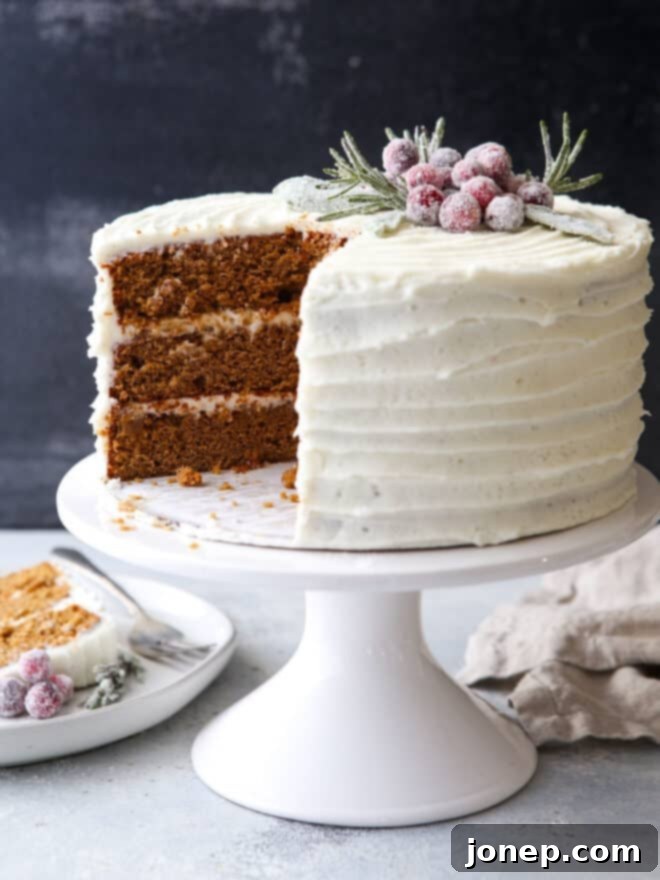
Table of Contents
- An Easy Yet Elegant Cake for the Holidays
- The Magic of Gingerbread and Cream Cheese Frosting
- Key Ingredients You’ll Need
- Assembling Your Gingerbread Layer Cake
- Festive Decoration Ideas to Elevate Your Cake!
- Essential Recipe Tips for Baking Success
- More Festive Holiday Cakes to Explore
- Get the Full Recipe
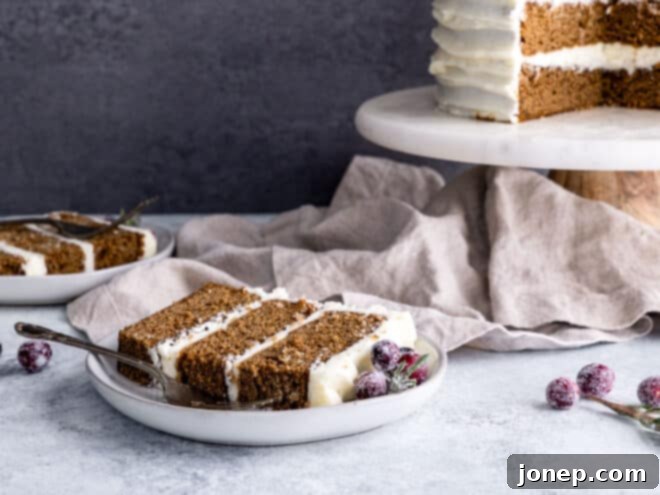
An Easy Yet Elegant Cake for the Holidays
When developing this Gingerbread Layer Cake, my primary goal was to ensure it remained as simple and straightforward to prepare as possible, without compromising on elegance or flavor. I envisioned a truly festive dessert, perfectly suited for the bustling Christmas season, that wouldn’t demand hours of elaborate effort in the kitchen. We all know how busy this time of year can be, so efficiency was key. However, for those who love to go the extra mile and make their holiday treats truly extraordinary, I’ve also included wonderful suggestions to elevate this cake even further, transforming it into a magnificent showpiece with minimal added stress.
Here’s what makes this cake effortlessly elegant:
- The gingerbread cake itself is remarkably simple, following a basic two-bowl mixing method. This streamlines the process and reduces cleanup, making baking less of a chore and more of a joy.
- You’ll only need one versatile recipe for both the creamy frosting and the rich filling between the layers, simplifying your preparation steps and ingredient list.
- For those seeking an even deeper and more complex flavor, there’s an optional rum cake soak that adds incredible moisture and a subtle warmth to each bite.
- Serve the cake elegantly as-is, allowing its natural beauty to shine, or effortlessly enhance its festive appeal with vibrant sugared cranberries and fresh herbs for an added pop of color and flair.
The Magic of Gingerbread and Cream Cheese Frosting
Gingerbread is more than just a flavor; it’s a feeling. It evokes coziness, warmth, and the joyous spirit of the holidays. The deep, aromatic spices like ginger and cinnamon, combined with the rich sweetness of molasses, create a truly comforting and nostalgic taste. This cake celebrates that classic gingerbread profile, delivering a flavor that’s both bold and inviting, yet surprisingly tender and light. The careful balance of spices ensures a robust gingerbread taste without being overwhelming, making it appealing to all palates.
What truly elevates this particular gingerbread cake is the pairing with a luxurious cream cheese buttercream. While many gingerbread cakes might opt for a standard buttercream or glazes, cream cheese frosting introduces a delightful tanginess and a velvety texture that perfectly cuts through the richness of the spiced cake. The slight acidity of the cream cheese provides a beautiful counterpoint to the sweetness of the molasses, creating a harmonious flavor dynamic that is incredibly addictive. Furthermore, cream cheese frosting holds its shape beautifully, making it ideal for creating elegant layered cakes that look as professional as they taste. This combination isn’t just delicious; it’s a match made in holiday heaven.
Key Ingredients You’ll Need
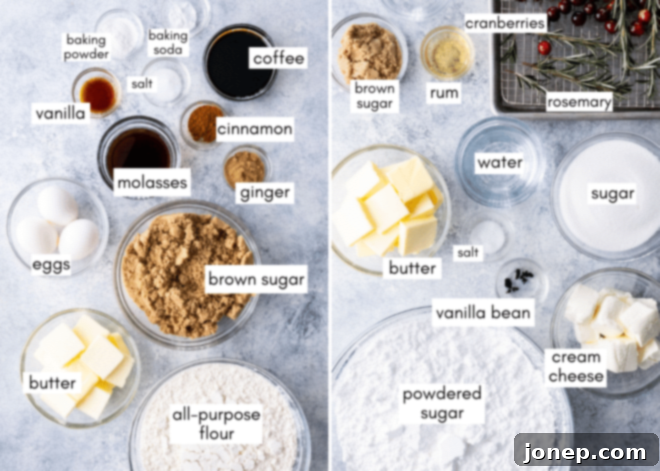
To craft this spectacular Gingerbread Layer Cake, you’ll start with essential baking staples that form the backbone of any great cake. These include softened unsalted butter for richness and tender texture, large eggs for structure, and a splash of vanilla extract for aromatic depth. Your dry ingredients will consist of versatile all-purpose flour, both baking powder and baking soda to ensure a perfect rise and fluffy crumb, and a pinch of salt to balance the flavors. For that signature gingerbread taste, you’ll need moist brown sugar, which adds a lovely caramel note and extra moisture, alongside dark, rich molasses, pungent ground ginger, and fragrant ground cinnamon. A secret ingredient for an even more profound flavor boost is using freshly brewed coffee instead of water, which enhances the molasses and spice notes without imparting any detectable coffee taste.
The star of the frosting is our delightful cream cheese buttercream. This irresistible frosting requires creamy cream cheese, perfectly softened unsalted butter, and finely sifted powdered sugar for that smooth, melt-in-your-mouth texture. To elevate the frosting to a gourmet level for this special occasion, we recommend incorporating the aromatic seeds from a fresh vanilla bean (or high-quality vanilla bean paste for convenience) instead of standard vanilla extract. This adds tiny flecks of vanilla and an unparalleled depth of flavor.
Should you choose to incorporate the optional rum cake soak, you’ll also need a simple combination of water, brown sugar, and a good quality spiced rum (or rum extract for a non-alcoholic option). And for those dazzling sugared garnishes that add so much festive charm, make sure you have extra granulated sugar, fresh, plump cranberries, and aromatic sprigs of fresh herbs like rosemary and sage. These not only look beautiful but also add a wonderful fragrance and subtle flavor contrast.
You can find the comprehensive list of ingredients with precise measurements in the full recipe card located at the end of this article!
Assembling Your Gingerbread Layer Cake
Building a beautiful layer cake might seem daunting, but with these clear steps, you’ll find it to be a rewarding and enjoyable process. From preparing your cake batter to the final decorative touches, each stage is designed for maximum flavor and stunning presentation.
- Prepare the Gingerbread Cake Batter. Begin by creaming together the softened butter and brown sugar until the mixture is light, fluffy, and pale, incorporating air for a tender cake. Gradually beat in the eggs one at a time, ensuring each is fully incorporated before adding the next, then stir in the vanilla and rich molasses. In a separate bowl, whisk together your dry ingredients: flour, baking powder, baking soda, salt, ground ginger, and cinnamon. Gently fold these dry ingredients into the wet mixture in three additions, alternating with the brewed coffee, mixing just until combined to avoid overworking the batter.
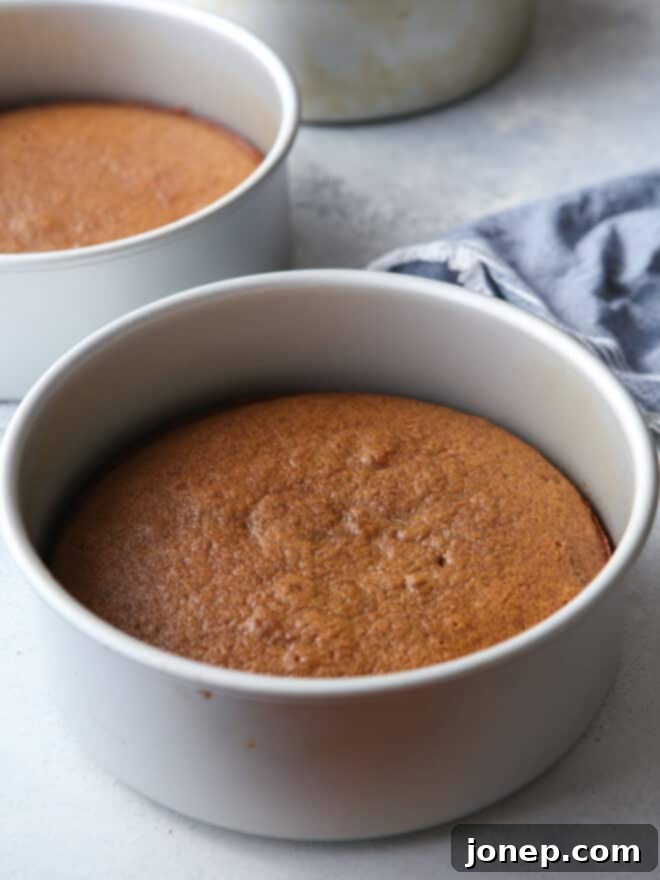
- Bake Cake Layers and Cool Completely. Divide your perfectly prepared gingerbread batter evenly between your greased and parchment-lined cake pans. Bake in a preheated oven until the edges begin to pull away from the sides of the pan and the centers spring back when lightly pressed, indicating they are perfectly cooked. Once baked, allow the cake layers to cool in their pans for about 10-15 minutes before carefully inverting them onto a wire rack to cool completely. Expert Tip: For the easiest assembly, I highly recommend baking your cake layers in advance. Chilling them overnight in the fridge makes them much firmer and easier to handle, resulting in cleaner frosting lines and a smoother process.
- Craft the Simple Syrup Cake Soak (Optional but Recommended!). While the cake layers cool, prepare the optional rum simple syrup. In a small saucepan or microwave-safe bowl, combine water, brown sugar, and spiced rum (if using). Heat gently, stirring, until the sugar is fully dissolved, creating a fragrant syrup. Allow this syrup to cool completely before using it; applying warm syrup to cool cake layers can result in a soggy texture.
- Skillfully Assemble Your Cake. Once your cake layers are thoroughly cooled, it’s time to build your masterpiece. Place the first cake layer onto your chosen cake stand or serving plate. Using a pastry brush, lightly and evenly brush the top of this layer with the cooled rum simple syrup, if you’re using it, to impart extra moisture and flavor. Then, spread approximately two-thirds of a cup of your luscious cream cheese buttercream evenly over the top. Repeat this process with your remaining cake layers, creating a beautiful stack.
- Frost the Entire Cake and Garnish. After stacking, use the remaining cream cheese buttercream to frost the entire cake, covering both the sides and the top. Aim for a smooth, even coating, or embrace a rustic, textured look. For an extra special touch, garnish your cake with the vibrant sugared cranberries and fresh herbs (see decoration ideas below) before serving.
- Chill and Serve for Optimal Enjoyment. For the absolute best results and a clean slice, it’s recommended to chill the assembled cake in the refrigerator for at least 30 minutes. This allows the frosting to set and the flavors to meld beautifully. However, if you simply can’t wait to dive in, you can certainly slice and serve it immediately.
Festive Decoration Ideas to Elevate Your Cake!
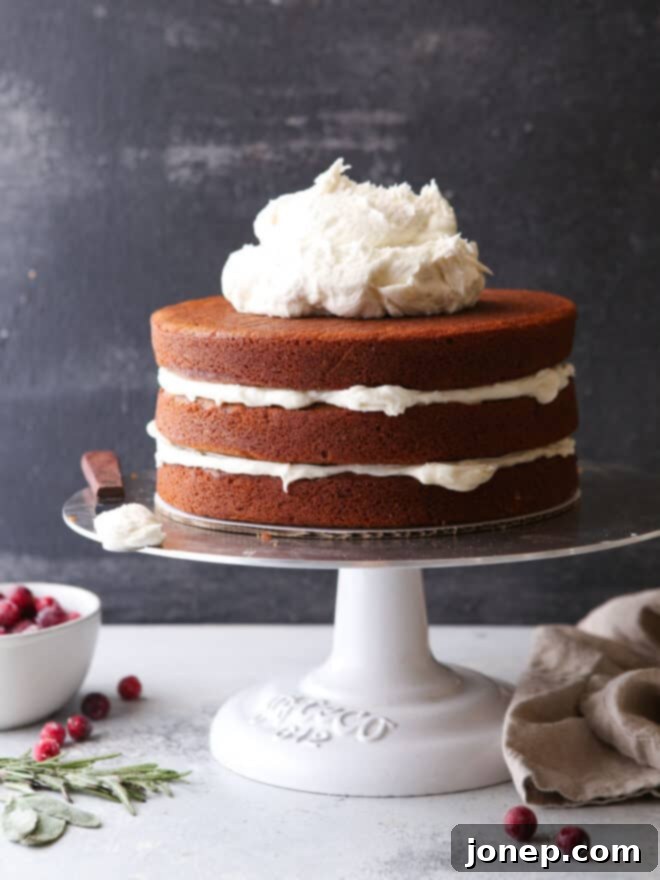
While the elegantly frosted gingerbread layer cake is beautiful on its own, adding a few festive garnishes can transform it into a true holiday showpiece. For my cake, I chose a classic and charming combination of sugared cranberries, fresh sage leaves, and fragrant rosemary sprigs. If you’ve never tried making sugared cranberries, you’re in for a treat! They are incredibly simple to prepare, taste wonderfully sweet and tart, and provide a perfect pop of vibrant red color and texture. The green herbs offer a lovely contrast and an inviting, natural aroma. Other ideas include a dusting of powdered sugar, candied ginger pieces, or even small gingerbread cookies arranged artfully on top. Let your creativity shine and make your Gingerbread Layer Cake uniquely yours!

Essential Recipe Tips for Baking Success
Achieving a perfect Gingerbread Layer Cake is easier than you think with these helpful tips and tricks:
- The Secret Power of Coffee: Adding brewed coffee to your gingerbread cake batter might seem unusual, but it’s a brilliant trick! The coffee deepens and enhances the rich, complex flavors of the molasses and spices without contributing any discernible coffee taste to the final product. If you prefer not to use coffee, or simply don’t have any on hand, feel free to substitute it with an equal amount of water; your cake will still be delicious.
- Choosing the Right Cake Pans: This versatile recipe works beautifully with either 8-inch or 9-inch round cake pans. Using 8-inch pans will result in a taller, more dramatic cake, while 9-inch pans will produce slightly wider and shorter layers. You also have flexibility with the number of layers:
- Double Layer (2 pans): Simplest, fastest assembly.
- Triple Layer (3 pans): Creates a lovely height and visual impact.
- Quadruple Layer (2 pans, then slice each layer in half): For an impressive, multi-layered look. This requires a bit more care in slicing, but the results are stunning. Refer to my guide on how to cut cake into even layers for assistance.
Remember that baking times will vary slightly depending on your pan size and the number of layers. Always check for doneness by ensuring the cake edges pull away from the pan and the center springs back gently when pressed. For even baking, always place cakes on a single rack in the center of your oven. If baking more than two layers simultaneously, it’s best to do so in two separate shifts.
- Chill Cake Layers for Effortless Assembly: This is a game-changer! Completely chilling your cake layers before assembly makes them much firmer, significantly reducing the chances of tearing or crumbling when you’re handling them and frosting. I often bake the cake layers one day and assemble the cake the next, but even a few hours in the refrigerator can make a huge difference. For more detailed advice, see my tips for storing cake layers.
- The Benefits of a Simple Syrup Cake Soak: Butter cakes, while known for their superior flavor compared to oil-based cakes, can sometimes feel a bit drier, especially if they are slightly over-baked. Brushing the cooled cake layers with a simple syrup soak is an excellent way to infuse moisture, ensuring a deliciously tender and moist crumb. This is particularly beneficial if you plan to make this cake a day or more in advance, as it helps keep it fresh. The brown sugar rum simple syrup in this recipe not only adds moisture but also contributes another layer of warm, inviting flavor.
- Prep Ahead and Freeze Layers: To make your holiday baking even less stressful, you can prepare and bake your cake layers well in advance and freeze them. They freeze beautifully! Find detailed instructions on how to properly store and freeze cake layers here.
- More Cake Building Help: If you’re new to layer cakes or want to refine your technique, check out my comprehensive post on how to build a layer cake. This guide covers everything from preparing your cake pans and baking perfectly flat layers to essential cake tools. And for achieving a smooth, professional-looking frosted finish, my full tutorial on how to frost a layer cake is an invaluable resource.
- Storing Your Gingerbread Layer Cake: Due to the fresh cream cheese in the frosting, this cake must be stored in the refrigerator. Properly covered, it will keep beautifully for up to 5 days. However, for the absolute best taste and texture, it is most enjoyable within two to three days of baking and assembly, allowing the flavors to fully meld and develop.
More Festive Holiday Cakes to Explore
If you love baking for the holidays, here are a few more delightful cake recipes to add to your repertoire:
Get the Full Recipe
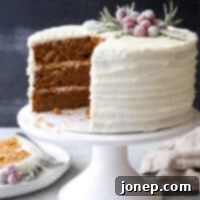
Gingerbread Layer Cake
Pin Recipe
Leave a Review
Ingredients
Gingerbread cake layers:
- 1 cup (226 grams) unsalted butter , softened to room temperature
- 2 cups (426 grams) light or dark brown sugar
- 3 large eggs
- 1 teaspoon vanilla
- ¾ cup (255 grams) molasses
- 3 ¾ cup (450 grams) all-purpose flour
- 1 ½ teaspoon baking powder
- ½ teaspoon baking soda
- ½ teaspoon salt
- 1 tablespoon ground ginger
- 1 ½ teaspoon ground cinnamon
- 1 ½ cup (340 grams) brewed coffee
Cream cheese buttercream:
- 8 ounces (226 grams) cream cheese , softened to room temperature
- 1 cup (226 grams) unsalted butter , softened to room temperature
- 6 cups (681 grams) powdered sugar , sifted
- ¼ teaspoon salt
- 1 vanilla bean , split and seeds scraped out (see Notes)
Rum simple syrup cake soak (optional):
- ¼ cup (56 grams) water
- ¼ cup (53 grams) light or dark brown sugar
- 1 tablespoon spiced rum
Sugared cranberries and herbs (optional):
- ½ cup (113 grams) water
- 1 ½ cup (300 grams) granulated sugar , divided
- 2 cups (200 grams) fresh cranberries (200 grams)
- Sprigs of rosemary and/or sage leaves
Equipment
Instructions
To make the cake layers:
-
Preheat oven to 350°F (175°C). Line two or three 8 or 9-inch cake pans with parchment paper and generously grease with butter and flour or a non-stick baking spray.
-
In a large bowl, using an electric mixer, beat the softened butter and brown sugar together until the mixture is light, pale, and wonderfully creamy, which should take about 3-4 minutes on high speed.
-
Add the large eggs one at a time, beating well and scraping down the sides of the bowl after each addition to ensure everything is thoroughly combined. Mix in the vanilla and molasses until fully incorporated.
-
In a separate medium bowl, whisk together the all-purpose flour, baking powder, baking soda, salt, ground ginger, and ground cinnamon. Gradually add these dry ingredients to the molasses mixture in three alternating additions with the brewed coffee. Mix on low speed, scraping down the bowl as needed, only until the batter is just combined to avoid overmixing.
-
Divide the cake batter evenly among your prepared cake pans. Bake for approximately 25-30 minutes, or until the cake edges have pulled away from the sides of the pan and the centers spring back when gently pressed.
-
Allow the cakes to cool in their pans for 10 minutes before carefully inverting them onto a wire rack to cool completely to room temperature.
-
Make ahead: Cake layers can be prepared in advance. Once completely cooled, wrap them tightly in plastic wrap and store them in the fridge for up to 3 days, or freeze them for 1 month or even longer for ultimate convenience.
To make the buttercream:
-
In a large bowl, beat the softened cream cheese and unsalted butter with an electric mixer until the mixture is perfectly smooth and creamy. Gradually add the sifted powdered sugar, salt, and the scraped seeds from the vanilla bean (or vanilla extract/paste) and continue to beat on high speed for 2-3 minutes until the buttercream is light, fluffy, and incredibly creamy.
To make the simple syrup cake soak (optional):
-
In a small saucepan or microwave-safe bowl, combine the water, brown sugar, and spiced rum (if using). Heat gently over the stove or in the microwave, stirring occasionally, until the brown sugar is completely dissolved. Let the syrup cool completely to room temperature before using on the cake layers.
To assemble the cake:
-
Place one cooled cake layer onto your chosen cake stand or serving plate. If using, brush the top of this layer generously with some of the cooled simple syrup. Then, evenly spread approximately ⅔ cup of the prepared cream cheese buttercream over the syrup-brushed layer.
-
Carefully place the next cake layer on top and repeat the brushing with simple syrup and spreading with buttercream. Continue this process with any remaining cake layers.
-
Once all layers are stacked, use the remaining cream cheese buttercream to generously frost the entire assembled cake – both the sides and the top – to your desired finish. Decorate your cake with the beautiful sugared cranberries and fresh herbs, if you wish, for that ultimate festive appeal.
-
Store the finished cake in the refrigerator until you are ready to serve. For the best flavor and texture, it’s recommended to enjoy the cake within a few days of baking and assembly, although it will remain delicious for up to 5 days when properly stored.
To make the sugared cranberries and herbs (optional):
-
In a small saucepan or microwave-safe bowl, heat the ½ cup of water and ½ cup of the granulated sugar. Stir until the sugar is completely dissolved, creating a simple syrup.
-
Add the fresh cranberries to the warm syrup and stir gently until they are thoroughly coated. Using a slotted spoon, remove the cranberries and arrange them in a single layer on a wire rack placed over a sheet pan. Repeat this process with the rosemary sprigs and sage leaves, ensuring they are also fully coated.
-
Allow the coated cranberries and herbs to dry undisturbed for at least 1 hour, or until they feel slightly tacky but not wet.
-
Once dried, gently toss the cranberries and herbs with the remaining granulated sugar until they are completely covered and glistening. If preparing these garnishes in advance of decorating your cake, ensure they are absolutely dry before storing them in an airtight container at room temperature.
Video
Notes
- For the cream cheese buttercream, if you don’t have a vanilla bean, you can easily substitute it with 2 teaspoons of high-quality vanilla extract or 1 teaspoon of vanilla bean paste for a similar rich flavor.
- The rum simple syrup cake soak is entirely optional, but it significantly enhances both the flavor and the moisture content of the cake. Butter cakes tend to have a slightly drier crumb, especially if they are over-baked, and this soak works wonders in keeping them moist and flavorful for longer.
This beloved recipe was originally published in December 2018. The recipe has been lovingly adapted from Bake from Scratch magazine, ensuring a truly exceptional holiday treat.
