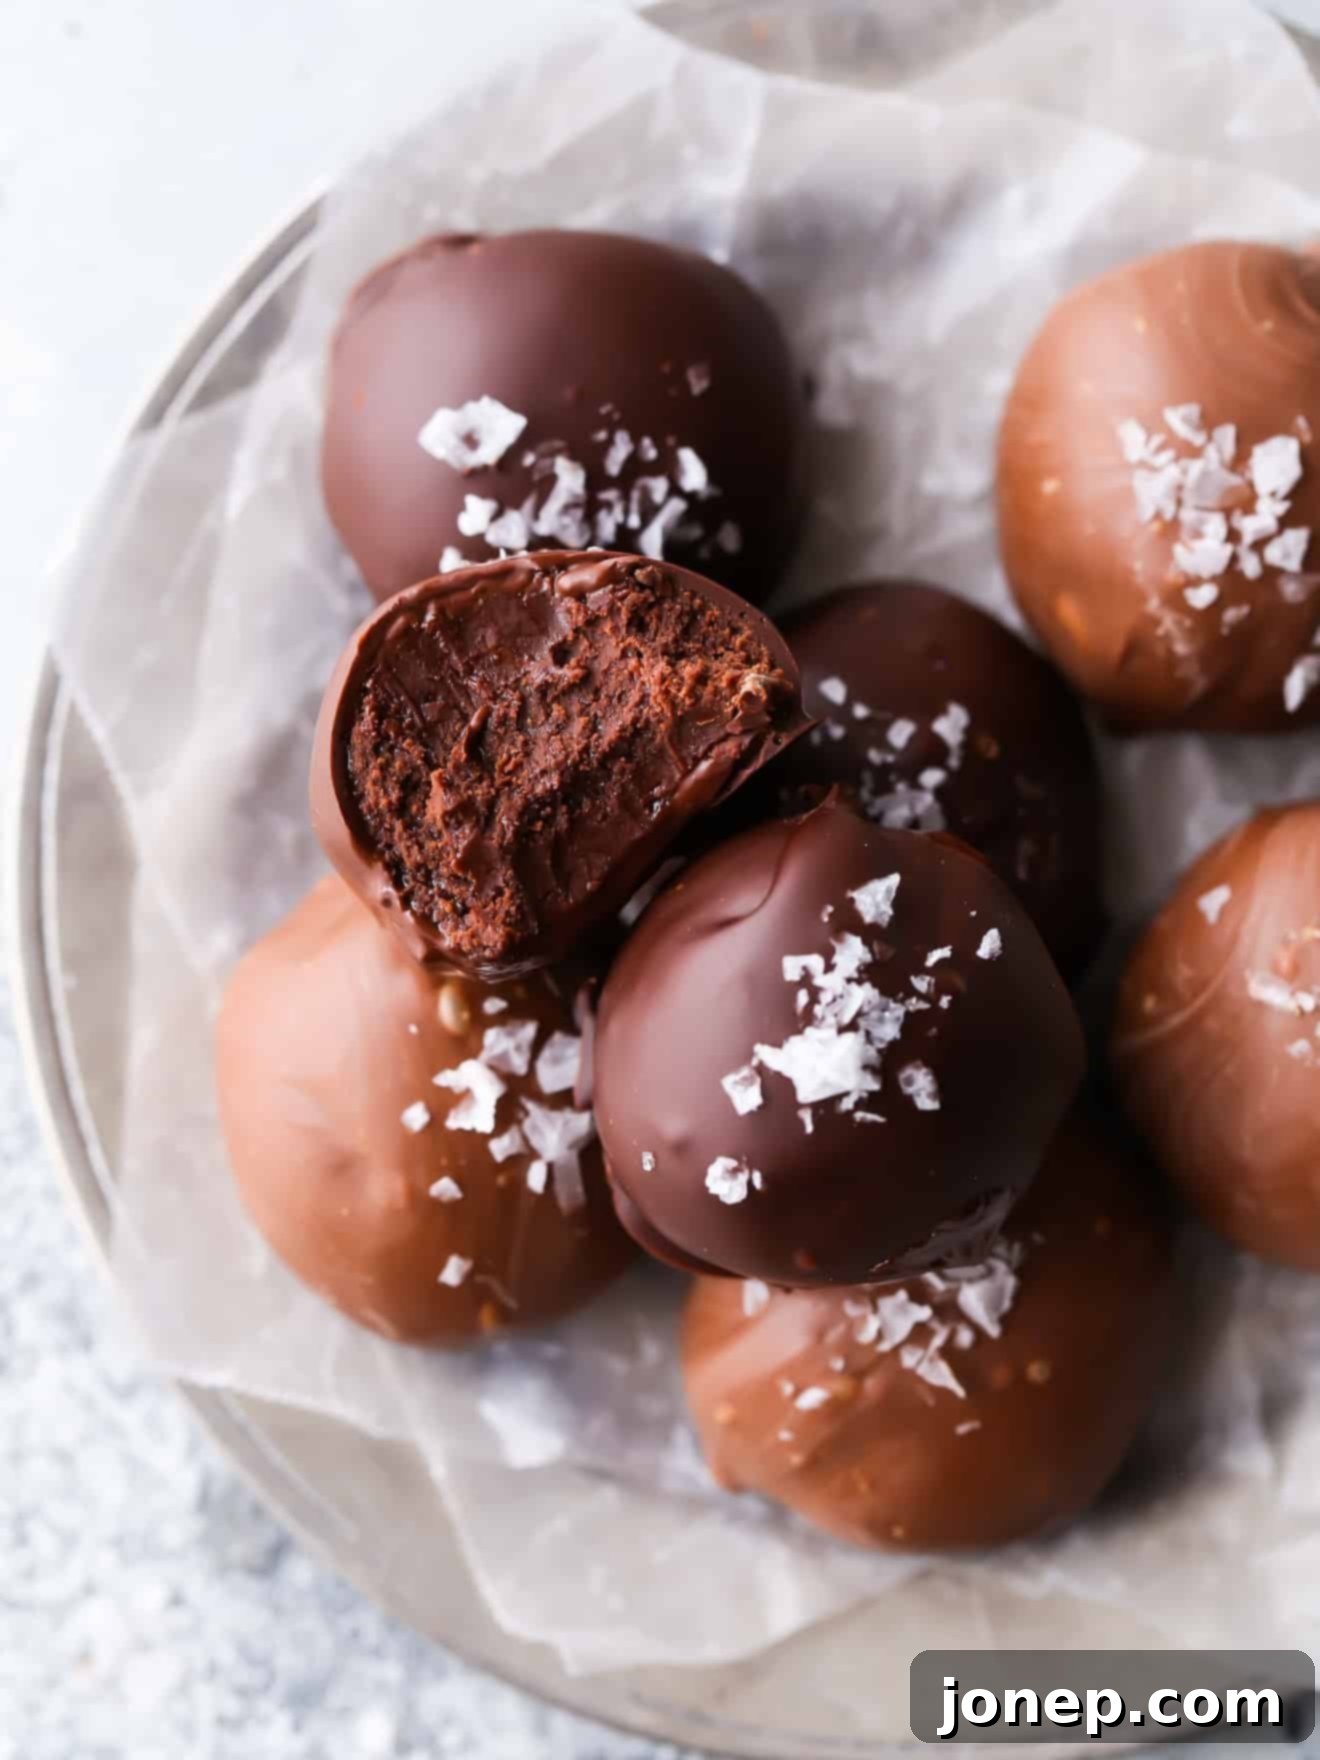
Irresistible Homemade Salted Chocolate Truffles: An Easy Recipe for Gourmet Indulgence
There’s something truly magical about a perfectly crafted chocolate truffle. Rich, decadent, and bursting with flavor, these bite-sized confections are often associated with high-end chocolatiers and special occasions. But what if we told you that creating these elegant salted chocolate truffles in your own kitchen is not only achievable but surprisingly simple? Say goodbye to expensive store-bought boxes and hello to the immense satisfaction of homemade gourmet treats!
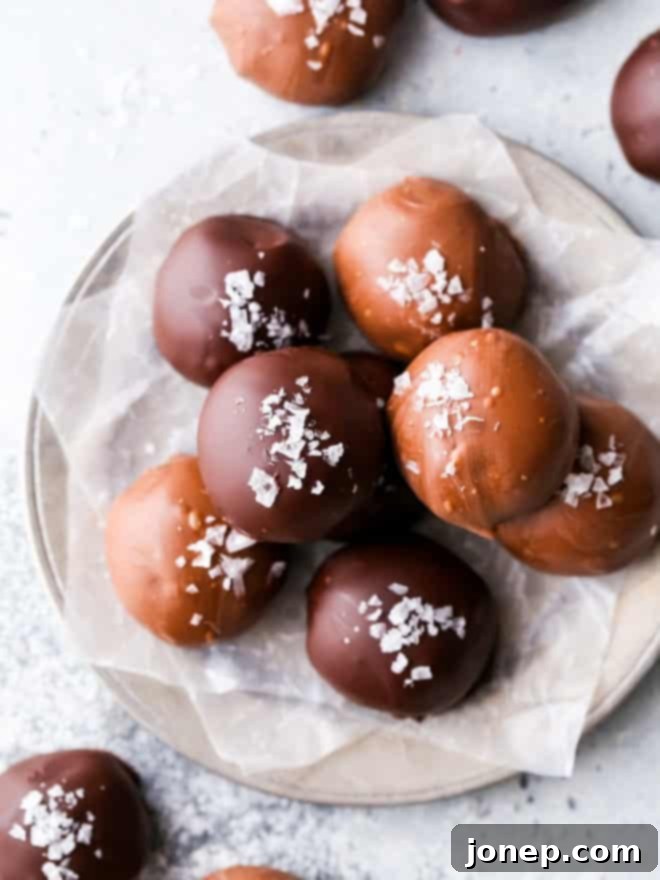
For any chocolate lover, the allure of a finely made truffle is undeniable. And the best part? You don’t need to visit a fancy candy shop to satisfy that craving. This recipe for homemade salted chocolate truffles requires just a few key ingredients and a bit of time, making it a delightful and rewarding culinary project for anyone, from novice bakers to seasoned dessert enthusiasts. It’s a wonderful way to bring a touch of luxury into your home, perfect for sharing with loved ones or indulging yourself.
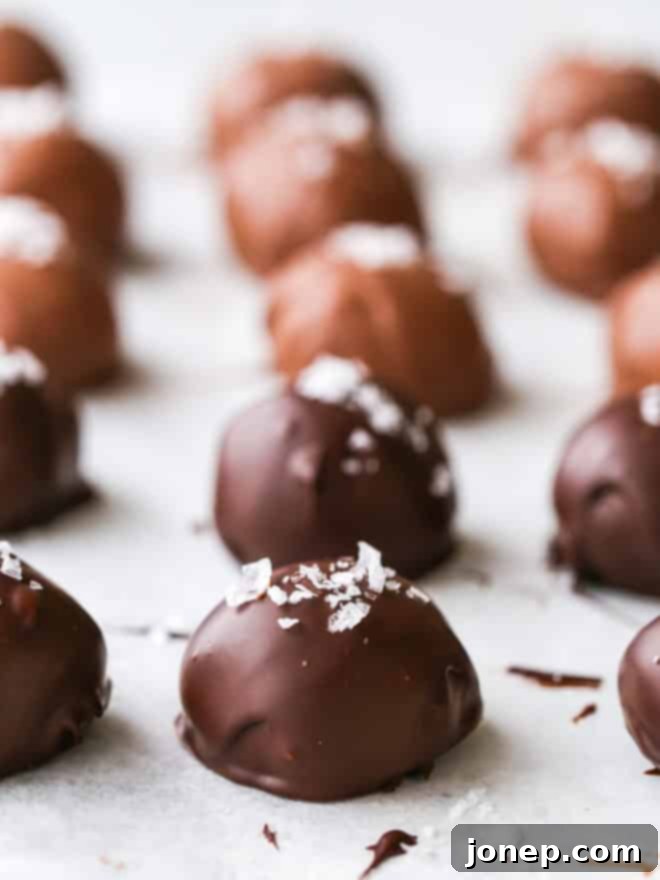
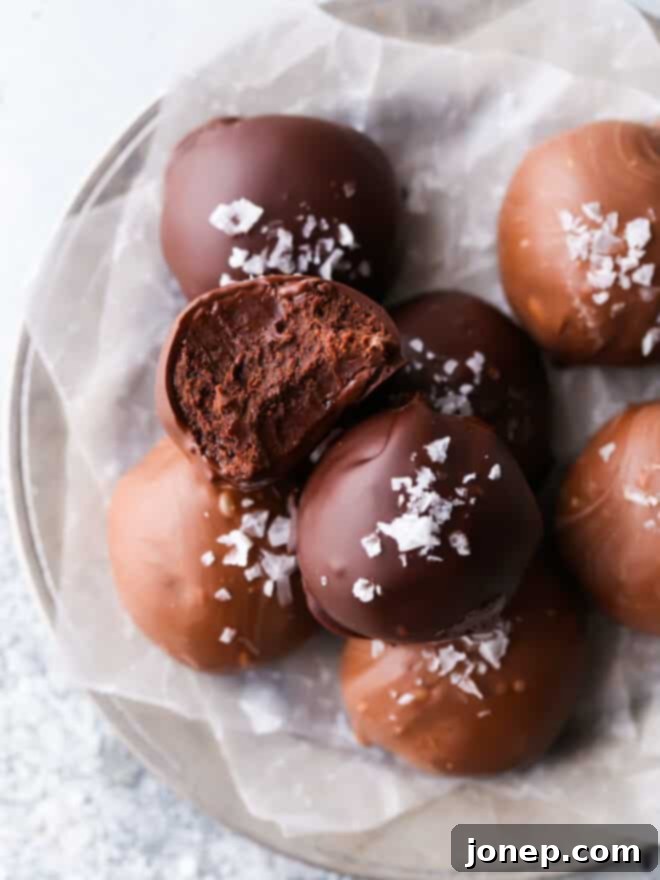
These exquisite truffles feature a deeply fudgy dark chocolate center, offering a luxurious intensity with every bite. Each truffle is then enrobed in a smooth coating, which can be either rich dark chocolate or creamy milk chocolate, allowing for a personalized touch. The crowning glory is a delicate sprinkling of flaky sea salt, creating an irresistible dance of sweet and savory notes that elevates the entire experience. They are intensely rich, wonderfully indulgent, and boast an impressive appearance that makes them ideal for holiday gifts, dinner parties, or any special celebration where a touch of elegance is desired.
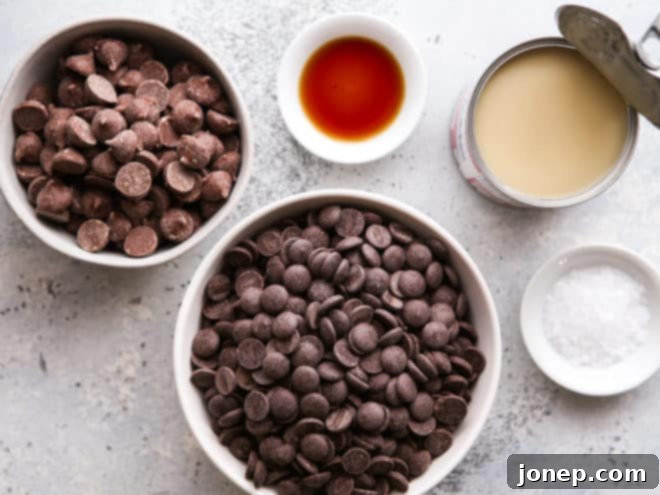
Just 5 Essential Ingredients for Pure Chocolate Bliss!
You might be surprised by how few ingredients are needed to create such a sophisticated dessert. This recipe strips down the process to its delicious core, focusing on quality components to deliver maximum flavor. Here’s a detailed look at everything you’ll need to create these heavenly salted chocolate truffles:
- Bittersweet or Semi-Sweet Chocolate (for the truffle filling): This forms the heart of your truffle. Using a high-quality chocolate here is paramount as it dictates the richness and depth of flavor. Bittersweet chocolate will yield a more intense, less sweet truffle, while semi-sweet provides a balanced sweetness. Choose a brand you enjoy eating on its own.
- Milk and/or Semi-Sweet Chocolate (for dipping): This is for the outer shell. You can choose to go with all milk chocolate for a sweeter, creamier coating, all dark for a contrasting bitterness, or a mix of both to offer variety. Again, quality matters for both flavor and how smoothly it melts and sets.
- Sweetened Condensed Milk: This magical ingredient is key to achieving that incredibly fudgy, smooth texture in the truffle center without needing to make a traditional ganache. It adds sweetness and creaminess, binding the chocolate into a perfect consistency for rolling.
- Vanilla Extract: A splash of pure vanilla extract enhances the overall chocolate flavor, adding a warm, aromatic note that rounds out the sweetness and richness. Use good quality pure vanilla for the best results.
- Flaky Sea Salt: This is what truly makes these truffles shine! A delicate sprinkle of flaky sea salt, such as Maldon, provides a delightful crunch and a beautiful counterpoint to the sweet chocolate. The salt crystals burst on the tongue, creating an addictive sweet and salty harmony.
Crafting Perfection: A Step-by-Step Guide to Making Salted Chocolate Truffles
Don’t let the elegant appearance fool you; these truffles are surprisingly straightforward to make. Follow these detailed steps to create your own batch of gourmet delights:
- Melt the Chocolate for the Filling. Begin by carefully melting your chosen bittersweet or semi-sweet chocolate. You can use either the microwave method for speed or a double boiler for more controlled melting. Ensure the chocolate is completely smooth and free of any lumps. We’ll delve into the specifics of both melting techniques in a dedicated section below, but the key is to avoid overheating.
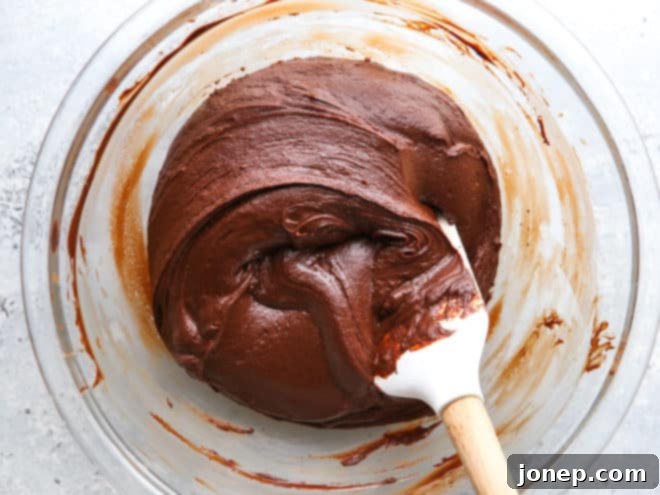
- Combine with Sweetened Condensed Milk and Vanilla. Once your chocolate is beautifully melted, remove it from the heat. Stir in the sweetened condensed milk and vanilla extract. At first, the mixture may seem a bit stiff and slightly grainy, but continue stirring patiently until all ingredients are thoroughly combined and the texture becomes thick and uniform. It will transform into a rich, fudgy consistency, perfect for forming truffles.
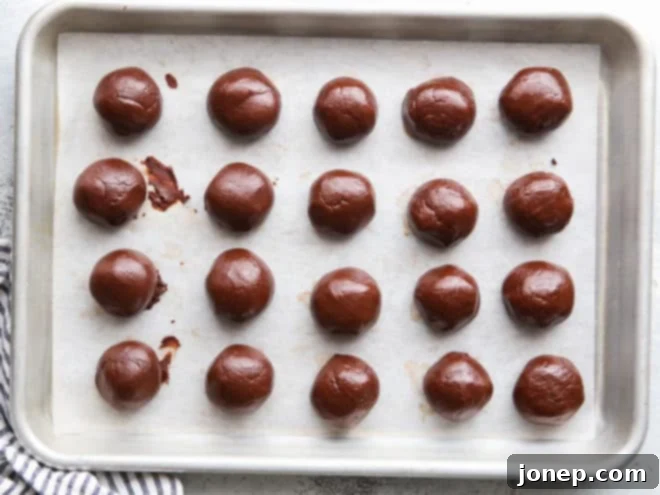
- Portion and Chill the Truffle Centers. Using a small spoon, a melon baller, or a mini cookie scoop, portion out the chocolate mixture into your desired truffle size. Typically, about one tablespoon per truffle is ideal. Gently roll each portion between your palms to form smooth, round balls. For easier handling and to prevent the chocolate from melting from the warmth of your hands, you might lightly grease your hands or wear food-safe gloves. Arrange the rolled truffle centers on a parchment-lined baking sheet and place them in the refrigerator to chill while you prepare the dipping chocolate. This chilling step is crucial as it helps the truffles hold their shape during the dipping process.
- Prepare Chocolate for Dipping. While the truffle centers are chilling, it’s time to melt the chocolate for the coating. If you’re using both milk and dark chocolate for variety, melt them in separate bowls. Again, you can use either the microwave or a double boiler. For the best glossy finish and a satisfying “snap” when bitten, consider tempering your chocolate. We’ll provide more detailed information on tempering further down, but if you’re short on time, simply melting it carefully will suffice.
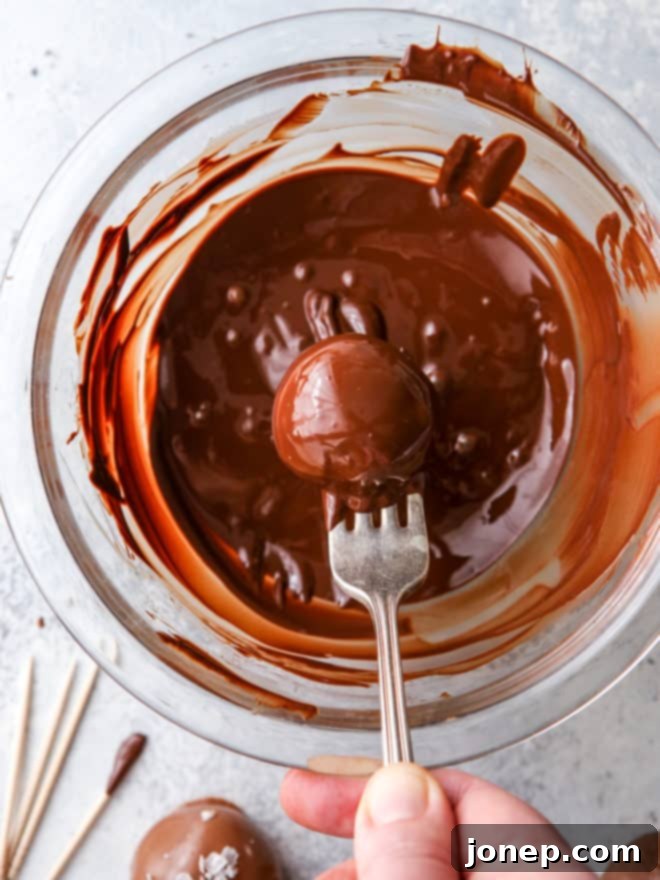
- Dip Truffles in Chocolate Coating. Working efficiently is key here! Remove the chilled truffle rounds from the refrigerator. Using a fork (a specialized dipping fork or a regular dinner fork works well), carefully immerse each truffle into the melted chocolate, ensuring it’s completely coated. Gently roll the truffle in the chocolate until evenly covered. Lift the truffle out of the bowl with the fork and lightly tap the fork against the edge of the bowl to allow any excess chocolate to drip back. This helps create a smooth, even coating. Finally, use a toothpick to gently scrape off any chocolate from the bottom of the fork and carefully push the covered truffle onto a sheet of parchment or wax paper to set.
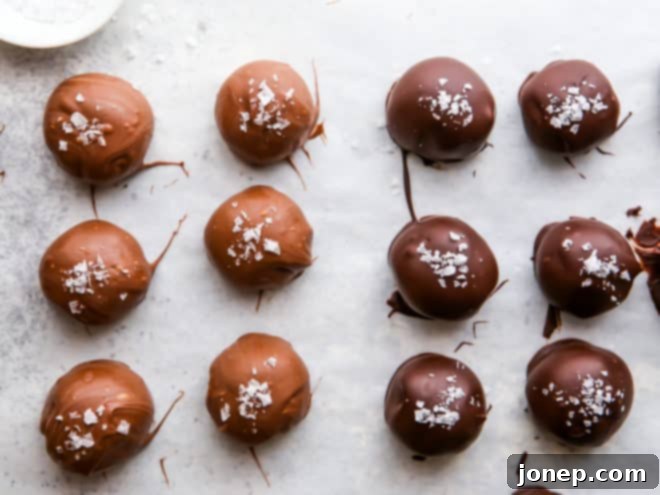
- Add Flaky Salt and Let Truffles Set. Immediately after dipping each truffle, and while the chocolate coating is still wet, sprinkle a pinch of flaky sea salt on top. This ensures the salt adheres beautifully. Allow the truffles to set at room temperature for approximately 30 minutes, or until the chocolate coating is firm to the touch. Avoid refrigerating “real” chocolate coatings immediately, as this can sometimes lead to blooming (white streaks) or a dull finish.
Mastering the Melt: Two Reliable Ways to Melt Chocolate
Melting chocolate can seem intimidating, but with the right technique, it’s quite simple. Both the microwave and a double boiler are effective methods, each with its own advantages. The goal is always to melt the chocolate gently and evenly, without scorching it.
Melting Chocolate in the Microwave
This is often the quickest method. Start by placing your chocolate pieces (ensure they are uniform in size for even melting) in a microwave-safe bowl. Microwave on high power in short, 30-second intervals. After each interval, remove the bowl and stir the chocolate thoroughly. Even if the chocolate doesn’t appear fully melted, stirring helps to distribute the heat and prevent hot spots. Continue this process, stirring after every interval, until the chocolate is mostly melted with just a few small lumps remaining. A final vigorous stir should melt these remaining pieces, resulting in a smooth, fluid consistency.
Melting Chocolate Over a Double Boiler
Using a double boiler offers more control and significantly reduces the risk of burning your chocolate, making it a favorite for many professional confectioners. If you don’t have a dedicated double boiler, you can easily create one by placing a heat-proof bowl (glass or stainless steel) over a small saucepan filled with about an inch or two of simmering water. Crucially, ensure the bottom of the bowl does not touch the water. The steam from the simmering water will gently heat the bowl and melt the chocolate. Stir the chocolate frequently as it melts. This method allows for a gradual melt, giving you better oversight of the process.
Important Warning: Avoiding Scorched or Seized Chocolate!
No matter which method you choose, vigilance is key. If chocolate gets too hot, it will scorch (burn), developing a bitter taste and often becoming grainy. Even worse, if a single drop of water or steam comes into contact with melting chocolate, it will “seize up,” instantly transforming into a thick, clumpy, unworkable mess. Once chocolate has scorched or seized, there’s unfortunately no saving it; you must discard it and start fresh. To prevent this, always ensure your bowl and utensils are completely dry, and be mindful of steam if using a double boiler. The golden rule is to watch your chocolate carefully and remove it from the heat when it’s approximately 80-90% melted, with a few small lumps still visible. The residual heat from the bowl and the already melted chocolate will be sufficient to melt the remaining lumps with a vigorous stir, yielding a perfectly smooth and glossy result.
Choosing the Perfect Chocolate for Dipping: A Guide to Coatings
The type of chocolate you select for coating your salted chocolate truffles will significantly impact their final appearance, texture, and flavor. While all options will technically work, understanding their differences can help you achieve your desired gourmet outcome.
Compound Chocolate (Candy Melts / Dipping Chocolate)
This product is often marketed specifically for dipping and coating. Unlike “real” chocolate, compound chocolate is made with vegetable oils (like palm kernel oil) instead of cocoa butter, along with cocoa powder and flavorings. Its primary advantage is its ease of use: it melts effortlessly and sets up quickly with a smooth, shiny finish, often without the need for tempering. However, its flavor profile is generally not as rich or complex as real chocolate, often tasting sweeter and less nuanced. If convenience and a flawless appearance without extra effort are your top priorities, compound chocolate is a viable option.
Real Chocolate (Baking Chocolate / Chocolate Chips)
Genuine chocolate is made with cocoa butter and chocolate liquor (cocoa solids). Brands like Nestlé, Baker’s, and Ghirardelli offer readily available real chocolate options. When using real chocolate for dipping, you’ll immediately notice a superior flavor compared to compound coatings. However, real chocolate contains cocoa butter, which, when melted and cooled improperly, can crystalize in an unstable form. This can result in a dull, streaky finish or “bloom” (white or grayish streaks on the surface), and a softer texture that melts easily in your hands. To achieve a beautiful, glossy finish with a satisfying snap and better melt resistance, real chocolate often needs to be tempered.
Couverture Chocolate (Professional Grade Chocolate)
Couverture chocolate is the crème de la crème of real chocolate, characterized by a higher percentage of cocoa butter (typically 32-39%) and a very fine grind. This elevated cocoa butter content gives it excellent flow properties when melted and a supremely smooth mouthfeel. Brands such as Valrhona, Callebaut, and Scharffen Berger are popular couverture options. For professional-quality results – a brilliant shine, a firm snap, and resistance to melting at room temperature – couverture chocolate absolutely must be tempered. Tempering is the process of precisely heating and cooling chocolate to stabilize the cocoa butter crystals, ensuring a beautiful, long-lasting finish.
For these salted chocolate truffles, I wholeheartedly recommend using real chocolate or, if you’re feeling adventurous and want truly professional results, couverture chocolate. The difference in flavor and texture is incomparable. If you are concerned about achieving that perfect glossy look and satisfying “snap,” don’t shy away from tempering! It’s a skill that elevates your chocolate work significantly. Here’s an excellent tutorial on tempering chocolate with lots of great info that can guide you through the process step-by-step.
Expert Tips for Truffle-Making Success
Creating perfect truffles is a rewarding experience, and a few insider tips can help ensure your batch turns out beautifully every time:
- Uniformity is Key for Melting: When preparing your chocolate for melting, break or chop it into pieces of roughly the same size. This consistency ensures that the chocolate melts evenly, preventing some pieces from overheating while others remain solid.
- Invest in Quality Chocolate: While you can technically make truffles with any chocolate, the final taste and texture will largely depend on the quality of your ingredients. Splurging a little on higher-quality (and often more expensive) chocolate will truly elevate your truffles, yielding a far more elegant and delicious result than cheaper, low-cost options. Think of it as an investment in flavor!
- The Golden Rule: No Water Allowed! This is perhaps the most critical rule in chocolate work. Chocolate and water are natural enemies. Even a tiny drop of water or a wisp of steam can cause melted chocolate to seize, transforming it into a thick, lumpy, unworkable mass. Always ensure your bowls and utensils are perfectly dry, and be cautious of steam if using a double boiler.
- Dipping Assistance: The process of dipping can be a bit tricky initially. If you find yourself needing a visual guide or extra reassurance, this recipe was originally adapted from The Pioneer Woman, and her original post provides plenty of helpful photos to walk you through the dipping technique.
- Setting Real Chocolate: Room Temperature is Best: If you are using real chocolate (not compound chocolate) for your coating, avoid chilling the dipped truffles in the refrigerator to set them. Rapid cooling can disrupt the stable crystal structure of cocoa butter, leading to “bloom” (white or grayish streaks) or a coating that is soft and lacks that desirable crisp “snap” when you bite into it. Allow them to set at a cool room temperature instead.
- Optimal Storage for Freshness: These truffles maintain their best texture and flavor when stored in a cool, dry place, such as a pantry, away from direct sunlight and heat. They do not require refrigeration and will keep beautifully for up to a few weeks. If you live in a very warm climate, a cool basement or a wine cellar might be ideal.
- Make-Ahead Mastery: Truffles are excellent for making ahead! You can prepare the truffle centers and store them in an airtight container in the refrigerator for up to a week before dipping. This breaks up the workload, making them perfect for entertaining.
- Customize Your Flavors: Don’t be afraid to experiment! A tiny splash of liqueur (like Grand Marnier, Kahlua, or rum) can be added to the truffle filling along with the vanilla for an adult twist. You could also roll the undipped truffle centers in cocoa powder, finely chopped nuts, or sprinkles for different finishes.
Explore More Delicious Chocolate Treats
If you love these salted chocolate truffles, you’re sure to enjoy these other delightful chocolate-infused recipes:
- Chocolate Caramel Corn
- Chocolate Covered Caramels
- Nutella Truffles
- Chocolate Marshmallow Cups
Shop Essential Tools for This Recipe
To make your truffle-making experience even smoother, consider these helpful tools:
This delightful recipe was originally published in December 2009 and has been a favorite ever since, proving that classic indulgence never goes out of style.
Salted Chocolate Truffles
Pin Recipe
Leave a Review
Ingredients
- 1 lb semi-sweet or bittersweet chocolate (for truffle filling)
- 14 oz sweetened condensed milk
- 1 tablespoon vanilla extract
- 8 oz milk or semi-sweet/bittersweet chocolate (for dipping, or half and half, see Notes)
- Flaky sea salt , for sprinkling
Instructions
-
Carefully melt the 1 lb of semi-sweet or bittersweet chocolate for the truffle filling. Use a double boiler over simmering water or microwave in 30-second intervals, stirring thoroughly after each. Stir until completely smooth, ensuring you do not overheat or allow any water contact, as this will cause the chocolate to burn and seize up.
-
Remove the melted chocolate from the heat. Stir in the sweetened condensed milk and vanilla extract until fully combined. The mixture will be thick and may appear slightly grainy at first, but continue stirring until it’s smooth and fudgy.
-
Using a spoon or a small cookie scoop (approximately 1 tablespoon), portion the chocolate mixture into desired truffle sizes. Lightly roll each portion between your hands to form smooth balls. Place the rolled truffle centers on a parchment-lined sheet pan and chill them in the refrigerator while you prepare the chocolate for dipping.
-
Melt the 8 oz of milk or dark chocolate (or both in separate bowls) for the coating, using either the microwave or a double boiler method as described above. Consider tempering for a professional finish.
-
Dip the chilled truffle balls into the melted coating chocolate until they are completely covered. Use a fork to carefully remove the truffles, gently tapping the fork against the edge of the bowl to allow excess chocolate to drip off. With the help of a toothpick, carefully slide the covered truffle off the fork onto parchment or wax paper.
-
Immediately sprinkle the tops of the wet, chocolate-coated truffles with flaky sea salt. Allow the truffles to set up at cool room temperature for approximately 30 minutes, or until the chocolate coating is firm.
-
Store the finished truffles in a cool, dry place (like a pantry) in an airtight container. They will keep well for 1-2 weeks.
Notes
- You have the flexibility to use either real chocolate or “dipping/candy coating” chocolate for the outer layer, based on your preference for taste and ease of use. Please refer to the detailed blog post content above for more information on choosing the best type of chocolate.
- For a delightful variety, I opted to use 4oz of milk chocolate and 4 oz of semi-sweet chocolate for the coating. This allowed me to create an appealing assortment of both dark and milk chocolate-coated truffles, offering different flavor experiences in one batch.
- For an extra touch of flavor, consider adding a teaspoon of your favorite liqueur (like Kahlua or Grand Marnier) to the truffle filling along with the vanilla extract.
- Ensure all equipment (bowls, spatulas) are completely dry before melting chocolate to prevent seizing.
