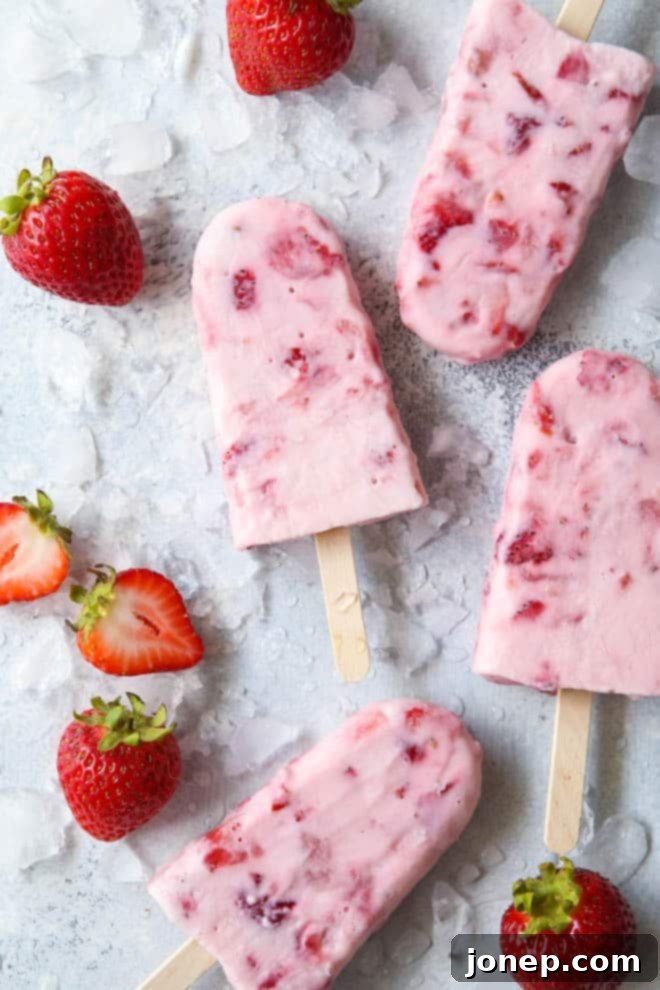
Deliciously Healthy 4-Ingredient Roasted Strawberry Yogurt Popsicles: Your Perfect Summer Treat
Prepare to delight your taste buds with these incredible 4-ingredient healthy popsicles, meticulously crafted with juicy roasted strawberries and creamy yogurt! As the sun shines brighter and the days grow longer, there’s nothing quite like a cool, refreshing treat to beat the heat. And when that treat is homemade, wholesome, and bursting with natural flavor, it becomes an instant summer staple.
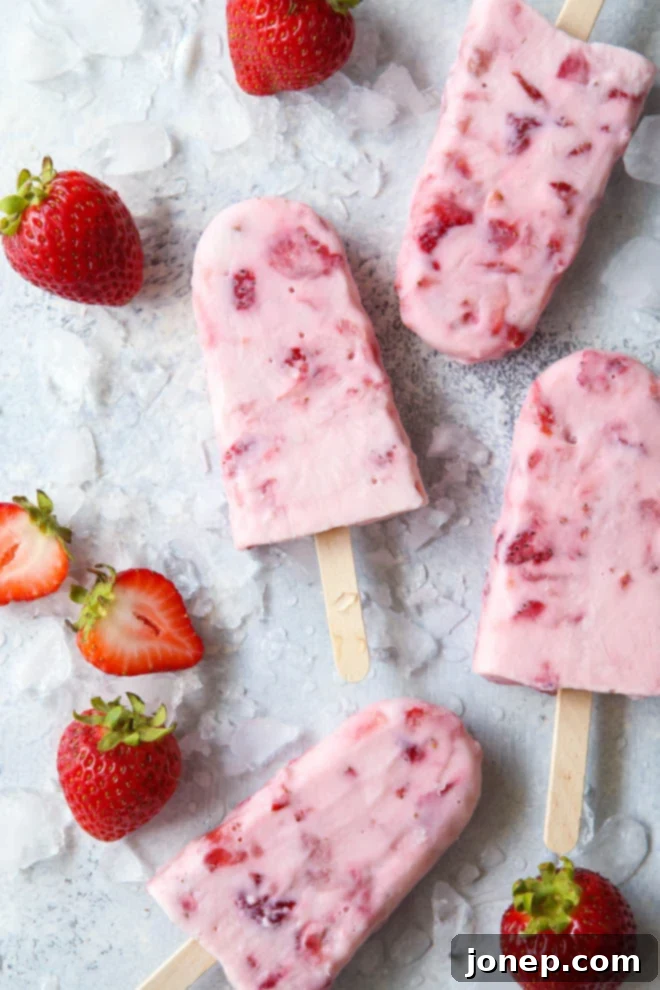
Embrace the Summer of Homemade Popsicles
While the official start of summer might still be a few weeks away, we’ve already plunged headfirst into full summer mode here! That means our freezer is consistently stocked with an assortment of homemade popsicles. My kids simply can’t get enough of these frosty delights, and honestly, neither can I. There’s a certain magic to crafting your own frozen treats, knowing exactly what goes into them, and customizing them to perfection.
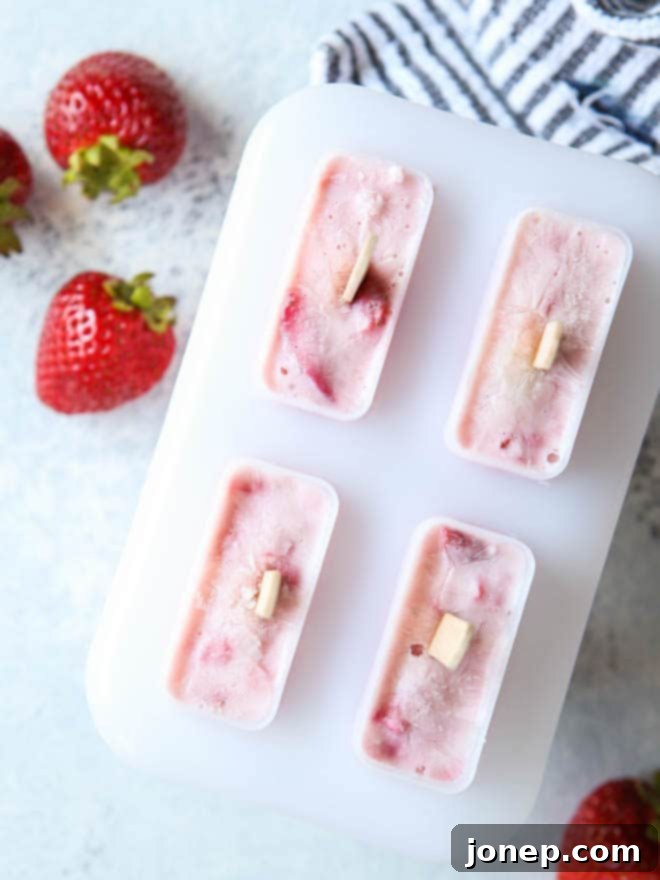
Once you invest in a reliable popsicle mold, an entire world of culinary creativity opens up. The possibilities are truly endless! Imagine transforming any juice, smoothie, ice cream base, or even your favorite cocktail into a convenient, portable, and incredibly satisfying frozen pop. The process is wonderfully simple: mix or blend your ingredients, pour them into the molds, give them a few hours to chill and solidify in the freezer, and voilà – you’re ready to enjoy a refreshing, healthy snack!
One of the primary reasons I adore making my own popsicles is the absolute control it gives you over the ingredients. This allows you to create healthy, cool treats that the entire family can enjoy without any guilt. These roasted strawberry yogurt pops are a prime example: requiring just four simple ingredients, they are completely wholesome, naturally sweetened, and incredibly flavorful. They represent the best of summer in a delicious, icy package, offering a guilt-free indulgence for any time of day.
The Secret to Unforgettable Flavor: Roasted Strawberries
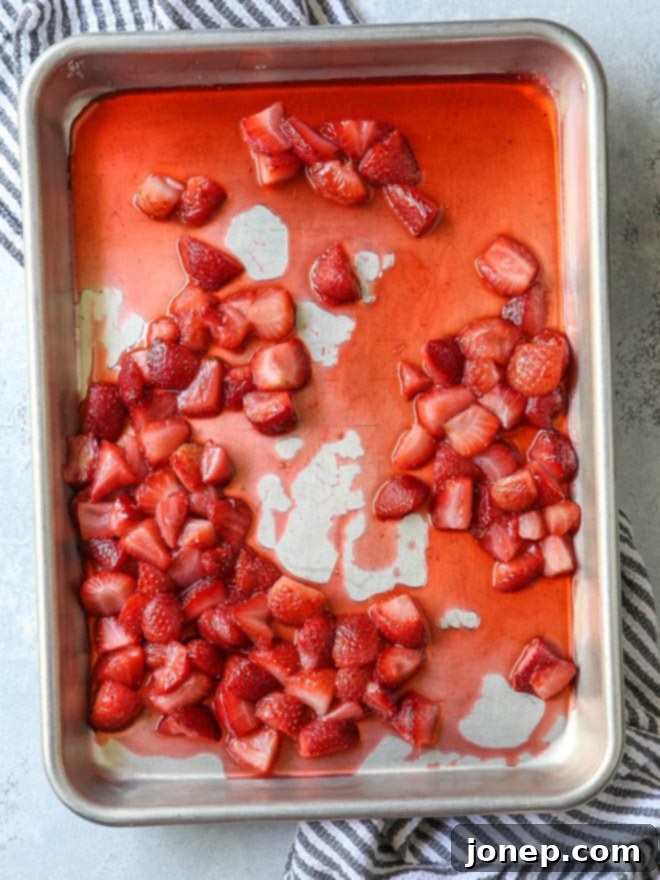
These delightful popsicles are essentially a frozen version of my beloved roasted strawberry vanilla bean frozen yogurt, adapted for a convenient stick form. The star of the show here is undoubtedly the strawberries, which undergo a magical transformation through roasting. By gently roasting the berries with a touch of sugar, their natural sweetness intensifies, and their complex flavors deepen significantly. This process caramelizes the sugars, creating a richer, more concentrated strawberry essence that elevates the entire popsicle experience.
If you’ve never had the pleasure of roasting strawberries before, now is the perfect time to try it! It’s an incredibly easy technique that yields astonishingly tasty results. Simply toss fresh, ripe strawberries with a bit of sugar, spread them on a baking sheet, and let your oven do the rest. The warmth of the oven coaxes out their juices, reducing them into a thick, sweet syrup that coats each berry with deliciousness. The aroma alone is enough to make your mouth water!
Beyond these sensational ice pops, roasted strawberries are wonderfully versatile. They make a fantastic topping for vanilla ice cream, a vibrant addition to cocktails, or even a simple, delectable snack enjoyed straight out of the pan. Their enhanced flavor and slightly jammy texture add a gourmet touch to anything they accompany. This simple step truly makes all the difference, transforming good popsicles into extraordinary ones.
Crafting Your Perfect Pop: Ingredients & Customization Tips
The beauty of this recipe lies in its simplicity and adaptability. While the recipe below provides a fantastic guideline, think of it as a starting point for your own culinary adventure. You have complete freedom to adjust it to suit your personal preferences and whatever ingredients you have on hand.
- Sugar Content: You can use as much or as little granulated sugar as you’d like for roasting the strawberries. If your strawberries are particularly sweet, you might need less. If you prefer a less sweet treat or are watching your sugar intake, you can reduce the amount or even experiment with natural sugar substitutes.
- Yogurt Choice: Any plain yogurt you have in your fridge will work beautifully. Whether it’s non-fat, low-fat, or full-fat, each will contribute a slightly different texture and richness to your popsicles. Greek yogurt will yield a thicker, creamier pop with a tangy kick, while regular yogurt will result in a lighter, softer texture. For an extra layer of flavor, you could even try a vanilla-flavored or lightly sweetened yogurt, though you’ll still want a touch of sugar for roasting the berries to achieve that concentrated flavor.
- Vanilla Extract: A splash of vanilla extract perfectly complements the sweet and tart notes of the strawberries and the creamy base of the yogurt. It adds a warmth and depth that rounds out the overall flavor profile.
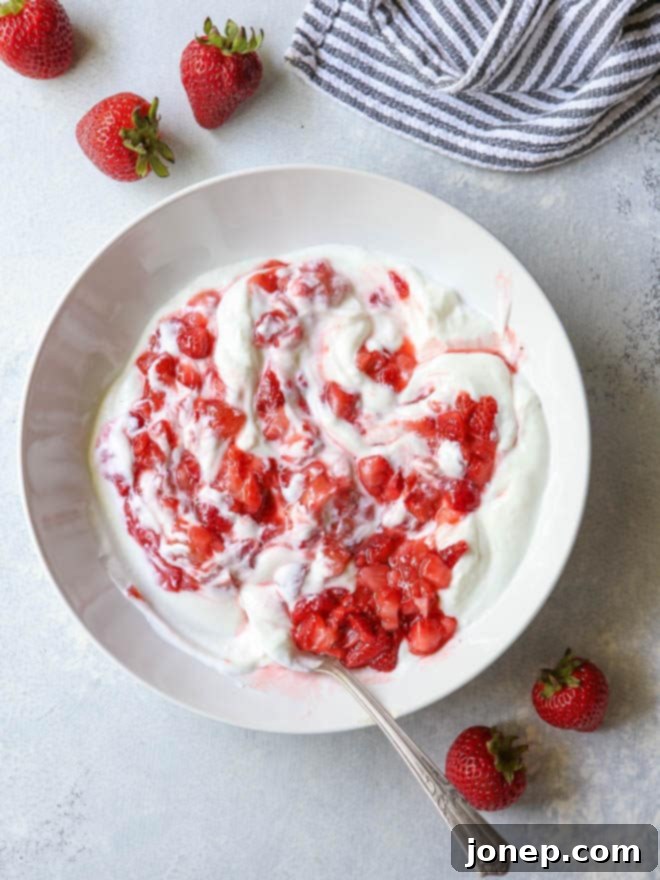
- Texture Preference: Decide whether you want a smooth, uniform popsicle or one with delightful chunks of roasted strawberries. For a smooth pop, simply puree the roasted strawberries and their juices with the yogurt and vanilla extract in a blender until silky. If you enjoy a bit of texture, you can leave the strawberries whole or roughly chop them before stirring them into the yogurt mixture. Both options are equally delicious!
Whatever choices you make, it’s genuinely hard to go wrong with this recipe. These homemade ice pops are a huge hit in our family; they vanish from the freezer within a few hours! It’s a testament to how simple and irresistible they are, making them a perfect healthy snack for busy summer days.
baking tip:DIY Popsicle Molds & Freezing Advice
While you can easily purchase ready-made popsicle molds at most kitchen supply stores, during the summer season at grocery stores, or conveniently online, did you know you can also craft your own simple molds at home? This is a great tip if you’re in a pinch or just want to try a fun, inexpensive alternative!
- Prepare your “molds”: Gather miniature paper or plastic disposable cups (8 oz or smaller works best). Ensure you leave at least 1/2 inch of headspace at the top of each cup to allow for expansion as the mixture freezes.
- Stabilize for freezing: Arrange the filled cups on a sturdy sheet pan. This makes them easy to transfer to and from the freezer without spills. Cover the entire tray tightly with aluminum foil.
- Insert sticks: Carefully poke wooden popsicle sticks into the center of each cup, pushing them halfway down. The aluminum foil acts as a clever stabilizer, keeping the sticks upright and perfectly centered as the popsicles freeze.
- Freeze thoroughly: Place the sheet pan with the filled cups into the freezer. Allow them to freeze for a minimum of 2 hours, or until they are completely solid. For best results, overnight freezing is recommended.
- Enjoy your creation: When you’re ready to indulge, simply remove the foil. If using paper cups, peel the paper away from the frozen pop. For plastic cups, run them under hot water for a few seconds; this slight warmth will help loosen the pops from their molds. Then, simply slide them out and enjoy your delicious, homemade treat!
These DIY molds are perfect for a spontaneous popsicle craving and prove that you don’t need fancy equipment to enjoy a delightful frozen dessert. Just remember to give them enough time to freeze solid for the best texture!

Instructions
-
Preheat oven to 375 degrees F (190°C).
-
In a bowl, gently toss the sliced and hulled strawberries with your desired amount of granulated sugar. Spread the mixture into a single layer on a small sheet pan or baking dish.
-
Bake in the preheated oven for about 15 minutes, or until the strawberries are tender and their juices are visibly bubbling. This process concentrates their flavor. Remove from oven and let them cool completely to room temperature.
-
Once cooled, decide on your preferred texture: for a smooth pop, puree the roasted strawberries and their accumulated juices in a blender. For a pop with delightful fruit chunks, simply stir the cooled strawberries and juices directly into the plain yogurt along with the vanilla extract.
-
Carefully pour or spoon the mixture into your popsicle molds. Be sure to leave about 1/2 inch of headspace at the top of each mold to accommodate expansion during freezing. Insert popsicle sticks and freeze for a minimum of 2 hours, or until completely solid.
Notes
- Adjusting Sweetness: The amount of sugar used is entirely to your taste. Feel free to use more or less depending on your sweetness preference and the natural sweetness of your strawberries. You can also use your favorite sugar substitute if you prefer a lower-sugar option.
- Yogurt Varieties: Non-fat, low-fat, or regular plain yogurt will all yield delicious results, each offering a slightly different texture and richness. If you opt for a flavored or sweetened yogurt, remember you’ll still want to use a small amount of sugar (about 2 tablespoons) to properly roast the strawberries and bring out their best flavor.
This delightful recipe has been thoughtfully adapted from my popular roasted strawberry vanilla bean frozen yogurt, specifically designed for easy and wholesome frozen pops.
