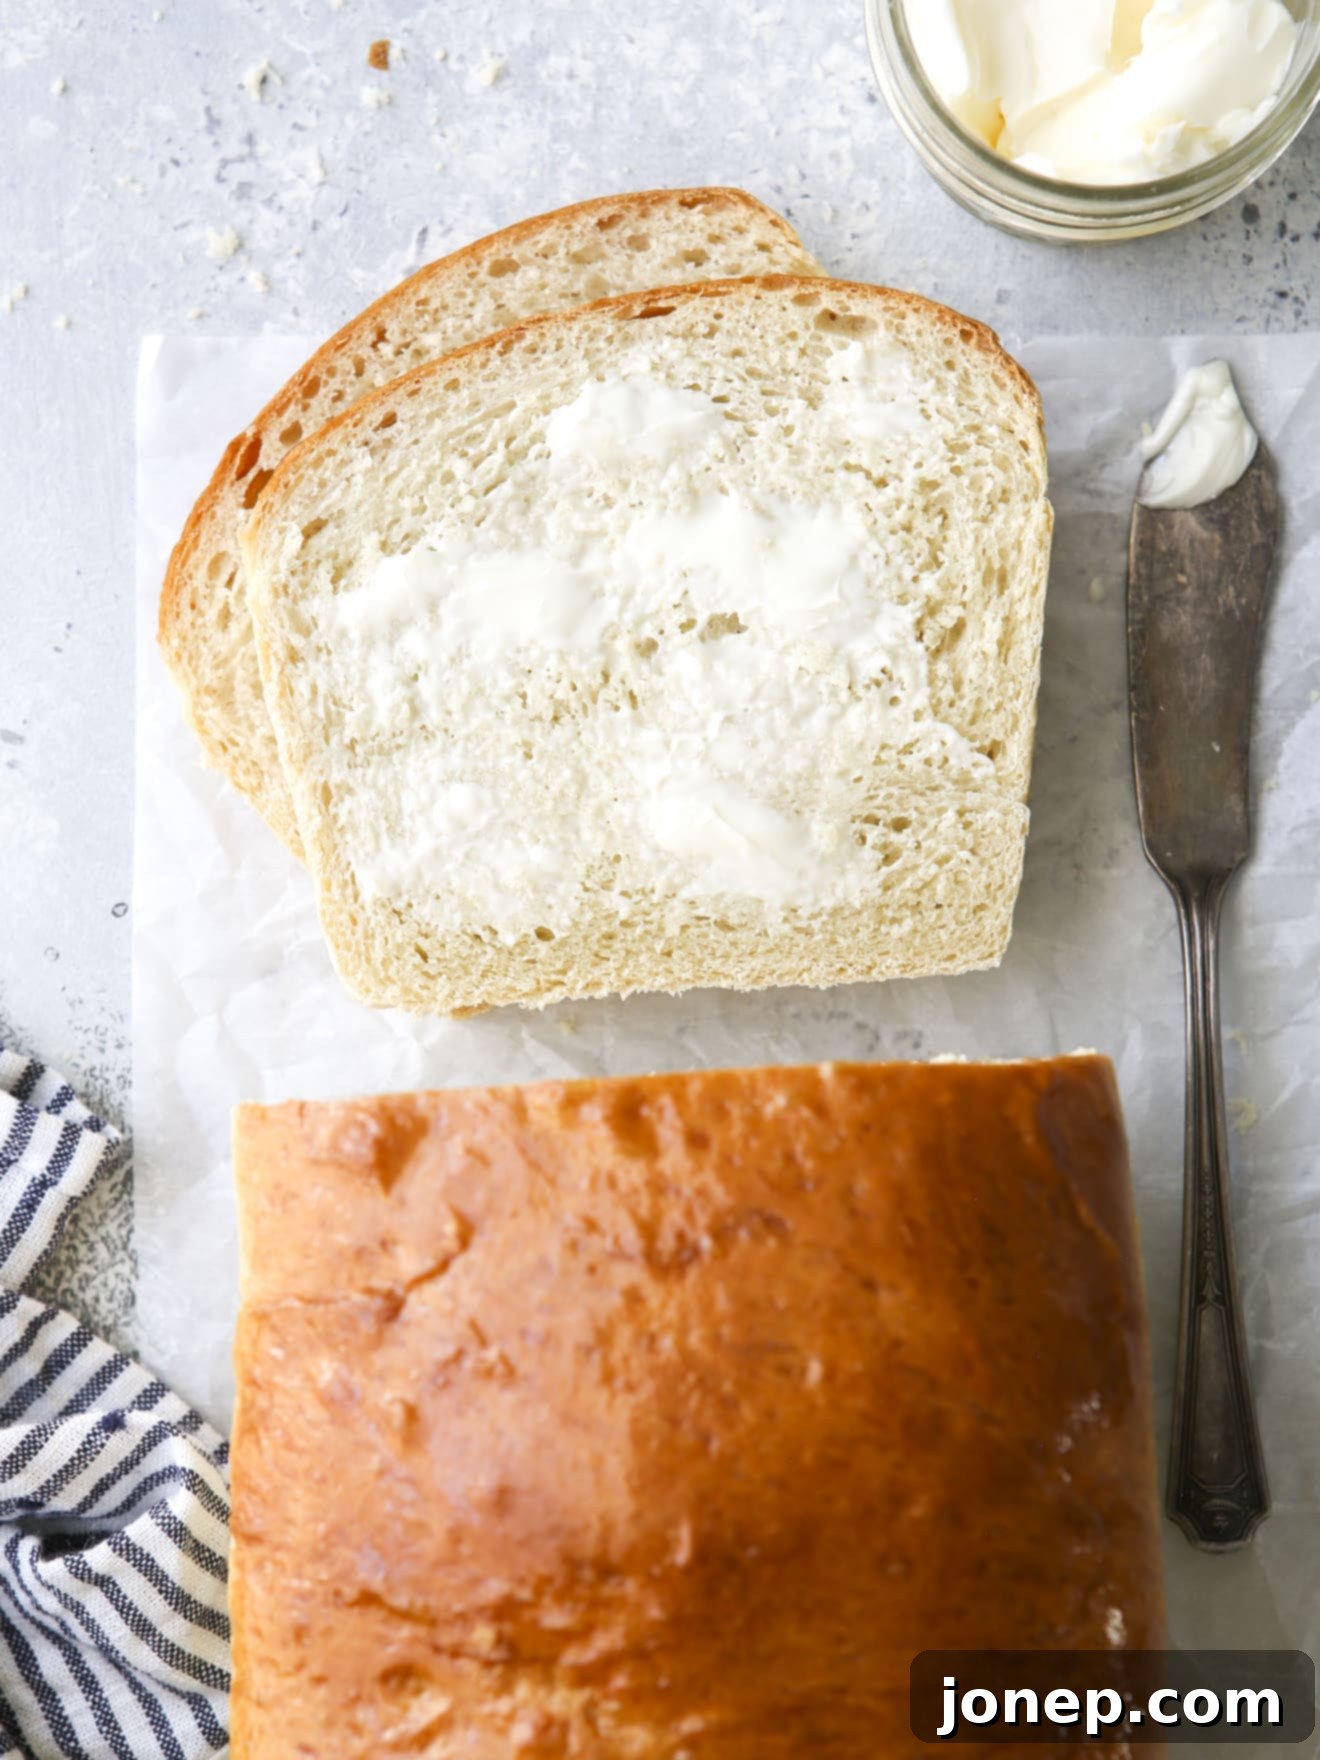
Easy Homemade Soft White Sandwich Bread Recipe: Your Guide to Perfect Loaves
Imagine the aroma of freshly baked bread filling your kitchen – warm, comforting, and utterly irresistible. This recipe will guide you through creating your very own soft white sandwich bread, a truly tender and delicious loaf that’s perfect for everything from classic sandwiches to morning toast. Forget store-bought options; once you taste this homemade version, there’s no going back!
Baking bread from scratch might seem daunting, but it’s a wonderfully rewarding process that requires just a few basic ingredients you likely already have on hand: flour, yeast, honey, butter, salt, and water. With a little mixing, kneading, and patience as the yeast works its magic, you’ll produce a loaf that rivals any bakery.
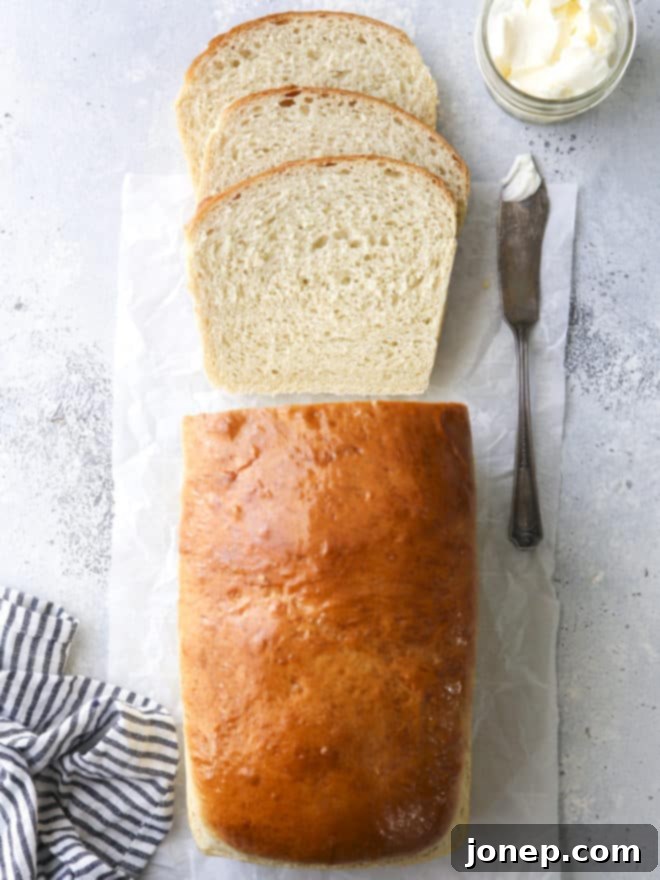
If you’ve ever felt intimidated by the idea of baking bread, rest assured! I’ve broken down every step with clear instructions, helpful tips, and even included step-by-step photos to ensure your homemade loaf comes out absolutely perfect every single time. My family adores this bread so much – it’s incredibly superior to anything you’ll find in a grocery store – that I make it as often as I can. I’m confident you and your loved ones will cherish it too!
And for those who love variety, I also have a fantastic 100% whole wheat bread recipe that we enjoy just as much. But for today, let’s focus on achieving that wonderfully soft and fluffy white loaf.
The Magic of Homemade Bread: Why You Should Bake Your Own
There’s something uniquely satisfying about baking your own bread. Beyond the incredible taste and texture, homemade bread offers several benefits:
- Unbeatable Flavor and Texture: Freshly baked bread has a depth of flavor and a soft, yielding crumb that store-bought loaves often lack. The gentle sweetness from the honey and the rich taste of butter truly shine through.
- Control Over Ingredients: You know exactly what goes into your bread – no artificial preservatives, additives, or high-fructose corn syrup. This means healthier, purer bread for your family.
- Cost-Effective: Basic bread ingredients are quite inexpensive, making homemade bread a budget-friendly alternative to specialty bakery loaves.
- A Rewarding Experience: The process of transforming simple ingredients into a beautiful loaf is incredibly therapeutic and a wonderful skill to master in the kitchen. The warmth and aroma it brings to your home are simply priceless.
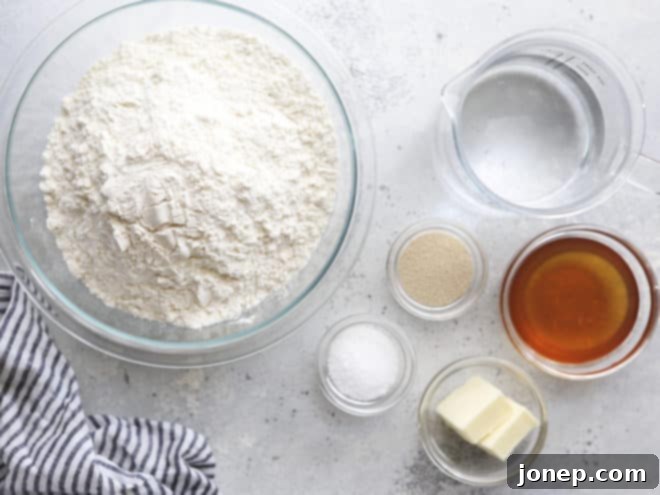
Ingredients You’ll Need for Your Soft Sandwich Bread
Crafting this delightful bread requires just a handful of common pantry staples. Each ingredient plays a vital role in achieving that perfect tender crumb and golden crust:
- Bread Flour: The star of our show. We’ll delve into why this is crucial below.
- Yeast: The magical leavening agent that makes our bread rise, giving it a light and airy texture.
- Honey: Adds a subtle sweetness and helps activate the yeast, contributing to a beautiful golden-brown crust.
- Butter: Provides richness, tenderness, and a lovely flavor to the bread.
- Salt: Essential for flavor, but also crucial for controlling yeast activity and strengthening the gluten structure.
- Water: The liquid base that hydrates the flour and activates the yeast.
Do I Have to Use Bread Flour? Understanding Its Importance
You might be wondering if you can just use all-purpose flour for this recipe. While you *can* use it in a pinch, I highly recommend and encourage you to use bread flour for the best results, and here’s why:
Bread flour is specifically milled from hard wheat varieties, which have a significantly higher protein content (typically 12-14%) compared to all-purpose flour (around 10-12%). This higher protein content is key to bread baking:
- Gluten Development: When flour and water are mixed, the proteins form gluten. Higher protein content means more robust gluten development. This gluten network acts like a stretchy elastic net, trapping the carbon dioxide gases produced by the yeast.
- Structure and Rise: A strong gluten network gives the dough the strength and elasticity it needs to rise high and maintain its structure during baking. This results in a chewier, more substantial crumb and a loftier loaf.
- Tender Crumb: Despite its strength, bread flour can also contribute to a wonderfully tender crumb when properly kneaded and hydrated, preventing a dense or crumbly texture.
If you use all-purpose flour, your bread may still be good, but it will likely have a softer, more delicate structure and may not rise as high or be as chewy as a loaf made with bread flour. You can easily find bread flour in the baking aisle of most grocery stores.
How to Make Soft White Sandwich Bread: Step-by-Step Guide
Let’s get baking! Follow these simple steps to create your perfect loaf of soft white sandwich bread.
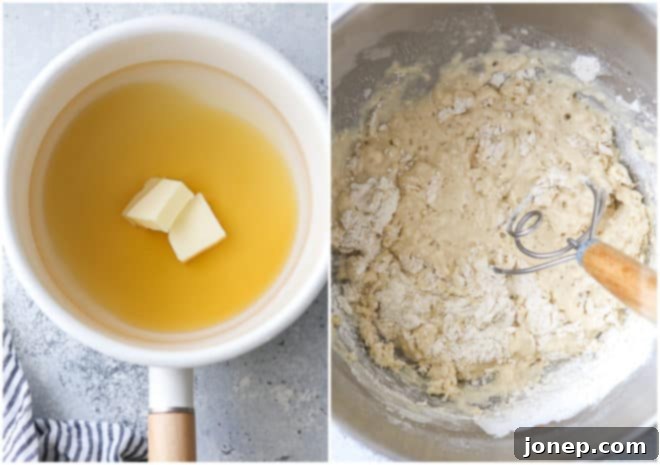
- Warm Liquid Ingredients: In a small saucepan, combine the water, honey, and butter. Heat over medium heat, stirring occasionally, until the butter is completely melted and the mixture is warm. It’s crucial to get the temperature just right for your yeast. Aim for 120-130°F (49-54°C). This temperature range is ideal for activating yeast without killing it (temperatures above 140°F can be lethal) or slowing it down too much (if too cold). Use an instant-read thermometer for accuracy. Remove from heat once the target temperature is reached.
- Combine Dry Ingredients: In the bowl of a stand mixer fitted with a dough hook attachment (or a large mixing bowl if kneading by hand), combine 3 cups of the bread flour, the salt, and the active dry yeast. Whisk them together briefly to ensure they are evenly distributed. Mixing the salt with the flour first helps prevent it from directly contacting the yeast, which can inhibit its activity if concentrated.
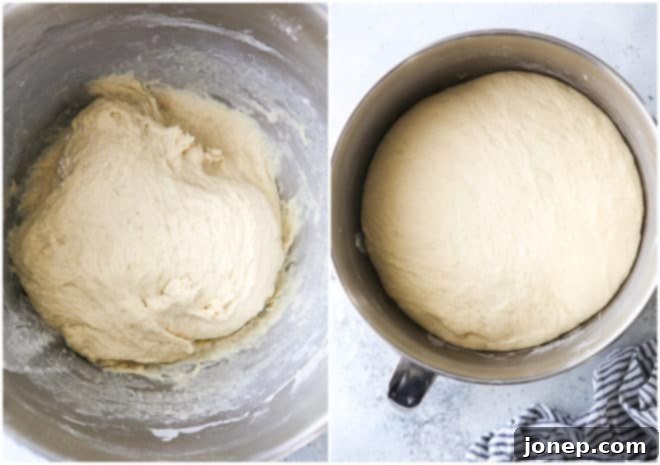
- Mix Warm and Dry Ingredients: Pour the warm liquid mixture into the bowl with the dry ingredients. Start mixing on low speed (or stir by hand) until all the dry ingredients are moistened and a shaggy, wet dough forms. At this stage, it will look quite sticky and unformed, which is perfectly normal.
- Add More Flour and Knead: Gradually add the remaining flour, ¼ cup at a time, while the mixer continues to knead on low speed. Continue adding flour until the dough comes together and is thick, elastic, and no longer excessively sticky to the touch. You’ll know you’ve added enough flour when the dough clears the sides of the bowl but still feels very soft and slightly tacky when pressed with a clean finger. The exact amount of flour needed can vary due to factors like humidity and flour brand, so trust your dough! Once the right consistency is reached, increase the mixer speed to medium-low and knead for 3-5 minutes until the dough is smooth and elastic. If kneading by hand, this will take 5-8 minutes. You can test for proper kneading by gently stretching a small piece of dough; if it forms a translucent “windowpane” without tearing, it’s ready.
- First Rise (Proofing): Lightly grease a clean large bowl with a little oil or cooking spray. Place the kneaded dough into the greased bowl, turning it once to coat the entire surface. Cover the bowl tightly with plastic wrap to prevent the dough from drying out. Place the bowl in a warm, draft-free spot (see tips below for ideal rising environments) and let it rise until it has doubled in size. This usually takes about 1 hour, but can vary depending on your kitchen temperature.
- Shape the Loaf: Once the dough has doubled, gently punch it down to release the air. This step is important for evening out the yeast activity and creating a fine crumb. Turn the dough out onto a lightly floured surface. Gently press and shape the dough into a ball, then roll it out into a rough rectangle, approximately 9-10 inches wide and 12 inches long. Roll the dough tightly from one of the shorter ends into a log. Pinch the seam closed along the bottom and at the ends to create a smooth, taut surface. Transfer the shaped dough, seam-side down, into a greased 9×5-inch bread pan.
- Second Rise (Proofing): Cover the bread pan loosely with greased plastic wrap (to prevent sticking) or a clean kitchen towel. Place it back in a warm, draft-free spot to rise again until it has doubled in size and rises proudly above the top of the pan, about 30 minutes. While the dough is on its second rise, preheat your oven to 375°F (190°C).
- Bake the Bread: Just before baking, prepare an egg wash by whisking together 1 egg and 1 tablespoon of water. Gently brush the top of the risen dough with the egg wash; this will give your bread a beautiful golden-brown crust and a slight sheen. Place the bread pan in the preheated oven and bake for 30-40 minutes, or until the top is deeply golden brown and the internal temperature reaches 200-210°F (93-99°C) when tested with an instant-read thermometer. If the top browns too quickly, you can loosely tent it with aluminum foil.
- Cool Completely: Once baked, remove the loaf from the oven. Let it cool in the bread pan for about 10 minutes. This allows the internal structure to set. Then, carefully turn the loaf out onto a wire rack to cool completely before slicing. Slicing warm bread can lead to a gummy texture, as the internal starches are still gelatinizing. Patience is key for the perfect slice!
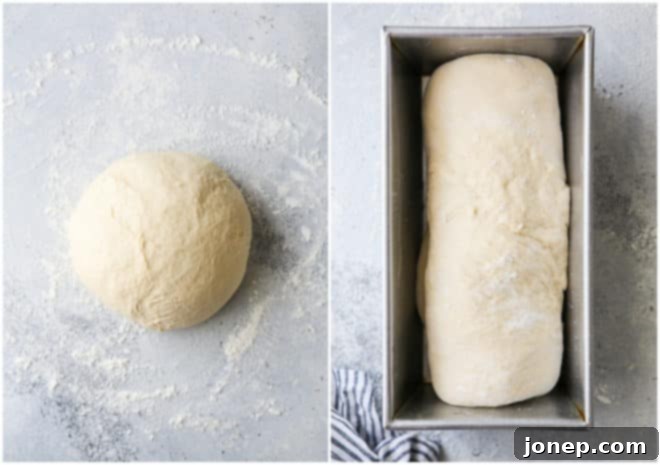
Then, enjoy the incredible taste and texture of your homemade soft white sandwich bread!
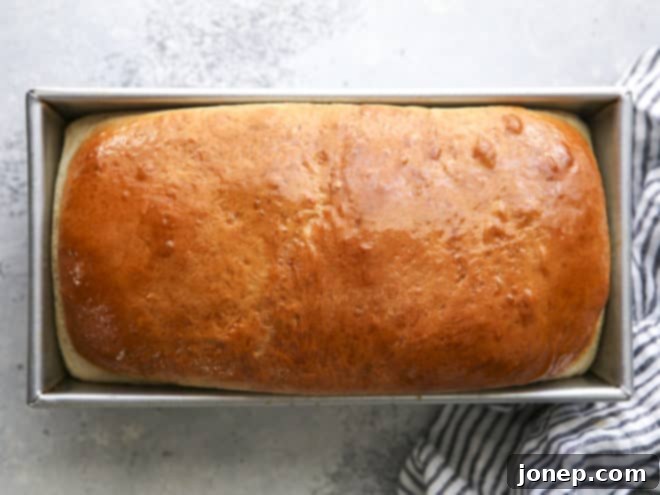
Essential Bread Baking Tips for Success
To ensure your bread-making journey is smooth and successful, keep these expert tips in mind:
- Kneading Method: I find a stand mixer with a dough hook attachment makes quick work of mixing and kneading this dough, saving time and effort. However, kneading by hand is equally effective and a wonderful way to connect with your dough! If you prefer hand kneading, aim for a rhythmic push-fold-turn motion. Here’s a great video to show you how to knead by hand efficiently. The goal is a smooth, elastic dough that bounces back when gently poked.
- Yeast Activation – The Direct Method: Many recipes call for proofing yeast in warm water first. However, for active dry yeast, it’s not always necessary to “bloom” it separately. I often get questions about why I don’t activate my yeast in warm water before adding it to the dry ingredients. This “direct method” is perfectly fine and often faster and easier, provided your warmed liquids are between 120-130°F (49-54°C). I learned this technique from Red Star Yeast and use it for all my bread recipes. Just ensure your liquid temperature is accurate!
- Temperature Control is Key: As mentioned, yeast is a living organism sensitive to temperature. Use an instant-read thermometer to accurately measure your liquids. Temperatures over 140°F (60°C) will kill the yeast, preventing your bread from rising. Conversely, if the liquids are too cold (below 105°F / 40°C), the yeast will be sluggish, and your bread will take much longer to rise, or may not rise sufficiently.
- Choosing Your Yeast: My personal favorite yeast to use for bread baking is Red Star Platinum Yeast. It’s a high-quality active dry yeast that consistently provides excellent results and a reliable rise. However, most active dry yeast brands will work well.
- Flour Amount Variation: The exact amount of flour you’ll need can vary slightly depending on factors like the humidity in your kitchen, the brand of flour, and even the accuracy of your measurements. Start with the recommended amount, then add the remaining flour gradually, ¼ cup at a time. You’ll know you’ve added enough flour when the dough is still very soft and somewhat tacky to the touch, but you can handle it without it aggressively sticking to your hands. Resist the urge to add too much flour, as this is a common pitfall that can result in a dense, tough, and dry loaf. Only add as much as is truly necessary to achieve the correct consistency.
- Creating a Warm Rising Environment: Yeast loves warmth! A consistent warm temperature promotes optimal rising. I often like to let my dough rise in my oven. Simply heat the oven to its lowest setting (around 150-200°F / 65-93°C) for just a few minutes, then turn it OFF. Place the covered dough on the center rack and close the door. The residual warmth creates a perfect proofing environment. Other methods include placing the bowl in a warm (not hot!) water bath or near a sunny window. More rising tips can be found here.
- Proper Storage: To keep your homemade bread fresh and soft for as long as possible, store it in an airtight plastic bag or container at room temperature. A bread box can also work wonders. Bread typically keeps well for several days. Avoid storing bread in the refrigerator, as the cooler temperatures can actually accelerate the staling process, making your bread dry and hard more quickly.
- Freezing for Longer Freshness: Homemade bread freezes exceptionally well! If you won’t consume the entire loaf within a few days, slice it and double-wrap individual slices or the entire loaf tightly in plastic wrap, then place it in a freezer-safe bag. It can be stored in the freezer for up to a month. To thaw, simply leave slices or the whole loaf on the counter for several hours, or toast individual slices directly from frozen.
- Explore More Bread Recipes: Once you master this white bread, consider trying my 100% whole wheat bread loaf for another family favorite!
Troubleshooting Common Bread Problems
- Dense or Heavy Bread: This is often caused by too much flour, under-kneading (not enough gluten development), or insufficient rising time. Ensure you’re not adding too much flour, knead until elastic, and give the dough ample time to double in size during both rises.
- Bread Didn’t Rise: The most common culprits are dead yeast (liquids too hot or expired yeast) or liquids that are too cold. Always check your yeast’s expiration date and use an accurate thermometer for your liquids. A drafty environment can also inhibit rising.
- Gummy Interior: This happens if the bread wasn’t baked long enough, or if it was sliced before cooling completely. Ensure the internal temperature reaches 200-210°F and always let it cool on a wire rack.
- Tough Crust: Sometimes caused by overbaking or a lack of moisture during baking. An egg wash helps, and you can also lightly spray the oven with water a couple of times during the first 10-15 minutes of baking to create steam.
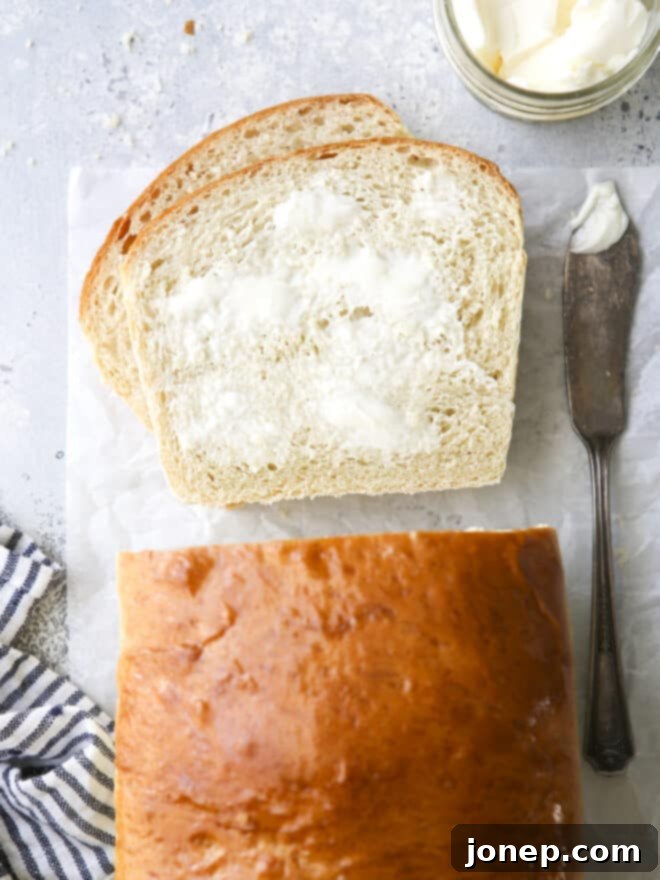
Serving Suggestions for Your Homemade Loaf
This soft white sandwich bread is incredibly versatile and shines in many applications:
- Classic Sandwiches: From grilled cheese to turkey and provolone, this bread elevates any sandwich.
- Perfect Toast: Lightly toasted and spread with butter, jam, or avocado, it’s a breakfast staple.
- French Toast: Its tender crumb is ideal for soaking up custardy batter, making for an amazing French toast.
- Bread Pudding: Transform day-old slices into a comforting and delicious bread pudding.
- Croutons: Cut into cubes, toss with olive oil and herbs, and bake until crispy for homemade croutons.
- Pair with Soups and Stews: A hearty slice is perfect for soaking up rich broth or gravy.
Shop Tools for this Recipe
Having the right tools can make your bread baking experience even more enjoyable and successful. Here are some essentials:

Soft White Sandwich Bread
Pin Recipe
Leave a Review
Ingredients
- 1 ½ cups water (355 ml)
- 2 tablespoons butter (28 grams)
- ¼ cup honey (60 ml)
- 4 ½ cups bread flour (540 grams)
- 2 teaspoons salt (8 grams)
- 2 ¼ teaspoon active dry yeast (1 envelope, 7 grams)
Instructions
-
In a small saucepan, heat the water, butter, and honey over medium heat until butter is melted. Remove from heat and let cool for a few minutes (to 120-130° F).
-
In the bowl of a stand mixer fitted with a dough hook, combine 3 cups of the bread flour, the salt, and yeast. Add the liquids and mix on low until moistened.
-
Continue to mix on low and add the remaining flour ¼ cup at a time until dough is firm (you might need a little more or less than 4½ total cups). Knead with the mixer for 3-5 minutes or by hand for 5-8 minutes until dough is smooth and elastic.
-
Place dough in a greased bowl, cover with plastic wrap, and let rise in a warm place until doubled, 1 hour. Punch down the dough, and let sit for 10 minutes.
-
On a lightly floured surface, roll dough out into a rough rectangle about 10 inches wide and 12 inches long. Roll up dough and into a greased 9×5-inch loaf pan.
-
Cover with plastic wrap and let rise again until doubled again, 30 minutes.
-
Bake at 375° F for 30-40 minutes, until loaf is golden brown. Let cool in pan 10 minutes, then transfer to a wire rack to let cool completely.
Notes
Final Thoughts: Enjoy Your Homemade Masterpiece!
Baking your own soft white sandwich bread is a truly rewarding experience, transforming simple ingredients into a delightful culinary creation. This recipe empowers you to create loaves that are not only incredibly delicious and tender but also free from the preservatives found in store-bought options. The heavenly aroma, the satisfying texture, and the pride of serving something homemade to your family are unmatched.
Whether you’re making sandwiches for lunch, toasting it for breakfast, or simply enjoying a slice with butter, this bread is sure to become a cherished recipe in your kitchen. Don’t be afraid to experiment and make it your own; the beauty of baking lies in the journey and the delicious discoveries along the way. Happy baking!
