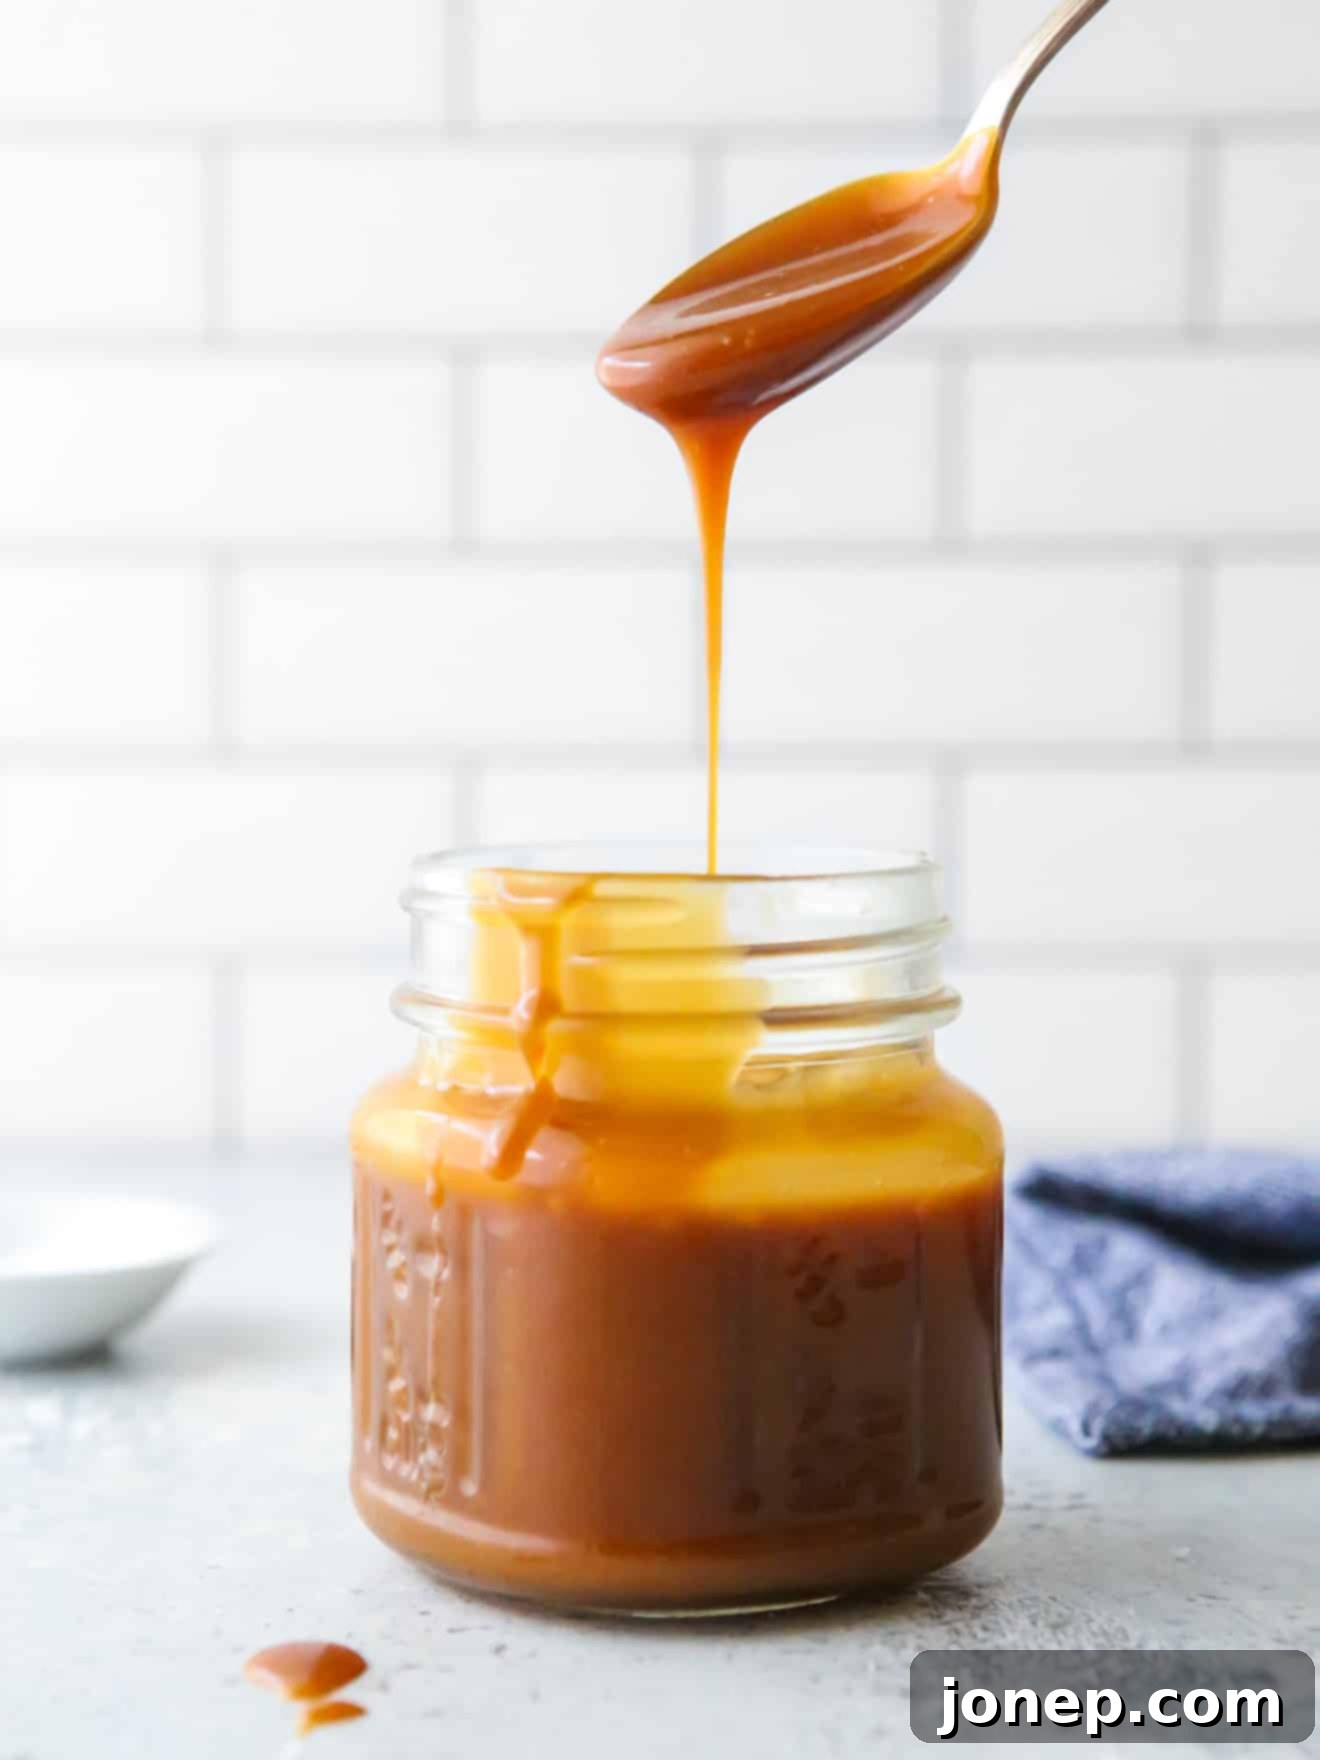
Mastering Homemade Caramel Sauce: An Easy, 5-Ingredient Recipe for Rich & Velvety Perfection
Imagine a world where rich, luscious, and incredibly flavorful caramel sauce is just minutes away, made right in your own kitchen with only five basic ingredients. This isn’t a dream! I’m here to show you how effortlessly you can create the most exquisite homemade caramel sauce from scratch. Forget store-bought versions; once you experience the deep, nuanced flavors of homemade, there’s no going back.
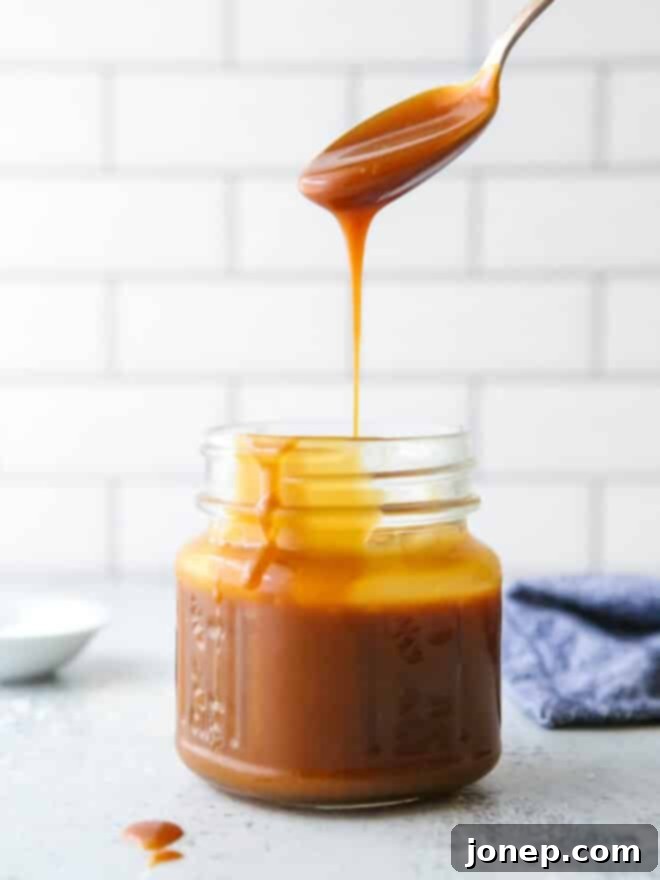
Many people assume that making caramel is a daunting task, fraught with the risk of burning sugar or creating a crystallized mess. I understand that apprehension; I’ve been there myself! The idea of caramelizing sugar can indeed be intimidating. However, I promise that with a little guidance and a few simple practices, you’ll discover just how straightforward and rewarding the process truly is. Once you master it, a world of sweet possibilities opens up.
And let me tell you, the reward is absolutely worth the minimal effort! Homemade caramel sauce boasts an unparalleled creaminess and an incredibly rich depth of flavor, perfectly balanced by a delightful hint of salt. It’s a versatile condiment that transforms ordinary desserts into extraordinary culinary experiences.
Table of Contents
- Ingredients You’ll Need for Perfect Caramel
- How to Make Homemade Caramel: Step-by-Step Guide
- Caramelizing Sugar with the Dry Method
- Caramelizing Sugar with the Wet Method
- Finishing Touches: Stir in Heavy Cream, Butter, Vanilla, and Salt
- Endless Possibilities: Uses for Your Homemade Caramel Sauce
- Expert Tips for Making Flawless Homemade Caramel
- More Delicious Caramel Desserts to Explore
- Printable Homemade Caramel Sauce Recipe
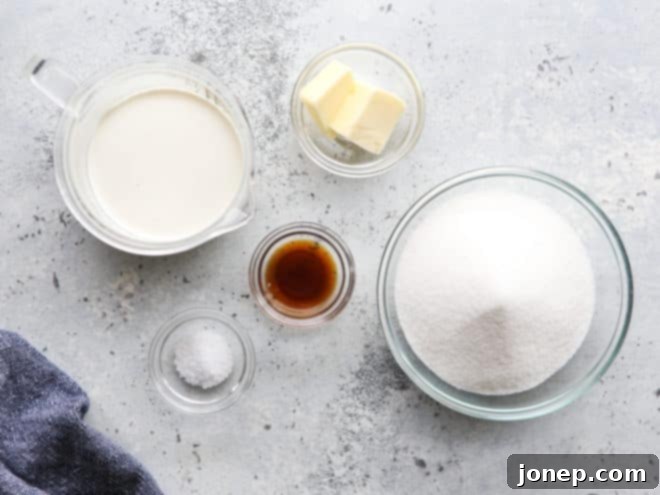
Ingredients You’ll Need for Perfect Caramel
Ready to whip up some delightful caramel? Gather these essential ingredients, and you’ll be well on your way to a glorious batch of golden sauce. The beauty of this recipe lies in its simplicity and the readily available nature of its components. (Find the full recipe with precise measurements below):
- Granulated Sugar: The foundation of our caramel. While other sugars can be used for different caramel variations, regular white granulated sugar is perfect for this classic recipe.
- Heavy Whipping Cream: This is what transforms the intense caramelized sugar into a creamy, pourable sauce. The high-fat content ensures a rich, smooth texture and helps prevent crystallization.
- Unsalted Butter: Adds a silky texture, additional richness, and a lovely buttery flavor that complements the sugar beautifully. Using unsalted butter allows you to control the overall saltiness of the sauce.
- Vanilla Extract: A touch of vanilla adds warmth, depth, and a classic aroma that makes the caramel truly irresistible.
- Salt: Essential for balancing the sweetness and enhancing all the other flavors. A pinch of salt elevates the caramel from merely sweet to a complex, perfectly seasoned treat.
Ensure all your ingredients are measured and ready before you start, especially the heavy cream, as the process moves quickly once the sugar begins to caramelize.
How to Make Homemade Caramel: Step-by-Step Guide
Once your ingredients are prepped and lined up, the most crucial step is caramelizing the sugar. At its heart, caramel is essentially controlled “burnt” sugar. The goal is to melt the sugar, allowing it to transform from white crystals into a deep amber liquid, developing a rich, complex, and bittersweet flavor profile. This initial caramelization is the secret to a truly flavorful sauce.
There are two primary methods for caramelizing sugar: the dry method and the wet method. Many recipes often stick to one, but I want to empower you with both approaches! Understanding each will allow you to choose the technique that best suits your comfort level and desired outcome. Both yield fantastic results, so experiment to find your favorite.
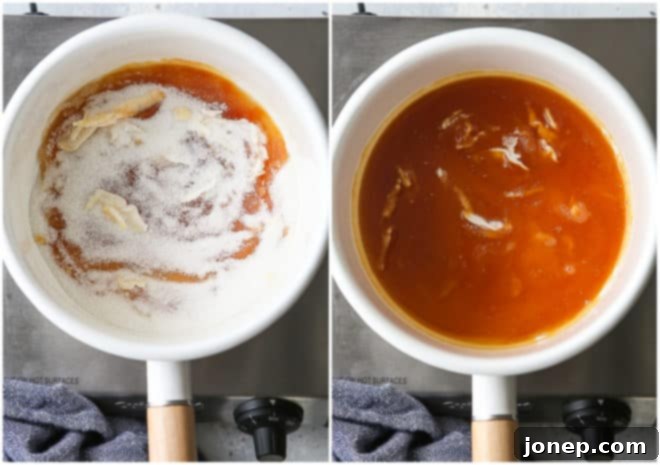
Caramelizing Sugar with the Dry Method
The dry method is often preferred by more experienced candy makers for its speed and intense flavor development. It involves melting sugar directly without any added liquid.
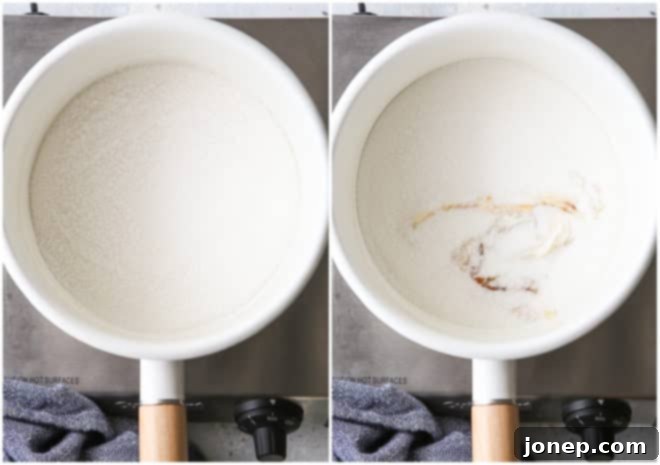
- Add Sugar: Begin by spreading your granulated sugar evenly in a heavy-bottom saucepan (this is key for even heat distribution) over medium heat.
- Initial Melting: After just a minute or two, you’ll notice the sugar crystals around the edges of the pan starting to melt and darken slightly. This is your cue that the process has begun.
- Swirl, Don’t Stir: Resist the strong urge to stir the sugar with a spoon or whisk! Stirring can introduce air and cause the sugar to crystallize, resulting in a grainy, rather than smooth, caramel. Instead, gently swirl and shake the pan to distribute the melting sugar and help the unmelted crystals melt evenly. This technique ensures consistent browning and prevents localized burning.
- Watch for Color: Keep a very close eye on the sugar as it continues to melt and darken. It will progress through various shades of yellow, then amber, and finally a deep, rich amber color. The caramel is perfectly done when all sugar lumps have completely dissolved and the liquid sugar has reached this beautiful, deep amber hue. Be careful not to let it go too dark, as it can quickly burn and become bitter.
Pros to using the dry method: It’s generally faster, often results in a slightly thicker caramel sauce due to less water content, and many find the hands-on swirling process more engaging and “fun.” It yields a very pure, intense caramel flavor.
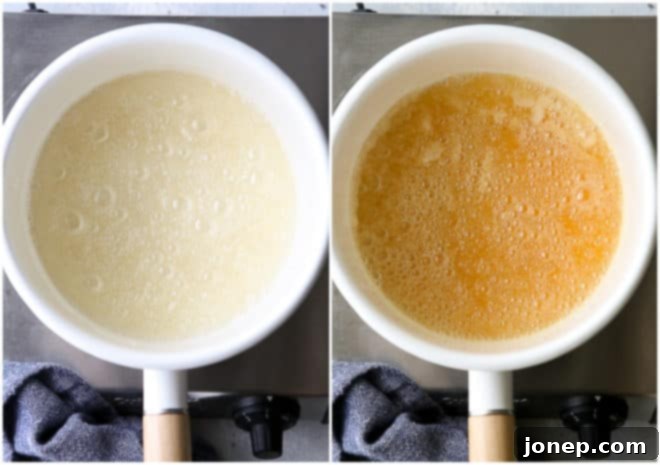
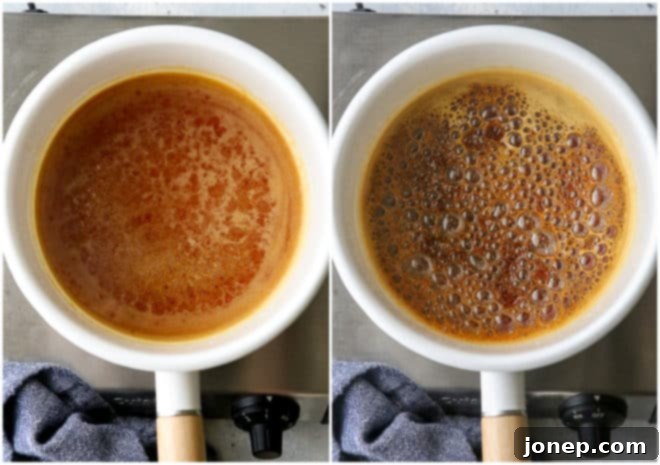
Caramelizing Sugar with the Wet Method
The wet method is often recommended for beginners because the addition of water helps dissolve the sugar crystals more gently, reducing the risk of burning and crystallization.
- Combine Sugar and Water: In your heavy-bottom saucepan, combine the granulated sugar and a small amount of water. Stir with a whisk over medium heat until the sugar is completely dissolved. Once dissolved, stop stirring entirely. The water helps create a syrup, which then boils down and caramelizes.
- Boil and Darken: Allow the mixture to come to a boil. The water will evaporate, and as the temperature rises, the sugar syrup will begin to darken in color. This process typically takes a few minutes longer than the dry method, but it offers more control.
- Continue Cooking and Swirling: Keep cooking the syrup until it reaches a deep amber color. Just like with the dry method, avoid stirring with an implement. Instead, gently swirl the pan as needed to promote even caramelization and ensure all parts of the syrup are heating consistently. Watch it very carefully during this stage; it can transition from perfect to burned quite rapidly. (As illustrated in the bottom right photo above, I let it go a touch too long, almost reaching a burnt stage.)
Pros to using the wet method: It’s generally considered less intimidating for beginners, offers a bit more leeway, and is less prone to burning quickly because the water provides a buffer. It also tends to yield slightly more caramel sauce.
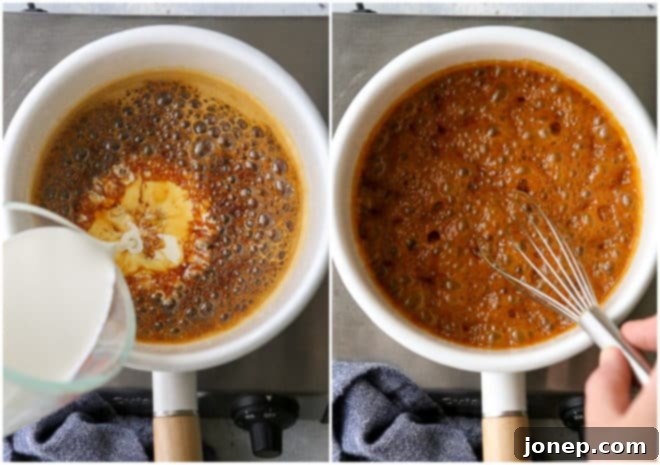
Finishing Touches: Stir in Heavy Cream, Butter, Vanilla, and Salt
Now that you’ve masterfully caramelized the sugar, you’re ready for the magical transformation! This is where the bittersweet, intensely flavored sugar becomes the rich, creamy caramel sauce we all adore.
- Add Heavy Cream: As soon as your sugar has reached that perfect deep amber color and is fully melted (no lumps!), reduce the heat to low. Immediately and gradually whisk in the warmed heavy whipping cream. Be prepared: the mixture will bubble up and steam vigorously. This is completely normal and expected due to the significant temperature difference between the hot sugar and the cooler cream. Keep whisking constantly over low heat until the mixture is smooth and any solidified sugar has dissolved back into the sauce. (For best results and to reduce bubbling, warm your heavy cream slightly in the microwave before adding it.)
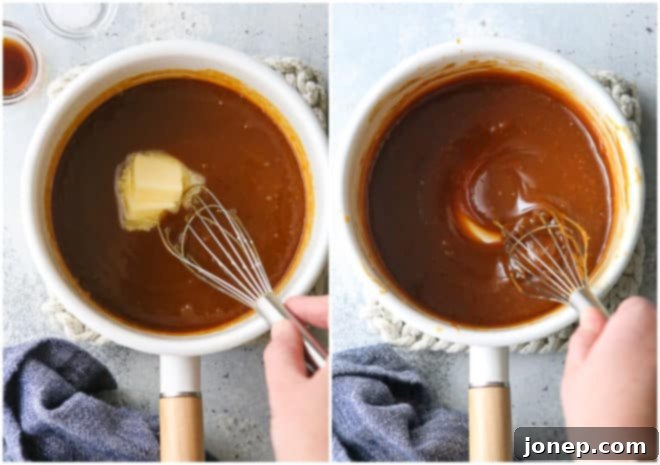
- Incorporate Butter, Vanilla, and Salt: Once the caramel is smooth, remove the pan from the heat. Stir in the unsalted butter until it’s fully melted and incorporated, creating a luxurious sheen. Then, add the vanilla extract and salt, stirring until everything is thoroughly combined. The salt is crucial here; it perfectly balances the sweetness and brings out the full depth of flavor.
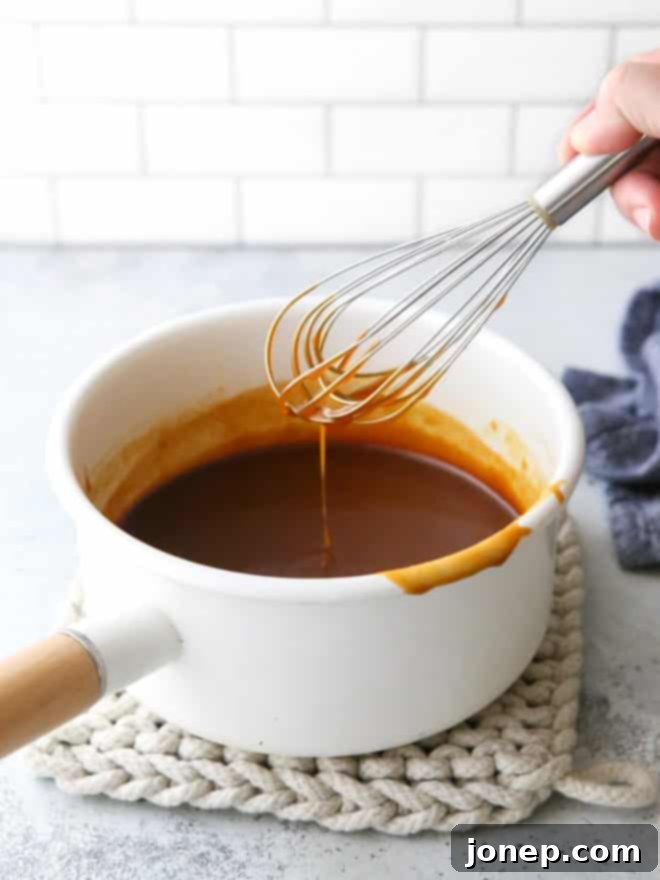
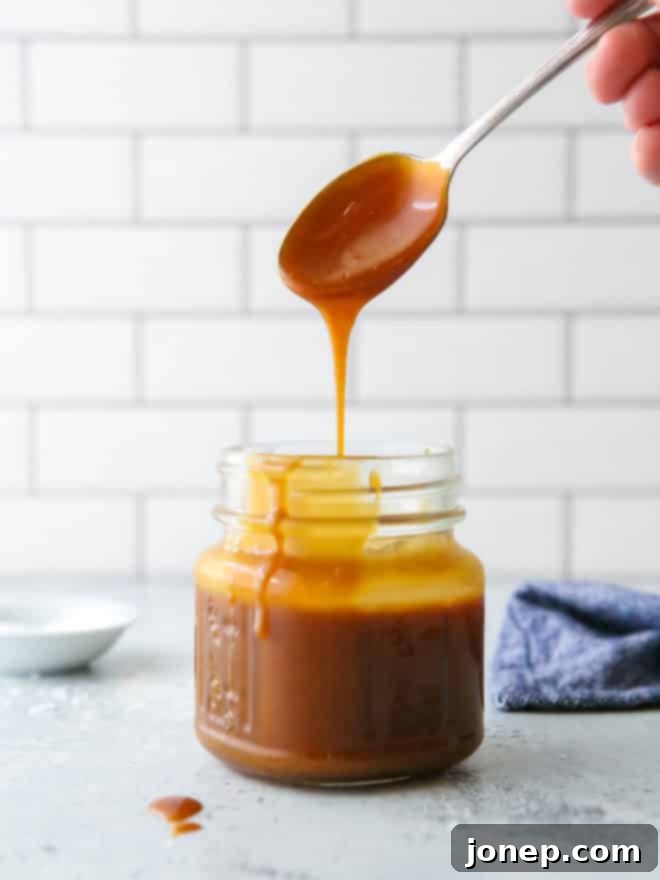
And just like that, you’ve created a truly spectacular homemade caramel sauce! Allow it to cool slightly before transferring it to a jar. As it cools, it will thicken to a perfect consistency.
Now, what’s next for your glorious creation? Besides enjoying it by the spoonful (no judgment here, we’ve all done it!), this versatile sauce is ready to elevate countless dishes.
Endless Possibilities: Uses for Your Homemade Caramel Sauce
Your homemade caramel sauce is incredibly versatile and can be used in a multitude of delicious ways. Here are some ideas to inspire you:
- Dessert Topping Extraordinaire: Drizzle generously over your favorite ice cream, particularly vanilla bean or salted caramel ice cream, for an indulgent treat.
- Mix-Ins and Fillings: Incorporate it directly into baked goods. Think about stirring it into rice krispie treats for a chewy, gooey texture, or use it as a decadent layer in a cream pie.
- Enhance Baked Goods: It makes a spectacular topping for rich desserts like cheesecake, fudgy brownies, or a luxurious layer cake. The possibilities for cakes are endless!
- Perfect Dipping Sauce: Serve it warm as a delightful dip for crisp apple slices, salty pretzels, graham crackers, or even shortbread cookies. The sweet and salty combination is simply divine.
- Edible Gift: Pour your homemade caramel into pretty jars, tie a ribbon around them, and give them as thoughtful, delicious gifts to friends, family, or neighbors. They’ll be incredibly impressed!
- Coffee & Drink Enhancer: Stir a spoonful into your morning coffee, latte, or hot chocolate for a gourmet twist. It can also be used in milkshakes and other sweet beverages.
- Breakfast Bliss: Drizzle over pancakes, waffles, or French toast for an elevated breakfast or brunch experience.
Expert Tips for Making Flawless Homemade Caramel
Achieving perfect caramel is within your reach! Keep these expert tips in mind to ensure a smooth, delicious, and stress-free experience every time:
- Stick to the Recipe: For best results with this specific recipe, I highly recommend using the ingredients as listed. Caramel chemistry can be sensitive, so if you’re keen on substitutions (like using brown sugar), search for a caramel recipe specifically formulated for those ingredients.
- Unsalted Butter Control: I prefer unsalted butter to have precise control over the salt content, allowing for a perfectly balanced sweet and salty flavor. If you only have salted butter, reduce the added salt in the recipe to just ¼ teaspoon and taste the finished sauce before adding more.
- Resist the Stirring Urge: This is arguably the most critical rule! While the sugar is caramelizing, avoid stirring it with a spoon or spatula. Stirring can cause sugar crystals to form on the sides of the pan or fall back into the melting sugar, leading to a grainy, crystallized caramel sauce.
- Swirl, Don’t Stir (Cont.): Instead of stirring, gently swirl and slightly tilt the pan. This technique helps redistribute the melting sugar, ensuring even caramelization, especially if you notice “hot spots” where the sugar is cooking faster.
- Combatting Crystallization: If you see sugar crystals forming around the edges of the pan during the cooking process, don’t panic. Dip a clean pastry brush in a small amount of water and gently brush down the crystals from the sides of the pan. The water will help them dissolve back into the syrup.
- Act Quickly with Cream: As soon as the caramelized sugar is removed from the heat (or when the heat is reduced to low), it will begin to cool and harden very quickly. This is why it’s crucial to have your heavy cream ready to add immediately. I even recommend keeping the pan over low heat while whisking in the cream to prevent the sugar from seizing too much.
- Warm Your Cream: To minimize the vigorous bubbling and potential seizing when adding cold cream to hot sugar, lightly warm your heavy cream beforehand. A quick 30-60 second zap in the microwave is usually sufficient. This reduces the temperature shock and helps the cream blend more smoothly.
- Enhance Flavor: For an extra layer of gourmet flavor, consider stirring in the seeds of one vanilla bean pod along with the vanilla extract. Alternatively, for an adult twist, a splash (about 1 tablespoon) of whiskey or bourbon added at the end with the butter, vanilla, and salt can add incredible depth.
- Storage and Reheating: Homemade caramel sauce should be stored in an airtight container in the refrigerator. It will thicken considerably when chilled. To serve, simply reheat it gently in the microwave in short bursts (15-30 seconds), stirring between each, until it reaches your desired pourable consistency. It will keep well in the fridge for several weeks.
- Safety First: Melted sugar is extremely hot and can cause severe burns. Always handle the saucepan with care, and if you have children or pets, ensure they are not near the stovetop during the caramelization process.
More Delicious Caramel Desserts to Explore
If you’ve fallen in love with the magic of homemade caramel, you’ll certainly want to try these other delightful caramel-infused treats:
- Soft Caramel Popcorn: A chewy, sweet, and irresistible snack.
- Caramel Apple Upside-Down Cake: A stunning dessert where apples are bathed in caramel and baked into a tender cake.
- Caramel Stuffed Chocolate Chip Cookies: The ultimate surprise inside a classic cookie.
- How to Make Homemade Caramel Apples: A classic fall treat perfected with your own caramel.
- Chocolate Covered Caramels: Rich, chewy caramels enrobed in decadent chocolate.
This recipe was originally published October 2014, and has been updated with expanded tips and instructions for an even better caramel-making experience.
Printable Homemade Caramel Sauce Recipe
Homemade Caramel Sauce
Pin Recipe
Leave a Review
Ingredients
Making Caramel – Dry Method (Choose ONE method)
- 1 cup granulated sugar (200 grams)
Making Caramel – Wet Method (Choose ONE method)
- 1 cups granulated sugar (200 grams)
- ¼ cup water (60 ml)
For the Caramel Sauce:
- Caramelized sugar from above
- ¾ cup heavy whipping cream (178 ml)
- 2 tablespoons unsalted butter (28 grams)
- ½-1 teaspoon salt , to taste
- 1 teaspoon vanilla extract
Instructions
Making Caramel – Method 1 (Wet Method):
-
Combine sugar and water in a medium saucepan over medium heat. Allow sugar to melt and bring to a boil. Let the mixture caramelize and wait for it to turn dark amber in color. Do not stir, swirl pan as needed to promote even caramelization.
Making Caramel – Method 2 (Dry Method):
-
Sprinkle sugar evenly on the bottom of a medium saucepan set over medium heat. Allow sugar to melt and caramelize, swirling as necessary to promote even caramelization. Do not stir.
To make the Caramel Sauce:
-
As soon as the caramel is dark amber in color, reduce heat to low, and gradually add the heavy cream while whisking constantly. Caramel will bubble violently. (Optional: warm heavy cream slightly in microwave before adding to reduce bubbling.)
-
Stir caramel sauce over low or medium heat until any clumps have dissolved and mixture is smooth.
-
Remove from heat and stir in butter, then vanilla and salt.
Notes
Notes:
- Makes approximately 1 ½ cups of rich caramel sauce.
- For enhanced flavor, consider stirring in the seeds of 1 vanilla bean pod, and/or 1 tablespoon of bourbon or whisky into the sauce along with the vanilla extract.
- Store in an airtight container in the refrigerator for several weeks. Reheat gently in the microwave to restore pourable consistency.
