Our Dream Kitchen Renovation: A Stunning Before & After Transformation with IKEA & Semihandmade
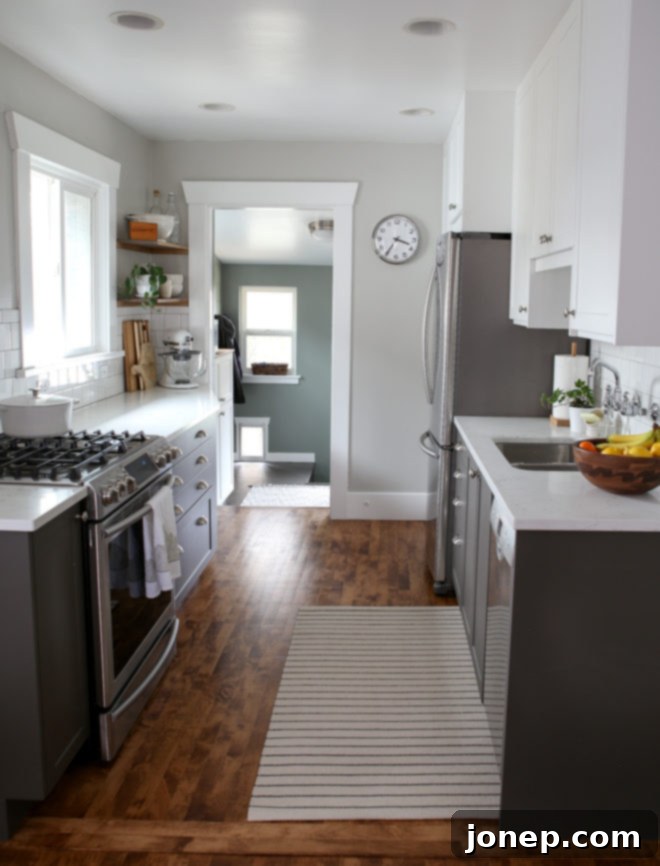
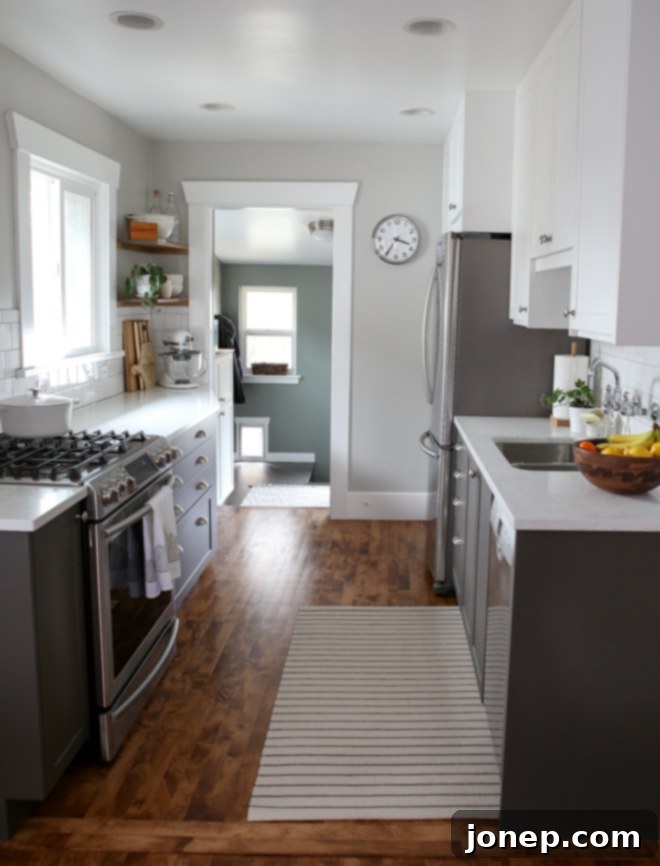
The moment you’ve all been waiting for is finally here – our complete kitchen reveal! This project has been an incredible journey, 11 years in the making, and a dream I’ve cherished for so long. To say I’m in love with the finished result would be an understatement; it truly exceeds every expectation I had.
I still find myself pinching myself almost every day as I step into this beautiful, transformed space. It’s hard to believe this is now where I get to cook delicious meals for my family and pour my passion into developing new recipes for all of you. I feel incredibly lucky and immensely relieved that this extensive project is finally complete. It was, as expected, a significant undertaking, involving a complete gut and rebuild, but every moment of planning and hard work has paid off.
Join me as I take you on a detailed tour through our kitchen’s stunning transformation. I’ll walk you through the entire process, from the initial outdated state to the bright and modern space it is today. Expect plenty of captivating before-and-after photos, a deep dive into my decision-making process for various design elements, and all the links to the specific products and materials I chose to bring this vision to life. Let’s dive in!
The Journey Begins: Before the Transformation
Before
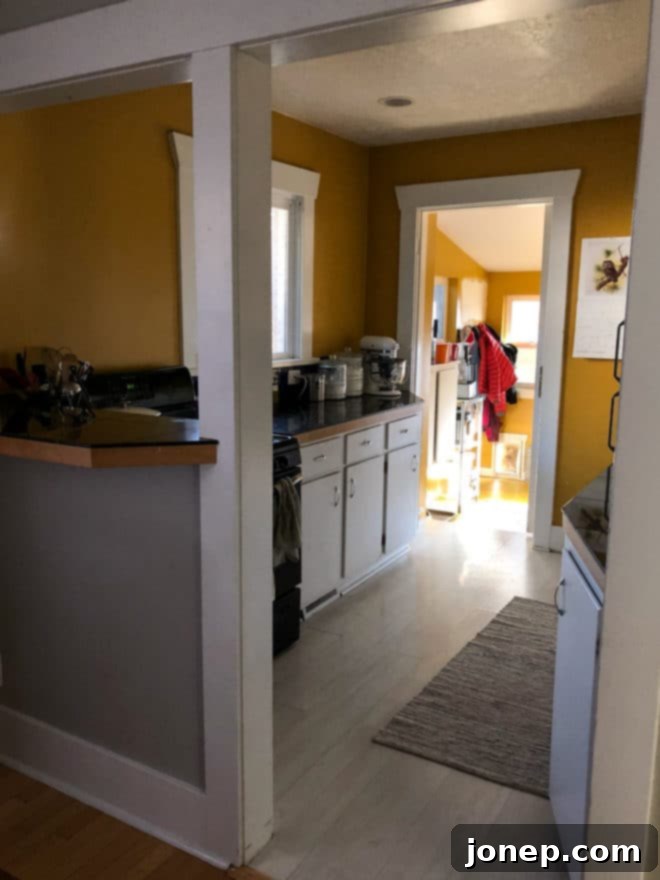
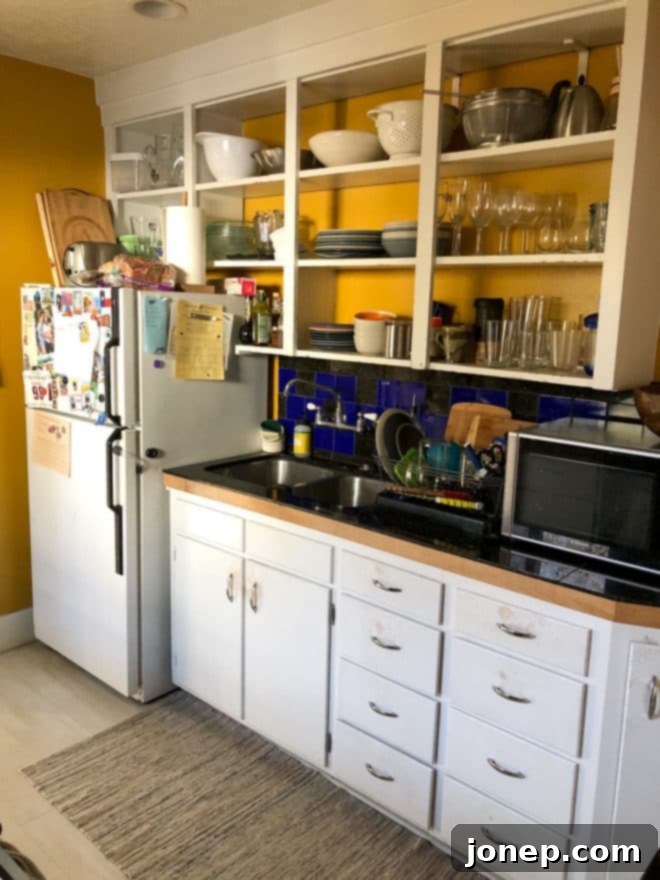
When we first purchased our home 11 years ago, a charming house built in 1916, we knew the kitchen would eventually need a complete overhaul. For over a decade, we made almost no changes, living with its original character – which, in some cases, meant 103-year-old cabinetry! While the vintage elements held a certain charm, the kitchen’s functionality and aesthetics were severely lacking. The old cabinets were inefficient, difficult to organize, and showed every sign of their century-long existence.
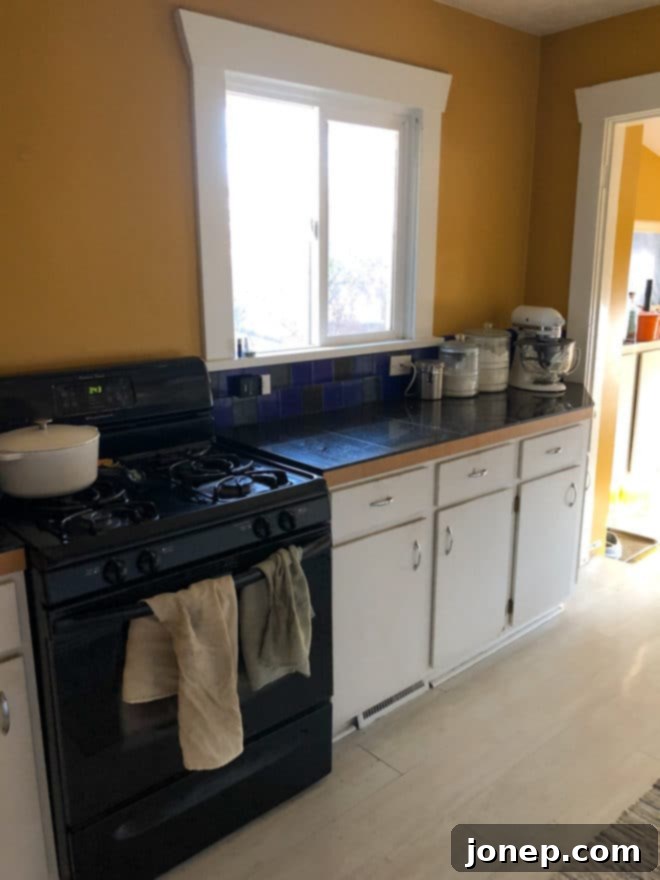
A full kitchen remodel was always on our minds, but knowing it would require a complete gut and rebuild, we continuously pushed it off. Life happened, and we even moved away for a few years, renting out the house. However, upon our return in the spring of 2017, I knew it was time to make this dream a priority. I simply couldn’t endure the drab yellow walls and the jarring black and blue backsplash any longer. The kitchen felt dark, closed off, and certainly not an inspiring place to cook or gather.
We immediately began saving diligently, envisioning a brighter, more efficient, and truly beautiful kitchen. The planning phase was extensive, involving countless hours browsing Pinterest and Instagram for inspiration. I meticulously narrowed down my desired aesthetic, focusing on a clean, timeless design with modern functionality. This period of research was crucial for solidifying my vision and understanding what was truly possible within our space. Once the design was finalized, we found a reliable contractor, and early this year, we were finally ready to begin the exciting work!
The entire renovation project, from demolition to the final touches, took exactly four weeks. Looking back, it’s truly remarkable how quickly the transformation happened once we got started. Honestly, the finished kitchen turned out even better than I had imagined during all those years of dreaming. To see a vision that has been cultivated for over a decade finally become a vibrant reality is nothing short of amazing.
The Transformation: After the Renovation
After
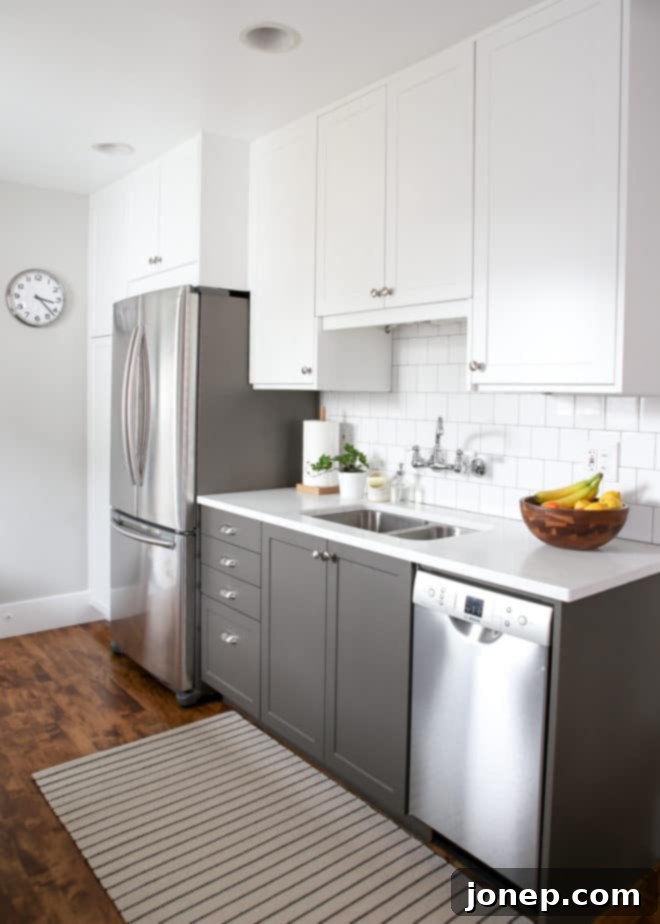
Choosing the Perfect Cabinetry: IKEA & Semihandmade
After extensive research into various cabinetry options, I ultimately decided to go with IKEA for our kitchen cabinets. Several factors drew me to IKEA: the appealing price point, the incredible versatility offered by their diverse drawer and cabinet configurations, and the overwhelming positive reviews from countless homeowners who rave about their IKEA kitchens. This combination of affordability, flexibility, and proven quality made it an easy choice.
To ensure I maximized every inch of our small kitchen – a primary goal of this remodel – I scheduled an appointment with a kitchen planner at my local IKEA store. Their expertise was invaluable; they helped me meticulously plan every detail of the layout, suggesting clever storage solutions and optimizing the space in ways I hadn’t even considered. The planning session was incredibly productive and set a strong foundation for the project.
While I loved the functionality and price of IKEA’s cabinet systems, I wasn’t entirely thrilled with their selection of cabinet fronts. This is where Semihandmade came into play. Semihandmade specializes in crafting high-quality cabinet and drawer fronts specifically designed to fit IKEA kitchen systems, offering a much wider array of styles, colors, and finishes. This allowed me to achieve that custom, high-end look I desired, while still benefiting from the affordability and modularity of the IKEA base cabinets. It’s truly the best of both worlds!
For the aesthetic, I chose white super matte shaker cabinets for the upper units, creating a bright and airy feel that visually expands the space. For the lower cabinets, I opted for graphite super matte shakers. I wanted a kitchen that felt light and bright overall, but having had all-white lower cabinets before, I knew the constant wiping down with two active little boys was something I wanted to avoid. The two-toned combination not only addresses this practical concern by hiding everyday scuffs and fingerprints more effectively but also adds visual depth and a sophisticated, grounded element to the kitchen. The contrast is simply stunning and truly grounds the entire design.
My overall experience with both IKEA and Semihandmade was overwhelmingly positive. If I were to undertake this project again, I would absolutely choose the same approach. While the process did involve at least a dozen trips to IKEA (a testament to their vast offerings and my meticulous planning!) and a few phone calls to sort out minor delivery issues, nothing was overly frustrating. A key piece of advice for anyone considering an IKEA kitchen: I highly recommend hiring a contractor to assemble all the cabinets. It saved us a tremendous amount of time and ensured everything was perfectly installed.
Before
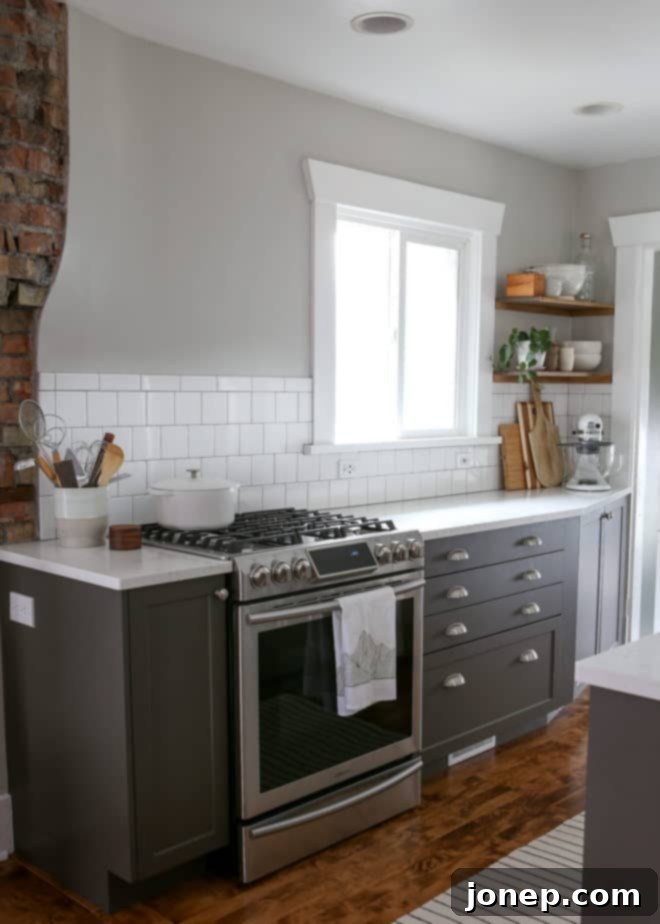
After
Creating an Open Concept: Wall Removal & Embracing History
One of the most impactful changes we made was taking down the partial wall that separated the kitchen from the dining room. The difference it made is truly astounding. The space is now incredibly open, allowing natural light to flood both areas and creating a seamless flow between rooms. It feels so much more spacious, modern, and conducive to entertaining and family life. The kitchen, which once felt confined, is now the heart of our home, beautifully connected to the dining area.
During the demolition phase, we encountered an interesting challenge. I had initially hoped to remove the old chimney stack, a relic from when our 1916 home had a wood stove in the kitchen. However, once our contractor began the work, it quickly became apparent that removing it would be a much larger, more complex, and significantly more expensive undertaking than anticipated. Faced with this reality, we made the strategic decision to embrace the brick and integrate it as a key design element in the new kitchen.
And I am so glad we did! The exposed brick chimney turned out to be a wonderful feature. It adds a unique historical texture, warmth, and a touch of rustic charm that beautifully complements our updated kitchen. It serves as an organic focal point, providing character and a connection to the home’s past that might have been lost otherwise. This unexpected pivot allowed us to preserve a piece of history while enhancing the overall aesthetic.
The final significant piece of the puzzle for this room was the flooring. With the kitchen now opened up to the dining room, it was crucial that all the floors were consistent to maintain visual harmony and make the entire area feel larger. Our contractor expertly installed beautiful new maple hardwood floors in the kitchen. To ensure a perfect match, we then had the existing floors in the adjacent dining room and living room refinished and stained to match the new kitchen flooring. This cohesive look truly ties the entire open-concept space together, and honestly, these new, unified floors may just be one of my absolute favorite elements of the entire remodel. They look absolutely amazing!
Finishing Touches: Countertops, Tile, Hardware & Shelves
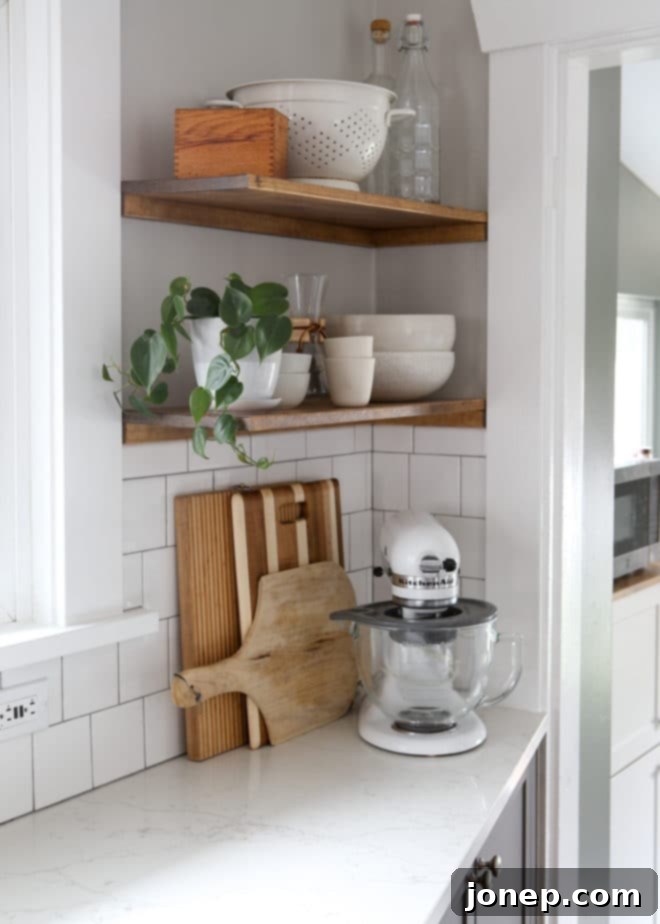
While researching and browsing for all the finishing touches was a lot of work, it was also incredibly fun and rewarding. I chose a super simple, classic approach for the backsplash tile and cabinet hardware, finding both at The Home Depot. The timeless white 4×4 ceramic tile provides a clean backdrop, allowing the two-toned cabinetry and countertops to truly shine, while the satin nickel hardware offers a subtle, modern touch.
However, when it came to the countertops, I knew I could not skimp. So much of my work involves photographing food on a surface, so having a beautiful, durable, and photograph-friendly countertop was paramount. Our previous countertops were black, which often made food photography challenging and absorbed light. I was incredibly excited to update to something bright and luminous. After exploring multiple options, I settled on a stunning white quartz countertop with elegant gray veining from local fabricator Bedrock Quartz. Quartz was the ideal choice for its durability, low maintenance, and non-porous nature, making it perfect for a busy kitchen and food prep.
My experience with Bedrock Quartz was exceptional from start to finish. They offered an amazing selection of stone to choose from, their staff was incredibly friendly and helpful, and their fabrication and installation process was remarkably fast and efficient. I was so happy to find them and would wholeheartedly recommend them to all my Utah friends considering a countertop upgrade.
The final personal touch we added to the kitchen was these beautiful exposed wood shelves. I searched high and low but couldn’t find exactly what I envisioned elsewhere, so we decided to tackle them as a DIY project. My contractor precisely cut each pine board to size, and then I took on the task of staining and finishing them in “Early American” to achieve that warm, inviting, rustic look. These shelves not only provide practical open storage for frequently used items and decorative pieces but also add another layer of warmth and personalization to the space. We loved them so much that we installed matching shelves in the adjacent mudroom, perfect for displaying my collection of cake stands and other miscellaneous items.
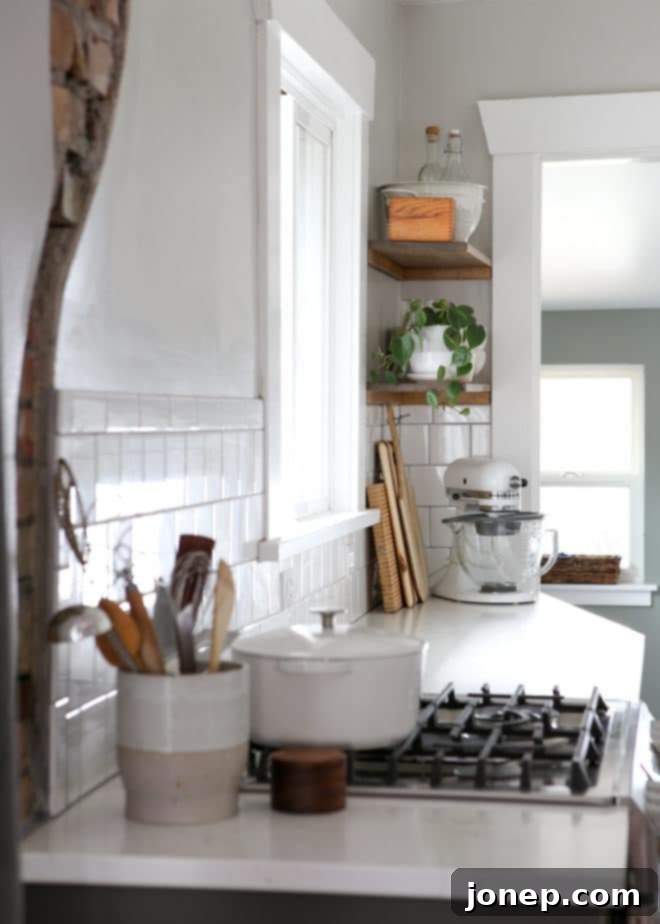
A Dream Realized: Our New Kitchen
While I’m certainly not a professional interior designer, I genuinely believe our new kitchen couldn’t look any better than it does now. Every choice, from the major structural changes to the smallest finishing touches, was made with careful consideration to functionality, aesthetics, and our family’s needs. I am beyond happy with this remodel; it has transformed not just a room, but the entire feel of our home. I’m so excited and grateful that I get to work and create in this beautiful, inspiring space every single day!
P.S. If you’re interested in seeing all of the behind-the-scenes moments of the remodel, including the messy bits and the exciting progress, I shared a lot in my Instagram stories. You can find all the saved snippets and highlights from the renovation journey in my highlights!
Product Sources & Details
Here’s a detailed list of all the products and materials that brought our dream kitchen to life:
- Cabinets: Ikea Sektion cabinet frames with Semihandmade fronts in Super Matte Shaker White (upper) and Graphite (lower).
- Appliances:
- Refrigerator: Samsung 18 cu. ft. Counter-Depth French Door Refrigerator
- Gas Range: Samsung Slide-in Gas Range with True Convection
- Dishwasher: Bosch 18-inch ADA Compliant Dishwasher
- Countertops: “Rockport White” Quartz from Bedrock Quartz.
- Wood Shelves: Custom DIY pine shelves, stained in “Early American.”
- Backsplash Tile: Daltile Finesse Bright White 4×4 Ceramic Wall Tile, sourced from The Home Depot.
- Kitchen Faucet: American Standard Heritage 2-Handle Wall-Mount Kitchen Faucet in Polished Chrome.
- Cabinet Hardware: Liberty Hardware in Satin Nickel, sourced from The Home Depot:
- Cup Pulls (2-1/2 or 3 in. center-to-center)
- Classic Round Knobs (1-1/4 in.)
- Wall Paint Color:
- Kitchen: Sherwin Williams “Repose Gray” (SW 7015)
- Mudroom: Behr Marquee “Hunter Hollow” (MQ6-21)
- Floors: Maple hardwood stained in DuraSeal “Early American”.
Disclosure: I received a small discount from Bedrock Quartz in exchange for sharing my experience with my new countertop. As always, all opinions expressed in this post are completely my own and reflect my genuine satisfaction with their product and service.
