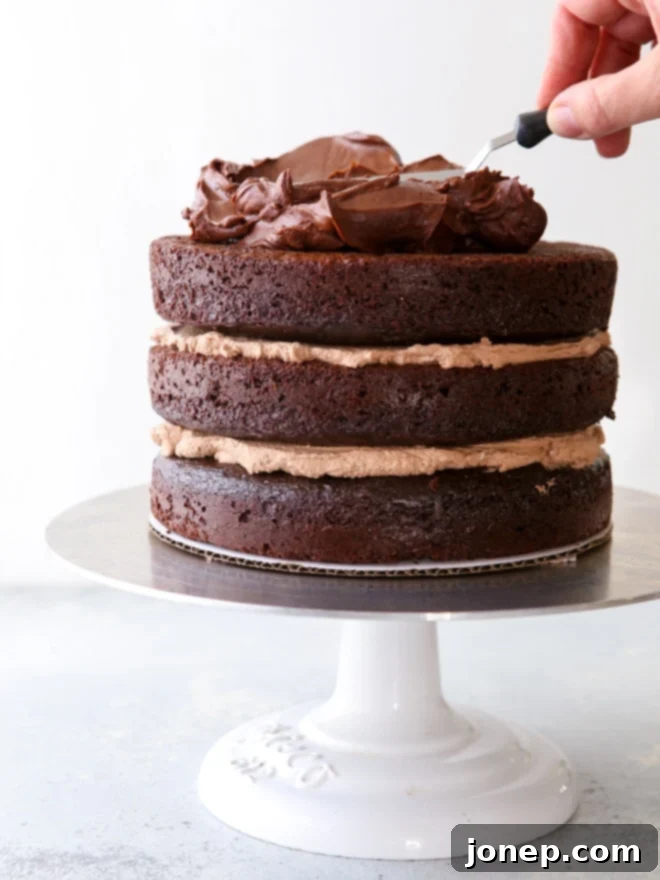
How to Build a Stunning Layer Cake: A Comprehensive Guide for Home Bakers
Embark on a delightful journey into the world of layer cake baking! From meticulously prepping your cake pans to gracefully applying the final swirls of frosting, this guide will equip you with all the essential knowledge and techniques to create a truly beautiful and delicious layer cake.
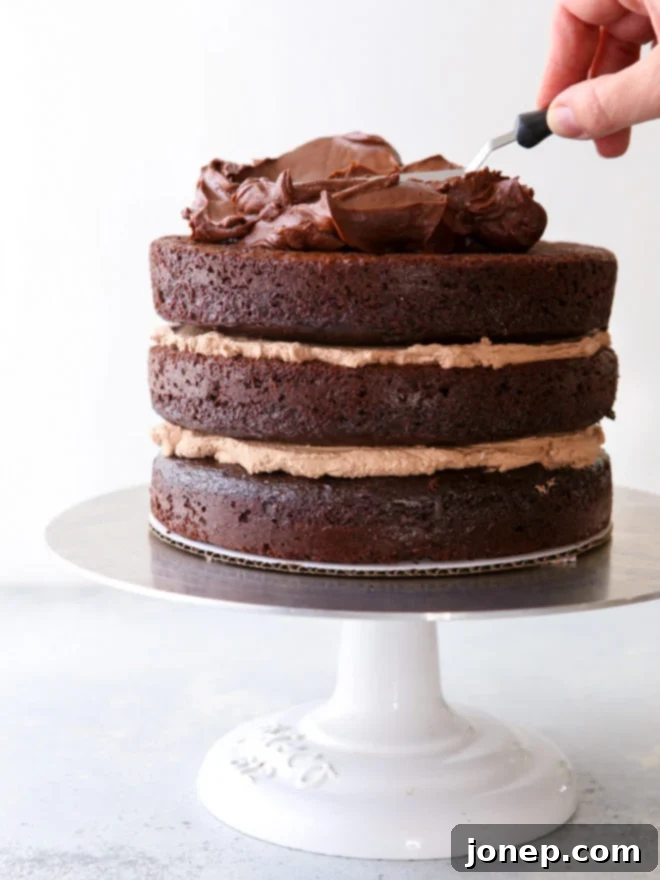
Let me candidly confess that my path to mastering layer cakes was far from flawless. There was a time when I truly didn’t know the first thing about what I was doing, let alone what I should be doing! Oh no, I’ve had more than my fair share of cake disasters – crumbly layers, slumping structures, and frosting nightmares. But through persistent practice, countless experiments, and invaluable tips gleaned from seasoned bakers and food bloggers, I’ve transformed those learning curves into confidence. Today, I can proudly say that I’ve learned how to “build” a layer cake with consistent success.
I choose the word “build” intentionally because, in my experience, creating a magnificent layer cake involves far more than just knowing how to frost it. It’s a structured process, an edible architectural feat if you will, where each step contributes to the overall stability, flavor, and aesthetic appeal. In this comprehensive guide, I want to walk you through my proven method, from the very first ingredient preparation to the final flourish. While there are countless ways to bake, this is my personal approach, refined over years, and it has consistently delivered fantastic results.
Table of Contents
- Mastering Cake Pan Preparation for Flawless Layers
- Baking Perfectly Flat and Even Cake Layers
- Preparing and Storing Cake Layers in Advance
- Assembling Your Layer Cake with Confidence
- Frosting Your Layer Cake for a Professional Finish
- Storing and Transporting Your Beautiful Cake
- Enjoy Your Homemade Masterpiece!
This tutorial has been a cornerstone of my blog since 2011, and over the years, I’ve meticulously refined and expanded each section into its own dedicated post for greater clarity and detail. What was once a single, incredibly long-winded article is now a series of easy-to-navigate, focused guides. But don’t worry, I’ll provide direct links to those in-depth tutorials, ensuring you won’t miss a single crucial detail. Ready to transform your baking skills? Let’s get started!
(Disclosure: Please note that some links below are affiliate links, meaning I may earn a small commission if you make a purchase through them, at no extra cost to you. These commissions help support this blog.)
Mastering Cake Pan Preparation for Flawless Layers
The very first, and arguably one of the most critical, steps in creating a successful layer cake is the proper preparation of your cake pans. Nothing is more disheartening than perfectly baked cake layers that stick stubbornly or tear apart as you attempt to remove them from the pan. A sticky situation at this stage can derail your entire cake project. Here are two foolproof steps to prepare your cake pans, guaranteeing that your cake layers release cleanly and perfectly every single time.
1) Embrace the Power of Parchment Paper
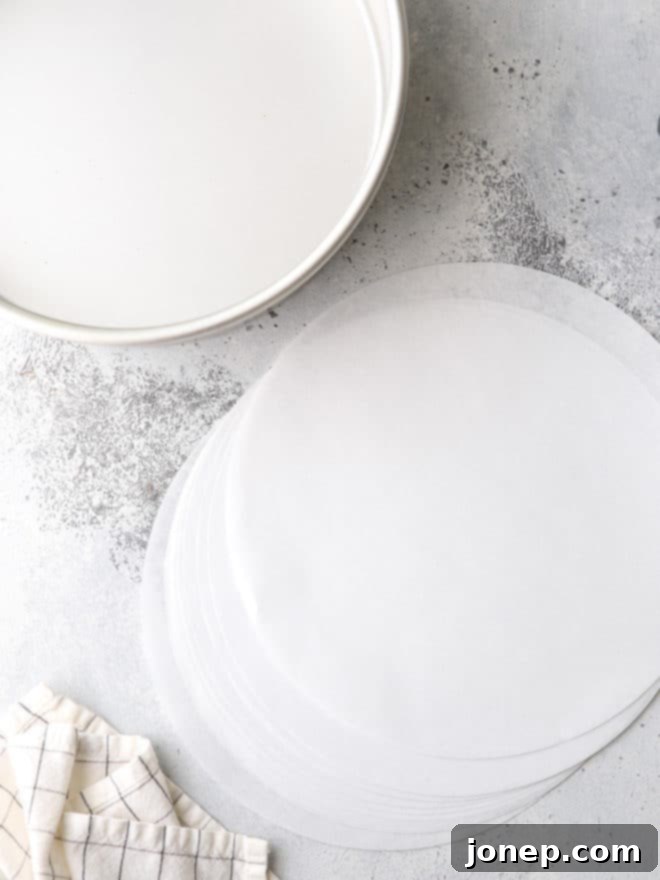
Without a doubt, the most important preparation you can make when baking a cake is to line the bottom of your pan(s) with parchment paper. This creates a non-stick barrier that absolutely ensures the bottom of your cake will not adhere to the pan, allowing it to come out as a single, intact piece. I genuinely never bake a cake without using parchment paper! You have a couple of options here: you can trace the bottom of your cake pans onto a roll of parchment paper and cut out custom circles, or, for ultimate convenience, you can purchase pre-cut rounds of parchment paper designed to fit common pan sizes. This simple step makes a world of difference.
2) Grease with Butter + Flour OR a Quality Nonstick Baking Spray
Beyond the parchment paper, creating a secondary barrier between your cake batter and the sides of the pans is essential to prevent any sticking during the baking process. You have two excellent methods for this:
- Butter and Flour: Generously coat the parchment paper-lined bottom and the sides of your cake pans with a layer of softened butter (or margarine or shortening). Ensure every crevice is covered. Then, dust the buttered surface lightly with all-purpose flour, tapping out any excess. The flour adheres to the fat, creating a silky-smooth, non-stick surface.
- Nonstick Baking Spray: For a quick and efficient alternative, use a high-quality nonstick baking spray that contains flour. Products like Baker’s Joy are readily available at most grocery stores and offer an effective solution. For more heavy-duty or professional-grade options, you can explore restaurant supply stores, specialized baking shops, or purchase them online. These sprays provide a comprehensive, even coating that ensures your cake releases perfectly.
Following both of these steps provides a robust defense against sticking, setting you up for success from the very beginning.
Looking for even more detailed guidance and step-by-step photos? See my complete guide on how to keep cake from sticking to the pan for an in-depth visual breakdown.
Baking Perfectly Flat and Even Cake Layers
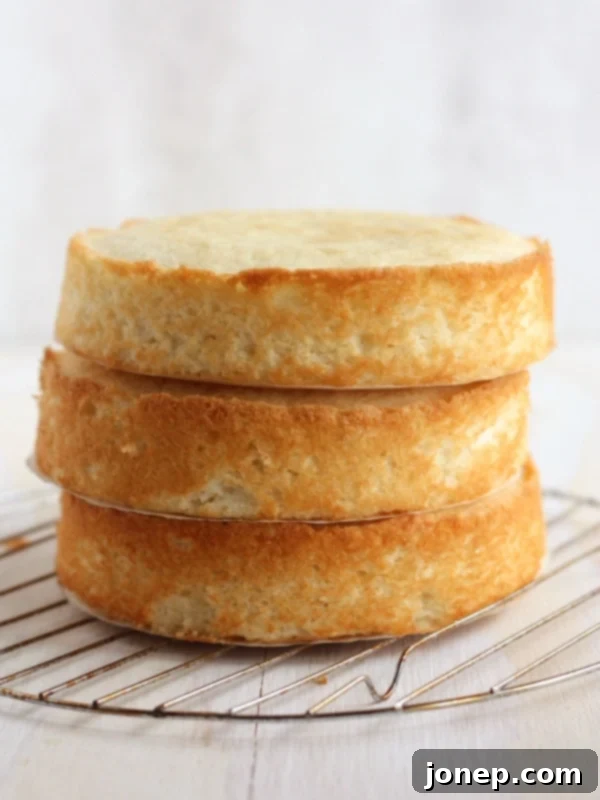
Once your pans are flawlessly prepped and your delicious cake batter is mixed, the next crucial step is baking! While you could simply pour the batter into the pans and hope for the best, two incredibly simple yet effective tricks will ensure all of your cake layers are not only exactly the same size but also boast perfectly flat tops. This consistency will make the subsequent assembly and frosting processes significantly easier, leading to a much more professional-looking finished cake.
1) Utilize a Digital Scale to Precisely Distribute Your Cake Batter
Eyeballing batter distribution often leads to layers of varying thickness, which can make stacking and leveling a challenge. The solution is simple and incredibly accurate: weighing your cake pans as you fill them. By using a reliable digital scale, you can ensure that each pan receives precisely the same amount of batter. This guarantees that every layer bakes to an identical height and circumference, providing a perfectly even foundation for your layer cake. Consistency is key, and a digital scale is your best friend in achieving it.
2) Reduce Baking Temperature for a Flat Top – No Special Tools Needed!
Many bakers struggle with cakes that dome in the center, requiring tedious leveling and often resulting in wasted cake. There are several methods to bake a cake with a flat top, but my absolute favorite requires no extra tools or gadgets – just a slight adjustment to your oven. The principle behind this technique is to slow down the “oven spring” – the rapid rise that occurs when the cake first enters the hot oven. A lower temperature allows the cake to bake more evenly from the edges to the center, preventing the familiar dome from forming.
Here’s how to implement this simple, yet highly effective, temperature adjustment:
- If your recipe calls for baking at 350 degrees Fahrenheit for 30 minutes, instead bake at 325 degrees Fahrenheit.
- For the baking time, increase it by approximately one-half. So, for a 30-minute bake, you’d add 15 minutes, making the total baking time around 45 minutes.
I typically perform a quick check once the original baking time (e.g., 30 minutes) has passed, and then every 5 minutes thereafter, just to ensure I don’t overbake. However, this temperature and time adjustment is usually quite accurate for achieving those coveted flat layers. The slower, gentler bake encourages an even rise, giving you perfectly level cakes every time.
Desire more in-depth knowledge and visual aids for achieving perfectly flat cake layers? Explore my complete guide on how to bake flat cake layers, complete with step-by-step photos.
Preparing and Storing Cake Layers in Advance
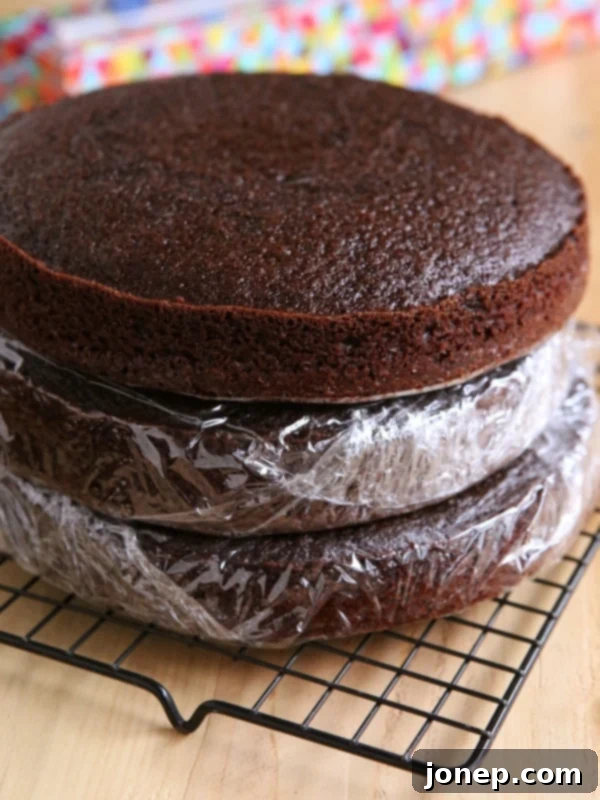
Building a show-stopping layer cake often feels less like a single task and more like a carefully orchestrated, multi-day process. For me, it’s typically a two-day affair: I prefer to bake my cake layers on the first day and allow them to chill thoroughly in the fridge overnight. This crucial step ensures they are cold, firm, and significantly easier to handle the next day, minimizing the risk of breakage or shifting during assembly. Planning ahead can be a tremendous time-saver and stress-reducer, which is why I want to share two highly effective ways to prepare and store your cake layers in advance, whether it’s for a few days or up to a month.
1) Storing Cake Layers in the Fridge (Short-Term)
The refrigerator is an excellent short-term storage solution for individual cake layers, especially when you plan to assemble your cake within a few days. After your cake layers have cooled completely to room temperature, wrap each layer tightly and individually in several layers of plastic wrap. Ensure the plastic wrap forms a snug seal around the entire layer, preventing any air exposure that could dry out the cake. Properly wrapped, these cake layers can be stored in the fridge for 3 to 5 days. Chilling them not only preserves their freshness but also makes them denser and less fragile, which is ideal for stacking and frosting.
2) Freezing Cake Layers for Longer Storage (Long-Term)
Did you know that cake layers freeze incredibly well? The freezer is your best friend if you need to store your layers for more than a few days, or if you simply want to get a head start on your baking projects. Freezing actually helps lock in moisture, often resulting in an even more tender cake once thawed. To freeze, ensure each cooled cake layer is double-wrapped with plastic wrap. This double layer provides extra protection against freezer burn. You can then freeze them for up to 1 month, and sometimes even longer without significant quality loss.
To thaw your frozen cake layers, simply remove them from the freezer and let them sit at room temperature, still in their wrappings. Arrange them side-by-side (avoid stacking them until fully thawed) on your counter. Depending on their size, thawing can take several hours, or even up to overnight. Once thawed, they’ll be ready for assembly, fresh and moist as if they were just baked.
For more detailed instructions and helpful step-by-step photos on how to perfectly store and freeze your cake layers, refer to my complete guide on storing cake layers.
Assembling Your Layer Cake with Confidence
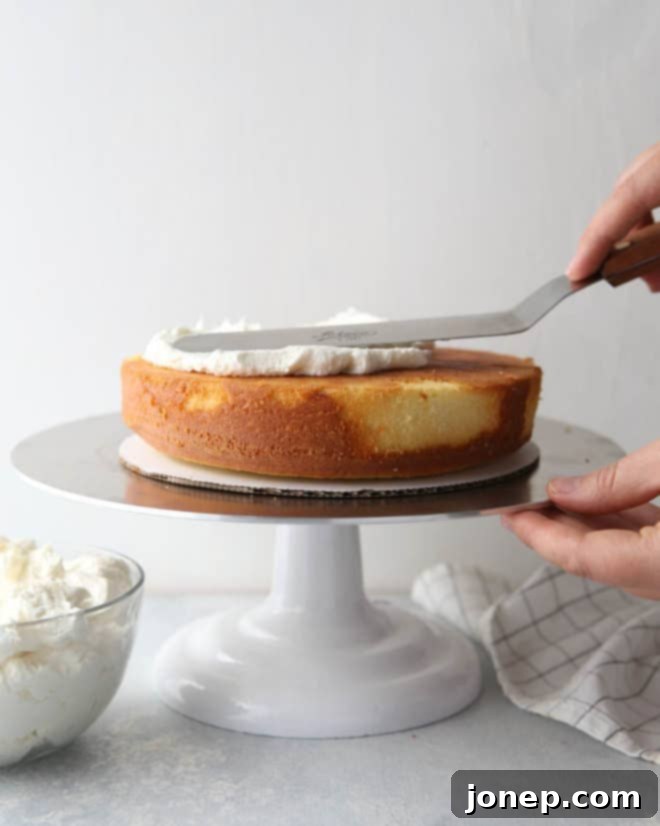
Once your perfectly baked and chilled cake layers are ready, it’s time for the exciting phase of assembly! While not strictly necessary for every home baker, I highly recommend using a turntable and cardboard cake rounds. These tools significantly elevate the ease and precision of building your layer cake. Cardboard cake rounds provide a stable base, making it incredibly simple to transfer your cake back and forth from the fridge to your cake stand. A turntable, on the other hand, allows for effortless rotation, which is invaluable for smooth and even frosting application.
1) Laying the Foundation: First Layer Placement
To begin assembling, place your first cooled or chilled cake layer top-side down onto a cardboard round, or directly onto your chosen cake stand or serving plate. Placing it top-side down provides a wonderfully smooth, flat surface to start building upon, ensuring a level foundation for your entire cake.
2) Applying Frosting or Filling and Creating a “Dam”
Next, evenly spread a generous layer of frosting or your chosen filling over the first cake layer. For an 8 or 9-inch cake, approximately 1 cup of frosting or filling is a good starting point. If you’re working with a softer, looser filling such as fruit preserves, lemon curd, or a light whipped cream, it’s crucial to first create a “dam” of frosting around the perimeter of your cake layer. This dam acts as a protective barrier, preventing the softer filling from oozing out the sides when the next layer is added. You can create this dam neatly using a piping bag fitted with a round tip, or simply use an offset spatula to carefully build a ring of frosting along the edge.
3) Stacking Subsequent Layers and the Art of Splitting
Repeat the process: gently place the next cake layer on top, followed by more frosting or filling, and so on, until all your layers are stacked. For those who desire more intricate designs or simply more layers, you can horizontally split your existing cake layers to create additional ones (e.g., turning two thick layers into four thinner ones). To do this with precision, use a long, sharp serrated knife. First, lightly score a line all the way around the circumference of the cake layer at your desired halfway point. Then, using this scored line as a guide, carefully saw through the cake layer horizontally until it’s perfectly divided. The goal is to achieve even layers for a balanced cake structure. Remember, a chilled cake layer is much easier to split cleanly.
For more in-depth guidance on how to master the art of splitting cake layers with precision and helpful step-by-step photos, be sure to consult my complete guide on how to cut a cake into even layers.
Frosting Your Layer Cake for a Professional Finish
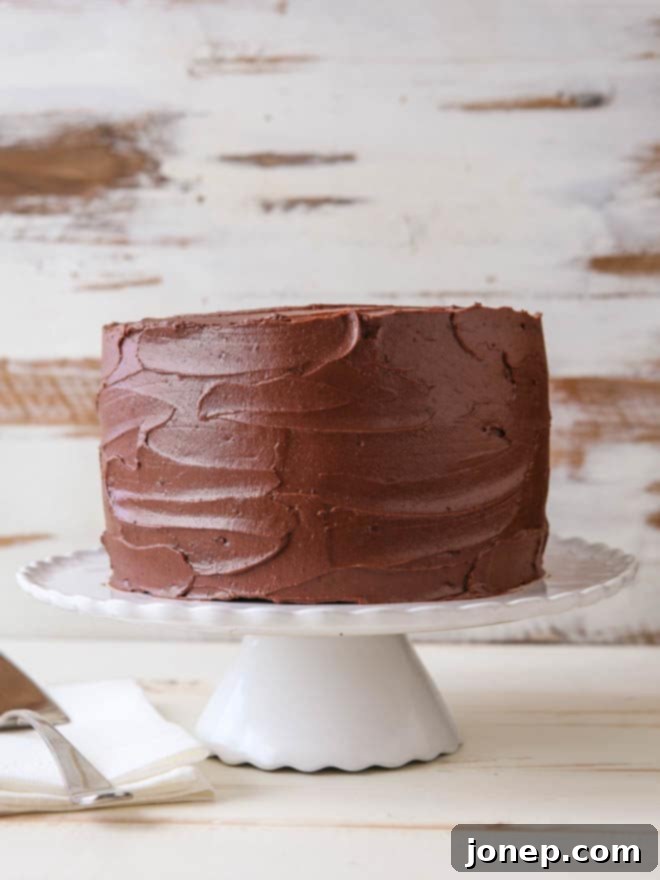
Once your cake is assembled, the frosting stage truly brings it to life. The most pivotal part of frosting a cake, and what truly elevates it to the next level, is the “crumb coat.” A crumb coat is a thin, initial layer of frosting spread over the entire cake. Its primary purpose is twofold: to smooth out any slight imperfections or unevenness in the cake’s shape, and crucially, to trap all those pesky crumbs that inevitably come off the cake layers. This ensures that your final, pristine coat of frosting remains perfectly crumb-free. Don’t worry if your crumb coat isn’t perfectly smooth; it’s meant to be a messy, functional layer. In fact, the popular “naked cake” look often involves little more than a carefully applied crumb coat.
1) The Essential Crumb Coat Application
Begin by applying a thin, even layer of frosting to your assembled cake. Start at the top, working your way down the sides. Focus on filling in any small gaps between layers or uneven surfaces. The key is to cover the entire cake with a minimal amount of frosting, just enough to catch all loose crumbs. If your frosting is particularly thick, you might find it easier to work with if you thin it out slightly with a tablespoon or two of milk or cream, achieving a more spreadable consistency. Once the entire cake is coated, transfer it to the fridge for at least 30 minutes. This chilling period allows the crumb coat to firm up, effectively locking in all the crumbs and creating a stable canvas for your final layer.
2) Applying the Final, Flawless Coat of Frosting
After your crumb coat has thoroughly chilled and set, it’s time to apply the final, thicker coat of frosting. Again, begin at the top and work your way down the sides of the cake. For achieving that coveted smooth, professional finish, specialized tools are incredibly helpful. An offset spatula is excellent for spreading frosting on the top and sides, while a bench scraper (or a bowl scraper) is indispensable for achieving perfectly smooth and straight sides. The secret to a super smooth finish lies in using a turntable and employing long, gentle, and consistent strokes with your tools. Don’t press too hard, and allow the turntable to do most of the work. Once your cake is beautifully frosted to your liking, return it to the fridge for at least another 30 minutes to allow the final coat of frosting to set firmly. This helps in maintaining its shape and makes it easier to handle.
For a comprehensive, step-by-step visual guide on how to frost a layer cake like a true professional, please refer to my complete tutorial on frosting a layer cake.
Storing and Transporting Your Beautiful Cake
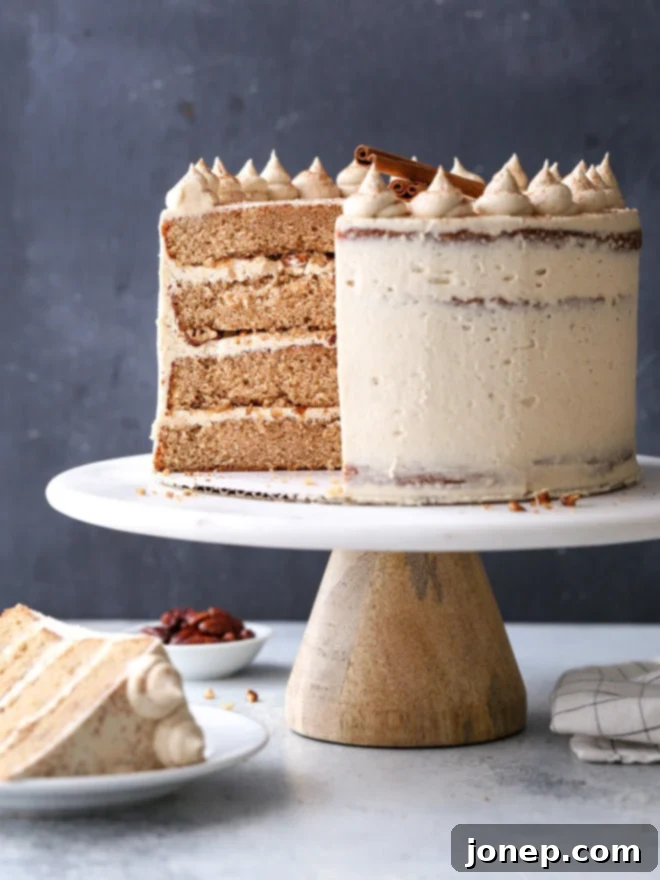
Congratulations, you’ve built and frosted a magnificent layer cake! Now, ensuring it remains fresh, beautiful, and intact for enjoyment or transport is the final stage of your baking journey. I always recommend storing finished cakes in the refrigerator. The cool environment helps keep the cake firm and stable, preventing any frosting from softening or sliding, and also provides a protective barrier against accidental bumps or curious fingers. Most frosted layer cakes will keep beautifully in the fridge for up to several days.
Once you’ve cut into the cake, it’s important to protect the exposed cake from drying out. Simply cover the cut surface with plastic wrap, pressing it gently against the cake itself, or place the entire remaining cake back into an airtight container or cake keeper to maintain its moisture and freshness.
If you’re planning to transport your exquisite creation, proper preparation is key to preventing disaster. Chill the assembled and frosted cake for at least 1 hour (or even longer) in the fridge before moving it. This ensures the cake layers and frosting are thoroughly solidified and stable. Only remove the cake from the fridge just before you are ready to transport it. For added protection, consider placing your cake inside a sturdy box or a dedicated cake keeper. These provide a physical barrier against bumps and temperature fluctuations. For larger or multi-tiered cakes, especially those exceeding 10 inches in diameter, you might also want to insert food-safe dowels into the cake. These dowels provide internal support, preventing the upper layers from sinking into the lower ones and adding crucial stability during transit. Always handle with care, and if possible, place the cake on a flat, stable surface in your vehicle.
Enjoy Your Homemade Masterpiece!
And there you have it! You’ve successfully navigated the intricate yet rewarding process of building a stunning layer cake from scratch. From the careful preparation of your pans to the final elegant swirls of frosting, each step has contributed to creating a truly homemade masterpiece. I sincerely hope you’ve found this detailed tutorial helpful and empowering in your baking endeavors. The joy of sharing a beautifully made cake is immense, and now you have the skills to create that joy yourself.
Baking is a continuous learning process, and we all have unique tricks up our sleeves. If you have any personal tips, clever shortcuts, or favorite techniques for baking, assembling, or frosting layer cakes, please don’t hesitate to share them in the comments section below! Your insights are invaluable and can benefit fellow home bakers in our wonderful community.
This post was originally published in February 2011. It has since been extensively updated with new photos, expanded content, and refined instructions to provide the most comprehensive guide possible.
