The Essential Guide to Baking with Butter: Unlock Perfect Flavors and Textures
Butter is more than just an ingredient; it’s a cornerstone of exquisite baking that elevates dishes far beyond simple flavor. In this comprehensive guide, we’ll delve into the fascinating world of baking with butter, exploring how different types, precise temperatures, and expert mixing techniques fundamentally transform your baked goods. Understanding butter’s unique properties is key to mastering everything from flaky pastries to tender cakes and chewy cookies.
While it might seem like a deep dive into a single ingredient, baking is truly a precise science, and unlocking butter’s full potential is crucial for consistent success. Many common baking challenges can be traced back to a misunderstanding of butter’s role and how to handle it properly. For instance, have you ever wondered:
- Does the specific type of butter you choose truly make a difference in your final product? (And perhaps not in the way you might assume!)
- Could the temperature of your butter be the single most critical factor in determining your recipe’s outcome, even more so than brand or fat content?
- Is “room temperature” butter actually much cooler to the touch than most people realize, and why is this precise temperature so vital?
Prepare to uncover all these secrets and more as we guide you through everything you need to know about baking with butter, transforming you into a more confident and skilled baker!
Table of Contents
- Types of Butter: Salted, Unsalted, and European-Style
- Butter’s Indispensable Role in Baking Recipes
- Enhances Flavor and Richness
- Creates Diverse Textures
- Aids in Browning and Caramelization
- The Science of Butter Temperature and Its Critical Impact
- Achieving Perfect Room Temperature Butter
- Optimal Butter Storage for Freshness
- Exploring Butter Substitutes
- Additional Resources and Baking Tips
Types of Butter: Salted, Unsalted, and European-Style
Choosing the right type of butter can influence the subtle nuances of your baked goods. While often debated, understanding the differences between salted, unsalted, and European-style butter will empower your baking decisions.
Salted vs. Unsalted Butter: Which to Choose?
Conventional baking wisdom often steers bakers toward unsalted butter, primarily because it offers greater control over the salt content in a recipe. The amount of salt in salted butter varies significantly between brands, making it a variable element that could potentially alter the delicate flavor balance of your dessert. Unsalted butter, therefore, acts as a “blank slate,” allowing you to precisely measure and add the exact amount of salt required, ensuring consistency and preventing over-salting.
However, practical experience reveals that salted butter can be successfully used in many recipes without a drastically noticeable difference. In fact, many home bakers, myself included, often prefer salted butter for certain applications where a hint of extra savory depth or a delightful sweet-and-salty contrast is desired. Think about classic cookies, rich caramels, or nostalgic rice krispie treats – the subtle saltiness can actually enhance their overall appeal.
So, what’s the definitive advice? Prioritize convenience and use what you already have on hand! If a recipe specifically calls for unsalted butter and you only have salted, you can often make a simple adjustment. A general guideline is to reduce any added salt in the recipe by about one-half teaspoon per stick (1/2 cup or 113g) of salted butter used. This compromise typically yields excellent results, allowing you to proceed without a special trip to the store.
What is European-Style Butter and Why Does It Matter?
Beyond the salt content, butter can also be categorized by its fat percentage. Traditional American butter typically contains around 80% butterfat. In contrast, European-style butter, exemplified by brands like Kerrygold, boasts a higher butterfat content, usually 82% or more. This seemingly small difference of 2% or more can have a profound impact, especially in recipes where butter is the star ingredient.
The increased fat content in European-style butter contributes to a richer flavor, a creamier texture, and often a more tender crumb in cakes and cookies. In pastries, it can lead to superior flakiness. The lower water content also means less gluten development in doughs, resulting in a more delicate structure. While all my recipes are meticulously tested with standard American-style butter, consistently delivering fantastic outcomes, upgrading to European-style butter can introduce an extra layer of decadence and gourmet quality to your baking. I encourage you to try it in butter-forward recipes like brown butter shortbread, classic fudge brownies, or a buttermilk pie crust to truly discern the delicious difference.
Butter’s Indispensable Role in Baking Recipes
Butter is far from a passive ingredient; it’s an active participant in creating the sensory masterpiece that is a freshly baked good. Its versatile properties allow it to serve multiple crucial functions, making it arguably the most important fat in many baking applications. Specifically, butter has three primary purposes:
- It infuses desserts and baked treats with unparalleled richness and a distinctive, beloved flavor profile.
- It plays a pivotal role in creating desired textures and influencing the rise and structure of your creations.
- It actively contributes to the enticing browning and caramelization that adds depth and visual appeal.
Enhances Flavor and Richness
It comes as no surprise that butter is synonymous with incredible flavor! Beyond simply adding richness, butter possesses a unique, complex flavor profile that beautifully complements sweetness and harmonizes with a vast array of ingredients found in desserts and savory baked goods. Consider the profound difference in taste when comparing butter to other fats. Olive oil, for instance, has a strong, distinct flavor that, while delicious in its own right, can easily overpower delicate baking recipes. Similarly, vegetable shortening or vegetable oil might provide the necessary fat, but they simply cannot replicate butter’s nuanced taste, which often leaves baked goods tasting flat or less satisfying.
One of butter’s most appealing attributes is its relatively low melting point, which means it melts gracefully at body temperature. This characteristic is responsible for the luxurious, velvety, and incredibly flavorful “mouthfeel” it imparts. When you bite into a buttery pastry or cookie, it melts on your tongue, releasing its full flavor and richness without any greasy or waxy residue, creating a truly satisfying and pleasing culinary experience.
Creates Diverse Textures
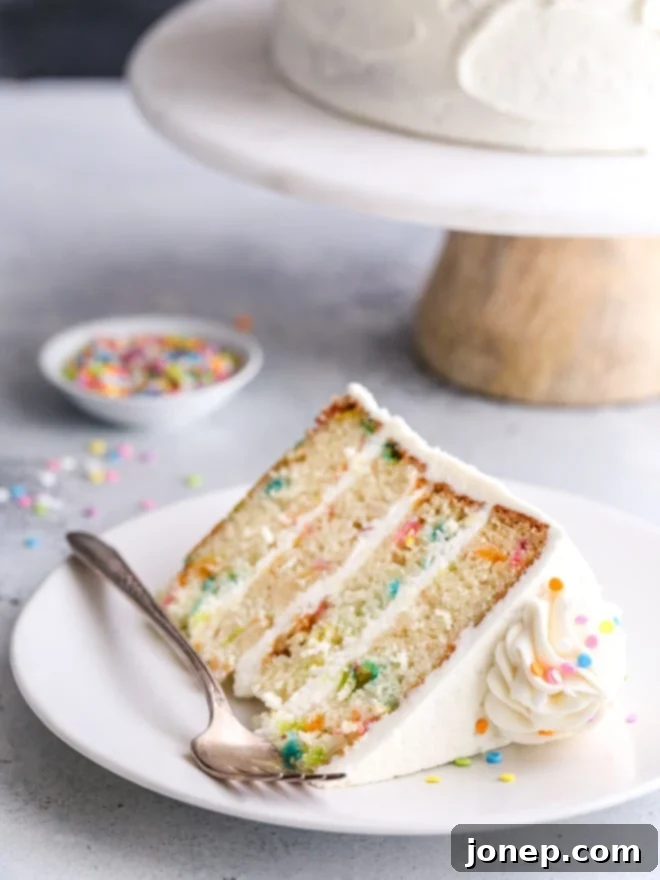
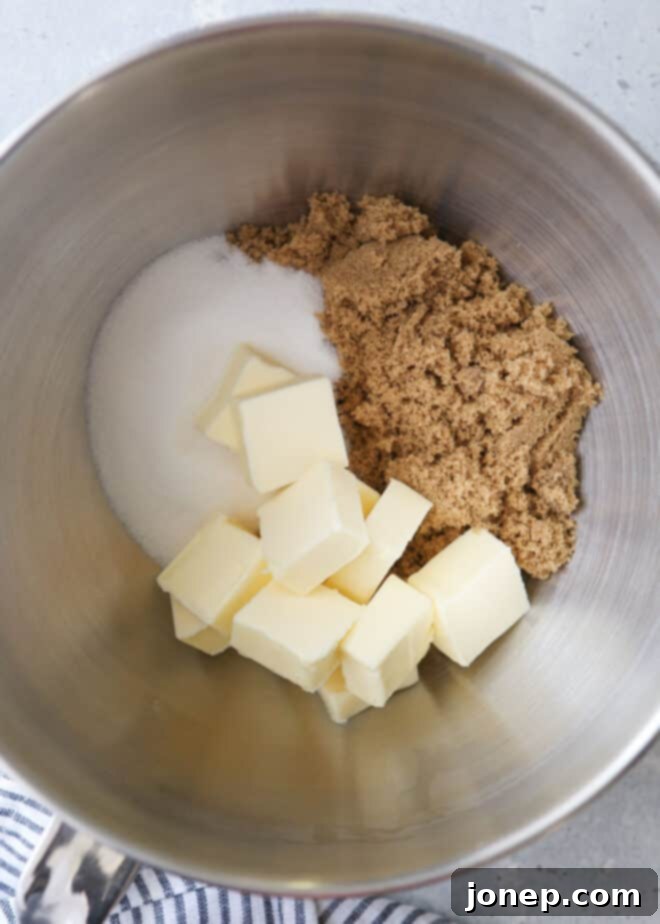
The way butter is introduced and incorporated into a recipe is a masterstroke in influencing the ultimate texture and rise of the finished product. This is where butter temperature and mixing technique become critically important. For instance, creaming softened, room-temperature butter together with sugar isn’t just mixing; it’s a process of aeration. The sharp edges of the sugar crystals cut into the butter, creating countless tiny air pockets. These trapped air bubbles expand during baking, providing lift and contributing to the light, tender crumb characteristic of cakes and certain cookies. The fat also helps tenderize baked goods by coating flour particles, inhibiting excessive gluten development.
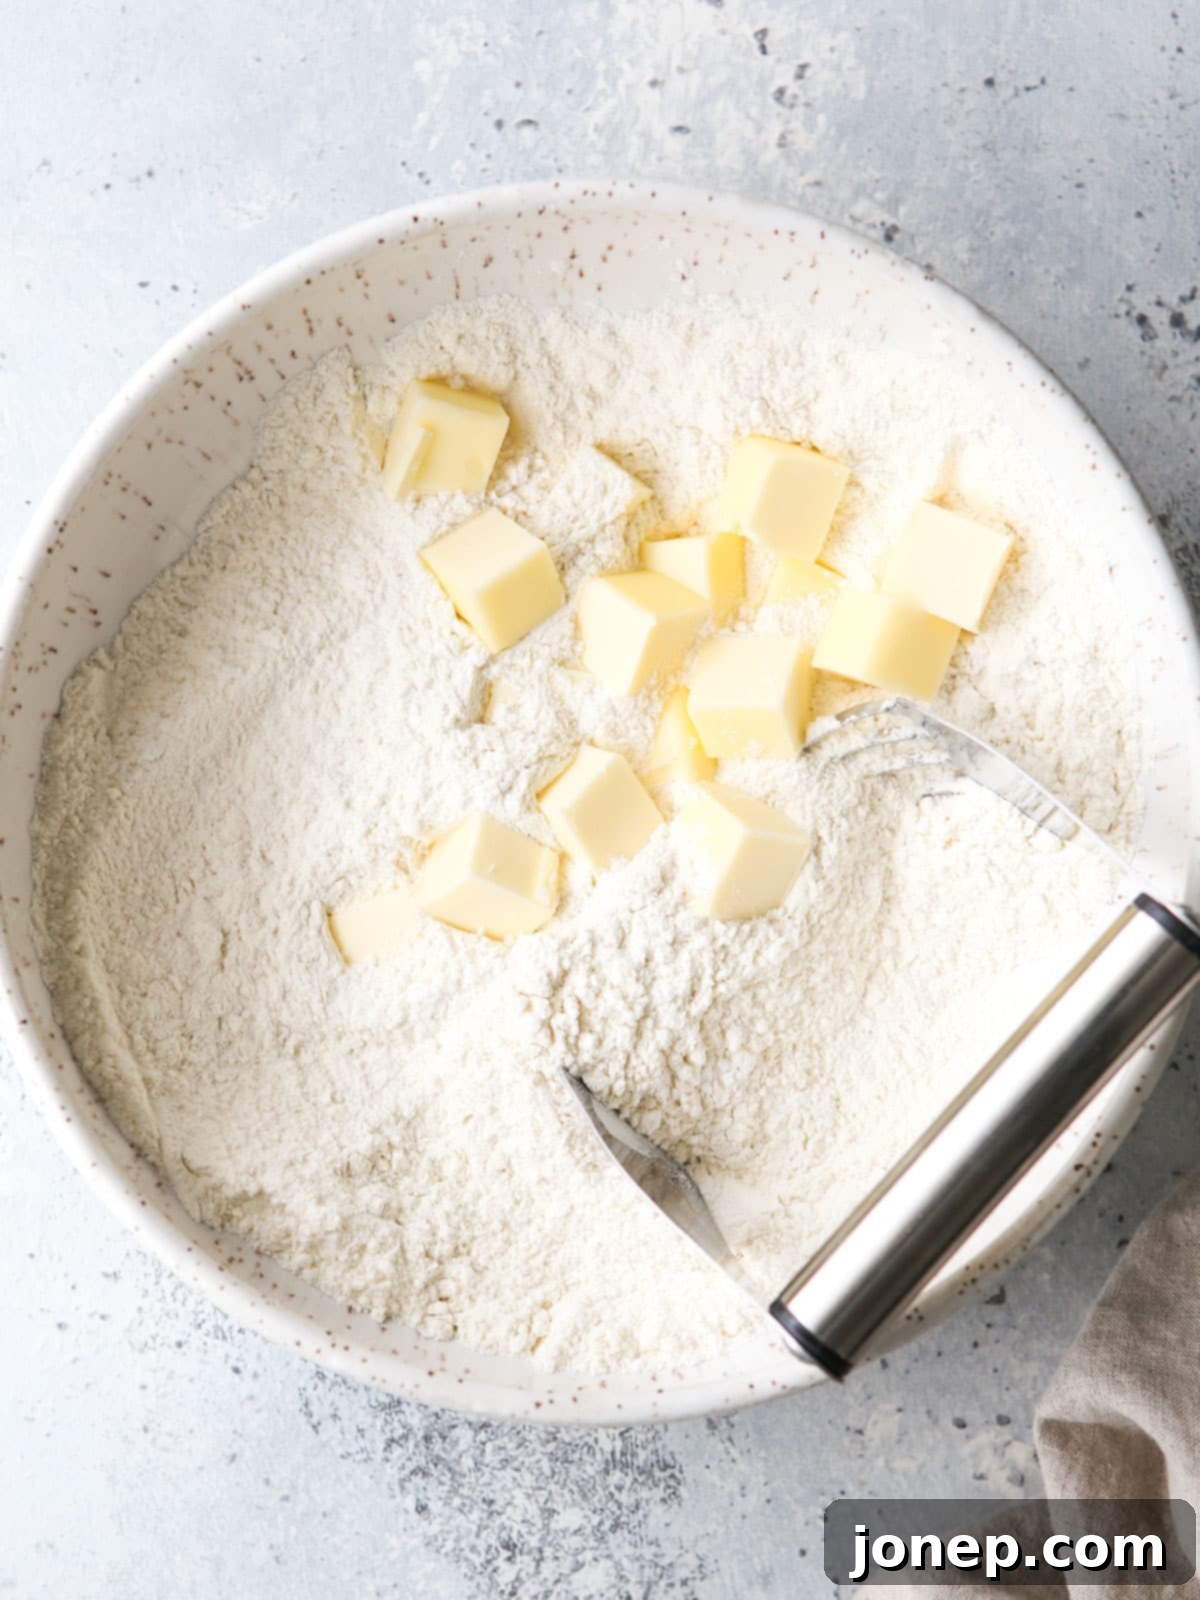
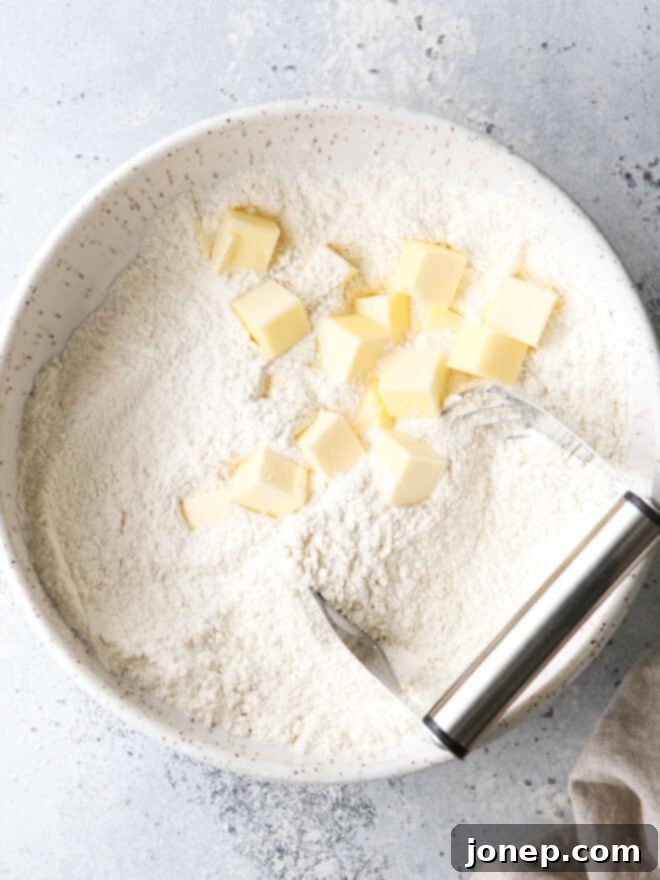
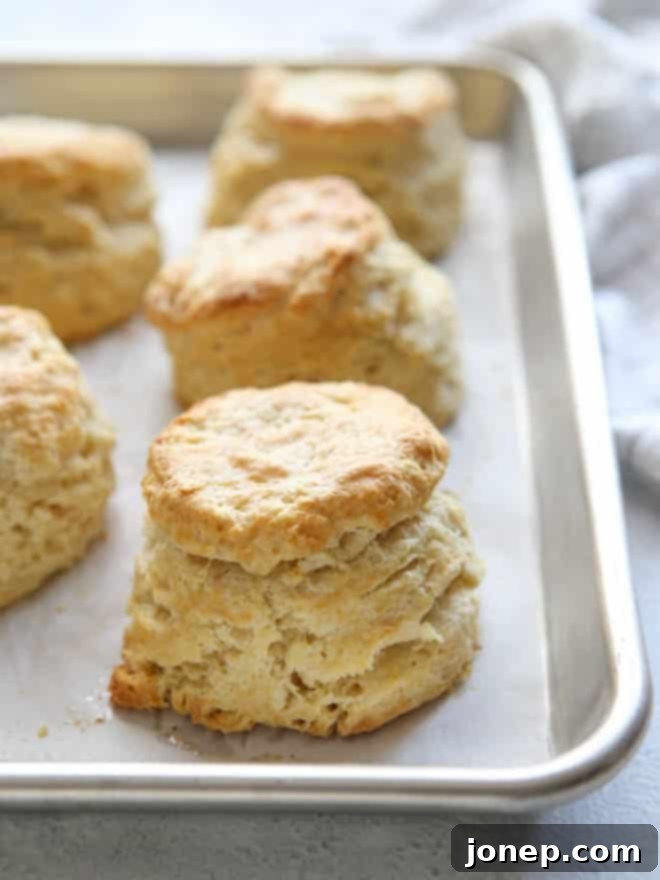
Conversely, when cold, firm butter is cut into flour, as in the preparation of pie dough or flaky biscuits, it maintains its distinct solid pieces. During baking, the water within these butter pieces turns to steam, which then forces apart the layers of dough, creating those coveted pockets of air and a wonderfully flaky texture. Without cold butter, these flaky layers would simply not materialize. (We’ll delve deeper into the fascinating science behind butter temperature and its specific impact below!)
Aids in Browning and Caramelization
Butter’s unique composition sets it apart from other fats when it comes to browning and caramelization. It’s not just pure fat; it also contains milk solids, which are composed of proteins and sugars. These milk solids are key players in the Maillard reaction, a complex chemical process responsible for the rich, golden-brown color and intensely savory-sweet flavors we cherish in baked goods.
When you bake with butter, the heat of the oven causes these proteins and sugars to react, undergoing caramelization and developing a deeper, more complex color and flavor. This is what creates that perfect golden crust on cookies, the rich color of a browned butter sauce, or the beautiful exterior of a cake. Other fats, such as vegetable oil or shortening, are pure fats and lack these milk solids. While they can contribute richness and moisture, they won’t achieve the same depth of flavor or beautiful browning that butter so consistently delivers, resulting in a less complex, toasted taste.
The Science of Butter Temperature and Its Critical Impact
Butter’s temperature is perhaps the single most crucial factor in determining the ultimate success and desired texture of many baked goods. Ignoring this detail can literally make or break a recipe, leading to dense cakes, tough cookies, or flat pastries. Let’s explore the science behind it:
Chilled Butter for Flaky Layers
Chilled butter is absolutely essential for pastries such as pie crusts, biscuits, and scones. When butter is cold and firm, it remains in distinct, solid pieces as it’s cut into flour and mixed into dough. These small pockets of solid butter are insulated by the flour and don’t fully melt until they are exposed to the high heat of the oven. As the butter melts, the water content within it rapidly turns into steam. This steam then forces apart the layers of dough, creating those coveted airy pockets and a beautifully flaky texture. If you use softened or room-temperature butter for these applications, it will integrate too smoothly into the dough, resulting in a dense, tough product without any of the desired flaky layers.
Room-Temperature Butter for Tender, Airy Crumbs
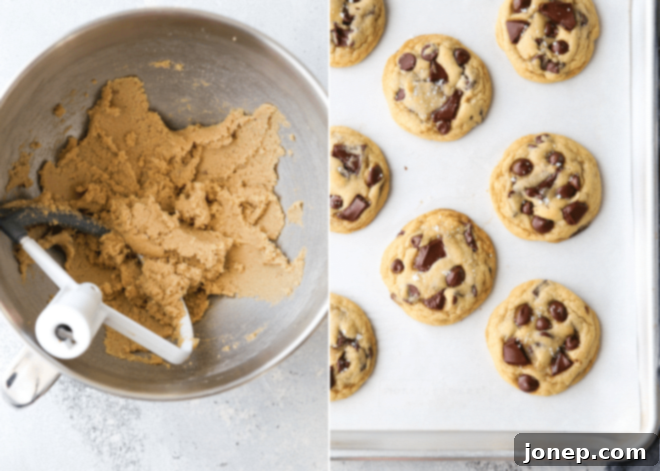
On the other hand, room-temperature butter is the cornerstone for creating soft, chewy cookies and exceptionally tender cakes. At the ideal room temperature, butter is pliable enough to blend smoothly with sugar and flour but still firm enough to hold air. This is the magic of the “creaming method,” where butter and sugar are beaten together to incorporate tiny air bubbles. These air bubbles expand during baking, contributing to the lift and a light, delicate crumb structure. If your recipe calls for room-temperature butter but your butter is too soft (verging on melted), it cannot effectively trap air, leading to a denser product. Furthermore, overly soft butter can melt prematurely in the oven, causing cookies to spread excessively and cakes to collapse.
It’s important to clarify what “room temperature” butter actually means, as it’s likely cooler than you might imagine. Ideally, it should be between 65-68°F (18-20°C). At this temperature, the butter should still feel cool to the touch and produce only a slight indent when gently pressed with your finger. Your finger should not be able to press all the way through the stick. If the butter appears shiny, greasy, or has melted spots, it is too soft and will not perform correctly in creaming. This is precisely why many professional recipes, including mine, specify “room temperature” butter rather than the potentially misleading term “softened butter.”
Melted Butter for Chewy and Dense Textures
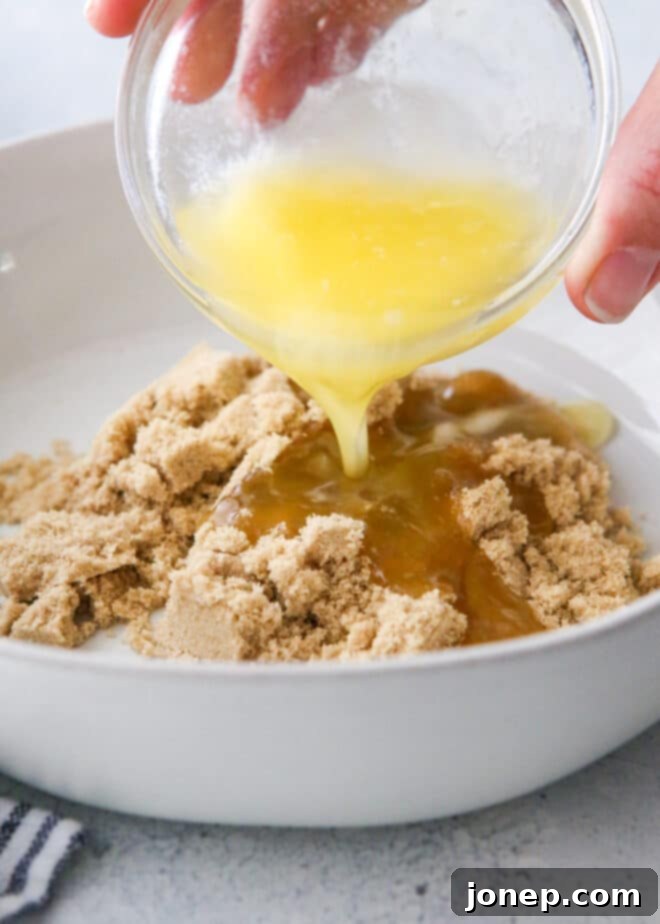
While often seen as an undesirable state for butter in creaming or cutting, melted butter plays a specific and important role in certain types of cookies, brownies, cakes, muffins, and quick breads. When butter is melted and incorporated, it bypasses the aeration process entirely. Instead, it adds pure moisture and fat, which contributes to a denser, fudgier texture in brownies or a chewier consistency in certain cookie recipes. Melted butter also helps prevent excessive gluten development, resulting in a more tender crumb in quick breads and muffins. However, using melted butter when a recipe specifies room-temperature butter will yield a vastly different and often undesirable result.
The bottom line for all baking endeavors is simple: always pay meticulous attention to the butter temperature specified in your recipe and adhere to it precisely. The overall texture, rise, and success of your baked goods profoundly depend on this crucial detail.
Achieving Perfect Room Temperature Butter
Having butter at the correct “room temperature” (65-68°F or 18-20°C) is fundamental for countless baking recipes. The most straightforward method to achieve this is simply to allow it to sit out at room temperature. If you anticipate a baking session, it’s wise to plan ahead and remove the required amount of butter from the refrigerator an hour or two beforehand. The exact time needed will depend significantly on the ambient temperature of your kitchen; a warmer environment will soften butter much faster than a cooler one.
However, baking inspiration often strikes spontaneously! If you find yourself needing room-temperature butter more quickly, here are some reliable suggestions to speed up the process:
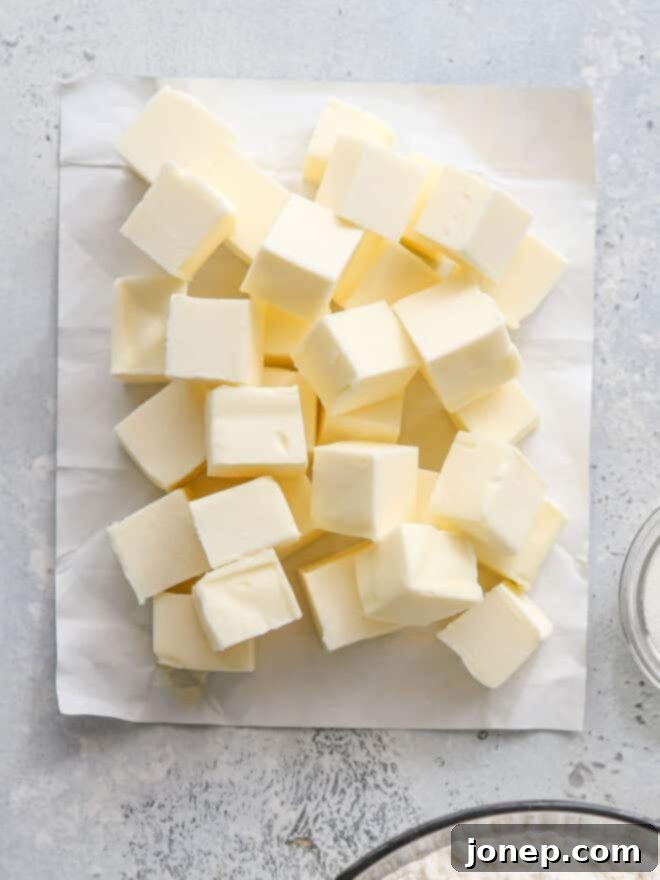
- Cube the Butter: This is arguably the most effective and safest quick method. By cutting a stick of butter into small, uniform cubes (e.g., ½-inch or 1.25 cm pieces), you significantly increase its surface area exposed to the air. The smaller the cubes, the less time it will take for the butter to come to temperature. Spread the cubes out on a plate to maximize air circulation.
- Create a Warm Environment: One popular trick is to fill a glass bowl with very warm (not boiling) water. Let it sit for a minute or two to heat the bowl. Then, carefully pour out the water and invert the warm, empty bowl over your stick of butter, creating a cozy, steamy environment that will gently soften the butter. You can also place the butter near a warm, recently-used oven, rotating it periodically to ensure even softening. Always ensure the butter doesn’t come into direct contact with a hot surface.
- Microwave in Short Bursts: This method should always be considered a last resort due to the high risk of accidentally melting the butter, which can happen very quickly and unevenly. If you must use a microwave, place the butter on a microwave-safe plate and microwave it in extremely short bursts – 5 seconds at a time at a low power setting. After each burst, rotate the butter to ensure all sides receive equal exposure, and gently press it with your finger to check its consistency. Stop immediately once it reaches the desired texture.
Regardless of the method you choose, the utmost caution is advised to avoid over-softening your butter. Remember, perfectly tempered butter should still feel cool to the touch and only yield a slight indent when pressed, without any shiny, greasy spots or visible melting. If your butter becomes too soft, it’s often best to place it back in the refrigerator for a few minutes or, if it has melted significantly, start over with cold butter rather than proceeding with an over-softened batch. Precision in butter temperature is a small effort that yields significant rewards in your baking results.
Optimal Butter Storage for Freshness
Proper storage is key to preserving butter’s fresh flavor and preventing it from developing off-notes that can compromise your baked goods. Butter, like many dairy products, is susceptible to absorbing odors and can go rancid if not stored correctly.
- In the Fridge: For everyday use, butter should be stored in the refrigerator. To protect its flavor and prevent it from absorbing strong odors from other foods, always keep it in its original wrapper or transfer it to an airtight container or a dedicated butter dish. Stored correctly in the fridge, butter will typically maintain its quality for up to 3 months. Beyond this period, while still safe to eat, its flavor might start to diminish or become slightly stale.
- In the Freezer: For longer-term storage, the freezer is your best friend. Butter freezes beautifully and can be kept for extended periods without significant loss of quality. For optimal freezer storage, ensure the butter is well-wrapped. I often simply place unopened boxes or sticks of butter, still in their original packaging, directly into a freezer-safe bag to add an extra layer of protection against freezer burn. When properly wrapped and frozen, butter can remain fresh for 9 months to a year, or even longer if vacuum-sealed.
It’s crucial to remember that butter does eventually spoil. Using butter that has gone rancid (which develops an unpleasant, sharp, or soapy taste due to fat oxidation) or exhibits freezer burn (dry, crumbly textures and diminished flavor from dehydration) can negatively impact the delicate flavor profile of your baked goods. Always check your butter for freshness before incorporating it into your recipes for the best possible results.
Exploring Butter Substitutes
For those with dietary restrictions, allergies, or simply a preference for alternative ingredients, a variety of butter substitutes can be effectively used in baking. Many recipes have been specifically developed to utilize alternatives like coconut oil, applesauce, Greek yogurt, or vegan butter, yielding genuinely delicious and satisfying results.
Each substitute brings its own unique characteristics to a recipe. For example, coconut oil can mimic some of butter’s properties and add a subtle tropical note. Applesauce often adds moisture and natural sweetness, allowing for a reduction in added sugar and fat. Greek yogurt provides moisture and a slight tang, contributing to a tender crumb. Vegan butter alternatives are formulated to closely resemble dairy butter in texture and performance, often making them the most direct swap.
However, it’s important to note that I am not an expert in the intricate nuances of all these substitutions. Unless explicitly stated otherwise, the recipes I share have been tested and perfected using traditional dairy butter. While a baking-savvy individual might feel confident experimenting with these substitutes in my recipes, the safest and most reliable approach is to seek out recipes that have been specifically developed and tested with your chosen alternative. For instance, instead of trying to adapt a traditional recipe, search for “chocolate chip cookies with coconut oil” or “vegan vanilla cake” to find a recipe where the ratios and techniques have already been optimized for the substitute, ensuring the best possible outcome.
Additional Resources and Baking Tips
To further enhance your baking prowess and deep dive into specific butter-related techniques, explore these valuable resources:
- How to Brown Butter for Nutty Flavor
- Understanding the Purpose of Cutting Butter into Dry Ingredients
- The Importance of Creaming Butter and Sugar When Making Cookies
- Ensuring Butter is at the Right Temperature: A Visual Guide
- When to Bake with Unsalted vs. Salted Butter: A Detailed Look
