Irresistible Peach Cobbler Pie: The Best of Both Summer Dessert Worlds
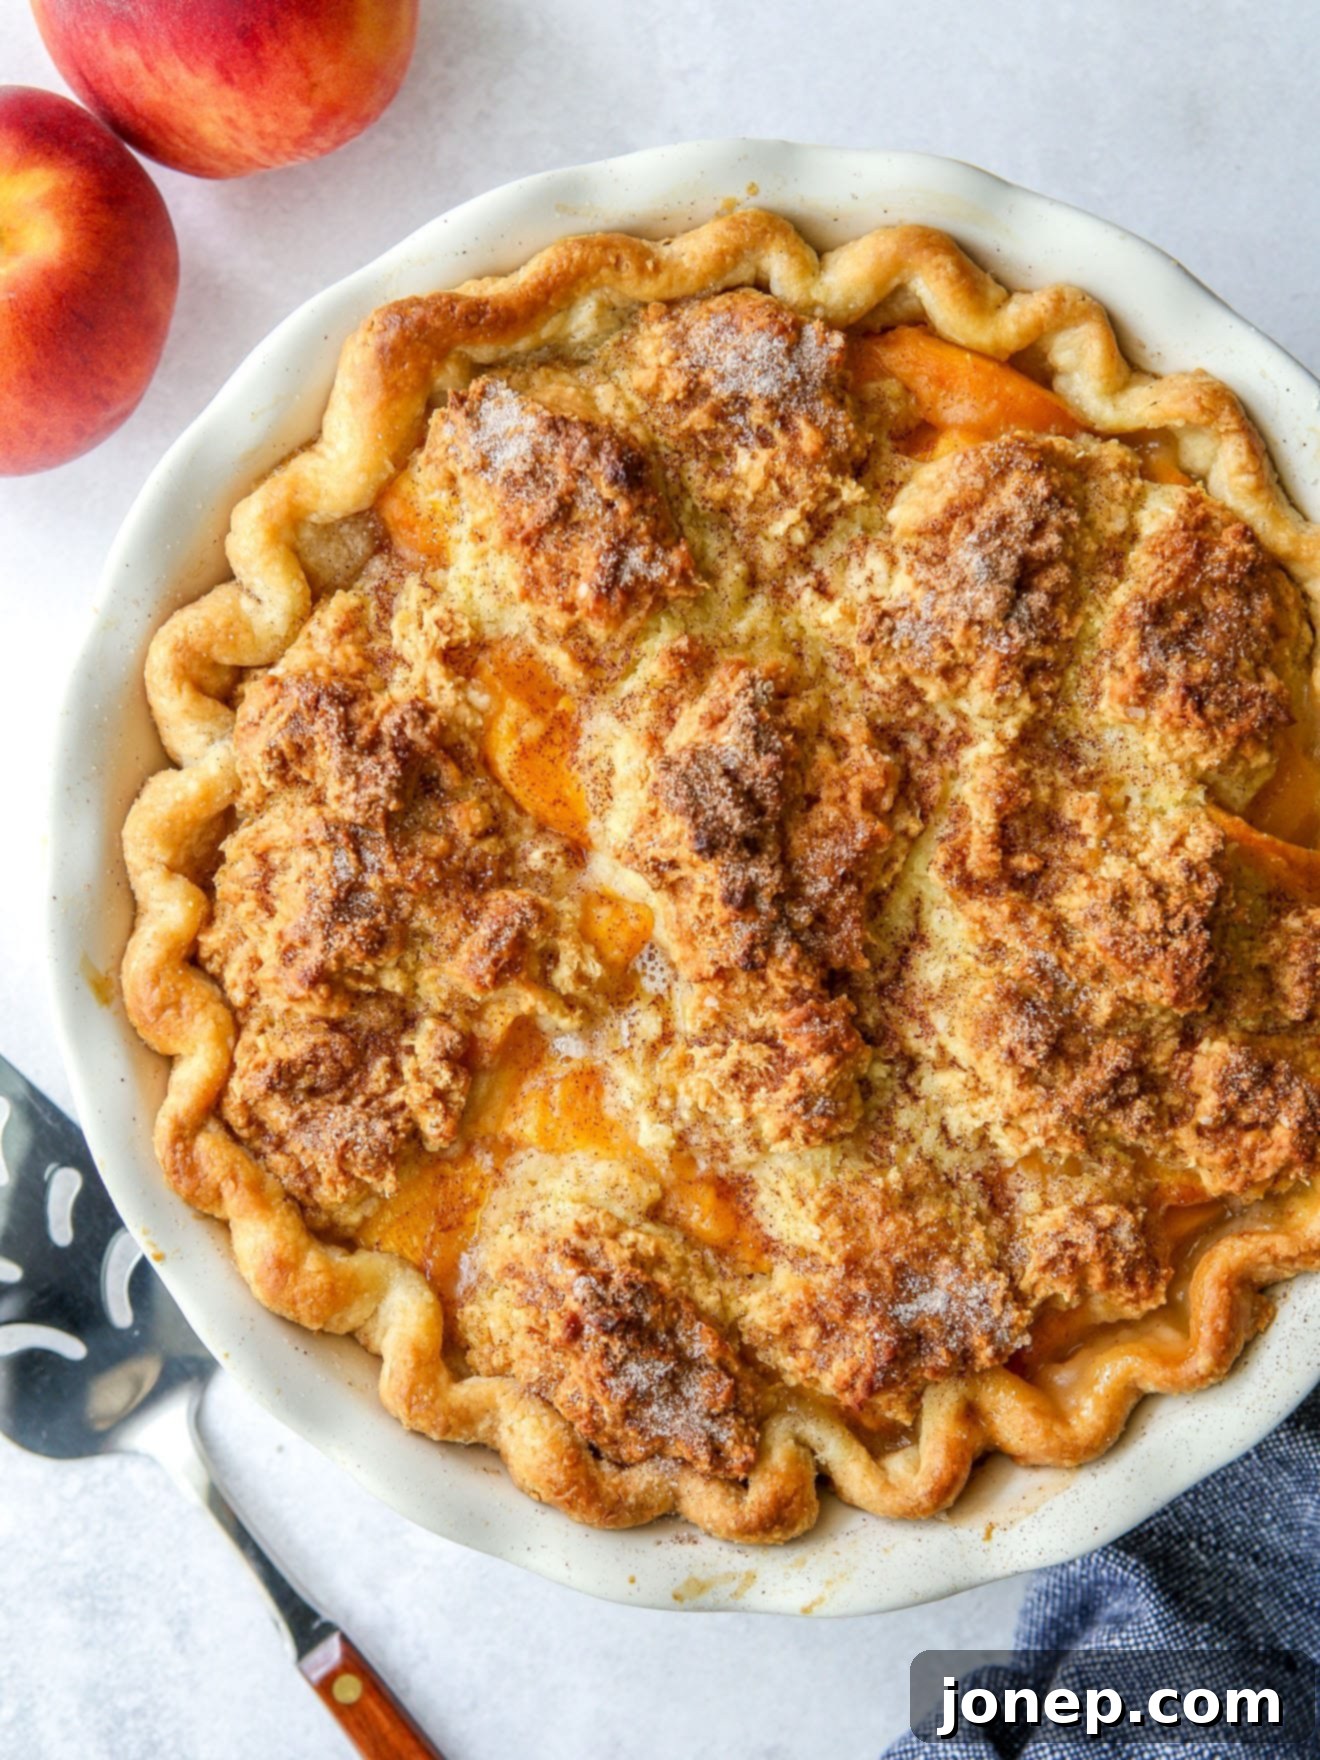
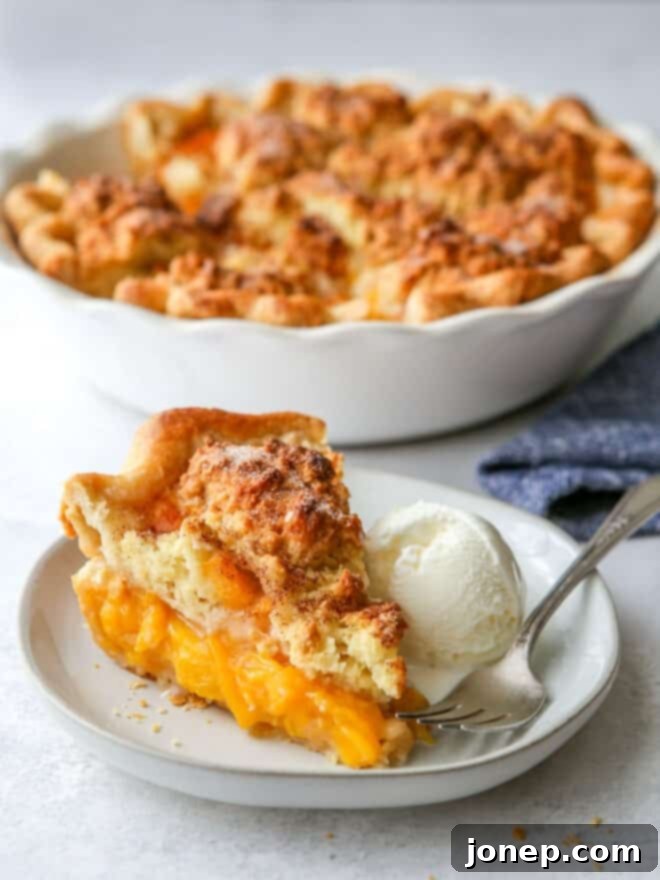
Prepare to fall in love with your new favorite summer dessert: the ultimate Peach Cobbler Pie! This exceptional creation masterfully combines two of summer’s most beloved peachy treats – the classic flaky peach pie and the comforting, biscuit-topped peach cobbler – into one irresistible, harmonious dish. Imagine sinking your fork into a slice that offers the best of both worlds: a tender, juicy peach filling nestled within a buttery, golden pie crust, crowned with a light, fluffy, and slightly crisp cobbler topping. It’s a true celebration of peak summer peaches that you simply *must* try!

If you’re like many dessert enthusiasts, faced with the delightful dilemma of choosing between a comforting peach cobbler or an elegant peach pie, the decision can feel impossible. Thankfully, with this ingenious Peach Cobbler Pie recipe, you no longer have to pick just one. You get to enjoy the quintessential flavors and textures of both in every single bite!
Table of Contents
- Is it Pie? Is it Cobbler? The Best of Both Worlds
- Essential Ingredients for Your Peach Cobbler Pie
- The Importance of Ripe Summer Peaches
- How to Make This Irresistible Peach Cobbler Pie
- Expert Tips for a Perfect Peach Cobbler Pie
- Get the Full Peach Cobbler Pie Recipe
- More Delightful Summer Pie Recipes
Is it Pie? Is it Cobbler? The Best of Both Worlds
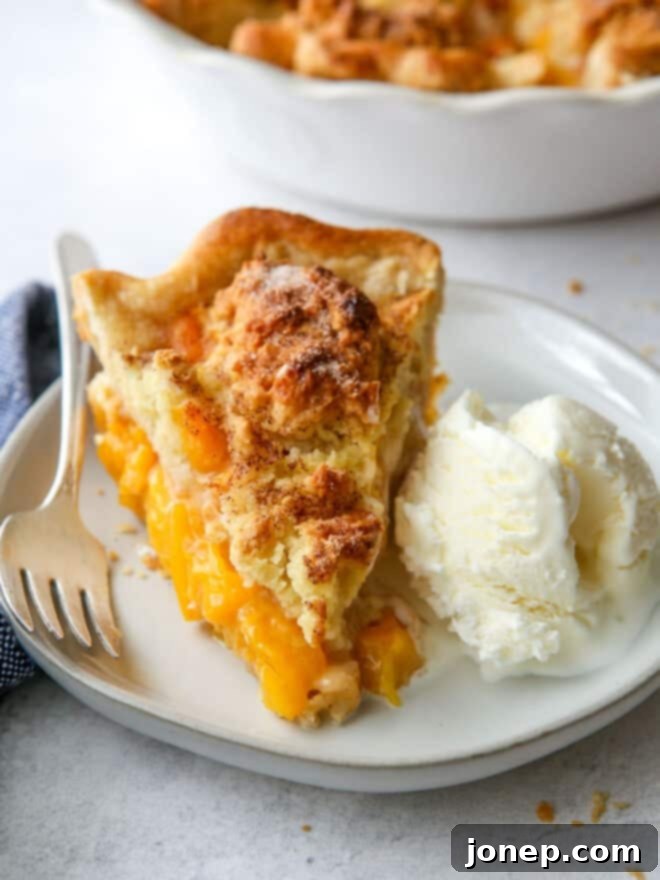
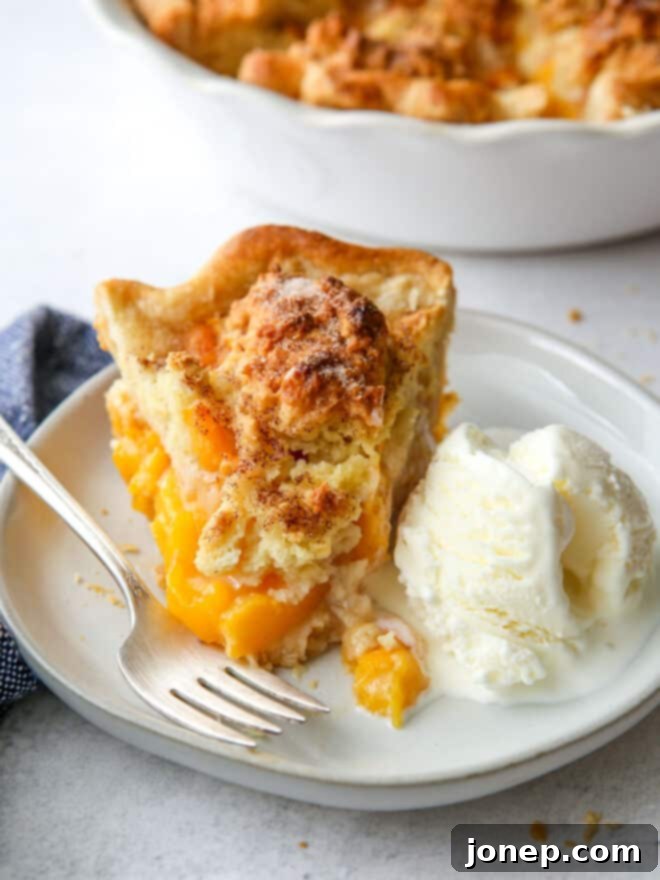
This unique creation truly offers the ultimate “best of both worlds” experience, perfectly blending the comforting familiarity of an old-fashioned peach cobbler with the timeless elegance of a classic peach pie. At its heart lies a perfectly flaky, homemade pie crust, providing a sturdy yet delicate foundation. This crust cradles a vibrant, fresh peach filling, bursting with the sweet, sun-kissed flavors of summer. What elevates this dessert to a league of its own is the addition of an easy-to-make, cinnamon-scented biscuit cobbler topping, which bakes to a beautiful golden brown and adds a delightful textural contrast. Each bite delivers a harmonious blend of tender, spiced peaches, buttery crust, and a soft, slightly crisp topping. And for the ultimate indulgence? A generous scoop of creamy vanilla ice cream is all you need to complete this divine experience, allowing its cool richness to melt into the warm, fruity goodness.
For many, summer simply isn’t complete without the inviting aroma of fresh peaches baking in the oven. If you share this sentiment, then this Peach Cobbler Pie is undeniably the recipe you’ve been searching for. It strikes the perfect balance of fruity sweetness, complemented by a subtle hint of warm cinnamon spice, culminating in an overall flavor profile that is truly unforgettable. It’s the kind of dessert that gathers loved ones around the table, creating cherished memories with every delicious mouthful and solidifying its place as a quintessential summer treat. Whether served at a backyard BBQ, a family gathering, or simply enjoyed on a quiet evening, this pie is sure to impress.
Essential Ingredients for Your Peach Cobbler Pie
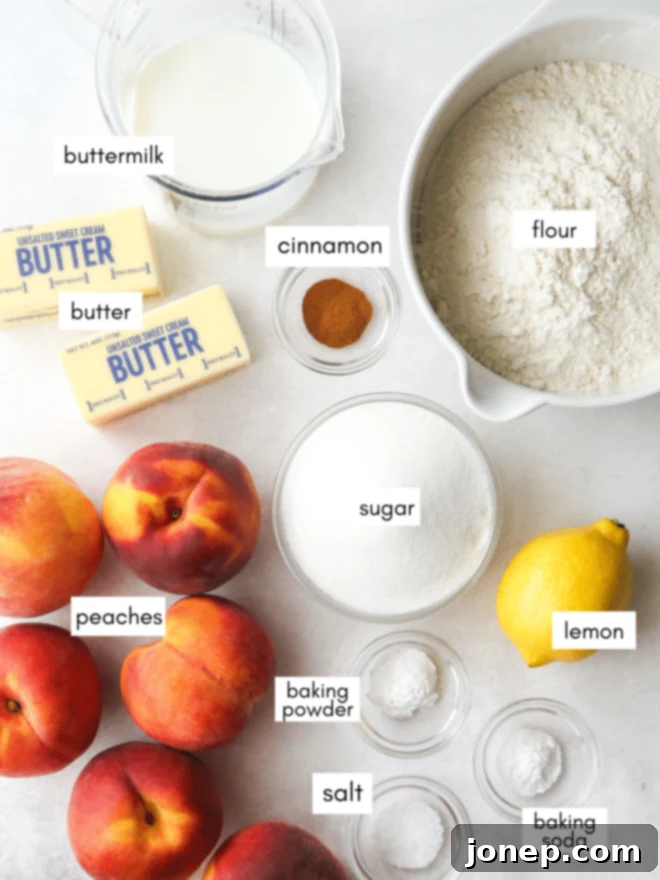
Crafting this incredible Peach Cobbler Pie begins with a selection of high-quality ingredients, thoughtfully chosen to ensure every layer sings with flavor and perfect texture. You’ll need pantry staples for the buttery, flaky pie crust and the tender, golden biscuit topping. The star of the show, of course, is the peaches themselves, which combine with sugar, flour, and a touch of cinnamon to create a luscious, bubbling filling. Fresh, cold butter and buttermilk are key for achieving that desirable flaky crust and tender cobbler texture. Below, we dive deeper into the specific components that make this recipe shine.
The Importance of Ripe Summer Peaches
This recipe truly shines when made during the height of summer, when ripe, juicy, and fragrant peaches are abundant and easy to find. Seek out peaches that are firm but yield slightly to gentle pressure, with a vibrant color and a sweet, unmistakable aroma. Their natural sweetness and tender texture are paramount to the success of this pie, offering a depth of flavor that simply cannot be replicated by unripe fruit. Farmers’ markets and roadside fruit stands are often the best places to find these seasonal gems, but well-stocked grocery stores will also carry excellent options.
While fresh peaches are highly recommended for their superior taste and texture, if fresh aren’t available, frozen sliced peaches can be a viable alternative. Crucially, use them straight from the freezer – do not thaw them before adding them to the filling. Thawing can cause the peaches to release too much water, leading to a watery filling. Simply toss the frozen slices directly with the sugar and flour mixture. Canned peaches, however, are not recommended for this pie, as their texture and often syrup-packed state will drastically alter the final result, making it less robust and flavorful.
How to Make This Irresistible Peach Cobbler Pie
Creating this magnificent Peach Cobbler Pie is a rewarding process, yielding a dessert that’s as beautiful to look at as it is delicious to eat. Follow these detailed steps to bring this summer masterpiece to life in your own kitchen:
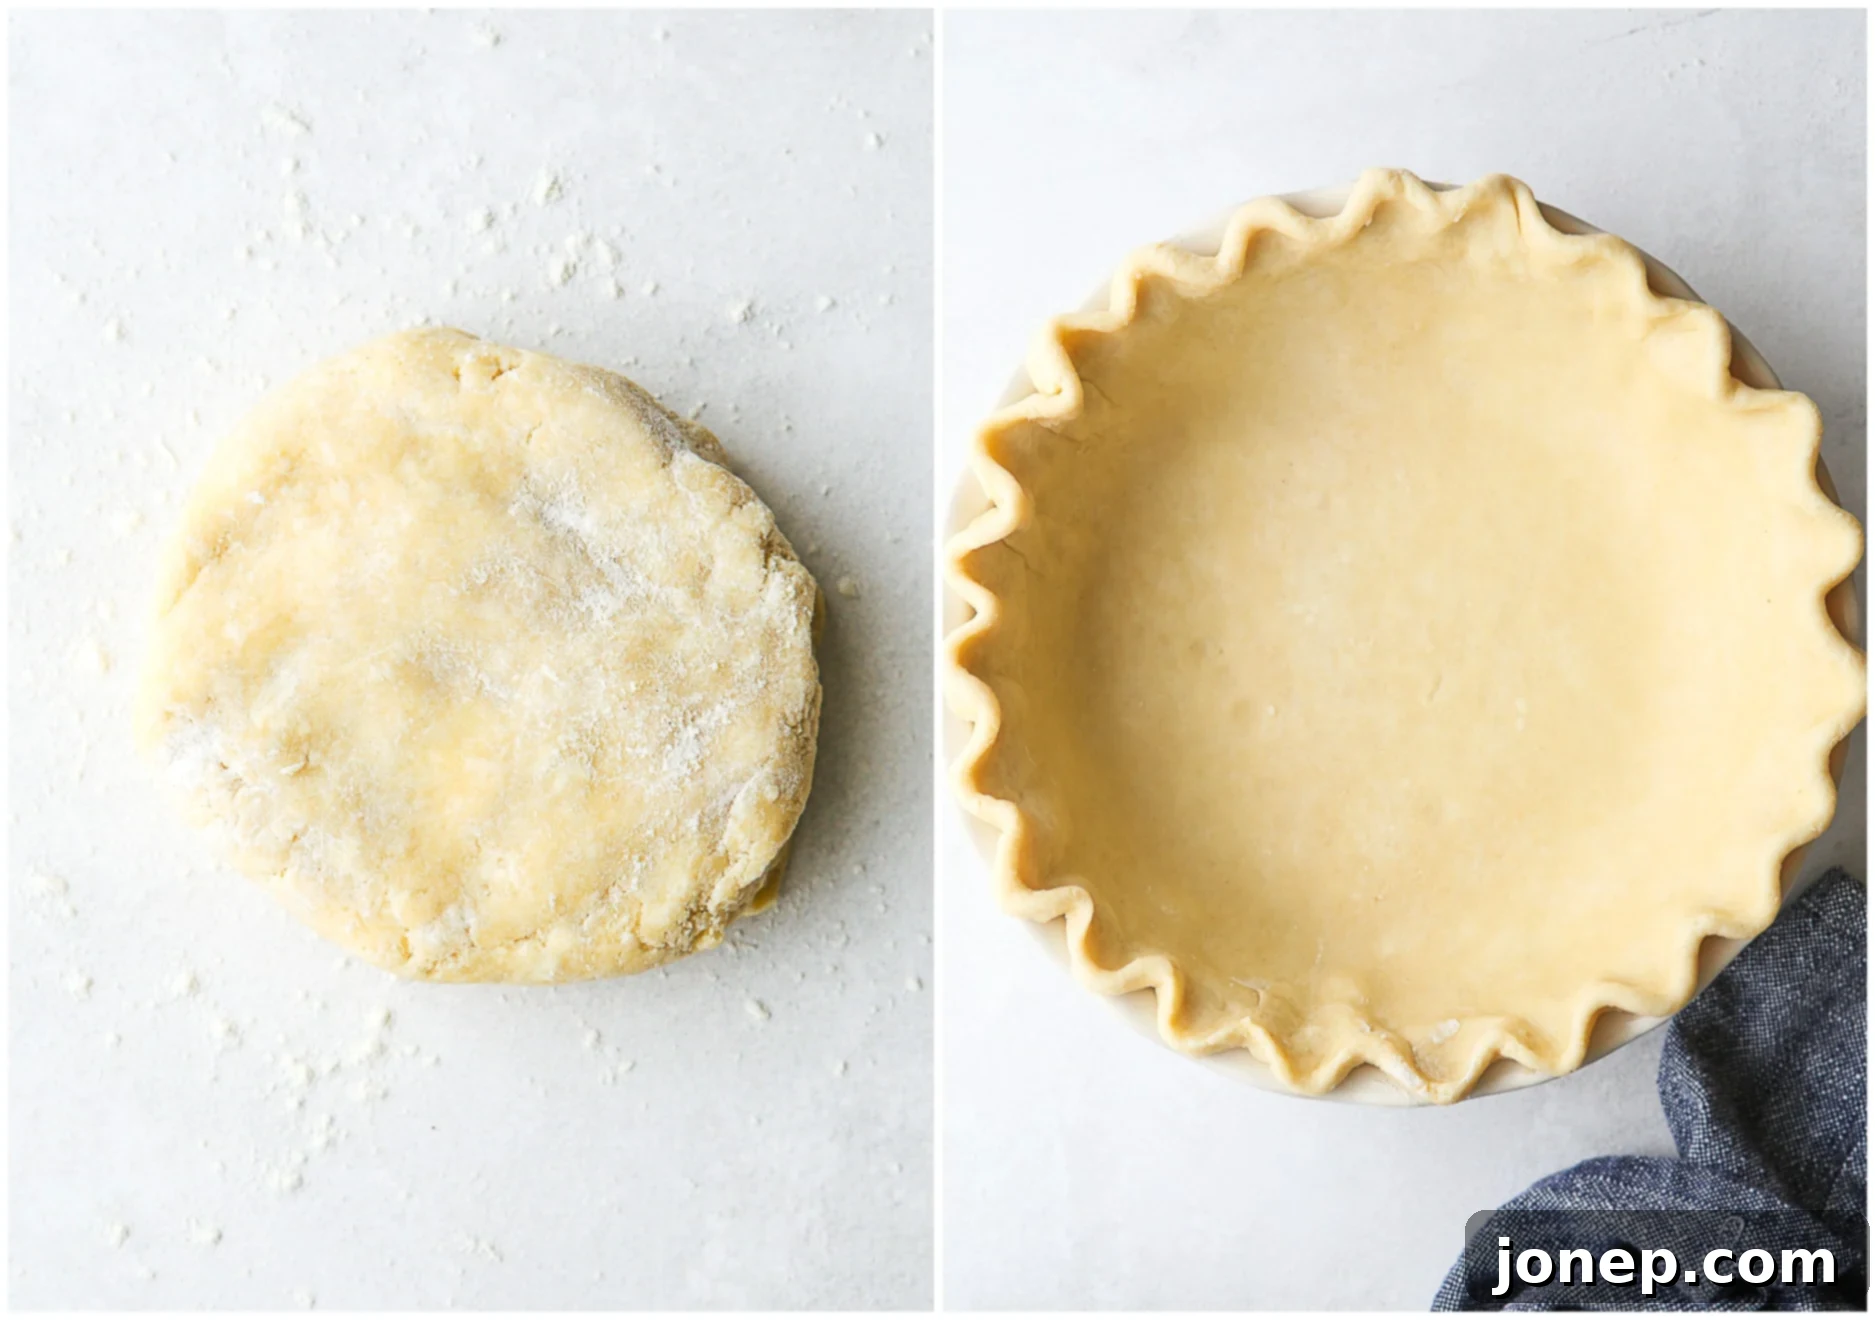
- Prepare and Chill the Pie Dough. Begin by combining all-purpose flour, granulated sugar, and salt in a medium bowl. Next, cut in cold, cubed unsalted butter using a pastry blender until the mixture resembles coarse crumbs with some pea-sized butter pieces. The key here is to keep the butter as cold as possible to ensure a flaky crust. Gradually add cold buttermilk, mixing with a spoon and then your hands until a shaggy dough forms. If the dough seems too dry, add a tiny bit more buttermilk, one teaspoon at a time. Transfer the dough to a clean, lightly flfloured counter and quickly bring it together with your hands, just enough to form a cohesive ball without overworking it. Shape the dough into a flat disk, wrap it tightly in plastic wrap, and chill it in the refrigerator for at least 1 hour. This chilling time is essential for the butter to firm up and the gluten to relax, which prevents shrinkage and ensures a tender, flaky crust.

The process of cutting cold butter into the flour mixture for a perfectly flaky pie crust. - Roll Out Pie Crust and Fill Pie Plate. Once your dough is sufficiently chilled, lightly flour a clean surface and your rolling pin. Roll the pie crust out into a large, even circle, approximately 12 inches in diameter. Carefully transfer the rolled dough to a 9-inch pie plate. Gently press the dough into the contours of the plate, then trim any excess edges and crimp them decoratively as desired. A beautiful crimped edge adds to the homemade charm. Place the prepared pie crust back into the freezer to chill while you prepare the peach filling. This extra chilling step helps prevent the crust from shrinking during baking and keeps it extra flaky.

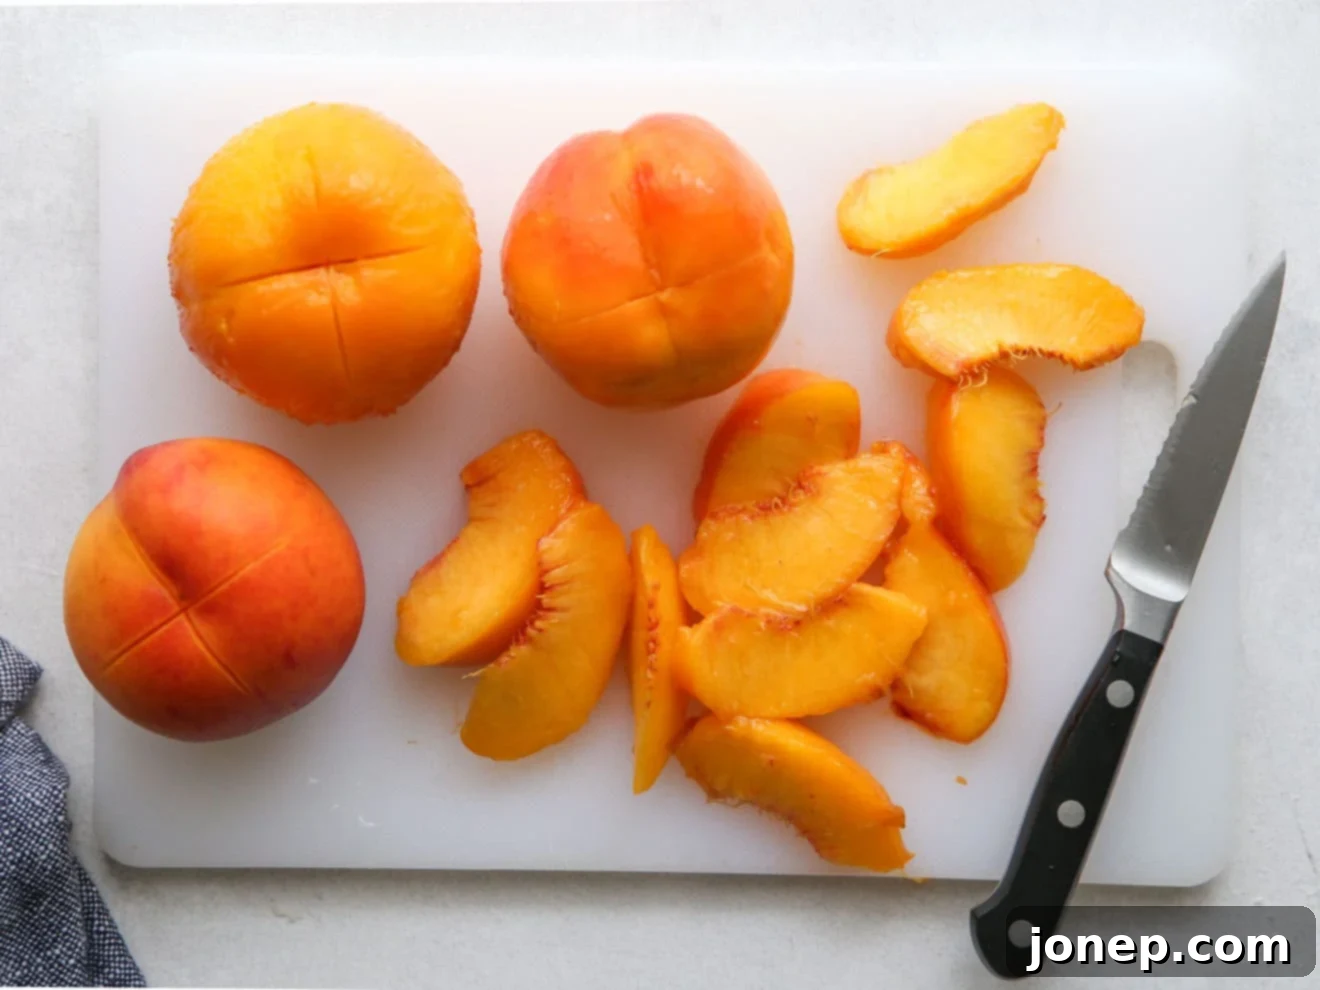
Fresh peaches being peeled and sliced, ready for the delicious filling. - Peel (if you want) and Slice Peaches. Now for the star ingredient! You have the option to either leave the peach skins on or remove them. Leaving the skins on is the quickest method and adds a rustic texture and a slight tartness, which some people prefer. If you desire a smoother filling, you can easily remove the skins by blanching the peaches in hot water for about 30-60 seconds, then immediately transferring them to an ice bath. The skins should then slip off easily. More detailed information on how to remove peach skins can be found here. Once peeled (or not), slice the peaches into uniform 1/2 to 1-inch slices to ensure even cooking.
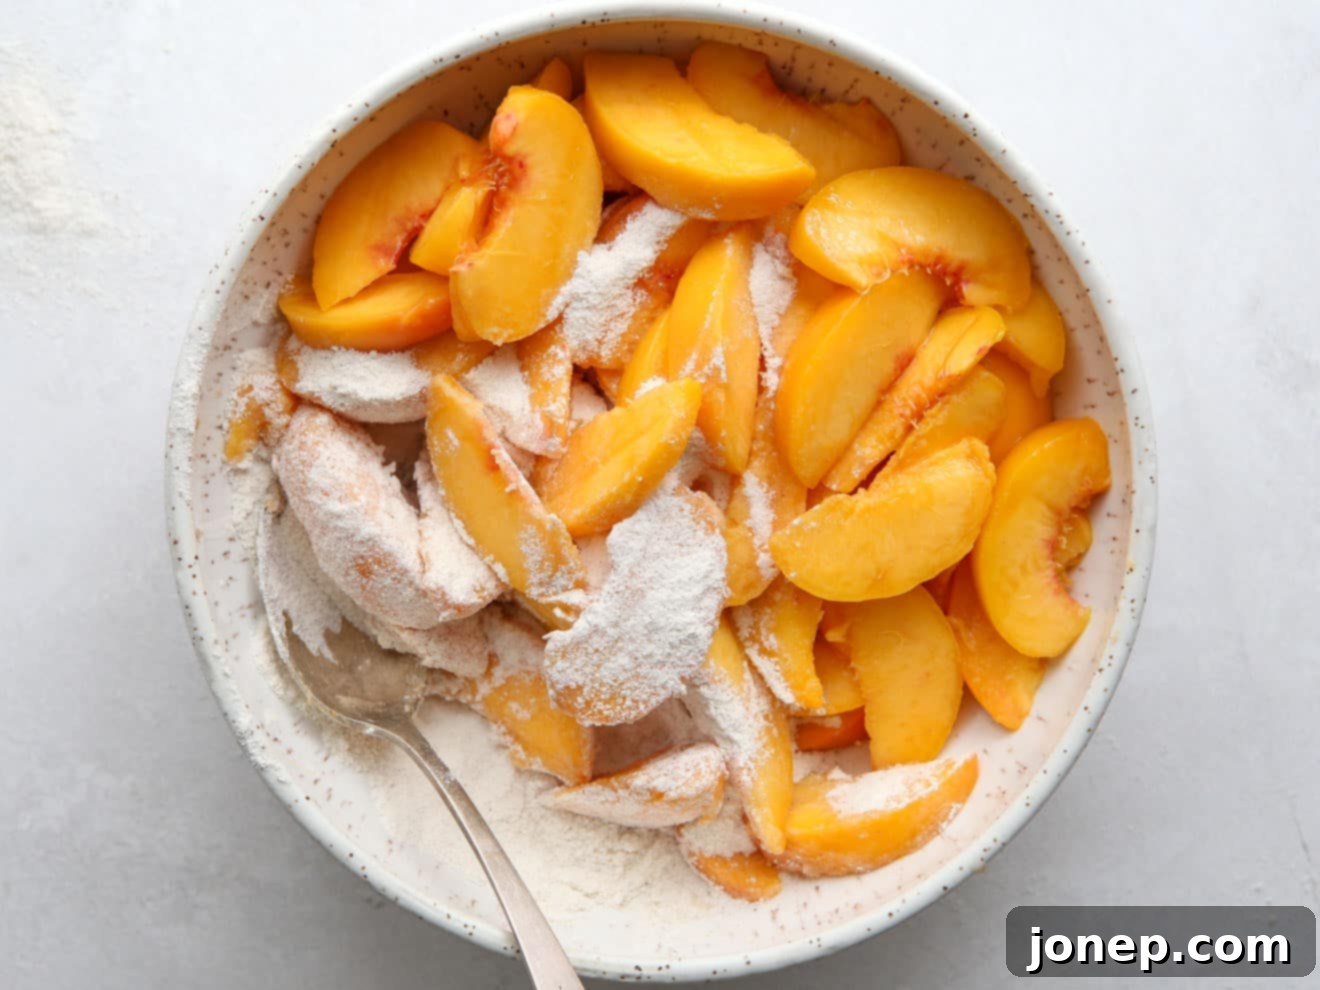
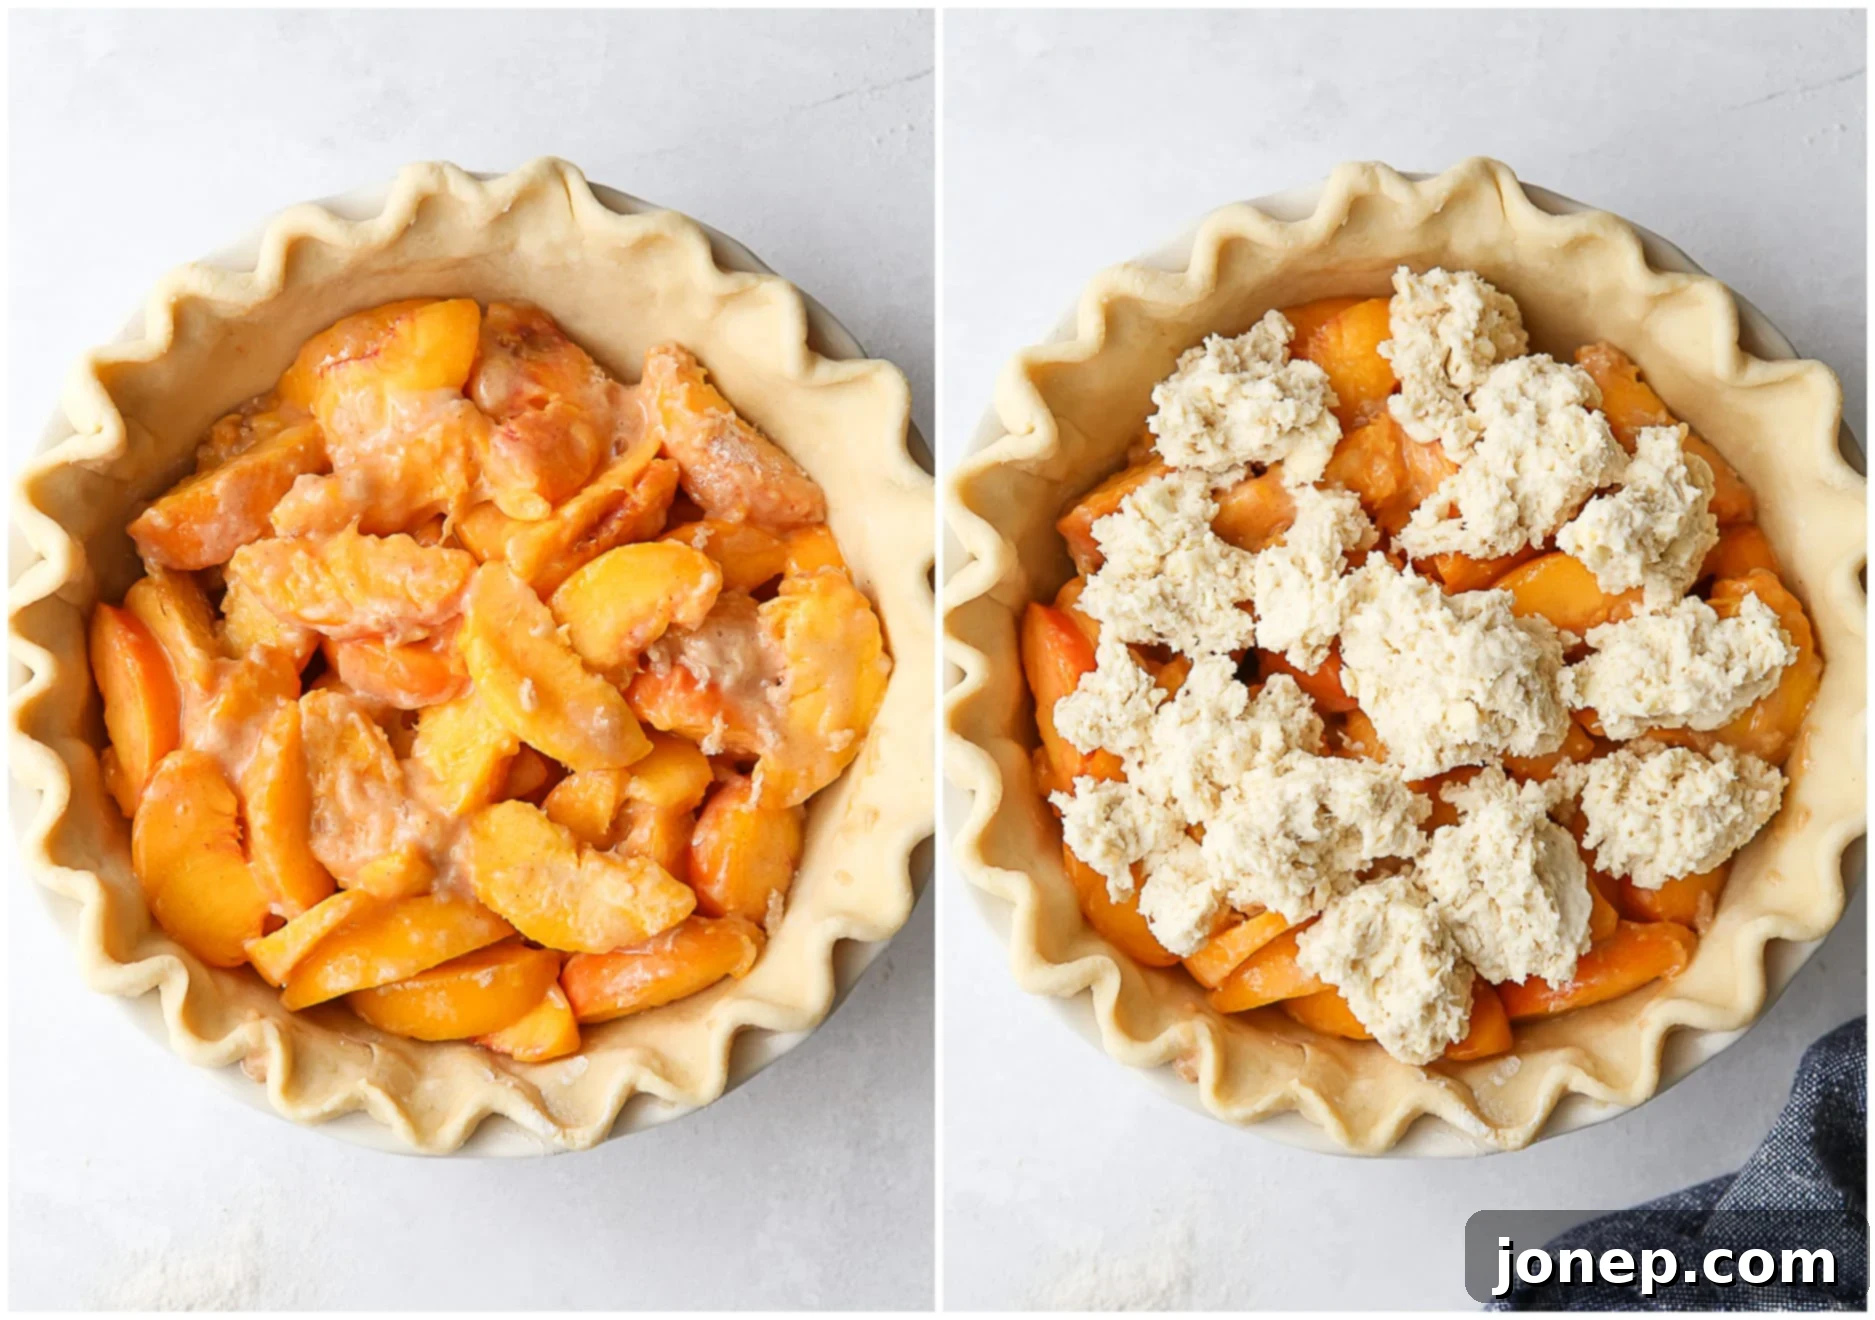
- Combine Peach Filling. In a large bowl, whisk together the granulated sugar, all-purpose flour, and ground cinnamon. This dry mixture will help thicken the peach juices and distribute the spice evenly. Add the sliced peaches and fresh lemon juice to the bowl. The lemon juice not only brightens the peach flavor but also helps prevent browning. Toss everything gently to ensure the peaches are thoroughly coated. Once mixed, carefully dump the flavorful peach mixture into the prepared and chilled pie crust, mounding it slightly in the center.

Combining sliced peaches with sugar, flour, and cinnamon to create the luscious pie filling. - Add Biscuit Topping. In a separate bowl, combine the flour, granulated sugar, baking powder, baking soda, and salt for the cobbler topping. Use a pastry blender to cut in cold, cubed butter until the mixture resembles coarse crumbs. Similar to the pie crust, keeping the butter cold is crucial for a tender, flaky biscuit topping. Add the cold buttermilk and stir just until a thick, wet biscuit-like dough forms. Avoid overmixing. Drop spoonfuls of this dough evenly over the peach filling in the pie plate. For an extra touch of color, shine, and flavor, whisk together a large egg with a tablespoon of water to create an egg wash. Brush this egg wash over the tops of the cobbler dough and the exposed edges of the pie crust. Finally, sprinkle generously with cinnamon-sugar for a beautiful golden finish and added spice.

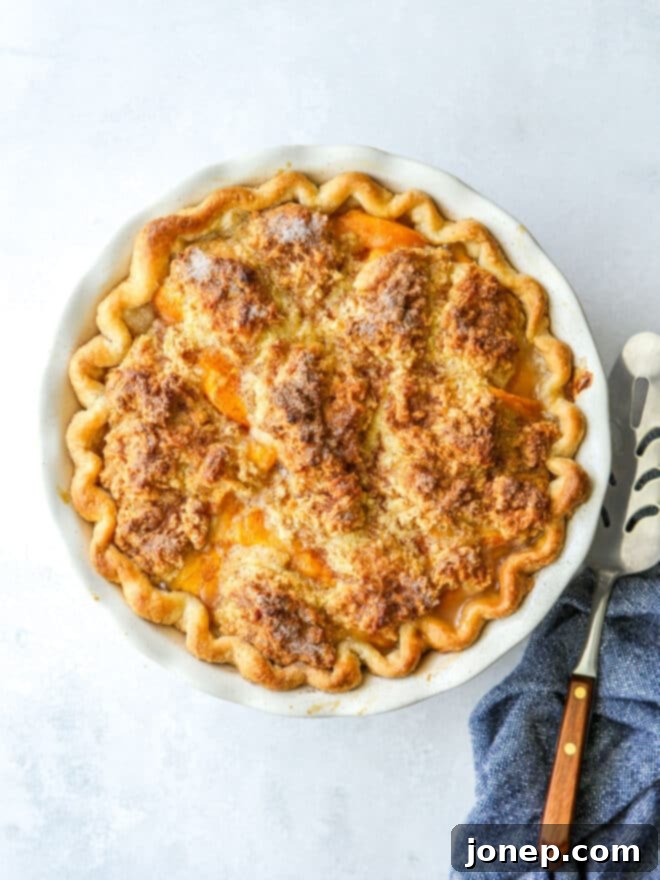
The Peach Cobbler Pie, first with the raw biscuit topping, then brushed with egg wash and cinnamon-sugar, ready for baking. - Bake. Preheat your oven to 400°F (200°C). Place the assembled pie on a baking sheet (to catch any potential drips) and bake for approximately 45-60 minutes, or until the cobbler topping and pie crust edges are beautifully golden brown, and the peach filling is visibly bubbling up through the cracks of the topping. The bubbling is a crucial sign that the filling has cooked through and will set properly.
- Enjoy! Once baked, remove the pie from the oven and allow it to cool for at least 20 minutes before slicing. This resting period is vital, giving the hot fruit filling time to set up and thicken, preventing a messy slice. Top individual slices with a generous scoop of creamy vanilla ice cream or a dollop of freshly whipped cream – both are highly recommended for the ultimate dessert experience. The contrast of warm pie and cold cream is simply divine!
baking tip: Make pie crust ahead of time
Prepping your pie crust in advance can be a game-changer, saving you so much valuable time on baking day! I often like to make a few batches of my favorite perfectly flaky pie crust recipe at once and store them. Having pre-made crusts ready in the freezer means you can whip up a delicious pie on a whim without the added effort of starting from scratch. Here’s how to store pie crust for both short and long terms, ensuring it’s always on hand for your next baking adventure:
In the fridge— Wrap the disc of pie dough tightly with plastic wrap and store it in the refrigerator for up to 5 days. When you’re ready to use it, simply take it straight from the fridge, allow it to soften slightly on the counter for 5-10 minutes if needed, and roll it out.
In the freezer— For longer storage, wrap the pie dough disc twice in plastic wrap and then once more in aluminum foil to protect it from freezer burn. Store it in the freezer for up to 2 months. When you’re ready to bake, transfer the frozen dough to the fridge to thaw overnight, or let it sit on the counter for 1-2 hours until it’s pliable enough to roll out. This foresight will make your baking experience much more enjoyable and stress-free!
Expert Tips for a Perfect Peach Cobbler Pie
Achieving a truly exceptional Peach Cobbler Pie involves a few key techniques and considerations. These expert tips will help ensure your dessert turns out perfectly golden, wonderfully flaky, and utterly delicious every single time:
- Choose the Right Pie Crust: I’ve specifically chosen my favorite buttermilk pie crust recipe for this peach cobbler pie, and for good reason. Its subtle tang and incredible flakiness perfectly complement the buttermilk cobbler topping, creating a cohesive and delightful flavor profile throughout the dessert. However, feel free to use your own tried-and-true pie crust recipe if you have one you love – just ensure it’s a single-crust recipe.
- To Peel or Not to Peel: The decision to peel your peaches or leave the skins on is entirely up to your personal preference. Leaving the peach skins on is the quickest and easiest option, adding a slightly rustic texture and a hint of tartness. Removing them, on the other hand, results in a smoother, more refined peach filling. Both methods yield delicious results, so choose what suits your taste and time.
- Utilize Frozen Pie Crust: If you’re a savvy baker who keeps extra pie crusts in the freezer (a practice I highly recommend!), this recipe is the perfect opportunity to use one up. Having a pre-made crust ready significantly streamlines the preparation process, making this impressive dessert even more accessible on a busy day.
- Don’t Skip the Egg Wash and Cinnamon-Sugar: These optional steps are far from trivial – they make a significant difference in the final appearance and overall appeal of your pie. The egg wash provides a beautiful golden sheen to both the cobbler topping and the pie crust edges, while the sprinkle of cinnamon-sugar adds a sparkling finish and an extra layer of warm, sweet spice that truly enhances the flavor.
- Homemade Cinnamon-Sugar Ratio: I almost always have a jar of homemade cinnamon-sugar ready in my spice drawer because it’s so versatile. If you need to whip some up for this recipe, I find that a simple ratio of 1 tablespoon granulated sugar to 1 teaspoon ground cinnamon yields a perfectly balanced blend of sweetness and spice.
- Prevent a Soggy Bottom: A soggy pie crust is a baker’s nemesis! To ensure your peach cobbler pie has a beautifully crisp, golden bottom crust, bake it in a metalor ceramic pie dish. These materials conduct heat much more efficiently than glass baking dishes, promoting better browning and crispness on the bottom.
- Look for Bubbling Filling: One of the most important indicators that your pie is completely baked and done is a visibly bubbling filling in the center (as much as you can discern around the cobbler topping). This bubbling signifies that the fruit juices have thickened properly, ensuring the filling will set up beautifully when cooled and that the cobbler topping is baked through and no longer doughy in the middle.
- The Foil Trick: If you notice that the cobbler topping or the edges of your pie crust are browning too quickly before the filling has had a chance to fully cook, don’t fret! Simply loosely cover the pie with aluminum foil for the remainder of the baking time. This will shield the crust from excessive browning while allowing the inside to finish cooking.
- Allow Ample Setting Time: Patience is a virtue, especially when it comes to pie! It’s crucial to let the pie set up for at least 20 minutes (ideally longer) before slicing and serving. This allows the hot, liquid-y filling to cool and thicken, preventing it from oozing out when cut and ensuring neat, beautiful slices.
- Further Pie Baking Expertise: For even more comprehensive guidance and advanced techniques to master your pie-making skills, be sure to check out this invaluable post: The Best Tips for Making Perfect Pies.
- Storing and Reheating Leftovers: This delicious peach cobbler pie will keep beautifully in the fridge for several days, making it perfect for enjoying over multiple meals. To reheat individual slices, a quick warm-up in the microwave is usually sufficient. If you’re reheating the entire pie, cover it loosely with foil and warm it in a 350°F (175°C) oven for 20-30 minutes, or until heated through.
Note: This recipe was originally published August 2014, and has been updated for clarity and enhanced instructions.
Get the Full Peach Cobbler Pie Recipe

Peach Cobbler Pie
Pin Recipe
Leave a Review
Ingredients
For the pie crust:
- 1 ¼ cup all-purpose flour (150 grams)
- 1 teaspoon granulated sugar
- ½ teaspoon salt
- ½ cup unsalted butter , cold and cut into cubes (1 stick, 113 grams)
- ¼ cup buttermilk , cold (60-80 ml)
For the filling:
- ⅔ cup granulated sugar (65 grams)
- ⅓ cup all-purpose flour (40 grams)
- ¼ teaspoon ground cinnamon
- 6 cups peaches , sliced (1 kg, about 6-8 medium)
- 1 teaspoon lemon juice
For the cobbler topping:
- 1 cup all-purpose flour (120 grams)
- 1 tablespoon granulated sugar
- 1 teaspoon baking powder
- ½ teaspoon baking soda
- ½ teaspoon salt
- 3 tablespoons unsalted butter , cold and cut into cubes (42 grams)
- ½ cup buttermilk , cold (120 ml)
- 1 large egg + 1 tablespoon water , for egg wash (optional)
- Cinnamon sugar , for sprinkling (optional, see Notes)
Equipment
Instructions
To make the pie crust:
-
Combine the flour, sugar and salt in a medium bowl. Add the cubed butter and use a pastry blender to cut the butter into the dry ingredients until the size of small peas. Add buttermilk and use a spoon and then your hands to stir the mixture until it comes together into a ball. If mixture is too dry, add additional buttermilk a teaspoon at a time.
-
Dump the dough out onto a clean surface and knead a few times to incorporate all of dry bits. Work quickly, do not over handle. Cover with plastic wrap and chill in the fridge for at least 1 hour before using.
-
On a floured surface, roll the chilled dough out into a rough 12-inch circle. Transfer to a 9-inch pie dish, trim edges, and crimp as desired. Store pie crust in the pie crust in the freezer until ready to assemble the whole pie.
To make filling:
-
When ready to bake, preheat the oven to 400°F.
-
Toss together the sugar, flour, cinnamon, peaches and lemon juice in a large bowl. Dump into the prepared pie crust.
To make the cobbler topping and bake:
-
Combine the flour, sugar, baking powder, baking soda and salt in a large bowl. Add the cubed butter and use a pastry blender to cut the butter into the dry ingredients until the size of small peas. Add the buttermilk and mix just until dough comes together. Drop by the spoonful on top of the peach filling. Sprinkle with cinnamon sugar, if using.
-
If desired, whisk egg wash together and brush onto tops of the cobbler topping and edges of the pie crust. Sprinkle the top of the pie with cinnamon-sugar.
-
Bake pie until topping is golden brown and the filling is bubbling through the center, about 45-60 minutes. If the topping browns too quickly, cover with foil for the remainder of the baking time.
-
Let cool 20 minutes before serving so the filling has time to set up completely. Serve with whipped cream or ice cream, as desired. Store leftovers in the fridge.
Notes
- Prepared pie crust can be stored in the fridge for up to 5 days or in the freezer for up to several months. If frozen, thaw in fridge overnight before using.
- To make cinnamon-sugar, I like the ratio of 1 tablespoon granulated sugar to 1 teaspoon ground cinnamon.
Disclosure: This recipe was originally developed in partnership with the Go Bold With Butter campaign from the American Butter Institute. To browse more delicious recipes I’ve created for Go Bold With Butter, you can view my profile here. All opinions are my own, as always.
More Delightful Summer Pie Recipes to Enjoy
If your love for fresh, fruity pies doesn’t end with peaches, you’re in luck! Summer offers an abundance of delicious fruits perfect for baking into sweet, comforting pies. Explore more of our favorite recipes that capture the essence of the season and are sure to become staples in your summer baking repertoire.
