Delicious & Easy No-Bake Summer Berry Trifle Recipe
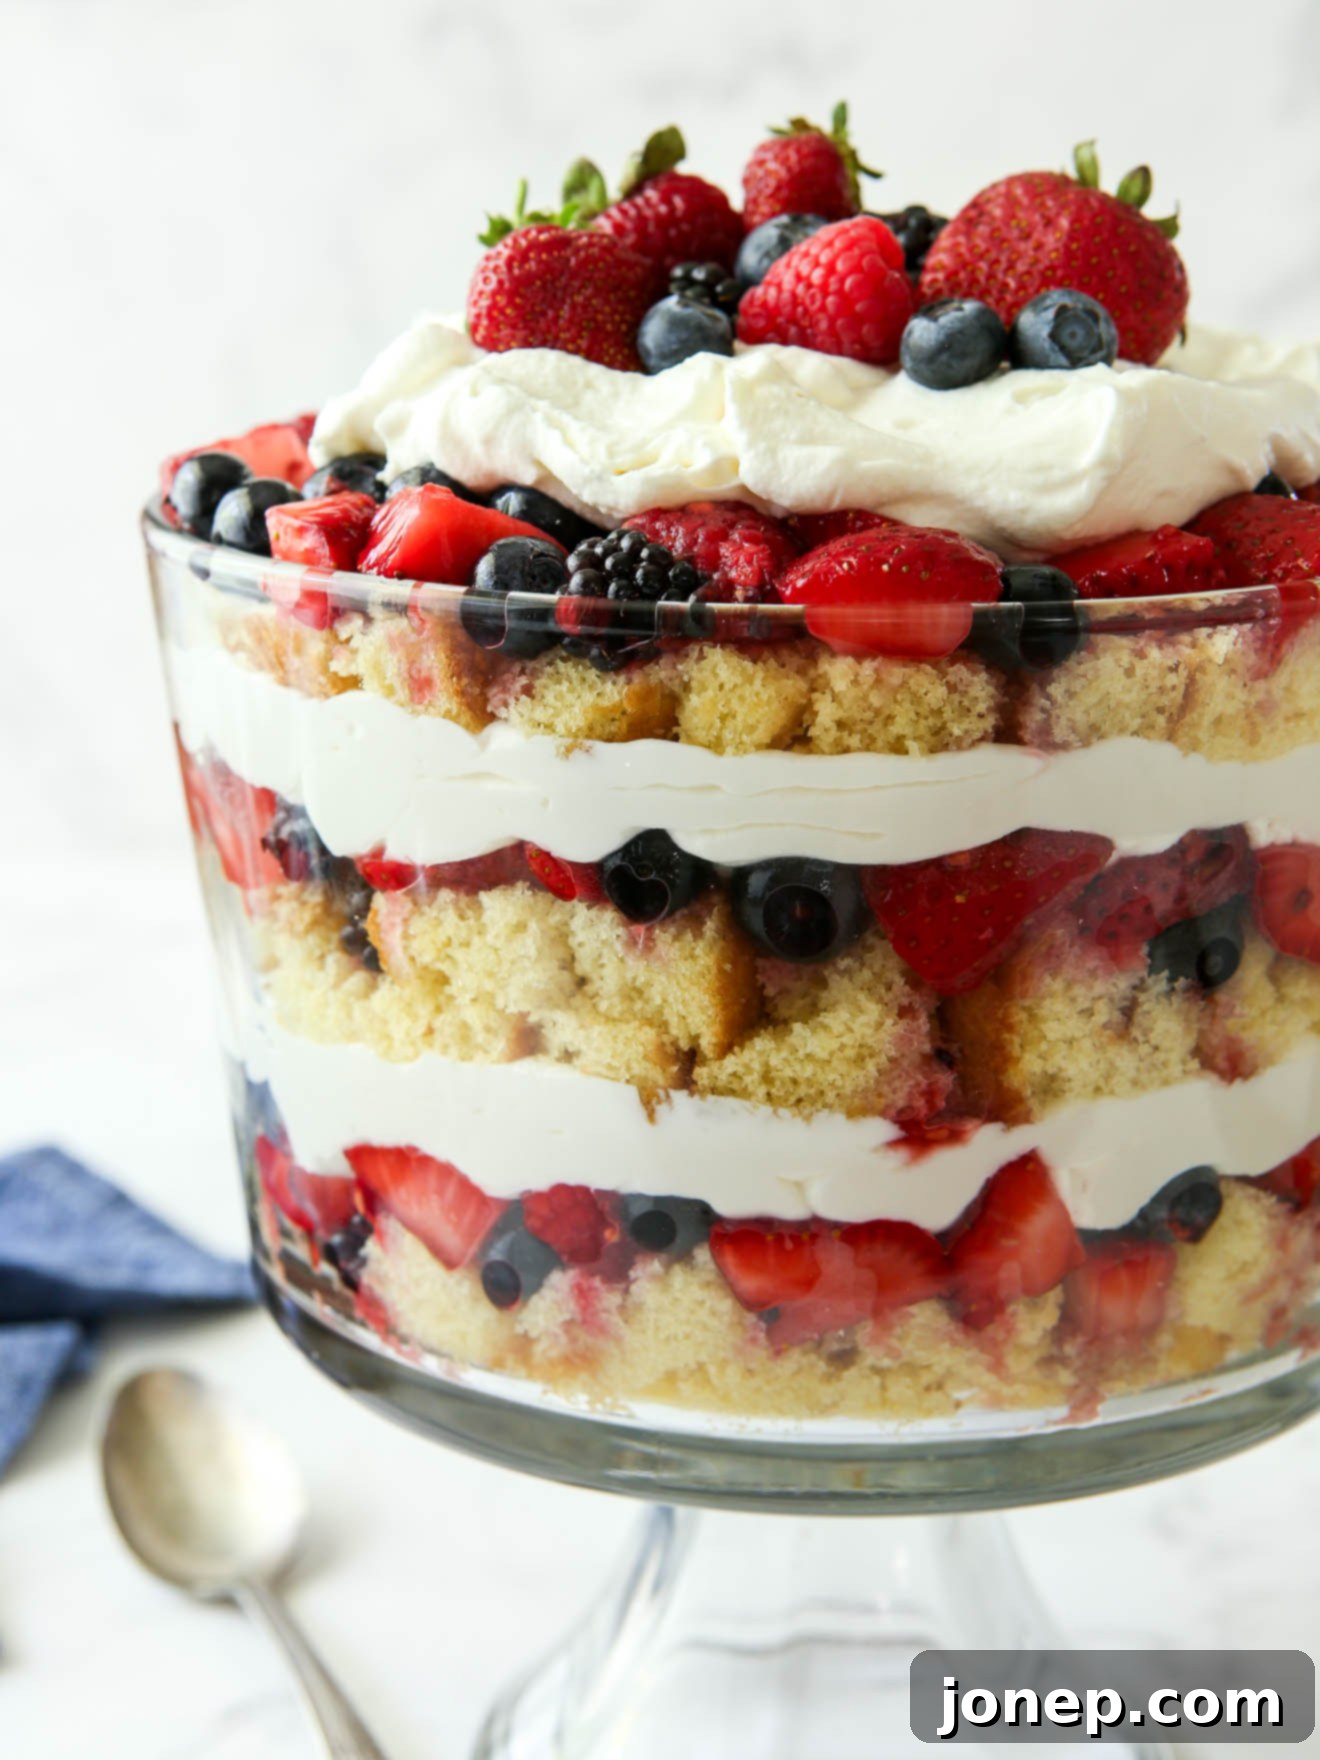
Introducing the ultimate no-bake summer berry trifle – a truly delightful and effortlessly simple dessert that captures the vibrant essence of the season! This stunning trifle is a celebration of fresh, juicy berries, lusciously rich, stabilized whipped cream, and convenient store-bought vanilla cake. Perfect for any gathering, it promises a burst of flavor and a beautiful presentation with minimal effort, making it your new go-to recipe for warm-weather entertaining.
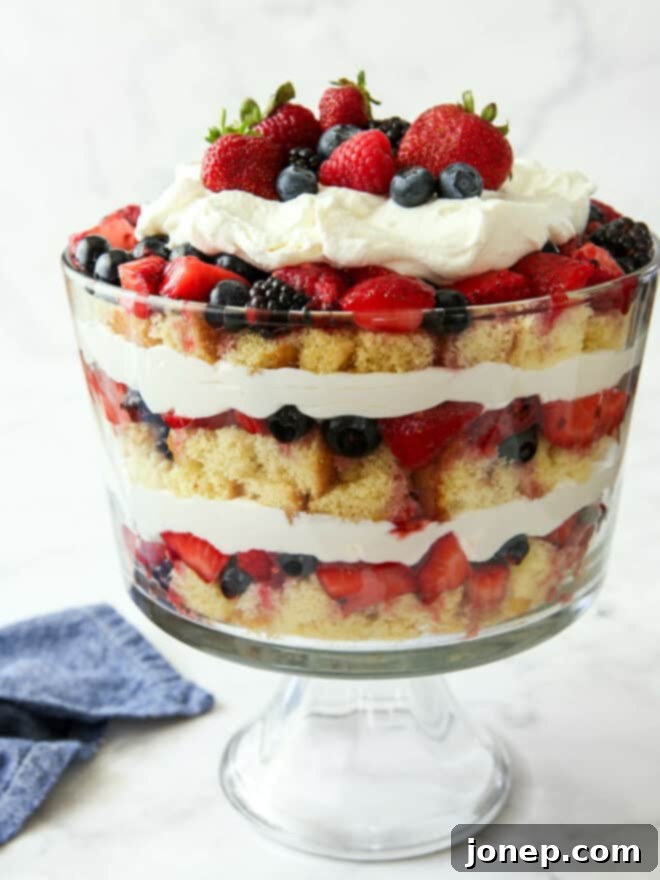
If you’re searching for a spectacular summer dessert that will impress everyone without requiring hours in the kitchen, this berry trifle is your answer! Its layered beauty makes it look incredibly fancy, yet the assembly is so straightforward that anyone can put it together. Best of all, it generously feeds a crowd, making it ideal for barbecues, potlucks, and family celebrations.
While there are countless trifle variations available, this particular recipe stands out for its elegant simplicity and fresh focus. Unlike traditional trifles that often involve cooking custard from scratch or using vanilla pudding mixes, our version skips these time-consuming steps. Furthermore, there’s no mandatory long chill time before serving, meaning you can enjoy this delightful treat almost immediately after assembly.
This summer berry trifle is thoughtfully designed to highlight the natural sweetness and vibrant colors of fresh seasonal berries, complemented by a homemade, perfectly stable whipped cream. We incorporate quality store-bought cake for ultimate ease and convenience, ensuring a delicious outcome every time without the added stress of baking from scratch. It’s truly a testament to how simple ingredients can create something extraordinary.
Table of Contents
- What Makes This Berry Trifle So Special?
- Essential Ingredients for Your Trifle
- Step-by-Step: How to Make Berry Trifle
- Prepare Your Trifle Components: Berries, Cream, and Cake
- Mastering the Trifle Assembly
- Frequently Asked Questions About This Recipe
- More Delightful Berry Dessert Ideas
- Get the Full Recipe Details
What Makes This Berry Trifle So Special?
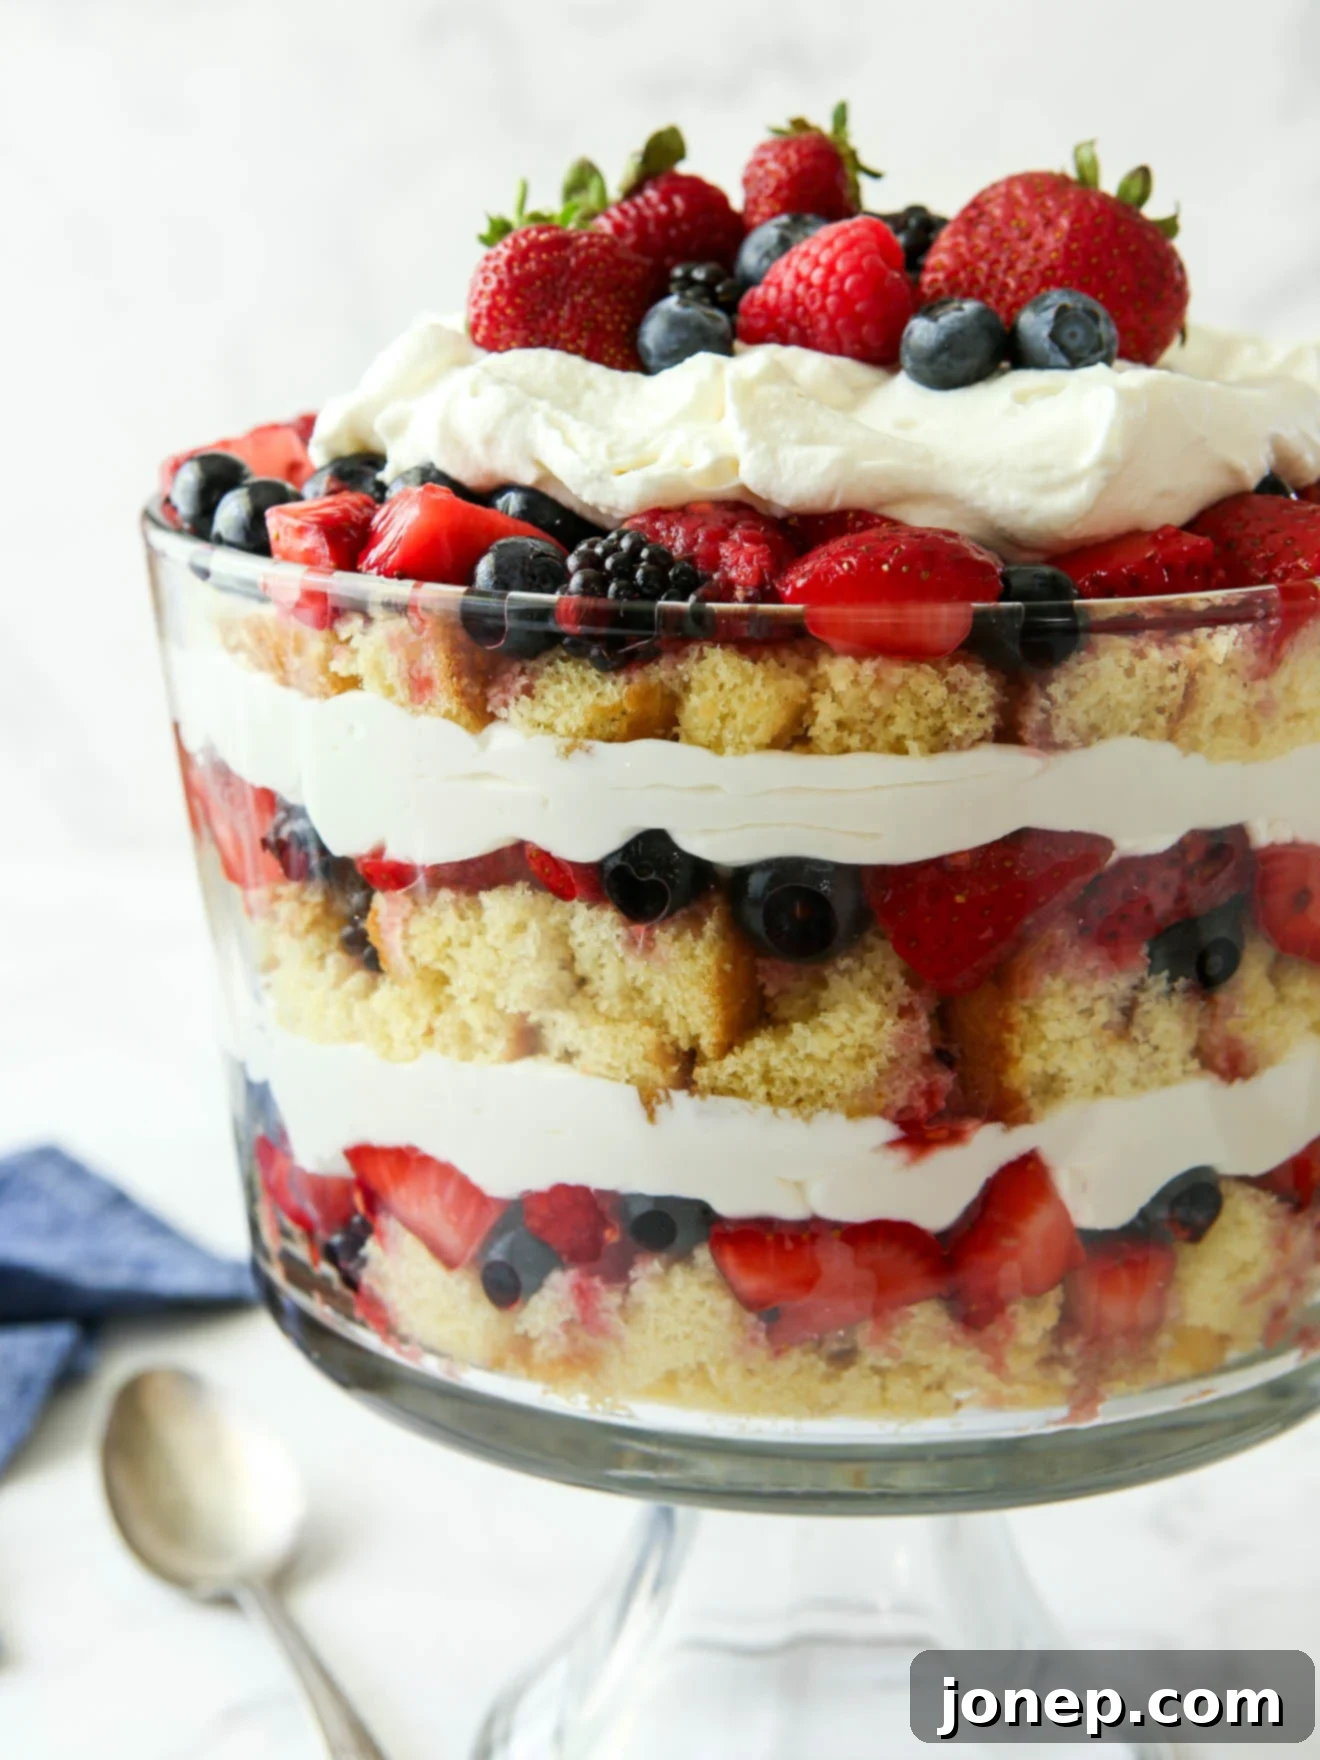
This irresistible berry trifle is defined by its three distinct and delicious layers, each contributing to a harmonious blend of textures and flavors. Here’s a closer look at what goes into each component:
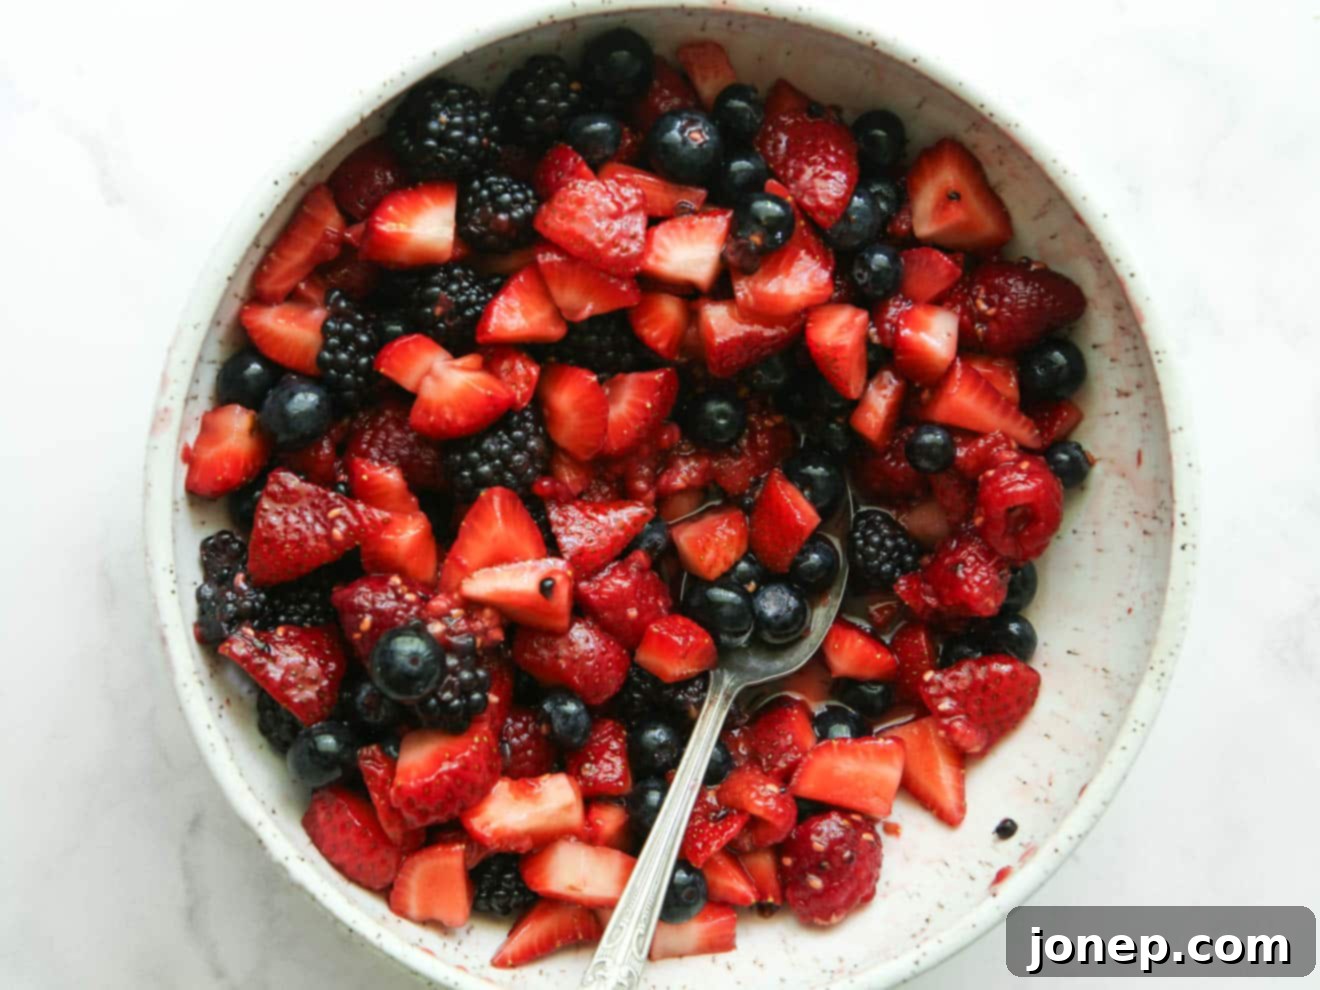
- Fresh Berries: The star of the show! You’ll use a glorious medley of your favorite summer berries – think plump raspberries, sweet blueberries, tart blackberries, and finely chopped strawberries. To enhance their natural juices and intensify their flavor, we gently macerate them with a touch of sugar. A splash of fresh lemon juice adds brightness, while an optional hint of orange liqueur elevates the overall taste profile, making the berries truly shine.
- Stabilized Whipped Cream: Forget about deflated or weeping whipped cream! Our homemade vanilla whipped cream is “stabilized” with a secret ingredient: cream cheese. This brilliant addition ensures the cream holds its shape beautifully, maintaining its fluffy texture throughout assembly, storage, and serving. It creates a rich, creamy layer that perfectly balances the tartness of the berries and the lightness of the cake.
- Convenient Store-Bought Cake: For maximum convenience without compromising on flavor, this recipe calls for store-bought vanilla cake. Options abound at your local supermarket bakery, with classic pound cake or airy angel food cake being excellent choices due to their sturdy yet tender crumb. If you prefer to bake a simple cake, a yellow cake mix prepared and baked in a 9×13-inch pan also works wonderfully and can be easily cubed for layering. This component ensures the trifle is both impressive and incredibly easy to prepare.
Essential Ingredients for Your Trifle
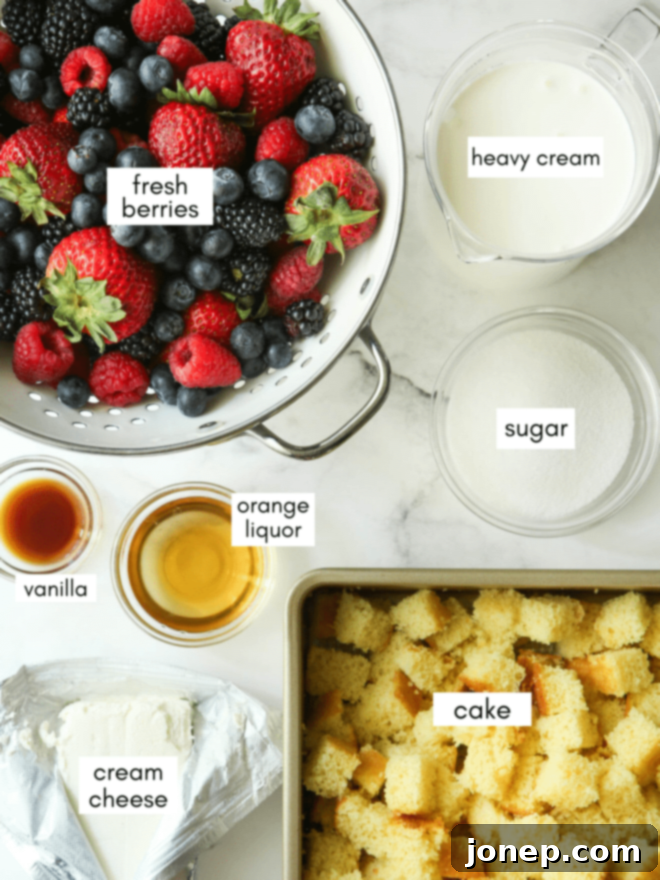
Gathering your ingredients is the first step towards creating this magnificent berry trifle. Here’s everything you’ll need, along with a handy tip for preparing your cream cheese:
baking tip:How to Quickly Bring Cream Cheese to Room Temperature
Achieving a smooth, lump-free whipped cream or batter often hinges on using properly softened cream cheese. While letting it sit at room temperature for approximately 60 minutes is ideal, sometimes you need a quicker solution. Don’t worry if you forget to pull it out of the fridge in advance; here are a few effective methods to speed up the softening process:
- Cut into Cubes: Remove the cream cheese from its cardboard packaging, but keep it in the foil. Cut it into small, 1-inch cubes and spread them out on the packaging or a clean plate. The increased surface area will allow it to reach room temperature much faster, usually in about 20-30 minutes.
- Warm Water Bath: For an even quicker method, unwrap the cream cheese from its paper packaging but keep it in its foil. Place the foil-wrapped block in a bowl and cover it with warm (not hot!) water. Let it sit for about 10 minutes, then check for softness.
- Microwave Method: This is the fastest, but requires careful attention to avoid melting. Completely remove the cream cheese from all packaging. Microwave it in short 10-second bursts, flipping or rotating it after each burst. A total of 30-40 seconds is usually sufficient, but watch it closely to ensure it doesn’t melt.
Step-by-Step: How to Make Berry Trifle
Creating this delightful berry trifle is a two-part process: first, preparing each of the three key components, and then, carefully assembling them into a beautiful, layered dessert. Let’s walk through each stage to ensure your trifle is nothing short of perfect.
Prepare Your Trifle Components: Berries, Cream, and Cake
- Macerate Berries: This simple technique is key to unlocking the full, juicy flavor of your berries. “Macerating” means to gently marinate fruit in sugar, encouraging it to release its natural juices and become incredibly sweet and tender. Begin by adding about half of your chosen berries to a large bowl with the granulated sugar. Gently mash them with a fork until they are lightly smashed and the sugar begins to dissolve, creating a beautiful syrupy base. Now, add the remaining whole berries, the fresh lemon juice, and the optional orange liqueur (or vanilla extract for an alcohol-free version). Give it a good, gentle stir to combine everything evenly. Let this vibrant mixture sit and mingle while you prepare the other components; this allows the flavors to deepen and the berries to become gloriously juicy.

- Whip Cream Filling: Our stabilized whipped cream is a game-changer! In a clean mixing bowl, beat the softened cream cheese with the sugar and vanilla extract until the mixture is perfectly smooth and creamy, typically about 2 minutes. Transfer this cream cheese mixture to another bowl and set it aside; there’s no need to clean your mixer bowl just yet. Next, pour the very cold heavy whipping cream into the (uncleaned) mixer bowl and beat it on medium-high speed until soft peaks form. Reduce the mixer speed to low, and gradually add the reserved cream cheese mixture, one spoonful at a time, while the mixer continues to run. The mixture might appear slightly lumpy at first, but continue beating until it transforms into a smooth, uniformly fluffy, and stable whipped cream.
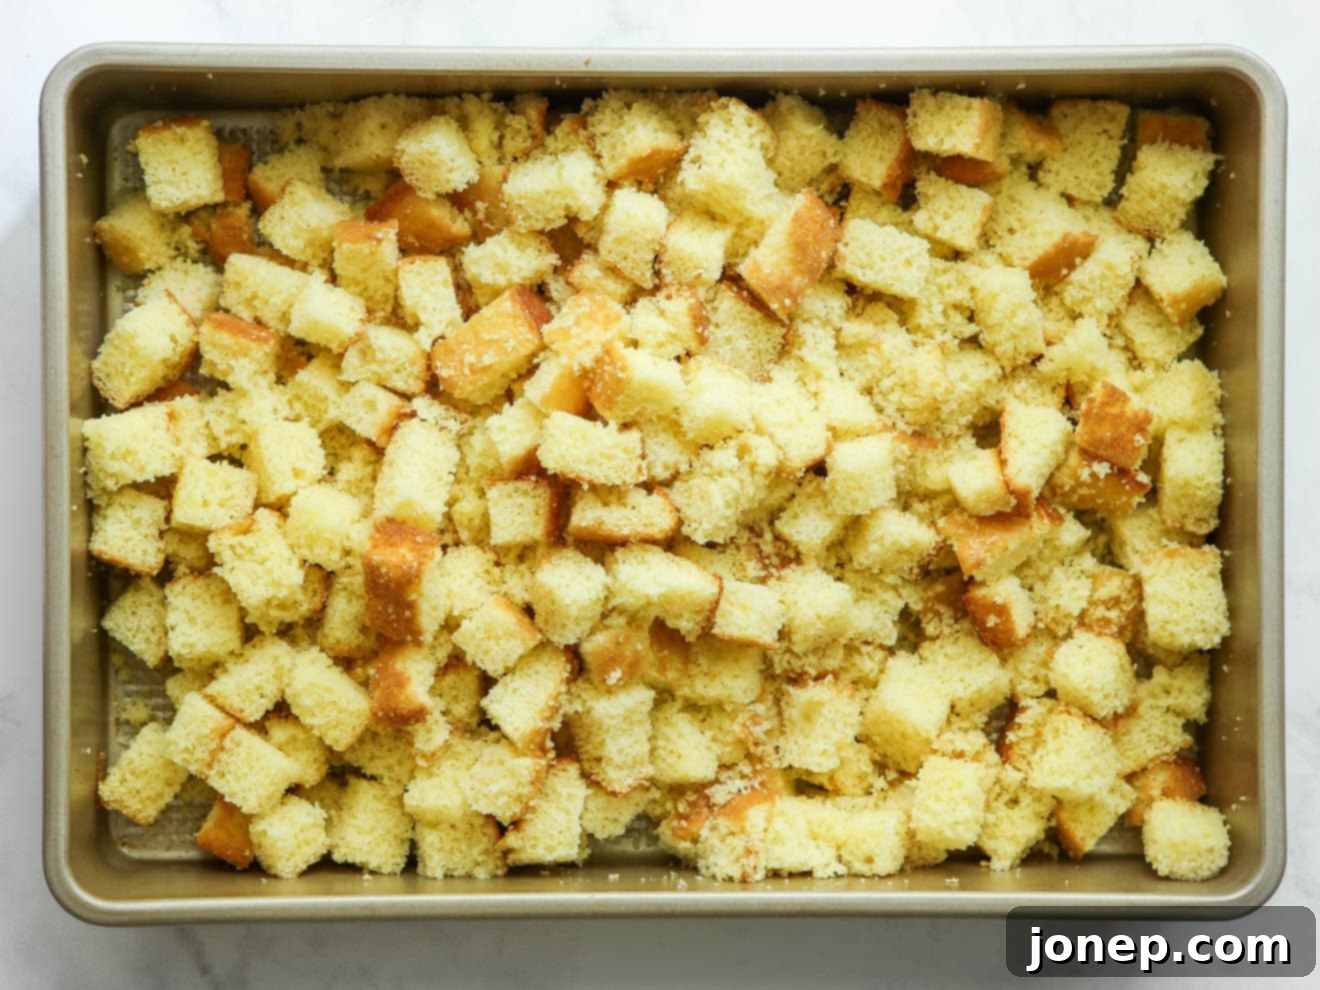
- Chop Cake: Prepare your cake by cutting it into roughly 1-inch cubes. Precision isn’t essential here, but uniform pieces will help with even layering. Depending on the size of your trifle dish, you’ll typically need about 8-10 cups of cubed cake. This step is quick and easy, allowing you to focus on the fun part – assembly!

Mastering the Trifle Assembly
Now for the exciting part – bringing all these delightful components together to create a show-stopping dessert. The key to a beautiful trifle is to layer slowly and carefully, ensuring each layer is clean and even for that professional, appealing look.
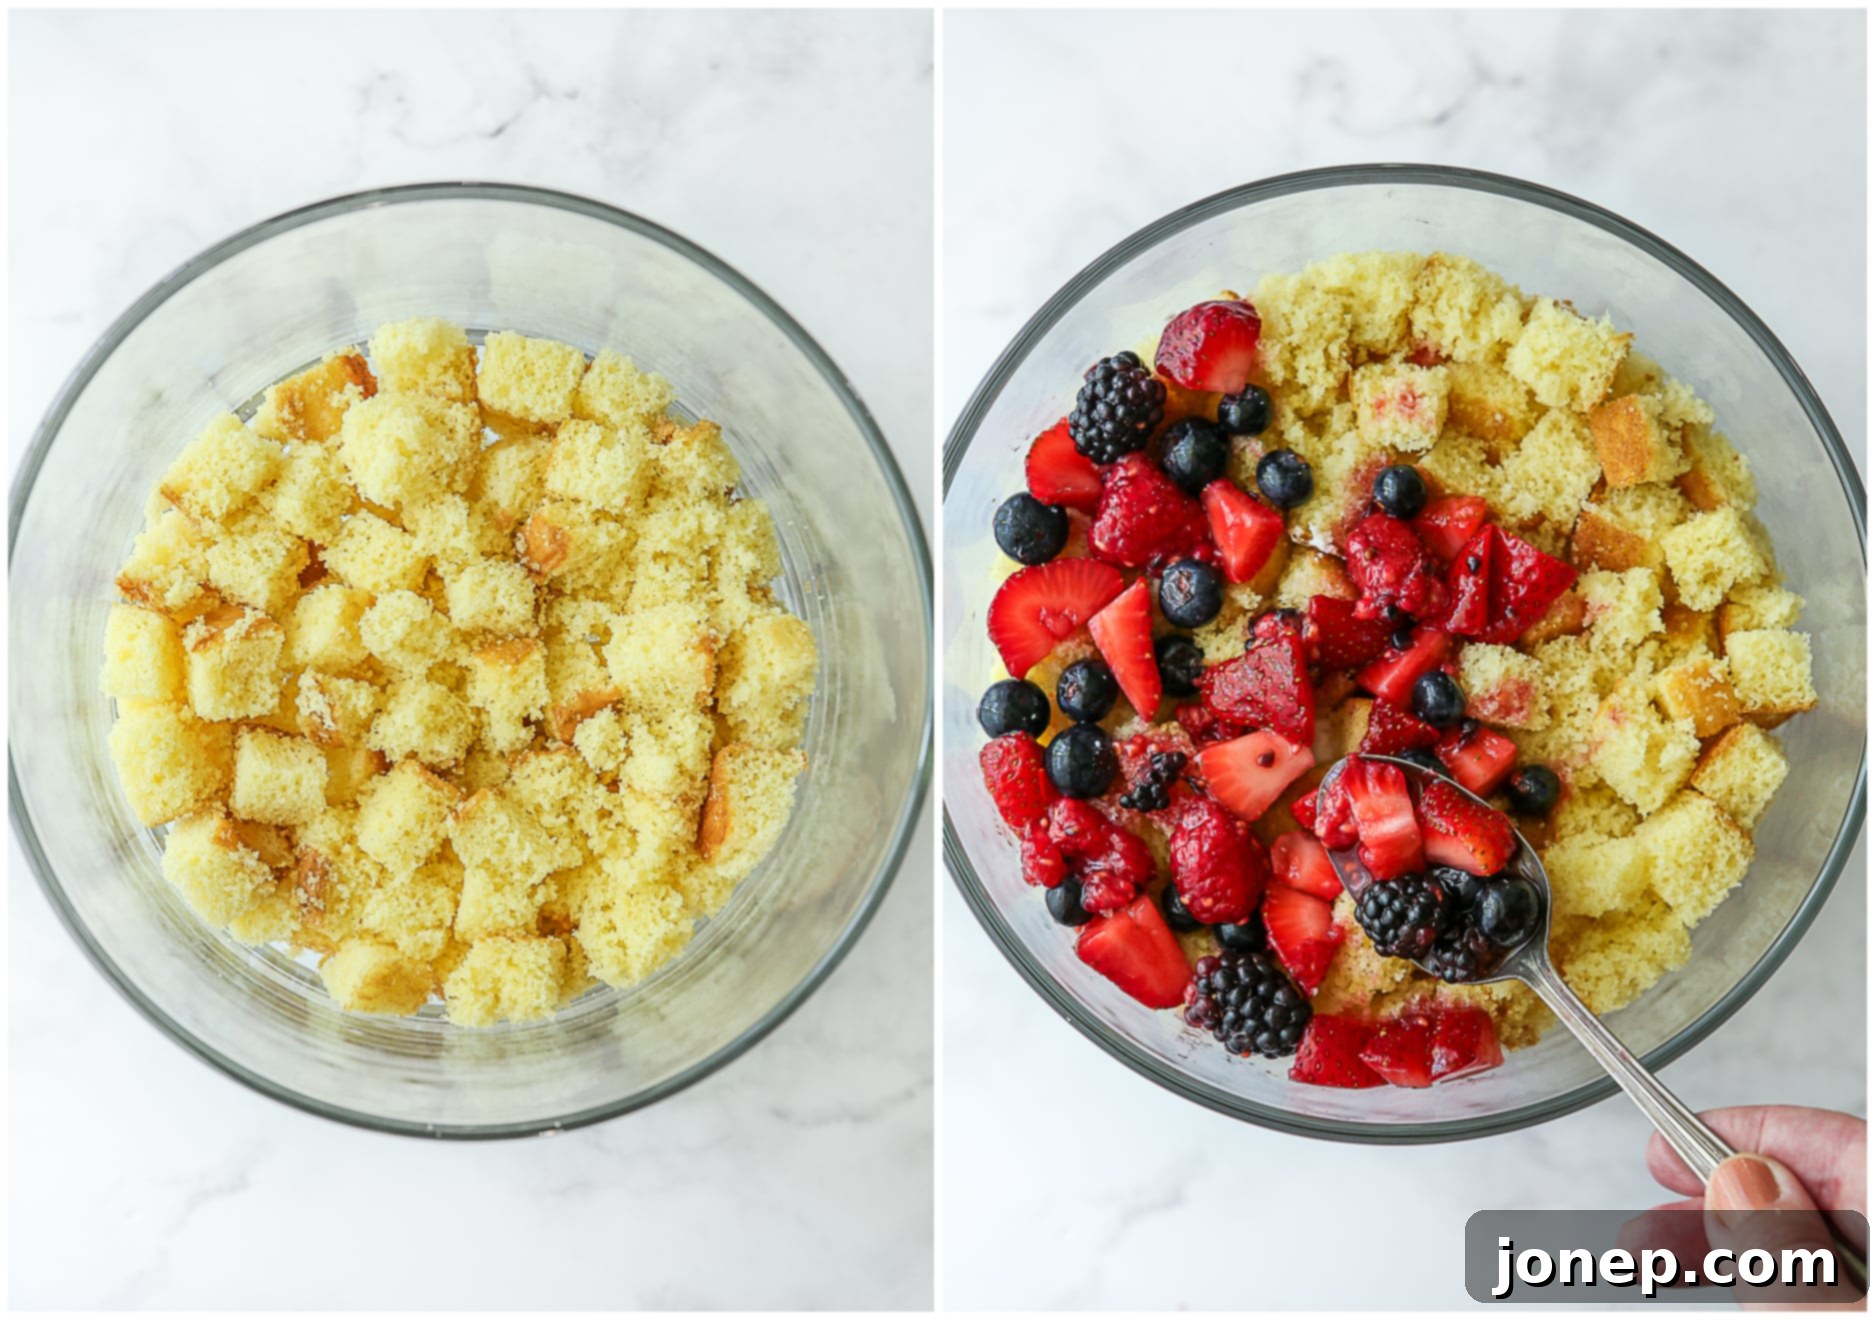
- Start with a Layer of Cake: Begin by placing an even, single layer of your prepared cake cubes at the very bottom of your trifle dish. This provides a sturdy foundation for the layers to come.
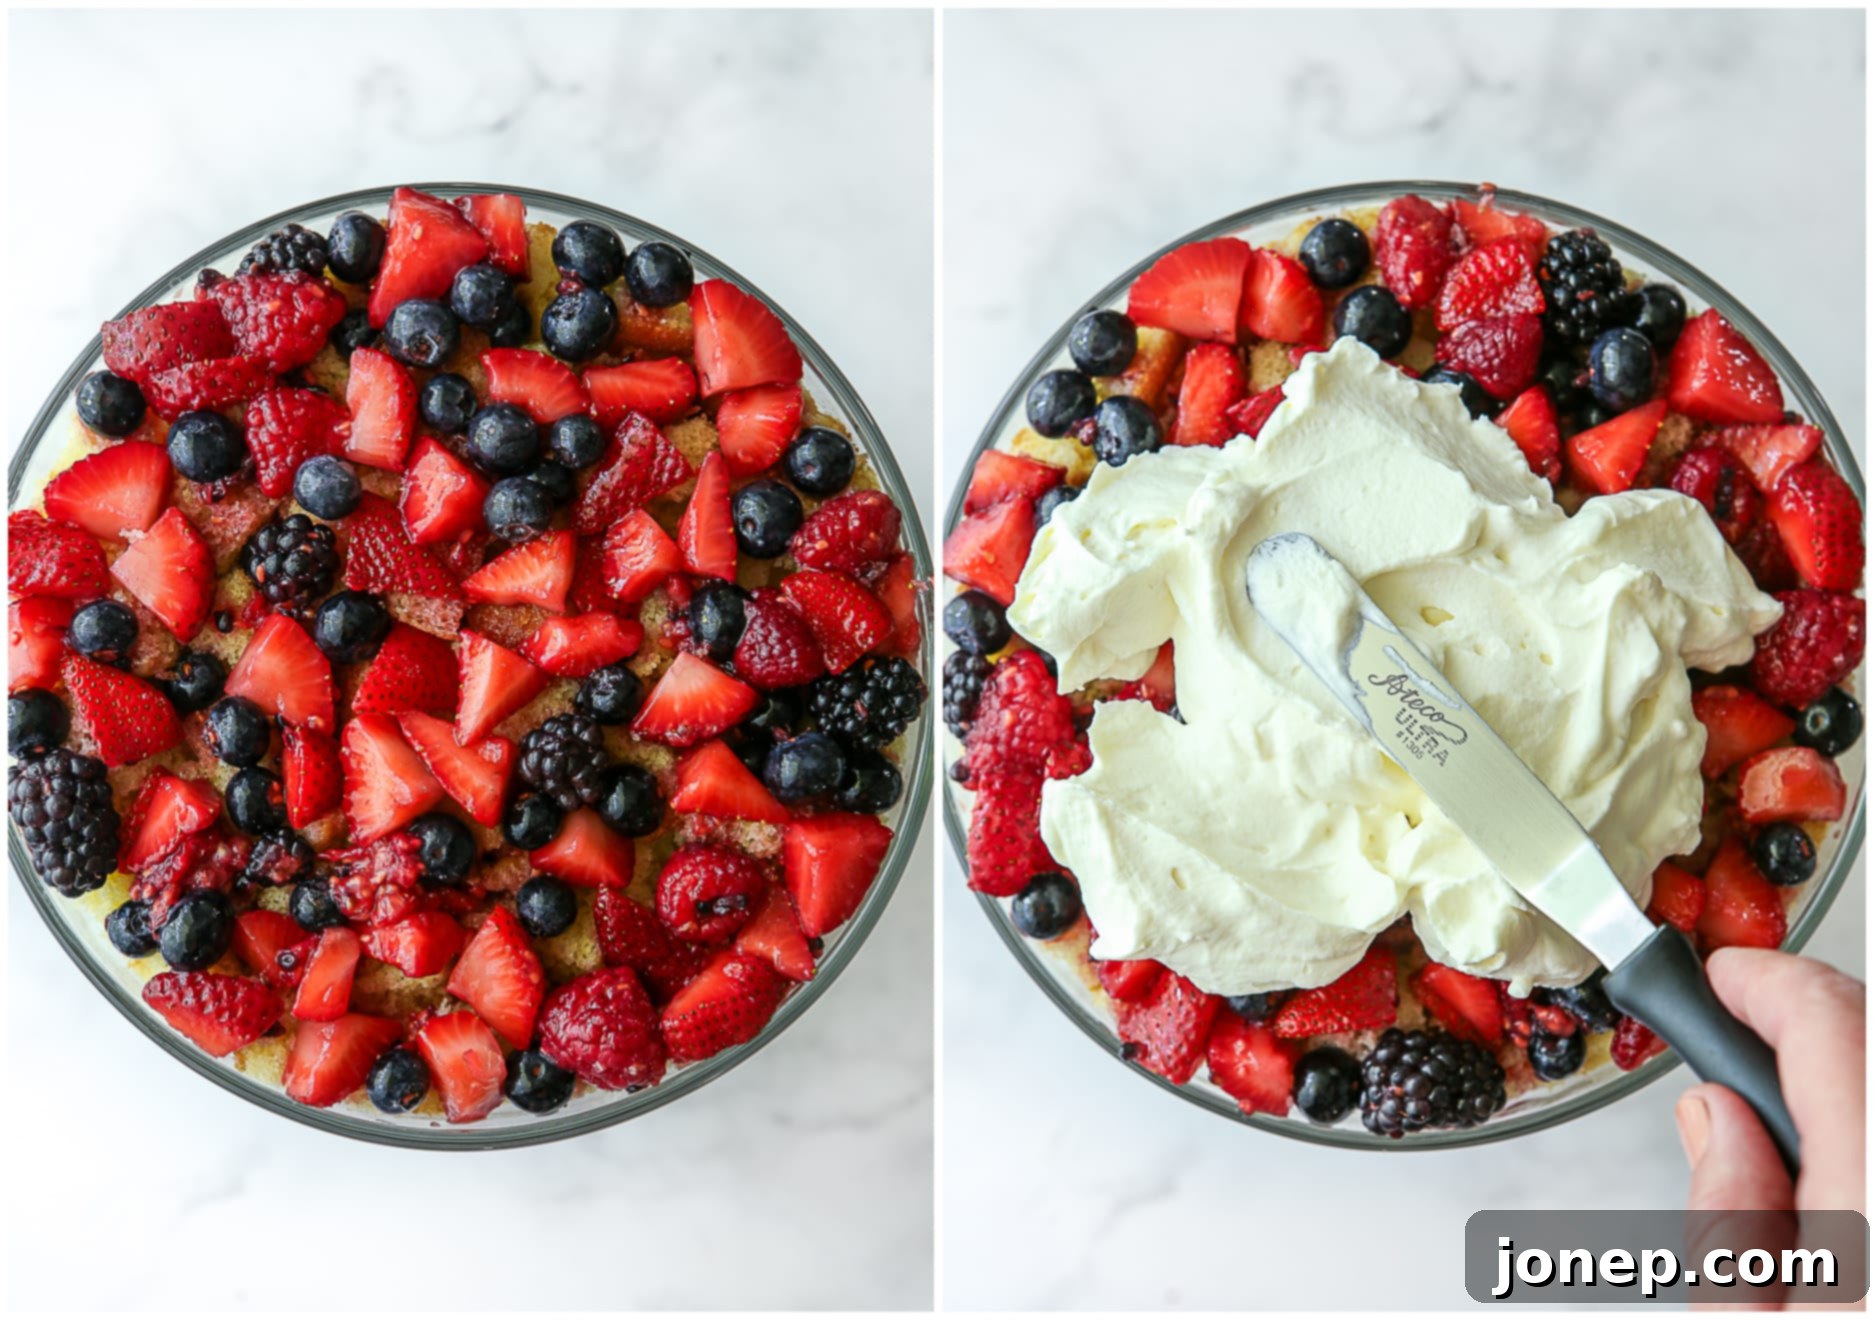
- Add Berries: Spoon one-third of the macerated berries generously over the cake layer. Crucially, don’t forget to drizzle some of those delicious berry juices over the cake; these juices will slightly moisten the cake, infusing it with incredible fruit flavor.

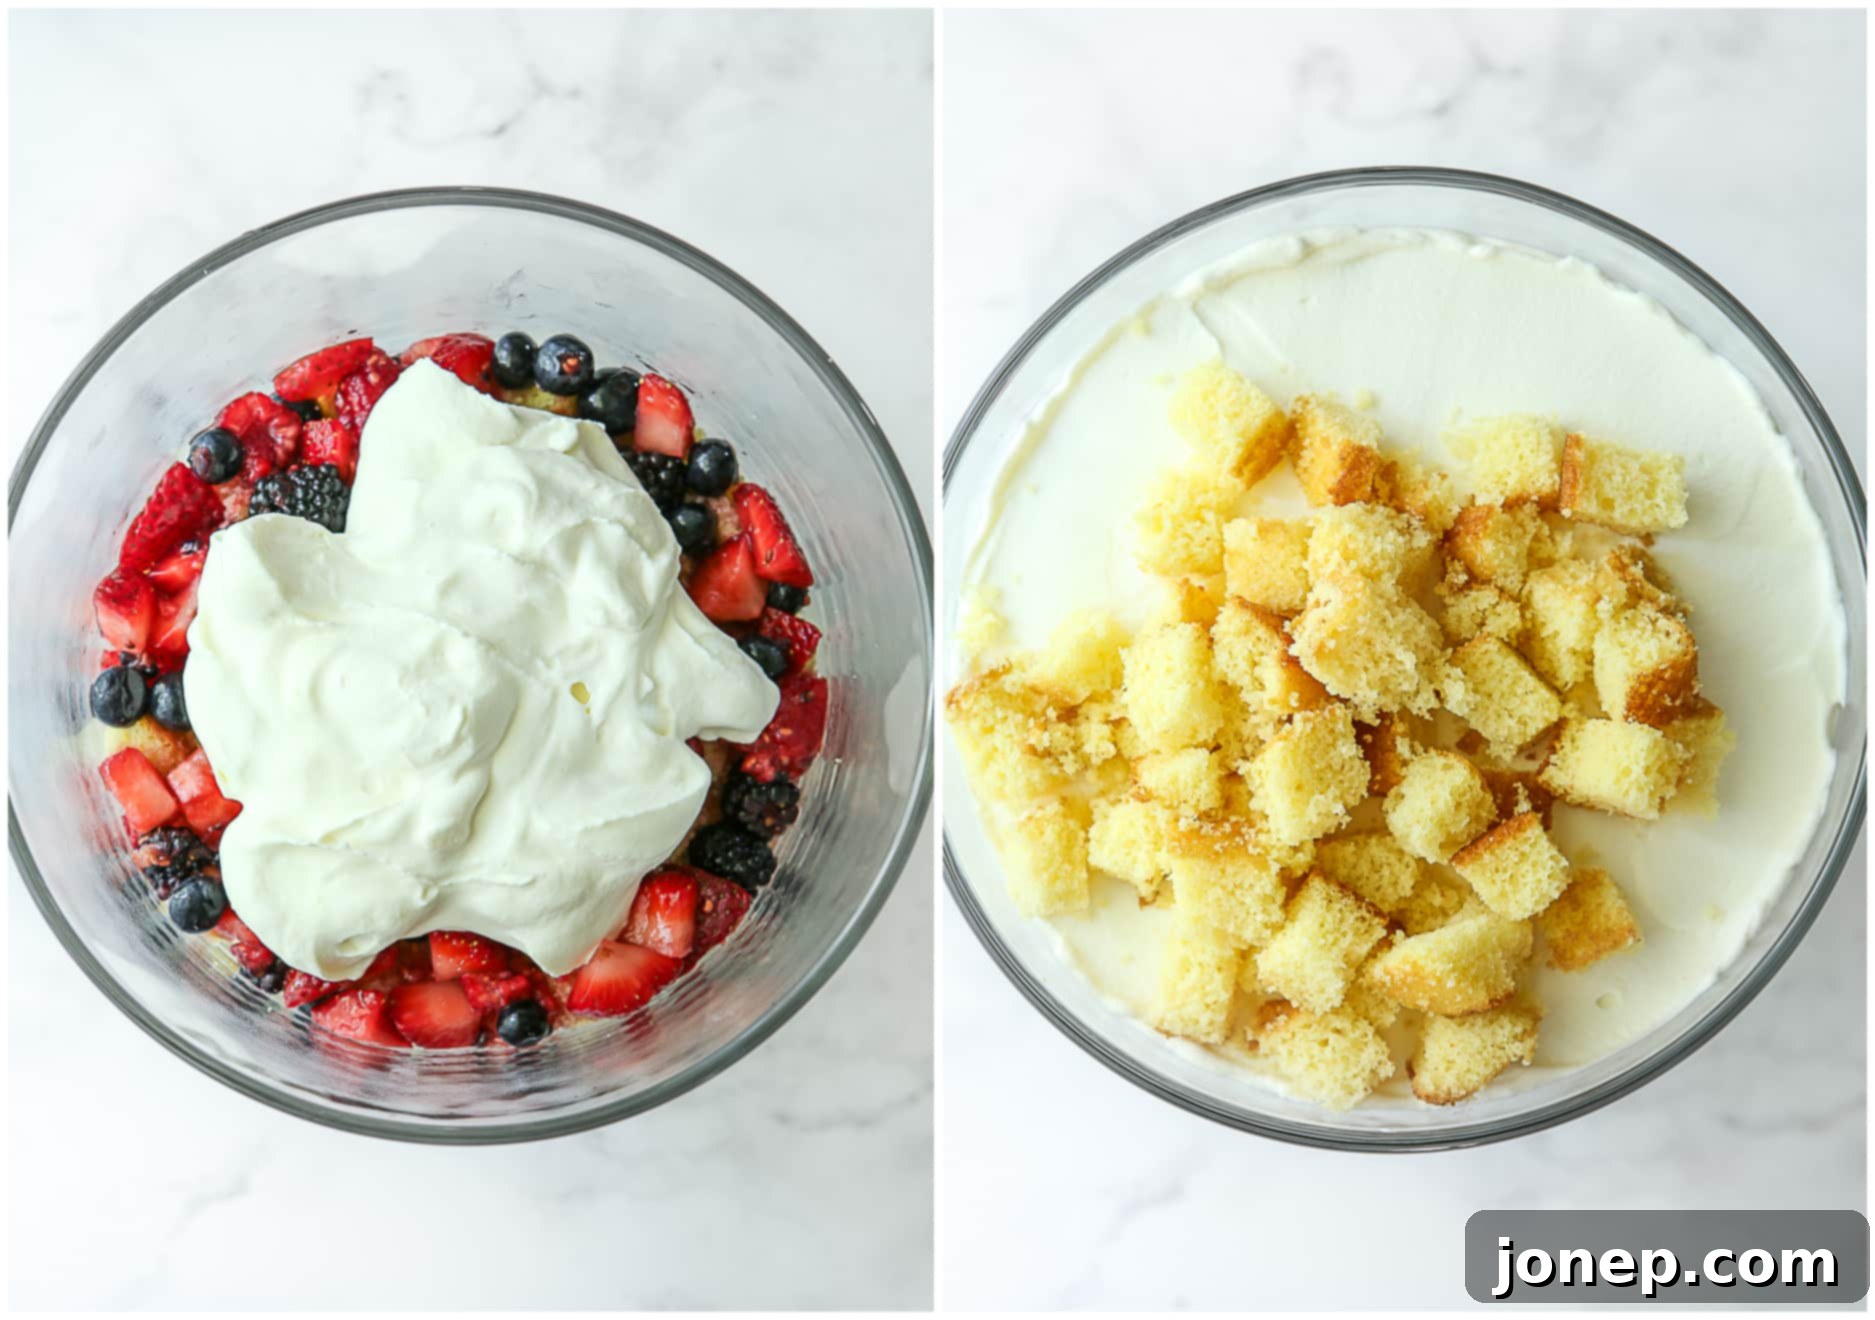
- Spread Whipped Cream on Top: Carefully spread one-third of your stabilized whipped cream over the berry layer. A helpful trick for maintaining clean glass sides is to start spreading the cream in the center and gently work your way outward towards the edges. This minimizes any accidental smears on the trifle dish, keeping your layers looking pristine.

- Repeat 2 More Times: Continue building your trifle by repeating the cake, berry, and whipped cream layers two more times. You should aim for three distinct layers of each component, always ending with a luscious layer of whipped cream at the very top. Remember to go slowly and with a steady hand to ensure neat, even layers that are visible through the glass dish.
- Finish with Whipped Cream: The final, fluffy layer of whipped cream not only provides a beautiful, elegant finish to your trifle but also serves a practical purpose. It acts as a protective “seal” over the underlying layers, helping to keep the cake moist and the berries fresh until serving. This top layer is also perfect for garnishing.

- Add Decorative Berries on Top (Optional): For an extra touch of visual appeal and freshness, arrange a few whole fresh berries or berry halves on the very top of the whipped cream layer. This adds a pop of color and signifies the delicious fruit within.
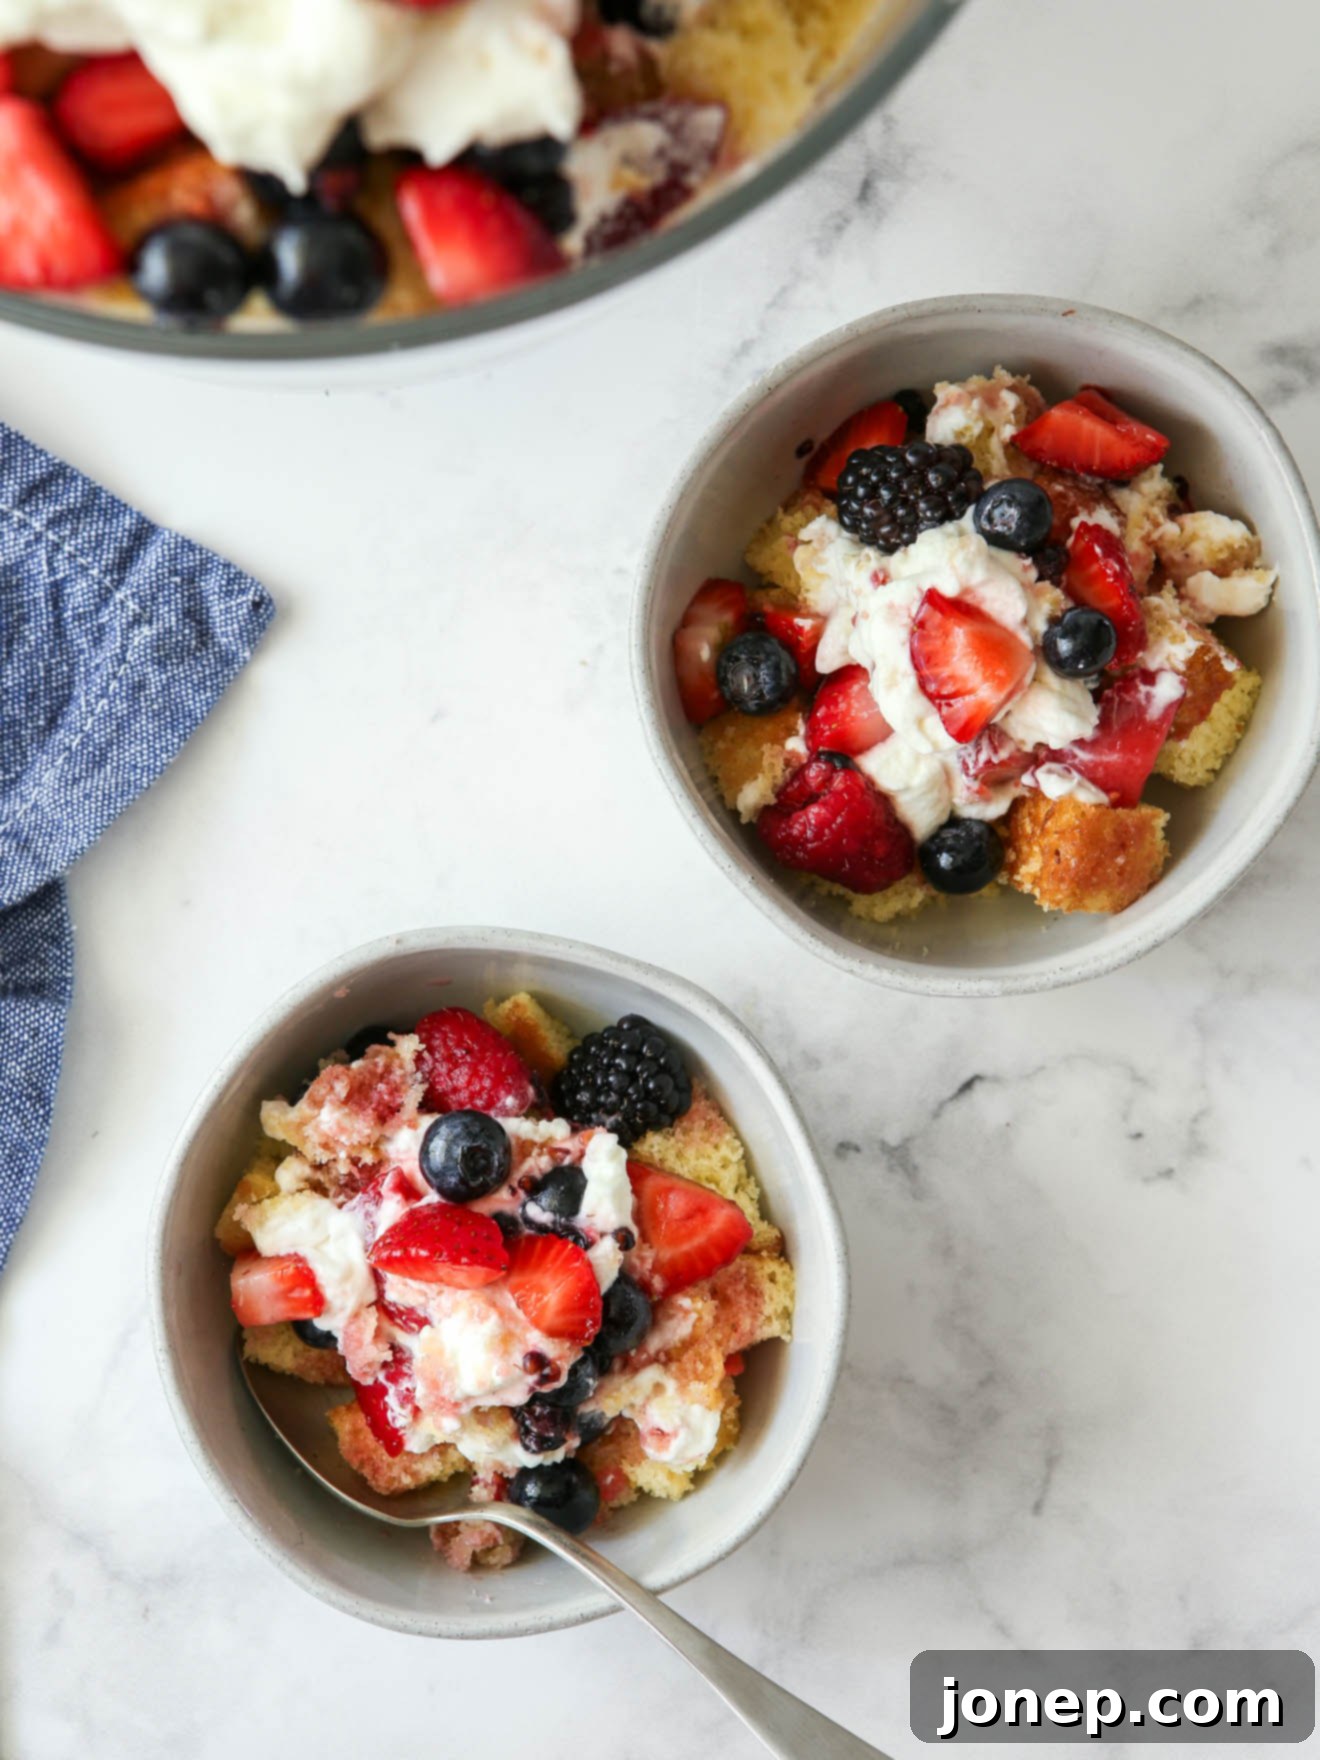
- Serve and Enjoy! For the best presentation and freshest taste, this trifle looks and tastes its absolute best when served within 24 hours of assembly. To serve, simply scoop generous portions into individual bowls, ensuring each serving gets a delightful taste of every layer.
Frequently Asked Questions About This Recipe
No trifle dish? No problem! While a classic trifle dish showcases the layers beautifully, you can easily substitute it with a large, clear glass mixing bowl, a straight-sided glass vase, or even a punch bowl. Any clear vessel that allows your stunning layers to be seen will work perfectly.
If you prefer to omit the orange liqueur, simply leave it out! For a similar flavor depth without alcohol, you can add 1 teaspoon of vanilla extract to the macerated berries along with the lemon juice. This will still provide a lovely aromatic boost to your fruit.
For the best results and a non-soggy trifle, this recipe is truly designed for fresh berries. Frozen berries release a significant amount of liquid once thawed, which can make the trifle quite watery and soggy. If you specifically need to use frozen berries, I highly recommend searching for a different recipe online that is formulated to account for the extra moisture from frozen fruit.
If you plan to serve your berry trifle within approximately one hour of assembly, it can be safely left at room temperature. However, for any longer storage or if your environment is particularly warm, it should always be stored in the refrigerator. When in doubt, it’s always best to keep it chilled!
While I personally prefer to serve this trifle on the day it’s made for optimal freshness and appearance, it will maintain its quality for about 24 hours in the refrigerator. After that, it might start to look a little less pristine and the cake can become slightly softer, but it will still taste absolutely delicious for approximately two more days. The stabilized whipped cream helps considerably in preventing sogginess.
More Delightful Berry Dessert Ideas
If you find yourself with an abundance of fresh berries or simply can’t get enough of their sweet and tart flavor, explore these other fantastic berry-focused dessert recipes. Each offers a unique way to enjoy the goodness of summer fruits!
- Berry Crumb Bars
- Angel Food Cupcakes with Whipped Buttercream and Berries
- Black and Blueberry Pie
- Vanilla Cupcakes with Berry Swirl Frosting
- Lemon Berry Shortcakes
- Vanilla Bean Panna Cotta with Roasted Berries
Get the Full Recipe Details
Ready to create your own show-stopping Summer Berry Trifle? Below you’ll find the complete, printable recipe card with all the precise measurements, detailed instructions, and helpful notes to guide you through every step. Enjoy creating this effortlessly elegant dessert!

Summer Berry Trifle
Pin Recipe
Leave a Review
Ingredients
For the Macerated Berries Layers:
- 1 lb fresh strawberries , chopped (455 grams, about 2½ cups)
- 1 cup fresh raspberries (140 grams)
- 1 cup fresh blueberries (160 grams)
- 1 cup fresh blackberries (140 grams)
- ¼ cup granulated sugar (50 grams)
- Juice of 1 lemon
- 2 Tbsp orange liqueur , such as Gran Gala or Cointreau (optional, see Notes)
For the Stabilized Whipped Cream Layers:
- 8 oz cream cheese , softened to room temperature (226 grams)
- 2 cups heavy whipping cream , cold (455 grams)
- ½ cup granulated sugar (100 grams)
- 2 tsp vanilla extract
For the Cake Layers:
- 8-10 cups cubed store-bought vanilla cake , such as pound cake or angel food cake (about 455 grams, see Notes)
Equipment
Instructions
To prepare macerated berries:
-
Add half of your fresh berries to a large bowl along with the granulated sugar. Gently mash them with a fork until they are lightly smashed and the sugar begins to dissolve, creating a beautiful syrupy liquid. Then, add the remaining whole berries, the fresh lemon juice, and the orange liqueur (or vanilla extract if omitting alcohol). Stir everything together until well combined. Allow the berries to sit for at least 20 minutes while you prepare the other trifle components; this step is crucial for drawing out their juices and intensifying their flavor.
To make stabilized whipped cream:
-
Using an electric mixer (stand or hand-held), beat the softened cream cheese with half of the granulated sugar and all of the vanilla extract until the mixture is perfectly smooth and creamy, which should take about 2 minutes. Transfer this cream cheese mixture to a separate bowl and set aside. There’s no need to clean the mixer bowl yet.
-
Pour the very cold heavy whipping cream into the (uncleaned) mixer bowl. Beat on medium-high speed until soft peaks form. Reduce the mixer speed to low and, while it’s still running, gradually add the reserved cream cheese mixture a spoonful at a time. The mixture may look a little lumpy initially, but continue to beat until it becomes completely smooth, fluffy, and well combined.
To prepare the cake cubes:
-
Slice your chosen vanilla cake into approximate 1-inch cubes. Aim for relatively uniform pieces to ensure even layers in the trifle.
To assemble the berry trifle:
-
Add about a third of the cake cubes (approximately 2-3 cups) to the bottom of a clear trifle dish, creating an even layer. Next, spoon a third of the macerated berries over the cake, making sure to include plenty of the delicious berry juices to moisten the cake. Finally, carefully spread a third of the stabilized whipped cream over the berries. For cleaner edges, start spreading the cream in the center and gently push it outwards.
-
Repeat these layering steps two more times, ensuring you have three distinct layers of cake, berries, and whipped cream. The final layer should always be the whipped cream. Take your time to keep the layers looking clean and even for a visually stunning dessert.
-
If desired, add a few fresh, whole berries or berry halves on top of the final whipped cream layer as an attractive garnish before serving. This trifle is best served immediately or within 24 hours of assembly for the freshest taste and appearance. If serving time is more than 1 hour after assembly, be sure to store it in the refrigerator.
Notes
- Feel free to use any combination of fresh strawberries, raspberries, blueberries, and/or blackberries for this recipe. You will need approximately 4-5 cups of total mixed berries to achieve the desired layers and flavor.
- If you prefer to make this trifle without alcohol, simply omit the orange liqueur. Instead, add 1 teaspoon of vanilla extract to the macerated berries along with the lemon juice for a lovely, alcohol-free flavor boost.
- The exact amount of cubed cake required can vary slightly depending on the specific dimensions of your trifle dish and the size of your store-bought cake. The trifle dish used to develop and test this recipe was 8 inches in diameter and held approximately 3 quarts of volume. Adjust as needed to fill your dish beautifully.
- A standard yellow boxed cake mix also makes an excellent base for the cake layers in this recipe. Prepare and bake the cake according to package directions in a 9×13-inch pan. Once fully cooled, cut it into 1-inch cubes. You will likely need about two-thirds of the baked cake from a typical boxed mix for this recipe.
