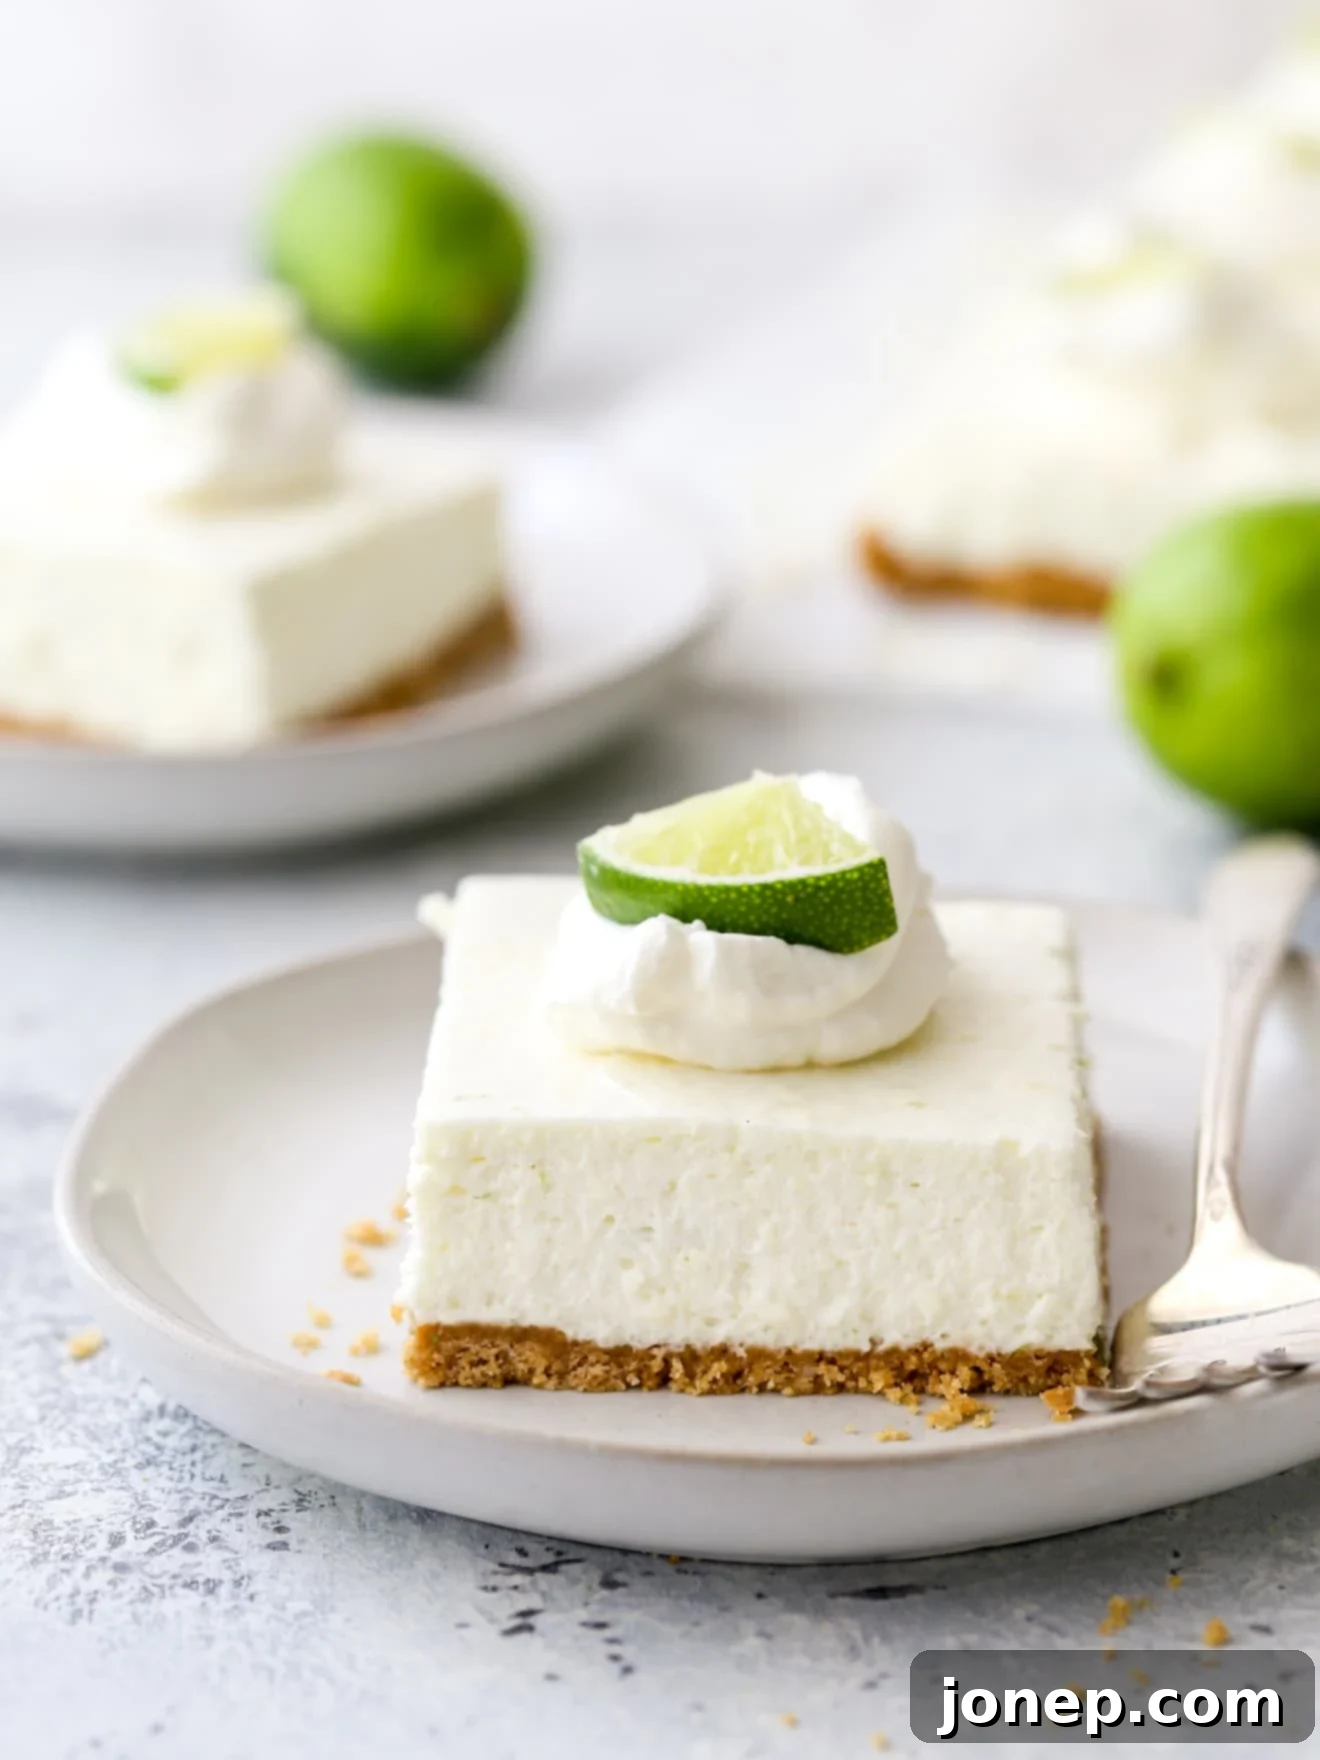
Irresistibly Easy No-Bake Lime Cheesecake Bars: Your New Favorite Zesty Dessert!
There’s no oven required for these easy, creamy, and zesty no-bake lime cheesecake bars with a perfectly crumbly graham cracker crust! Get ready to discover a dessert that combines the refreshing tang of key lime pie with the luxurious creaminess of a classic cheesecake, all without ever turning on your oven. This recipe is a game-changer for anyone who loves a simple yet spectacular sweet treat.
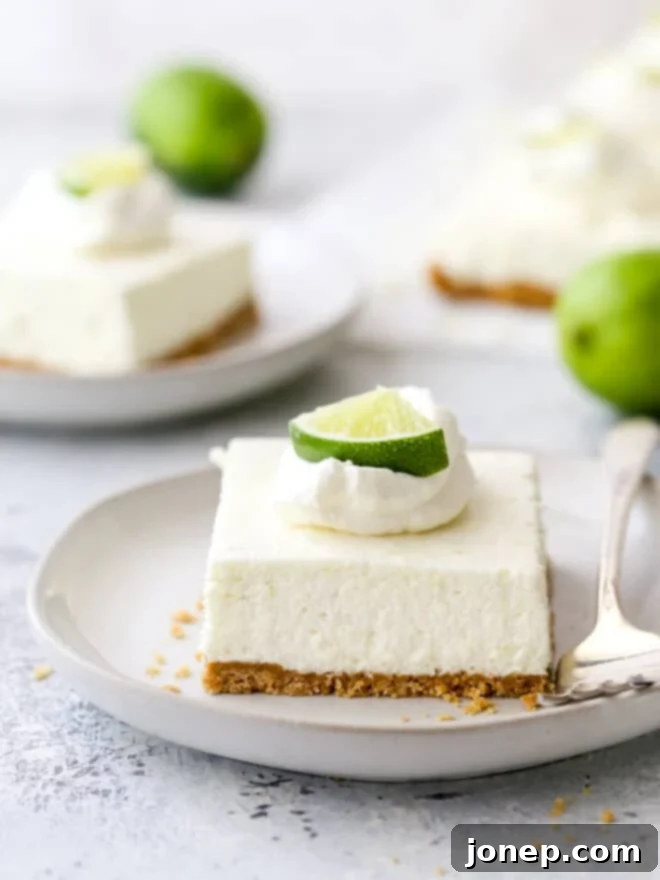
Every now and then, a new recipe emerges from the kitchen that completely captivates me. These no-bake lime cheesecake bars are one such creation! From the very first bite, they soared straight into my top ten favorite desserts, and I’m confident they’ll hold that esteemed position for years to come. Their bright, citrusy flavor and velvety texture are simply unforgettable.
If you’re a devoted fan of rich, decadent cheesecake, and also adore the refreshing, tart notes of a classic key lime pie, then this recipe is truly tailor-made for you. It masterfully blends the best elements of both beloved desserts, featuring a buttery graham cracker crust that provides the perfect counterpoint to the light-as-air, wonderfully citrusy filling. The added bonus? It’s entirely no-bake, making these bars incredibly simple and perfect for any occasion, especially when you want a homemade treat without the fuss of baking.
Table of Contents
- Ingredients You’ll Need
- Key Limes vs. Regular Limes
- How to Make No-Bake Lime Cheesecake Bars
- Expert Tips for Success
- More Cheesecake Treats to Love
- Get the Full Recipe
Ingredients You’ll Need for Perfect Lime Cheesecake Bars
Crafting these delectable no-bake lime cheesecake bars requires a straightforward list of ingredients, most of which you likely already have in your pantry or can easily find at any grocery store. The key is to use fresh, high-quality components to ensure the best possible flavor and texture for your dessert.
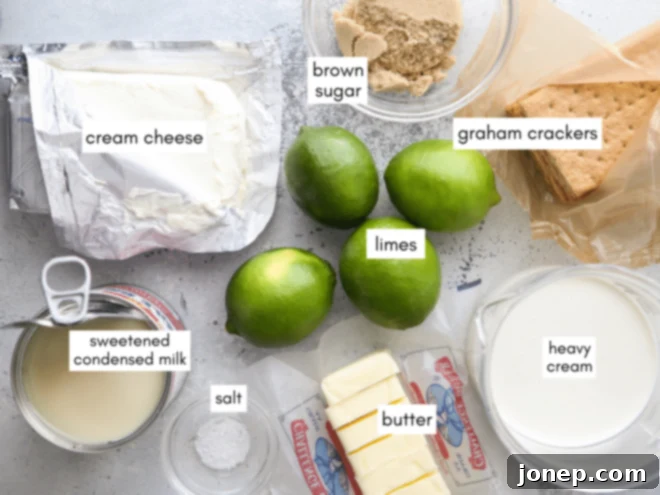
Here’s what you’ll need to gather:
- Graham cracker crumbs: The foundation of our irresistible crust. You can buy them pre-crushed or make your own from whole graham crackers.
- Light or dark brown sugar: Adds a hint of caramel sweetness and helps bind the crust together.
- Butter: Melted butter is essential for creating a firm, cohesive graham cracker crust. Unsalted is usually preferred for baking.
- Salt: A tiny pinch enhances the flavors in both the crust and the filling.
- Full-fat cream cheese: This is the star of our creamy filling, providing that signature cheesecake richness and tang. Ensure it’s full-fat for the best results and texture.
- Heavy whipping cream: Whipped to fluffy perfection, it lightens the filling, giving it an airy, melt-in-your-mouth quality.
- Sweetened condensed milk: This magical ingredient not only sweetens the filling but also provides the necessary structure and silky smoothness without the need for baking.
- Fresh lime juice and zest: The heart and soul of the lime flavor. Using fresh limes is crucial for that bright, vibrant, and authentic citrus punch. Don’t skip the zest – it holds a significant amount of the lime’s aromatic oils and flavor.
Key Limes vs. Regular Limes: Understanding the Difference
While both will yield a delicious dessert, understanding the subtle differences between Key limes and regular (Persian) limes can enhance your culinary experience. The common limes readily available at most grocery stores are actually known as “Persian limes.” These are typically larger, boast a deeper green color, and are considerably juicier and more tart than their smaller, often yellowish-green counterparts, Key limes.
Key limes, native to the Florida Keys (hence the name), are smaller, more aromatic, and have a distinctive floral and slightly less acidic flavor profile. While some argue that Key limes offer a more authentic, nuanced flavor for desserts like pie, both types of limes will perform beautifully in this no-bake cheesecake bar recipe. The overall flavor will remain wonderfully similar, delivering that refreshing citrus kick we’re after. However, for the most intense and authentic lime flavor, and because this recipe calls for both the zest and the juice, it is always highly recommended to use fresh limes. Pre-bottled lime juice, whether Key lime or regular, often lacks the brightness and aromatic complexity that freshly squeezed juice and finely grated zest provide. The zest, in particular, contains essential oils that contribute significantly to the vibrant lime aroma and taste.
How to Make Easy No-Bake Lime Cheesecake Bars
Creating these delightful lime cheesecake bars is incredibly simple, requiring just three main steps that make the process quick and foolproof. You’ll be amazed at how easily these come together for such an impressive result!
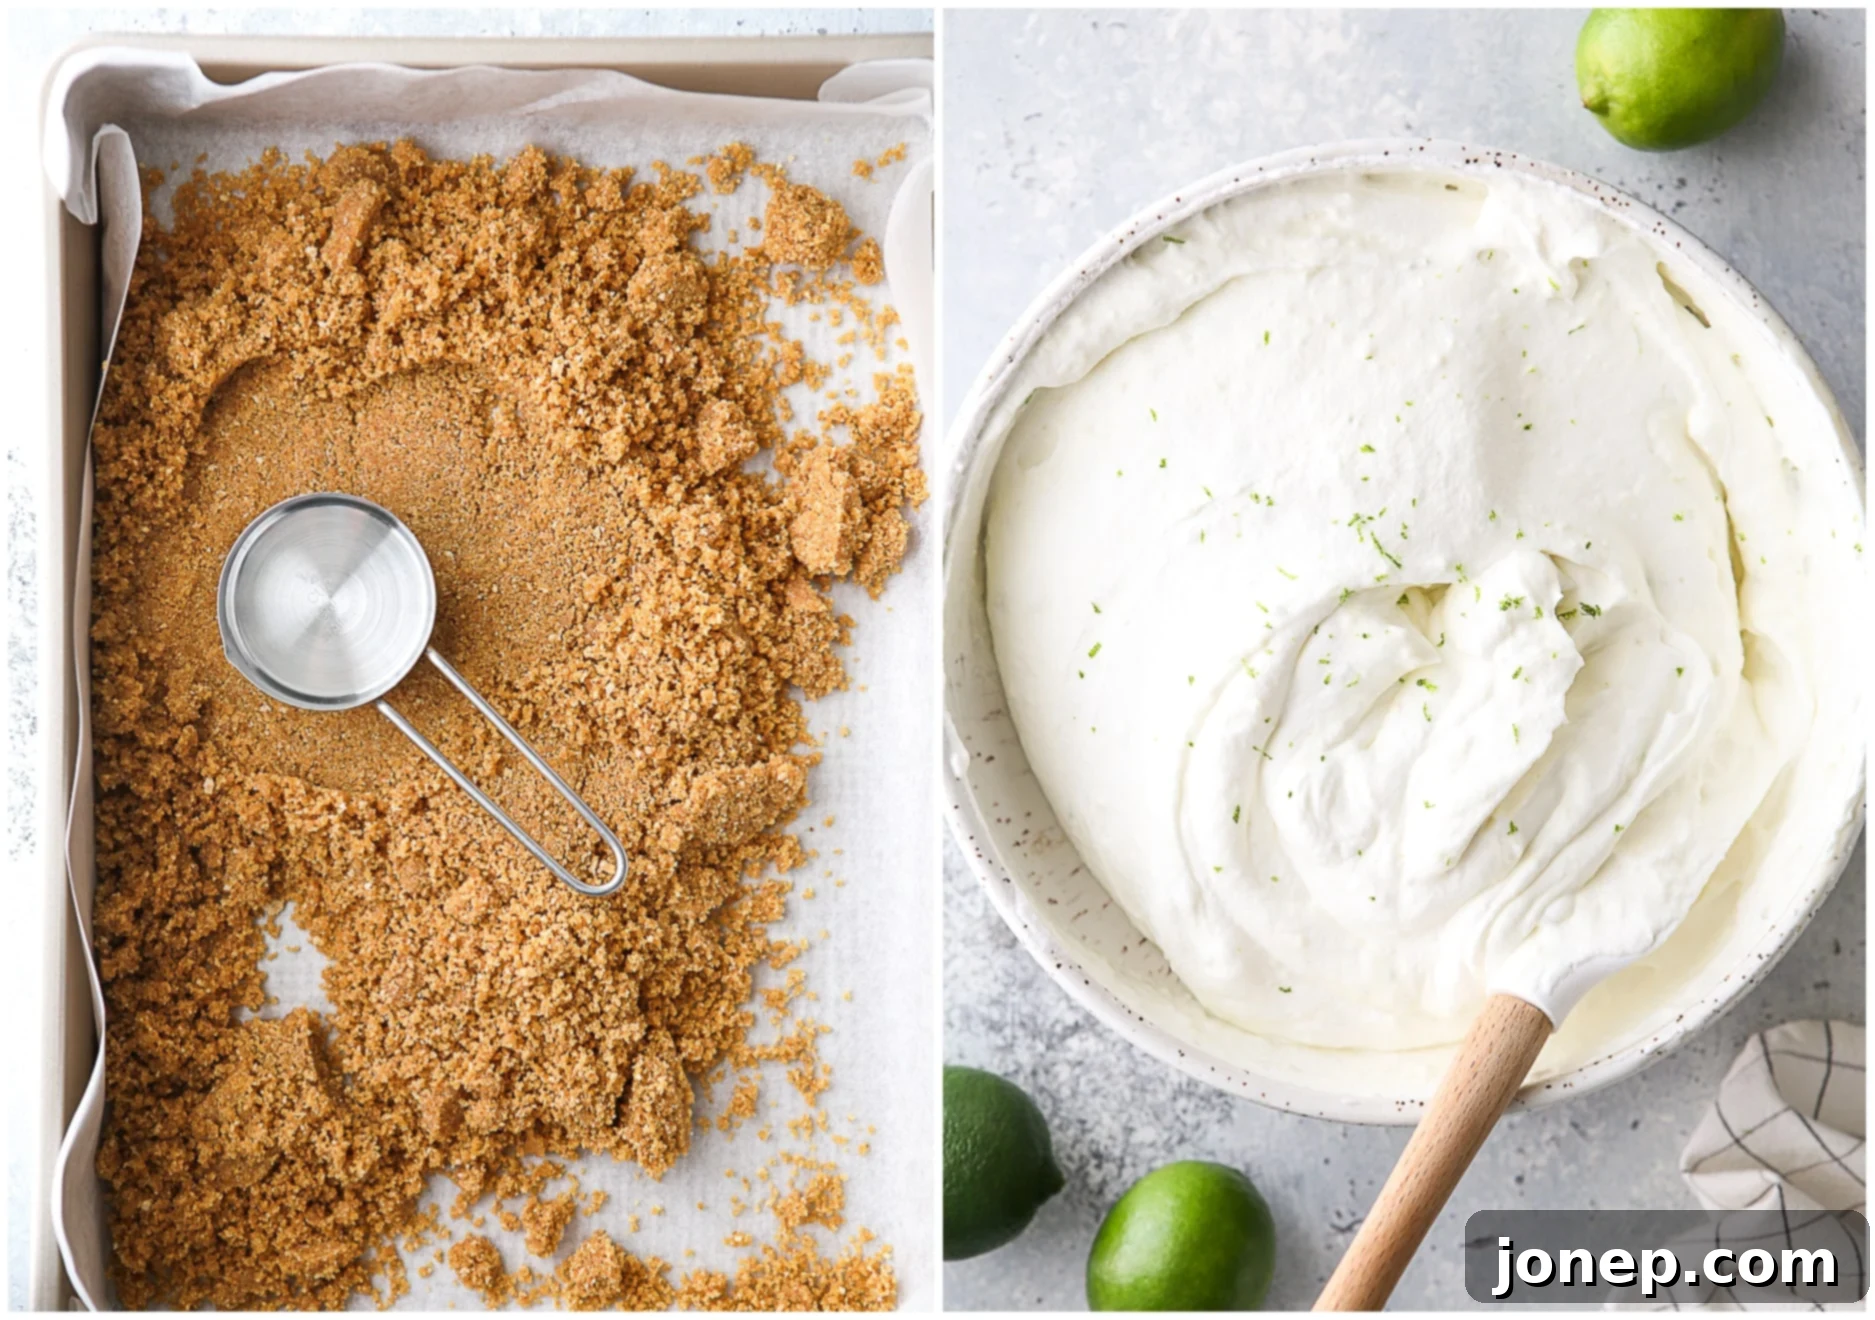
- Prepare the Crust. Begin by combining the graham cracker crumbs with your choice of light or dark brown sugar, a pinch of salt to balance the sweetness, and the melted butter. Mix these ingredients thoroughly until the crumbs are evenly moistened and resemble wet sand. Press this mixture firmly and evenly into the bottom of a 9×13-inch pan. For easier removal later, line your pan with parchment paper, leaving an overhang on the sides. Once pressed, place the crust in the refrigerator to chill and firm up while you prepare the creamy filling.
- Prepare the Filling. In a large mixing bowl, beat the full-fat cream cheese with an electric hand mixer (or a stand mixer with a paddle attachment) until it’s completely smooth and free of any lumps. This is a crucial step for a silky-smooth cheesecake. Next, gradually add the sweetened condensed milk, freshly squeezed lime juice, and vibrant lime zest. Continue to beat until the mixture is well combined and beautifully smooth. In a separate, clean bowl, whip the heavy whipping cream until stiff peaks form. Gently fold this whipped cream into the cream cheese mixture in two additions. Be careful not to overmix; fold just until no streaks of whipped cream remain and the filling is light and airy.
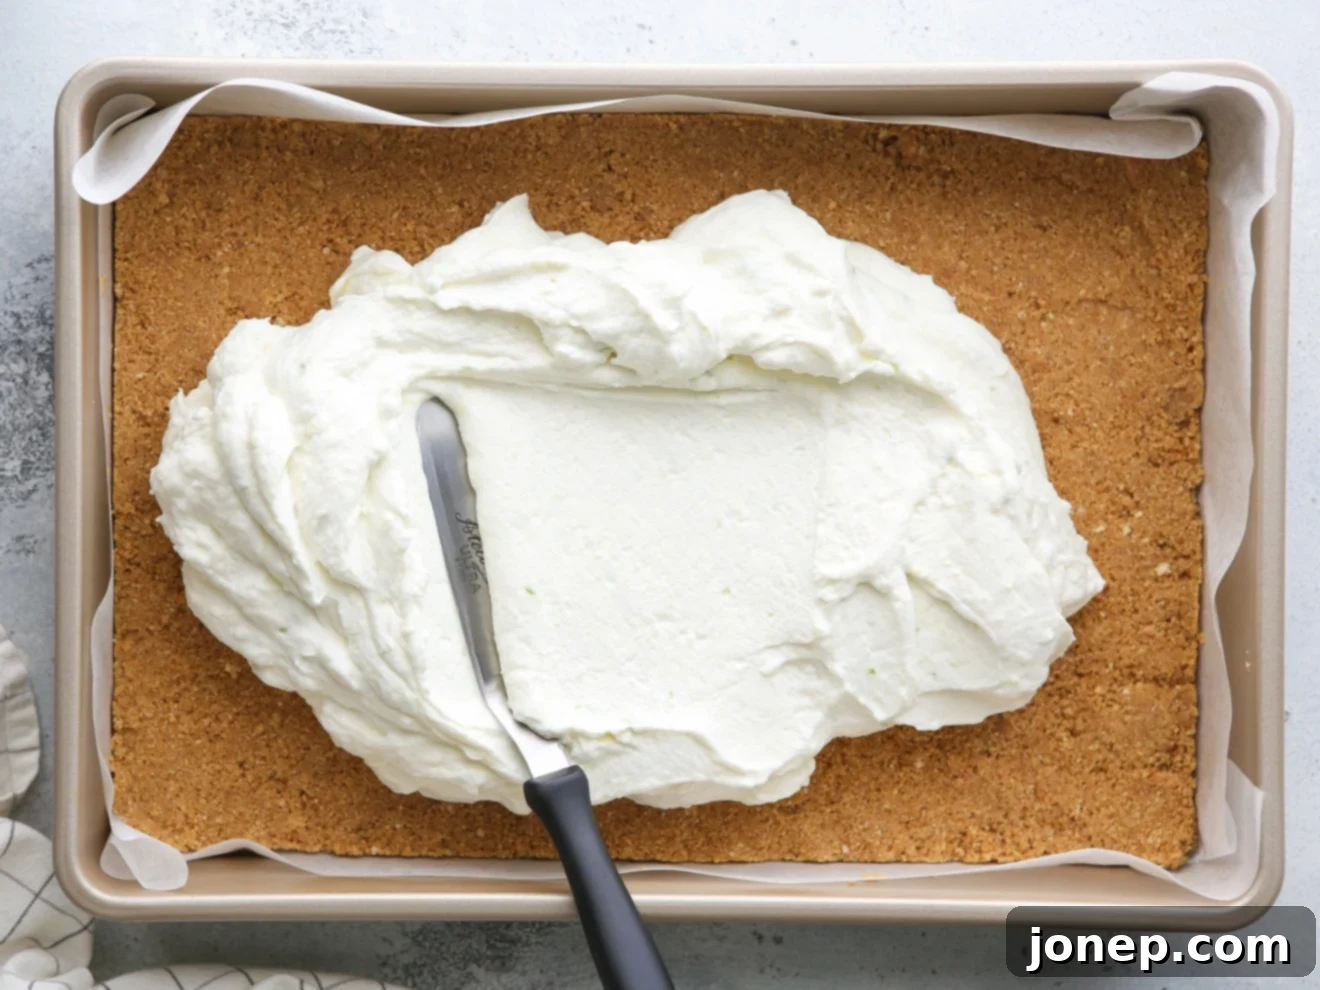
- Chill to Perfection. Once the filling is ready, carefully spread it evenly over the chilled graham cracker crust in the pan. Use an offset spatula or the back of a spoon to create a smooth, level surface. Return the pan to the refrigerator and allow the cheesecake bars to chill for a minimum of 4 hours. For the absolute best results, ensuring a perfectly set and sliceable dessert, chilling them overnight is highly recommended. The longer they chill, the firmer and more enjoyable they will be.
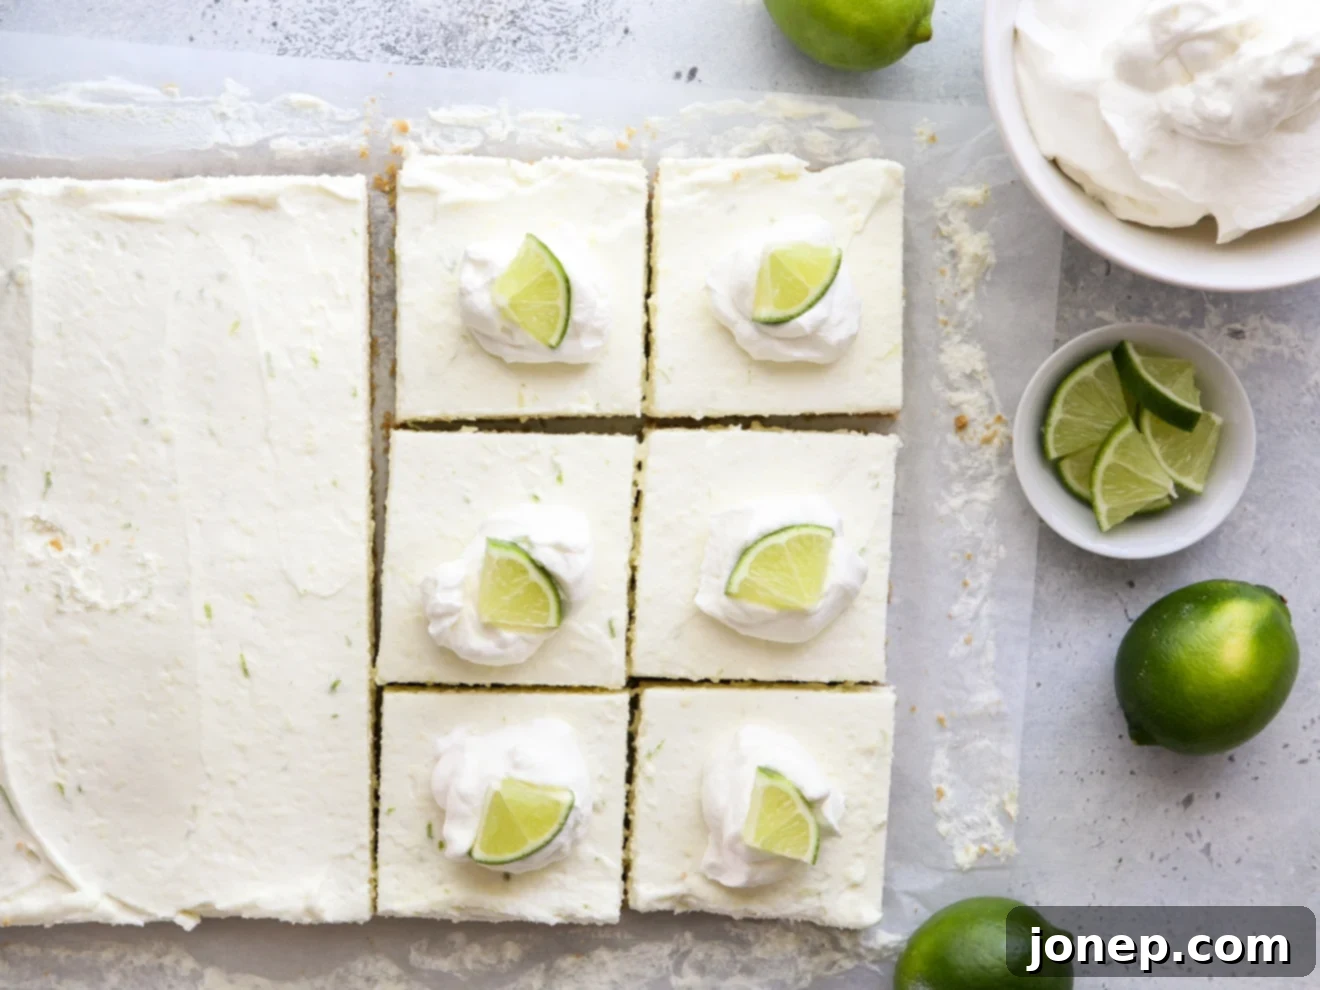
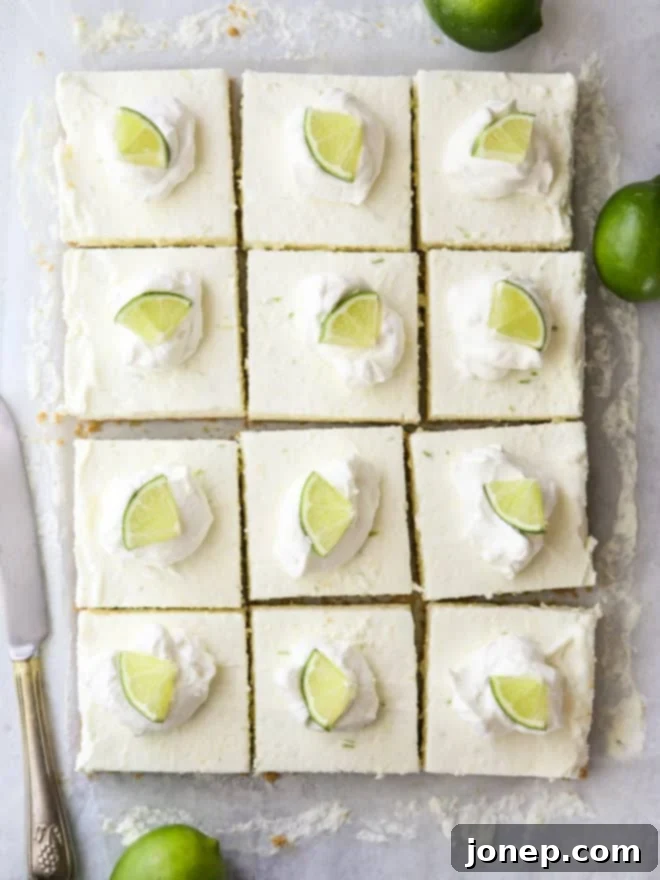
- Slice & Enjoy! Once thoroughly chilled and firm, use the parchment paper overhang to gently lift the entire block of cheesecake bars out of the pan and transfer it to a cutting board. For the cleanest, most professional-looking slices, use a sharp knife. For each cut, wipe the knife clean with a damp cloth or run it under hot water and dry it before making the next slice. This prevents the filling from sticking and creating messy edges. Top each bar with an extra dollop of sweetened whipped cream and a delicate lime wedge or zest, if desired, for an extra touch of elegance and flavor.
Expert Tips for Success with Your No-Bake Lime Cheesecake Bars
Achieving perfectly creamy and delicious no-bake lime cheesecake bars is easy, especially with a few insider tips. These pointers will help you get the best results every time, ensuring your dessert is both beautiful and incredibly tasty.
- Always Use Parchment Paper! This is perhaps the most crucial tip for easy serving. Line your 9×13-inch pan with parchment paper, allowing a generous overhang on the longer sides. This parchment “sling” will enable you to effortlessly lift the entire slab of chilled cheesecake out of the pan. Once out, you can easily transfer it to a cutting board for neat, precise slicing. While aluminum foil can also work in a pinch, parchment paper provides a smoother, non-stick surface, preventing any crust from adhering to the pan. Don’t worry if the bars aren’t extremely firm; the parchment will make lifting them simple, though an extra set of hands can sometimes be helpful!
- How to Make Graham Cracker Crumbs: You have a couple of options here. The simplest is to purchase pre-crushed graham cracker crumbs, widely available in most grocery stores. If you prefer to use whole graham crackers, you can easily make your own crumbs. Place the crackers in a large Ziploc bag and crush them using a rolling pin until they are fine crumbs. Alternatively, a food processor can pulverize them quickly and efficiently to the perfect sandy texture. Aim for fine crumbs, as large pieces can make the crust uneven.
- Start with Room Temperature Cream Cheese. For the silkiest, most luxurious filling possible, it is absolutely essential that your full-fat cream cheese is at room temperature. This means taking it out of the refrigerator 60-90 minutes before you plan to mix. Cold cream cheese will result in a lumpy filling, no matter how much you beat it. Room temperature cream cheese, on the other hand, will whip up smoothly and incorporate beautifully with the other ingredients, creating a homogeneous, velvety texture.
- Prevent Overmixing the Filling. While you want to beat the cream cheese until smooth, once you add the sweetened condensed milk and lime juice/zest, mix only until just combined. Overmixing can incorporate too much air, which can lead to a less dense and potentially less stable filling. When folding in the whipped cream, be gentle and use a spatula to preserve the airiness.
- Add Green Food Coloring, if You Wish. The natural color of the lime cheesecake filling is a beautiful pale ivory, often with a subtle hint of green from the lime zest. However, if you desire a more vibrant, eye-catching green hue reminiscent of traditional key lime pie, you can easily tint the filling. Add 1/4 to 1/2 teaspoon of green food coloring (gel food coloring works best for intense color without adding much liquid) to the cream cheese mixture until you achieve your desired shade. This is purely for aesthetic appeal!
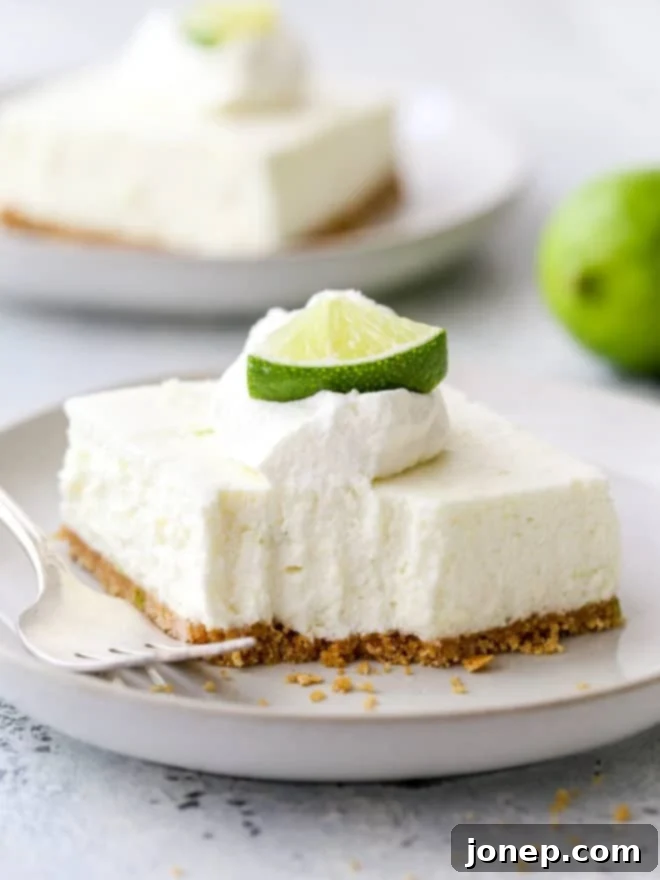
- How to Add a Nice Garnish on Top of the Bars. These bars are incredibly delicious on their own, but a simple garnish can elevate their presentation. A dollop of freshly sweetened whipped cream on each bar adds an extra layer of creaminess and visual appeal. For a final flourish, add a delicate lime slice or a sprinkle of fresh lime zest. You could also consider a sprinkle of toasted coconut flakes for added texture and a tropical touch.
- How Far Ahead Should You Make These Bars? To guarantee that these cheesecake bars have ample time to set up properly for clean, defined slices, I highly recommend preparing them the day before you intend to serve them. While a minimum chill time of 4-6 hours is acceptable, an overnight chill (12+ hours) will yield the best results. The fridge is key for setting this type of dessert; I do not recommend using the freezer to speed up the setting process, as it can affect the texture and potentially make them icy.
- Proper Storage for Longevity. These delightful no-bake lime cheesecake bars will maintain their quality for several days when stored in the refrigerator. You can keep them right in the pan (covered tightly with plastic wrap) for up to 3-4 days. For longer storage, or if you’ve already sliced them, transfer the bars to an airtight container. When stored correctly, they can last up to a week in the fridge, making them a fantastic make-ahead dessert for parties or weekly treats.
More Cheesecake Treats to Love
If these no-bake lime cheesecake bars have sparked your love for all things cheesecake, then you’re in for a treat! Explore some of my other favorite cheesecake recipes, perfect for satisfying any craving, from classic baked versions to more delightful no-bake creations.
Get the Full Recipe
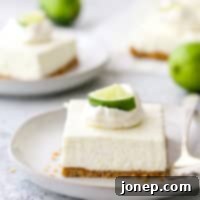
No-Bake Lime Cheesecake Bars
Pin Recipe
Leave a Review
Ingredients
For the crust:
- 2 cups (285 grams) graham cracker crumbs
- Pinch of salt
- ¼ cup (50 grams) packed light or dark brown sugar
- 6 tablespoons (85 grams) unsalted butter , melted
For the filling:
- 8 ounces (225 grams) cream cheese , at room temperature
- 14 oz can (400 grams) sweetened condensed milk
- ½ cup (125 ml) freshly squeezed lime juice
- 1 tablespoon lime zest
- 1 cup (250 ml) heavy whipping cream
- Sweetened whipped cream , for topping
- Lime slices , for garnish
Instructions
-
In a medium bowl, thoroughly combine the graham cracker crumbs, a pinch of salt, the brown sugar, and the melted butter until the mixture is uniform and moistened.
-
Press this crust mixture firmly and evenly into the bottom of a 9×13-inch baking dish (preferably lined with parchment paper for easy removal). Chill the crust in the refrigerator while you proceed to prepare the filling.
-
In a large mixing bowl, using a hand-held mixer (or a stand mixer with a paddle attachment), beat the room temperature cream cheese until it is smooth and completely lump-free. Gradually add the sweetened condensed milk, fresh lime juice, and fragrant lime zest, mixing until the filling is perfectly smooth and well combined.
-
In a separate, clean bowl, beat the heavy whipping cream on high speed until stiff peaks form. Gently fold this whipped cream into the cream cheese mixture in two additions, mixing just until no streaks of white cream are visible and the filling is light and airy. Spread the prepared cheesecake filling evenly on top of the chilled graham cracker crust.
-
Return the pan to the refrigerator and chill for at least 4 hours, or ideally overnight, to allow the cheesecake to set completely.
-
Before serving, top the bars with sweetened whipped cream and delicate lime slices or zest for garnish. Lift the cheesecake from the pan using the parchment paper, slice into bars with a sharp, clean knife, and serve immediately.
Video
Notes
NOTES
- To make your own graham cracker crumbs from whole crackers, simply crush them in a large ziplock bag using a rolling pin until fine, or pulse them quickly in a food processor for a consistent texture.
- For exceptionally clean and precise slices, run a sharp knife under very hot water and wipe it completely dry between each cut. This prevents the creamy filling from sticking to the blade.
This recipe was originally published April 2016.
