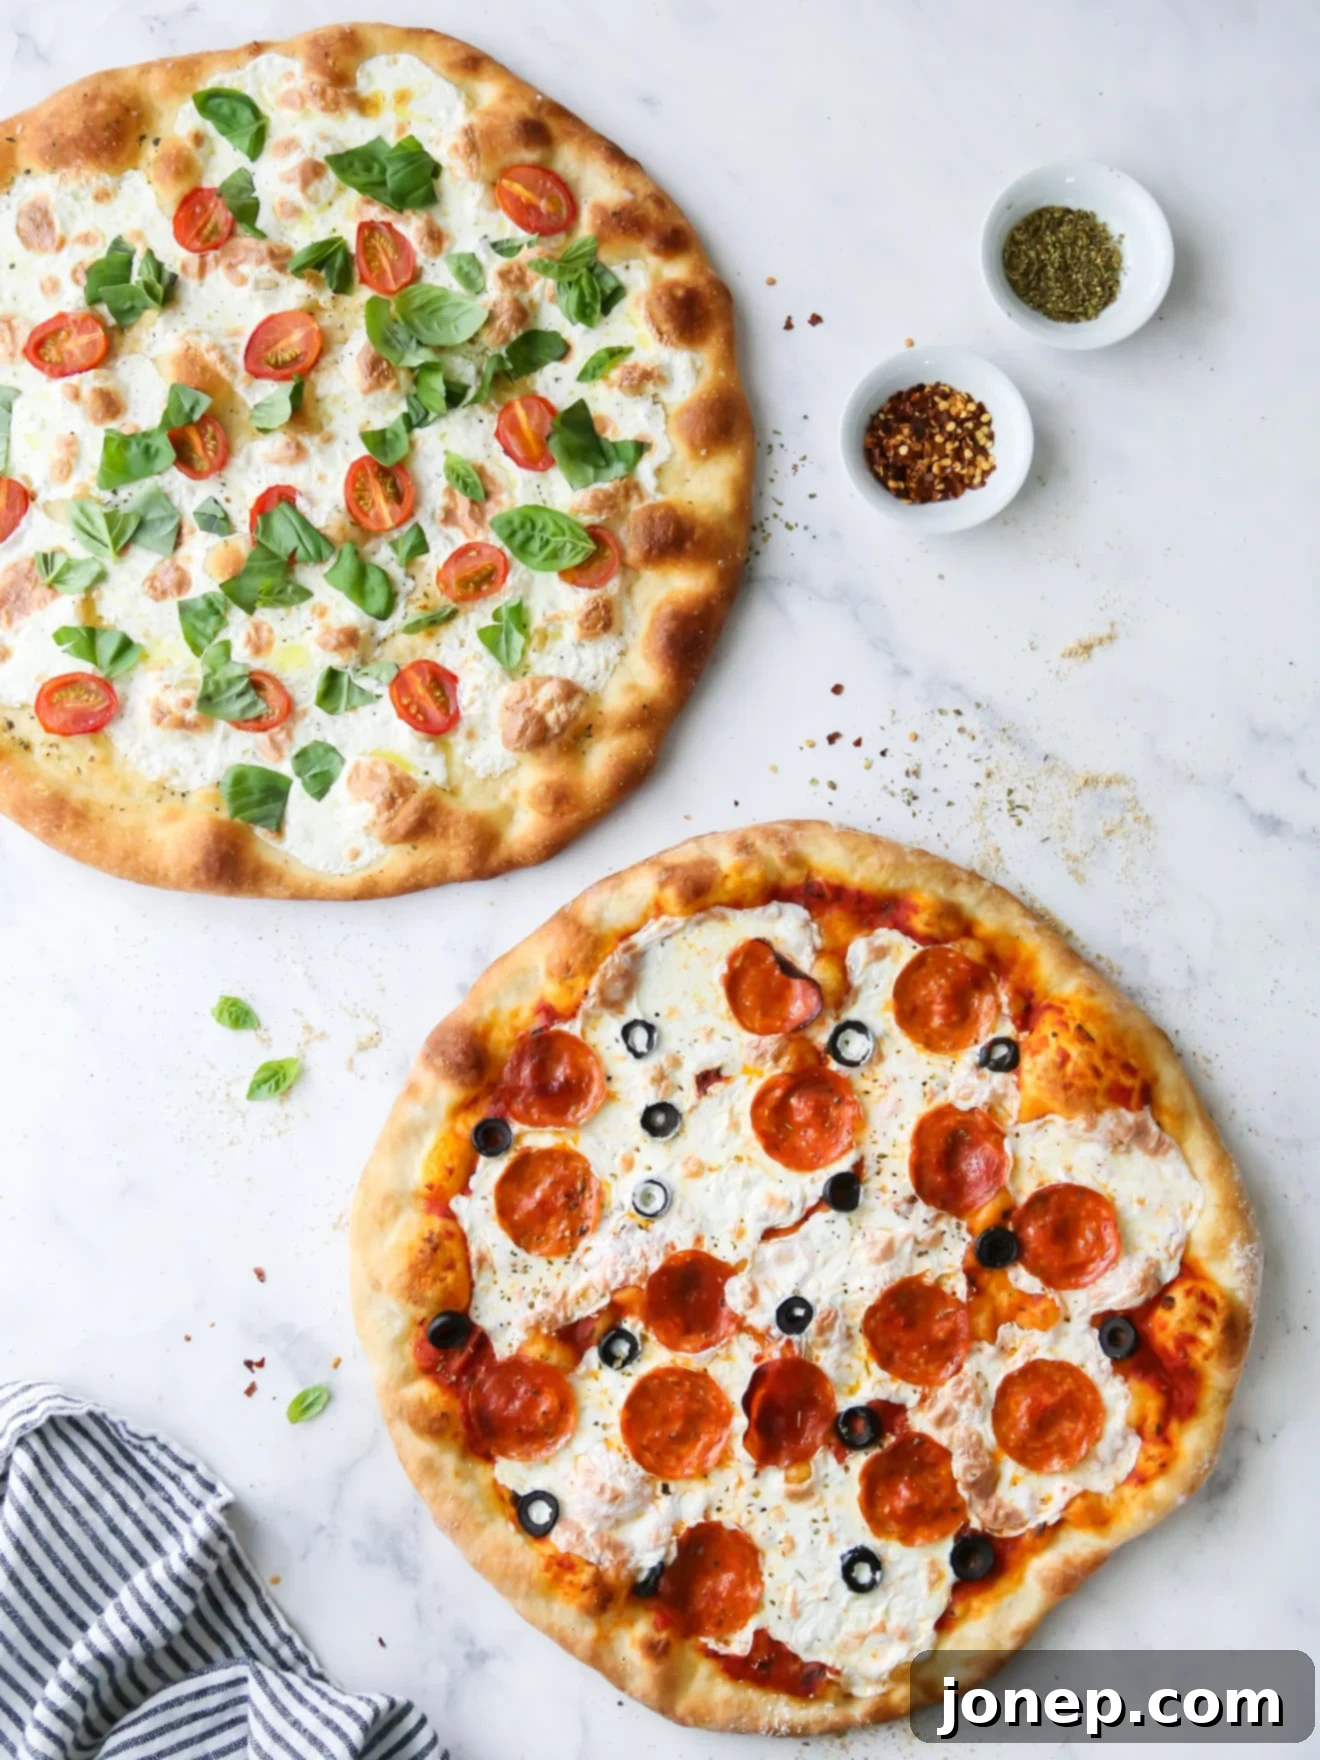
Effortless Homemade Pizza: Your Guide to Perfect No-Knead Pizza Dough and Oven Baking
Transform your ordinary meal into an extraordinary “Pizza Night” with this incredibly simple and quick no-knead pizza dough! Gone are the days of tirelessly kneading and waiting for hours. This recipe is a game-changer, designed for busy home cooks who crave authentic, delicious pizza without the fuss. Beyond just the dough, I’m also sharing all my hard-earned tips and tricks to help you bake restaurant-quality pizza right in your own kitchen oven.
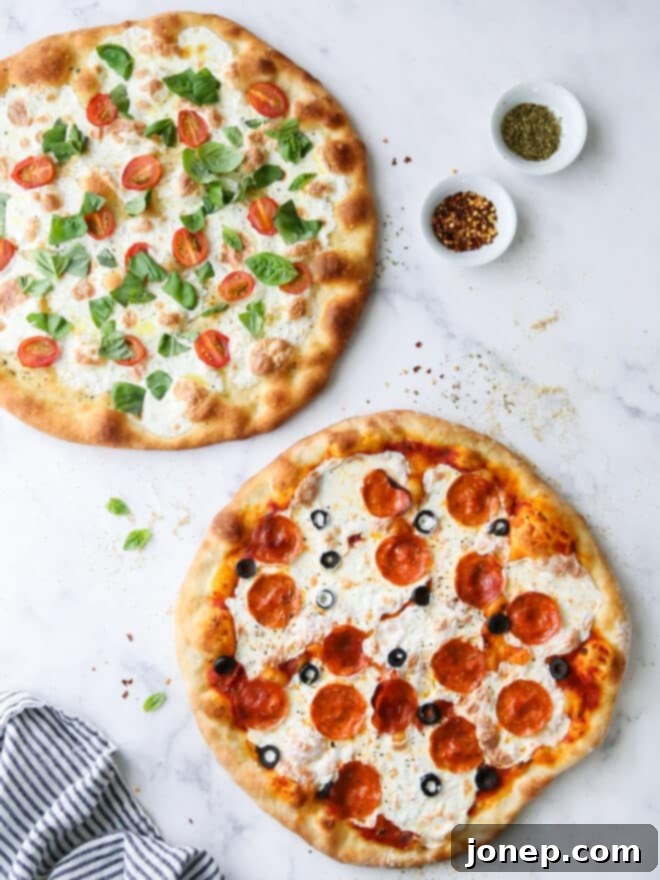
This recipe is proudly sponsored by Red Star Yeast.
For years, Friday night Pizza Night has been a cherished tradition in our home. While my basic pizza dough recipe served us well for a long time, I’ve since discovered the magic of this no-knead pizza dough, and honestly, there’s no looking back. This method simplifies the entire process without compromising on flavor or texture. It’s truly a revelation for anyone who loves homemade pizza but dreads the work involved.
This phenomenal no-knead dough recipe requires just 5 basic ingredients and takes less than 5 minutes of active mixing time. After a quick stir, it rests patiently on your counter until you’re ready to transform it into a culinary masterpiece! The resulting crust boasts an incredible depth of flavor, a delightful chewiness, and serves as the perfect foundation for all your favorite pizza topping combinations. Whether you prefer classic pepperoni or gourmet veggie, this dough will elevate your homemade pizza experience.

Why Embrace Homemade Pizza Night?
In a world of convenient takeout, you might wonder why bother with homemade pizza. The truth is, there are countless benefits to making your own pizza at home, especially with an easy no-knead dough recipe like this one:
- Beyond Takeout: The Homemade Advantage. While ordering a pizza is easy, homemade pizza offers superior freshness, quality, and often, healthier options. You control every ingredient, from the quality of the flour to the freshness of your toppings, ensuring a delicious and satisfying meal tailored to your preferences and dietary needs.
- Easy and Foolproof for Everyone. This no-knead pizza dough recipe is specifically designed to be incredibly forgiving and straightforward. Even if the idea of baking with yeast has intimidated you in the past, I promise you can master this with absolute ease. The “no-knead” aspect truly removes the most common barrier to homemade bread and pizza.
- A Quick Path to Pizza Perfection. Making pizza is not as complex as it seems, and you’ll find there’s a surprisingly quick learning curve. After just a couple of attempts, you’ll be confidently stretching dough, layering toppings, and achieving professional-looking results. Soon, you’ll be deemed the family’s resident pizza maestro!
- Unforgettable Family Fun and Customization. Homemade pizza night is more than just a meal; it’s an experience. It’s a fantastic way to involve everyone in the kitchen, fostering creativity and shared enjoyment. We constantly experiment with different topping combinations, sauces, and cheeses, ensuring that no two Pizza Nights are ever exactly the same. The possibilities are endless, making it a truly personalized culinary adventure.
Convinced yet? Let’s roll up our sleeves and get baking!
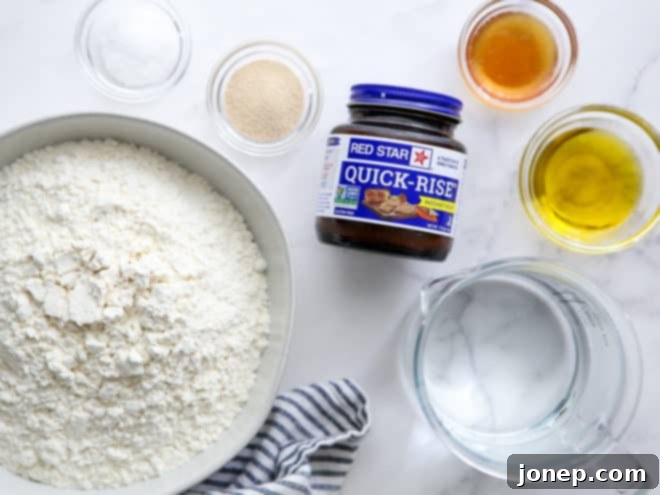
Essential Ingredients for Your No-Knead Pizza Dough
This recipe yields enough dough to create two generous 14-inch pizzas, perfect for feeding a family or having leftovers. Gathering your ingredients is the first simple step:
- Red Star Quick-Rise Instant Yeast: The key to a speedy rise and robust flavor.
- Warm Water: Crucial for activating the yeast and properly hydrating the flour.
- Olive Oil: Adds richness, elasticity to the dough, and a lovely golden hue to the crust.
- Honey: A touch of sweetness that feeds the yeast and contributes to a beautifully caramelized crust.
- Coarse Salt: Essential for flavor development and to help regulate yeast activity.
- All-Purpose Flour: The structural backbone of your dough, providing the perfect chew.
- Your Favorite Pizza Toppings!: This is where the fun truly begins – gather your chosen sauces, cheeses, meats, and veggies!
Why I Trust Red Star Yeast for My Baking Needs
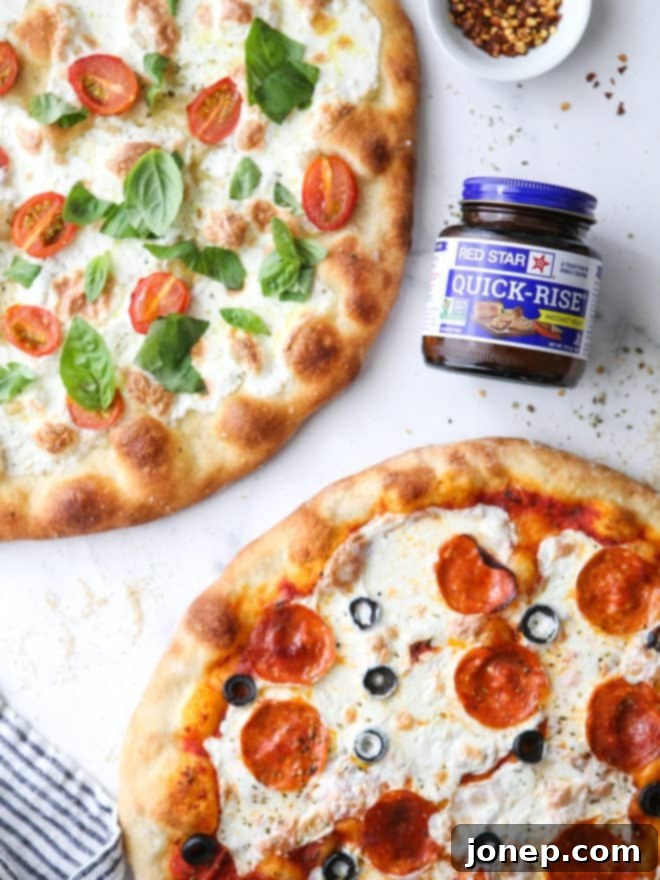
While this versatile recipe can accommodate active-dry yeast, my preference for Red Star Quick-Rise Instant Yeast is rooted in its efficiency and consistent performance. Instant yeast significantly reduces the required rise time, which is a major advantage for no-knead recipes that often demand longer proofing periods. With Red Star Instant Yeast, you can go from mixing to baking in as little as an hour, meaning your cravings for delicious pizza can be satisfied much sooner!
Beyond its impressive speed and reliability in pizza dough and other bread recipes, Red Star Yeast is renowned for its dedication to supporting and educating home bakers. They are a brand that truly invests in helping you succeed in the kitchen. I highly recommend exploring Red Star’s comprehensive Yeast and Baking Lessons section on their website. It’s an invaluable resource filled with expert information, tips, and tutorials covering their entire product line and every single step of the bread-baking process, making it perfect for both beginners and experienced bakers alike.
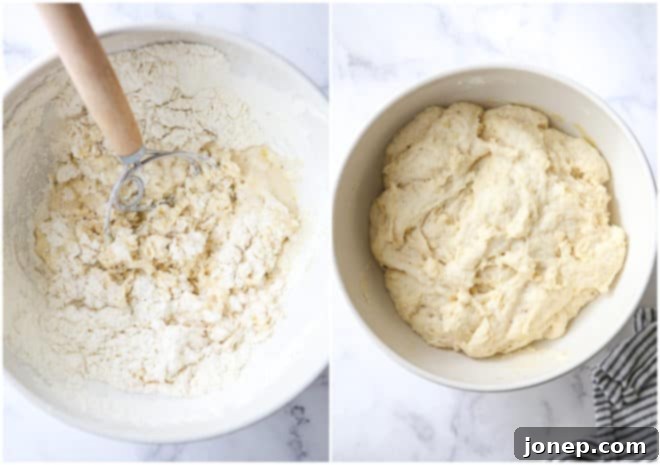
The Simple Steps to Making Easy No-Knead Pizza Dough
You’ll be amazed at how incredibly easy this process is. Forget the stand mixer or strenuous arm work; all you need is a bowl and a spoon:
- Combine All Ingredients: In a large mixing bowl, add your warm water, Red Star Quick-Rise Instant Yeast, salt, honey, olive oil, and finally, the all-purpose flour. Using a sturdy spoon or a dough whisk, mix everything together until just combined. The mixture will look a bit shaggy and sticky, not smooth like traditional dough, and that’s perfectly normal and exactly what you want! Avoid overmixing.
- Allow to Rise: Once mixed, simply cover the bowl tightly with plastic wrap or a damp kitchen towel. Let the dough rest and rise at room temperature for 1 to 3 hours. I personally find a 2-hour rise time yields the best balance of flavor and texture, but thanks to the instant yeast, you can use it sooner if pressed for time. This dough is incredibly forgiving; if it rises a bit longer, it will still produce fantastic results.
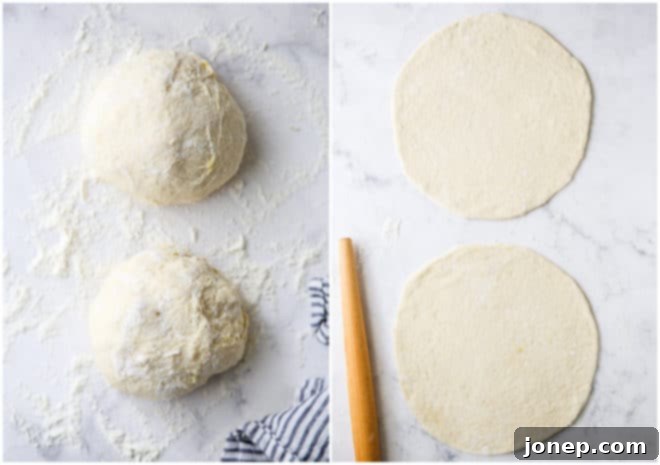
- Portion and Gently Shape: Once risen, gently deflate the dough and divide it in half. Lightly flour your hands and quickly shape each half into a loose ball. The goal here is to create a taut surface, not to knead vigorously. If you’d like a visual guide on shaping, this video demonstrates the method I use.
- Roll Out the Dough: Generously flour your countertop and the dough ball. Using a rolling pin, carefully roll out each dough ball into a round shape approximately 12 inches in diameter. If you prefer a thinner, crispier crust, aim for 14 inches. Don’t stress about achieving a perfect circle – rustic shapes add to the charm of homemade pizza! If the dough springs back or resists rolling, simply let it rest for 5 minutes (this allows the gluten to relax) and then try again.
With your perfect crust ready, it’s time for the most exciting part: adding your favorite toppings and getting ready to bake!
Curate Your Perfect Pizza with Favorite Toppings
This is where your creativity can truly shine! While the options are limitless, here are a few suggestions and tips for choosing and preparing your pizza toppings:
- Sauce: The foundation of flavor. Classic red marinara, creamy white garlic sauce, a simple drizzle of olive oil, or vibrant pesto are all excellent choices. Don’t hesitate to use a high-quality store-bought sauce for convenience – there are many fantastic options available that save time without sacrificing taste.
- Cheese: Mozzarella is the traditional choice for good reason, offering that iconic melty stretch. You can use sliced fresh mozzarella for a creamier, richer melt or shredded low-moisture, whole-milk mozzarella for classic coverage and browning. For added complexity, consider accent cheeses like salty Parmesan, tangy feta, or creamy goat cheese, either alongside or in place of mozzarella.
- Veggies: The garden is your oyster! To ensure even cooking and prevent soggy pizza, slice vegetables thinly. For items like onions, mushrooms, or bell peppers, pre-cooking them slightly will remove excess moisture and create more caramelized, intense flavors before they even hit the oven.
- Meat: From spicy pepperoni to savory ham, crispy bacon, crumbled sausage, or seasoned ground turkey/beef, meat toppings are always a hit. Remember, all raw meats (including sausage and ground beef) must be cooked beforehand. The pizza’s baking time is too short to cook raw meat thoroughly.
- Greens: Delicate leafy herbs and greens, such as fresh arugula, basil, or cilantro, should always be added after the pizza comes out of the oven to preserve their fresh flavor and prevent them from wilting excessively. Spinach, however, is versatile and can be added either before or after baking, depending on your preferred texture.
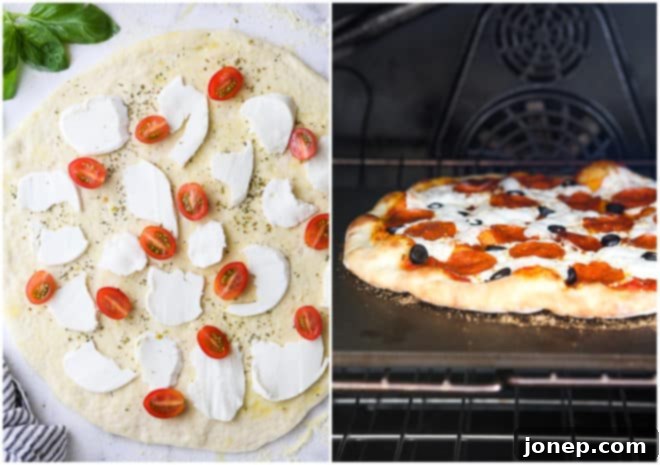
A Crucial Topping Tip: Don’t Overload! While it’s tempting to pile on every delicious ingredient, adding too many toppings can weigh down your crust, making it difficult to transfer to the oven and preventing it from rising and baking properly. An overcrowded pizza also tends to steam, introducing unwanted moisture that can lead to a soggy crust. As a general rule, in addition to your sauce and cheese, I recommend adding no more than 3 additional toppings for optimal results.
Okay, your beautifully topped pizzas are now ready for their fiery transformation in the oven. Time to bake!

Mastering the Art of Baking Pizza in Your Home Oven
After years of experimentation and fine-tuning, I’ve developed a foolproof method for achieving perfect homemade pizza using a standard kitchen oven. Here’s what I highly recommend:
- Optimize Oven Rack Placement: Position your top oven rack about 6 inches from the very top heating element. This strategic placement ensures your pizza is closer to the intense heat source, promoting superior browning of the crust and perfectly melted, bubbling cheese.
- Bake at the Highest Possible Temperature: For truly exceptional pizza, temperature is key. I bake my pizzas at a scorching 500°F (260°C). This high heat causes the gases trapped within the dough to expand rapidly, resulting in a light, airy, and fluffy crust with that coveted “oven spring” effect, similar to what you’d find in professional pizza ovens.
- Extended Preheat Time is Essential: Don’t rush the preheat! Allow your oven to preheat for a minimum of 30 minutes, and ideally up to an hour. This extended time isn’t just about reaching the target temperature; it ensures that your oven, along with any pizza stone or steel inside, is thoroughly and evenly heated throughout, creating a consistent baking environment.
- Utilize a Pizza Stone or Pizza Steel: This is arguably the most critical component for achieving a crispy, perfectly cooked crust. When the pizza is placed directly onto a superheated pizza stone or pizza steel, the dough begins cooking instantly through conductive heat, mimicking the effects of a traditional brick pizza oven. This rapid cooking ensures the pizza bakes quickly, typically in about 8 minutes, yielding a crust that’s wonderfully light and fluffy on the inside and golden, crisp, and beautifully charred on the outside. Remember to preheat your stone or steel in the oven for the entire preheat duration to get it screaming hot.
- Finish with a Quick Broiler Blast (Optional): If you desire even more browning on your cheese or a slightly blistered crust, turn on your oven’s broiler for the last minute or so of cooking. Keep a very close eye on it, as things can go from perfectly golden to burnt in a matter of seconds under the broiler.
Even More Pro Tips for Your Best Homemade Pizza Yet
Here are some additional insights and techniques to ensure every pizza night is a resounding success:
- Dough Storage for Future Pizza Nights: After its initial rise, this versatile no-knead pizza dough can be stored in an airtight container in the refrigerator for up to a full week. This is an excellent option if you like to prepare your dough in advance, or if you want to save one of the dough portions for another night. Always remember to let chilled dough come back to room temperature for about 30-60 minutes before attempting to roll it out, as cold dough will be stiff and difficult to work with.
- Pizza Stone vs. Pizza Steel – A Personal Experience: For many years, I relied on a ceramic pizza stone, and it consistently produced great pizza. However, I recently upgraded to a pizza steel, and I’m genuinely amazed by the noticeable difference. The pizza steel provides an even more superior crust – achieving an unparalleled crispiness and char. While it is generally more expensive than a stone and significantly heavier (making it a bit cumbersome to move), its performance makes it a worthwhile investment for serious pizza enthusiasts. The links provided are to the exact products I personally own and recommend.
- Alternative Baking Surfaces: If you’re not quite ready to invest in a pizza stone or steel, don’t despair! You can still make delicious pizza. Simply use an inverted sturdy sheet pan and ensure it preheats along with your oven for the full duration. While it won’t yield quite the same level of crispness as a stone or steel, it will still produce a very enjoyable crust. You can also explore my dedicated recipe for sheet pan pizza, which is designed for this method.
- Seamless Pizza Transfer: To easily transfer your prepared pizza from the countertop to a hot oven, ensure your counter is generously floured (a mix of flour and a sprinkling of cornmeal creates an excellent non-stick barrier). Add your toppings as close to baking time as possible. The longer the dough sits on a surface, especially when weighed down by toppings, the more it’s likely to stick.
- The Utility of a Pizza Peel: A pizza peel is an invaluable tool that makes transferring your prepped pizza into the hot oven effortless. While a wood pizza peel works well, I personally prefer a metal pizza peel. Its thinner edge slides more easily under the pizza, reducing the risk of sticking.
- Parchment Paper for Beginners: If you don’t own a pizza peel, or if you’re nervous about the pizza sticking to your counter during transfer, assemble and bake your pizza on a sheet of parchment paper. You can slide the entire parchment paper with the pizza onto your preheated stone, steel, or inverted sheet pan. Keep in mind that the crust won’t be as brown or crispy at the very bottom with parchment paper, but it’s a perfectly acceptable and stress-free starting point.
- Adjusting Oven Temperature: If your oven doesn’t reach 500°F (260°C), simply use its highest possible temperature setting. High heat is paramount for a great pizza crust.
- Summer Grilling Option: During the warmer months, to avoid heating up the kitchen, we often opt to cook our pizzas on the grill! This imparts a fantastic smoky flavor and a beautiful char. See my complete guide on How to Grill Pizza for detailed instructions.
Shop Essential Pizza Tools
Having the right tools can make your pizza-making journey even more enjoyable and efficient. Here are some of my highly recommended items for your home pizza setup:

No-Knead Pizza Dough
Pin Recipe
Leave a Review
Ingredients
- 1 ¼ cup (270 grams) warm water
- 2 ¼ teaspoons (7 grams) Red Star Quick Rise Instant Yeast
- 2 teaspoons (10 grams) salt
- 1 tablespoons (20 grams) honey
- 2 tablespoons (17 grams) olive oil
- 3 ¼ cup (390 grams) all-purpose flour
- Additional flour or cornmeal , for dusting
- Pizza toppings , as desired
Instructions
-
Add water, yeast, salt, honey, olive oil and flour to a large bowl. Mix with a spoon or dough whisk to make a thick shaggy dough.
-
Cover and let rise 1-3 hours at room temperature.
-
Divide dough in half and shape each half into a ball using floured hands.
-
Add flour to countertop and dough as needed, then roll out to a round about 12 inches wide. If you want a thinner crust, roll it out to 14 inches. Don’t worry about making it a perfect circle. If the dough resists rolling and springs back, let it sit for 5 minutes then try again.
-
Add desired toppings, then bake in a 500°F oven for about 8 minutes until crust is golden and cheese is melted.
-
Serve immediately.
Video
Notes
Notes
- This recipe makes two 14-inch pizzas.
- After its initial rise, this no-knead pizza dough can be stored in the fridge for up to a week before using. Let chilled dough come to room temperature before rolling.
- Nutritional information is for crust only.
Disclosure: This recipe was developed in partnership with Red Star Yeast. All opinions expressed are my own, as always. Thank you for supporting partnerships with brands and products I genuinely believe in and use regularly.
For more baking inspiration and helpful resources, be sure to visit Red Star Yeast on their official website, and follow their engaging content on Instagram, Twitter, Facebook, Pinterest, and YouTube.
