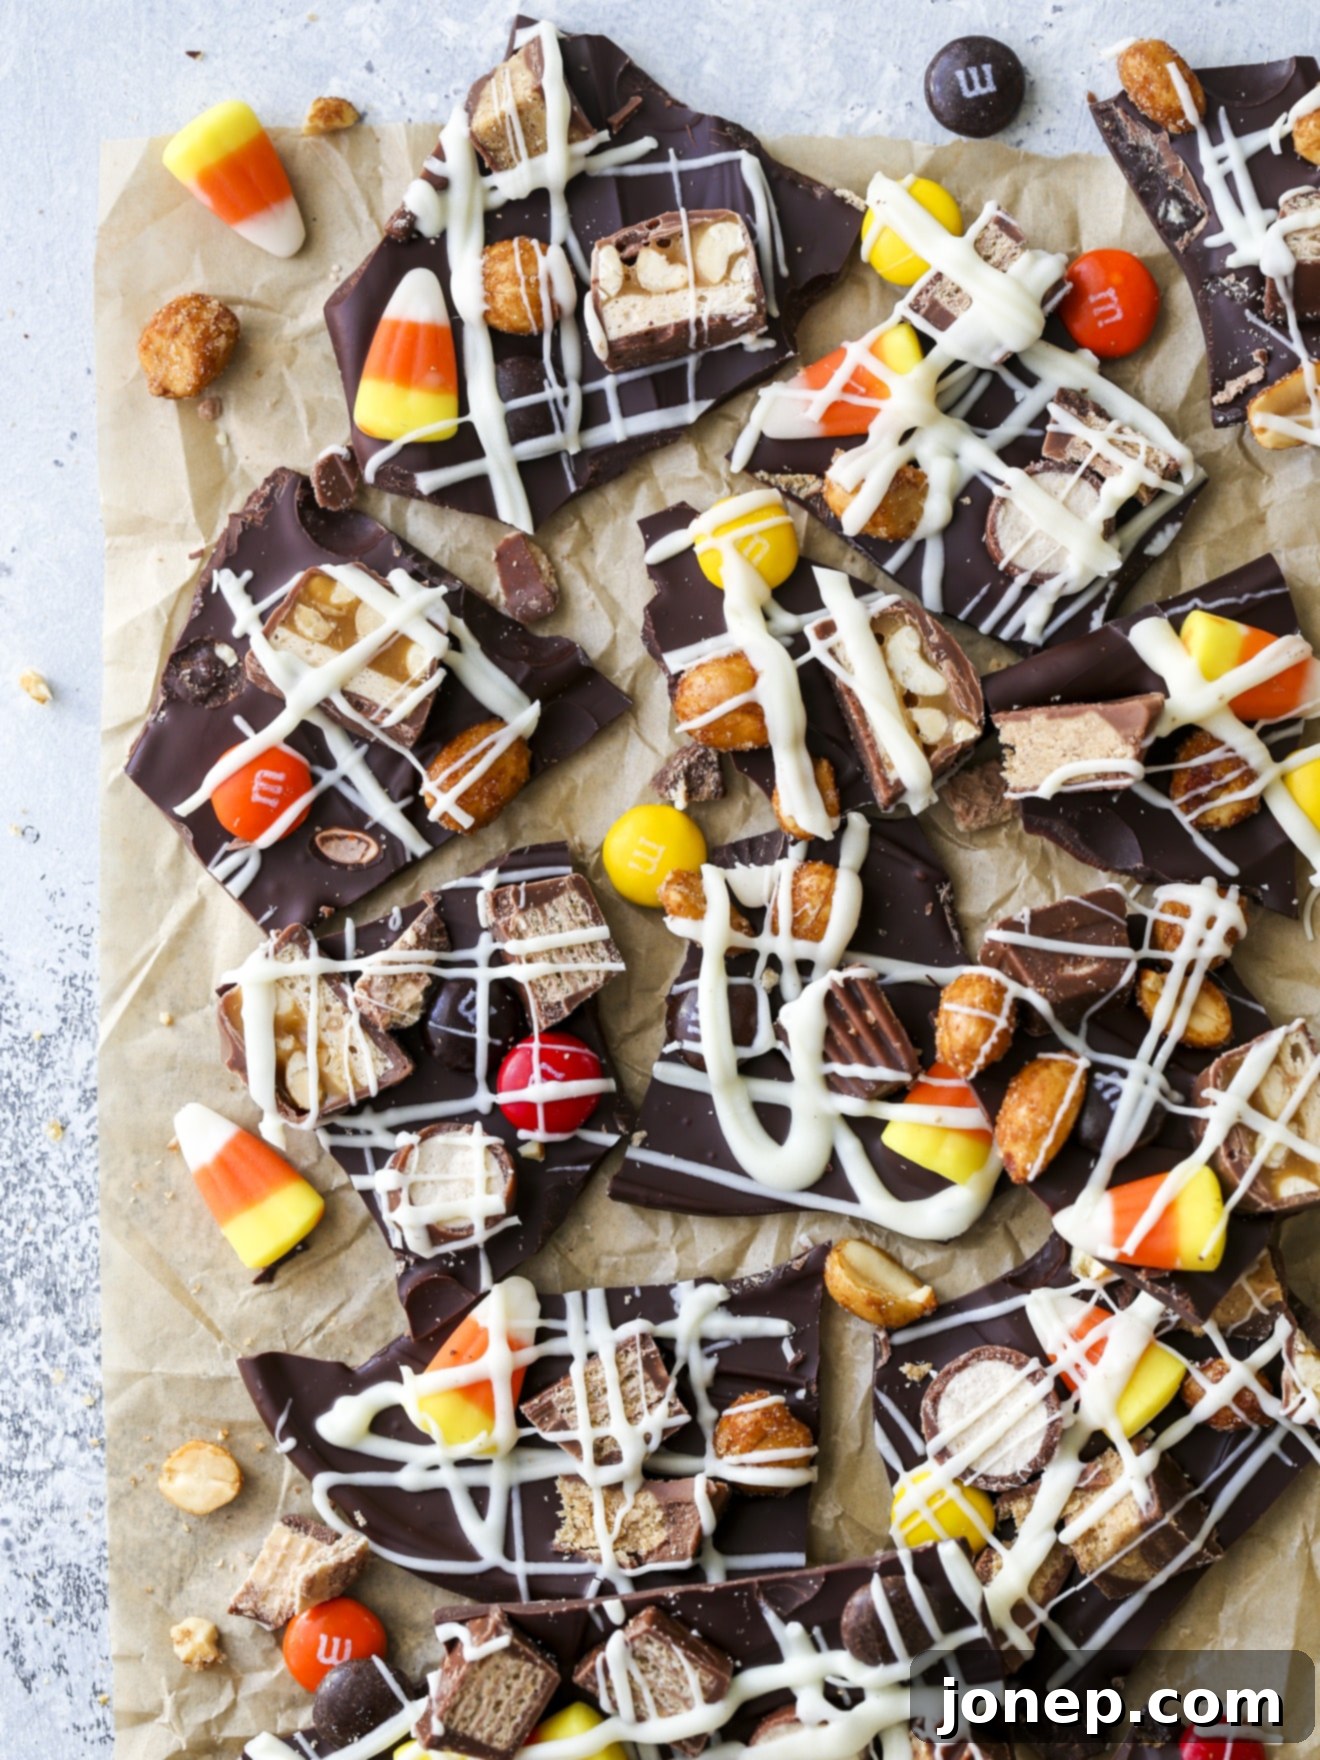
Spooktacular Halloween Candy Bark: The Ultimate Easy Recipe for Leftover Candy
As the leaves turn and a chill fills the air, Halloween brings with it not just costumes and carved pumpkins, but also an inevitable mountain of candy. If you’re looking for a delightful and incredibly simple way to transform that sugary bounty into something new and exciting, this **Halloween Candy Bark** recipe is your perfect solution! Forget the dilemma of what to do with excess treats; in mere minutes, you can create a festive, customizable, and utterly delicious dessert that’s perfect for a party, a thoughtful gift, or just an indulgent snack.
This isn’t just a recipe; it’s a creative canvas for all your favorite Halloween sweets. Starting with a luscious base of melted chocolate, you’ll scatter an array of chopped candy bars, vibrant M&Ms, crunchy peanuts, and even iconic candy corn. A decorative drizzle of white chocolate adds that final touch of elegance, making this bark as visually appealing as it is tasty. It’s an effortless, no-bake project that promises maximum flavor with minimal effort, ensuring none of that hard-earned candy goes to waste.
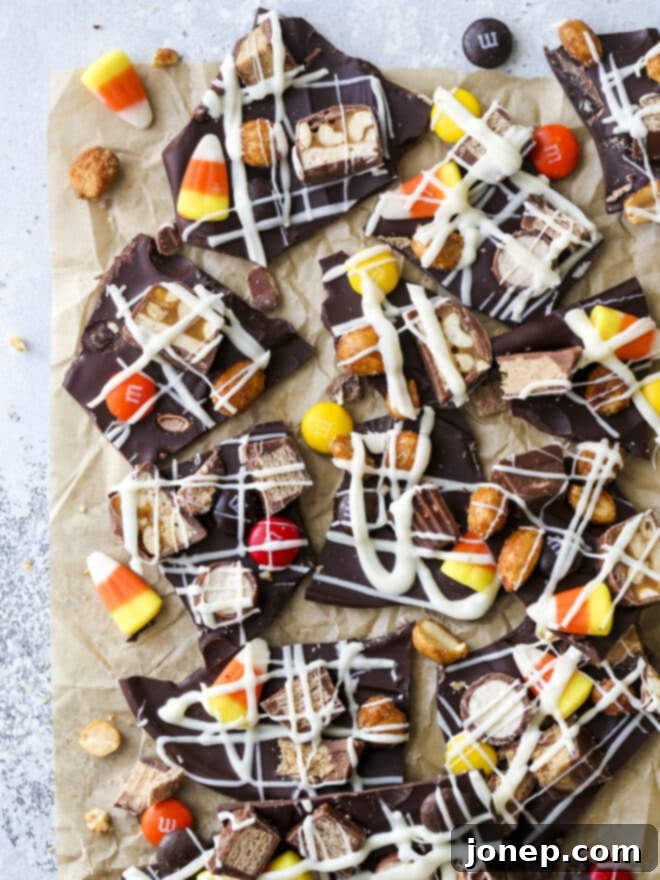
Whether your goal is to whip up a show-stopping treat for a Halloween gathering or simply to repurpose a surplus of trick-or-treat haul, this Halloween candy bark fits the bill perfectly. It’s an absolute breeze to assemble: just a medley of your favorite candies and chopped chocolate bars artfully arranged over a smooth layer of melted chocolate, finished with an elegant white chocolate drizzle. The true beauty of this recipe lies in its adaptability; you are the master of your bark!
Feel free to unleash your creativity with whatever chocolate candies you have on hand. While I’ve enjoyed using a mix of Reese’s Peanut Butter Cups, Snickers, Kit Kats, M&Ms, and Whoppers in the past, don’t hesitate to substitute with your personal favorites or whatever leftover goodies fill your candy bowl. The possibilities are endless, making each batch a unique and exciting culinary adventure. It’s a fantastic way to involve kids in the kitchen too, letting them choose and sprinkle their favorite toppings.
Table of Contents
- Why You’ll Love Making This Halloween Candy Bark
- Ingredients You’ll Need for the Perfect Bark
- How to Melt Chocolate Perfectly (No Scorching!)
- How to Make Halloween Candy Bark Step-by-Step
- Customization Ideas for Your Candy Bark
- Storage and Serving Tips
- More Delicious Candy Recipes
- Shop the Recipe
Why You’ll Love Making This Halloween Candy Bark
Beyond its irresistible taste, this Halloween Candy Bark offers a myriad of reasons to become your go-to festive treat. Firstly, it’s incredibly **easy and quick** to prepare, requiring minimal kitchen skills and just minutes of active time. It’s a **no-bake dessert**, which means no oven time and less cleanup, making it ideal for busy schedules or when you want to keep the kitchen cool.
Secondly, it’s the ultimate **leftover candy solution**. Instead of letting excess Halloween candy languish, transform it into a gourmet-looking treat that everyone will adore. This recipe is also wonderfully **customizable**. You’re not restricted to a fixed list of ingredients; any chocolate bar, chewy candy, or crunchy nut can find its place on this bark. This makes it a fantastic project for kids, who can have fun choosing their favorite toppings.
Finally, Halloween Candy Bark is a fantastic **crowd-pleaser**. Its vibrant colors and varied textures make it a visually appealing addition to any Halloween party spread, and it can even be packaged into charming **homemade gifts** for friends and neighbors. Its versatility and deliciousness ensure it will disappear quickly wherever it’s served!
Ingredients You’ll Need for the Perfect Bark
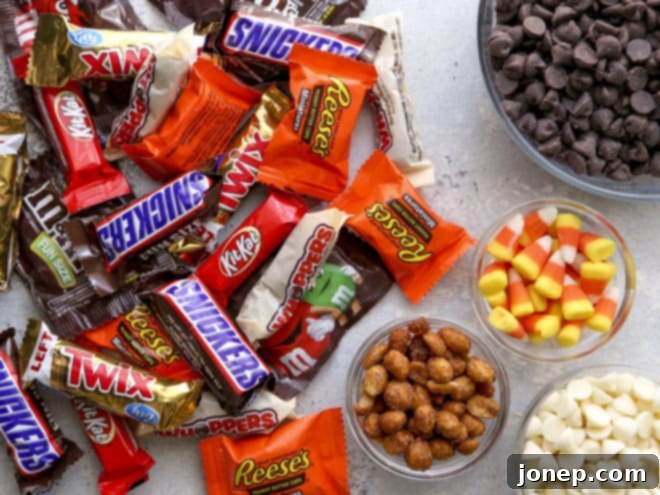
Creating this spectacular Halloween Candy Bark requires a simple yet impactful list of ingredients. The beauty is in the balance of the chocolate base and the diverse textures and flavors of the toppings. Here’s what you’ll need to gather to get started:
- **Bittersweet Chocolate:** This forms the rich, dark base of your bark. Bittersweet chocolate provides a deep, slightly less sweet flavor that beautifully balances the sweetness of the added candies. You can use chopped chocolate bars or high-quality chocolate chips for convenience.
- **White Chocolate:** Essential for that vibrant, spooky drizzle on top. Opt for good quality white chocolate chips or bars for the best melting consistency and flavor. This adds a lovely visual contrast and an extra layer of sweetness.
- **Honey Roasted Peanuts:** These are a fantastic addition for a salty-sweet crunch. The honey roasting adds an extra layer of flavor that complements the chocolate and other candies perfectly. Feel free to use plain roasted peanuts or even mixed nuts if you prefer.
- **Chopped Candy Bars:** This is where the fun begins! Think Reese’s Peanut Butter Cups, Kit Kat, Snickers, Milky Way, Twix, or any other fun-sized chocolate bars you have leftover. Chopping them ensures an even distribution and makes the bark easier to break and eat.
- **M&Ms or Reese’s Pieces:** These small, colorful candies add a delightful pop of color and a satisfying crunch (or melty peanut butter goodness). They are quintessential Halloween candies and really bring the festive theme to life.
- **Candy Corn:** Love it or hate it, candy corn is undeniably iconic for Halloween. It adds a distinct chewiness and classic festive look to your bark. If you’re not a fan, sprinkles or other small, colorful candies can be a great substitute.
Remember, the quantities listed in the full recipe card below are a guideline. Feel free to adjust based on your personal preference and the amount of leftover candy you have!
How to Melt Chocolate Perfectly (No Scorching!)
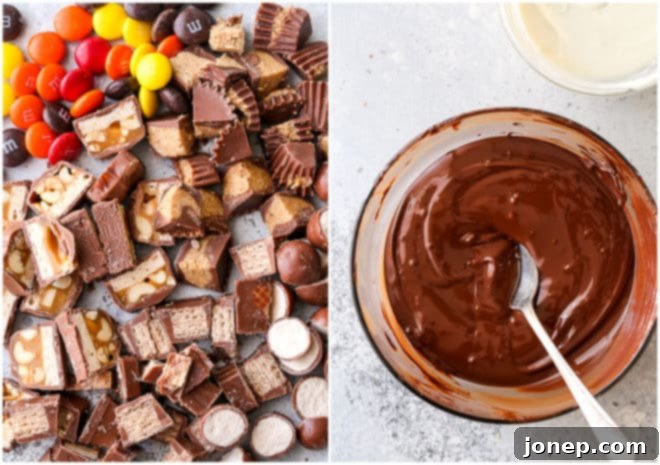
While making candy bark is one of the simplest recipes out there, the single most crucial step is melting your chocolate correctly. Improperly melted chocolate can become scorched, grainy, or seize up, leading to a disappointing result. Don’t worry, with these simple tips, you’ll achieve perfectly smooth, glossy chocolate every time:
On the Stove (Double Boiler Method)
- **Prepare the Setup:** Choose a heatproof bowl (glass or stainless steel works best) that fits snugly over a small saucepan without touching the bottom. Fill the saucepan with about 1-2 inches of water.
- **Gentle Heat:** Place the chocolate (chopped into small, even pieces or chips for faster melting) in the heatproof bowl. Set the bowl over the saucepan, ensuring the bottom of the bowl does not touch the water. Bring the water to a very gentle simmer over medium-low heat – you want steam, not boiling water aggressively bubbling up.
- **Stir Consistently:** As the chocolate begins to melt from the steam, stir it gently and continuously with a spatula. This promotes even melting and prevents hot spots.
- **Remove Early:** This is key! Once almost all of the chocolate is melted and only a few small lumps remain, remove the bowl from the heat. The residual heat will continue to melt the remaining chocolate.
- **Finish Stirring:** Continue stirring the chocolate off the heat until it is completely smooth, glossy, and free of any lumps. This “carryover cooking” prevents overheating.
In the Microwave
- **Use a Microwave-Safe Bowl:** Place your chocolate (chopped or chips) in a microwave-safe bowl.
- **Short Bursts & Stirring:** Heat the chocolate in 30-second intervals on medium power (around 50-70% power). After each interval, remove the bowl and stir the chocolate thoroughly, even if it doesn’t look like much has melted. Stirring helps distribute heat and prevents burning.
- **Observe Closely:** You should only need to heat the chocolate for about 90 seconds to 2 minutes total, depending on your microwave’s wattage and the amount of chocolate.
- **Remove Early:** Just like with the double boiler, remove the chocolate from the microwave when it’s *almost* melted, with a few small pieces still visible.
- **Finish Stirring:** Stir continuously until the chocolate is completely smooth and melted by the residual heat.
Removing the chocolate from the heat when it’s almost melted, but a few lumps still remain, is critical. This technique leverages residual heat to finish the melting process, preventing the chocolate from getting too hot and scorching. Scorched chocolate “seizes up,” becoming thick, grainy, and unworkable, and unfortunately, this process cannot be reversed. Patience and gentle heat are your best friends for perfectly melted chocolate!
How to Make Halloween Candy Bark Step-by-Step
Once you’ve mastered the art of melting chocolate, assembling your Halloween Candy Bark is a delightfully straightforward process. Follow these steps for a spooktacular treat:
- **Prepare Your Toppings:** This is where the personalization begins! Lay out all the candy bars, nuts, and small candies you plan to use. Chop any larger candy bars into bite-sized pieces. Aim for a variety of textures and colors. Having everything prepped before you start melting the chocolate will ensure a smooth assembly process.
- **Melt the Chocolates:** Following the detailed instructions above, melt your bittersweet (or dark) chocolate separately from your white chocolate. Remember to use either a double boiler or the microwave method, stirring frequently and removing from heat or microwave when only a few small pieces remain. Continue stirring until both chocolates are perfectly smooth and glossy.
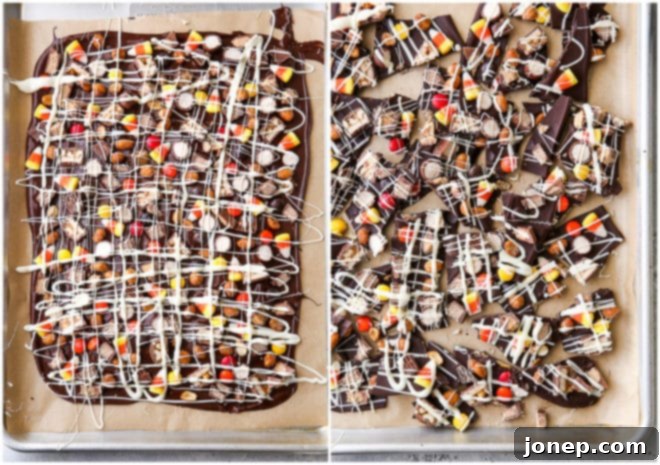
- **Create the Chocolate Base:** Line a large baking sheet (approximately 9×13 inches or a half-sheet pan) with parchment paper or wax paper. This is crucial for easy removal of the finished bark. Pour the melted dark chocolate onto the lined sheet pan. Using an offset spatula or the back of a spoon, spread the chocolate evenly into a thin layer, aiming for about ¼-inch thickness. Ensure the edges are relatively consistent for a uniform bark.
- **Add Toppings and Drizzle:** While the dark chocolate base is still wet and warm, quickly scatter your prepared chopped candy bars, candies (M&Ms, Reese’s Pieces, candy corn), and honey roasted peanuts over the surface. Gently press some of the larger pieces into the chocolate to ensure they adhere. Next, take your melted white chocolate and, using a spoon or a piping bag with a small tip, drizzle it artistically over the entire bark. You can create zig-zags, swirls, or random patterns for visual appeal.
- **Cool Completely:** To set the bark quickly and ensure a firm, snappy texture, transfer the baking sheet to the refrigerator. Allow it to chill for at least 1 hour, or until the chocolate is completely firm and hard to the touch. This chilling process prevents the chocolate from becoming soft and messy when broken.
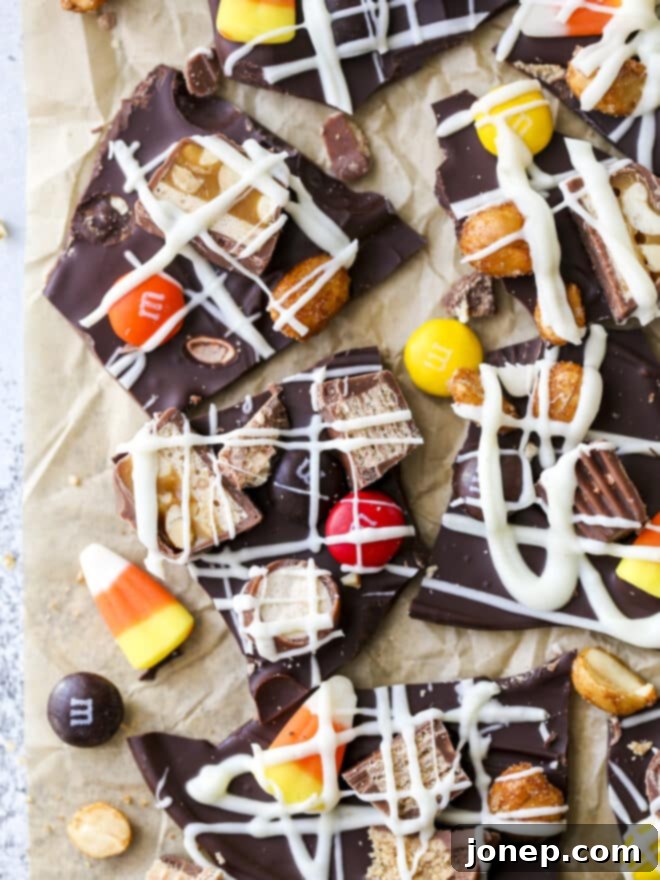
- **Break into Pieces and Store:** Once fully set, remove the bark from the refrigerator. You can either use a sharp knife to cut it into desired pieces or simply use your hands to break it into irregular, rustic chunks. Store the Halloween Candy Bark in an airtight container at room temperature (if your home is cool) or in the refrigerator for extended freshness. It will last for several weeks, though it’s usually devoured much sooner!
Customization Ideas for Your Candy Bark
One of the most exciting aspects of making Halloween Candy Bark is its incredible versatility. Don’t feel limited by the suggestions above; let your imagination and your candy stash guide you! Here are even more ideas to inspire your unique creation:
- **Beyond Chocolate Bars:** Consider adding crushed Oreos, pretzels (for a salty crunch), dried cranberries or cherries for a tart counterpoint, mini marshmallows, or even a sprinkle of sea salt to enhance the chocolate flavor.
- **Seasonal Sprinkles:** Immediately after drizzling the white chocolate, sprinkle on some Halloween-themed sprinkles (ghosts, pumpkins, bats, or classic orange and black jimmies) for an extra festive touch.
- **Different Chocolate Bases:** While bittersweet chocolate provides a rich foundation, you could experiment with milk chocolate for a sweeter bark, or even a blend of dark and milk. For a truly vibrant bark, use colored candy melts (orange, green, purple) as a base or for the drizzle.
- **Nutty Additions:** Instead of just honey-roasted peanuts, try chopped almonds, pecans, walnuts, or even candied nuts for a different flavor profile.
- **Fruity Fun:** For a hint of freshness and chewiness, add small pieces of dried fruit like apricots or mango, or even freeze-dried berries.
- **Spice It Up:** A tiny pinch of chili powder or cayenne pepper mixed into the dark chocolate can add an unexpected and intriguing warmth.
The key is to create a balance of flavors and textures that you and your guests will enjoy. Have fun mixing and matching, and remember that every piece of bark will be a delightful surprise!
Storage and Serving Tips
Proper storage is essential to keep your Halloween Candy Bark fresh and delicious. Once broken into pieces, store the bark in an airtight container. If your home is cool (below 70°F or 21°C), it can be kept at room temperature for up to 1-2 weeks. For longer storage, or if you live in a warmer climate, refrigerate the bark for up to 3-4 weeks. You can also freeze it for up to 2-3 months; just be sure to thaw it in the refrigerator before serving.
This candy bark is perfect for:
- **Halloween Parties:** Arrange a beautiful platter for a stunning centerpiece.
- **Edible Gifts:** Package pieces in cellophane bags with festive ribbons for thoughtful homemade presents.
- **Movie Night Treats:** A delicious and easy snack for a cozy night in.
- **Lunchbox Surprises:** A small piece makes a fun addition to a child’s lunch.
More Delicious Candy Recipes
If you loved making this candy bark, you might be interested in exploring other homemade candy creations. Here are a few more delightful recipes to satisfy your sweet tooth:
- Chocolate Caramel Corn
- Homemade Snickers Bars
- Chocolate Covered Caramels
- Chocolate Marshmallow Cups
Shop the Recipe
To make this recipe even easier, here are some helpful tools and ingredients you might consider for your kitchen. Having the right equipment can make all the difference!

Halloween Candy Bark
Pin Recipe
Leave a Review
Ingredients
- 1 lb bittersweet chocolate , chopped or use chocolate chips
- 6-9 fun sized candy bars , roughly chopped
- ¼ cup honey roasted peanuts
- ¼ cup candy corn
- ¼ cup M&Ms or Reese’s Pieces
- 3 ounces quality white chocolate , chopped or use chips
Instructions
-
Melt the bittersweet chocolate in a heat proof bowl set over a saucepan of simmering water, or in the microwave in 30-second intervals. Stir until smooth and completely melted.
-
Remove from heat and pour the melted chocolate onto a parchment paper-lined sheet pan. Spread the chocolate into an even layer, about ¼ inch thick and roughly 8×12 inches in size.
-
While the dark chocolate is still wet, scatter the chopped candy bar pieces, honey roasted peanuts, M&Ms or Reese’s Pieces, and candy corn evenly over the surface. Gently press each piece to ensure it adheres to the chocolate base.
-
Melt the white chocolate using the same gentle method you used for the bittersweet chocolate. Drizzle the melted white chocolate artfully over the top of the candy bark.
-
Transfer the sheet pan to the refrigerator and let the bark cool and firm up completely for at least 1 hour. Once firm, break or cut the candy bark into irregular pieces. Store in an airtight container in a cool place or the fridge for several weeks.
Notes
Adapted from Bon Appetit.
