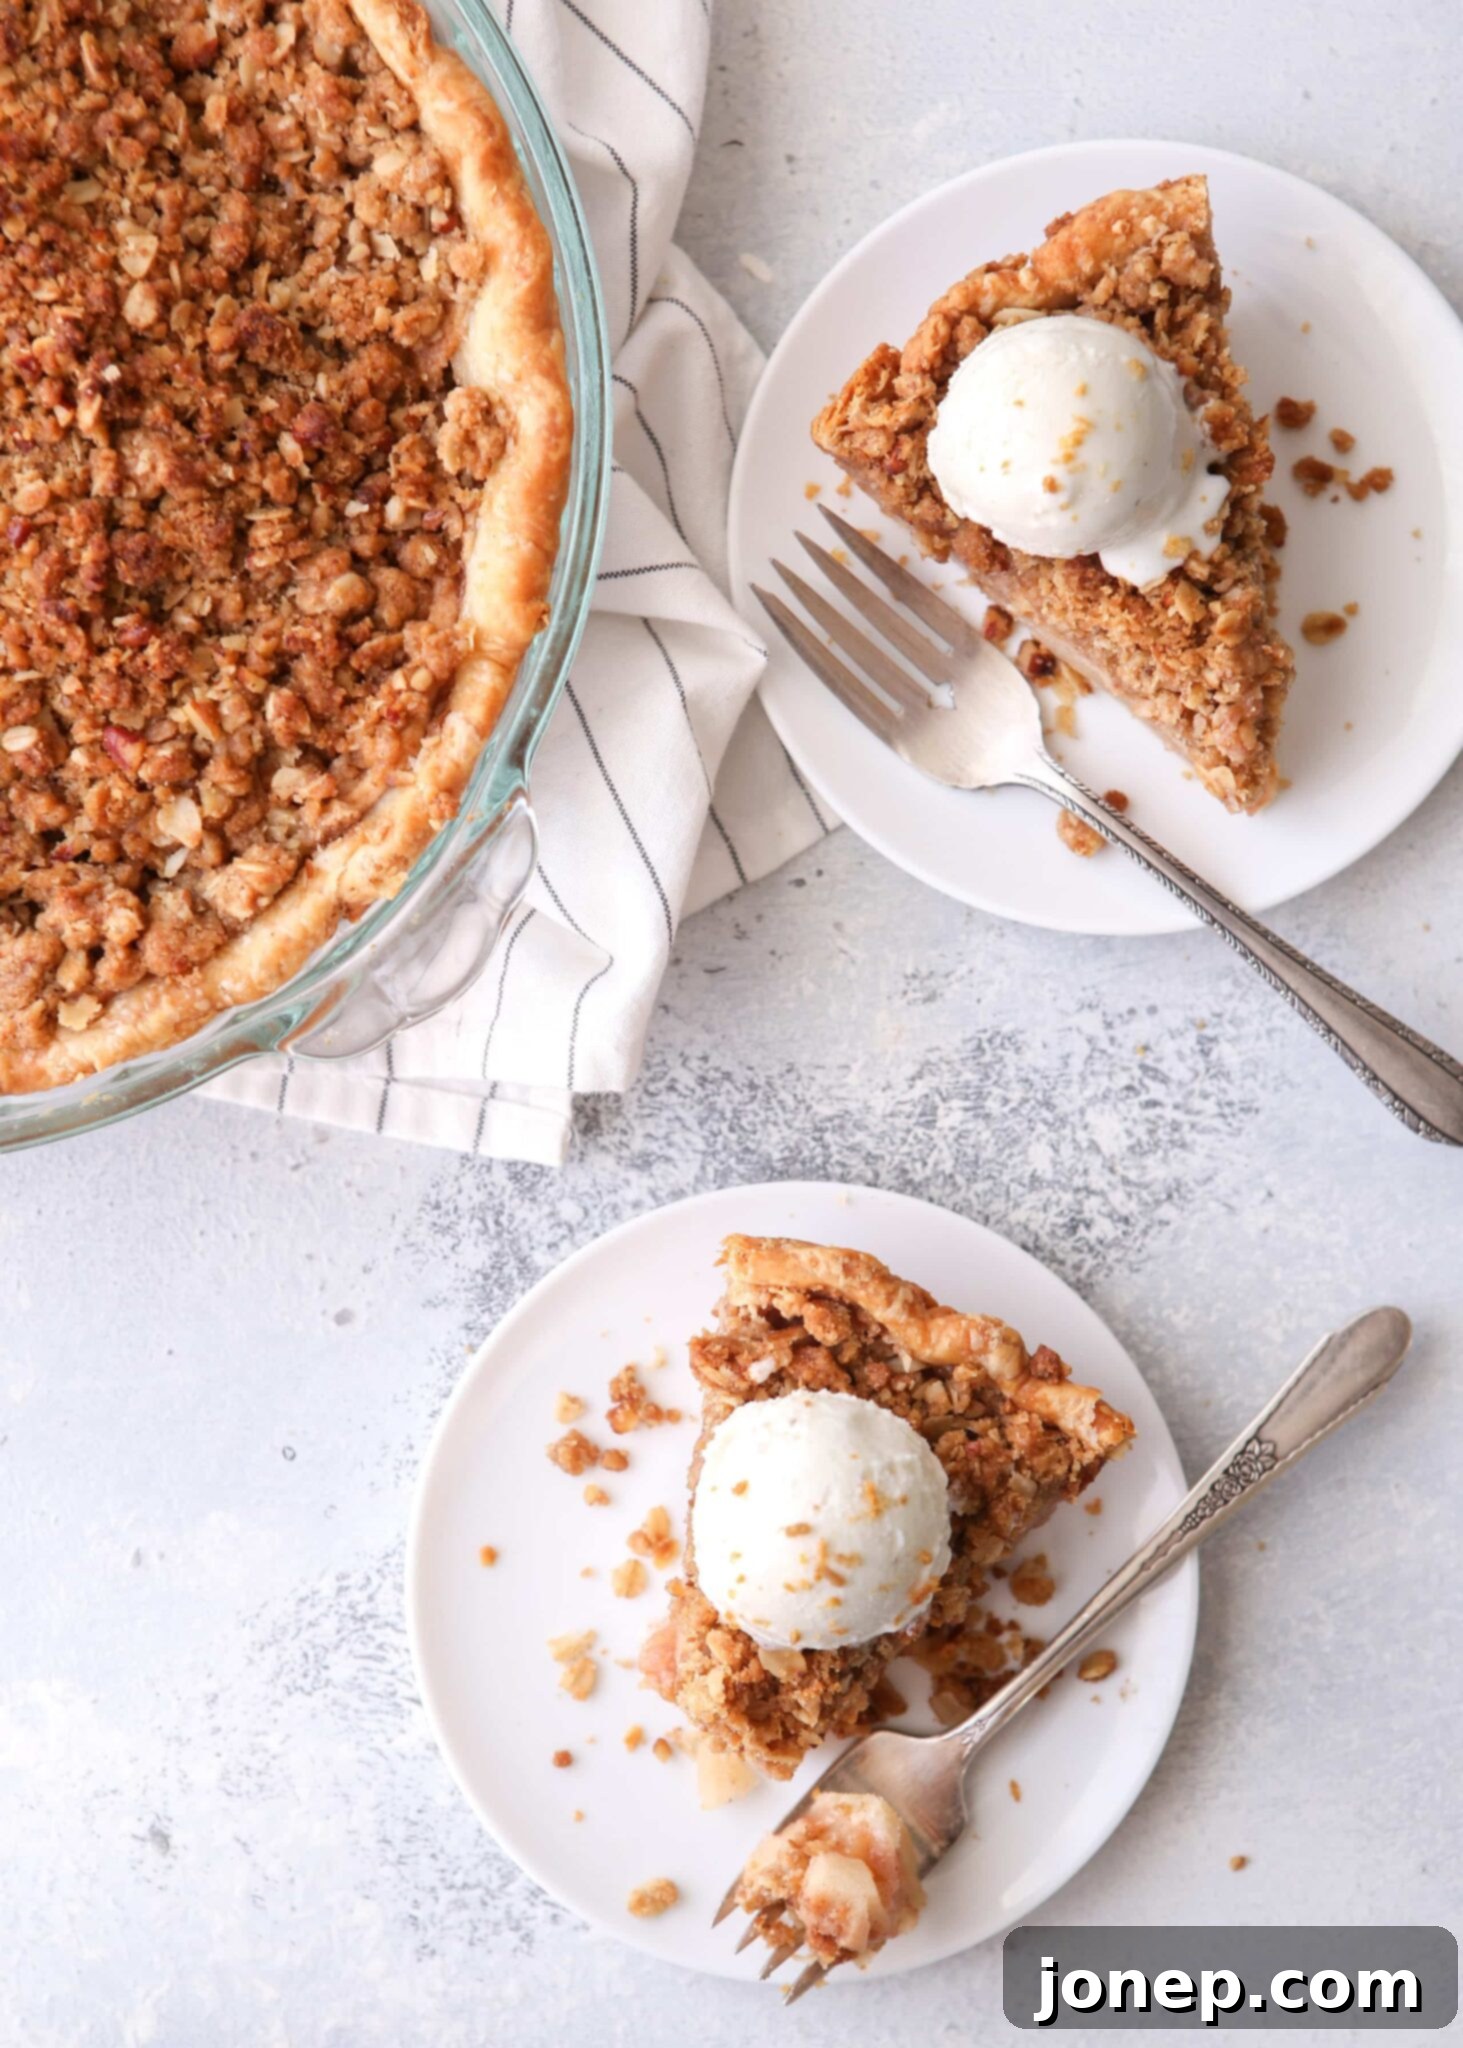
Irresistible Dutch Apple Pie with Pecan Oat Crumb Topping: Your New Favorite Holiday Dessert
Few desserts evoke the warmth and comfort of home quite like a classic apple pie. Yet, for those seeking a delightful twist on tradition, this Dutch Apple Pie with its rich pecan and oat crumb topping offers an unparalleled experience. It’s a dessert that perfectly marries the familiar flavors of fall with an exciting new texture, making it an instant crowd-pleaser and a potential star of your holiday table.
Indeed, it’s hard to imagine a Thanksgiving celebration, or any festive gathering, without the comforting presence of apple pie. While classic pumpkin and pecan pies certainly have their undeniable charm, there’s something truly special about a generous slice of apple pie, especially when paired with a scoop of melting vanilla ice cream. And as much as we adore the traditional double-crust apple pie, this Dutch variant, with its magnificent streusel topping, might just steal your heart entirely.
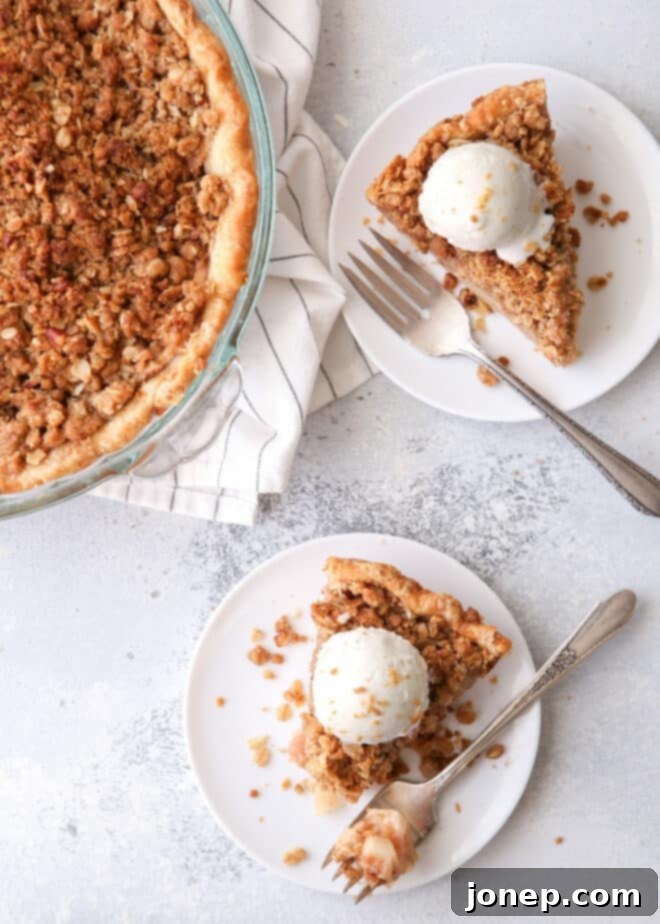
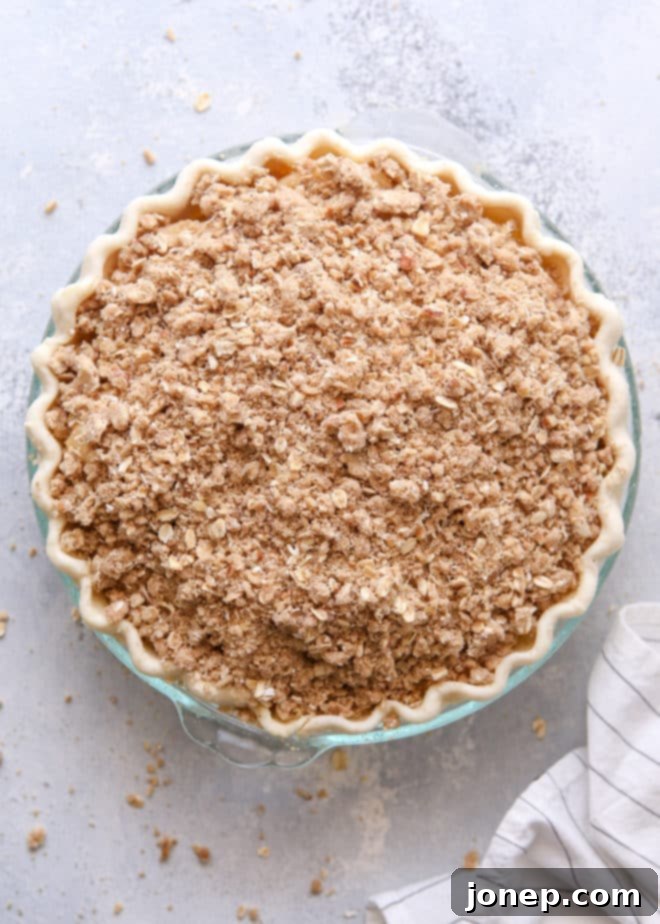
What makes this particular Dutch Apple Pie truly stand out is its masterful construction and thoughtful additions. It begins with a solid foundation: a beautifully flaky pie crust, offering a delicate yet sturdy counterpoint to the robust flavors above. Layered generously within is a luscious filling of perfectly sliced apples, lovingly spiced with aromatic cinnamon and just the right amount of sugar to bring out their natural sweetness. But the real showstopper, the element that elevates this pie from excellent to extraordinary, is the incredible streusel topping. A harmonious blend of hearty old-fashioned oats, finely chopped pecans, rich brown sugar, and creamy butter, this crumbly crown provides an irresistible textural contrast and a depth of flavor that transforms an ordinary apple pie into an unforgettable culinary delight.
Understanding Dutch Apple Pie: A Culinary Classic Reimagined
So, what exactly sets Dutch apple pie apart from its more common American cousin? The primary distinction lies in the topping. While traditional American apple pies typically feature a double crust – a bottom crust and a solid or lattice-work top crust – Dutch apple pie embraces a delightful streusel or crumb topping. This is a defining characteristic, offering a textural experience that is both crunchy and tender, a welcome contrast to the soft, spiced apple filling.
Our recipe takes this concept a step further by enhancing the classic crumb topping with the addition of wholesome oats and flavorful pecans. The oats contribute a rustic heartiness and subtle chew, while the finely chopped pecans introduce a nutty richness that complements the apples and cinnamon perfectly. It’s this unique combination that makes each bite a symphony of textures and tastes.
Crafting the Perfect Crumb Topping: Tips for Success
The streusel topping is arguably the star of this Dutch apple pie, and getting it just right is crucial. Here’s a closer look at what makes it so special and how to achieve perfection:
- The Role of Oats: We use old-fashioned rolled oats, which add a wonderful chewiness and a slightly nutty flavor that complements the pecans and apples. Quick oats can be used in a pinch, but they will result in a less substantial crumb.
- Pecans – Finely Chopped is Key: While pecans bring an incredible depth of flavor and a delightful crunch, their size matters. As noted in the original recipe, it is essential to chop the pecans finely. Larger pieces are prone to burning during the baking process, which can introduce an undesirable bitter note to your otherwise sweet pie. Aim for pieces that are roughly the size of a small pea or even smaller.
- The Magic of Butter: Cold, cubed unsalted butter is worked into the dry ingredients (flour, brown sugar, salt, cinnamon, oats, and pecans). The goal is to incorporate the butter until the mixture resembles coarse crumbs with some pea-sized pieces of butter remaining. This method, whether achieved with a pastry blender or your fingertips, ensures that the butter melts slowly in the oven, creating steam that results in that signature light, crisp, and buttery streusel. Avoid overmixing, as this can lead to a tough, less crumbly topping.
- Brown Sugar’s Sweetness: Using brown sugar, either light or dark, adds a caramel-like depth to the topping that white granulated sugar simply can’t replicate. It also helps achieve that beautiful golden-brown color during baking.
Comprehensive Pie Tips and Expert Advice for Baking Success
Baking a perfect pie, whether it’s a Dutch apple pie or any other variety, involves a few key principles and handy tricks. Here are some of our most valuable tips to ensure your pie turns out beautifully every time, from the flakiest crust to the most succulent filling:
- Achieving a Foolproof Flaky Pie Crust: A common frustration for pie bakers is a soggy bottom crust. This can be prevented by ensuring your dough is properly chilled, handled minimally, and baked until a light golden color before adding the filling (sometimes called blind baking, though this recipe uses a single-bake method). For a deep dive into achieving the perfect pastry every time, check out our comprehensive guide on how to make foolproof flaky pie crust. This resource covers everything from ideal ingredient temperatures to crucial handling techniques.
- Making Pie Crust with a Food Processor: If you find making pie crust by hand daunting or simply want to save precious time, a food processor can be your best friend. It makes quick work of cutting cold butter into flour, leading to a consistently flaky and tender crust with minimal effort. Learn the easy steps and benefits in our dedicated article: How to make pie crust in the food processor.
- Preparing and Storing Pie Crust in Advance: Holiday baking can often be hectic and time-consuming. Preparing your pie crust dough in advance is a significant game-changer for reducing stress. You can make the dough several days ahead and store it tightly wrapped in plastic in the refrigerator for up to a week, or even freeze it for up to three months for ultimate convenience. Find out the best practices for how to prep and store pie crust in advance so you’re always ready for a spontaneous baking session.
- General Wisdom for Perfect Pies: Beyond the crust, there are numerous small details and techniques that collectively contribute to a perfect pie. From understanding the nuances of different fillings to recognizing when your pie is perfectly baked, our comprehensive collection of the best tips for making perfect pies offers invaluable insights to elevate your baking skills and ensure consistent success.
- Investing in the Right Baking Tools: While certainly not strictly necessary for every baker, having a few key tools can make the pie-making process much smoother, more efficient, and ultimately more enjoyable. From specialized pie dishes that ensure even baking to pastry blenders that effortlessly create crumbly toppings, discover my favorite pie tools that can streamline your baking process and help you achieve professional-level results at home.
Selecting the Best Apples for Your Dutch Apple Pie
The type of apple you select can dramatically influence the texture and flavor of your pie filling, making it either a tender, fruity delight or a disappointing, watery mess. For an exceptional baked apple pie, you’ll want apples that are primarily tart, possess a firm flesh, and, most importantly, hold their shape well during the long baking process. Avoiding varieties that become mushy is crucial, as they can result in a watery or paste-like filling, detracting from the overall appeal of your pie. A clever trick many experienced bakers employ is combining different varieties; this adds a delightful complexity to your pie, offering layers of both sweet and tart notes that create a more balanced and exciting flavor profile.
baking tip:Recommended Apple Varieties for Baking
Some of the absolute best apples to bake with include: Granny Smith (renowned for its tartness and incredibly firm texture that holds up well), Jonagold (a great balance of sweet-tart with a crisp texture), Jonathan (known for its tartness and spicy flavor), Gala (offering a good balance of sweetness and crispness), Honeycrisp (famously sweet and exceptionally crisp, maintaining texture beautifully), and Pink Lady/Cripps Pink (a wonderful tart-sweet apple that retains its shape splendidly). For the most complex and satisfying apple flavor in your pie, consider using a thoughtful mix of two or three of these varieties.
Baking to Perfection: From Oven to Table with Confidence
Once assembled, your magnificent Dutch Apple Pie is ready for its delicious transformation in the oven. Baking at 375 degrees F (190 degrees C) is the ideal temperature, allowing the bottom crust to crisp up beautifully, the apple slices to soften and become wonderfully tender, and the streusel topping to achieve a rich, golden brown hue and irresistible crunch. It’s important to keep a watchful eye on the pie, especially towards the end of the baking cycle. If you notice the topping or the crimped edges of the crust browning too quickly, a simple and effective trick is to loosely tent the pie with aluminum foil for the remainder of the baking time. This prevents over-browning or burning while still allowing the filling to cook thoroughly and evenly. You’ll know your pie is perfectly ready when the apple filling is visibly bubbling around the edges of the pie dish, indicating that the fruit juices have thickened beautifully, and the streusel topping is a rich, inviting golden hue that promises a delightful crunch.
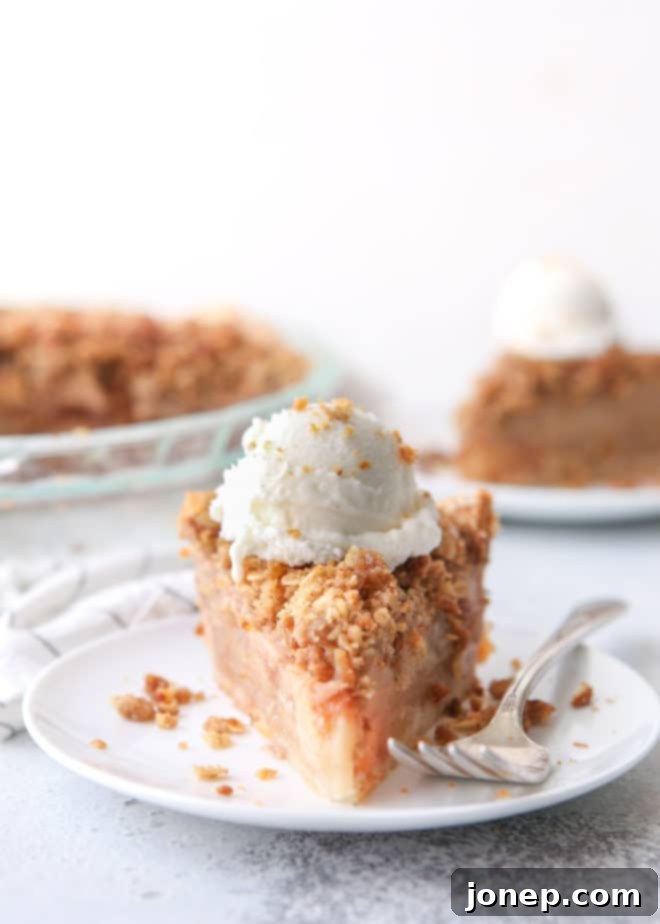
Patience is truly a virtue when it comes to pies, particularly apple pies. It is absolutely crucial to allow the pie to cool completely before attempting to slice and serve it. This extended cooling period allows the hot, syrupy filling to set properly and firm up, ensuring that you achieve clean, neat slices rather than a runny, messy presentation. While utterly delicious at room temperature, a warm slice (gently reheated for a few minutes in the oven or microwave, if preferred) topped with a generous dollop of premium vanilla ice cream or a cloud of homemade whipped cream is an absolute autumnal dream. The delightful contrast of the cold, melting cream against the warm, spiced apples and the crunchy streusel topping creates a truly magical and unforgettable dessert experience that will have everyone asking for seconds.
Shop Essential Tools for This Delicious Recipe
To help you create this perfect Dutch Apple Pie with ease and confidence, here are some highly recommended tools that will make your baking experience smoother and more enjoyable. These items are carefully chosen for their utility, durability, and effectiveness in the various stages of pie making:

Dutch Apple Pie
Pin Recipe
Leave a Review
Ingredients
For the crust:
- 1 pie crust recipe
- 1 large egg + 1 tablespoon water for wash
For the filling:
- 6 cups apples, peeled, cored (678 grams), and sliced (I used gala)
- ½ cup sugar (100 grams)
- 2 tablespoons all-purpose flour (15 grams)
- ½ teaspoon ground cinnamon
For the topping:
- ⅔ cup old-fashioned rolled oats (65 grams)
- ⅔ cup all-purpose flour (80 grams)
- ½ cup light or dark brown sugar (55 grams)
- ¼ teaspoon salt
- ¼ teaspoon ground cinnamon
- ½ cup pecans (57 grams), finely chopped
- 6 tablespoons unsalted butter (85 grams), cubed
Instructions
-
Preheat oven to 375 degrees F (190 degrees C). Line a sheet pan with parchment paper to catch any potential drips and make cleanup easier.
-
Roll out one half (see Note below for details on the other half) of the prepared pie dough on a lightly floured surface, aiming for a rough 15-inch circle. Carefully transfer the rolled dough to a 9-inch pie dish. Trim the edges to leave a 1-inch overhang around the rim. Tuck this overhang under itself and use your thumb and index finger to create a decorative, crimped edge. Finish by brushing the crimped edges with the egg wash (one large egg beaten with 1 tablespoon of water); this helps achieve a beautiful golden sheen and adds a touch of richness.
-
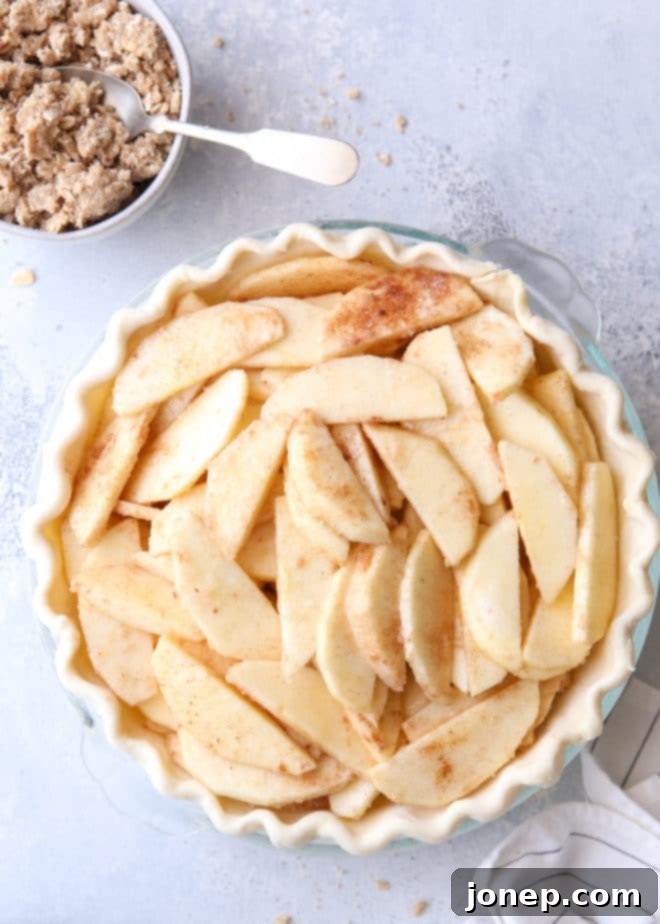
To prepare the delectable filling, gently toss together the peeled, cored, and sliced apples with the sugar, all-purpose flour, and ground cinnamon in a large bowl. Ensure the apples are evenly coated. Once mixed, carefully dump the entire apple mixture into the prepared pie crust, mounding it slightly in the center.
-
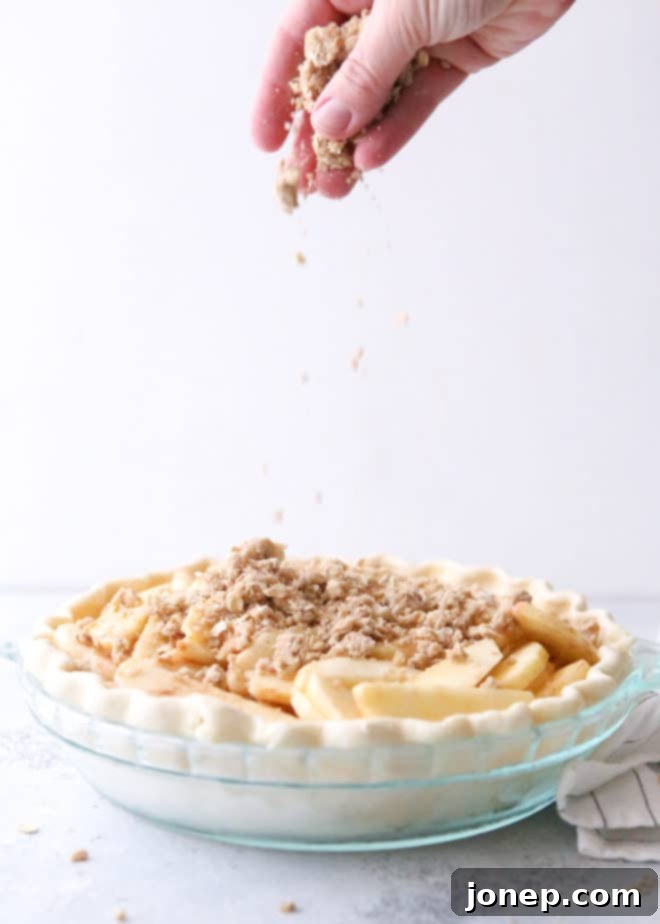
For the irresistible topping, combine the old-fashioned rolled oats, all-purpose flour, light or dark brown sugar, salt, ground cinnamon, and finely chopped pecans in a separate medium-sized bowl. Add the cold, cubed unsalted butter to this dry mixture. Using a pastry blender or a fork, cut the butter into the dry ingredients until the butter pieces are roughly the size of small peas. This method is key to a perfectly crumbly texture. Evenly sprinkle this glorious topping over the apple pie filling.
-
Carefully place the assembled pie on the prepared sheet pan and bake for 50-60 minutes. The pie is done when the topping is beautifully golden brown and the filling is visibly bubbling around the edges, indicating the apples are tender and the juices have thickened. If you notice the topping or crust browning too quickly at any point, simply cover the pie loosely with aluminum foil for the remainder of the baking time to prevent over-browning.
-
Allow the pie to cool completely on a wire rack before attempting to slice and serve. This crucial step allows the filling to set properly, ensuring clean, neat slices. Serve cool or gently heat up before serving for a warm treat. For an extra touch of indulgence, top with a dollop of whipped cream or a scoop of vanilla ice cream, if desired.
Notes
- For step-by-step photos and detailed tips on creating the perfect foundation for your pie, see my tutorial on how to make perfect flaky pie crust.
- This recipe specifically requires only one half of the entire pie crust recipe. Don’t discard the other half! You can easily reserve it for a later use. Store it tightly wrapped in plastic film in your refrigerator for up to 1 week, or freeze it for up to 3 months for maximum convenience and future baking projects.
This recipe was originally published November 2013. We’ve since updated and expanded the post to provide more helpful tips, detailed insights, and an even richer context for an exceptional baking experience.
