Mastering Homemade Old-Fashioned Buttermilk Doughnuts: A Timeless Recipe Guide
There’s nothing quite like the comforting aroma and taste of freshly made doughnuts. Forget the hassle of yeast or complex techniques; these old-fashioned buttermilk doughnuts are incredibly soft, tender, and reminiscent of your favorite bakery’s glazed cake doughnuts. This beginner-friendly recipe proves that making delicious doughnuts at home is not only achievable but also surprisingly simple.
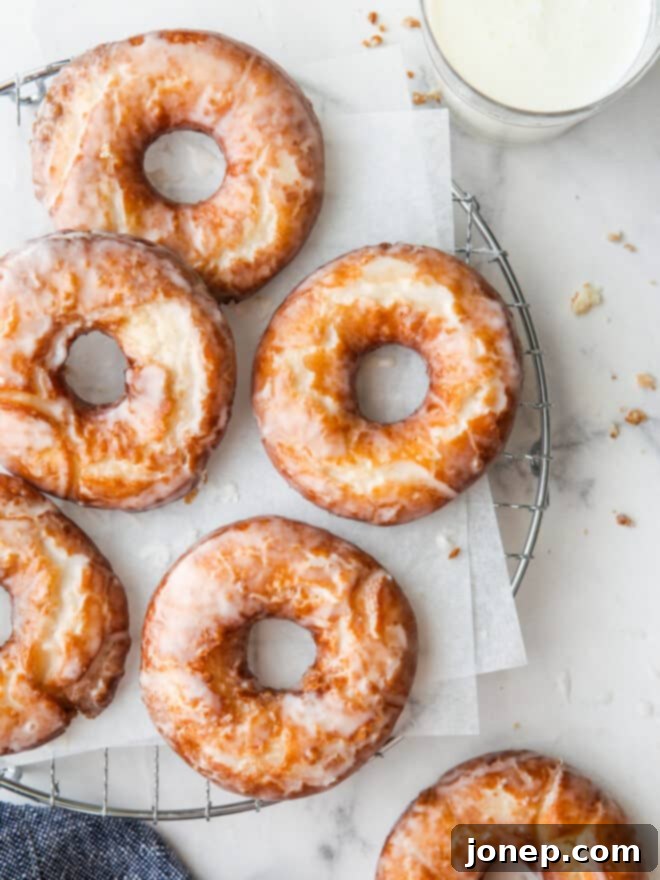
If you’ve ever dreamt of frying your own doughnuts, now is the perfect time to turn that dream into a delicious reality! This recipe for old-fashioned buttermilk doughnuts is an ideal starting point for any home baker. It utilizes common kitchen ingredients, and because it’s a cake doughnut recipe, there’s absolutely no yeast involved, making the dough exceptionally easy to prepare and handle.
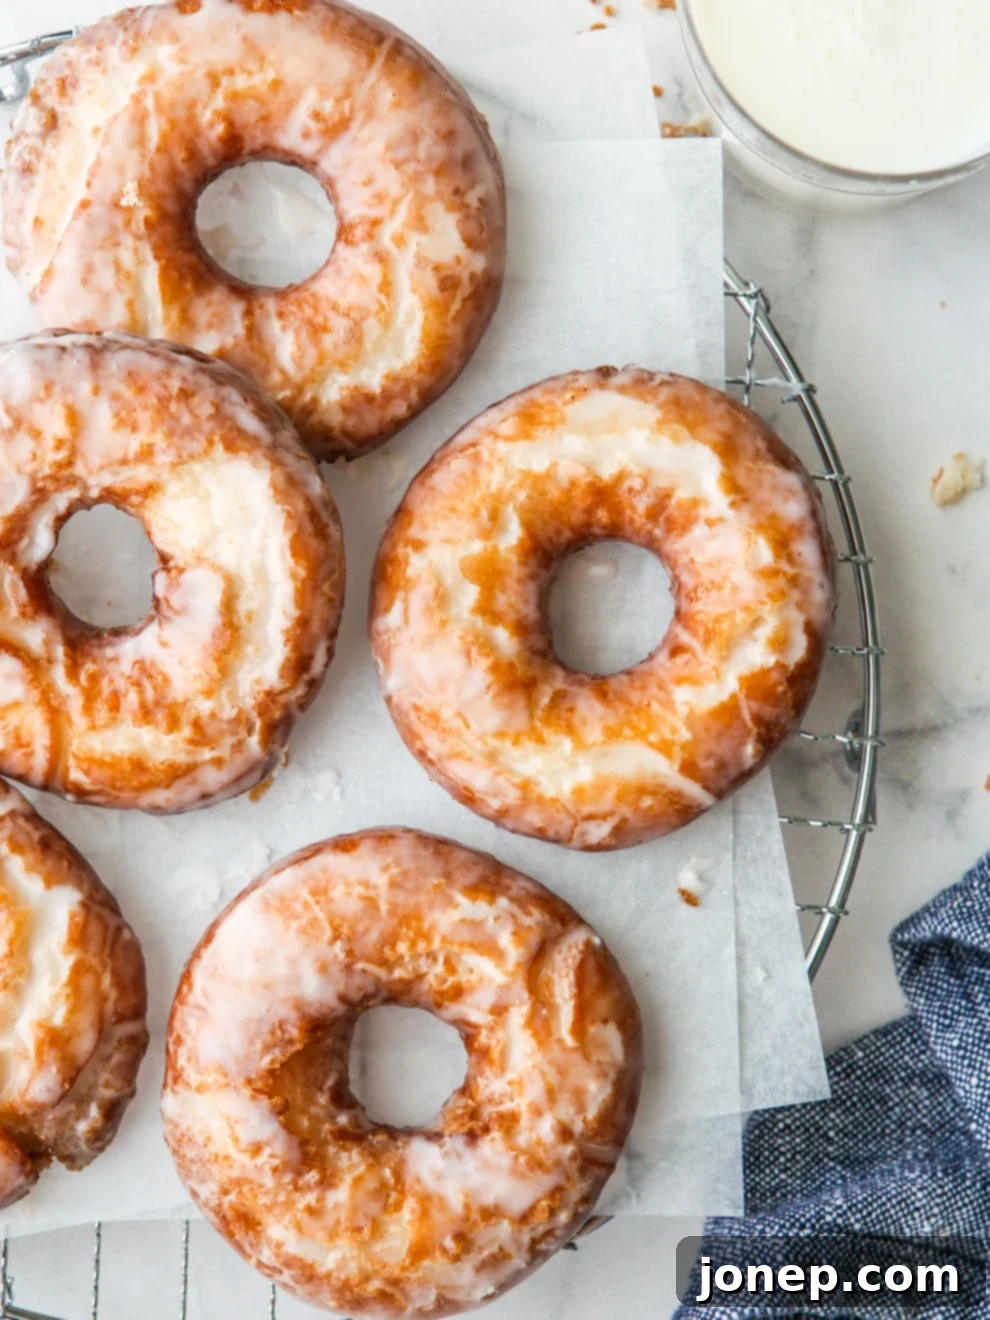
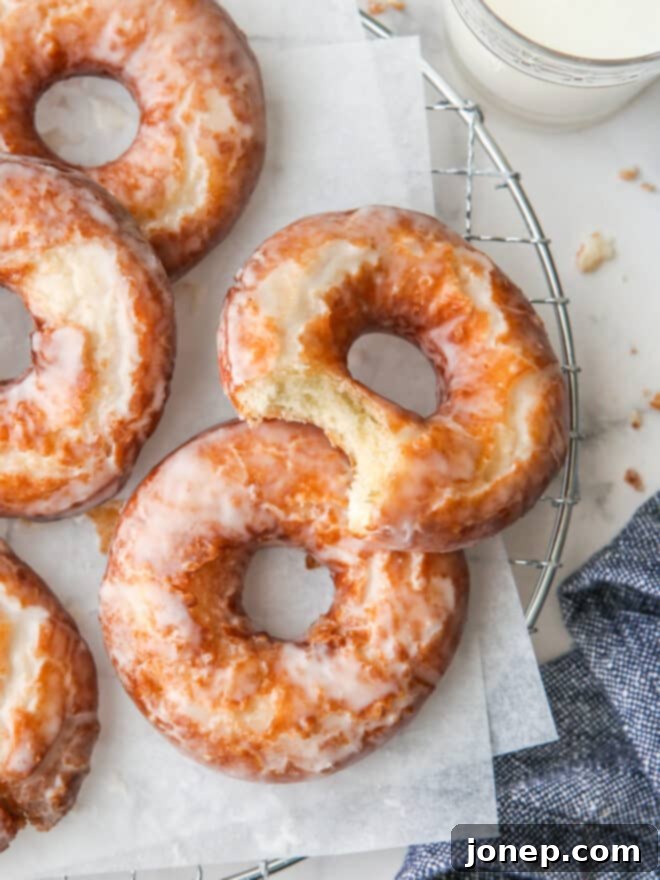
These delightful doughnuts are designed to fry up with a distinctively slightly crispy and beautifully cracked exterior, creating the perfect pockets to capture and hold a generous amount of sweet vanilla glaze. Inside, you’ll find a wonderfully soft, moist, and delightfully cakey texture that melts in your mouth. This particular recipe yields a perfect small batch of just 8 doughnuts – enough to share with loved ones or to keep entirely for yourself for a truly indulgent treat!
Table of Contents
- What are Old-Fashioned Doughnuts?
- Essential Ingredients for Your Doughnuts
- Step-by-Step: How to Make Old-Fashioned Buttermilk Doughnuts
- Expert Tips for Perfect Homemade Doughnuts
- More Irresistible Doughnut Recipes to Try
- Printable Old-Fashioned Buttermilk Doughnuts Recipe
What Exactly are Old-Fashioned Doughnuts?
Old-fashioned doughnuts, often affectionately referred to as “cake doughnuts,” stand apart from their yeast-risen counterparts. The primary difference lies in their leavening agent: instead of yeast, they rely on baking powder and buttermilk to achieve their characteristic rise and tender crumb. This recipe takes it a step further by incorporating cake flour, which contributes to an exceptionally delicate texture. Buttermilk not only provides essential moisture but also adds a subtle tang that complements the sweetness of the glaze beautifully. A touch of ground nutmeg is the secret ingredient that elevates the flavor, adding a warm, nostalgic spice without overpowering the doughnut. The final touch, a simple yet rich vanilla glaze, provides that irresistible sweet finish we all crave.
Unlike yeast doughnuts, which are airy and chewy, cake doughnuts offer a denser, richer, and more crumbly bite, reminiscent of a delicious cake. Their unique appearance, often featuring distinctive cracks and fissures on the surface after frying, is perfect for holding puddles of that luscious glaze. This classic style has been a beloved treat for generations, and once you try this homemade version, you’ll understand why!
Essential Ingredients for Your Doughnuts
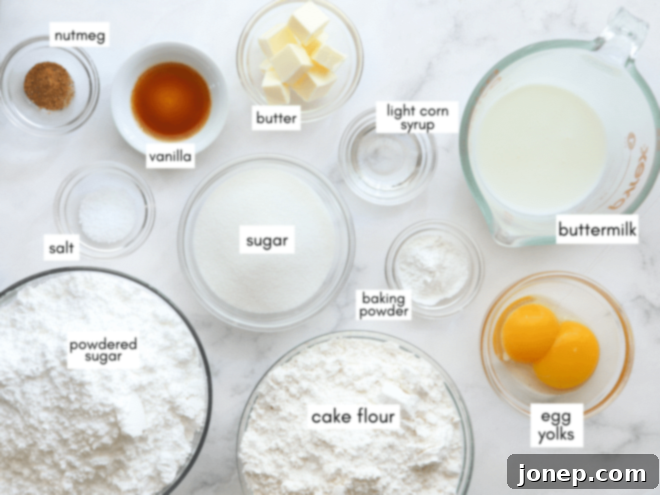
Gathering your ingredients is the first step to making these incredible old-fashioned doughnuts. You’ll find that most items are likely already staples in your pantry. Below is an overview of what you’ll need; the full, detailed recipe with exact measurements is available at the end of this article.
- Cake Flour: Key for that super tender, melt-in-your-mouth texture. All-purpose can be substituted, but cake flour truly makes a difference.
- Baking Powder & Salt: These are your leavening agents and flavor enhancers.
- Ground Nutmeg: This seemingly small addition is crucial for the authentic, classic old-fashioned doughnut flavor. Freshly grated is highly recommended for the best aroma.
- Granulated Sugar: For sweetness and to help create a tender crumb.
- Unsalted Butter: Adds richness and flavor to the dough.
- Large Egg Yolks: Provide richness, color, and contribute to the cakey texture.
- Buttermilk: Essential for activating the baking powder, adding moisture, and providing a subtle tangy flavor. If you don’t have buttermilk, you can easily make a substitute at home (see tips below).
- Canola or Vegetable Oil: For frying the doughnuts to golden perfection.
For the simple vanilla glaze, you’ll need powdered sugar, light corn syrup (for shine and smoothness), a pinch of salt, vanilla extract, and hot water.
Step-by-Step: How to Make Old-Fashioned Buttermilk Doughnuts
Making homemade doughnuts involves a few distinct steps, but each one is straightforward and rewarding. Follow these instructions for perfect, bakery-quality buttermilk doughnuts:
- Prepare the Dough: In the bowl of your stand mixer (or by hand), cream together the softened butter and granulated sugar until the mixture is light, fluffy, and resembles wet sand. This step incorporates air, contributing to the doughnut’s tenderness. Next, beat in the egg yolks one at a time until the mixture is pale yellow and creamy. In a separate bowl, sift together your dry ingredients: cake flour, baking powder, salt, and nutmeg. Gradually add the dry mixture to the butter-sugar mixture in three additions, alternating with the buttermilk. Begin and end with the dry ingredients, scraping down the sides of the bowl as needed to ensure everything is well combined. The resulting dough will be soft and quite sticky – this is exactly what you want for a tender cake doughnut!
- Allow the Dough to Rest and Chill: Once your dough is mixed, cover the bowl tightly with plastic wrap and transfer it to the refrigerator. Allow it to chill for at least 1 hour, or for even better flavor development and easier handling, you can chill it for up to 24 hours. Chilling is crucial as it firms up the sticky dough, making it much easier to roll and cut. It also allows the flour to fully hydrate and the flavors to meld.
- Roll and Cut Your Doughnuts: Generously flour your work surface and your rolling pin. Turn out the chilled dough onto the floured surface and roll it evenly to about 1/2-inch thick. Avoid rolling it too thin, as this will result in dry doughnuts. Use a dedicated doughnut cutter (which cuts both the ring and the hole simultaneously) or two different-sized round cutters (one for the main doughnut, a smaller one for the center hole). Dip your cutters into flour before each cut to prevent sticking. Carefully transfer the cut doughnuts and holes to a parchment-lined baking sheet.
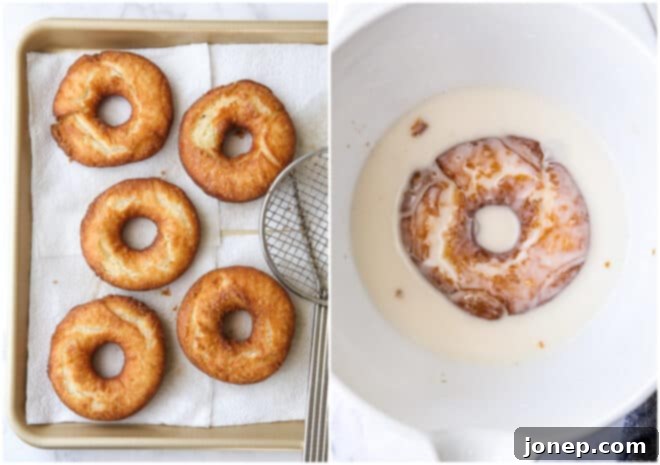
- Fry the Doughnuts to Golden Perfection: In a sturdy, heavy-bottomed pot (like a Dutch oven or cast iron pot), pour in enough canola or vegetable oil to reach at least 2-4 inches deep. Attach a deep-fry thermometer to the side of the pot and heat the oil over medium-high heat until it reaches 350°F (175°C). Maintaining the correct oil temperature is critical for perfect doughnuts; if it’s too cool, they’ll become greasy; if too hot, they’ll burn outside and be raw inside. Carefully lower a few doughnuts into the hot oil at a time, being careful not to overcrowd the pot. Fry for about 2 minutes per side, or until they are beautifully golden brown. Doughnut holes will cook faster, usually about 1 minute per side. Use a slotted spoon or spider strainer to gently flip them and then transfer them to a paper towel-lined wire rack to drain any excess oil. Adjust the heat as needed between batches to keep the oil at 350°F.
- Cover with a Silky Vanilla Glaze: While the doughnuts are still warm (but not hot), prepare your simple vanilla glaze. In a medium bowl, whisk together the sifted powdered sugar, light corn syrup, a pinch of salt, vanilla extract, and hot water until completely smooth and free of lumps. The consistency should be pourable but thick enough to coat the doughnuts. Dip each doughnut completely into the glaze, turning to coat both sides. Lift them out and place them on a clean wire rack set over a baking sheet. The baking sheet will catch any drips, making cleanup easy. Allow the glazed doughnuts to set for about 10-20 minutes, or until the glaze is no longer sticky.
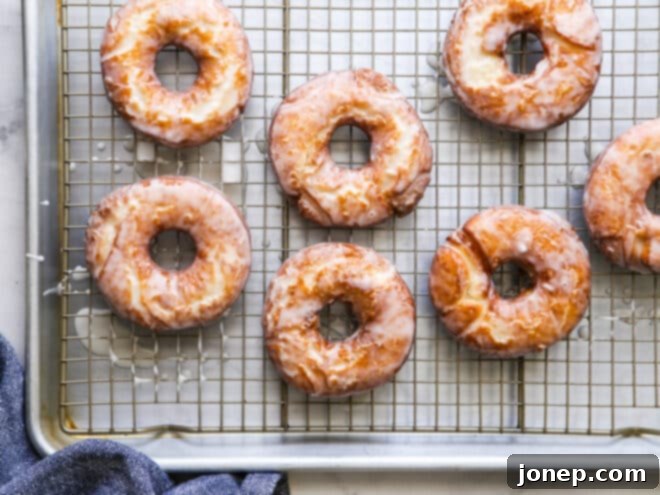
Once the glaze is set, it’s time to enjoy your incredibly delicious homemade old-fashioned buttermilk doughnuts!
Expert Tips for Perfect Homemade Doughnuts
Achieving bakery-quality doughnuts at home is easier than you think, especially with these helpful tips:
- Enjoy Them Fresh: While these doughnuts will keep in an airtight container at room temperature for several days, they are undoubtedly best enjoyed the day they are made. The fresh, tender texture and crisp glaze are unparalleled shortly after frying.
- Buttermilk Substitutes: If you don’t have buttermilk on hand, don’t worry! You can easily make your own. Simply measure out 1/3 cup (80 ml) of regular milk (dairy or non-dairy works) and stir in 1 teaspoon of lemon juice or white vinegar. Let it sit for 5-10 minutes until it slightly curdles. Voila, homemade buttermilk! Alternatively, you can use 1/2 cup of sour cream as a direct substitute in this recipe for a rich, moist result.
- Don’t Skip the Nutmeg: Nutmeg is the unsung hero of old-fashioned doughnuts. It adds a warm, subtle, and distinctly classic flavor that makes these taste truly authentic, without being overtly spicy. While technically optional, it’s highly, highly recommended for the best flavor profile. For an even more aromatic experience, use freshly grated nutmeg if you have it.
- Choose the Right Pot for Frying: A heavy-bottomed pot, such as a Dutch oven or a cast-iron pot, is ideal for frying. Its thick construction helps to distribute and retain heat more evenly, preventing temperature fluctuations. Ensure you fill the pot with at least 2-4 inches of oil so the doughnuts can float freely and cook consistently on all sides.
- Temperature Control is Key: For the best results, investing in a candy or deep-fry thermometer is highly recommended. Aim to keep your oil at a consistent 350-375°F (175-190°C). If the oil is too cool, your doughnuts will absorb too much oil, becoming greasy and heavy. If it’s too hot, the exterior will brown too quickly, leaving the inside raw. Remember that adding cold dough will drop the oil temperature, so fry in small batches and adjust the heat as needed.
- The Doughnut Hole Test: No thermometer? No problem! You can test the oil temperature by dropping a single doughnut hole into the hot oil. If it immediately sizzles, bubbles, and floats to the surface, the oil is ready. If it sinks and barely bubbles, the oil needs to heat up more. If it immediately burns, the oil is too hot.
- Safety First: Frying in hot oil requires caution. Wear an apron to protect your clothing from splatters. Use a long-handled slotted spoon, tongs, or a spider strainer to gently lower the doughnuts into the hot oil, flip them carefully, and remove them once cooked. Always keep a lid nearby to smother any potential oil fires (though these are rare if you’re careful).
- Glazing Aid: A toothpick or a small fork can be a handy tool for dipping and flipping the doughnuts in the glaze, especially if they are delicate or small.
- Proper Oil Disposal: Once you’re done frying, turn off the heat and allow the oil to cool completely to room temperature. Never pour hot oil down the drain, as it can clog pipes and harm the environment. Once cool, carefully pour the oil through a funnel into a sturdy container with a secure lid (like its original bottle or an old milk jug) and discard it in the trash, or consult your local waste management for oil recycling options.
More Irresistible Doughnut Recipes to Try
If you loved making these old-fashioned buttermilk doughnuts, you might enjoy exploring other doughnut variations:
- Yeast-Raised Doughnuts: For a different texture, try your hand at classic fluffy yeast doughnuts.
- Sourdough Apple Fritters: A delightfully crispy and tender treat bursting with apple flavor.
- Lemon Cinnamon-Sugar Doughnut Holes: Quick, bite-sized, and bursting with zesty flavor.
Printable Old-Fashioned Buttermilk Doughnuts Recipe

Old-Fashioned Buttermilk Doughnuts
Pin Recipe
Leave a Review
Ingredients
For the doughnuts:
- 2 ¼ cup cake flour (255 grams)
- 1 ½ teaspoon baking powder
- 1 teaspoon salt
- ½ teaspoon ground nutmeg (freshly ground preferred)
- ½ cup granulated sugar (100 grams)
- 2 tablespoons unsalted butter , cubed
- 2 large egg yolks
- ⅓ cup buttermilk (80 ml)
- Canola or vegetable oil , for frying
For the vanilla glaze:
- 3 ½ cup powdered sugar , sifted (350 grams)
- 1 ½ teaspoon light corn syrup
- ¼ teaspoon salt
- ½ teaspoon vanilla extract
- ⅓ cup hot water (80 ml)
Equipment
Instructions
To make the doughnuts:
-
In a bowl, sift together the cake flour, baking powder, salt and nutmeg.
-
In the bowl of a stand mixer fitted with a paddle attachment, beat the butter and sugar together until mixture resembles coarse wet sand (see Notes). Add the egg yolks and mix until thick and pale yellow in color, about 3-4 minutes.
-
Add the flour mixture to the bowl in 3 additions, alternating with the buttermilk, starting and ending with the dry ingredients, scraping the sides of the bowl down as necessary. The dough will be sticky.
-
Cover with plastic wrap and chill for 1 hour and up to 24 hours.
-
On a floured surface, roll out the chilled dough to about ½ inch thick. Use a doughnut cutter or two differently sized round cutters to cut out 3-4 inch doughnuts, dipping the cutters into flour as necessary to prevent sticking.
-
Pour the oil into a heavy bottomed pot to at least 2-4 inches deep. Insert a thermometer and heat to 350°F over medium-high heat.
-
Add the donuts to the heated oil a few at a time, careful not to overcrowd the pot. Fry on each side about 2 minutes until golden brown, and watch to make sure they don’t burn. Doughnut holes will fry about 1 minute on each side.
-
Remove with a slotted spoon and set on paper towels to drain.
-
Fry remaining doughnuts, adjusting heat as needed to maintain 350°F.
To make the glaze:
-
Mix all ingredients in a bowl with a whisk until smooth. Dip each donut into the glaze, flipping to cover both sides, making sure they are covered completely. Place on a wire rack above a sheet pan to catch any excess glaze. Let sit for 10-20 minutes until glaze is set.
-
Doughnuts are best the day they are made, but will keep in an air tight container at room temperature for a few days.
Notes
Notes:
- The addition of nutmeg adds something extra to these doughnuts. You can leave it out, but I highly recommend you include it. If you have it, freshly ground nutmeg is preferred.
- If you have a larger mixer like I do, it can be hard to mix the butter and sugar together since it’s such a small amount. If you find that the beater isn’t reaching very well, you can do this step by hand with a fork. Mash butter and sugar together to make a coarse sandy mixture.
Recipe adapted from Top Pot Hand-Forged Doughnuts.
This recipe was originally published in 2012. It has since been thoroughly updated with fresh photography, enhanced instructions, and slight improvements to the recipe for an even better baking experience.
We hope you enjoy making these classic old-fashioned buttermilk doughnuts as much as we do. They are a timeless treat that brings joy to any occasion, whether it’s a special breakfast, a delightful dessert, or a comforting snack. Happy frying!
