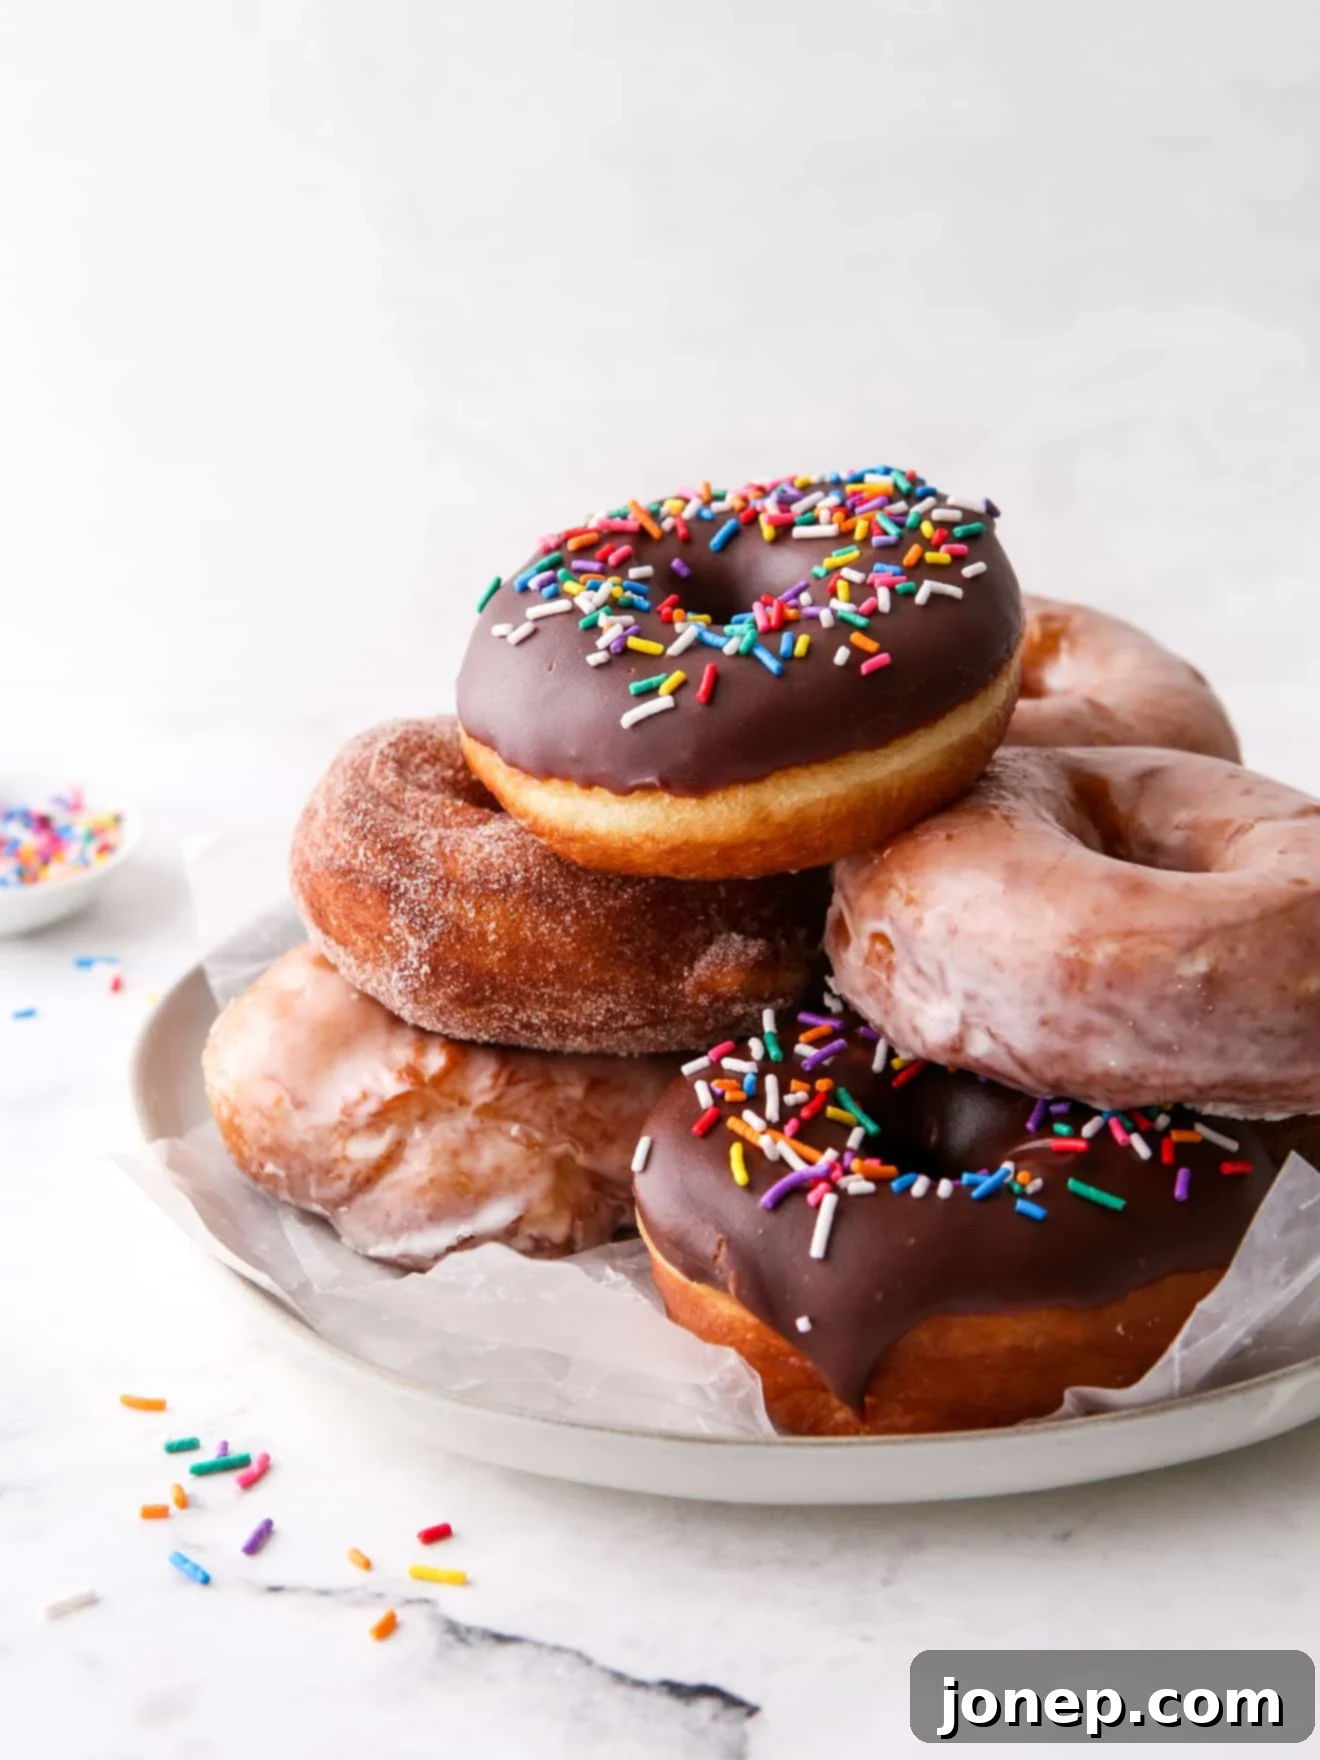
Homemade Fluffy Yeast-Raised Doughnuts: Your Guide to Perfect Sweet Treats
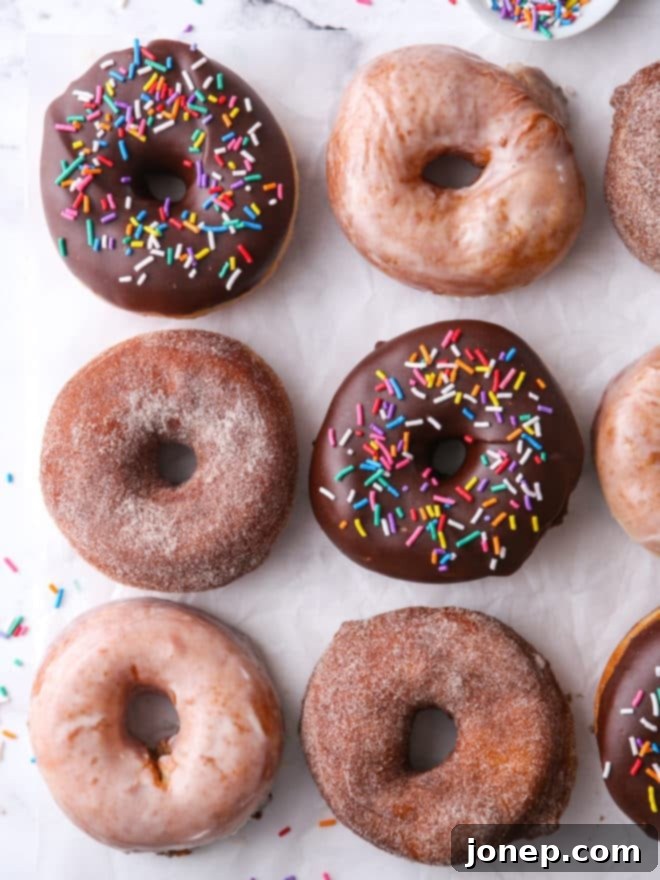
Prepare to experience pure bliss with these incredibly soft and wonderfully fluffy yeast-raised doughnuts. Forget everything you thought you knew about store-bought doughnuts – nothing compares to the fresh, warm delights made right in your own kitchen. This recipe offers three irresistible ways to enjoy them: coated in classic cinnamon-sugar, drizzled with a sweet vanilla glaze, or topped with rich chocolate frosting and colorful sprinkles. Trust us, picking a favorite will be your only real challenge!
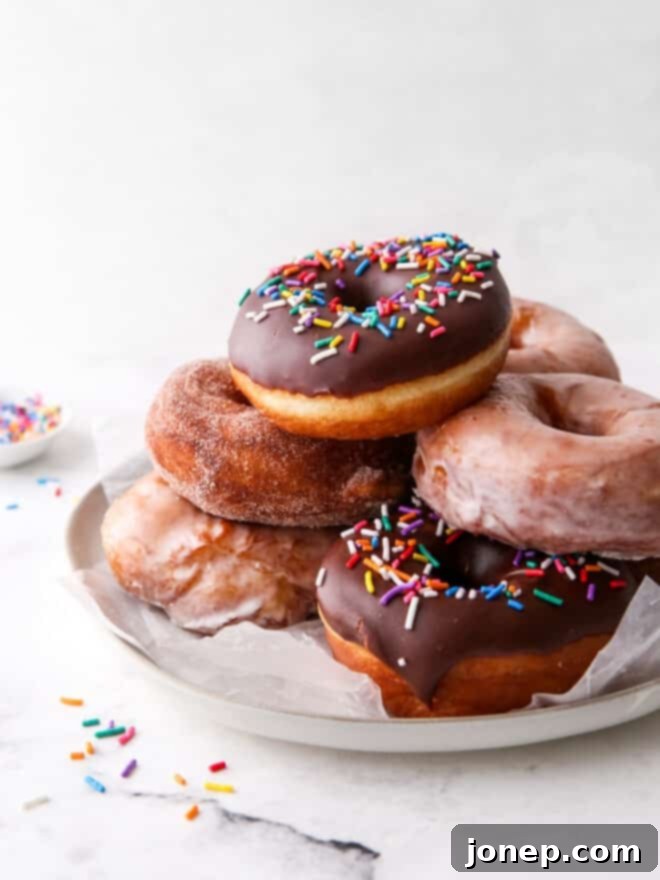
This beloved recipe was originally published in March 2014 and is proudly sponsored by Red Star Yeast, a brand I’ve trusted for years to deliver exceptional baking results.
It’s hard to believe now, but as a child, I actually had an aversion to doughnuts. Yes, you read that right! That past version of me must have been absolutely crazy to miss out on such delightful treats. If you’ve never had the pleasure of frying your own homemade doughnuts, you are truly missing out on an experience that transcends anything a bakery can offer. While I’ve savored many fabulous doughnuts from various shops, none have ever matched the incredible freshness, warmth, and unparalleled taste of those prepared in my own home. I confess, I may have single-handedly devoured almost all of these delicious yeast-raised doughnuts myself, but I like to think I’m just making up for all those lost years of doughnut-detesting, right?
Table of Contents
- Why You’ll Love These Homemade Yeast Doughnuts
- Essential Ingredients for Perfect Doughnuts
- My Secret to Baking Success: Red Star Yeast
- Step-by-Step: How to Make Yeast-Raised Doughnuts
- Three Irresistible Doughnut Toppings
- Make These Doughnuts Ahead: Tips & Storage
- More Doughnut Recipes to Try
- Get the Full Recipe
Why You’ll Love These Homemade Yeast Doughnuts
There are countless reasons to fall in love with these homemade yeast doughnuts. Here’s why they’ll quickly become a staple in your baking repertoire:
- Unbeatable Fluffiness and Flavor: These doughnuts boast an incredibly soft, tender crumb with a rich, comforting flavor that can only come from a perfectly executed yeast dough. Each bite is airy and melts in your mouth.
- Endless Topping Possibilities: While we provide three fantastic options—cinnamon-sugar, vanilla glaze, and chocolate with sprinkles—the beauty of homemade doughnuts is the freedom to customize! You can stick to one classic or indulge in all three for a truly varied and delightful platter.
- No Special Equipment Required: Don’t let the idea of frying intimidate you. You don’t need fancy gadgets. A simple heavy-bottomed pot and a slotted spoon are the main tools. However, a reliable kitchen thermometer is highly recommended to ensure your oil stays at the perfect temperature for consistent results.
- Beginner-Friendly with Expert Guidance: If you’re new to yeast baking or deep-frying, fear not! I’ll walk you through every single step of the process with clear, simple instructions, ensuring that even novice bakers can achieve perfectly golden, pillowy doughnuts. You’ll gain confidence and skills with each batch!
Ready to embark on this delicious journey? Let’s get baking!
Essential Ingredients for Perfect Doughnuts
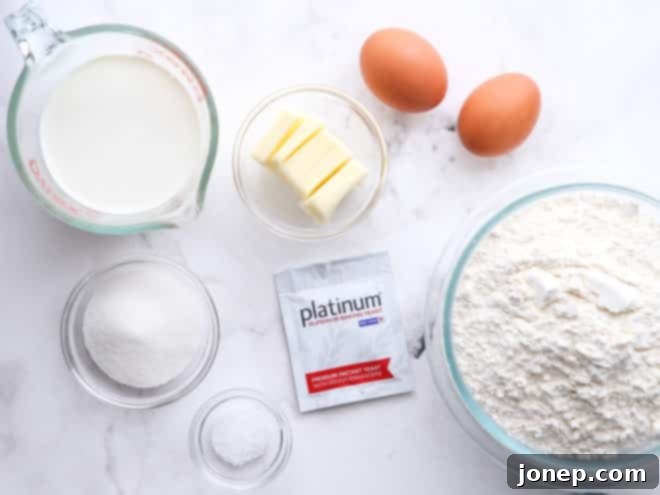
Crafting perfect yeast-raised doughnuts starts with a handful of simple, high-quality ingredients. Here’s a quick overview of what you’ll need to gather (find the full, precise measurements at the bottom of this article in the recipe card):
- All-purpose flour: The foundation of our dough, providing structure.
- Granulated sugar: Adds sweetness to the dough and feeds the yeast.
- Milk: Contributes to the tender texture and rich flavor of the doughnuts.
- Unsalted butter: For richness and a soft crumb.
- Eggs: Add moisture, color, and structure to the dough.
- Red Star Active-Dry Yeast or Platinum Red Star Yeast: The crucial ingredient that makes these doughnuts rise beautifully and become light and airy.
- Salt: Balances the sweetness and enhances flavor.
- Vegetable oil: Essential for deep frying your golden-brown treats.
- Desired toppings: Stock up on ingredients for cinnamon-sugar, vanilla glaze, or chocolate glaze with sprinkles, depending on your preference!
My Secret to Baking Success: Red Star Yeast
For many years, I’ve had the distinct pleasure of partnering with Red Star Yeast, and I can confidently say it’s the only brand of yeast you’ll find in my kitchen. When it comes to baking fluffy, perfectly risen doughs—be it for breads, rolls, or these incredible doughnuts—Platinum Red Star Yeast is my absolute go-to. Its unique formulation ensures consistent, reliable results every single time, making your baking experience less fussy and more enjoyable. You’ll notice that your dough rises better, often faster, and achieves a significantly higher volume, resulting in a superior finished product that truly impresses.
Beyond providing top-notch yeast, Red Star Yeast is also an incredible resource for home bakers. I highly recommend exploring their Baking Lessons section on their website. It’s packed with invaluable information, tips, and tricks for every stage of the bread-baking process, from activating your yeast to troubleshooting common issues. Whether you’re a beginner or an experienced baker, you’re sure to find something to elevate your skills and understanding of yeast baking.
Step-by-Step: How to Make Yeast-Raised Doughnuts
Making homemade yeast doughnuts might seem daunting, but it’s a wonderfully rewarding process. Follow these detailed steps for guaranteed success:
- Prepare the Dough: Begin by gently warming the milk and butter in a small saucepan over low heat until the butter is just melted. Be careful not to overheat it – the ideal temperature for activating yeast is between 110-120°F. In the bowl of a stand mixer equipped with a dough hook, combine about half of your all-purpose flour with the yeast, granulated sugar, and salt. Pour in the warmed milk mixture and the lightly beaten eggs. Mix until these ingredients are just combined. Then, gradually add the remaining flour, about ¼ cup at a time, while the mixer kneads on medium speed. Continue kneading until the dough comes together, becoming smooth and elastic. It should still be slightly sticky to the touch, but it shouldn’t cling to your hands. This process usually takes about 4-5 minutes.
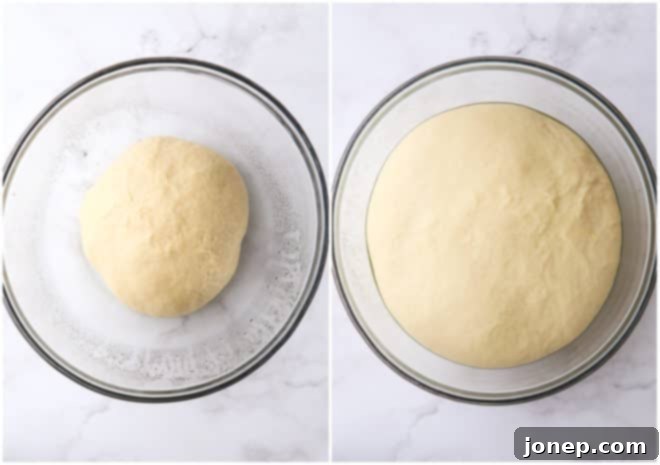
- First Rise (Proofing): Once your dough is perfectly kneaded, transfer it to a lightly greased bowl. Turn the dough once to coat it evenly with oil, then cover the bowl tightly with plastic wrap. Find a warm, draft-free place in your kitchen – like a slightly warmed oven (turned off) or near a sunny window – and let the dough rise until it has doubled in size. This typically takes around 1 hour, but rising times can vary depending on your kitchen temperature and the freshness of your yeast.
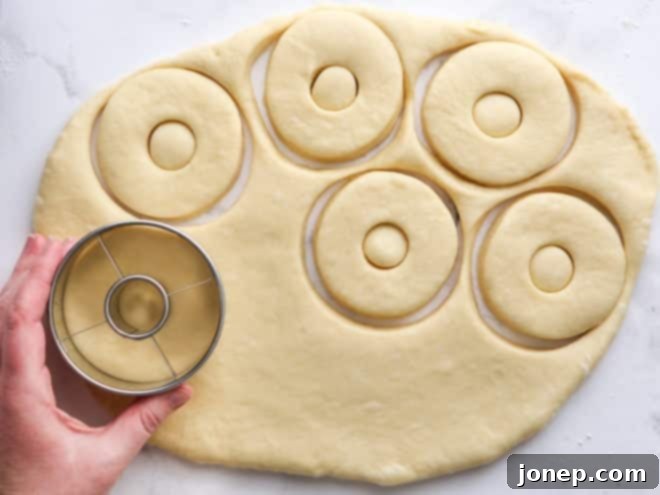
- Roll and Cut into Doughnuts: After the first rise, gently press down on the dough to “punch it down,” releasing the trapped gases. This step helps create a finer texture in the finished doughnuts. Reshape the dough into a round and let it rest for about 15 minutes. This resting period allows the gluten to relax, making the dough easier to roll. On a very lightly floured surface, roll the dough out evenly to about ½-inch thick. Use a doughnut cutter (typically 3 to 3 ½ inches for the outer ring and a smaller 1-inch cutter for the hole) to cut out your doughnuts. If you don’t have a specific doughnut cutter, two different sized round cutters will work just as well. Don’t forget to save those delightful doughnut holes for frying!
- Second Rise (Final Proofing): Carefully transfer your cut doughnuts and doughnut holes to a sheet pan that you’ve lined with parchment paper. Leave a little space between each piece. Cover the pan loosely with plastic wrap and let them rise again in a warm place until they look visibly puffed up and light. This second rise, often called proofing, is crucial for achieving that signature light and airy texture. This usually takes another 20-30 minutes.
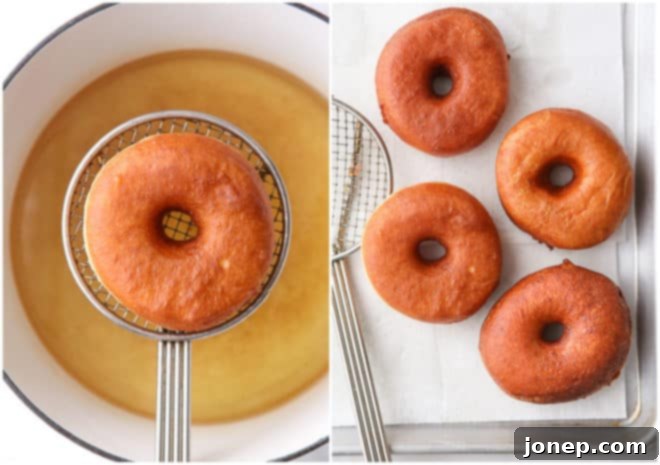
- Fry in Hot Oil: While your doughnuts are undergoing their second rise, prepare your frying oil. Pour at least 3-4 inches of vegetable oil into a heavy-bottomed pot, such as a Dutch oven. Place the pot over medium-high heat and attach a reliable thermometer to the side. Heat the oil to precisely 375°F (190°C). Once the oil is hot, gently lower the risen doughnuts into the oil, frying them in small batches to avoid crowding the pot and lowering the oil temperature too much. Fry for about 2 minutes on each side, or until they turn a beautiful golden brown. Use a slotted spoon or spider strainer to carefully remove the fried doughnuts and transfer them to a plate lined with paper towels to drain excess oil.
- Add Toppings While Warm: This is the fun part! While your freshly fried doughnuts are still warm (but cool enough to handle), add your desired toppings. The warmth helps the glazes adhere beautifully and the cinnamon-sugar melt slightly for optimal flavor. If you’re using a glaze, allow it to set for a few minutes on a wire rack before you dive in.
And then, it’s time to enjoy the fruits of your labor!
Three Irresistible Doughnut Toppings
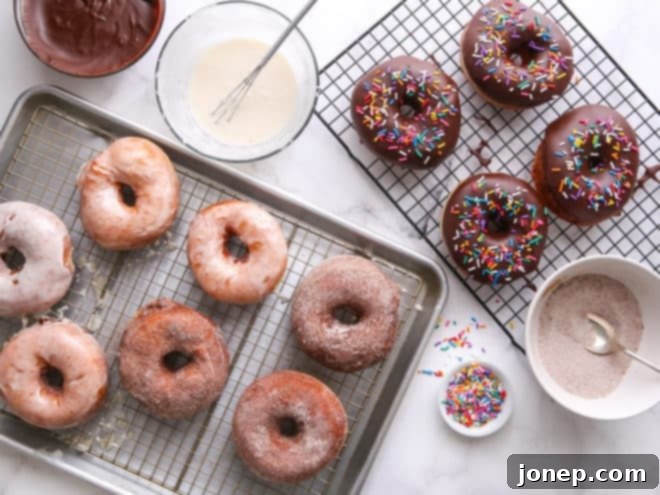
The best part about these fluffy yeast doughnuts? The toppings! You can stick to one favorite or prepare all three to create a delightful assortment for everyone to enjoy. Honestly, they’re all so good, I truly can’t pick just one favorite. Each topping recipe provided makes enough to generously coat the entire batch of doughnuts.
- Classic Cinnamon-Sugar: A timeless favorite! Simply combine granulated sugar with ground cinnamon. While the doughnuts are still warm from the fryer, roll them vigorously in this aromatic mixture until completely coated. The warmth helps the sugar adhere and creates a delicious slightly-melted crust.
- Sweet Vanilla Glaze: A simple yet elegant choice. Whisk together sifted powdered sugar, a few tablespoons of milk, and a splash of pure vanilla extract until you achieve a smooth, pourable consistency. Dip the tops of your warm doughnuts into the glaze, then invert them onto a wire rack to let any excess drip off and the glaze set into a shiny, sweet shell.
- Decadent Chocolate Glaze and Sprinkles: For the chocolate lovers! This rich glaze is made with melted butter, milk, corn syrup, vanilla, and dark chocolate, then thickened with powdered sugar. Dip the tops of the doughnuts, then immediately add your favorite colorful sprinkles while the glaze is still wet. This creates a fun and irresistible finish that’s always a crowd-pleaser.
baking tip:Deep Frying Tips for Success
- Choose the Right Pot: Always use a heavy-bottomed pot, such as a Dutch oven. This helps distribute heat evenly and maintain a stable oil temperature.
- Adequate Oil Depth: Fill your pot with at least 3-4 inches of oil. This ensures that whatever you’re frying has enough room to float and cook evenly without sticking to the bottom.
- Temperature Control is Key: Use a reliable thermometer to monitor your oil temperature. Frying at 375°F (190°C) is ideal for doughnuts.
- Maintain the Temperature: Adjust your heat as needed to keep the oil consistently at 375°F. If the oil is too cool, your doughnuts will absorb too much oil, becoming greasy. If it’s too hot, they’ll burn on the outside before cooking through, leaving a raw center.
- Fry in Batches: Avoid overcrowding the pot. Frying too many doughnuts at once will drastically drop the oil temperature and lead to uneven cooking. Work in small batches.
- Safety First: Wear an apron to protect your clothing from any splatters. Use a slotted spoon or spider strainer to safely flip your doughnuts and remove them from the hot oil.
- Oil Disposal: When you’re finished frying, turn off the heat and allow the oil to cool completely to room temperature. Never pour hot oil down the drain. Once cool, pour it through a funnel into a container with a secure lid and either discard it properly or save it for future frying (if clean enough).
Make These Doughnuts Ahead: Tips & Storage
While freshly fried doughnuts are always the best, there are ways to prepare them in advance to streamline your baking process:
- Prepare Dough Ahead: You can prepare the doughnut dough all the way up to the second rise. After you’ve cut the doughnuts and placed them on a parchment-lined sheet pan, cover them tightly with plastic wrap and chill them in the refrigerator for up to 12 hours. When you’re ready to fry, remove them from the fridge and let them come to room temperature for at least 30-60 minutes, or until visibly puffed, before proceeding with frying.
- Storage of Fried Doughnuts: These yeast-raised doughnuts are undeniably at their absolute best the day they are made, especially while still warm. However, if you have leftovers, they will keep well in an airtight container at room temperature for several days. For optimal freshness, you can gently warm them in a microwave for 10-15 seconds or a low oven before serving.

Once you taste the difference that homemade makes, you’ll be hooked. These soft, pillowy yeast doughnuts are a true labor of love that pays off with every sweet, glorious bite. Whether you’re making them for a special occasion or just a weekend treat, they’re sure to bring smiles to everyone’s faces. Enjoy the process, and most importantly, enjoy your delicious creations!
More Doughnut Recipes to Try
If you’ve enjoyed making these yeast-raised doughnuts and are craving more delightful fried treats, here are a few other recipes you might love:
- Old-Fashioned Buttermilk Doughnuts
- Sourdough Apple Fritters
- Lemon Cinnamon-Sugar Doughnut Holes
Get the Full Recipe

Yeast Doughnuts
Pin Recipe
Leave a Review
Ingredients
Doughnuts:
- 1 cup (237 ml) whole milk
- ⅓ cup (75 grams) unsalted butter
- 4 cups (480 grams) all-purpose flour
- 2 ¼ teaspoon (7 grams) Red Star Active-Dry Yeast
- ½ teaspoon salt
- ¼ cup (50 grams) granulated sugar
- 2 large eggs , lightly beaten
- Vegetable oil , for frying
Cinnamon-Sugar:
- 1 cup (200 grams) granulated sugar
- 1 tablespoon ground cinnamon
Vanilla Glaze:
- 2 cups (226 grams) powdered sugar , sifted
- 3-5 tablespoons milk
- 2 teaspoons vanilla extract
Chocolate Glaze:
- ⅓ cup (75 grams) unsalted butter , at room temperature
- ¼ cup (60 ml) whole milk
- 1 tablespoon light corn syrup
- 2 teaspoons vanilla extract
- 4 ounces (113 grams) dark or bittersweet chocolate , chopped
- 2 cups (226 grams) powdered sugar , sifted
- Sprinkles , for decoration (optional)
Instructions
To make the doughnuts:
-
In a small saucepan set over low heat, warm the milk and butter until butter is melted. Remove from heat and let sit for about 5 minutes, or until mixture is 110-120°F.
-
In the bowl of a stand mixer fitted with a dough hook, combine two cups of the flour with the yeast, salt, and sugar. Add the warmed milk mixture and the eggs and mix until combined. With the mixer on medium speed, add the remaining flour ¼ cup at a time until dough is thick but still slightly sticky to the touch. Continue to knead on medium speed until smooth and elastic, about 4-5 minutes. Place dough in a greased bowl, cover with plastic wrap, and let rise in a warm place until doubled, about 1 hour.
-
Gently punch down dough to release gases and let sit for about 5 minutes. On a very lightly floured surface, roll the dough out into a circle about ½ inch thick. Use a 3 or 3 ½-inch round cutter to cut dough into circles. Use a smaller cutter, about 1 inch, to cut out the doughnut holes. Place on a sheet pan lined with parchment, cover with plastic wrap, and let rise in a warm place until puffed, about 30 minutes.
-
Fill a heavy bottomed pan with vegetable oil at least 4 inches deep and place over medium high heat. Insert a thermometer and heat to 370°F.
-
When oil is hot, fry doughnuts in small batches until golden brown, about 2 minutes on each side, flipping halfway through. Remove doughnuts with a slotted spoon to paper towels to drain. Top doughnuts as desired.
For the Cinnamon Sugar:
-
Combine the granulate sugar and cinnamon in a small bowl. Dip hot doughnuts into the sugar, flipping them over until they are completely covered. Use a spoon if necessary. Serve immediately.
For the Vanilla Glaze:
-
Whisk together the sifted powdered sugar, 3 tablespoons of the milk, and the vanilla extract until smooth and no lumps remain. Add more milk as needed to reach a desired consistency. Dip tops of doughnuts into the glaze, then invert and place on a wire rack set over a sheet pan to catch any drips. Let sit 30 minutes to firm up before serving.
For the Chocolate Glaze:
-
In a small saucepan over medium low heat, warm the butter, milk, corn syrup and vanilla until the butter in melted, stirring until smooth. Add the chopped chocolate and stir until chocolate is smooth and melted. Remove from heat and add the sifted powdered sugar.
-
Dip tops of doughnuts into the glaze, then invert and place on a wire rack set over a sheet pan to catch any drips. Decorate with sprinkles, if desired. Let sit 30 minutes to firm up before serving.
Video
Notes
NOTES
- Doughnuts are best the day they are made, but will keep in an air-tight container at room temperature for about 5 days.
- Each topping recipe makes enough to cover the entire batch of doughnuts.
- Nutrition information calculated with just cinnamon-sugar topping and is an estimate.
Disclosure: This recipe was developed in partnership with Red Star Yeast. All opinions are my own, as always. Thank you for supporting partnerships with brands I believe in.
