Irresistibly Soft Homemade Burger Buns: Your Ultimate Recipe for Perfect Brioche Buns
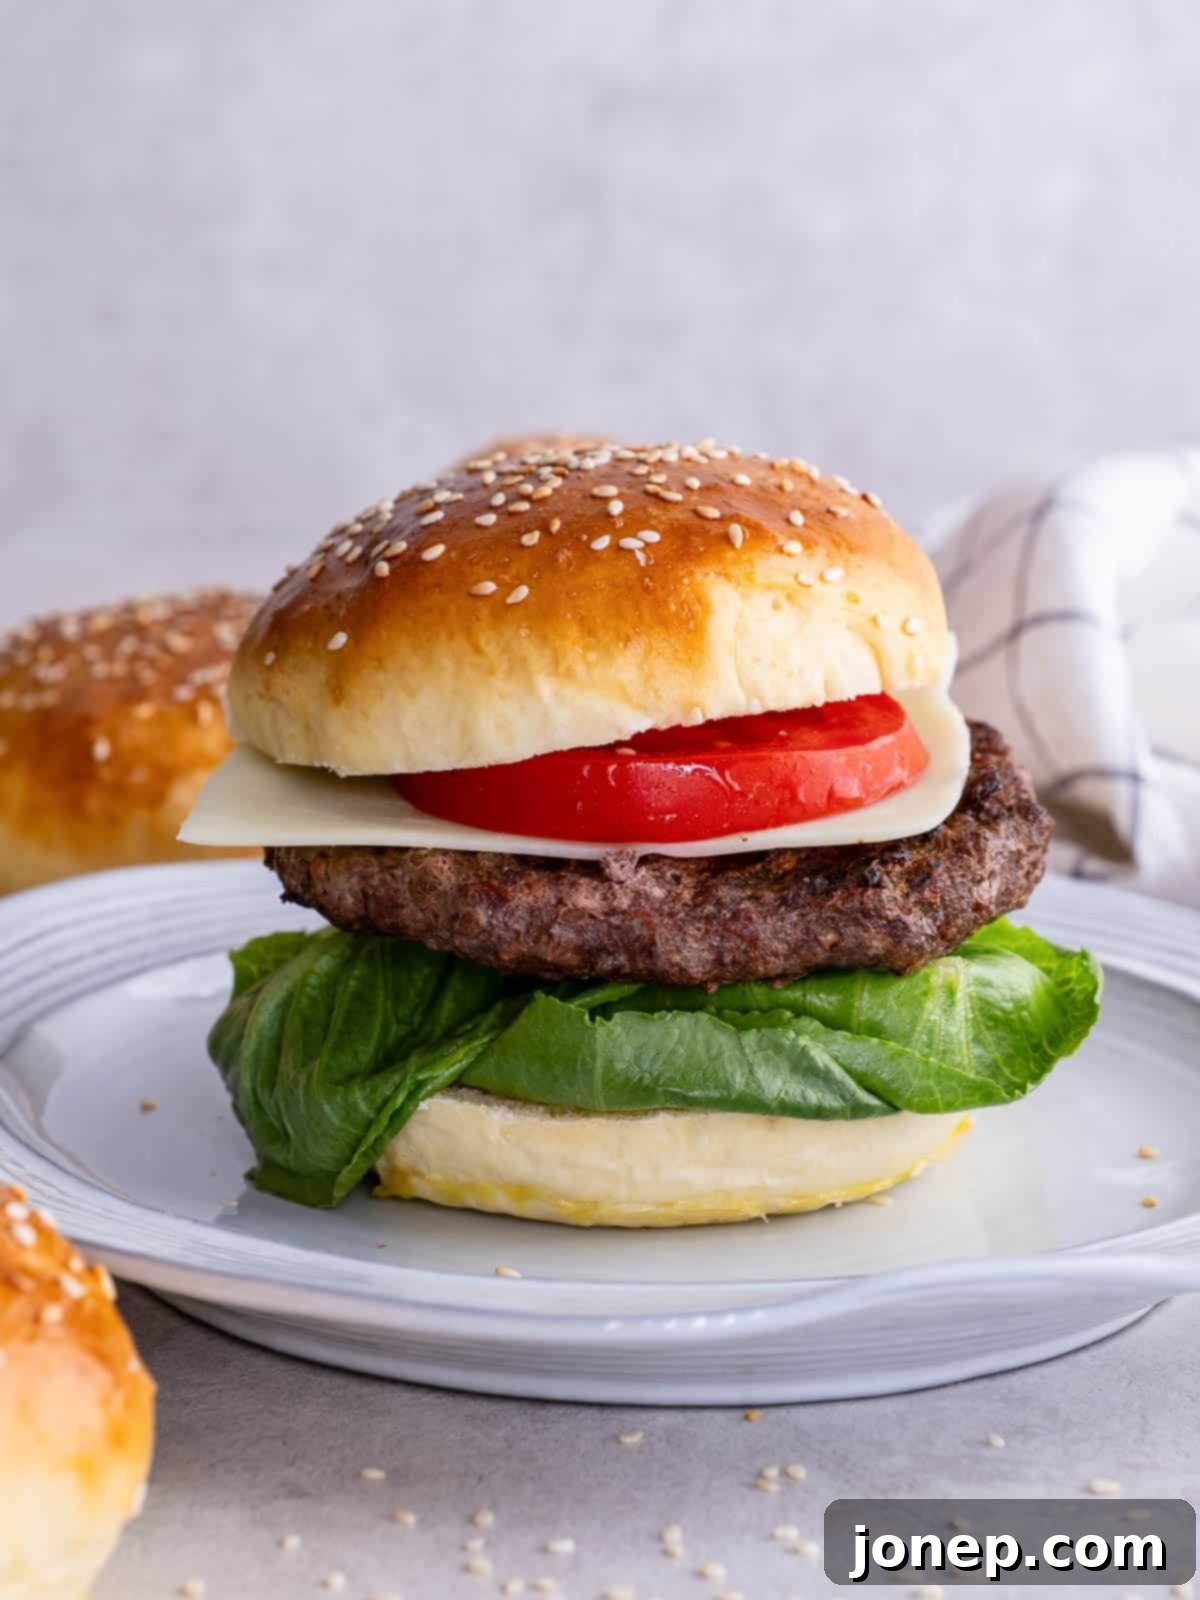
Elevate your next meal with these incredibly soft, rich, and flavorful homemade burger buns! Far superior to anything you’ll find at the grocery store, these brioche-style buns are perfect for hamburgers, sliders, sandwiches, and much more. The best part? This recipe is designed to be straightforward and accessible, ensuring anyone can achieve bakery-quality results right in their own kitchen.
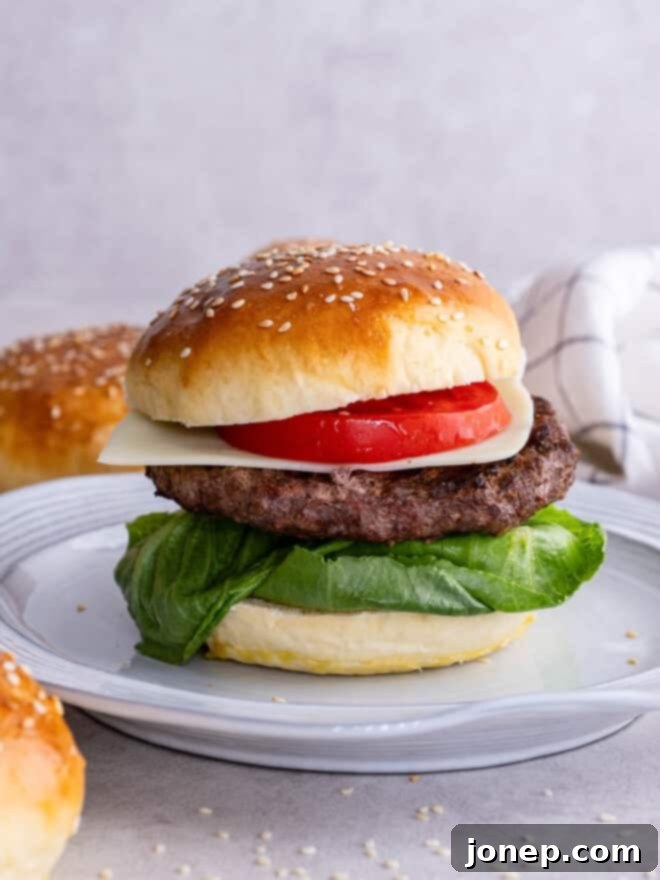
Are you searching for an engaging summer baking project, or perhaps a way to truly distinguish your upcoming backyard cookout? Look no further than homemade hamburger buns! Ditch those often bland, uninspiring, and universally generic buns from the supermarket shelves. Crafting your own offers an unparalleled taste experience—they are genuinely SO much better, infusing every bite of your burger or sandwich with a delightful softness and a depth of flavor that is simply unmatched.
Our homemade burger buns are crafted from a foundational brioche dough, renowned for its luxurious characteristics. This means you can expect buns that are exceptionally soft, tender, and boasting a rich, buttery flavor profile even before you add any fillings. They provide the ultimate canvas for your culinary creations, serving as the perfect starting point for loading up with your favorite burger fixings at your next burger bar. Beyond burgers, their versatility shines: use them for pulled pork sandwiches, grilled chicken, deli meats, or even as a delightful accompaniment to a hearty soup. Keep reading to discover just how incredibly EASY it is to make these homemade hamburger buns right in your own kitchen, transforming your everyday meals into extraordinary dining experiences.
More delicious homemade recipes to try: Expand your baking repertoire with my whole wheat brioche burger buns, versatile sandwich and slider buns, savory cheesy herb burger buns, and classic homemade hot dog buns. Each recipe promises to elevate your homemade meals!
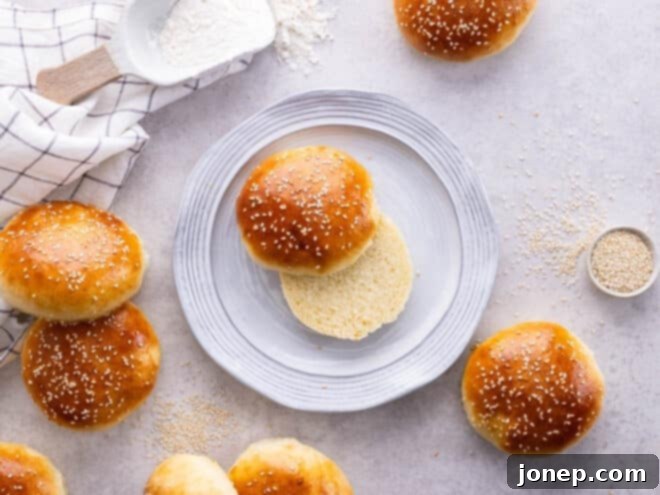
Table of Contents
- Ingredients you’ll need
- How to make homemade burger buns
- Ways to make burger buns in advance
- Recipe FAQs
- Get the recipe
baking tip:What is enriched yeast bread?
Essential Ingredients for Perfect Homemade Brioche Buns
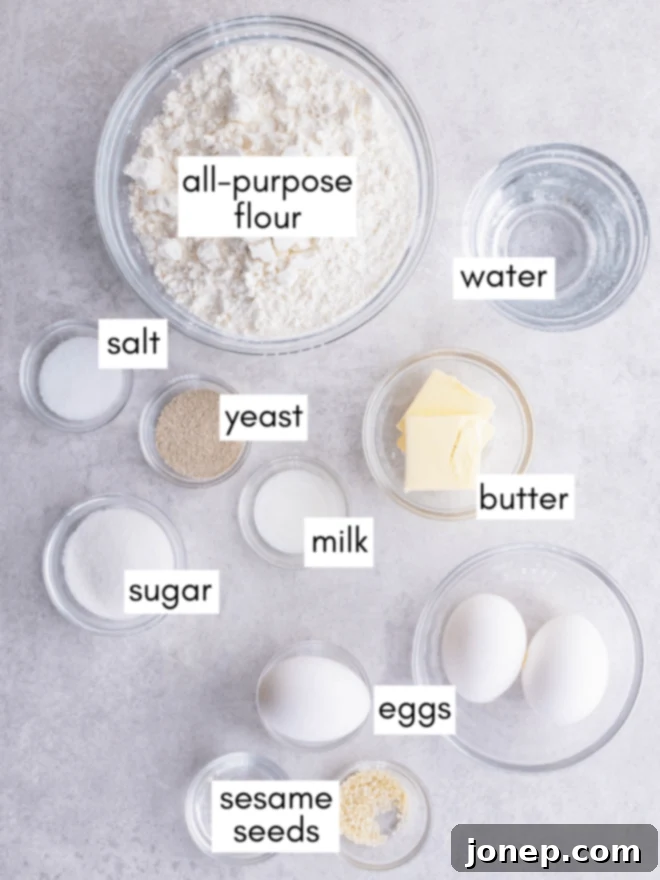
To embark on your journey to creating these exceptionally delicious homemade hamburger buns, you’ll need a selection of basic pantry staples. Each ingredient plays a crucial role in developing the soft texture, rich flavor, and beautiful golden crust of these brioche-style buns. For the exact measurements and detailed recipe, please refer to the full recipe card at the end of this article. Here’s a quick overview of what you’ll gather:
- Bread flour: The higher protein content in bread flour is essential for creating the strong gluten network needed for a chewy yet tender bun.
- Butter: Adds incredible richness, flavor, and contributes to the signature softness of brioche.
- Active-dry yeast or instant yeast: The leavening agent that makes your buns rise, giving them a light and airy structure.
- Eggs: Provide richness, color, and moisture, enhancing the brioche texture and flavor.
- Sugar: Feeds the yeast, aids in browning, and balances the savory notes with a touch of sweetness.
- Milk: Adds richness, moisture, and a tender crumb that water alone cannot achieve.
- Salt: A crucial flavor enhancer that also helps to regulate yeast activity and strengthen the dough.
- Water: Used in conjunction with milk to achieve the perfect hydration for the dough.
- Sesame seeds (optional): For that classic hamburger bun look and a subtle nutty flavor and crunch.
Crafting Your Own: A Step-by-Step Guide to Homemade Burger Buns
Making homemade burger buns is a rewarding process that yields incredibly delicious results. Follow these detailed steps to ensure your brioche buns are soft, fluffy, and perfectly golden every time.
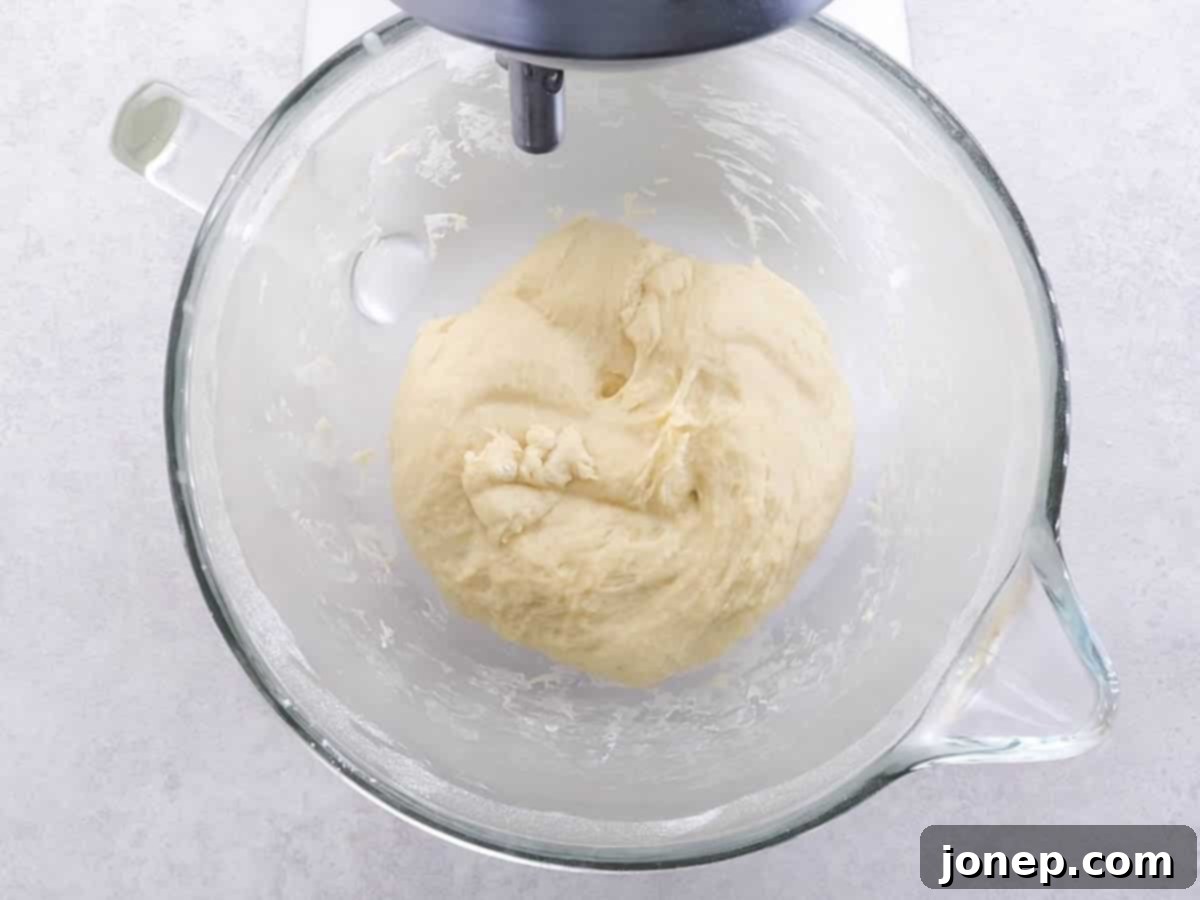
- Prepare the Luxurious Brioche Dough. The foundation of these exceptional burger buns is a rich brioche dough. While the complete, detailed instructions are provided in the recipe card below, understanding the characteristics of a perfectly prepared brioche dough is essential. This dough should feel incredibly soft, almost buttery and silken to the touch. It will be quite sticky initially, but as you knead it, it should become cohesive and elastic, sticking minimally to your fingers without breaking apart. A common mistake is to add excessive flour to reduce stickiness; resist this urge! Over-flouring will result in tough, dry buns rather than the tender, airy texture we’re aiming for. Trust the process; the stickiness is a sign of its rich hydration and will transform into a beautifully pliable dough with adequate kneading.

- Allow the Dough to Rise (First Proof). Once your dough is perfectly kneaded, gather it into a neat ball and place it in a lightly oiled bowl, turning it once to coat. Cover the bowl securely with plastic wrap or a damp kitchen towel to prevent it from drying out. Find a warm, draft-free place in your kitchen – this could be a slightly warm oven (turned off!), near a sunny window, or just on your countertop if your kitchen is warm enough. Let the dough rise for approximately an hour, or until it has visibly doubled in size. To check if it’s ready, gently press two fingers into the dough; if the indent remains without springing back, your dough has successfully risen and is ready for the next stage.

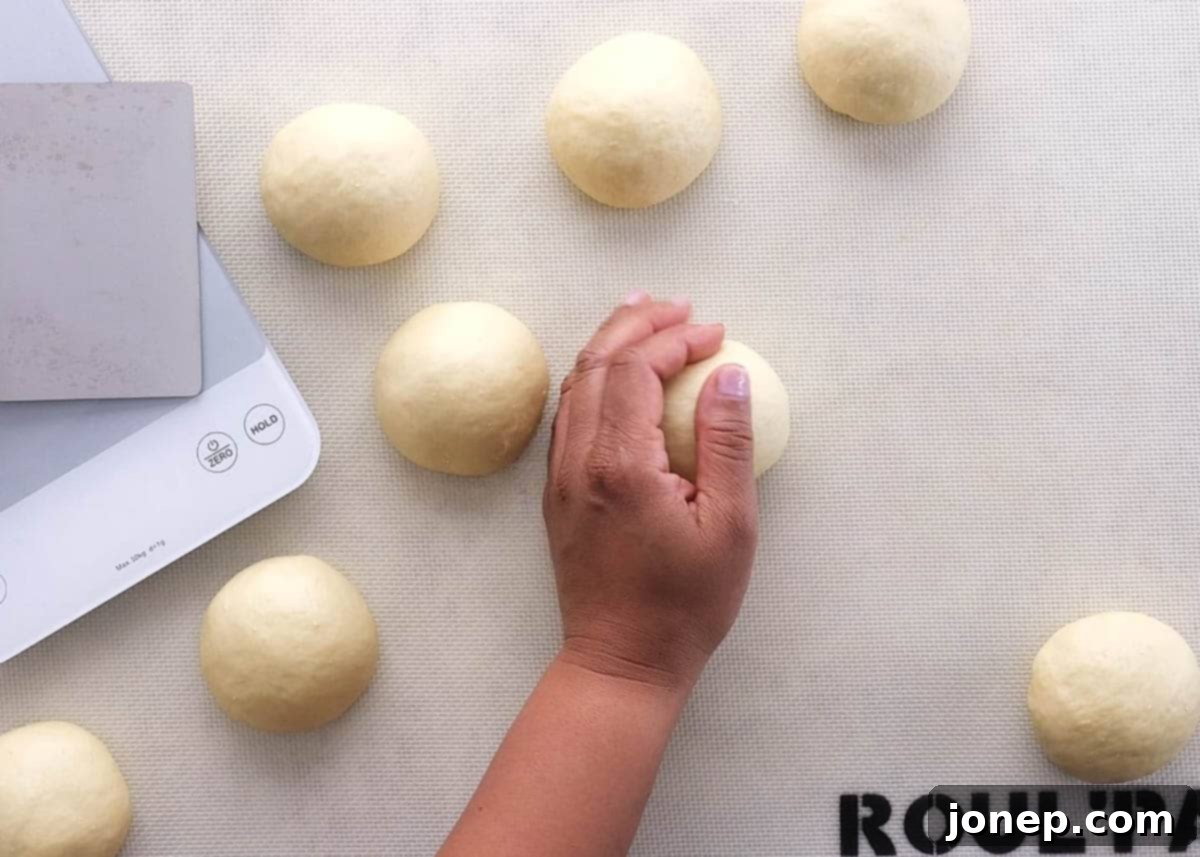
- Portion and Expertly Shape the Buns. After the first rise, gently punch down the dough to release the air. This makes it easier to handle. For perfectly uniform burger buns, using a digital kitchen scale is highly recommended. Weigh the entire mass of dough, then divide that total weight by eight (or your desired number of buns) to determine the weight of each individual bun. This simple step ensures all your buns bake evenly and look consistent. Once you’ve divided the dough, take each portion and gently pull and tuck the edges underneath, rolling it against your clean countertop with a cupped hand until the top surface is completely smooth and taut. This technique creates surface tension, which helps the buns hold their shape and rise beautifully. If you need a visual guide, this video tutorial offers excellent assistance on shaping dough balls.

- Allow Buns to Rise Again (Second Proof). Arrange the shaped buns on a baking sheet lined with parchment paper, ensuring enough space between them for expansion. Lightly spray a piece of plastic wrap with non-stick cooking spray and loosely drape it over the buns. Place the sheet pan back in a warm, draft-free location and let the buns rise for an additional 30 minutes to 1 hour, or until they look noticeably puffy and increased in volume. This second rise is crucial for achieving that light and airy texture. While the buns are rising, preheat your oven to 400°F (200°C) so it’s ready for baking.
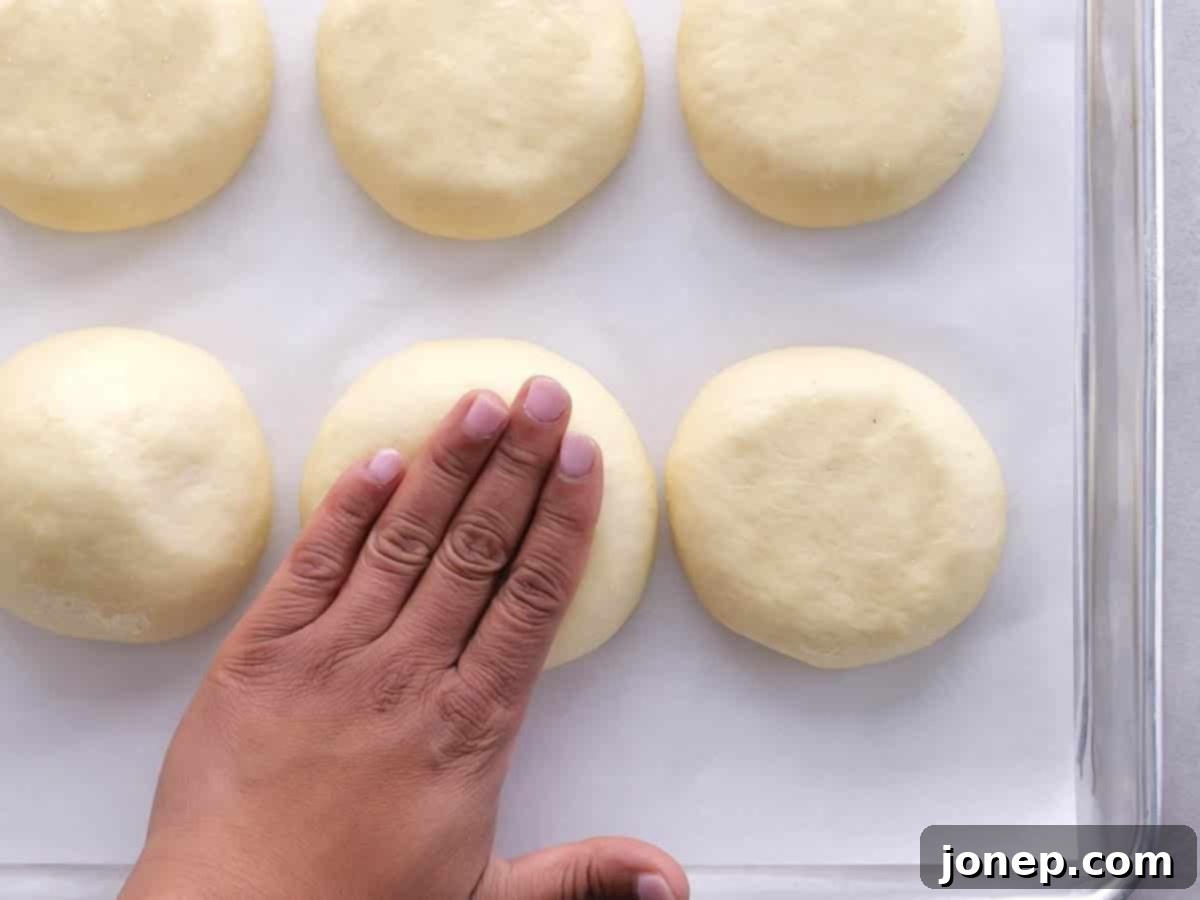
- Gently Flatten the Tops for that Classic Burger Bun Shape. During the second rise, or just before baking, perform a critical step to achieve the iconic flat-topped burger bun shape. Very gently press down on the tops of the rising buns 2-3 times with the palm of your hand. This subtle pressure encourages the dough to expand outward rather than solely upward, creating a wider, flatter bun that is ideal for holding a burger patty and all its fixings. Be extremely careful not to press too hard; applying too much force can deflate the buns by pushing out the accumulated air, which will prevent them from rising properly in the oven and result in dense buns. A light, tender touch is key here.

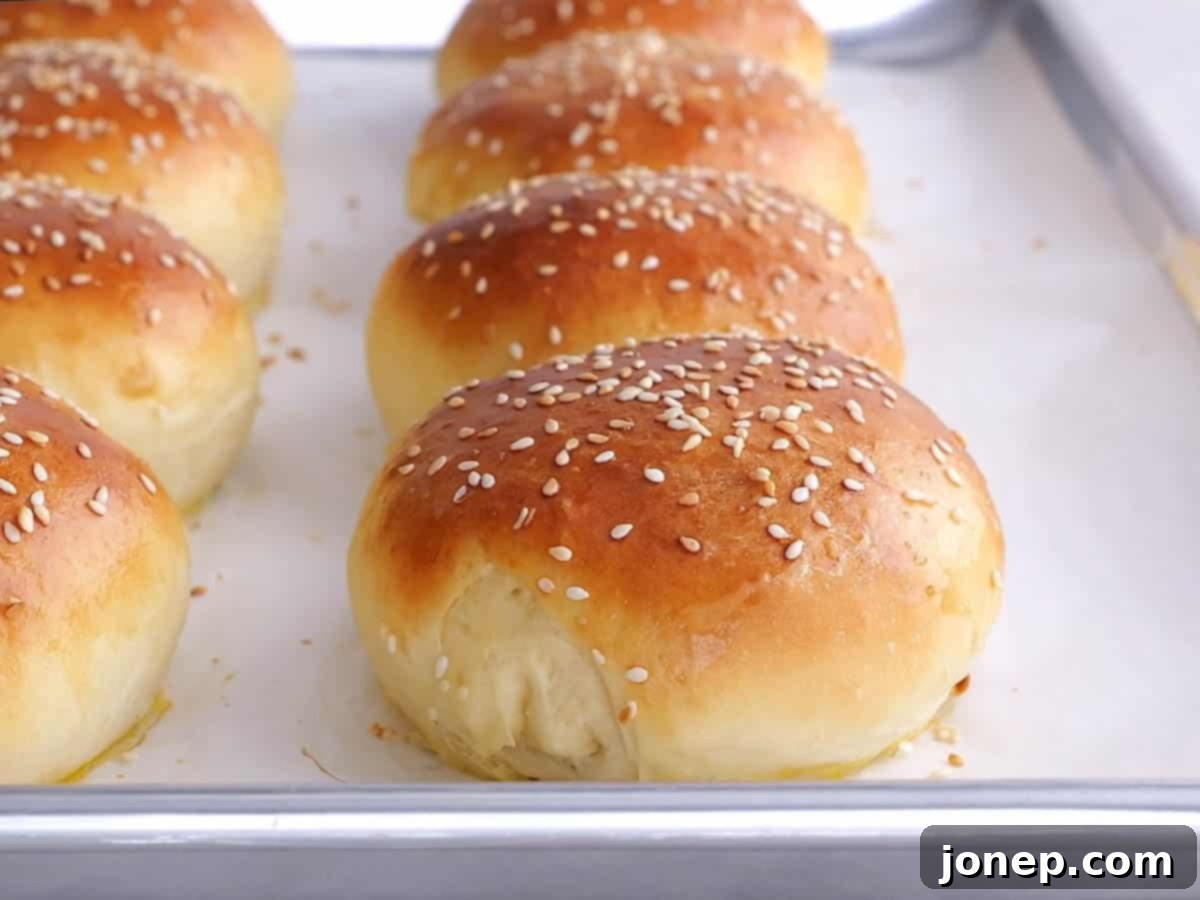
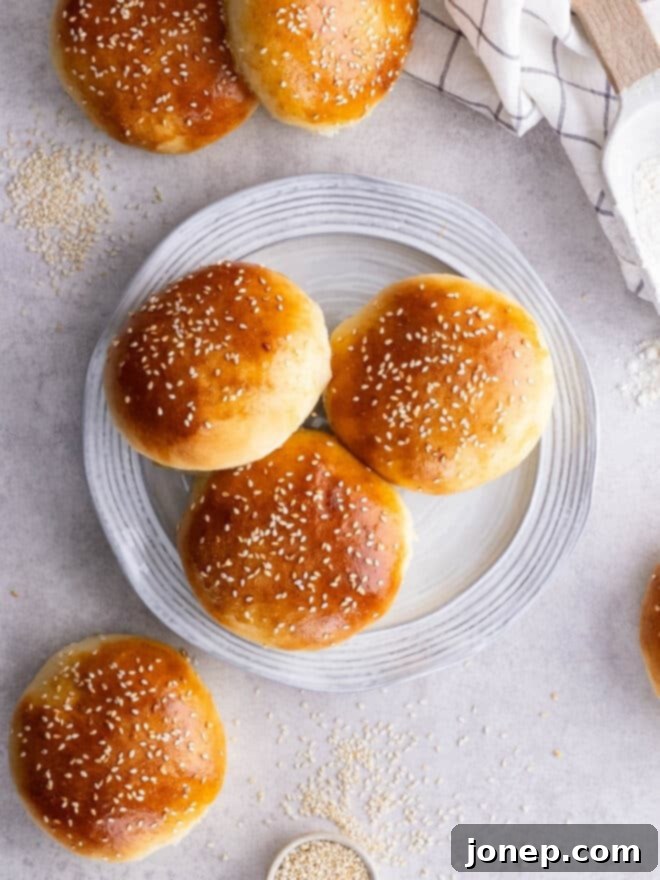
- Apply Egg Wash and Add Optional Sesame Seeds. Just before your beautifully risen buns go into the oven, give them a final touch with an egg wash. An egg wash is a simple mixture of one large egg whisked with a tablespoon of water, creating a thin, glossy liquid. Brush this mixture evenly over the tops of each bun. This step is incredibly important as it serves multiple purposes: it imparts a gorgeous, deep golden-brown color to the crust during baking, and it acts as a natural adhesive for any toppings. If desired, generously sprinkle sesame seeds over the egg-washed buns for that classic deli-style finish, adding a subtle nutty flavor and appealing texture.
- Bake to Golden Perfection. Carefully transfer the baking sheet with your prepared buns to the preheated 400°F (200°C) oven. Bake for approximately 10-12 minutes, or until the tops are beautifully golden brown and the buns sound hollow when lightly tapped on the bottom. Keep a close eye on them towards the end of the baking time, as ovens can vary. Once baked, remove the buns from the oven and transfer them to a wire rack to cool completely. Allowing them to cool fully is important for the internal structure to set, resulting in the best possible texture.

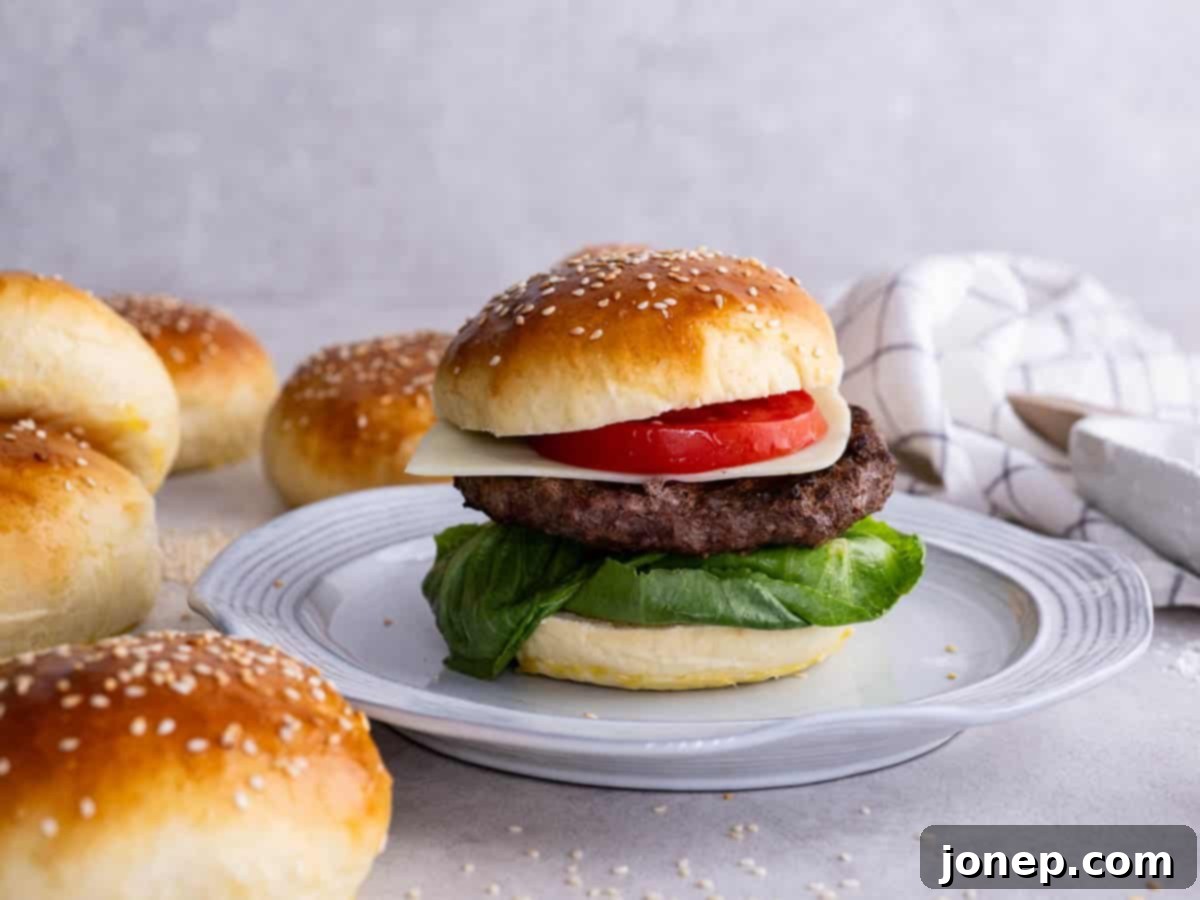
- Slice, Fill, and Savor Every Bite! Once your glorious homemade burger buns have cooled down, they are ready to be transformed! Carefully slice them horizontally with a serrated knife, avoiding squishing their soft interiors. Pile on your favorite juicy burger patty, crisp lettuce, ripe tomatoes, tangy pickles, creamy cheese, and your chosen sauces. While these buns are absolutely divine fresh on the day they’re baked, their rich flavor and tender texture will make any meal feel special. Enjoy the fruits of your labor – there’s truly nothing quite like a burger served on a homemade brioche bun!

Smart Strategies for Making Burger Buns in Advance
While these homemade brioche burger buns are undeniably best enjoyed fresh on the day they’re baked, their irresistible flavor and tender texture can certainly be extended! Don’t let the desire for freshness deter you from the convenience of prepping ahead. There are fantastic options for preparing these buns in advance, allowing you to enjoy them at their peak even with a little planning.
Chill or freeze unbaked buns for baking later: This method is fantastic for fresh-baked taste with minimal effort on the day of serving. After shaping your buns as directed in the recipe (step 3), arrange them on a baking sheet lined with parchment paper. Cover the entire sheet pan tightly with plastic wrap, ensuring no air can get in. You can then chill them in the refrigerator for up to 12 hours. When you’re ready to bake, remove them from the fridge and let them come to room temperature for about 1 hour before proceeding with the second rise (step 5) and baking instructions. If you plan to freeze them, place the wrapped sheet pan directly into the freezer for about 1 hour, or until the buns are firm. Once frozen, transfer the individual buns to a freezer-safe ziplock bag or airtight container, removing as much air as possible, and freeze for up to 1 month. To bake from frozen, thaw the buns in the refrigerator overnight or on the counter for a few hours until soft. Then, allow them to come to room temperature for a bit before proceeding with the second rise and baking. This technique allows you to have freshly baked buns on demand!
Freeze baked buns for convenient reheating: This is a perfect solution if you’ve baked a large batch or simply want to have delicious buns ready to go. Allow the freshly baked buns to cool completely on a wire rack. Once fully cooled, store them in a freezer-safe ziplock bag, pressing out as much air as possible, or double-wrap each bun individually in plastic wrap before placing them in a larger freezer bag. They will keep beautifully in the freezer for a month or even longer. To serve, simply let them thaw at room temperature for a few hours. For a warm, just-baked experience, you can also reheat them. Wrap the thawed (or even still slightly frozen) buns in aluminum foil and warm them in a 350°F (175°C) oven for approximately 15-20 minutes, or until heated through and soft.
Recipe FAQs: Your Common Questions Answered
Delving into the world of yeast baking can bring up a few questions. Here are some of the most common inquiries about making homemade burger buns, along with expert answers to help you succeed:
For the absolute best results with these burger buns, bread flour is highly recommended. Bread flour contains a higher protein content (typically 12-14%) compared to all-purpose flour (around 10-12%). This higher protein level translates to more robust gluten development, which is crucial for the structure, chewiness, and excellent rise of yeast-leavened breads like brioche. While you *can* use all-purpose flour if it’s all you have on hand, be aware that your buns might be slightly less chewy, might not rise quite as high, and could have a more delicate structure. If you opt for all-purpose, you might also need a tiny bit less liquid, as it absorbs less than bread flour. Always prioritize bread flour when a recipe specifies it for yeast-risen baked goods.
Both active-dry yeast and instant yeast (also commonly known as quick-rise, rapid-rise, or bread machine yeast) will work effectively for this recipe. If you opt for instant yeast, you might notice that your dough rises a bit faster, potentially cutting the specified rising times by about half, as it doesn’t require prior activation. For active-dry yeast, simply follow the timing as given. The final results in terms of flavor and texture will be very similar regardless of which type you choose. This particular recipe has not been tested with fresh yeast, so its behavior and necessary adjustments are unknown.
While many traditional recipes call for “proofing” active-dry yeast in warm water with a pinch of sugar to ensure it’s alive and active, this recipe utilizes the convenient “dry-blend method.” I personally learned this efficient technique from Red Star Yeast, and it’s a fantastic time-saver! If you are confident that your yeast is fresh and hasn’t expired (always check the date on the packaging!), you can skip the preliminary proofing step. When you combine all the dry ingredients with liquids heated to the ideal temperature range of 120-130°F (which is warmer than typical “warm water”), it adequately hydrates and activates the yeast within the dough itself. This method achieves the same goal of yeast activation without the extra waiting step, streamlining your baking process.
Kneading bread dough by hand is a wonderfully tactile experience, and while it requires a bit more physical effort than using a stand mixer, it’s far from difficult! It’s a great way to connect with your baking. The basic technique involves folding the dough over itself, pressing down and away with the heel of your hand, then rotating and repeating. This process develops the gluten, creating elasticity and strength in your dough. You’ll know it’s sufficiently kneaded when it becomes smooth, elastic, and passes the “windowpane test” (where you can stretch a small piece of dough thin enough to see light through it without tearing). If you’re new to hand kneading or need a refresher, this comprehensive video tutorial on how to knead bread by hand is an excellent resource.
There are a few common culprits when dough fails to rise properly, all typically related to yeast activity:
1) **Expired Yeast:** The most frequent reason. Yeast is a living organism, and like all living things, it has a shelf life. Always check the expiration date on your yeast package. If unsure, you can easily test its viability: add 1 packet (2 ¼ teaspoons) of yeast to ½ cup of warm water (around 105-115°F) with 1 teaspoon of sugar. Let it sit for 10 minutes. If the mixture becomes foamy and visibly increases in volume, your yeast is still good. If nothing happens, it has expired and needs to be replaced.
2) **Temperature Extremes:** Yeast is sensitive to temperature. If your liquid ingredients (melted butter and milk mixture) were too hot, temperatures over 140°F (60°C) will kill the yeast, preventing any rise. Conversely, if the liquids are too cold, the yeast will be sluggish or dormant, resulting in a very slow or no rise. It’s incredibly helpful to use a thermometer to ensure your liquids are within the optimal range of 120-130°F (49-54°C) before adding them to your dry ingredients.
If your buns turned out dense or didn’t rise as expected, it’s usually a combination of factors related to yeast health and dough handling:
1) **Yeast Issues:** Revisit the solutions above regarding expired or temperature-damaged yeast. A healthy, active yeast is paramount for a good rise.
2) **Too Much Flour:** This is a very common issue in bread baking, especially for enriched doughs like brioche. It’s crucial to add only enough flour to achieve a dough that is firm but still slightly tacky to the touch. When mixing in a stand mixer, the dough should mostly clear the sides of the bowl, but it should still feel very soft and slightly sticky, without leaving large amounts of residue on your fingers. Adding excessive flour makes the dough stiff, inhibits gluten development, and ultimately results in a dense, dry, and heavy bun that struggles to rise. Always aim for a softer dough than you might instinctively think.
3) **Insufficient Rise Time or Environment:** Yeast needs time and warmth to do its job. Ensure your dough and shaped buns are given ample time to rise in a consistently warm, draft-free place. The dough should nearly double in size during both the first and second proofing stages. If your kitchen is cold, consider creating a warmer environment (e.g., a slightly warmed, then turned off, oven) to encourage proper leavening.
Get the Recipe: Homemade Brioche Burger Buns

Burger Buns
Pin Recipe
Leave a Review
Ingredients
- 3 tablespoons (42 grams) unsalted butter
- ¼ cup (56 grams) milk
- ¾ cup (170 grams) water
- 3-3 ½ cups (390-455 grams) bread flour
- 2 ¼ teaspoons (7 grams) active dry yeast (1 envelope)
- 2 tablespoons (37 grams) granulated sugar
- 1 ½ teaspoon salt
- 2 large eggs , beaten slightly to break up the yolks
- 1 large egg + 1 tablespoon water , whisked together for egg wash
- Sesame seeds , optional
Equipment
Instructions
-
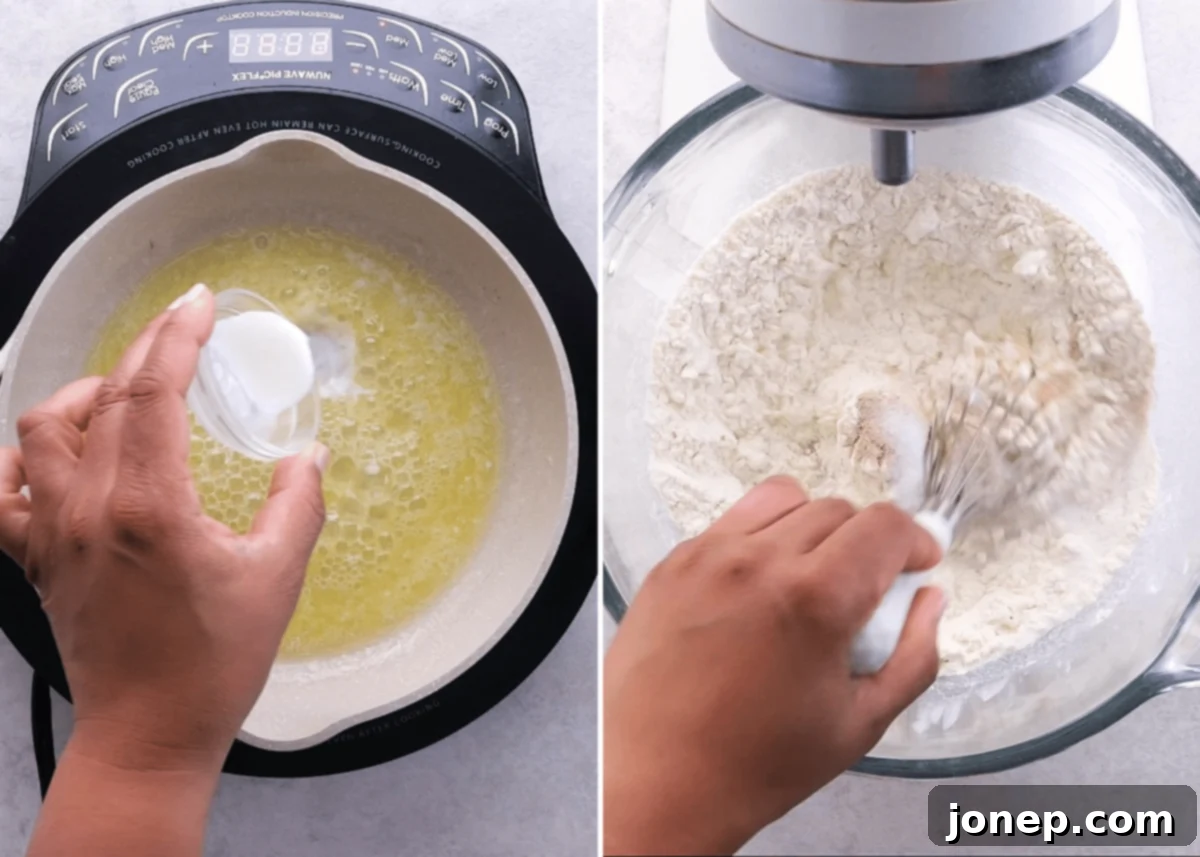
In a small saucepan, gently melt the butter over low heat. Once melted, add the milk and water, and continue to warm the mixture over medium-low heat until its temperature reaches between 120-130°F (49-54°C). Using a reliable thermometer is highly recommended for accuracy. If you don’t have a thermometer, remove the saucepan from the heat as soon as the mixture begins to steam slightly, ensuring it’s warm but not scalding.
-
In the bowl of a stand mixer fitted with a dough hook attachment (or a large mixing bowl if you plan to mix by hand), combine 2 ½ cups of the bread flour, the active dry yeast, granulated sugar, and salt. Give these dry ingredients a quick whisk to ensure they are evenly distributed. Pour in the warm butter-milk-water mixture and the slightly whisked eggs. Begin mixing on low speed until all the ingredients are just incorporated and a shaggy dough forms.
-
With the mixer running on medium-low speed, gradually add the remaining bread flour, 2 tablespoons at a time. Continue mixing until the dough starts to pull away from the sides of the bowl, clearing most of it. The dough should still feel quite soft and only slightly sticky to the touch – it’s okay if a small amount sticks to your fingers when touched lightly, but it shouldn’t be excessively wet or impossible to handle. You may not need the full 3½ cups of flour; stop adding flour once the desired consistency is reached. Knead for an additional few minutes (about 5-7 minutes in a stand mixer, or 10-12 minutes by hand) until the dough is very smooth, elastic, and springy.
-
Gently gather the kneaded dough into a ball and place it in a lightly oiled large bowl, turning it once to coat the entire surface with oil. Cover the bowl securely with plastic wrap or a clean, damp kitchen towel. Place the bowl in a warm, draft-free spot and allow the dough to rise until it has visibly doubled in size, which typically takes 1 hour or sometimes a bit longer depending on your kitchen’s temperature.
-
Once the dough has doubled, gently punch it down to release the air. Turn the dough out onto a lightly floured surface and let it rest for a few minutes. Using a kitchen scale for precision, divide the dough into eight equal pieces (for standard burger buns). Shape each piece into a smooth, taut ball by pulling the edges underneath and rolling it against the countertop with a cupped hand. Arrange the shaped buns on a large baking sheet lined with parchment paper, ensuring ample space between them for expansion. Lightly spray a piece of plastic wrap with non-stick cooking spray and loosely place it over the shaped buns.
-
Return the covered baking sheet to a warm, draft-free place for the second rise, allowing the buns to continue rising for an additional 30 minutes to 1 hour, or until they look puffy and well-risen. During this second rise, or just before they go into the oven, very gently pat the tops of the buns with your hands 2-3 times. This gentle action encourages the dough to expand outward rather than just upward, helping to create that characteristic wide, flatter hamburger bun shape. Be extremely careful not to press too hard or deflate the dough, as this will prevent proper rising and result in dense buns.
-
When the buns are ready to bake and the oven has been preheated to 400°F (200°C), whisk together the additional large egg and 1 tablespoon of water to create an egg wash. Gently brush this egg wash over the tops of each bun, ensuring an even coating for a beautiful golden crust. If desired, sprinkle sesame seeds generously over the egg-washed buns for an authentic finish and added texture.
-
Place the baking sheet in the preheated oven and bake until the buns are puffed up and golden brown on top, which should take approximately 10-12 minutes. Once baked, remove them from the oven and immediately transfer them to a wire rack to cool completely. This cooling step is crucial for the buns to develop their final texture and ensures they don’t become soggy.
Notes
- For uniform and professional-looking burger buns, a kitchen scale is your best friend. After the first rise, weigh the entire mass of dough, then divide that number by 8. Use the scale to measure out each individual bun portion to ensure they are all the same weight and size. This consistency guarantees even baking and a beautiful presentation!
- Yeast is sensitive to extreme temperatures. Be absolutely certain that your warm liquid mixture (butter, milk, and water) does not exceed 140°F (60°C)! Temperatures higher than this will kill the yeast, rendering it inactive and preventing your dough from rising. Using a digital thermometer to confirm the liquids are between 120-130°F (49-54°C) is key for optimal yeast activity.
- I always prefer to provide a range for the amount of flour required in enriched dough recipes like this. The exact quantity of flour can vary significantly due to numerous factors, including humidity, how you measure your flour (scooping vs. spooning and leveling), and even the brand of flour. Instead of strictly adhering to a specific number, focus on the dough’s texture and feel as described in the instructions – it should be soft and slightly tacky, but not overly sticky. This ensures you achieve the perfect consistency for light, airy buns, regardless of minor environmental or measurement differences.
This post was originally published in July 2010. The content has been extensively updated, pictures have been replaced for improved visual appeal, and slight enhancements have been made to the recipe for even better results and clarity.
