Mastering Layer Cake Frosting: A Complete Guide for Bakery-Quality Results at Home
Have you ever dreamed of creating a beautifully frosted layer cake that looks like it came straight from a professional bakery? It might seem intimidating, but the truth is, frosting a layer cake like a pro is an achievable skill for any home baker. This comprehensive guide will walk you through every step, demystifying the process and equipping you with the simple tricks and techniques to transform your home-baked cakes from basic to absolutely breathtaking.
Demystifying Cake Decorating: A Home Baker’s Perspective
For years, I hesitated to share my cake frosting methods. Like many of you, I’m not a professional pastry chef, nor do I own a bustling cake decorating business. My journey into creating beautiful cakes has been one of curiosity, observation, and countless hours of trial and error in my own kitchen. I’ve learned that you don’t need a fancy culinary degree or years of experience to achieve stunning results. What you need are a few simple tools, some patience, and the right guidance.
My strength lies in being just like you – an enthusiastic home baker who simply loves making cakes and wants them to look as good as they taste. This guide is born from that shared passion, offering practical, easy-to-understand advice that I’ve gathered and refined over the years. We’ll tackle the perceived complexities of frosting a layer cake, proving that with a few key techniques, anyone can elevate their baking to an impressive level.
Essential Tools for Flawless Layer Cake Frosting
While you *can* frost a cake with just a butter knife, having the right equipment makes a world of difference in achieving a smooth, professional finish. Investing in a few specific tools will significantly ease the task and improve your results. Here’s what I recommend having on hand:
(Disclosure: this post contains affiliate links, meaning I may earn a small commission if you make a purchase through my links, at no extra cost to you.)
- Prepared Cake Layers: For the best results, your cake layers should be thoroughly chilled. This firming up of the cake makes them much easier to handle and prevents crumbling during frosting. For comprehensive guidance, see my tutorial on how to make and store layer cakes ahead of time. Additionally, ensuring your cake tops are flat is crucial for a stable, even stack. If you have domes, level them as needed, or refer to my tutorial on how to bake flat cake layers.
- Prepared Frosting: The consistency of your frosting is key. For a standard 8 or 9-inch layer cake, you’ll typically need 4-5 cups of frosting. Make sure it’s smooth, pliable, and at the right temperature for spreading – usually cool but not stiff.
- Prepared Filling (Optional): If you’re going beyond simple frosting between your layers and using a soft filling like fruit preserves, lemon curd, or whipped cream, have it ready. We’ll discuss how to contain it.
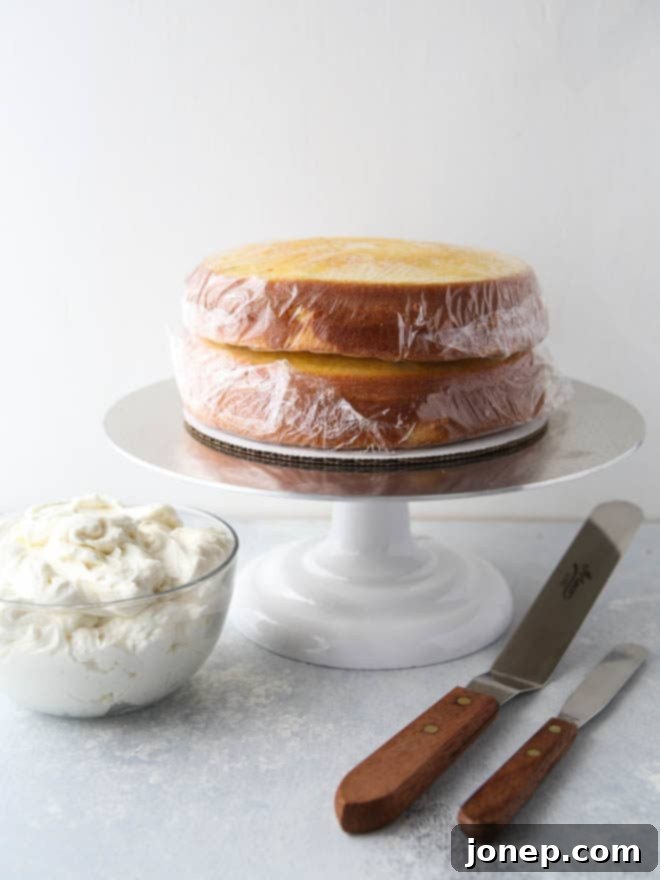
- A Turntable: This is a game-changer! A good quality turntable allows you to rotate your cake smoothly and continuously, making it dramatically easier to apply frosting evenly to the sides. I adore my beautiful Ateco turntable, but for years, I achieved excellent results with a much more affordable option. Don’t underestimate its utility!
- Cardboard Rounds: These inexpensive rounds are invaluable for stabilizing your cake during the frosting process, and especially for easy transfer from your turntable to the fridge or a cake stand without damaging your beautiful work.
- Offset Spatula(s): If you invest in only one cake decorating tool, make it an offset spatula. Their angled blade allows you to spread frosting without your hand getting in the way, providing superior control and a smoother finish. I find it incredibly helpful to have multiple sizes and highly recommend this set of 3 (S, M, and L) for versatility. Straight spatulas are also handy for specific tasks.
- Bench Scraper (Optional but Recommended): While I primarily use an offset spatula, many bakers swear by a bench scraper for achieving perfectly smooth and straight sides. It’s an excellent tool to consider if you’re looking for that ultra-polished look.
Note: For this tutorial, I used my go-to vanilla buttermilk cake recipe and a luscious whipped vanilla buttercream frosting.)
Step-by-Step Guide to a Perfectly Frosted Layer Cake
1. Stack and Fill Your Cake Layers
This is where your cake begins to take shape. A stable foundation is key for a beautiful final product.
Step 1— Start by placing one chilled cake layer top side-down onto a cardboard round, then center it on your turntable (if using). If you don’t have a turntable or cardboard round, place the first cake layer directly onto your serving cake stand or a sturdy plate. Placing the layer top-side down provides a flat, stable surface for subsequent layers.
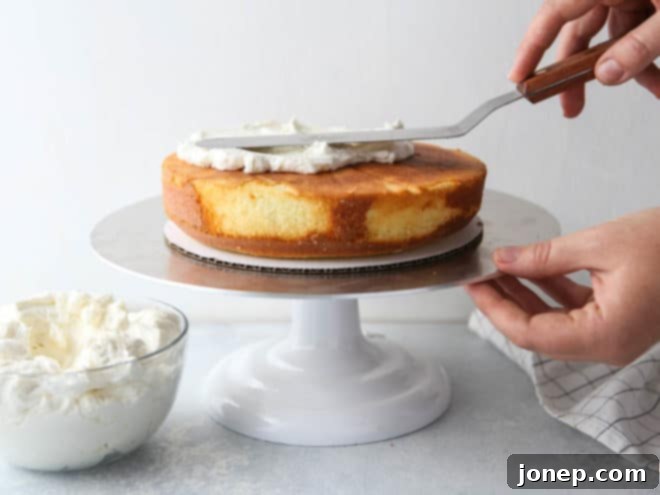
Step 2— Generously spread a layer of frosting or your chosen filling evenly across the top of the first cake layer. If you are using a soft, looser filling like fruit preserves, lemon curd, or a light whipped cream, it’s crucial to first build a “frosting dam” around the edge of the cake layer. This dam acts as a barrier, preventing the soft filling from oozing out the sides when you add the next cake layer. You can create this dam using a piping bag fitted with a round tip, or simply by building up a sturdy wall of frosting with an offset spatula. Once your dam is in place, spoon your soft filling into the center.
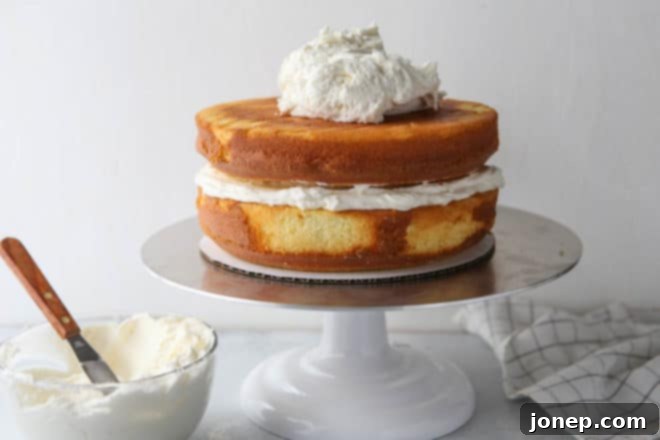
Step 3— Carefully place the next cake layer on top, aligning it as perfectly as possible. Repeat the filling and stacking process for any remaining layers. While a simple two-layer cake is elegant, you can easily create a taller, more dramatic cake by slicing your cake layers horizontally to create thinner, additional layers. Ensure each layer is level and the cake is straight before moving on.
2. The Game-Changing Crumb Coat
This is arguably the most important step for home bakers aiming for professional-looking results. A crumb coat is a thin, initial layer of frosting applied to the entire cake, serving several vital purposes.
A crumb coat does exactly what its name implies: it seals in any loose crumbs, preventing them from mixing into your final, pristine coat of frosting. Beyond that, it helps to even out the surface of your cake, filling any small gaps or imperfections and providing a smooth canvas for the subsequent layer. This means your finished cake will be smooth, even, and wonderfully crumb-free – a true mark of a well-decorated cake.
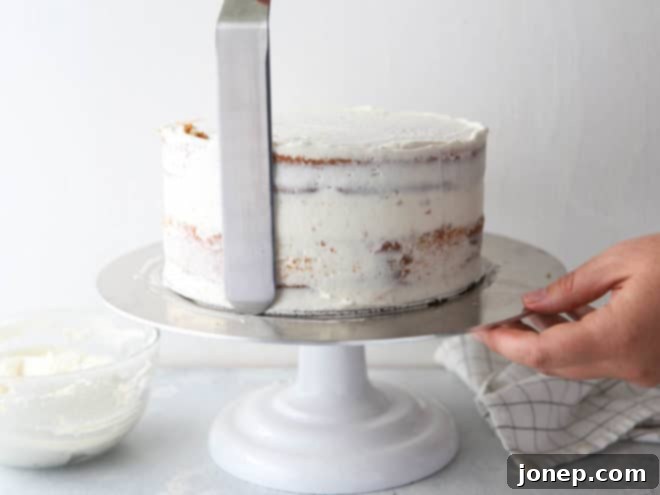
Step 4— Using an offset spatula, apply a very thin, almost translucent, layer of frosting over the entire cake – top and sides. Don’t worry about perfection here; the goal is simply to trap crumbs and create a foundational layer. If your frosting is very thick and stiff, you might find it helpful to thin 1-2 cups of it (depending on the size of your cake) with a teaspoon or two of milk or cream to achieve a more spreadable consistency for the crumb coat. I typically start by frosting the top, then move to the sides, ensuring I fill in any visible gaps between cake layers and smooth out any minor unevenness. For the sides, hold your offset spatula perpendicular to your turntable or cake stand and gently glide it around the cake, removing excess frosting and smoothing the surface.
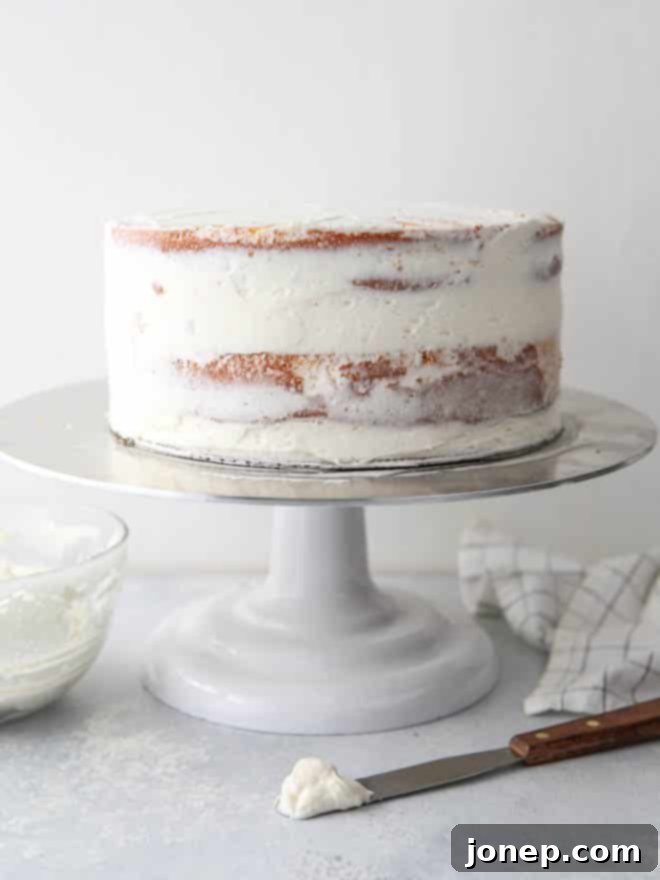
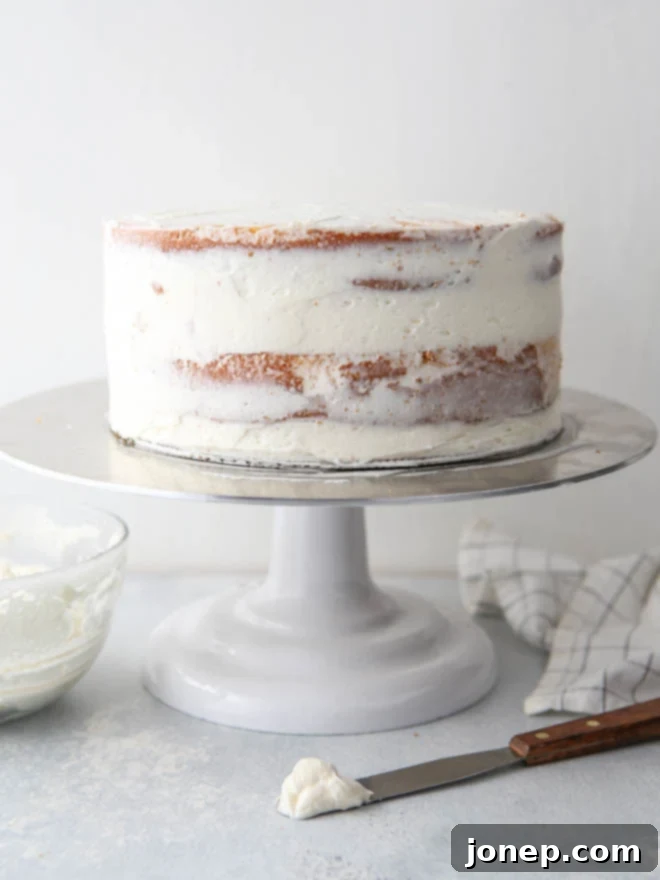
Note: If you are a fan of the trendy “naked cake” or “semi-naked cake” look, where the cake layers are partially visible, then your work is almost done! Once you’ve applied this thin crumb coat and smoothed it to your desired level, simply chill the cake to set the frosting, then decorate minimally and serve. This technique offers a rustic, elegant charm.
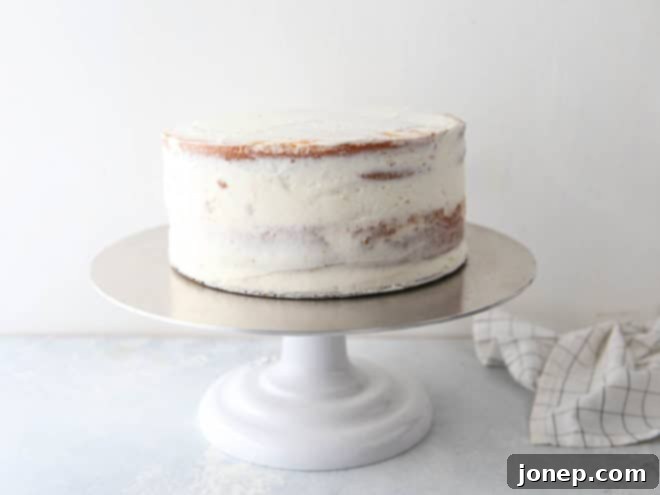
Step 5— Once the crumb coat is applied, it’s crucial to chill the cake. Place the cake in the refrigerator for at least 20-30 minutes, or until the crumb coat is firm to the touch. This step sets the frosting, locking in those crumbs and creating a stable base that won’t shift or tear when you apply the final layer. This firm layer is what allows you to achieve that perfectly smooth finish.
Note: Fitting a whole frosted cake on a cake stand into a crowded fridge can be a challenge. This is precisely why I highly recommend using cardboard cake rounds underneath your cake. They make transporting layer cakes in and out of the fridge, or moving them to a serving platter, significantly easier and safer.
3. Applying the Flawless Final Coat of Frosting
With a firm crumb coat in place, you’re now ready for the glamorous part – applying the generous, beautiful final layer of frosting that will define your cake’s aesthetic.
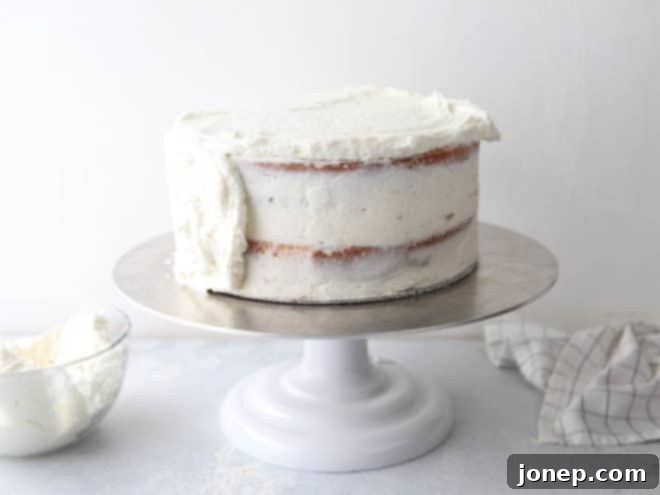
Step 6— Begin by applying a generous amount of your remaining frosting. Unlike the crumb coat, you want this layer to be thick enough to fully cover the cake and allow for easy smoothing. Again, I find it easiest to start at the top of the cake, spreading the frosting evenly from the center outwards to the edges. Then, move to the sides, applying ample frosting with your offset spatula. Don’t be shy; you can always scrape off excess later. The goal is complete, opaque coverage.
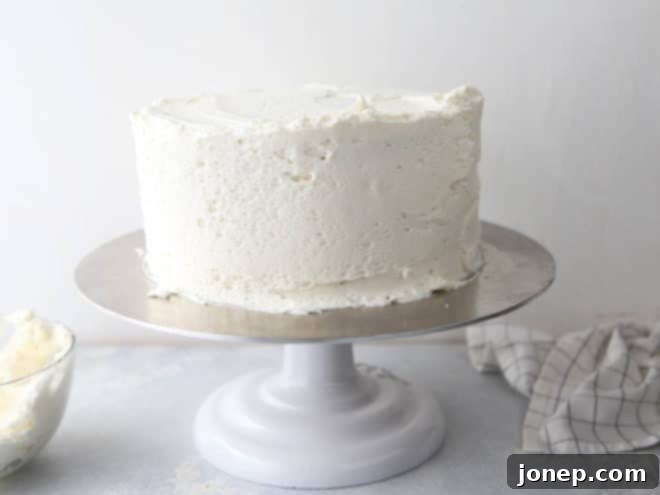
Once the entire cake is covered, it’s time to smooth the frosting. For the sides, hold your offset spatula (or a bench scraper, if using) perpendicular to your turntable or cake stand. Apply gentle, consistent pressure and use long, steady strokes as you rotate the cake. The key is to keep your hand and spatula as still as possible relative to the cake, allowing the turntable to do the work. Scrape excess frosting from your spatula into your frosting bowl frequently to avoid reintroducing crumbs or unevenness. You’ll likely need to go around the cake several times to achieve a truly smooth and even finish. While many professional bakers use a bench scraper for razor-sharp sides, which is fantastic, I’ve always found my trusty offset spatula delivers excellent results with practice.
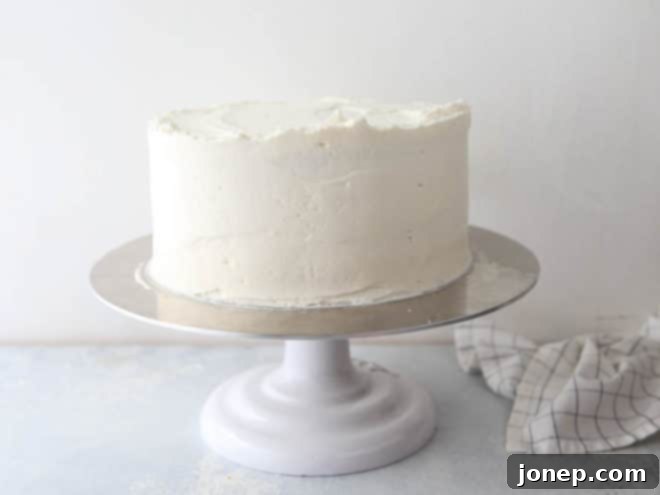
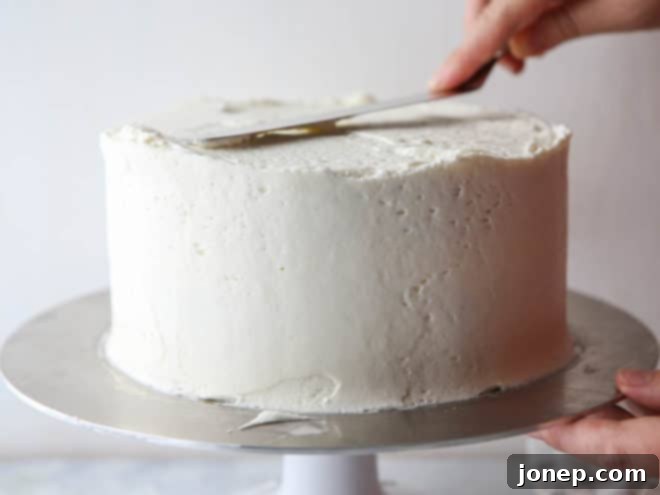
To smooth the top of your cake, gently drag the clean edge of your offset spatula from the outside edge of the cake inward towards the center. Wipe your spatula clean after each pass. Rotate the cake slightly and repeat this action, overlapping your previous stroke slightly, until the entire top surface is smooth and flat. This technique helps to create crisp, clean edges where the top meets the sides.
4. Decorate and Serve Your Masterpiece
Congratulations, your cake is frosted! Now comes the fun part: adding the finishing touches.
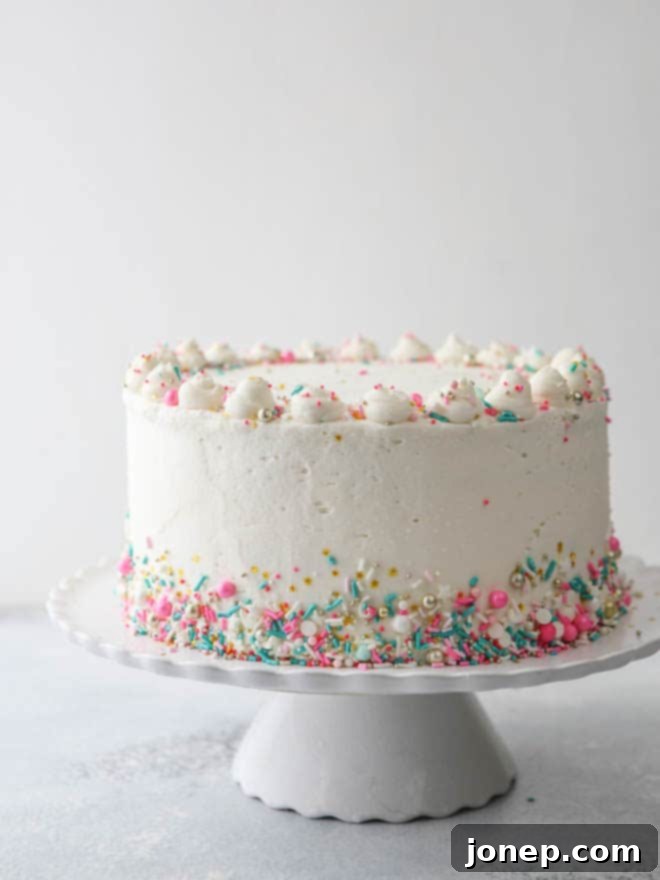
Step 7— This is your opportunity to personalize your cake. Decorate your beautifully frosted cake however your heart desires! Options include scattering sprinkles, piping decorative borders or designs, adding fresh fruit, edible flowers, or chocolate shavings. Let your creativity shine!
If you used a turntable and cardboard round, you can now carefully transfer your cake to its final serving cake stand or platter. This is often easiest by gently sliding the cake (on its cardboard base) onto the new surface, or using two spatulas for support.
Step 8— Before slicing and serving, chill your cake for at least 30 minutes to allow the final layer of frosting to set completely. This firming process makes for cleaner slices and helps maintain the cake’s structure. If you are planning to transport your cake, chilling it for at least 1 hour (or even longer) is highly recommended. A firm, cold cake is much more stable and less prone to smudges or damage during travel. Always take it out of the fridge just before leaving.
I personally prefer to store all my layer cakes in the refrigerator. This ensures the frosting remains perfectly in place and keeps the cake fresh and protected. Remember to take the cake out of the fridge about 20-30 minutes before you plan to cut into it. This allows the frosting to soften slightly and the cake layers to come closer to room temperature, ensuring the best possible texture and flavor experience.
You’ve Done It! Your Perfectly Frosted Cake Awaits
And that’s it! By following these steps, you’ve successfully frosted a layer cake that boasts a smooth finish and a professional appearance. It’s a skill that builds confidence and adds immense satisfaction to your baking endeavors. Each cake you frost will refine your technique, and soon, you’ll be frosting with effortless grace.
Do you have any tried and true frosting tips or secret techniques that you didn’t see covered here? I’d absolutely love to hear about them in the comments section below! Sharing our knowledge makes us all better bakers.
My Favorite Cake Tools
