The Ultimate Mile-High Deep-Dish Apple Pie Recipe: A Timeless Classic for Every Celebration
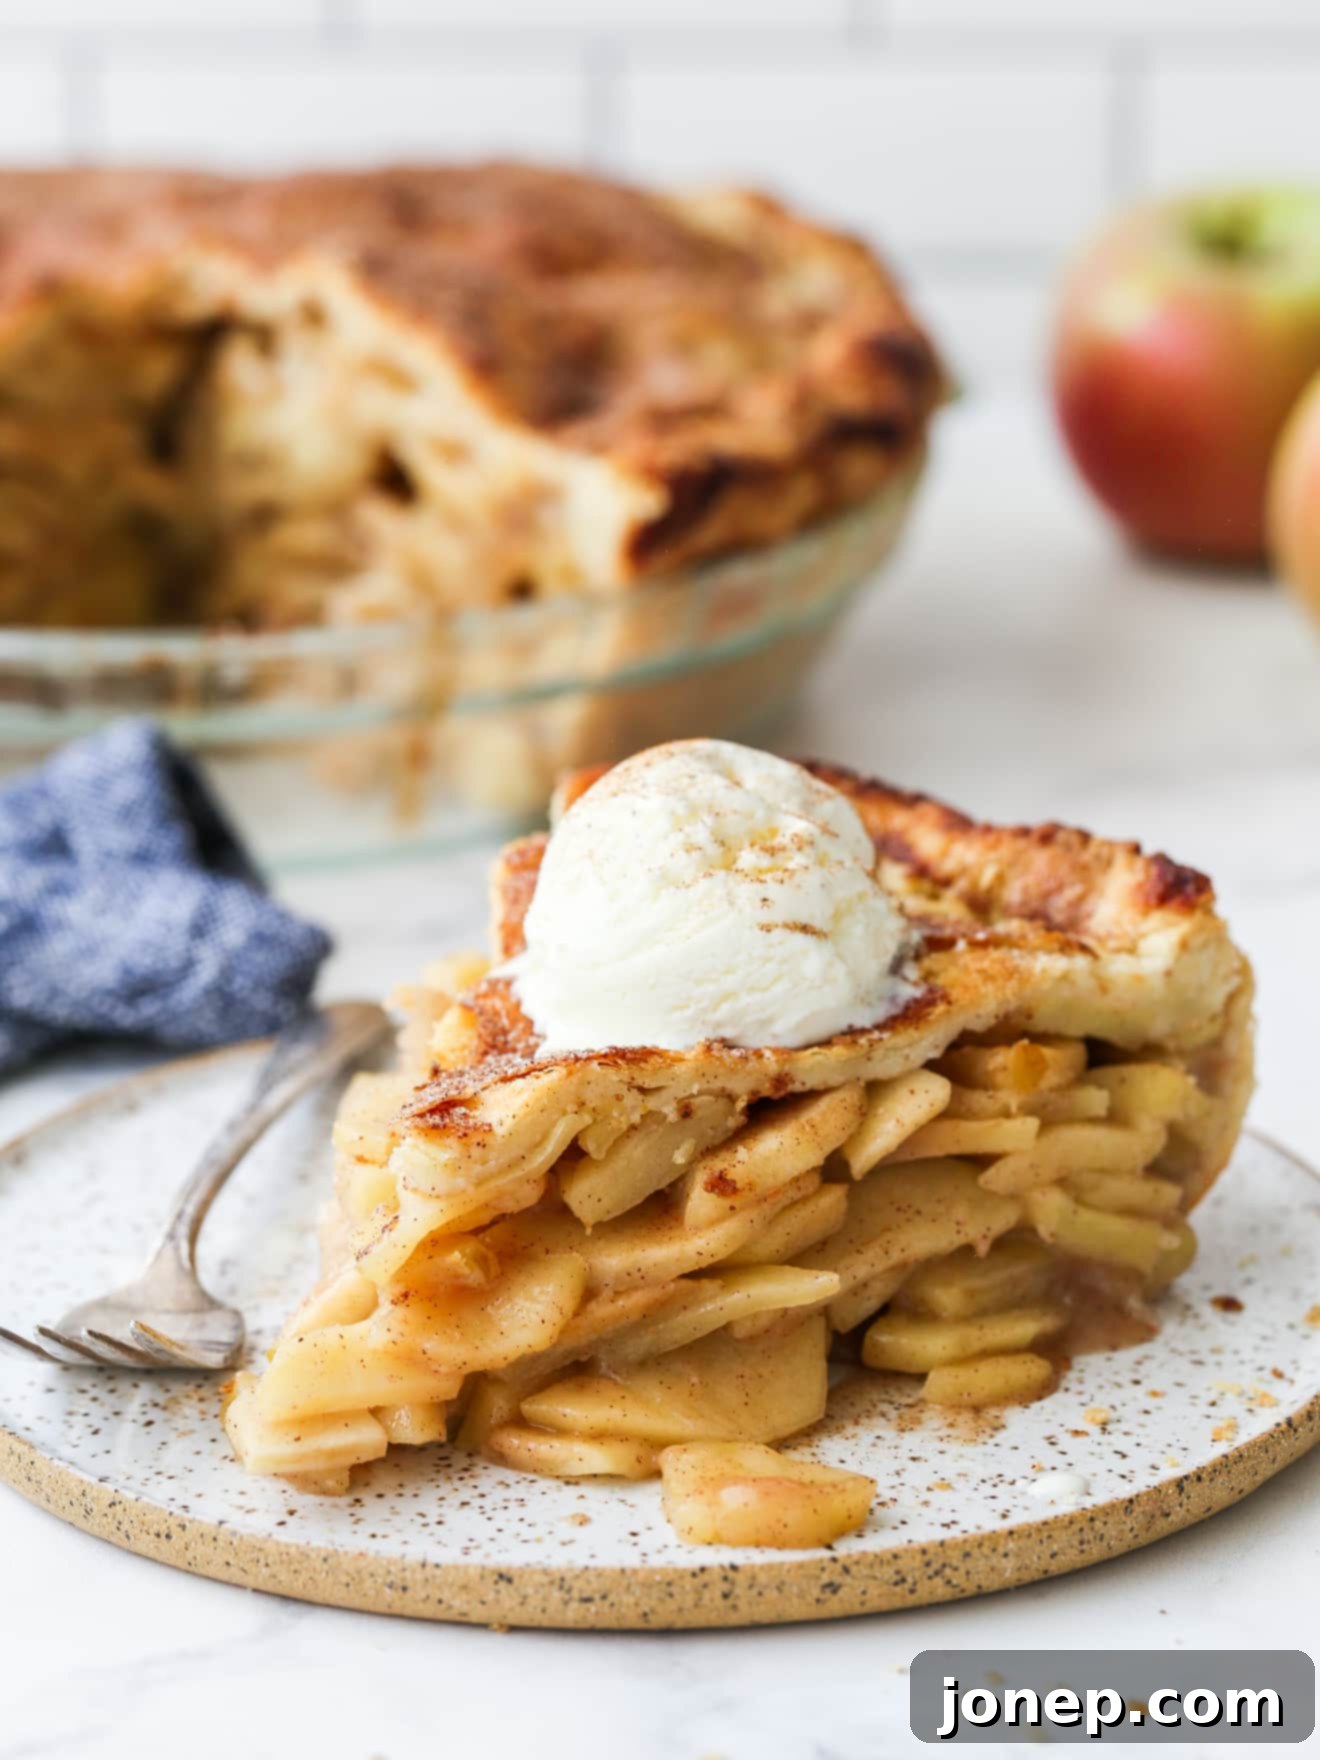
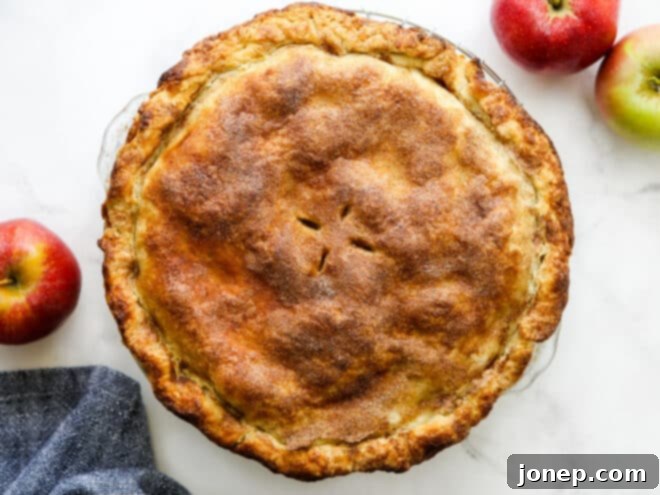
If you’re on the hunt for the absolute BEST apple pie, look no further! This truly stunning deep-dish mile-high apple pie is not just a dessert; it’s an experience. Boasting an impressive height and an abundance of rich, spiced apple filling, it promises to be the centerpiece of any gathering.
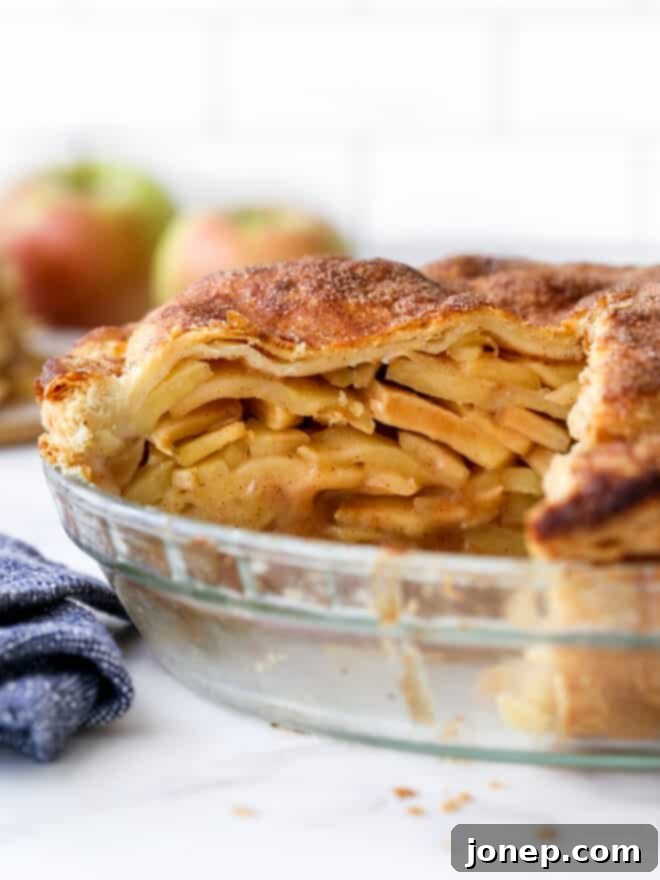
This isn’t just *another* apple pie; it’s the apple pie to end all apple pies, and quite possibly the only apple pie recipe you’ll ever need to master. Its appeal lies in its simplicity and classic charm: a mountainous pile of perfectly spiced apples nestled within a golden, flaky homemade butter pie crust pastry. What truly sets this “mile-high” apple pie apart, making it utterly unforgettable, is its sheer volume. With nearly six pounds of fresh apples tucked inside, it’s destined to be the largest and most satisfying apple pie you’ll ever bake!
The impressive height and generous filling mean more delicious apples in every single bite, a towering presence on your dessert table, and bigger smiles all around when you make that glorious first slice. It’s a testament to the comforting power of classic baking, delivering both visual grandeur and unparalleled flavor.
Table of Contents
- Why You’ll Love This Deep Dish Apple Pie Recipe
- The Secret to a Mile-High Apple Pie
- Ingredients You’ll Need
- How to Make This Mile High Apple Pie
- Tips for Making the Best Deep Dish Apple Pie
- More Pie Resources & Advanced Tips
- More Apple Pie Recipes to Explore
- Get the Full Recipe
Why You’ll Fall in Love with This Deep Dish Apple Pie Recipe
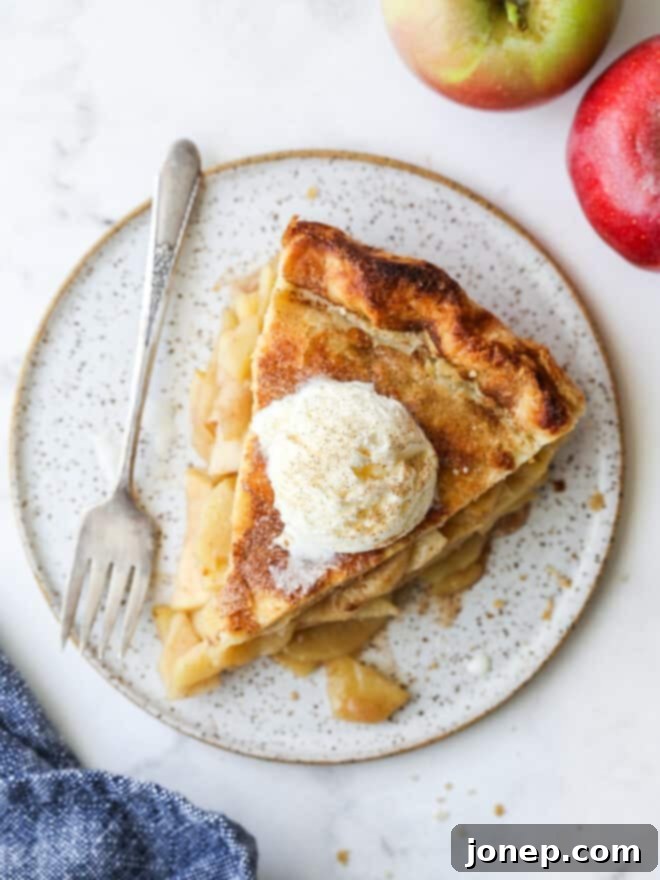
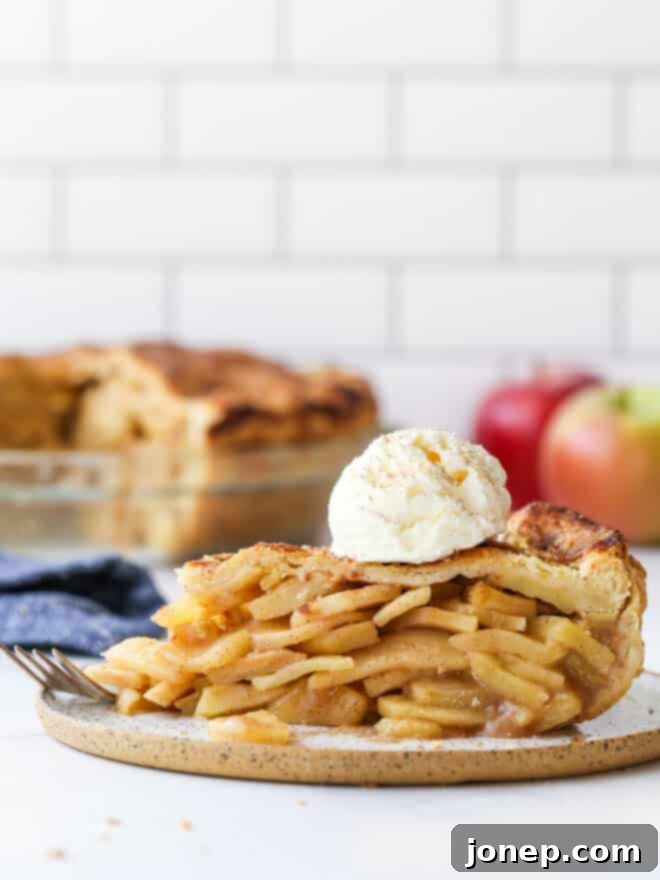
There’s an undeniable magic in the combination of sweet, tender, cinnamon-spiced apples embraced by a crisp, flaky pie dough. It’s a quintessential cozy dessert, making it absolutely perfect for the vibrant flavors of fall, the warmth of the holiday season, or really, any time you crave a comforting treat. While serving it plain is delightful, adding a generous scoop of vanilla ice cream to a warm slice is always a highly recommended indulgence – the cold, melting cream against the warm pie is simply heavenly.
But beyond its incredible flavor, this large, deep-dish apple pie is specifically designed to feed a crowd. You can effortlessly get 12-16 impressively tall slices from a single pie, ensuring everyone gets a generous portion of this autumnal delight. Its towering stature and inviting aroma make it practically beg to be on your seasonal menu, offering a stunning presentation that tastes even better than it looks. It’s more than just a dessert; it’s a centerpiece, a conversation starter, and a truly heartwarming tradition in the making.
The Secret to a Mile-High Apple Pie: It’s All About the Apples!
What makes this apple pie truly “mile-high” isn’t a special deep-dish pan (though you can use one!). The secret lies in the sheer volume of apples and a clever preparation technique. We’re talking about nearly six pounds of apples! This massive quantity, combined with a crucial pre-cooking step, allows the apples to settle and condense, creating that impressive height and dense, flavorful filling without creating a huge gap between the crust and the cooked fruit.
This approach ensures that every slice is packed from bottom to top with succulent apples, delivering an unparalleled texture and taste experience. It’s a pie that truly lives up to its name, promising a satisfyingly tall and fruit-filled treat that will impress even the most discerning pie connoisseur.
Ingredients You’ll Need for This Epic Apple Pie
Ready to bake a pie that will leave everyone speechless? Gather your ingredients, because making this mile-high apple pie requires a few key components and, as you might guess, a LOT of apples! The full, detailed recipe with precise measurements can be found at the end of this article, but here’s a general overview of what you’ll need to create this masterpiece:
Baking Tip: Choosing the Best Apples for Baking
Pro Tip: Don’t settle for just one! Using a combination of two or three different apple varieties will add incredible complexity and depth to your apple pie flavor, creating a truly memorable experience. This mix of tart, sweet, and firm apples ensures a perfectly balanced and texturally rich filling.
As mentioned, this recipe calls for an incredible quantity of apples: almost 6 lbs of apples. That’s a significant amount of fruit, equating to roughly 16 medium-sized apples. This generous use of apples is what gives our “mile-high” pie its signature stature and rich, satisfying filling. Ensure your apples are peeled, cored, and sliced into ¼-inch pieces for optimal cooking and texture.
How to Craft Your Own Mile-High Apple Pie: Step-by-Step
Creating this epic deep-dish apple pie is a rewarding process. Follow these detailed steps to ensure a perfect bake every time:
- Prepare Your Flaky Pie Crust. The foundation of any great pie is its crust. We highly recommend using a homemade pie crust for superior flavor and flakiness. You can refer to our dedicated tutorial for foolproof flaky pie crust, or for a faster option, try our shortcut method for making pie crust in a food processor. Of course, feel free to use your own tried-and-true recipe! The key for a tender, flaky crust is to keep your ingredients (especially butter) very cold and to avoid overworking the dough. Once prepared, allow the pie crust at least 2 hours to rest and chill thoroughly in the fridge before rolling; this prevents shrinkage and makes it easier to handle.
- Cook the Apple Filling on the Stove. This is a critical step for achieving the “mile-high” effect and preventing a hollow gap in your baked pie. In a large pot or a spacious skillet, combine your peeled and sliced apples, sugar, cinnamon, and lemon juice. Cook this mixture over medium heat, stirring occasionally. You’ll want to simmer it until the apples begin to soften but still maintain their shape, and the juices have noticeably thickened. This pre-cooking process reduces the apple volume slightly, concentrates their flavor, and ensures they cook evenly within the pie, preventing that common space between the baked crust and filling. Once ready, set the pot aside to cool slightly before filling your pie.
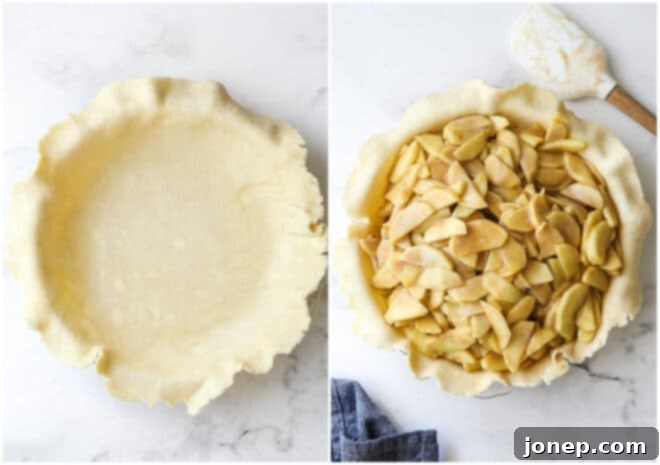
- Fill the Pie Crust. On a lightly floured surface, carefully roll out both disks of your chilled pie crust to about a 13-inch diameter. Gently transfer one rolled crust into a standard 9-inch pie plate (a specific “deep dish” pie pan isn’t strictly necessary for this recipe, thanks to our apple preparation!). Scoop the slightly cooled, generous apple filling into the bottom pie crust, mounding it high. Then, delicately place the second pie crust over the mound of apples.
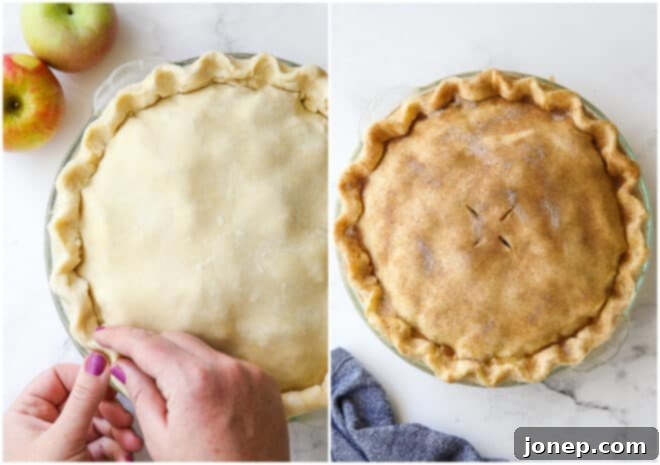
- Crimp the Edges and Prepare for Baking. Trim the edges of both crusts, leaving about a 1-inch overhang. Fold the top and bottom crusts together and pinch them firmly to seal, then crimp decoratively as desired for that classic pie look. In a small bowl, whisk together one large egg with a teaspoon of water to create an egg wash. Brush this all over the top crust; it will give your pie a beautiful golden sheen. Combine the remaining granulated sugar with a pinch of cinnamon and sprinkle generously over the egg-washed top for extra flavor and a delightful crunch. Finally, use a sharp knife to cut several slits or vents in the top crust; these are essential for allowing steam to escape during baking, preventing your pie from bursting.
- Bake Your Magnificent Pie. Place your assembled pie onto a sturdy sheet pan. This is a crucial precautionary step to catch any delicious juices that might bubble over during baking, keeping your oven clean. Bake the pie in a preheated oven at 400°F (200°C) for approximately 1 hour. Look for a crust that is beautifully golden brown and watch for the filling juices bubbling enticingly through the vents. If you notice your crust browning too quickly before the filling seems fully cooked and bubbly, loosely cover the pie with a piece of aluminum foil to prevent it from burning while the interior finishes baking.
- The Crucial Cooling Step. This is arguably the hardest, but most vital, step for a perfect deep-dish apple pie. The filling needs ample time to completely set and thicken. If you slice into it too soon, the filling will be runny, and the pie might collapse. Allow your pie to cool at room temperature for at least 1 hour, and ideally several hours, before slicing and serving. Patience truly is a virtue here, leading to beautifully firm slices.
Pro Tips for Making the Best Deep Dish Apple Pie
Achieving pie perfection can be simple with a few expert tips:
- Apple Quantity is Key: To reach the impressive 5.5 lbs of apples required for this recipe, you’ll typically need around 16 medium-sized apples. Don’t skimp on the apples – they are the star of this “mile-high” show!
- Efficient Apple Prep: Peeling and coring a large quantity of apples can be time-consuming. This video tutorial demonstrates how I quickly and easily peel and core apples for baking. It’s a game-changer!
- Homemade Crust is Superior: While store-bought pie crust is an option for convenience, homemade crust offers an unparalleled flavor and flaky texture that truly elevates this deep-dish apple pie. We highly recommend using the recipe below, which features our favorite buttermilk pie crust for extra tenderness. However, feel free to substitute with your preferred homemade recipe.
- No Special Pan Needed: Despite its “deep-dish” title, you do not actually need a specific deep-dish pie pan for this recipe. A standard 9-inch pie dish will work perfectly fine. The pre-cooked apple filling ensures the height. I personally prefer using Pyrex or ceramic pie dishes for even baking.
- Don’t Skip the Egg Wash: This simple step makes a big difference! Brushing the top crust with an egg wash before baking gives your pie a beautiful, glossy, golden-brown finish that looks as amazing as it tastes. Without it, your crust might appear dull and pale.
- Prevent Over-Browning: If you notice the edges of your pie crust browning faster than the center, gently cover them with a strip of aluminum foil. Alternatively, you can purchase a silicone pie crust shield. Once the entire crust is perfectly golden brown, you can cover the entire pie loosely with foil to prevent further browning while allowing the filling ample time to finish cooking through.
- Patience is a Virtue (Cooling): For a perfectly set filling and clean slices, it is absolutely essential to let the apple pie cool completely at room temperature for at least 1 hour, and preferably several hours, before attempting to slice it. This allows the juices to thicken and the pie to firm up.
- Serving & Reheating: This apple pie is equally delicious served warm or at room temperature. To reheat a cool pie, cover it loosely with foil and warm it in a 350°F (175°C) oven for about 30 minutes, or until heated through.
- Storage: You can store this baked apple pie at room temperature for approximately 24 hours, well-covered. For longer storage, or if your kitchen is particularly warm, it’s best to transfer it to the refrigerator to keep it fresh for up to 3-4 days.
- The Essential Accompaniment: Never forget the vanilla ice cream! A scoop of good quality vanilla ice cream melting over a warm slice of apple pie is the ultimate classic pairing.
More Pie Resources & Advanced Baking Tips
Ready to dive deeper into the world of pie baking? Here are some additional resources to help you master your craft:
- Baking Sheet for Security: Always place your pie on a sturdy baking sheet pan before transferring it to and from the oven. This provides stability and, more importantly, catches any juices that might bubble out, saving your oven from a sticky mess.
- For Picture-Perfect Slices: To achieve those clean, neat slices often seen in photos, allow the pie to cool completely to room temperature. This can take several hours. For even firmer slices, you can even chill it in the fridge for a while before cutting.
- Time-Saving Crust Hack: Looking to speed up your pie crust preparation? Learn how to make pie crust quickly and easily in the food processor.
- Lattice Top Inspiration: If you’re feeling adventurous and want to add an elegant lattice top to your pie, check out our detailed photo tutorial on how to make a lattice pie crust. It’s easier than you think!
- Troubleshooting Common Pie Problems: Do pies intimidate you, or do they never seem to turn out quite right? Be sure to explore our comprehensive guide on the best tips for making perfect pies. We share practical solutions for the most common pie baking challenges, such as how to prevent runny filling, cracked crusts, soggy bottoms, and much more!
- Essential Pie Tools: Equip yourself for success! Here’s a list of my favorite pie tools that make the baking process smoother and more enjoyable.
More Apple Pie Recipes to Explore
If you can’t get enough of apple pie, here are a few other delicious variations to try:
- Sour Cream Apple Pie
- Dutch Apple Pie
- Apple Pear Praline Pie
Get the Full Recipe

Mile High Apple Pie
Pin Recipe
Leave a Review
Ingredients
Pie crust:
- 2 ½ cups (300 grams) all-purpose flour
- 1 tablespoon sugar
- 1 teaspoon salt
- 1 cup (226 grams) unsalted butter , cold and cut into cubes
- ½ cup (118 ml) cold buttermilk
Apple filling and assembly:
- 5 ½ lbs (2.6 kg) apples , peeled and sliced into ¼-inch pieces (see Notes)
- 3 tablespoon lemon juice , fresh or bottled
- 1 cup (200 grams) granulated sugar
- ¼ cup (50 grams) + 2 tablespoons all-purpose flour
- 3 teaspoons ground cinnamon , divided
- 1 large egg + 1 teaspoon water , for egg wash
- 2 tablespoons granulated sugar , for sprinkling
Instructions
To make the pie crust:
-
Combine the flour, sugar, and salt in a bowl. Add the cubed butter and toss to coat.
-
Dump the mixture out onto a clean surface and use a rolling pin to roll the butter into thin sheets, combining it with the flour. Use a bench scraper to scrape the rolling pin and bring the mixture back into a pile as necessary.
-
Continue until all of the butter is incorporated into the flour. Mixture will be very flaky.
-
Return mixture to the bowl and place in the freezer for 10 minutes to chill the butter.
-
Remove from freezer and add the cold buttermilk. Use a spoon and then your hands to stir the mixture until it comes together into a ball. If mixture is too dry, add additional buttermilk a teaspoon at a time.
-
Divide the dough in half and flatten into disks. Wrap each disk in plastic wrap and chill in the fridge for at least 1 hour and up to 5 days.
To prepare the pie filling:
-
In a large skillet add the apple slices, lemon juice, 1 cup of the sugar, the flour and 2 teaspoons of the cinnamon. Set over medium high heat.
-
Stir frequently as the sugar dissolves and the apples soften. Simmer until apples are soft but still hold their shape and the juices have thickened, about 15 minutes. The whole mixture should appear to be reduced by a third. Set aside to cool while you prepare the crust.
To assemble the pie:
-
Preheat oven to 400 degrees F.
-
Let the dough rest at room temperature for five minutes. On a lightly floured surface, use a rolling pin to roll out the dough into a rough 13-inch circle. Dough should be about ¼ inch thick. Transfer dough to 9-inch pie dish. Roll out the second disk of dough.
-
Dump the cooled apple pie filling into the bottom crust. Transfer the second crust to the top of the pie. Trim edges to about 1 inch.
-
Fold the edges of the top and bottom crusts together and use your index fingers and thumb to pinch into a pattern. Brush with egg wash. Combine remaining sugar and cinnamon and sprinkle over the top of the pie. Cut a few slits in the crust as vents for steam.
-
Place pie on a sheet pan to catch any filling that bubbles over. Bake pie until golden on top and filling bubbles through vents, about 1 hour. If crust browns too quickly, cover loosely with foil.
-
Let the baked pie come to room temperature on a wire rack for several hours before serving, to allow the filling to finish thickening.
-
Serve with whipped cream or vanilla ice cream, if desired.
Video
Notes
- For more pie crust tips and step-by-step photos, check out my foolproof flaky pie crust tutorial.
- You will need about 16 medium-sized apples to make this recipe.
- This recipe was originally published in September 2012. Recipe method has been slightly improved.
This recipe was originally published in October 2012 and has been updated for improved clarity and baking tips.
