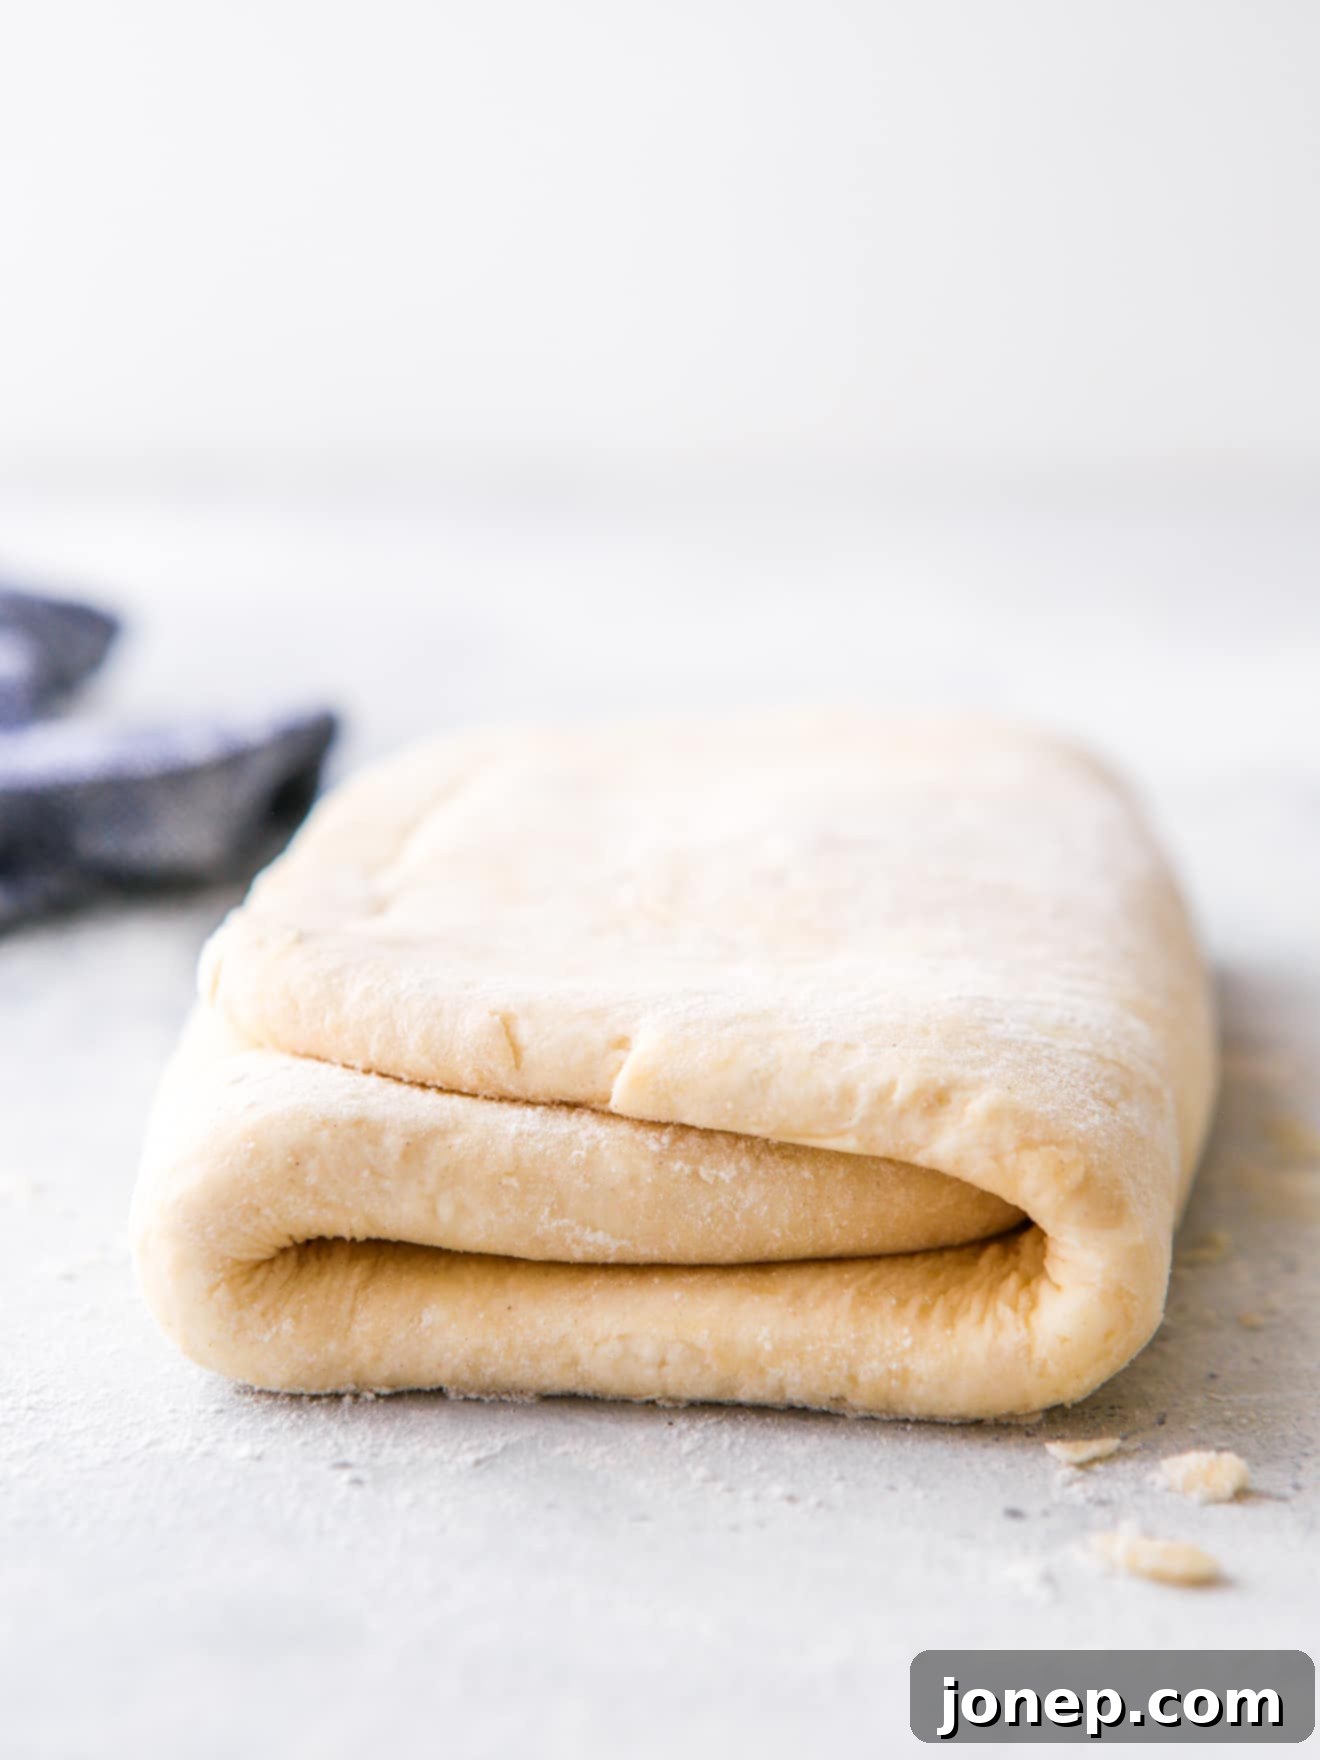
Easy Homemade Puff Pastry: Unlock Flaky Perfection with This Simple Recipe
Many home bakers find the idea of making puff pastry from scratch daunting, often resorting to store-bought frozen options. While convenient, these often lack the deep, buttery flavor and incredibly delicate, sky-high flakiness that homemade puff pastry delivers. But what if we told you it doesn’t have to be complicated? This comprehensive guide reveals an easy shortcut puff pastry recipe and method that’s simple enough for anyone to master, bringing the joy of truly superior baked goods right to your kitchen.
Imagine biting into a perfectly golden croissant or a savory tart, each layer exquisitely crisp and rich with butter. That’s the magic of homemade puff pastry. While it’s tempting to grab a box from the freezer aisle – and let’s be honest, we all do sometimes – taking the plunge to make your own is an incredibly rewarding experience. This recipe is designed to demystify the process, cutting down on time and effort without compromising on the luxurious taste and texture that makes puff pastry so beloved. You’ll be amazed at the difference it makes in your favorite pastries, from sweet danishes to savory palmiers.
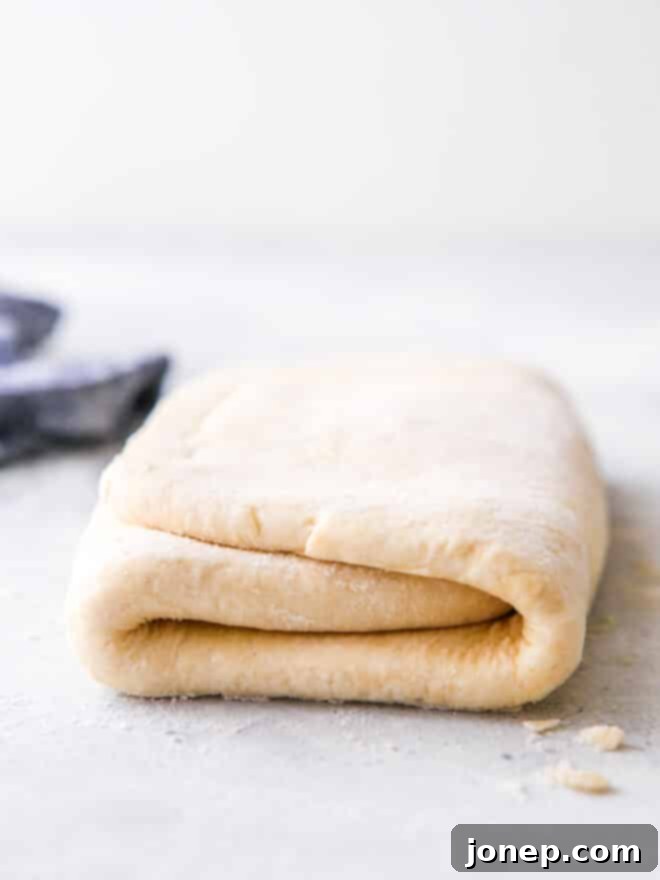
What Exactly is Puff Pastry? Demystifying the Magic
Puff pastry, known in French as pâte feuilletée, is a light, exceptionally flaky pastry characterized by its numerous, delicate layers. These layers are created through a unique culinary process called lamination. In traditional lamination, a block of cold butter is encased within a simple dough, and then this dough-butter package is repeatedly rolled out and folded (a “turn”). With each turn, the butter and dough are thinned and multiplied, creating hundreds of microscopically thin layers. When baked, the water in the butter turns to steam, causing these layers to puff up and separate, resulting in that signature airy, crispy texture that is so desirable.
Our easy puff pastry recipe, sometimes referred to as “rough puff” or “blitz puff,” simplifies this intricate process without sacrificing flavor or flakiness. Instead of painstakingly folding dough around a solid block of butter, we take a clever shortcut: the cold butter is cut directly into the dry ingredients, similar to making a pie crust. This method significantly reduces the labor and time typically associated with traditional puff pastry by eliminating the initial butter block formation. Once the butter is distributed into the flour, a small amount of ice-cold water is added to form a shaggy, cohesive dough. From there, we proceed with the essential rolling and folding steps, ensuring those beautiful layers still develop. This approach makes homemade puff pastry genuinely accessible to every home baker, allowing you to enjoy all the benefits of scratch-made pastry with much less fuss and incredible results.
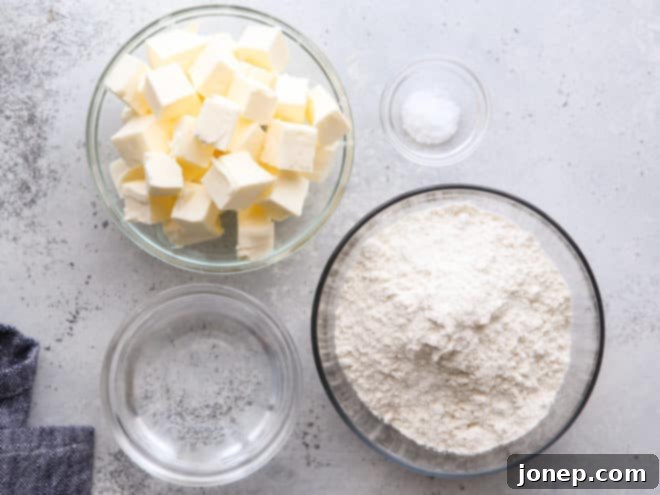
Essential Ingredients for Your Flaky Puff Pastry
Achieving outstanding puff pastry starts with a few high-quality, simple ingredients. The beauty of this recipe lies in how these basic components transform into something truly extraordinary through the lamination process. Here’s what you’ll need to gather:
- All-Purpose Flour: The foundation of our dough, providing the necessary structure. While bread flour can make a tougher dough, all-purpose flour strikes a good balance for optimal flakiness and ease of handling.
- Salt: A crucial ingredient for enhancing the overall flavor of the pastry and balancing the richness of the butter. Never underestimate its importance!
- Cold Unsalted Butter: This is arguably the most critical ingredient. Using unsalted butter allows you to control the salt content in your recipe. Most importantly, the butter must be *very cold* and firm. It’s the distinct pieces of butter within the dough that create steam in the oven, leading to the dramatic rise and signature flaky layers.
- Ice-Cold Water: Just like the butter, the water needs to be as cold as possible. This helps to keep the butter firm during mixing and rolling, and it also prevents the dough from developing too much gluten too quickly, ensuring a tender and flaky result rather than a tough one.
Each ingredient plays a vital role in creating the perfect balance of flavor and texture that defines homemade puff pastry. Using them at the right temperature is absolutely key to success, as we’ll explore in more detail next.
The Golden Rule: Keeping Everything Cold for Perfect Layers
The secret to wonderfully flaky puff pastry lies in maintaining distinct layers of butter and dough throughout the preparation process. For this to happen, the butter absolutely must remain solid and separate from the flour mixture until it hits the hot oven. If the butter melts and incorporates too much into the dough, you’ll end up with a less flaky, more cookie-like or pastry-dough texture, rather than the ethereal, airy layers we’re aiming for.
To ensure your butter stays in discrete pieces, it’s paramount to keep all your ingredients and tools as cold as possible. Start with butter that’s been well-chilled in the refrigerator (or even the freezer for 15-20 minutes before cubing) and water that’s ice-cold (you can even add a few ice cubes to a bowl of water and measure from that, just ensure no ice goes into the dough). Going a step further, consider chilling your flour in the freezer for 15-20 minutes, and even pop your mixing bowl and pastry blender into the fridge for a bit before you begin. These small preparations make a significant difference in preventing the butter from softening prematurely.
While it’s possible to make this entire puff pastry recipe in one go, especially if your kitchen is cool, it’s often beneficial to pause and chill the dough during the process. If at any point your butter feels too soft, starts to ooze from the dough, or the dough becomes sticky and difficult to handle, don’t hesitate. Simply wrap the dough tightly in plastic wrap and place it in the freezer for about 20-30 minutes, or the refrigerator for an hour. This allows the butter to firm up again, making the dough much easier to work with and ensuring those crucial layers remain separate and intact. By respecting the cold, you’re setting yourself up for puff pastry success and those coveted golden, flaky layers.
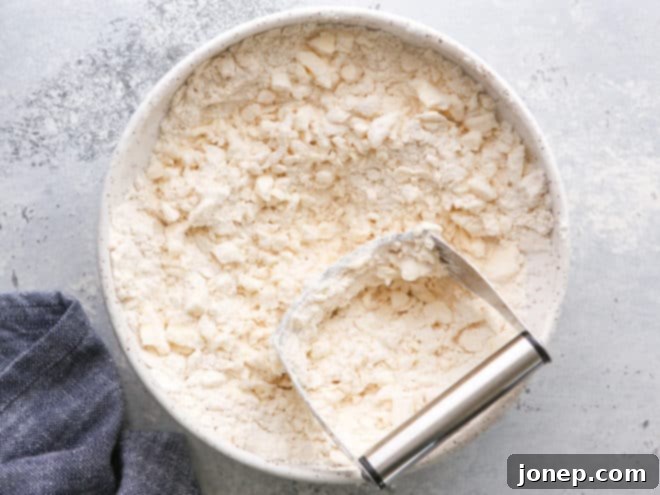
Step-by-Step Guide: How to Make Easy Puff Pastry
Ready to create some culinary magic? Follow these detailed steps to achieve perfect homemade puff pastry with our simplified method. Remember to work swiftly and keep things cold for the best results!
1. Prepare Your Ingredients and Cut the Butter
In a large mixing bowl, combine your all-purpose flour and salt. Give it a quick whisk to ensure they are well mixed and evenly distributed. Next, add the cold unsalted butter, which you should have pre-cubed into small pieces (about ½-inch or 1.25 cm cubes). Using a pastry blender, two knives, or even your fingertips, work the butter into the dry ingredients. The goal is to break the butter down until the largest pieces are about the size of small peas, with many even smaller, crumbly bits. It’s perfectly fine, and even desirable, to have a few slightly larger pieces of butter remaining – these larger chunks will contribute to an even more dramatic flakiness. Avoid overmixing, as we want the butter to remain distinct from the flour and not become fully incorporated.
2. Add Water and Form the Shaggy Dough
Once the butter is cut in, slowly add about half of your ice-cold water to the bowl. Mix gently with a sturdy spatula or spoon until partially incorporated. Then, add the remaining water. Continue to mix, primarily using your hands, to bring the dough together. It will initially be quite crumbly and appear “shaggy” – a rustic, uneven texture with loose bits of flour and butter. This is exactly what we want, as it indicates the butter is still in distinct pieces! Dump the dough out onto a clean, lightly floured work surface. Briefly knead and press it together just enough to form a cohesive ball or a rough rectangle. The less you work it at this stage, the better, as overworking develops gluten prematurely, which can lead to tough pastry instead of tender, flaky layers.
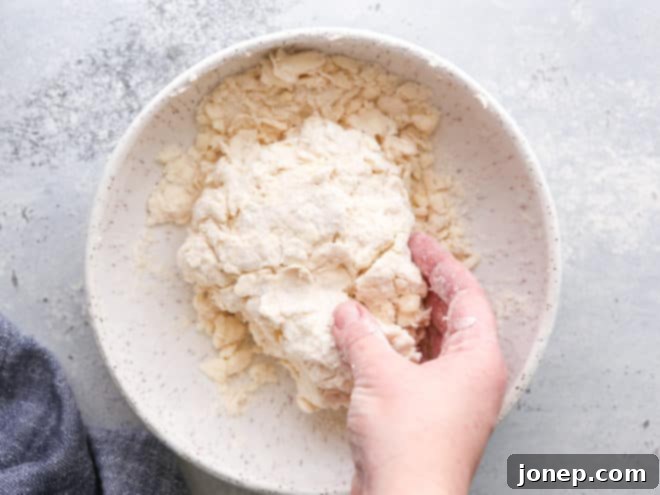
3. Shape and Roll Out the Dough
Gently flatten your shaggy dough into a rough rectangle. Lightly flour your work surface and your preferred rolling pin (many bakers favor a French rolling pin for its control and even pressure, though a classic American rolling pin works just as well). Roll the dough out to an approximate size of a sheet of legal paper (roughly 8×14 inches or 20×35 cm). The exact dimensions aren’t critically important, but try to maintain a rectangular shape as much as possible with straight edges. Be gentle but firm, applying even pressure across the dough. If the dough starts to stick to the counter or rolling pin, sprinkle a tiny amount of flour on the sticky areas. However, be cautious not to add too much extra flour, as the dough can absorb it, making the pastry less delicate and potentially tougher. A bench scraper can be incredibly helpful here for lifting and preventing the dough from adhering to the counter.
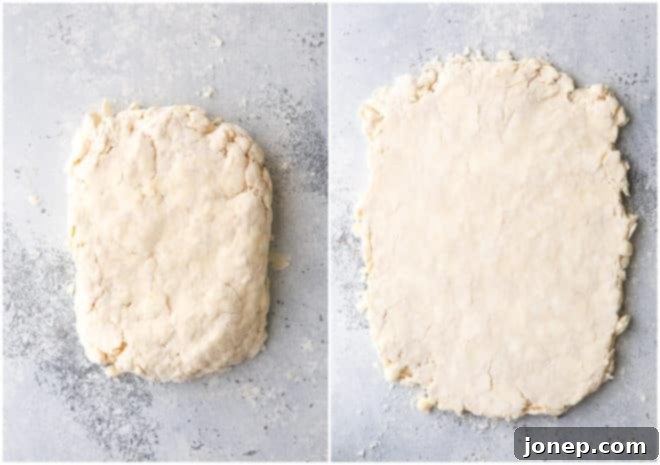
4. Execute the First Fold (Turn)
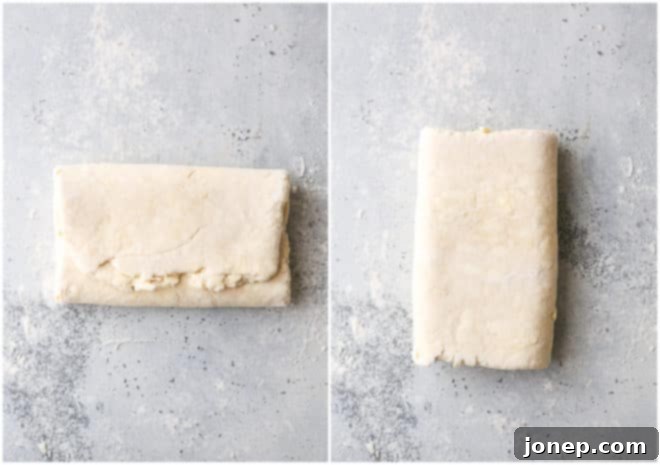
This is where the magic of lamination truly begins! Take your rolled-out rectangle of dough and visualize it divided into three equal sections. Carefully fold the bottom third of the dough up and over the middle third. Then, fold the top third down over the now-folded bottom and middle sections, just like you would fold a letter to fit into an envelope. This creates three layers of dough and two layers of butter. Once folded, gently flip the dough over so the seam side is facing down. Then, rotate the dough 90 degrees so that a short edge is facing you (as if preparing for the next roll). This entire sequence of rolling, folding, flipping, and rotating constitutes your first “turn.” Don’t worry if your dough still looks a bit shaggy or rustic at this stage, especially during the first turn – it will smooth out and become more uniform as you continue the process. The provided photos are excellent visual aids for this crucial initial step.
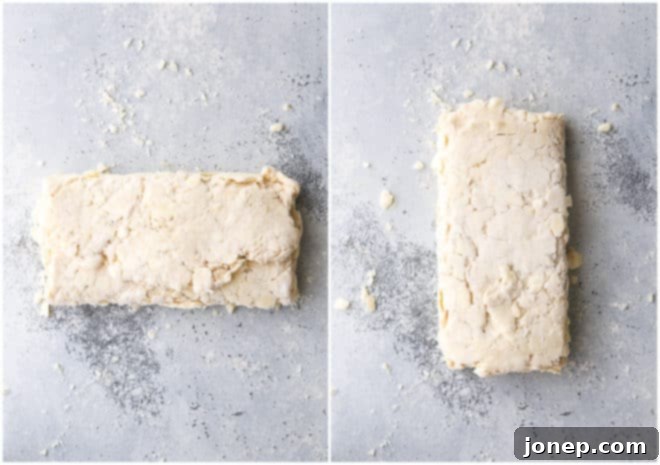
5. Complete Five More Turns for Ultimate Flakiness
You’ve successfully completed your first turn! Now, you’ll repeat this rolling and folding process five more times to build up those incredible layers. After each turn:
- Lightly flour your work surface and rolling pin again, if needed. Use flour sparingly to avoid tough dough.
- Roll the dough out to roughly the same legal paper size (8×14 inches or 20×35 cm), always striving to maintain a rectangular shape.
- Perform the letter fold once more: fold the bottom third up, then the top third down.
- Gently flip the dough over so the seam is facing down.
- Rotate the dough 90 degrees so that a short edge is facing you, preparing it for the next roll.
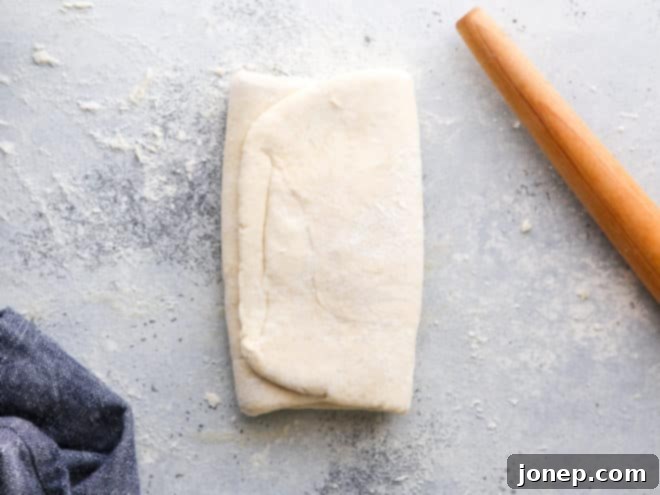
Repeat this entire sequence until you have completed a total of six turns. You’ll notice a significant change in the dough’s texture and appearance with each successive turn. It will gradually become smoother, more elastic, and much easier to handle. While you might still see tiny specks of butter, they will be much more integrated and evenly distributed throughout the dough. The photos of the 4th turn vividly illustrate this transformation – the dough is nearly perfectly smooth. After six turns, your puff pastry will have developed an astounding 18 layers of butter (assuming a three-fold method like a letter fold, 3^6 = 729 layers including dough, but butter layers are usually calculated based on the fold per turn and initial butter distribution) ready to create that incredible rise and flakiness when baked. Remember the importance of cold: if the dough becomes too warm, sticky, or the butter starts to ooze at any point, immediately wrap it in plastic and place it in the freezer for 20-30 minutes to firm up the butter before continuing. Patience is a virtue in puff pastry making!
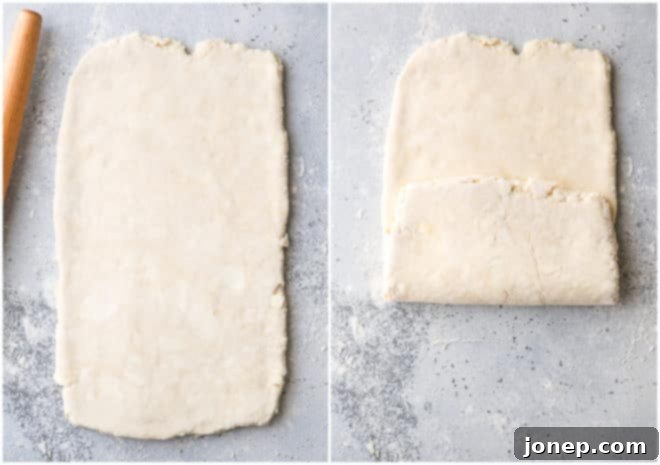
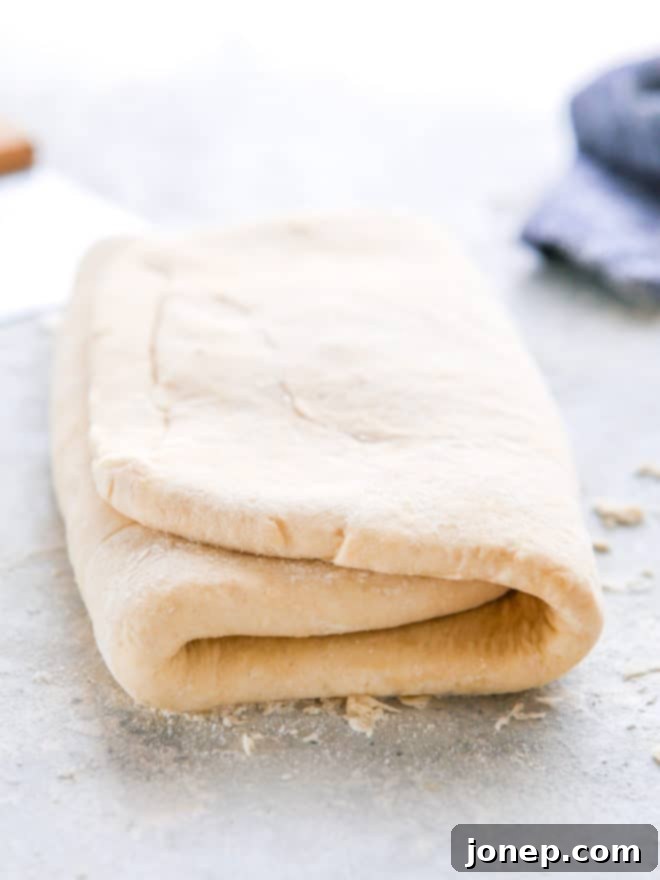
And there you have it! After all six turns, your dough is beautifully smooth, elastic, and ready. Though you can’t see them with the naked eye, those perfectly developed layers of butter are patiently waiting to work their magic, expanding and creating magnificent flakiness in the oven.
The Final Chill: Preparing for Baking or Future Use
Once your puff pastry dough has completed its six turns, the final crucial step before baking is to thoroughly chill it. This resting period is vital for several reasons: it allows the gluten in the dough to relax, which prevents the pastry from shrinking excessively during baking. More importantly, it ensures the butter layers are completely solidified and firm. Solid butter layers are absolutely essential for achieving that dramatic lift and glorious flakiness in the oven, as they will create distinct pockets of steam when exposed to high heat.
To chill, wrap the dough tightly in plastic wrap (or beeswax wrap) to prevent it from drying out or absorbing any refrigerator odors, and place it in the coldest part of your refrigerator for at least 1 hour, or ideally for 2 hours. You can even prepare the dough up to 2 days in advance and store it in the fridge until you’re ready to use it. This makes puff pastry an excellent make-ahead component for your busy baking schedule.
Puff pastry also freezes exceptionally well, extending its usability even further! To freeze, double wrap the dough tightly in plastic wrap, ensuring it’s sealed completely, then place it in a freezer-safe zip-top bag. It can be stored in the freezer for up to a month or even longer without losing its quality. When you’re ready to use it, simply thaw the dough overnight in the refrigerator or at room temperature for about 30 minutes, until it’s pliable enough to roll out but still very cold to the touch. This makes it incredibly convenient to have homemade puff pastry on hand whenever a craving strikes for something delicious and flaky!
What Delicious Creations Can You Make with Homemade Puff Pastry?
Congratulations! You’ve successfully made your own easy puff pastry. Now comes the fun part: transforming this versatile dough into an array of delectable treats. The possibilities are truly endless, catering to both sweet and savory palates. Its incredible flakiness and rich buttery flavor make it perfect for so many recipes where store-bought simply can’t compare. Here are just a few ideas to get you started on your culinary adventure:
- Cream Cheese Danishes: A classic breakfast or brunch pastry, with a rich, tangy cream cheese filling encased in delicate layers.
- Easiest Nectarine Puff Pastry Tart: A simple yet elegant dessert, adaptable with any seasonal fruits like apples, berries, peaches, or plums.
- Easy Chocolate Croissants: Indulge in warm, buttery croissants filled with molten chocolate, a breakfast dream come true made simpler.
- Easy Puff Pastry Sticky Buns: Sweet, sticky, and utterly irresistible, these buns are a delightful treat for any time of day.
Beyond these suggestions, unleash your creativity! Consider making savory appetizers like flaky sausage rolls, elegant cheese straws, individual quiches, or mini spanakopitas. For desserts, think fruit turnovers, classic napoleons, or even a show-stopping beef Wellington. Your homemade puff pastry will elevate any dish to gourmet status, impressing everyone with its superior texture and rich, unparalleled buttery flavor that only homemade can achieve.
Essential Tools for Puff Pastry Success
While you don’t need a professional pastry kitchen, having a few key tools can make the puff pastry process even smoother and more enjoyable. These items are generally inexpensive and prove incredibly useful for a variety of baking tasks beyond just puff pastry:
- Pastry Blender: This specialized tool is invaluable for cutting cold butter into flour quickly and efficiently. It ensures proper distribution of the butter without melting it with the warmth of your hands, which is crucial for flaky results.
- Rolling Pin: A sturdy rolling pin is an absolute necessity. Many experienced bakers prefer a French-style tapered rolling pin for its balance and greater control over dough thickness, but a classic American rolling pin with handles works perfectly fine as well.
- Bench Scraper: A true baker’s best friend! This flat, rigid tool is fantastic for scraping dough off your work surface, neatly dividing dough portions, and keeping your area tidy as you work.
- Large Mixing Bowl: A spacious mixing bowl allows you to combine and work with your ingredients comfortably without making a mess, especially when incorporating the butter and water.
- Plastic Wrap: Crucial for wrapping the dough tightly during chilling periods to prevent it from drying out, forming a skin, or absorbing unwanted refrigerator odors.
Investing in these basic yet essential tools will not only aid significantly in your puff pastry endeavors but will also enhance your overall baking experience, making many other recipes more accessible and less intimidating. Happy baking and enjoy the fruits of your labor!
Easy Puff Pastry
Pin Recipe
Leave a Review
Ingredients
- 2 cups all-purpose flour (240 grams)
- ½ teaspoon salt
- 1 ¼ cups cold unsalted butter , cubed (2 ½ sticks, 283 grams)
- ½ cup cold water (118 grams)
Instructions
-
Combine flour and salt in a bowl and toss with the cold cubed butter. Use a pastry blender to cut the butter into smaller pieces into the dry ingredients. Cut until smallest butter pieces are about the size of peas, it’s okay if some large butter pieces remain.
-
Add ½ of cold water to the bowl and mix until incorporated, then add remaining water. Use a spatula/spoon and then your hands to bring the dough together. It will be very crumbly and shaggy. Dump dough out on a clean surface and continue to work it together.
-
Shape dough into a rectangle, then use a floured rolling pin to roll out to about the size of a sheet of legal paper (8×14 inches). No need to be exact.
-
Fold the bottom third of the dough up onto the middle third, then fold the top third over on top, like you would fold a letter. Then flip the dough seam side-down, and rotate it 90° so the short edge is facing you. This is whole step completes your first “turn”.
-
Roll the dough again out to about the size of a sheet of legal paper. Fold into thirds, then flip and rotate again. Repeat this process until you have rolled, folded, and rotated 6 total times. Pause to chill dough as needed (see Notes).
-
Chill the puff pastry dough completely before using, at least 1 hour and up to 2 days in the fridge.
Notes
Notes:
- Puff pastry freezes really well. Double wrap in plastic or a ziplock bag and freeze for up to a month or more. Thaw the in fridge overnight or at room temperature for 30 minutes before using.
- It is possible to make this puff pastry in one sitting, as long as the butter doesn’t get too soft or appear melted at all. I usually pause somewhere in the process to put the dough in the freezer for 30 minutes or so to get the butter cold again before resuming with the folding and rolling.
- In addition to using cold butter and water, chilling the flour, salt, bowl and pastry blender before starting will help keep things cold.
