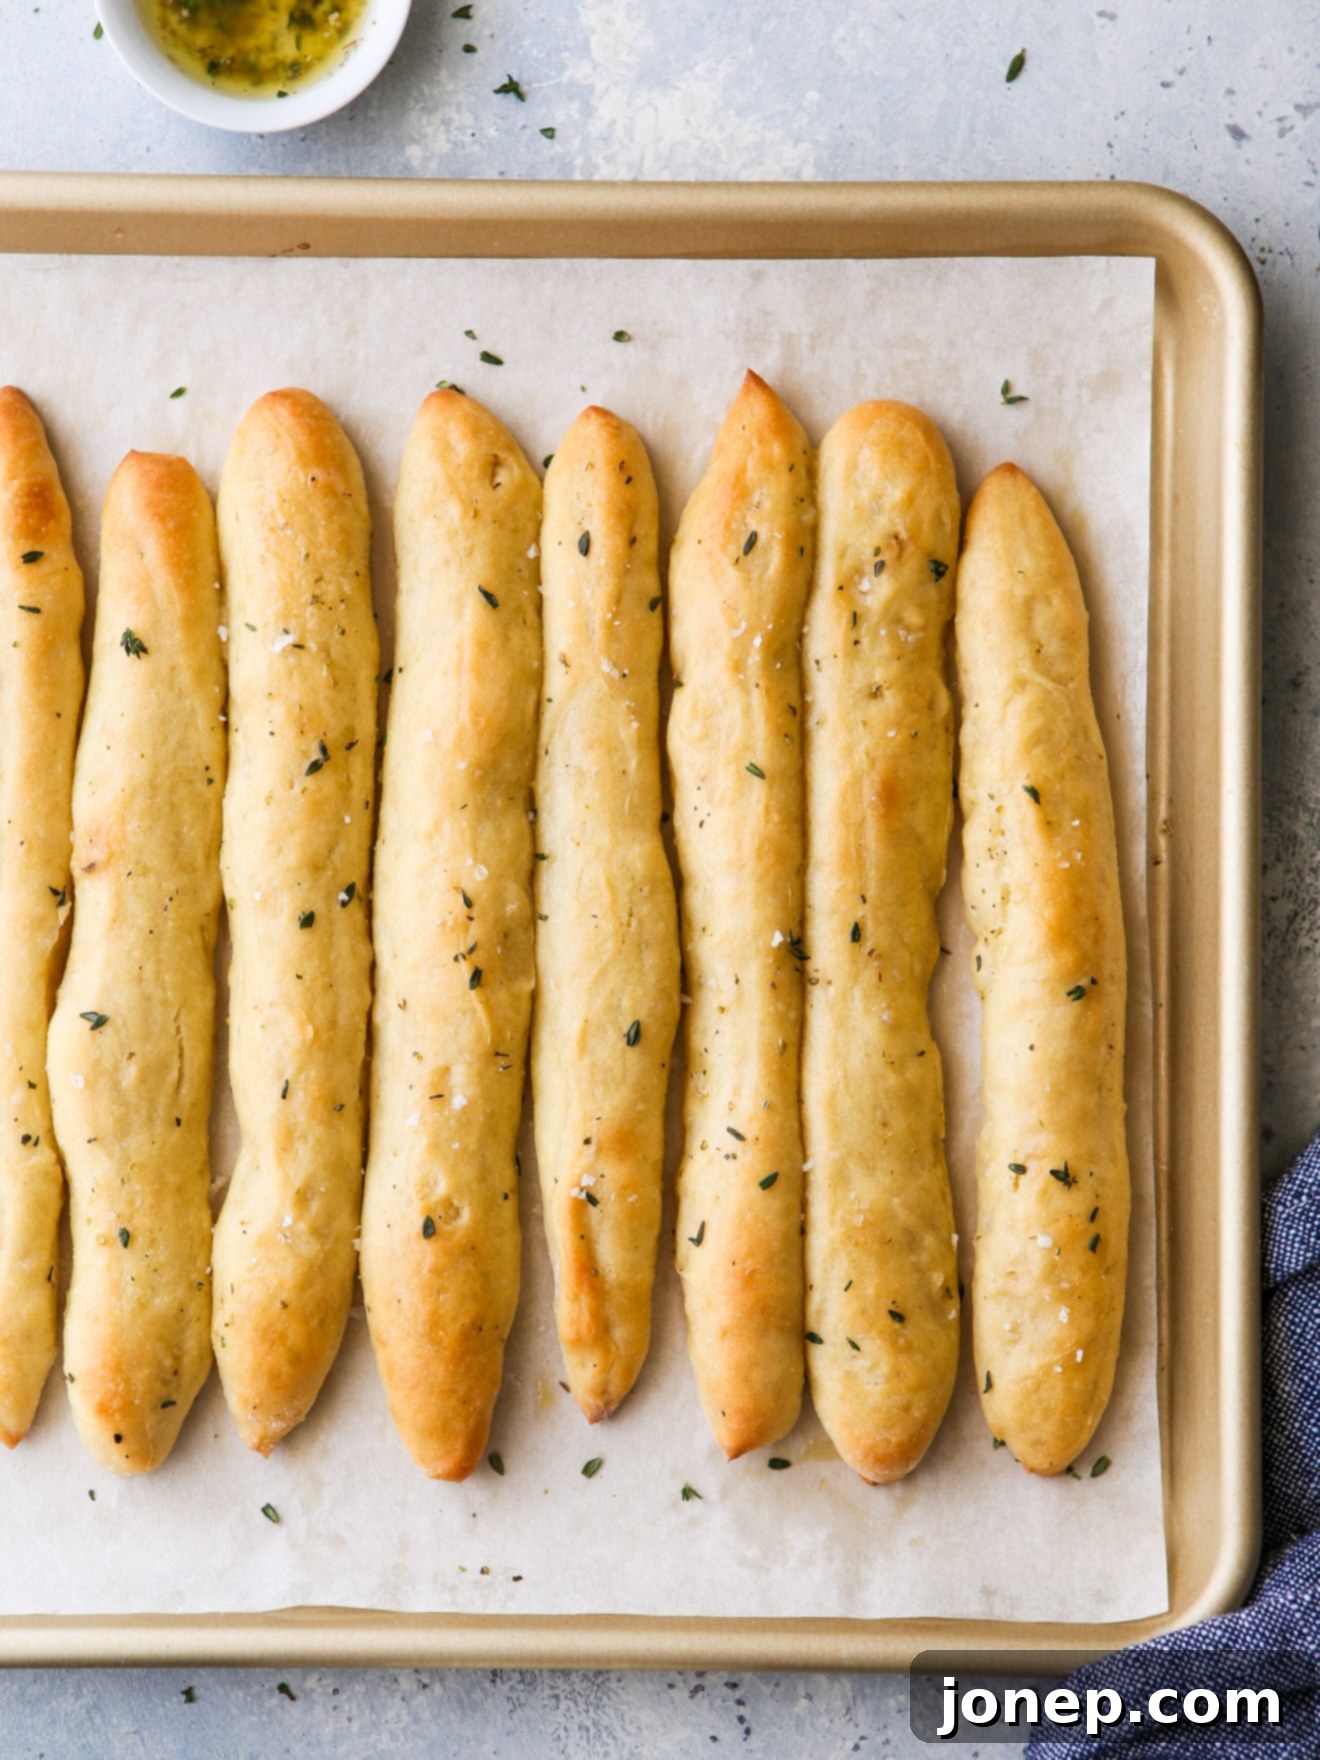
Easy No-Knead Breadsticks: Soft, Chewy, and Irresistibly Simple with Garlic Herb Butter
Imagine the comforting aroma of freshly baked bread wafting through your kitchen, culminating in a batch of warm, golden-brown breadsticks. Now, picture achieving this without the strenuous arm workout of kneading or the need for a stand mixer. That’s precisely the promise of these easy no-knead breadsticks – a culinary game-changer for anyone who loves homemade bread but craves simplicity. This recipe delivers incredibly soft and chewy breadsticks, generously brushed with a savory garlic and herb butter, making them an instant crowd-pleaser and a perfect accompaniment to almost any meal.
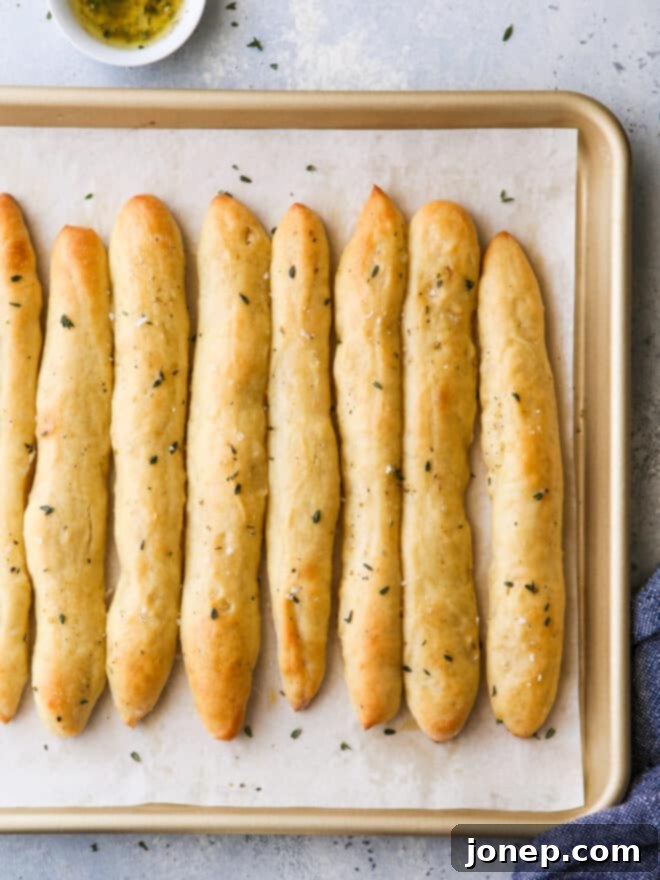
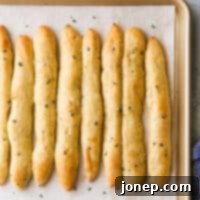
From the moment they emerge from the oven, these homemade no-knead breadsticks are designed to delight. Their tender interior offers a satisfying chewiness, while the golden exterior provides a subtle crispness. What truly elevates them is the generous brushing of a fragrant garlic and herb butter, applied while they’re still hot, allowing the flavors to deeply penetrate. I can confidently say your entire family will absolutely love these breadsticks – they’re that good! They transform from a simple side dish into a highlight of dinner, pairing perfectly with pasta, soups, salads, or even as a standalone snack.
But my absolute favorite aspect of this recipe isn’t just their deliciousness; it’s the sheer ease of preparation. In my culinary philosophy, flavor is paramount, but accessibility is a close second. I set out to create a breadstick recipe that literally anyone, regardless of their baking experience, could make quickly and simply. And this, my friends, is the result! You won’t find complicated steps or intimidating techniques here. Just straightforward, foolproof instructions that yield outstanding results every single time.
The dough for these incredible homemade breadsticks requires only 5 basic ingredients and approximately 2 minutes of active mixing. That’s right – no mixer required, and absolutely no tedious kneading! The magic happens during the hands-off rising time, as the yeast slowly develops the dough’s structure and flavor. Shaping the risen dough into perfect breadsticks is equally simple, thanks to a clever shortcut method I’ll share with you. So, if you’re ready to enjoy the unparalleled taste of fresh, homemade breadsticks with minimal fuss, keep reading to unlock this wonderful recipe!
Why Choose No-Knead Breadsticks? The Ultimate Secret to Effortless Homemade Bread
For many, the thought of baking bread from scratch evokes images of messy countertops, lengthy kneading sessions, and complex instructions. However, the no-knead method revolutionizes homemade baking by removing these barriers. The brilliance of no-knead dough lies in its simplicity: instead of manual gluten development through kneading, we allow time and proper hydration to do the work. This hands-off approach makes it perfect for busy individuals or novice bakers, offering several compelling advantages:
- Unrivaled Simplicity: The active preparation time is incredibly short – just a few minutes of mixing, and the dough is ready to rise.
- Superior Flavor Development: The extended, slow fermentation period characteristic of no-knead recipes allows the yeast to work its magic, creating a deeper, more nuanced flavor profile that often surpasses quickly-kneaded doughs.
- Remarkable Texture: Without the stress of over-kneading, the dough yields an exceptionally soft, airy, and chewy interior, with a delightfully crisp crust.
- Minimal Cleanup: Forget flour-dusted counters and sticky hands from kneading. A single bowl and a spoon are often all you need for the mixing phase.
- Perfect for Beginners: If you’ve always wanted to bake bread but felt intimidated, this recipe is your ideal starting point. It’s incredibly forgiving and consistently delivers fantastic results.
- Time-Efficient (Hands-Off): While the dough needs a few hours to rise, this is mostly passive time during which you can focus on other tasks.
Essential Ingredients for Your Easy Homemade Breadsticks
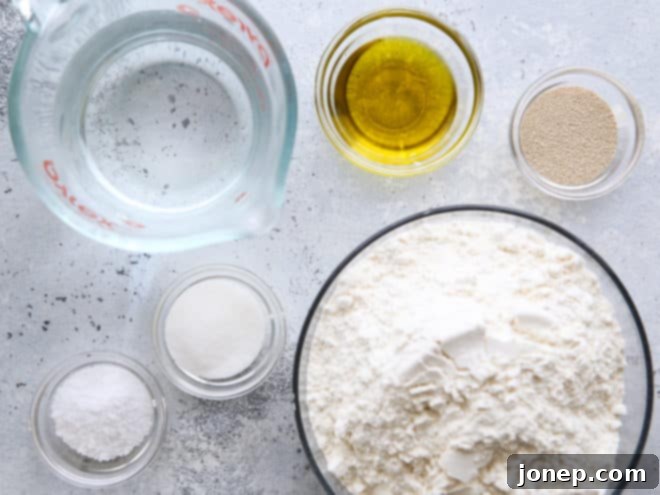
One of the beauties of this recipe is its reliance on simple, pantry-staple ingredients. This particular breadstick dough is a fantastic adaptation of my wildly popular no-knead pizza dough, proving just how versatile and reliable this basic formula is. Here’s a closer look at each component you’ll need to gather (find the precise measurements and full recipe details in the interactive recipe card at the bottom of this page):
- Active-Dry, Quick, or Instant Yeast: Any of these will work perfectly! Instant or quick-rise yeast can sometimes offer a slightly faster rise, but active-dry yeast performs just as well with a brief moment to bloom in warm water. Yeast is the living organism that leavens your dough, creating those wonderful airy pockets and soft texture.
- Salt: A non-negotiable ingredient! Salt is crucial for enhancing the flavor of the bread, regulating yeast activity (preventing over-fermentation), and strengthening the gluten structure.
- Granulated Sugar: A small amount of sugar acts as food for the yeast, helping it to activate and thrive. It also contributes to the breadsticks’ beautiful golden-brown crust and a touch of subtle sweetness.
- Olive Oil: Incorporated directly into the dough, olive oil adds richness, promotes tenderness, and contributes to the overall flavor and keeping qualities of the breadsticks. A little extra is also used for brushing before baking.
- All-Purpose Flour: The primary structural component. For the most consistent results, especially in baking, I highly recommend measuring your flour by weight using a kitchen scale. If you’re measuring by volume, be sure to use the “spoon and level” method: gently spoon flour into your measuring cup until it overflows, then level it off with a straight edge, avoiding packing it down.
- Unsalted Butter (for topping): Melted butter creates the perfect base for our savory garlic herb topping, adding richness and moisture to the hot breadsticks.
- Garlic Powder (for topping): Provides a fantastic, robust garlic flavor without the risk of fresh garlic burning during baking. It’s an essential element of that classic breadstick taste.
- Italian Seasoning (for topping): A convenient blend of dried herbs like oregano, basil, thyme, and rosemary that infuses the butter with aromatic depth and a distinctly Italian flair.
- Coarse Salt (optional, for topping): A sprinkle of flaky sea salt or coarse kosher salt over the finished garlic butter adds a delightful textural contrast and enhances the overall savory profile.
Step-by-Step: Crafting Your Easy No-Knead Breadsticks
You’ll be delighted by how quickly and efficiently these breadsticks come together. The process is designed to be simple, enjoyable, and rewarding. Let’s walk through each step to ensure your homemade breadsticks turn out perfectly tender and flavorful:
1. Prepare and Mix the Dough
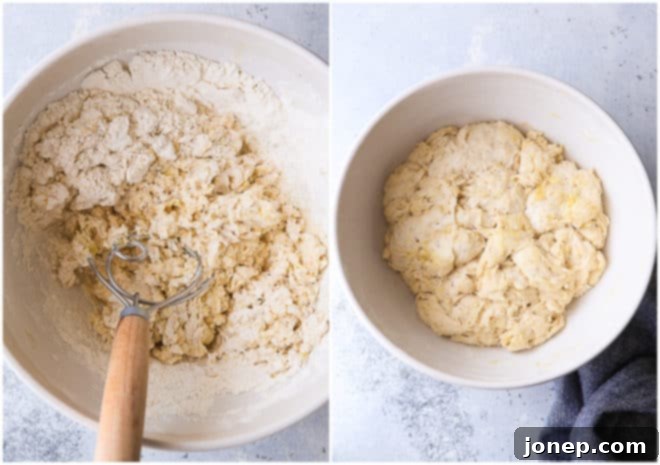
Begin by combining the warm water and yeast in a large mixing bowl. The water should be comfortably warm to the touch (ideally between 105-115°F or 40-46°C) – too hot will kill the yeast, too cold will inhibit its activity. If using active-dry yeast, give it about 5 minutes to dissolve and become foamy, indicating it’s active. For instant or quick-rise yeast, you can proceed immediately. Next, add the salt, granulated sugar, olive oil, and finally, the all-purpose flour. Using a sturdy wooden spoon or, ideally, a specialized dough whisk, mix all the ingredients until they are just combined. You’re looking for a thick, shaggy, and slightly sticky dough – there’s no need for it to be smooth or elastic at this stage. Avoid overmixing; just ensure no dry pockets of flour remain.
2. Allow for the First Rise
Once your dough is mixed, cover the bowl loosely with plastic wrap, a beeswax wrap, or a clean, damp kitchen towel. This prevents the dough from drying out. Place the covered bowl in a warm, draft-free spot. A slightly warm oven (turned off but preheated for a few minutes and then turned off), a sunny windowsill, or just a cozy spot on your countertop are all good options. Let the dough rise for 2-3 hours, or until it has roughly doubled in size and appears bubbly. This long rise is where the “no-knead” magic truly happens, developing both the gluten structure and the deep, complex flavors of your breadsticks.
3. Shape the Dough Using a Simple Shortcut
When the dough has completed its first rise, gently scrape it out onto a lightly floured countertop. Using floured hands, delicately form the dough into a smooth ball. Resist the urge to aggressively punch down the dough; gentle handling preserves the precious air bubbles. Let the dough ball rest for about 15 minutes. This brief resting period is crucial as it allows the gluten to relax, making the dough much easier to stretch and shape without resistance. After resting, gently pat and stretch the dough into a rough rectangular shape, approximately 5×8 inches. The exact dimensions aren’t critical, but aim for an even thickness.
Now for the effortless shaping technique! Use a bench scraper or a sharp knife to cut the rectangle into 12 strips width-wise. A quick way to ensure relatively even strips is to cut the rectangle in half first, then cut each of those halves in half again, and finally, cut each of those four smaller sections into three equal strips. This method is incredibly fast and yields uniformly sized breadsticks without any complex rolling.
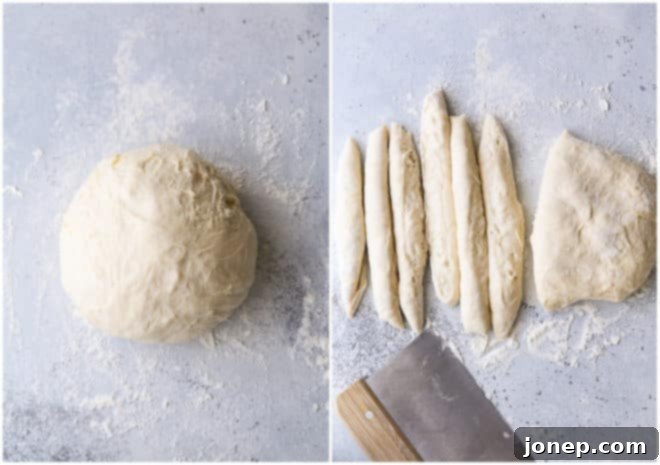
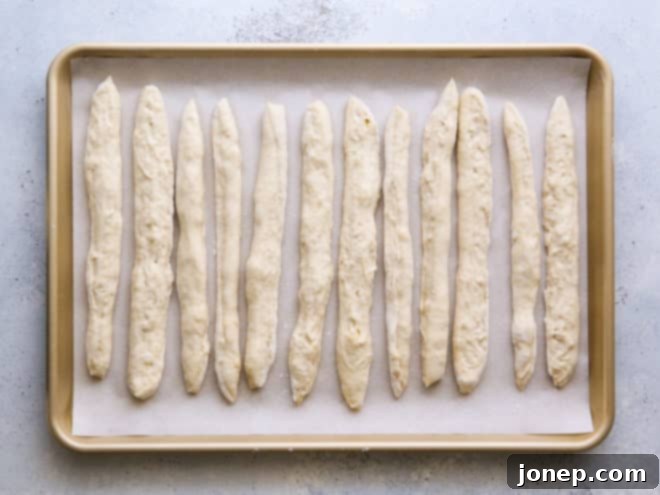
4. Second Rise and Oven Preheat
Carefully transfer the newly cut dough strips to a large baking sheet that you’ve lined with parchment paper. As you place them, gently stretch each strip to an approximate length of 12 inches, ensuring they are relatively even in size. Arrange them with a little space between each to prevent them from sticking together as they expand. Loosely cover the baking sheet with plastic wrap or a clean kitchen towel. Allow the breadsticks to undergo a final, shorter rise for about 15-20 minutes while your oven preheats to 400°F (200°C). This brief second proofing helps them achieve maximum softness and fluffiness during baking.
5. Bake to Golden Perfection
Just before placing them in the oven, lightly brush the tops of your breadsticks with a tiny bit of extra olive oil. This simple step contributes to a beautiful, appetizing golden crust and adds an extra layer of flavor. Bake for 18-20 minutes, keeping a close watch. The breadsticks are perfectly done when their edges start to turn a lovely golden brown. Avoid over-baking, as this can lead to a drier, tougher texture rather than the desired soft and chewy crumb.
6. Finish with Irresistible Garlic Herb Butter
The moment your breadsticks emerge, fragrant and perfectly golden, it’s time for the final, most delicious touch. In a small bowl, whisk together the melted unsalted butter, garlic powder, Italian seasoning, and a generous pinch of coarse salt (if you choose to use it). Immediately and generously brush this aromatic, savory butter mixture over all the hot breadsticks. The warmth of the bread will help the butter soak in beautifully, infusing every bite with incredible flavor. Serve them warm, fresh from the oven, for the ultimate experience. While they are undeniably most delicious the day they are baked, any leftovers can be stored following the tips below.
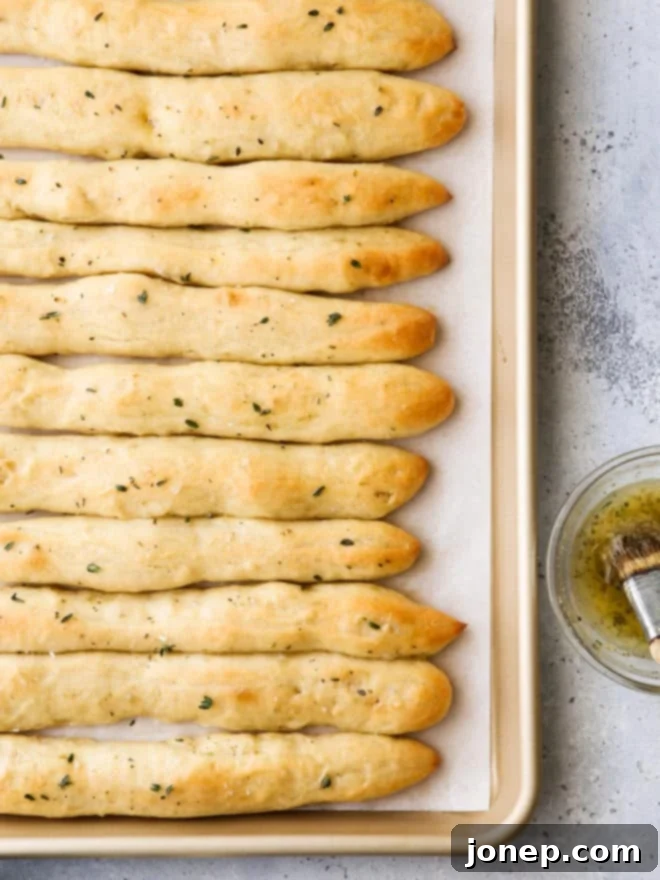
Expert Tips for Baking Your Best No-Knead Breadsticks
Even though this recipe is designed for simplicity, a few pro tips can further enhance your baking experience and guarantee consistently perfect, delectable breadsticks every time:
- Handy Kitchen Tools: You certainly don’t need a professional baker’s arsenal, but some tools can make the process even more enjoyable and efficient. A kitchen scale is invaluable for precise flour measurement, which is often the key to dough consistency. A dough whisk simplifies the mixing of sticky, shaggy doughs, and a bench scraper is a true hero for cleanly dividing and transferring dough. These are tools I find myself reaching for time and again!
- Optimizing Dough Rise for Flavor: For the most exceptional flavor development and best texture, I strongly advise allowing the dough to complete its full 2-3 hour initial rise. This extended fermentation is central to the no-knead method’s success. If you’re short on time and using instant or quick-rise yeast, you *might* be able to shorten the rise slightly, but for optimal results, patience is a virtue here. To encourage a faster rise in a cooler kitchen, place the covered bowl in a warm environment, such as a slightly warmed (but turned off) oven, near a sunny window, or on top of a warm appliance.
- Embrace the Rustic Aesthetic: These homemade breadsticks celebrate a “rustic” charm, meaning they might not be perfectly identical or have the uniform appearance of store-bought versions. That’s part of their appeal! Striving for absolute perfection in shape often requires more handling and time, which goes against the ethos of this “easy” recipe. Embrace the slight variations; they add to the homemade character, and rest assured, the taste will be phenomenal regardless of their exact form.
- Recognizing Doneness: Keep a close eye on your breadsticks during the final minutes of baking. They are perfectly done when their edges just begin to turn a light golden brown. Baking them for too long will dry them out and make them overly chewy, losing that desirable soft interior.
- Storage and Reheating Tips: While these breadsticks are truly best enjoyed warm and fresh from the oven, any leftovers can be stored at room temperature in an airtight container for up to 2-3 days. To bring back their fresh-baked glory, a quick reheat in a 350°F (175°C) oven for 5-7 minutes, or a short burst in the microwave, will do wonders for their softness.
- Excellent Make-Ahead Options: This recipe offers wonderful flexibility for meal planning or entertaining:
- Cold Fermentation (Dough): After the initial rise, you can gently shape the dough into strips and then place the covered baking sheet in the refrigerator for an extended second rise (8-12 hours). When you’re ready to bake, simply pull them out and let them come to room temperature for about 30 minutes while your oven preheats.
- Freezing Baked Breadsticks: Fully bake and cool the breadsticks completely. Once cooled, store them in airtight plastic freezer bags or wrap them tightly in aluminum foil. To reheat, bake from frozen at 350°F (175°C) for approximately 15-20 minutes, or until heated through. Remember to brush with the garlic herb butter *after* reheating to maximize flavor and freshness.
- Creative Flavor Variations: Feel free to customize your breadsticks! Before baking, you can sprinkle them with grated Parmesan cheese, a blend of sesame and poppy seeds (like everything bagel seasoning), or a pinch of red pepper flakes for a subtle kick.
- Versatile Serving Suggestions: These simple breadsticks are a fantastic complement to an incredibly wide range of dishes. They’re ideal alongside classic Italian pasta dishes, hearty stews, creamy soups, crisp green salads, or as a delightful dipper for your favorite marinara or garlic dip. They also make a wonderful appetizer or a satisfying snack on their own.
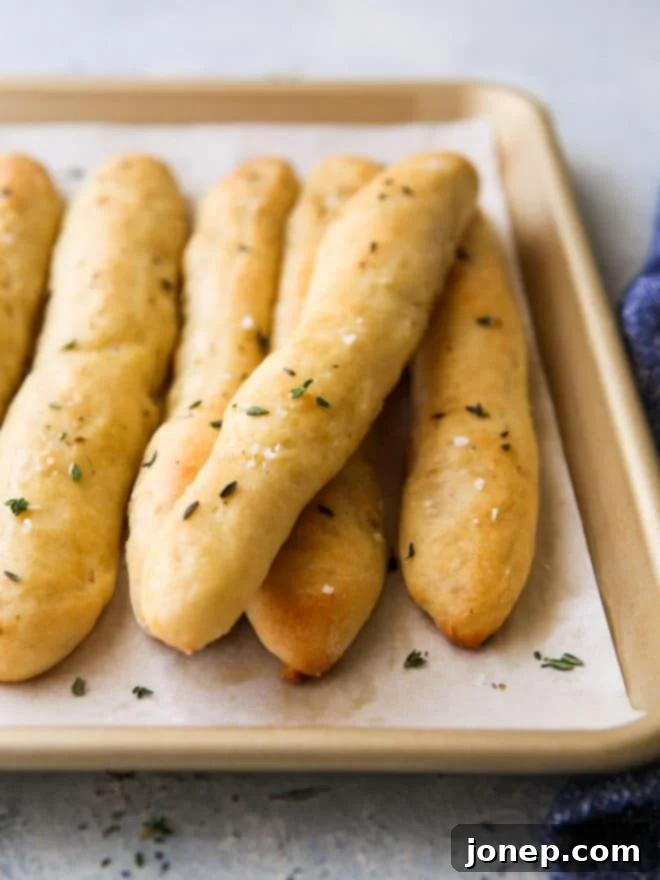
More Delicious Breadsticks and Dinner Rolls to Try
If you’ve fallen in love with the simplicity and incredible taste of these no-knead breadsticks, you’ll be thrilled to explore more homemade bread options. Here are some other delightful recipes for breadsticks and dinner rolls that are perfect for any occasion:
- Pesto Parmesan Pull-Apart Breadsticks
- Easy No-Knead Fairy Crescent Rolls
- Garlic and Herb Crescent Rolls
- Soft White Dinner Rolls
Shop Essential Tools for This Breadstick Recipe
While minimal equipment is needed, having the right tools can make your baking experience even more seamless and enjoyable. These are some of my highly recommended kitchen essentials that prove incredibly useful for this breadstick recipe and countless other culinary adventures:
Easy No-Knead Breadsticks
Pin Recipe
Leave a Review
Ingredients
- 1 ¼ cup warm water (270 grams)
- 2 ¼ teaspoons Active-dry, instant or quick-rise yeast (1 envelope, 7 grams)
- 2 teaspoons salt (10 grams)
- 1 tablespoon granulated sugar (13 grams)
- 2 tablespoons olive oil (17 grams)
- 3 cup all-purpose flour (360 grams)
Garlic and Herb Butter
- ¼ cup butter , melted (56 grams)
- ½ teaspoon garlic powder
- ½ teaspoon Italian seasoning
- Coarse salt , to taste
Instructions
-
Add water and yeast to a large bowl and whisk together. Add salt, sugar, olive oil and flour. Mix with a spoon or dough whisk to make a thick shaggy dough.
-
Cover and let rise 2-3 hours at room temperature.
-
Scrape dough out of bowl onto a floured countertop and shape into a smooth ball. Let sit for about 15 minutes, then gently pat and stretch dough into a roughly 5×8-inch rectangle.
-
Use a bench scraper to cut into 12 strips width-wise (cut into half first, then each of those halves in half again, and then each quarter into 3 strips).
-
Transfer dough strips to a sheet pan lined with parchment paper, stretching them gently to be even in size (about 12 inches long). Cover loosely and let rise while you preheat oven to 400°F.
-
Brush breadsticks lightly with olive oil and bake until edges start to turn golden brown, 18-20 minutes.
-
Whisk together melted butter with garlic powder, Italian seasoning and a generous pinch of coarse salt. Brush over breadsticks while still warm.
-
Breadsticks are best enjoyed within a few hours of baking, but will keep in an airtight container at room temperature for several days.
Notes
Notes
- This recipe makes two 14-inch pizzas.
- After its initial rise, this no-knead pizza dough can be stored in the fridge for up to a week before using. Let chilled dough come to room temperature before rolling.
- Nutritional information is for crust only.
