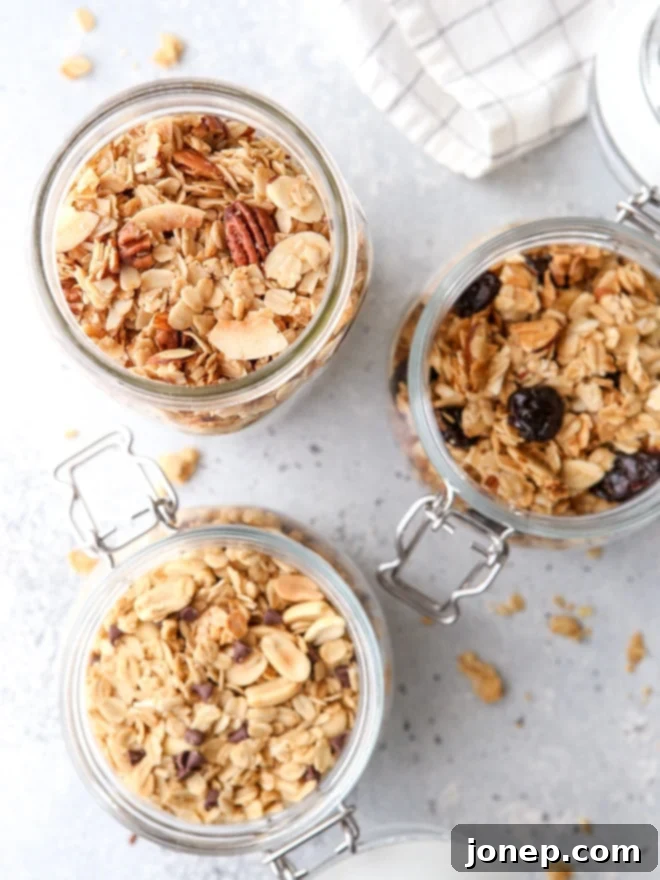
Homemade Granola: Craft Your Perfect Crunchy, Customizable Batch with Ease
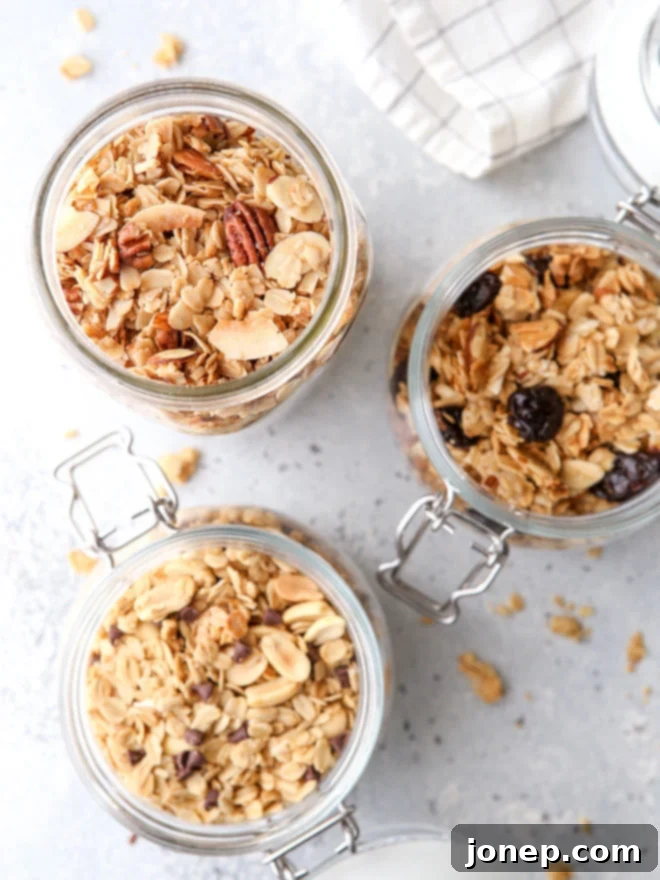
Say goodbye to store-bought granola and hello to a world of personalized flavor and satisfying crunch! Discover the incredible difference of easy homemade granola that perfectly suits your cravings and utilizes ingredients you already have on hand. Once you experience the superior taste and texture of a batch made from scratch, you’ll never look back. This comprehensive guide will walk you through everything you need to create your own delicious, adaptable granola, making every bite a delightful adventure.
Homemade granola isn’t just tastier; it’s also a healthier and more cost-effective alternative. You have complete control over the sugar content, the type of fats used, and the quality of your mix-ins. Whether you prefer a subtle sweetness or a bolder flavor, a light and airy texture or substantial clusters, this recipe is designed for ultimate flexibility. We’ll explore various sweeteners like rich maple syrup or golden honey, discuss the best oils for optimal crispness, and dive into a vast array of flavorful additions, from warming spices like ground cinnamon to aromatic extracts like vanilla.
To spark your imagination, we’ll share popular flavor combinations such as a comforting nutty-coconut, a vibrant cherry-almond, and an indulgent peanut butter-chocolate. But more importantly, you’ll gain the knowledge and confidence to craft your very own unique granola creations. Get ready to transform your breakfast routine and snack game with perfectly tailored granola that’s sweet, crunchy, and packed with flavor, all made right in your kitchen.
Essential Ingredients for Your Easy Homemade Granola Base
Crafting delicious granola at home is surprisingly simple, requiring just a few core components. The beauty lies in their quality and how you combine them to build a foundation of flavor and texture. Here are the six fundamental elements you’ll need for any homemade granola recipe:
- Old-fashioned rolled oats: The heart of your granola, providing structure and a satisfying chew.
- Sweetener: To add delightful sweetness and help achieve that coveted golden-brown hue.
- Oil or butter: Crucial for crispness, flavor, and even toasting.
- Salt: A pinch enhances all the other flavors, balancing sweetness and adding depth.
- Mix-ins: Ingredients like nuts, seeds, or dried fruit that add texture, nutrients, and endless flavor possibilities.
- Additional flavorings: Spices and extracts that elevate your granola from good to extraordinary.
Building Your Granola: Oats and Flavorful Mix-ins
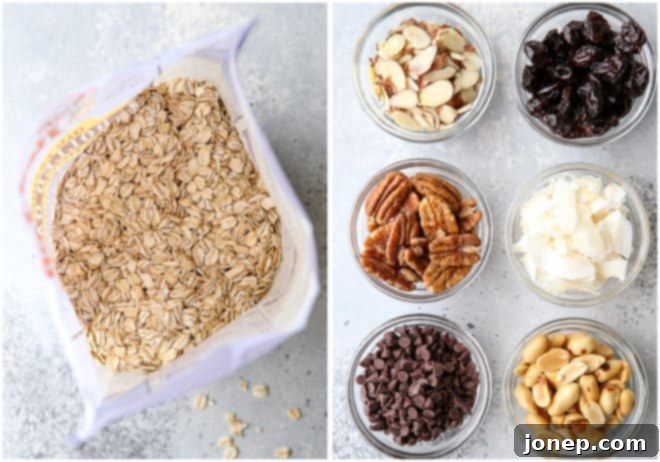
The foundation of any great granola is the oats, and for optimal results, we highly recommend using **old-fashioned rolled oats**. Unlike instant oats, which can become mushy, or steel-cut oats, which require a different cooking process, old-fashioned rolled oats provide the perfect balance of texture, holding their shape during baking to create satisfyingly crunchy clusters. They toast beautifully, offering a nutty undertone that forms the perfect canvas for your chosen flavors.
While oats provide the base, mix-ins are where the fun truly begins! They add crucial layers of flavor, texture, and nutritional value. A good starting point is a ratio of 2 cups of oats to 1-2 cups of total mix-ins, allowing you to achieve a balanced blend without overwhelming the oats. Feel free to use a single type of mix-in or combine several for a more complex profile. Here’s a deeper dive into your options:
- Nuts: From classic pecans, walnuts, and almonds to more exotic hazelnuts, cashews, or even simple peanuts, nuts provide healthy fats, protein, and a wonderful crunch. You can leave them whole for bigger bites or give them a rough chop for more even distribution and a finer texture. Roasting nuts slightly before adding them can deepen their flavor even further.
- Seeds: Don’t overlook the power of seeds! Pumpkin seeds (pepitas), sunflower seeds, chia seeds, flax seeds, and sesame seeds all contribute unique flavors, textures, and a boost of nutrients. They toast beautifully alongside the oats.
- Dried Fruit: Adding a burst of natural sweetness and chewiness, dried fruits like cranberries, cherries, blueberries, raisins, chopped apricots, or even diced dates are fantastic. However, remember a crucial tip: Dried fruit and chocolate should always be added AFTER the granola is baked and cooled. Adding them before baking can cause them to burn, become overly hard, or melt into the granola.
- Coconut: Coconut adds a tropical aroma and delightful texture. I often prefer unsweetened wide-slice coconut or coconut “chips” for a more substantial chew and better toasting. Shredded or flaked coconut works just as well and can toast more quickly, so keep an eye on it.
- Chocolate Chunks or Chocolate Chips: For a decadent treat, chocolate is a superb addition. Just like dried fruit, chocolate should be added *after* the granola has completely cooled to prevent melting and maintain its shape and rich flavor. Mini chocolate chips are great for an even distribution, while larger chunks offer pockets of melted delight when eaten warm.
Experimenting with different combinations of these mix-ins will allow you to create endless variations of homemade granola, each perfectly tailored to your preference. Consider textures – do you want soft chews from fruit, crispness from nuts, or a combination?
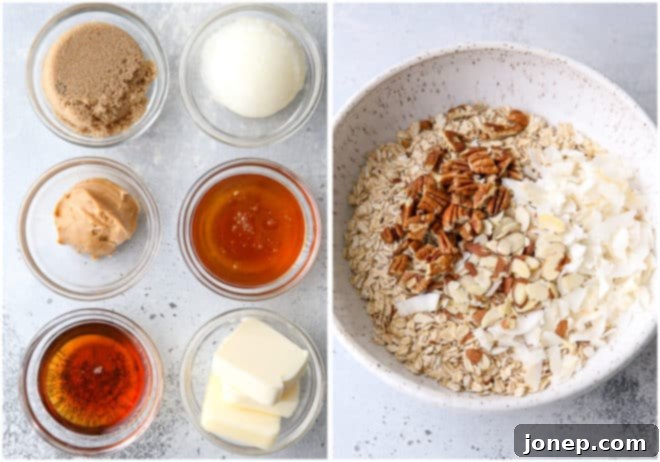
Selecting Your Sweetener, Flavorings, and Oil or Butter
Beyond the oats and mix-ins, the liquids you choose play a critical role in the final taste, texture, and aroma of your homemade granola. They bind the ingredients together, provide sweetness, and ensure a beautifully crisp, golden finish.
Sweeteners
The right sweetener can transform your granola, offering different flavor profiles and textures. You have several excellent options:
- Maple Syrup: A popular choice for its distinctive, rich flavor and natural origin. It contributes to a wonderfully crisp texture and pairs beautifully with nuts and warm spices.
- Honey: Offering a slightly thicker consistency and a unique floral sweetness, honey is another fantastic natural sweetener. It helps create excellent clusters and a delightful chew.
- Brown Sugar: For a classic, caramelized flavor, brown sugar is an excellent choice. Its molasses content adds moisture and a deep, comforting sweetness. It works well when combined with a liquid sweetener or a little extra oil to prevent it from drying out.
- Granulated Sugar: While less common as the sole sweetener in clumpy granola recipes, it can be used in combination with liquid sweeteners for added crispness.
Feel free to mix and match or adjust the quantity to your preferred level of sweetness. Remember that liquid sweeteners generally promote more clumping than granulated sugars alone.
Oils and Fats
Oil or butter is essential for achieving that irresistible crispiness and ensuring even browning. The type you choose will also subtly influence the flavor:
- Olive Oil: A lighter, fruity olive oil can lend a surprisingly pleasant depth to savory-leaning granolas, though a neutral variety is best for sweeter batches.
- Canola Oil or Vegetable Oil: These are neutral-flavored oils that won’t interfere with your chosen flavors, making them versatile and reliable options for consistently crisp granola.
- Melted Coconut Oil: Adds a hint of tropical flavor and is excellent for achieving a really firm, crunchy texture, especially when it solidifies upon cooling. Choose refined coconut oil if you prefer no coconut flavor.
- Melted Butter: For a rich, buttery flavor that many find irresistible. Butter contributes to a golden-brown finish and a comforting aroma. Clarified butter (ghee) can also be used for a higher smoke point.
The key is to ensure the oil is evenly distributed to coat all the oats and mix-ins, which is crucial for uniform baking and crispness.
Additional Flavorings
These are the secret weapons that turn a good granola into a truly memorable one. Don’t hesitate to get creative!
- Vanilla Extract: A universally loved flavoring that enhances sweetness and adds a warm, inviting aroma. A teaspoon goes a long way.
- Other Extracts: Expand your flavor palette with almond extract (perfect with cherries or nuts), coconut extract (to boost coconut-themed granola), or even a hint of orange or peppermint extract for seasonal variations.
- Ground Cinnamon: A classic granola spice, cinnamon adds warmth and depth. Other wonderful spices include ground cardamom (especially with nuts and dried fruit), nutmeg, ginger, or pre-mixed blends like pumpkin pie spice for an autumnal touch.
- Nut Butter: Melted peanut butter or almond butter (ensure it’s smooth and easily pourable when warmed) can add a rich, creamy dimension, helping to create larger, more substantial clusters. This is particularly good for granolas with chocolate or complementary nuts.
- Citrus Zest: Freshly grated lemon, orange, or lime zest can brighten your granola with a burst of aromatic citrus notes. Add it to the wet ingredients.
By thoughtfully combining these elements, you can create a granola that is not just delicious but uniquely yours.
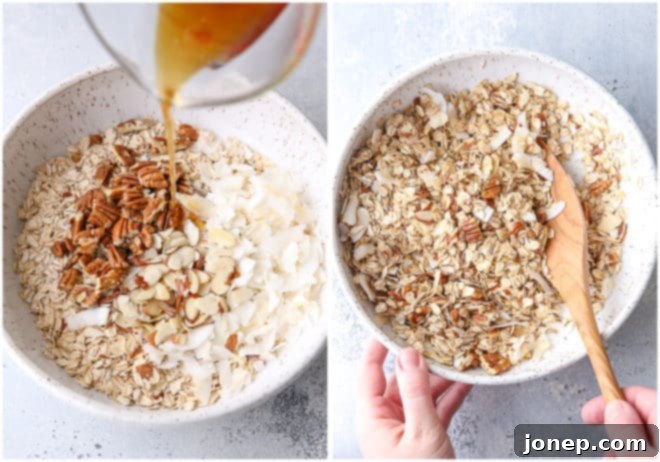
The Baking Process: Combine, Toast, and Cool for Perfect Clusters
The magic of granola happens in the oven, transforming simple ingredients into golden, crunchy perfection. Follow these steps carefully to ensure a batch of irresistibly clumpy and flavorful granola.
- Prepare Your Workspace and Preheat: Begin by preheating your oven to a consistent 325°F (160°C). This low and slow temperature is crucial for toasting the oats and mix-ins without burning them, allowing them to dry out and become wonderfully crisp. Line a large rimmed baking sheet with parchment paper or a silicone baking mat. This prevents sticking and makes cleanup a breeze.
- Combine Dry Ingredients: In a spacious large bowl, thoroughly combine all your dry ingredients: the old-fashioned rolled oats, any nuts (whole or chopped), seeds, coconut (if using, and not chocolate or dried fruit), salt, and any ground spices like cinnamon or cardamom. Mix well to ensure everything is evenly distributed.
- Combine Liquids: In a separate, smaller bowl, whisk together your wet ingredients until fully combined. This includes your chosen sweetener (maple syrup, honey, or melted brown sugar), your oil or melted butter, and any liquid flavorings such as vanilla extract or other extracts. Ensuring these are well-mixed before adding to the dry ingredients will help with even coating.
- Toss Together: Pour the liquid mixture over the dry ingredients in the large bowl. Using a spatula or your hands, thoroughly toss everything together. It’s vital that every oat and mix-in piece is completely coated and the mixture appears uniform and moistened. This ensures consistent browning and crispness. Don’t rush this step!
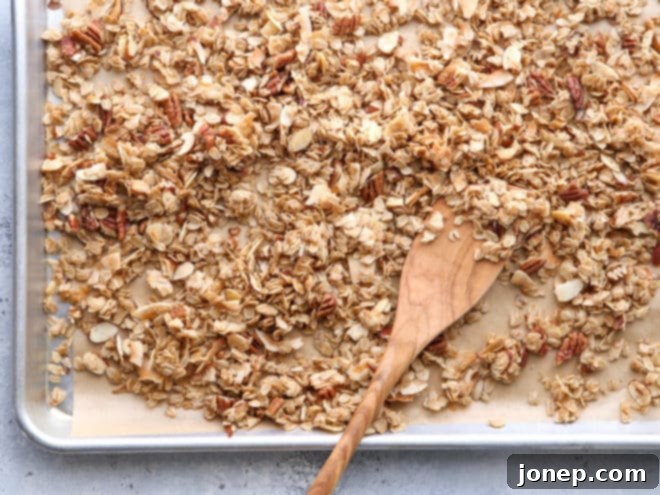
- Spread and Bake Low and Slow: Once thoroughly mixed, transfer the granola mixture onto your prepared baking sheet. Spread it out into a single, even layer. A thin layer is important for even toasting. Place it in the preheated oven and bake for 25-30 minutes. The key is to bake it “low and slow.” This gentle heat allows the granola to toast and dry out gradually without scorching. During baking, stir the granola *just once* at the halfway point (around 12-15 minutes). Over-stirring will prevent clusters from forming.
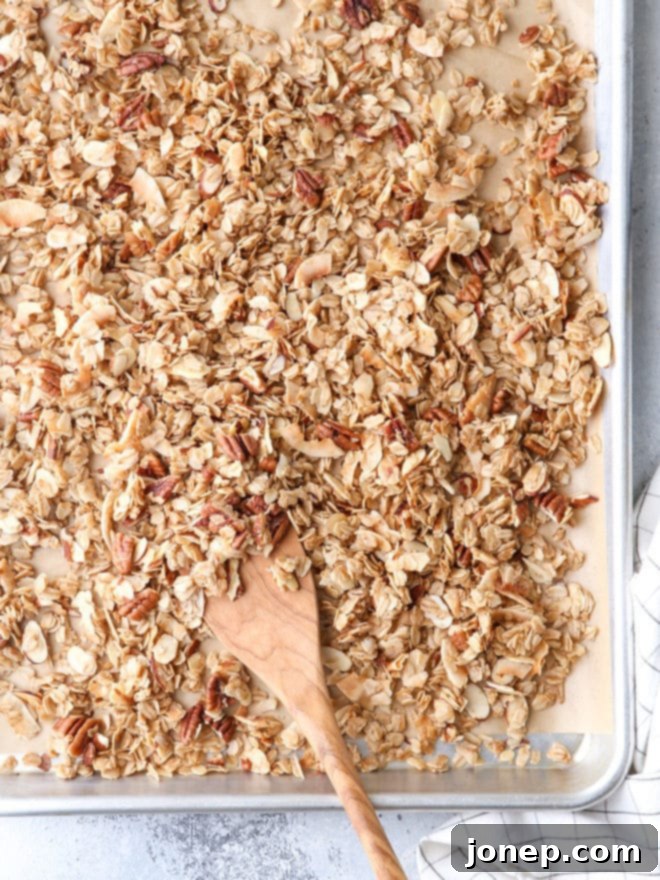
- Cool Completely for Clusters: This step is arguably the most important for achieving those desirable granola clusters. Once baked, remove the sheet pan from the oven and resist the urge to stir! Let the granola cool completely on the baking sheet without touching it. As it cools, the sugars will harden, and the mixture will set into crunchy clumps. If you stir it while it’s still warm, you’ll break apart all those delicious clusters. This cooling process can take anywhere from 30 minutes to an hour.
- Add Final Mix-ins: Once the granola is completely cooled and has formed solid clusters, it’s time to add any delicate mix-ins that were held back from baking. Gently fold in dried fruits (like cherries, cranberries, or raisins) and chocolate chunks or chips.
Tip: It can be challenging to know exactly when granola is done baking, as it often appears slightly wet or soft when it first comes out of the oven – it will continue to crisp up as it cools. Look for oats and mix-ins that are lightly toasted to a golden-brown hue. The granola should also emit a delicious, sweet, and buttery aroma that fills your kitchen, indicating it’s nearly perfect. A slightly darker edge on some pieces is desirable, but avoid any burnt spots.
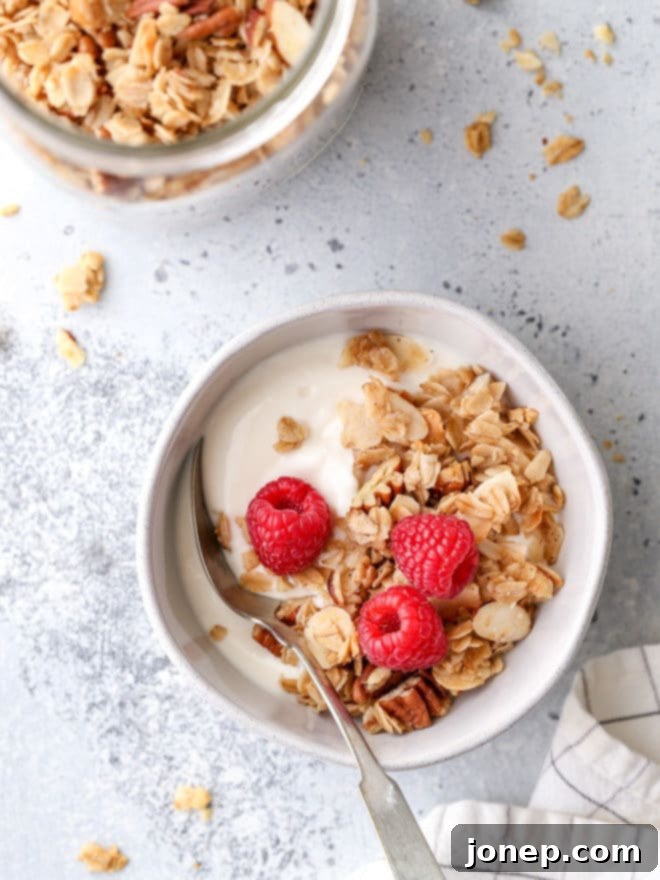
Creative Ways to Enjoy Your Homemade Granola
Once you’ve made your perfect batch of homemade granola, the possibilities for enjoying it are endless. Its delightful crunch and customized flavor make it a versatile addition to many meals and snacks. Here are a few inspiring ideas to get you started, though you’ll quickly find your own favorite ways to indulge:
- Classic Breakfast Bowl: Serve it simply with cold milk (dairy or plant-based) like a cereal, or elevate it with a generous dollop of creamy yogurt and fresh fruit. Berries, sliced bananas, and peaches are particularly delicious.
- On-the-Go Snack: Grab handfuls straight from the jar for a quick, energizing boost during your day. It’s the ultimate portable snack for work, school, or hiking.
- Trail Mix Upgrade: Transform your standard trail mix by adding a generous amount of your homemade granola for extra crunch and complex flavor. Combine it with more nuts, seeds, and dried fruit for a power-packed blend.
- Dessert Topping: Sprinkle it generously over ice cream, frozen yogurt, or fruit crisps for an added layer of texture and sweetness. It’s a game-changer for simple desserts.
- Smoothie Boost: Stir a tablespoon or two into your morning smoothie for a thicker consistency, added nutrients, and a subtle textural contrast.
- Acai or Smoothie Bowls: Use it as a vibrant topping for acai or smoothie bowls, creating a beautiful and delicious contrast to the creamy base.
- Baked Goods Enhancement: Fold it into muffin batter, sprinkle it over quick breads before baking, or use it as a crunchy crust for fruit tarts.
- Overnight Oats Topping: Add a layer of granola to your overnight oats just before serving for an exciting textural element that stays crunchy.
However you choose to enjoy it, your homemade granola is sure to become a cherished staple in your pantry!
Storing Your Delicious Homemade Granola
Proper storage is essential to maintain the freshness and irresistible crunch of your homemade granola. To ensure it stays delightful for as long as possible:
- Ensure Complete Cooling: Before storing, it is absolutely crucial that your granola has cooled down completely to room temperature. Storing warm granola will trap moisture, leading to a soggy texture and potentially encouraging spoilage.
- Airtight Container is Key: Transfer the cooled granola to an airtight container. Glass jars with tight-fitting lids, plastic containers with secure seals, or even heavy-duty Ziploc bags (ensuring all air is pressed out) work wonderfully. This protects it from humidity and keeps it from going stale.
- Room Temperature Storage: Store the sealed container in a cool, dry place at room temperature, away from direct sunlight or heat sources. A pantry or cupboard is ideal.
- Longevity: When stored correctly, your homemade granola will maintain its quality and crunch for about one month.
- Freezing for Longer Shelf Life: For an even longer shelf life, granola can be frozen. Place cooled granola in an airtight, freezer-safe bag or container. It can last for up to 3-4 months in the freezer. Simply thaw it at room temperature when you’re ready to enjoy it, or even enjoy it straight from the freezer for a super crunchy treat!
By following these simple storage tips, you can ensure that every scoop of your homemade granola is as fresh and satisfying as the day it was baked.
Shop Tools for this Recipe
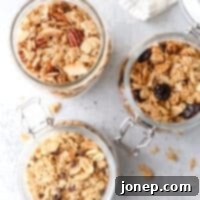
How To Make Easy Homemade Granola
Pin Recipe
Leave a Review
Ingredients
Basic Granola Recipe:
- 2 cups old-fashioned oats (180 grams)
- 1 – 2 cups nuts, coconut, dried fruit, seeds, or chopped chocolate (140-280 grams)
- ½ teaspoon salt
- ¼ – ½ teaspoon spice such as cinnamon, ginger, cardamom, pumpkin pie spice
- ⅓ cup olive oil, vegetable oil, melted butter, or melted coconut oil (about 66 grams)
- ¼ cup sweetener such as sugar, maple syrup or honey (about 84 grams)
- 1 teaspoon flavoring such as vanilla, coconut, or almond extract
Nutty Coconut Granola:
- 2 cups old-fashioned rolled oats (180 grams)
- ½ cup sliced almonds (43 grams)
- ½ cup chopped pecans (57 grams)
- ½ cup unsweetened coconut (30 grams)
- ¼ teaspoon ground cinnamon
- ⅓ cup coconut oil , melted (75 grams)
- ¼ cup maple syrup (77 grams)
- 1 teaspoon vanilla extract
Cherry Almond Granola:
- 2 cups old-fashioned rolled oats (180 grams)
- 1 cup sliced almonds (86 grams)
- ½ teaspoon salt
- ⅓ cup melted butter (75 grams)
- ¼ cup honey (66 grams)
- ½ teaspoon vanilla extract
- ½ teaspoon almond extract
- ½ cup dried cherries (71 grams)
Peanut Butter Chocolate Granola:
- 2 cups old-fashioned rolled oats (180 grams)
- ⅔ cup peanuts (95 grams)
- ¼ teaspoon salt
- ⅓ cup coconut oil , melted (75 grams)
- 2 tablespoons peanut butter , melted (33 grams)
- ¼ cup maple syrup (77 grams)
- 1 teaspoon vanilla extract
- ⅔ cup mini chocolate chips (116 grams)
Instructions
-
Preheat oven to 325°F (160°C). Line a large rimmed baking sheet with parchment paper or a silicone baking mat. This ensures easy removal and prevents sticking.
-
In a large bowl, combine all your dry ingredients: old-fashioned rolled oats, nuts, coconut (if using), salt, and any ground spices (like cinnamon or pumpkin pie spice). Mix thoroughly until evenly distributed.
-
In a separate, smaller bowl, whisk together the liquid ingredients: your chosen oil or melted butter, extracts (such as vanilla or almond), and liquid sweetener (maple syrup, honey, or melted brown sugar). Ensure they are well combined.
-
Pour the wet ingredients over the dry ingredients. Mix vigorously with a spatula or your hands until all the dry components are completely coated and moistened. This step is key for flavor and texture development.
-
Spread the granola mixture evenly onto the prepared baking sheet in a single layer. Bake for 25-30 minutes, stirring just once at the halfway point (around 12-15 minutes) to ensure even toasting. The granola will still appear slightly wet or soft when removed from the oven, but it will crisp up significantly as it cools.
-
Allow the granola to cool completely on the baking sheet without stirring. This crucial step is what allows those delicious clusters to form. Once fully cooled, break it into chunks of your desired size. Now is the time to fold in any dried fruit or chocolate chips, if using.
-
Store your homemade granola in an airtight container at room temperature for up to 1 month to maintain its freshness and crunch.
Notes
- Use the Basic Granola Recipe as a starting place to create your own unique granola combination, or use one of the provided delicious combinations. Experiment with different nuts, seeds, and spices!
- This recipe yields approximately 4 cups of homemade granola.
- Nutrition information provided is calculated for the “Nutty Coconut” combination. Nutritional values may vary based on specific ingredients and brands used.
- Remember this important tip: For the best results, do not add dried fruit or chocolate until *after* the baked granola has completely cooled. This prevents burning and melting.
