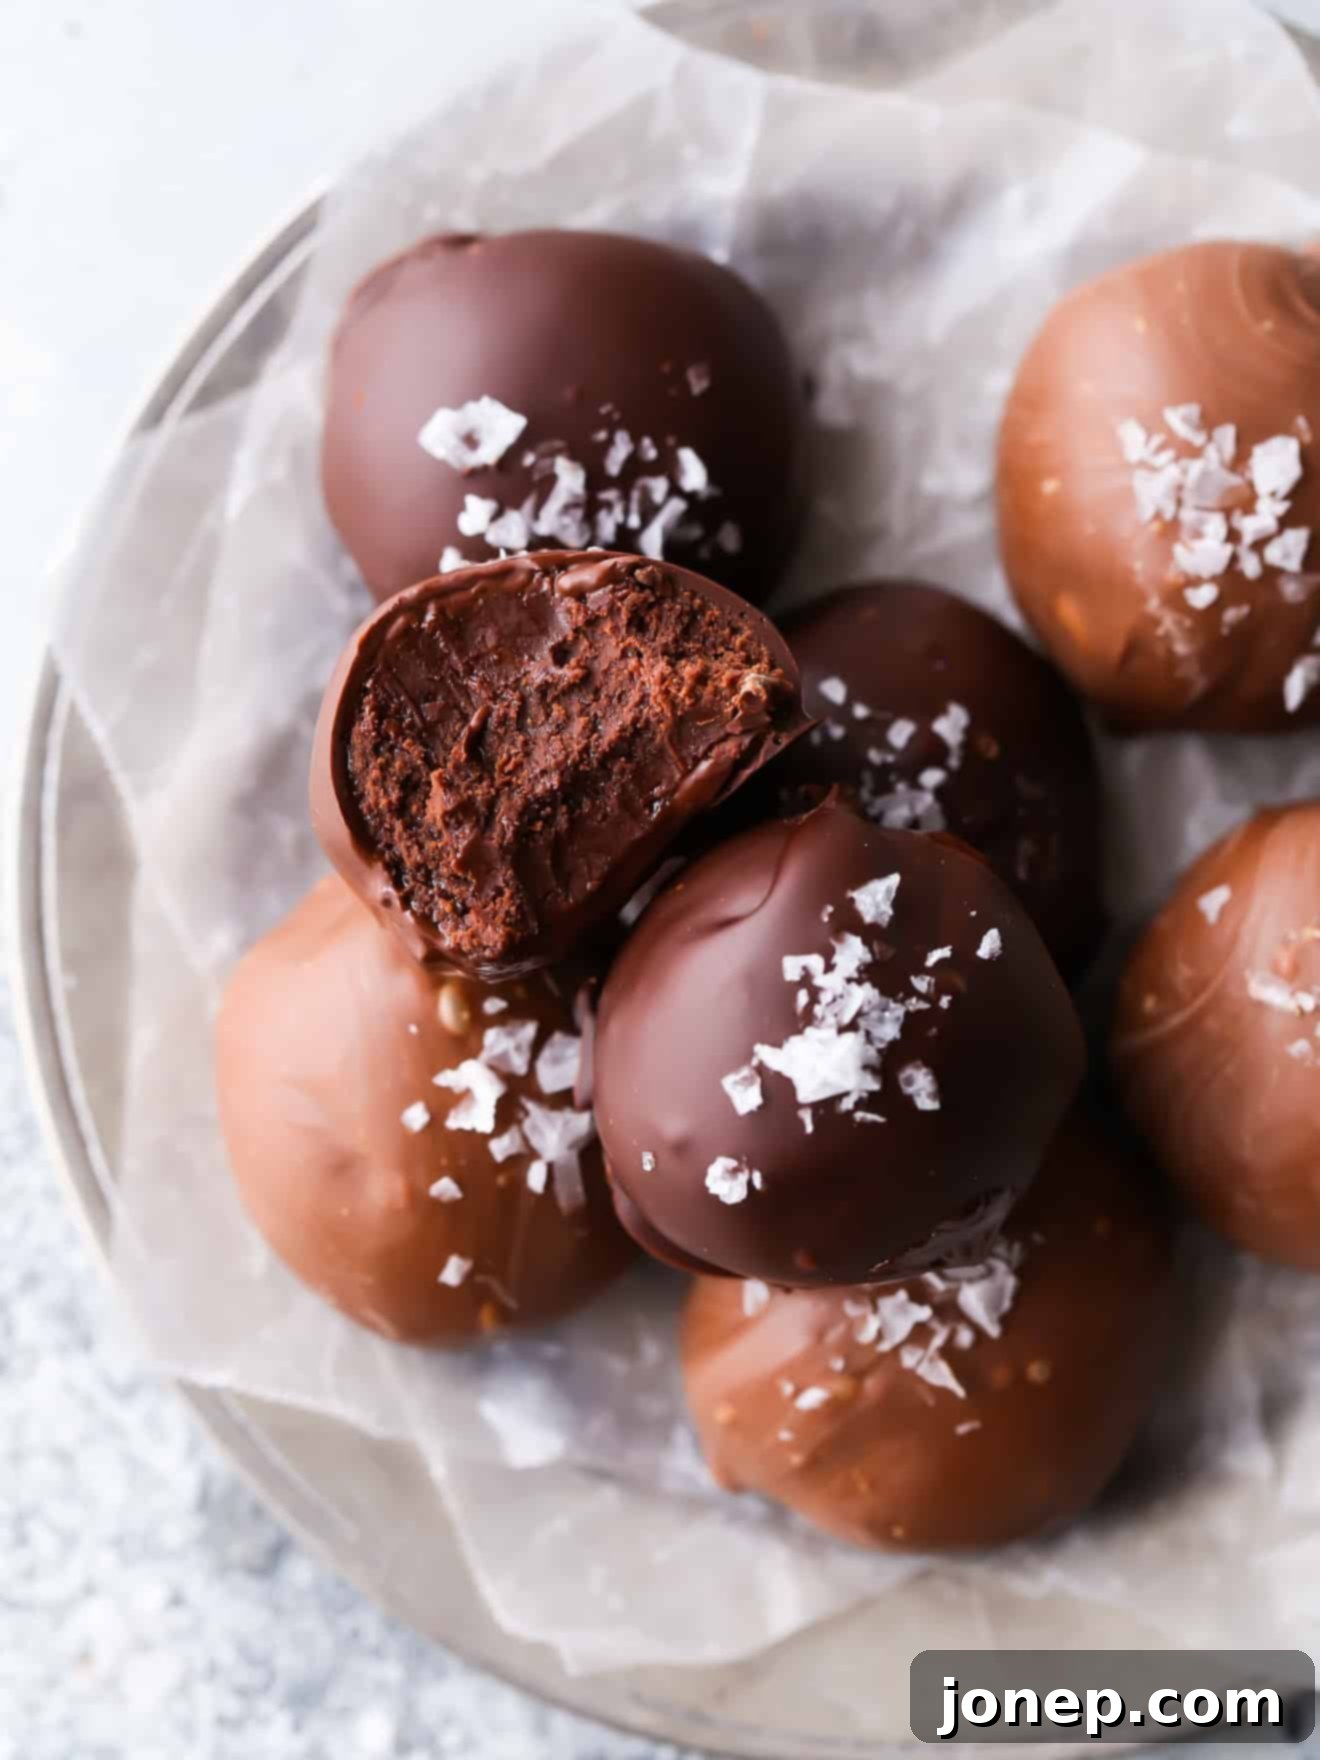
The Ultimate Guide to Easy Homemade Salted Chocolate Truffles
Prepare to be enchanted by these exceptionally delicious and surprisingly easy-to-make salted chocolate truffles! While they possess an elegant allure often associated with gourmet chocolatiers, crafting these decadent treats in your own kitchen is a thoroughly enjoyable and straightforward process.
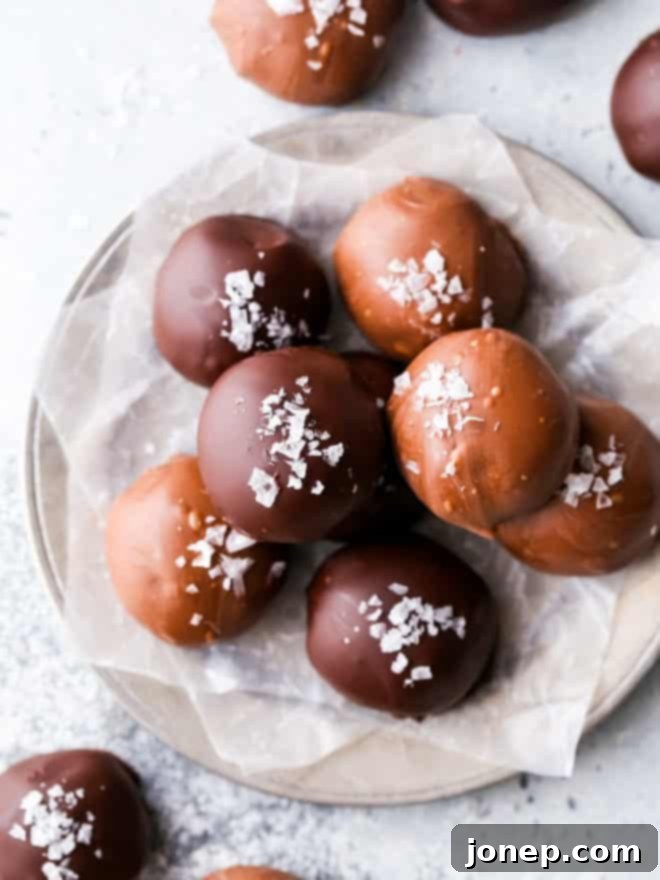
Like any true chocolate enthusiast, I deeply appreciate the indulgence of a beautifully curated box of chocolates. Fortunately, the joy of exquisite truffles is not exclusive to specialized candy shops. With just a handful of quality ingredients and a little dedicated time for shaping and dipping, you can create these impressive confections right at home. It’s a delightful culinary project that’s accessible to everyone, regardless of their baking experience!
Our recipe for salted chocolate truffles features a sumptuously fudgy dark chocolate center, enveloped in a smooth coating of either rich dark or creamy milk chocolate. A delicate sprinkling of flaky sea salt provides an irresistible contrast, elevating the flavors with a perfect balance of sweet and salty. These truffles are not merely rich and indulgent; they are sophisticated enough to grace any special occasion, from holiday gatherings to thoughtful homemade gifts.
Why Homemade Truffles Are a Must-Try
There’s an undeniable charm and satisfaction that comes with making your own gourmet treats. Beyond the sheer joy of indulging, homemade truffles offer several compelling advantages:
- Personalized Perfection: You have complete control over the quality of ingredients, the intensity of chocolate, and the amount of salt, ensuring your truffles are exactly to your liking.
- Cost-Effective Decadence: Recreating a box of artisan truffles at home is often significantly more economical than purchasing them, allowing you to enjoy luxury without the premium price tag.
- A Rewarding Experience: The process itself is therapeutic and fun, transforming simple ingredients into something truly special. It’s a wonderful activity to share with family or friends.
- Impressive Gifting: Hand-crafted truffles make for incredibly thoughtful and impressive gifts. Package them in a beautiful box, and you have a personalized present that truly speaks volumes.
The Irresistible Allure of Sweet & Salty: Salted Chocolate Truffles Explained
The combination of sweet and salty flavors has captivated palates worldwide, and for good reason. Salt acts as a flavor enhancer, intensifying the cocoa notes in the chocolate while cutting through its richness, preventing it from being overly cloying. When paired with the deep, complex flavors of dark chocolate and the creamy texture of a truffle, flaky sea salt creates a harmonious symphony that is both sophisticated and deeply satisfying. Each bite offers a delightful journey, from the initial crunch of salt to the smooth, melting chocolate, leaving a memorable aftertaste that beckons for another.
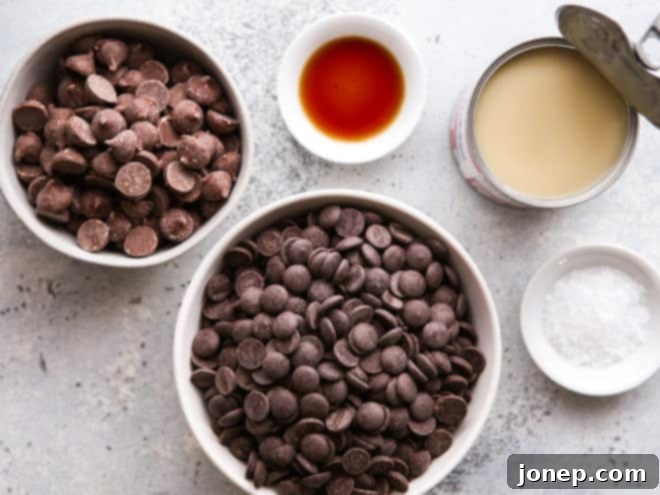
Only 5 Essential Ingredients for Perfect Truffles!
You’ll be amazed at how such simple components can create something so extraordinary. Here’s a closer look at everything you’ll need to embark on your salted chocolate truffle making adventure:
- Bittersweet or Semi-Sweet Chocolate (for the truffle filling): This forms the rich, fudgy heart of your truffles. Choosing a high-quality chocolate here is crucial for superior flavor. Bittersweet (typically 60-70% cocoa) offers a deep, intense chocolate experience, while semi-sweet (around 50% cocoa) provides a slightly sweeter, milder profile. The quality of your chocolate directly impacts the richness and overall taste of your truffles, so opt for a brand you enjoy eating on its own.
- Sweetened Condensed Milk: This magical ingredient acts as both a binder and a sweetener, creating that incredibly smooth, dense, and fudgy texture without the need for heavy cream. It helps the truffle filling set beautifully and adds a lovely sweetness that balances the dark chocolate.
- Vanilla Extract: A splash of pure vanilla extract enhances the chocolate flavor, adding depth and a warm, inviting aroma to your truffles. Use a good quality vanilla for the best results.
- Milk and/or Semi-Sweet Chocolate (for dipping): This is for the outer shell of your truffles. You can opt for all milk chocolate for a sweeter, creamier coating, all semi-sweet or dark for a bolder flavor, or a combination of both to offer variety. We’ll discuss choosing the best type of dipping chocolate in more detail below, including whether to temper it for a glossy finish and satisfying snap.
- Flaky Sea Salt: The crowning glory of these truffles! Flaky sea salt, like Maldon, provides a delicate crunch and bursts of salinity that perfectly complement the sweet chocolate. Its irregular crystal structure not only looks beautiful but also dissolves slowly on the tongue, creating a dynamic flavor experience. Avoid fine table salt, which can be overpowering; the flakes are key here.
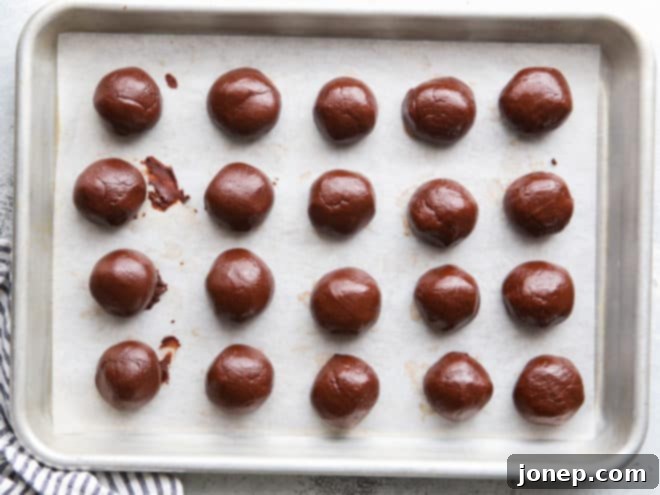
Mastering the Art of Salted Chocolate Truffles: A Step-by-Step Guide
Don’t be intimidated by the elegant appearance of these truffles; the process is straightforward and incredibly rewarding. Follow these steps for perfect results:
- Melt the Chocolate Base with Precision: The foundation of your truffle filling starts with perfectly melted chocolate. You can achieve this using either a microwave or a double boiler. Whichever method you choose, remember that gentle heat is key to prevent scorching. Stir frequently until the chocolate is smooth and glossy. (More detailed instructions on melting techniques follow this section).
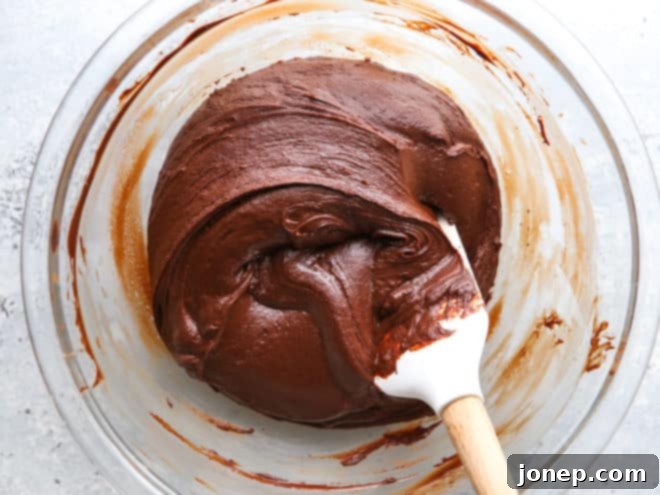
- Combine with Sweetened Condensed Milk and Vanilla: Once your chocolate is beautifully melted, remove it from the heat. Stir in the sweetened condensed milk and vanilla extract. At first, the mixture might appear slightly grainy or thick, but continue stirring until all ingredients are well combined and the mixture becomes homogeneous, dense, and fudgy. It will firm up as it cools.
- Shape and Chill the Truffle Centers: Using a spoon, a small cookie scoop, or even a melon baller, portion the chocolate mixture into your desired truffle size. For uniform results, aim for roughly 1 tablespoon per truffle. Roll each portion between your palms to form smooth, round balls. Arrange them on a parchment-lined baking sheet. Place these truffle centers in the refrigerator to chill thoroughly while you prepare your dipping chocolate. This chilling step is vital for them to hold their shape during dipping.
- Prepare Your Dipping Chocolate (Consider Tempering!): Melt your chosen dark, milk, or a combination of chocolates separately for dipping. For the best aesthetic and textural results (a glossy finish and satisfying snap), consider tempering your chocolate. While not strictly necessary for taste, tempering vastly improves the appearance and stability of the coating. (Detailed information on tempering and chocolate types is provided further down).
- The Dipping Process: Achieving a Flawless Coating: Working efficiently is important once your truffle centers are chilled and your dipping chocolate is ready. Dip each chilled truffle round into the melted chocolate. A fork is an excellent tool for this; use it to roll the truffle until it’s fully coated. Lift the truffle out of the bowl and gently tap the fork against the rim to allow any excess chocolate to drip back into the bowl. For a clean finish, use a toothpick to scrape off any chocolate accumulating at the base of the fork, then carefully use the toothpick to slide the coated truffle off the fork onto a sheet of parchment or wax paper.
- Add Flaky Salt and Let Truffles Set: Immediately after dipping each truffle, and while the chocolate coating is still wet, generously sprinkle the tops with flaky sea salt. This ensures the salt adheres beautifully. Allow the truffles to set at room temperature for approximately 30 minutes, or until the chocolate coating is firm to the touch. Avoid chilling the coated truffles in the refrigerator if you used real chocolate and want that professional-looking snap.
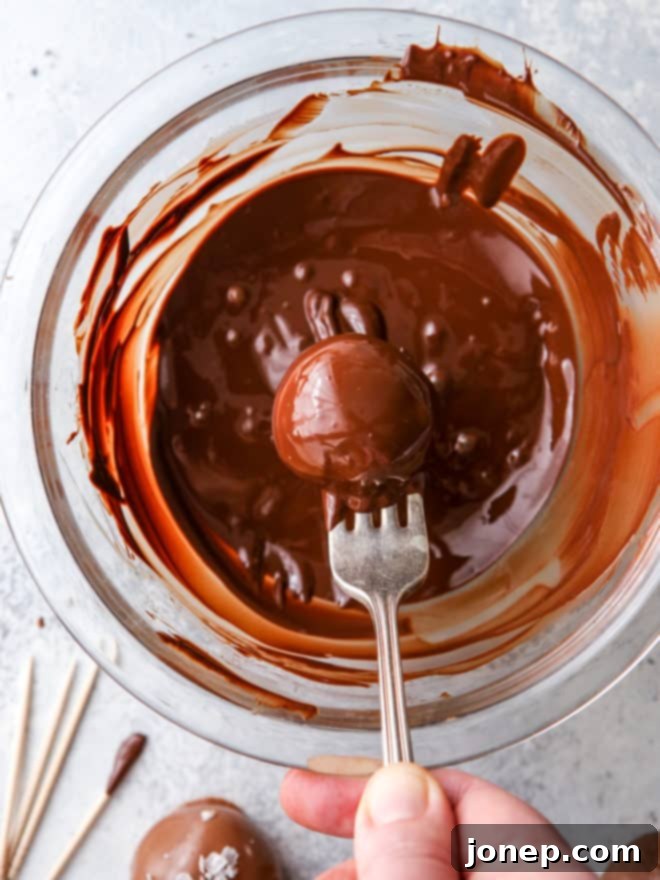
Achieving Silky Smooth Melted Chocolate: Microwave vs. Double Boiler
Melting chocolate properly is a crucial step for both the truffle filling and the outer coating. Both the microwave and a double boiler are effective methods, but understanding their nuances can save you from common chocolate mishaps:
Microwave Method (Fast and Convenient):
- Start with finely chopped chocolate in a microwave-safe bowl. Smaller, uniform pieces will melt more evenly.
- Microwave on high power in short bursts, typically 30-second intervals.
- Crucially, stir the chocolate thoroughly after each interval, even if it doesn’t look fully melted. The residual heat will continue to melt the chocolate.
- Remove the chocolate from the microwave when it’s mostly melted but still has a few small lumps. Continue stirring vigorously off the heat until these lumps dissolve and the chocolate is completely smooth. This prevents overheating.
Double Boiler Method (More Control):
- Place your chopped chocolate in a heat-proof bowl that fits snugly over a saucepan.
- Add about an inch or two of water to the saucepan and bring it to a gentle simmer. Ensure the bottom of the bowl does not touch the simmering water, as direct contact can scorch the chocolate.
- The steam from the simmering water will gently and indirectly heat the chocolate.
- Stir the chocolate frequently as it melts.
- As with the microwave method, remove the bowl from the heat when the chocolate is mostly melted, with a few small pieces remaining. Continue stirring until it’s completely smooth. This method offers more control and significantly reduces the risk of burning.
Crucial Tips to Prevent Chocolate from Scorching or Seizing:
If chocolate gets too hot, it will scorch (burn), leading to a bitter taste and a grainy texture. Even worse, if a single drop of water or steam gets into melting chocolate, it will “seize” — transforming into a thick, clumpy, unworkable mess. Once chocolate has scorched or seized, there’s no saving it; you’ll have to discard it and start fresh. To avoid these common pitfalls:
- Watch Your Chocolate Like a Hawk: Never walk away from melting chocolate.
- Remove from Heat Early: Always remove the chocolate from the heat source when it’s about 80-90% melted, with a few small lumps still visible. The residual heat in the bowl and the already melted chocolate will be enough to melt the rest with continuous stirring.
- Keep Water Away: Ensure your bowl and stirring utensils are completely dry. If using a double boiler, make sure no steam escapes into the chocolate.
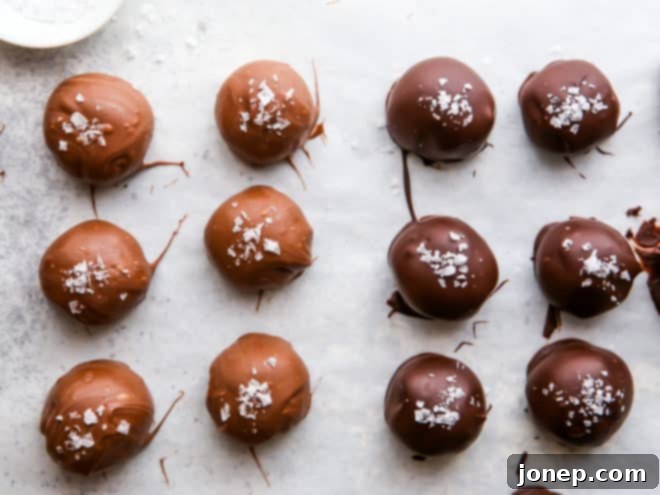
Choosing Your Truffle Coating: A Deep Dive into Chocolate Types
The type of chocolate you select for coating your salted chocolate truffles significantly impacts their final appearance, texture, and flavor. While all options will work, understanding their properties will help you achieve your desired outcome:
1. Compound Chocolate (Candy Melts or Dipping Chocolate):
This isn’t technically “real” chocolate as it’s made with vegetable fats (like palm oil) instead of cocoa butter.
- Pros: Extremely easy to melt and sets up beautifully with a smooth, firm finish without needing to be tempered. It’s very forgiving.
- Cons: Lacks the complex flavor of real chocolate, often tasting artificial or overly sweet.
- When to use: If convenience and a perfectly smooth, stable coating are your top priorities and flavor is secondary, or if you’re new to chocolate work.
2. Real Chocolate (Baking Bars, High-Quality Chips):
Made with cocoa butter and chocolate liquor (the ground nib of the cocoa bean). Brands like Nestlé, Baker’s, and Ghirardelli fall into this category.
- Pros: Offers significantly better flavor than compound chocolate, with a richer, more authentic taste.
- Cons: Can harden with a streaked, dull, or bloomed (white spots) finish if not properly tempered. It also melts easily on your fingers.
- When to use: For excellent flavor. If you’re not concerned about a perfectly glossy finish or don’t want to bother with tempering, this is a great everyday choice.
3. Couverture Chocolate (Professional-Grade Chocolate):
This is true chocolate with a higher percentage of cocoa butter, giving it superior meltability and a thinner consistency when melted. Brands like Valrhona, Callebaut, and Scharffen Berger are excellent examples.
- Pros: Unbeatable flavor, exceptionally smooth texture, and when tempered, provides a stunning glossy finish, a satisfying “snap” when broken, and resistance to melting at room temperature.
- Cons: Absolutely requires tempering to achieve its best qualities for dipping and coating.
- When to use: For the most professional-looking, tasting, and textured truffles. If you want to impress and are willing to learn the tempering process, this is the gold standard.
Understanding Tempering for a Perfect Finish:
Tempering is a crucial process of carefully heating and then cooling chocolate to stabilize the cocoa butter crystals. This re-crystallization process ensures that the chocolate sets with a beautiful shine, a firm snap, and prevents “fat bloom” (the grayish streaks that can appear on untempered chocolate). While it might sound daunting, it’s a skill worth learning for any serious chocolate enthusiast. If you’re using real or couverture chocolate and want that picture-perfect result, I highly recommend giving tempering a try! Here’s an excellent tutorial on tempering chocolate with lots of great info that can guide you through the process.

Expert Tips for Unforgettable Homemade Truffles
Elevate your truffle-making game with these additional insights and pro tips:
- Quality Ingredients are King: While we’ve mentioned it, it bears repeating: the quality of your chocolate and vanilla extract truly makes a difference in the final product. Splurging on better chocolate will yield a more elegant and deliciously complex truffle. Avoid low-cost, waxy chocolate for the best flavor and texture.
- Uniform Pieces for Even Melting: When chopping chocolate for melting, aim for pieces of roughly the same size. This ensures the chocolate melts evenly, preventing scorching of smaller pieces while larger ones are still solid.
- The Water-Free Zone: Chocolate and water are enemies! Even a single drop of water or condensation introduced into melting chocolate can cause it to seize and become lumpy and unusable. Ensure all your bowls, spatulas, and spoons are completely dry.
- Patience is a Virtue, Especially for Dipping: Dipping can be a bit messy initially, but practice makes perfect. If you need extra visual guidance, The Pioneer Woman’s original post, from which this recipe was adapted, offers plenty of helpful photos to walk you through the dipping process.
- Room Temperature Setting is Best for Real Chocolate: If you’ve used real chocolate (especially tempered chocolate) for your coating, do not chill the finished truffles in the refrigerator to set. Rapid cooling can actually cause the chocolate to bloom or soften, losing that desirable glossy finish and satisfying “snap.” Let them set at room temperature instead.
- Optimal Storage for Freshness: Store your homemade truffles in an airtight container in a cool, dry place, like a pantry, away from direct sunlight and strong odors. They do not require refrigeration and will keep beautifully for up to a few weeks.
- Truffle Variations to Explore: Once you’ve mastered the basic salted truffle, feel free to get creative! Instead of flaky sea salt, roll some truffles in high-quality cocoa powder, finely chopped nuts (pistachios, almonds, hazelnuts), shredded coconut, or even sprinkles for a festive look. A tiny dash of cayenne pepper can add a surprising kick!
- Gifting with Style: For homemade gifts, arrange your truffles in small candy boxes or decorative tins. Line the container with mini paper cupcake liners for an extra touch of elegance and to prevent sticking.
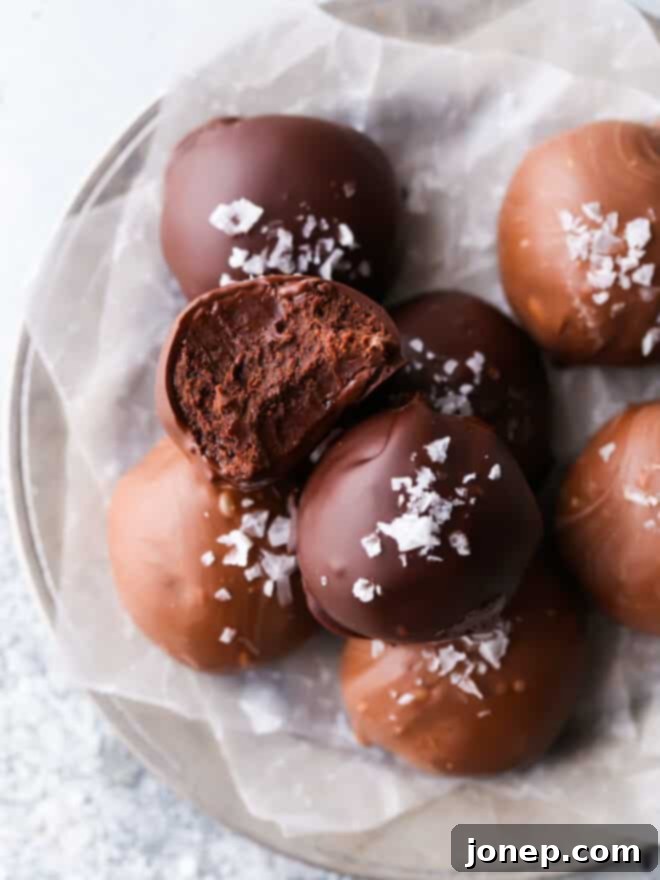
Frequently Asked Questions (FAQs) About Salted Chocolate Truffles
- Q: Can I use different types of salt?
- A: While flaky sea salt is highly recommended for its texture and gentle burst of flavor, you can experiment with other coarse salts like Himalayan pink salt or smoked sea salt for different nuances. Avoid fine table salt, as it can be too salty and lacks the desirable crunch.
- Q: How long do homemade truffles last?
- A: When stored properly in an airtight container in a cool, dry place, these truffles will remain fresh and delicious for 1-2 weeks. While they don’t spoil quickly, their texture and flavor are best enjoyed within the first week.
- Q: Can I freeze these truffles?
- A: Yes, you can! For longer storage, place the set truffles in a single layer on a baking sheet and freeze until firm. Then transfer them to an airtight, freezer-safe container, separating layers with parchment paper. Thaw them in the refrigerator for a few hours before bringing them to room temperature to serve. They can last for up to 2-3 months in the freezer.
- Q: What if my chocolate filling mixture is too soft to roll?
- A: This usually means it needs more chilling time. Pop the bowl of mixture back into the refrigerator for another 15-30 minutes, or until it’s firm enough to handle and roll. The consistency should be similar to a very firm cookie dough.
- Q: Can I make these dairy-free or vegan?
- A: You can adapt this recipe! Use high-quality dairy-free dark chocolate for both the filling and coating. For the sweetened condensed milk, look for a vegan sweetened condensed coconut milk alternative. Ensure all other ingredients (like vanilla extract) are vegan-friendly. The texture might vary slightly but should still be delicious.
More Decadent Chocolate Delights to Explore
If you’re a fan of rich chocolate treats, be sure to check out these other irresistible recipes:
- Chocolate Caramel Corn
- Chocolate Covered Caramels
- Nutella Truffles
- Chocolate Marshmallow Cups
Essential Tools for Your Truffle Making Journey
Having the right tools can make your truffle-making experience even smoother. Here are some essentials you might find helpful:
Recipe originally published December 2009.

Salted Chocolate Truffles
Pin Recipe
Leave a Review
Ingredients
- 1 lb semi-sweet or bittersweet chocolate
- 14 oz sweetened condensed milk
- 1 tablespoon vanilla extract
- 8 oz milk or semi-sweet/bittersweet chocolate (or half and half, see Notes)
- Flaky sea salt , for sprinkling
Instructions
-
Heat the dark chocolate in a double boiler placed over simmering water or in the microwave in 30 second intervals. Stir until smooth, do not overheat or chocolate will burn and seize up.
-
Remove from heat and stir in sweetened condensed milk and vanilla extract. Mixture will be thick and slightly grainy.
-
Use a spoon or small scoop to portion mixture into desired size for truffles (mine were about 1 tablespoon each). Use your hands to roll into balls. Chill in the fridge while you melt chocolate for dipping.
-
Melt the milk or dark chocolate (or both in separate bowls) in the microwave or over double boiler.
-
Dip the truffle balls in the chocolate until completely covered. Use a fork to remove truffles from the melted chocolate, letting excess chocolate fall back into the bowl. Transfer to parchment or wax paper with the help of a toothpick .
-
Sprinkle with flaky salt and let chocolate set up at room temperature for about 30 minutes.
-
Store truffles in a cool dry place for 1-2 weeks.
Notes
- You can use real chocolate or “dipping/candy coating” chocolate for the chocolate coating, per your preference. Please read above blog post content.
- I used 4oz milk chocolate and 4 oz semi-sweet chocolate so I had half and half dark and milk chocolate-coated truffles.
