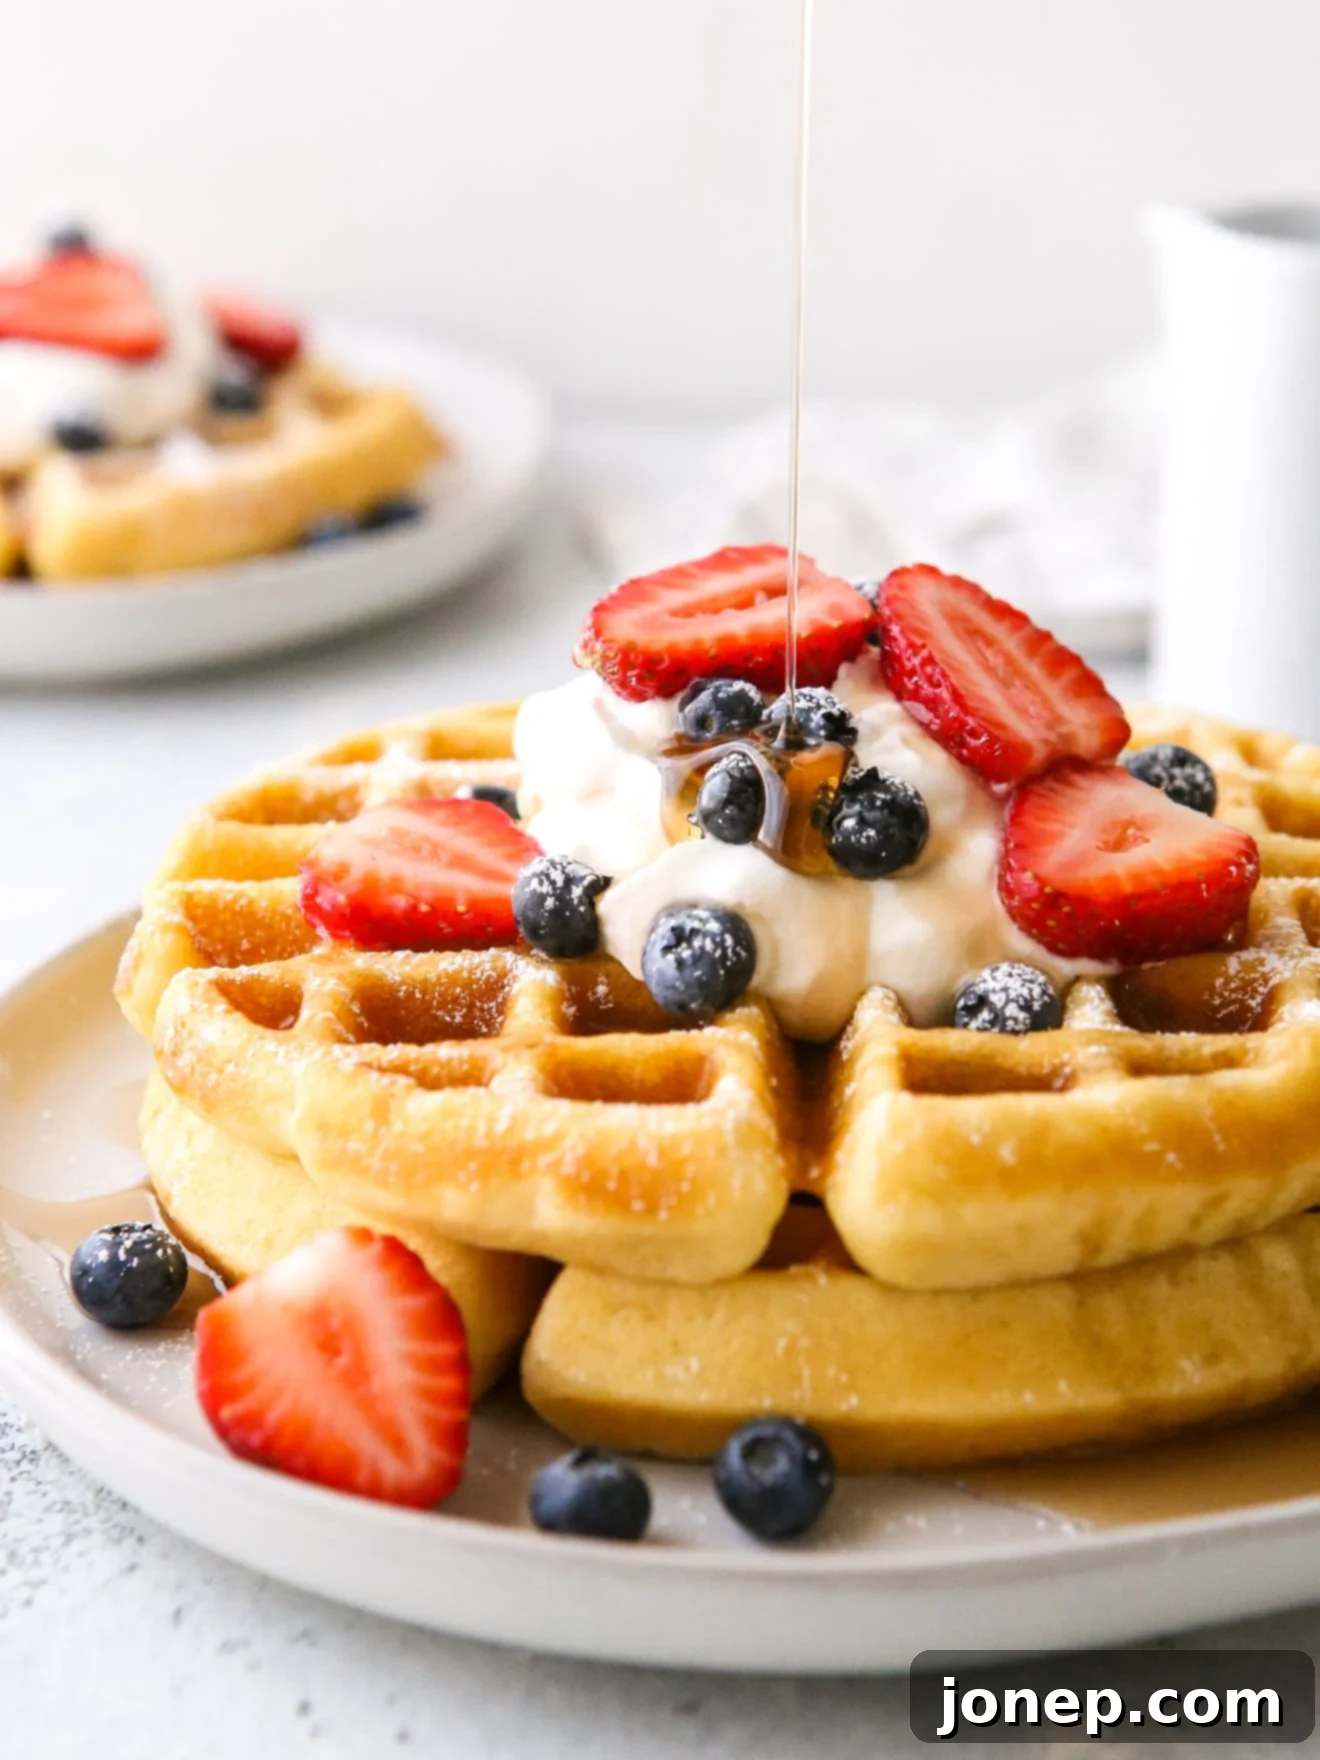
Achieve Waffle Perfection: The Ultimate Guide to Crispy, Fluffy Buttermilk Waffles
Prepare to experience true breakfast nirvana with this incredible recipe for the best buttermilk waffles you’ll ever make! Imagine biting into a waffle that’s gloriously golden brown and perfectly crispy on the outside, yet boasts an interior that is unbelievably soft, moist, and delightfully cake-like. This isn’t just a dream; it’s a delicious reality, and it’s all made possible by a simple, yet powerful, secret ingredient you likely already have stashed in your pantry.
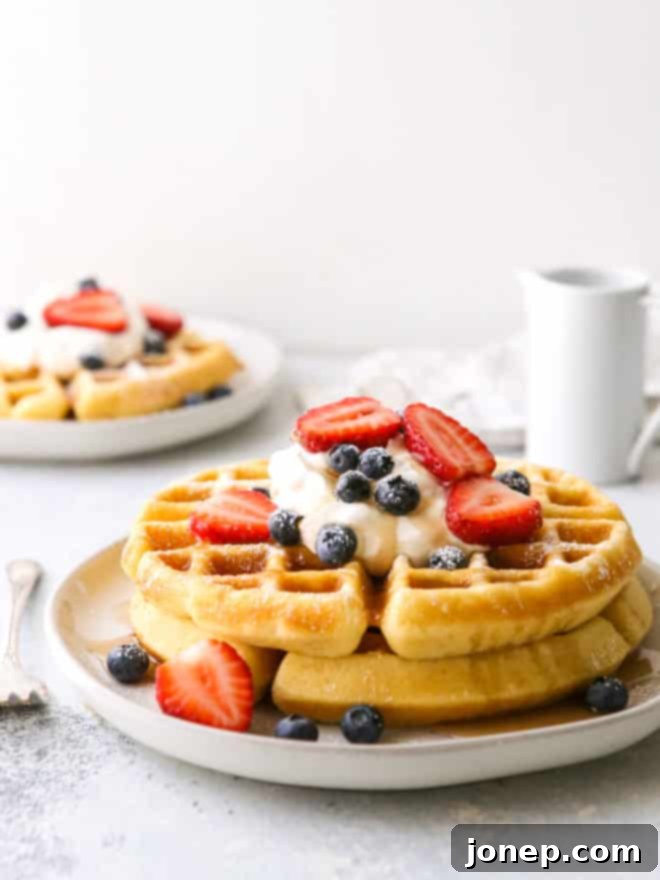
Are you a devoted member of Team Waffle, or do your loyalties lie with Team Pancake? While both offer delightful breakfast experiences, if pressed to choose, I confess a slight bias towards waffles. There’s just something inherently more special about them, with their intricate pockets designed to hold puddles of syrup and generous dollops of toppings! And when executed to perfection, with those irresistible crispy edges contrasting beautifully with a tender, airy interior, there’s truly nothing better to elevate a leisurely weekend morning.
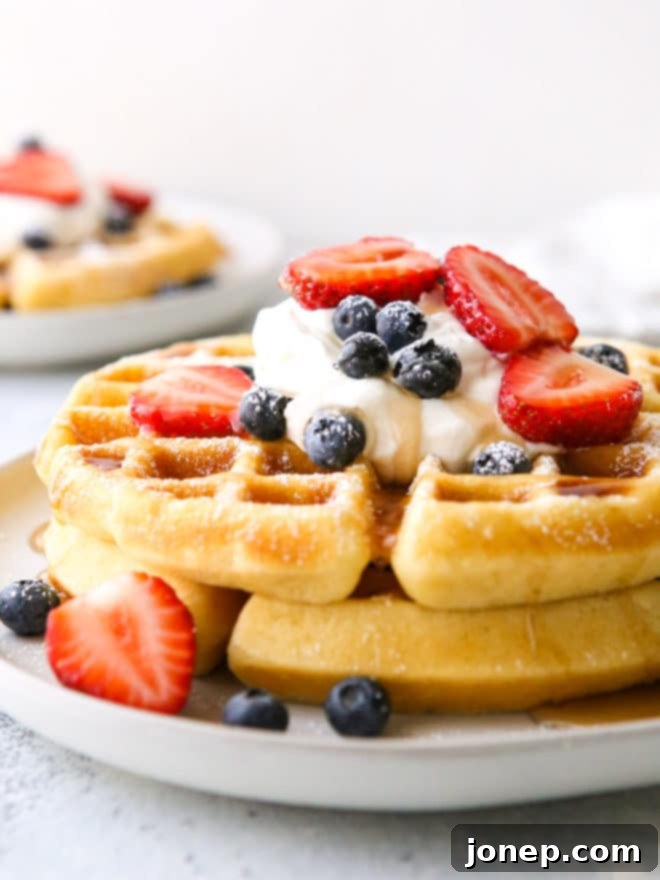
These buttermilk waffles stand out with an incredible depth of flavor, even before you add a single topping. The magic happens thanks to the rich tang of buttermilk, which contributes moisture and a subtle acidity that reacts with the leavening agents, and the warm, comforting notes of pure vanilla extract infused directly into the batter. However, I wholeheartedly encourage you to take these waffles to the next level by piling them high with all your favorite accompaniments. My personal go-to combination for serving these beauties includes a generous dollop of fluffy homemade whipped cream, a vibrant medley of fresh berries (strawberries, blueberries, raspberries!), and a luxurious cascade of pure maple syrup. It’s a breakfast masterpiece that promises to delight every palate.
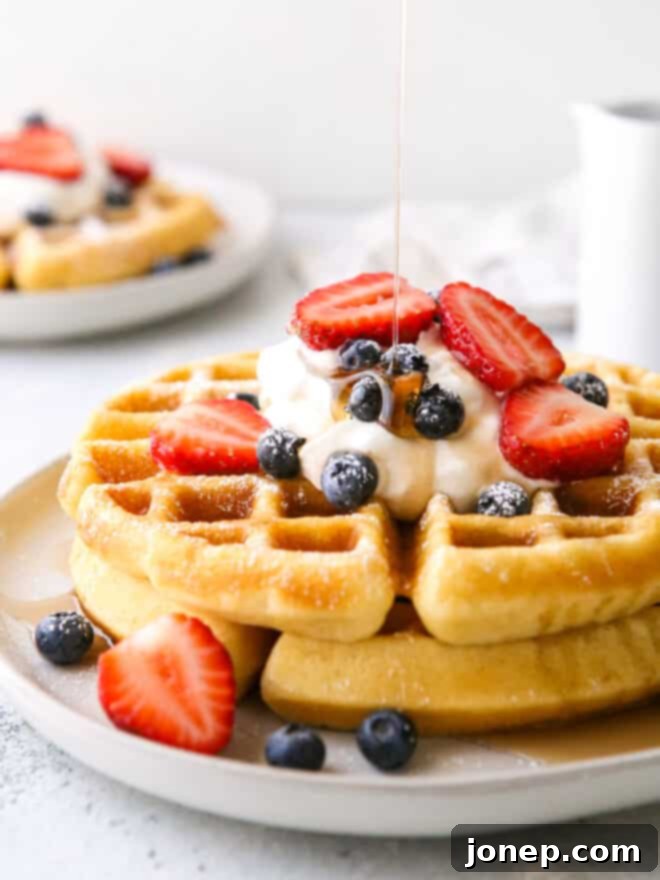
Why These Buttermilk Waffles Will Become Your Go-To Recipe
Once you try this recipe, you’ll undoubtedly understand why it’s destined to become a beloved staple in your breakfast rotation. We’ve perfected the balance to deliver waffles that are simply irresistible, combining ease of preparation with outstanding results. Here’s what makes them truly special and sets them apart from the rest:
- Effortless Preparation: Say goodbye to complicated steps or lengthy resting times. This recipe is designed for maximum ease and efficiency, allowing you to whip up a batch of perfect waffles without any fuss. It’s ideal for bustling weekday mornings when you need a quick yet delicious meal, or for relaxed weekend brunches with family and friends.
- Pantry-Friendly Ingredients: You won’t need to make a special trip to the grocery store for exotic items. Most, if not all, of the ingredients required for these delicious buttermilk waffles are common staples likely already found in your refrigerator and pantry. This makes satisfying spontaneous waffle cravings incredibly convenient and stress-free.
- Exquisite & Balanced Flavor Profile: These waffles boast a wonderfully balanced flavor that’s neither too bland nor overly sweet. The distinct tangy notes of buttermilk combined with the warm essence of vanilla shine through, creating a truly satisfying taste that pairs perfectly with any topping, from sweet syrups to fresh fruit.
- Unbeatable Texture Every Single Time: This is where the true magic of this recipe comes to life! Each waffle promises beautifully crisp, golden-brown edges that provide a satisfying crunch, which then gives way to an interior that is incredibly soft, moist, and delightfully cake-like. It’s this captivating textural contrast that makes them so utterly addictive and memorable.
- The Secret to Unrivaled Crispiness Revealed: We’ll unveil a simple, yet revolutionary, ingredient that acts as your personal assurance against limp or soggy waffles. This addition guarantees a consistently crispy exterior, transforming your homemade waffles into restaurant-quality delights.
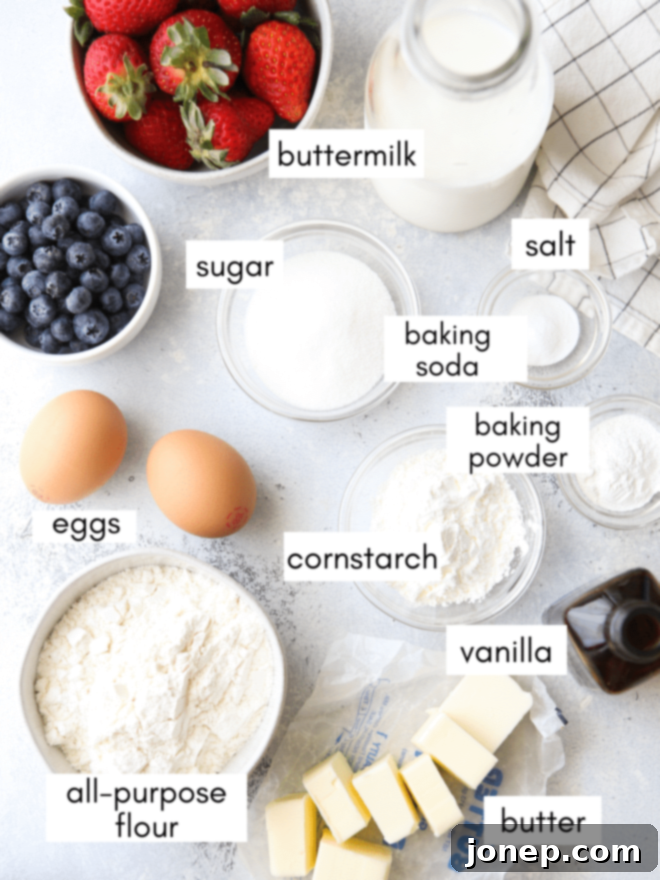
Essential Ingredients for Your Buttermilk Waffle Masterpiece
Creating these heavenly buttermilk waffles requires just a few common kitchen staples. The beauty of this recipe lies not only in its exceptional taste but also in its simplicity and the readily available nature of its components. Below is a concise overview of everything you’ll need to gather. For precise measurements and detailed step-by-step instructions, please refer to the comprehensive recipe card located at the very end of this post.
The Game-Changing Secret Ingredient: Cornstarch
For many years, my homemade waffles were a recurring source of culinary frustration. Despite my best efforts and countless attempts, they consistently turned out limp, soft, and utterly lacking that coveted, satisfying crispness. I was on the verge of giving up my quest for the perfect homemade waffle until I stumbled upon a culinary revelation that forever changed my breakfast game: the secret ingredient that transforms ordinary waffles into extraordinary, crispy masterpieces. And that secret is… cornstarch!
I owe a huge debt of gratitude to Heidi from Foodiecrush, who first introduced me to this brilliant hack. It’s genuinely a game-changer that will revolutionize your waffle-making experience.
The Science Behind the Crisp: How Cornstarch Works Its Magic
So, why is cornstarch the unsung hero of consistently crispy waffles? The fundamental problem with many traditional waffle batters is an excess of moisture, which prevents the exterior from crisping up properly and leads to those disappointing, floppy results. Cornstarch steps in as a powerful and effective moisture absorber, working its magic in two key ways:
- Absorbs Excess Moisture: When incorporated into the batter, cornstarch efficiently soaks up superfluous liquid. This action results in a drier, more stable surface when the batter makes contact with the hot plates of the waffle iron. This drier surface is crucial for developing that desirable, audibly crispy crust that defines a truly great waffle.
- Inhibits Gluten Development: While all-purpose flour provides the necessary structure for your waffles, too much gluten development (which typically occurs from overmixing the batter) can lead to tough, chewy, and undesirably dense waffles. Cornstarch, being a pure starch and free of gluten, helps to dilute the gluten content in the flour, contributing significantly to a more tender and lighter interior crumb.
Just a small, seemingly insignificant amount of cornstarch added to your buttermilk waffle batter, and *boom!* You will consistently achieve those coveted super crispy waffles with perfectly soft, moist centers, every single time. It’s a simple, inexpensive addition that yields dramatically superior results, elevating your homemade breakfast to an entirely new level of perfection and making you a waffle hero in your own kitchen.
Mastering the Art: How to Make the Best Buttermilk Waffles
Crafting perfect buttermilk waffles is surprisingly straightforward, especially when you understand the nuances of each step. Follow these simple instructions for a breakfast that will impress everyone at your table. Remember, the key to success lies in gentle handling and not overworking the batter.
- Prepare Your Dry Ingredients: In a large mixing bowl, meticulously combine your all-purpose flour, granulated sugar, the secret ingredient (cornstarch!), baking powder (for initial lift), baking soda (to react with buttermilk’s acidity), and a pinch of salt (to balance flavors). Whisk these dry ingredients together thoroughly for about 30 seconds to one minute. This crucial step ensures that the leavening agents, sugar, and flavorings are evenly distributed throughout, leading to a consistent rise and delightful taste in every single bite.
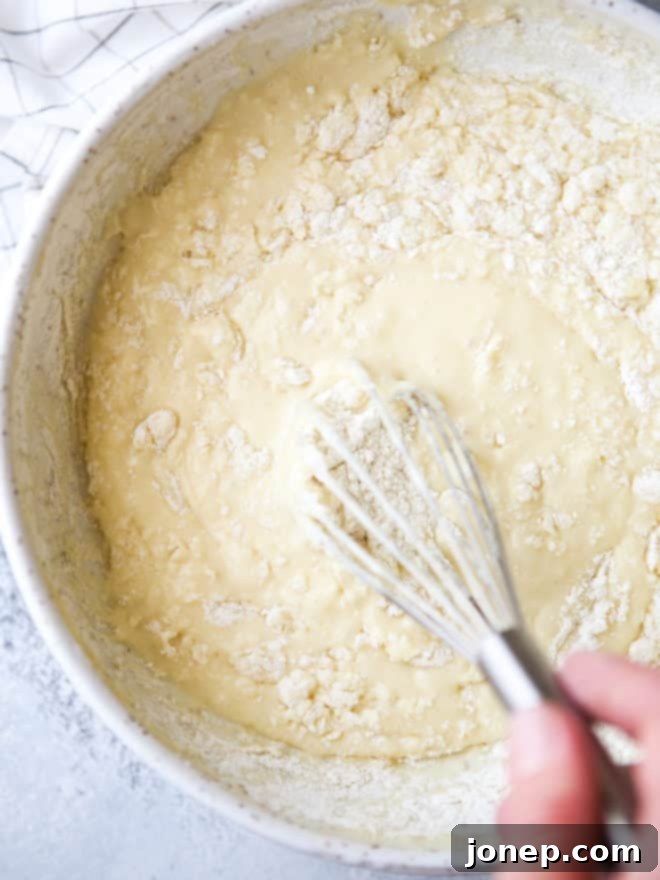
- Combine Wet Ingredients & Integrate: In a separate, medium-sized bowl, whisk together the wet ingredients: the rich, tangy buttermilk, large eggs (for binding and richness), cooled melted unsalted butter (for flavor and tender crumb), and fragrant vanilla extract. Ensure the butter is cooled slightly; adding warm butter to cold eggs can cause them to scramble. Once these wet components are well combined, pour this buttermilk mixture into the bowl containing your dry ingredients. Using a whisk or a spatula, gently mix just until no visible streaks of flour remain. A few small lumps in the batter are perfectly normal – in fact, they’re preferred! Overmixing the batter can overdevelop the gluten in the flour, resulting in tough, chewy, and dense waffles instead of the light and airy texture we’re aiming for.
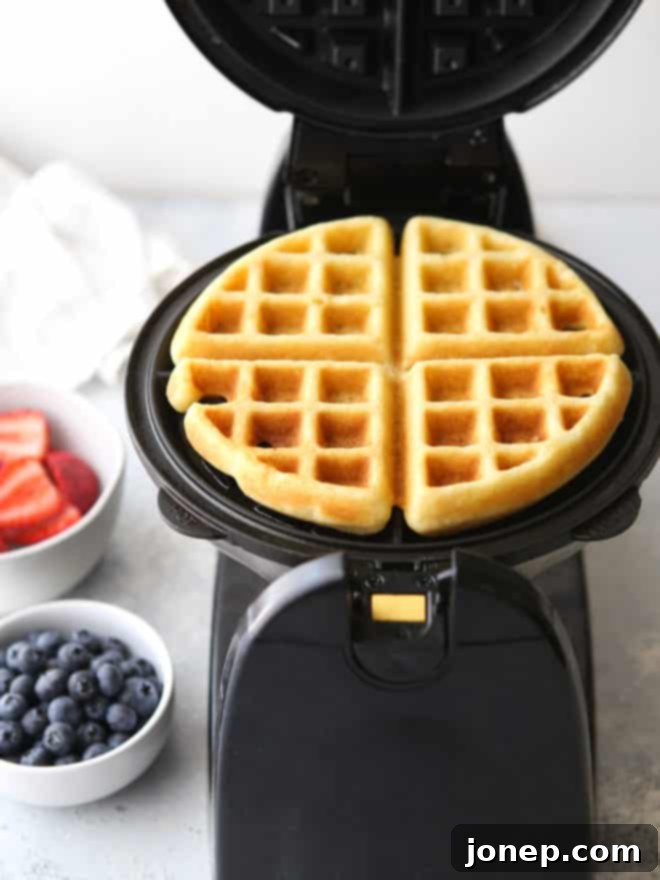
- Cook to Golden Perfection in Your Waffle Maker: Preheat your waffle maker according to its specific manufacturer’s instructions. A thoroughly preheated iron is absolutely crucial for achieving that immediate sizzle and crispy exterior. Once hot, lightly grease the plates if necessary, even if your iron boasts a non-stick surface. This helps prevent sticking and ensures an easy release and optimal browning. Pour the recommended amount of batter into the preheated waffle maker – typically about 1 scant cup for a standard waffle iron, or 1/2 cup for smaller models. Close the lid and cook until the waffles are gloriously golden brown, cooked through, and steam is no longer vigorously escaping from the sides. This usually takes about 5-6 minutes, but can vary by machine.
- Keep Waffles Warm (or Serve Immediately): As each batch of waffles finishes cooking, you have two convenient options. For immediate gratification, serve them straight from the iron, hot and fresh, allowing guests to enjoy them as soon as they’re ready. If you’re making multiple batches or serving a crowd, transfer the cooked waffles to a wire rack set on a sheet pan in a preheated 200°F (95°C) oven. Arranging them in a single layer ensures they stay warm and crispy, preventing them from getting soggy while you finish cooking the rest of the batch.
- Garnish & Indulge: Now for the absolute best part – serving and enjoying your culinary creation! Pile your warm, crispy waffles high and adorn them with your absolute favorite toppings. Classic choices like a melting pat of butter and a generous pour of pure maple syrup are always a guaranteed hit. Or, unleash your creativity with fluffy whipped cream, fresh seasonal berries, perfectly sliced bananas, a decadent chocolate sauce, a dusting of powdered sugar, or even a warm fruit compote. Enjoy every delectable bite of your perfect homemade buttermilk waffles!
Expert Tips for Making Perfect Homemade Buttermilk Waffles
Achieving consistently perfect waffles at home is entirely possible with a few insider tricks and mindful practices. Here are some essential tips to ensure your buttermilk waffles turn out flawlessly every time, from initial batter preparation to convenient storage:
- Do Not Over-Mix Your Batter! This is, without a doubt, the most crucial rule for guaranteeing tender, light waffles. Once you’ve combined the wet and dry ingredients, stop mixing as soon as the last streaks of flour disappear. A few small lumps are not only perfectly normal but actually desirable. Overmixing vigorously develops the gluten in the flour, which will inevitably lead to tough, chewy, and disappointingly dense waffles rather than the light, airy, and fluffy ones we all crave.
- Mind the Temperature of Your Ingredients: When you add warm melted butter to cold buttermilk and eggs, the sudden temperature change can cause the butter to solidify and form small, hard bits throughout the batter, making it appear curdled. While this won’t drastically ruin the taste of your waffles, for a smoother, more uniform batter, aim to have your buttermilk and eggs at room temperature before mixing. Alternatively, you can add the melted butter separately to the dry ingredients first, then incorporate the wet ingredients, to help prevent the butter from solidifying upon contact with cold liquids.
- Proper Waffle Iron Preparation is Key: Always preheat your waffle maker thoroughly before you even think about adding any batter. A scorching hot iron is absolutely essential for achieving that immediate sizzle and forming a beautifully crispy exterior. Even if your waffle maker claims to be non-stick, a light coating of non-stick cooking spray or a gentle brush of oil on the plates can act as extra insurance, preventing sticking and ensuring easy, clean release of your waffles. Always consult your specific waffle maker’s instructions for the best preparation practices.
- Know Your Waffle Maker’s Quirks: Every waffle iron is a little different, much like a unique kitchen appliance. Pay close attention to your manufacturer’s instructions regarding the ideal amount of batter to use for your specific model and the recommended cooking time. Overfilling the iron can lead to a messy overflow, while underfilling can result in small, incomplete, or unevenly cooked waffles.
- Watch for the Steam as a Doneness Indicator: If your waffle maker doesn’t come equipped with a convenient indicator light or an audible timer to signal when your waffles are perfectly done, use the natural steam as your reliable guide. Once the vigorous production of steam significantly slows down or stops altogether, it’s an excellent visual cue that your waffle is cooked through and has likely developed that desired golden brown color and crispy texture.
- Freezing Waffles for Future Enjoyment: Waffles are wonderfully freezer-friendly, making them a fantastic option for meal prep or busy mornings! To freeze them effectively, first allow the freshly cooked waffles to cool completely to room temperature on a wire rack. Then, arrange them in a single layer on a parchment-lined sheet pan and place them in the freezer until they are completely solid. Once frozen, transfer them to a freezer-safe ziplock plastic bag or an airtight container, ensuring as much air as possible is removed. They will keep beautifully in the freezer for a month or even longer.
- Effortless Reheating of Frozen Waffles: There’s no need to thaw your frozen waffles! For a quick and convenient breakfast, simply pop them directly into a toaster or toaster oven for a few minutes. This method heats them through while magically regaining their original crispness, delivering a delicious and speedy breakfast option any day of the week.
- Get Creative with Serving Suggestions & Flavor Variations: Don’t limit yourself to just syrup and butter, although those are undeniably delicious! Experiment with a wide array of toppings and variations. Consider stirring in mini chocolate chips or fresh blueberries directly into the batter before cooking. For toppings, explore options like fruit compotes, toasted nuts, a luscious cream cheese glaze, a sprinkle of cinnamon sugar, or even savory options like fried chicken for a unique and satisfying “chicken and waffles” experience.
More Delicious Breakfast Recipes to Explore
If you’re looking to expand your breakfast repertoire beyond these amazing buttermilk waffles, here are some other fantastic recipes from our kitchen that are sure to delight your taste buds and become new family favorites:
- The Best Buttermilk Pancakes – For those days when you truly are on Team Pancake and crave a fluffy stack!
- Homemade Crepes – Light, delicate, and endlessly versatile for both sweet and savory fillings, perfect for a European-inspired breakfast.
- The Best French Toast – A timeless classic done right, with a custardy interior and a beautifully golden, slightly crisp exterior.
- Buttermilk Biscuits with Sausage Gravy – A hearty, comforting, and utterly delicious Southern classic that’s perfect for a substantial brunch.
Shop Essential Tools for This Recipe
To help you achieve perfect results and make your buttermilk waffle-making experience even smoother and more enjoyable, here are some recommended kitchen tools. These are affiliate links, which means we may earn a small commission if you make a purchase through them, at no extra cost to you.
Recipe originally published January 2014, updated and enhanced for improved clarity, comprehensive tips, and even better results.
Instructions
-
In a large bowl, combine the flour, sugar, cornstarch, baking powder, baking soda, and salt. Whisk well for about 30-60 seconds to ensure all dry ingredients are thoroughly mixed and evenly distributed. In a separate bowl, whisk together the buttermilk, eggs, melted butter (ensure it’s cooled to lukewarm temperature to avoid cooking the eggs), and vanilla extract. Add the wet buttermilk mixture to the dry ingredients and stir gently with a whisk or spatula until just combined. A few small lumps are perfectly fine and even desirable; avoid overmixing to prevent tough waffles.
-
Preheat your waffle maker according to its manufacturer’s instructions until it’s fully hot (indicator light usually signals this). If needed, lightly grease the waffle plates with non-stick spray or a brush of oil, even if your iron is non-stick. Pour approximately 1 scant cup of batter for a standard large waffle (or about 1/2 cup for smaller waffle irons) onto the hot griddle. Close the lid and cook until the waffle is gloriously golden brown, cooked through, and the steam significantly subsides (this typically takes about 5-6 minutes in most irons, but watch for your specific machine’s cues).
-
Serve your delicious, crispy buttermilk waffles immediately with your favorite toppings, such as maple syrup, fresh berries, or whipped cream. If you’re cooking multiple batches or serving a crowd, keep the finished waffles warm by placing them in a single layer on a wire rack set over a baking sheet in a preheated 200°F (95°C) oven. This keeps them crisp and warm until everything is ready to serve.
Video
