The Ultimate Crispy Oven Fried Chicken Recipe: Healthier, Easier, and Delicious
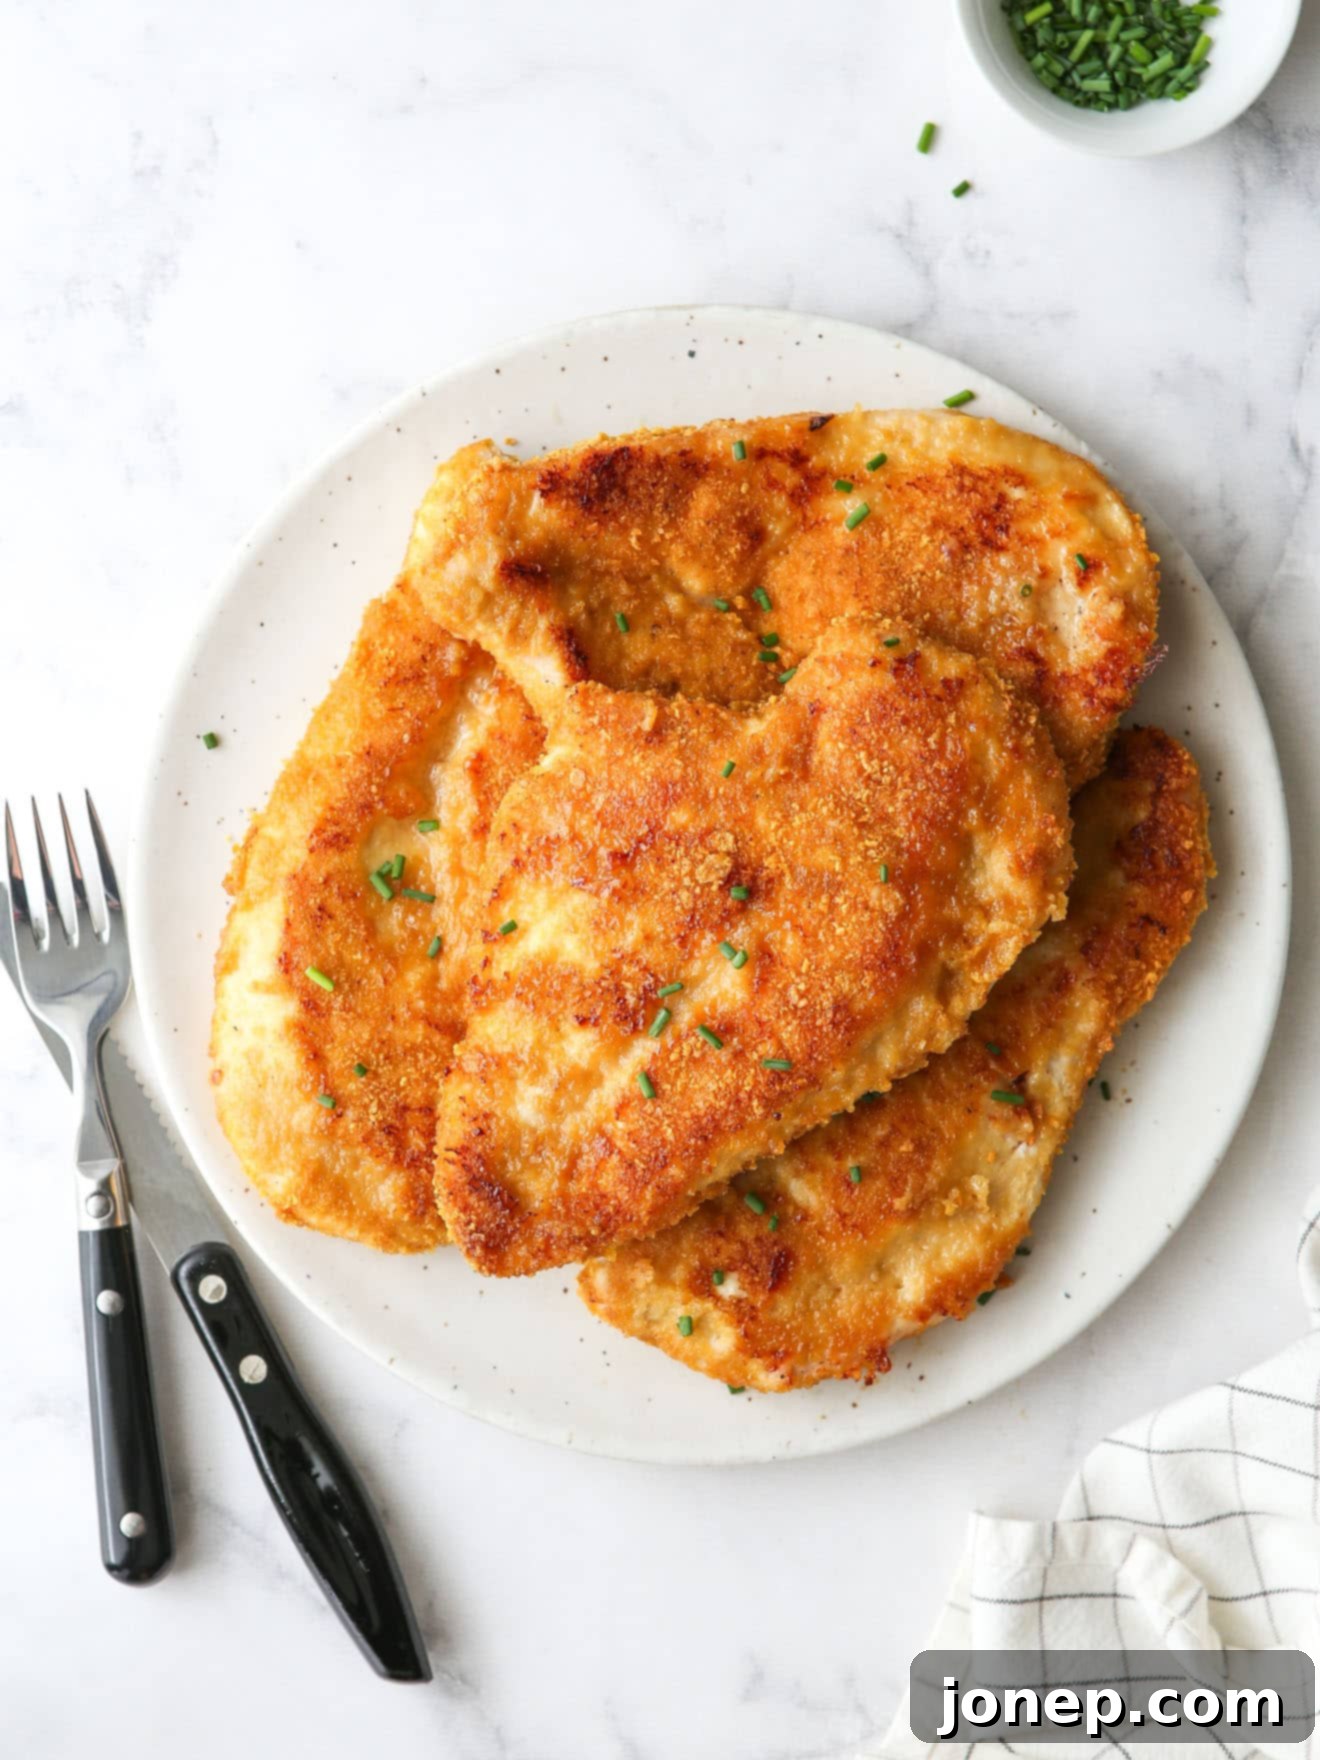
Craving the satisfying crunch of fried chicken but want a healthier, simpler way to enjoy it at home? Look no further! This incredible oven fried chicken recipe delivers all the flavor and crispiness you love, without the mess and oil of traditional deep-frying. The secret to its irresistible golden-brown coating and tender, juicy interior? Believe it or not, it’s humble cornflakes! Get ready to transform your weeknight dinners with this foolproof and incredibly delicious baked chicken that’s sure to become a new family favorite.
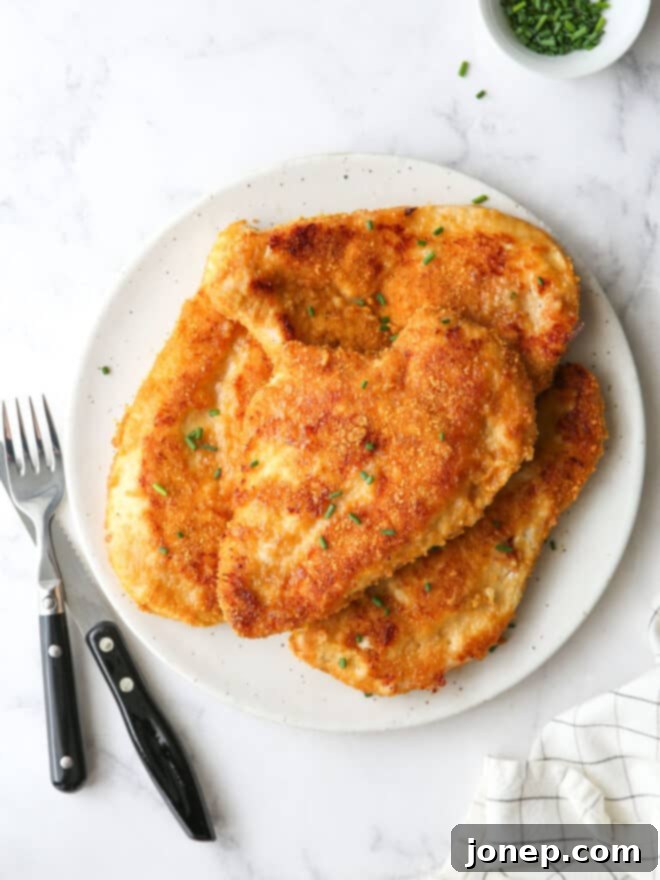
Preparing perfectly crispy “fried” chicken in your oven has never been this straightforward. This recipe requires just six simple ingredients and less than 30 minutes of active preparation and cooking time. Forget about specialized equipment, a lengthy list of obscure spices, or the hassle of deep-frying. This baked chicken offers an exceptional taste that rivals its fried counterpart, making it an ideal choice for busy weeknights or casual gatherings. It’s a delicious, healthier alternative that doesn’t compromise on flavor or that beloved crispy texture.
Table of Contents
- The Best Oven-Fried Chicken
- Ingredients You’ll Need
- Why Cornflakes are the Secret Ingredient
- How to Make Oven Fried Chicken Step-by-Step
- Expert Tips for Perfect Oven-Baked Fried Chicken
- Serving Suggestions for Your Crispy Chicken
- Get the Full Recipe Card
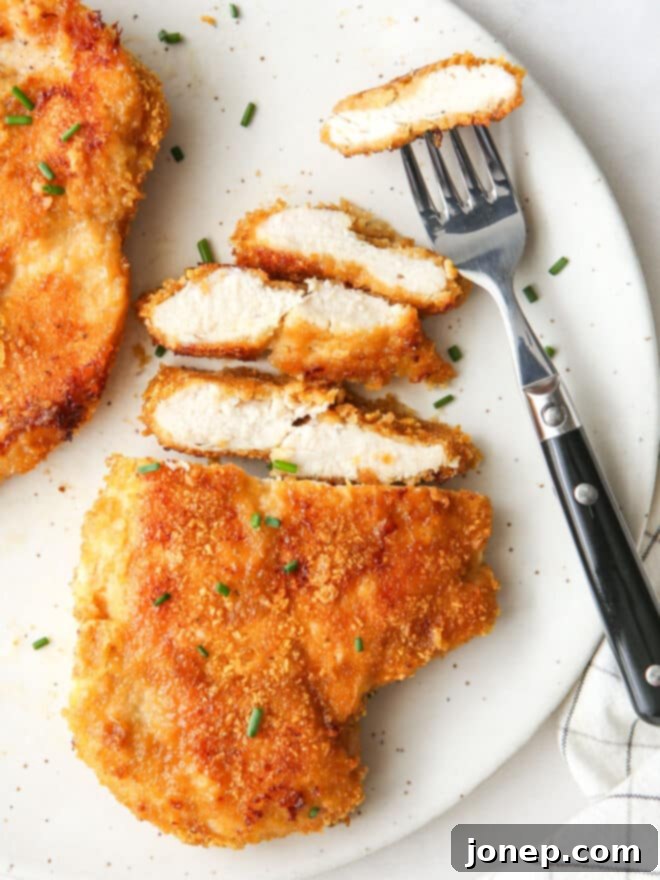
The Best Oven-Fried Chicken: Unlocking Unbeatable Crispiness and Flavor
Achieving truly exceptional oven-fried chicken comes down to mastering a few critical elements. This recipe stands out because it focuses on three key principles that guarantee a tender interior and a supremely crispy, golden-brown exterior:
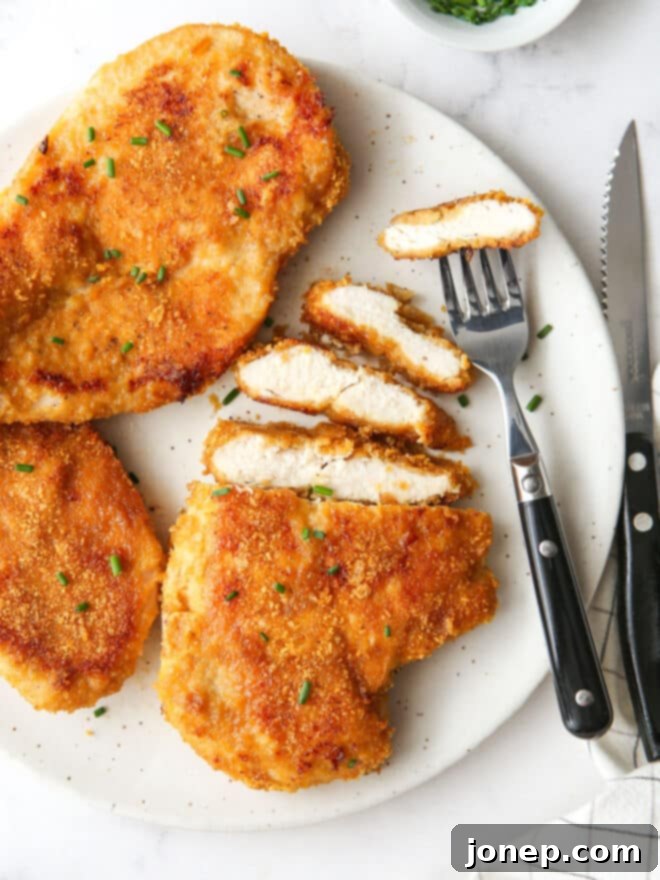
- The Cornflake Coating: This isn’t just a substitute; it’s an upgrade! Using crushed cornflakes creates an incredibly crispy, light, and perfectly golden breading that simply can’t be matched by traditional breadcrumbs in the oven. Their inherent crunchiness translates beautifully during baking, providing that satisfying “fried” texture.
- Butter for Flavor and Browning: A generous drizzle of melted butter over the coated chicken is crucial. Beyond adding a rich, savory flavor, butter helps the cornflake coating achieve an even deeper golden hue and enhances its crispiness by promoting superior browning in the hot oven. It acts as a flavorful bridge between the chicken and the crunchy crust.
- High-Heat Baking: Baking at a higher temperature for a shorter duration is essential. This method ensures maximum browning and crisping of the exterior, creating a delectable crust, while simultaneously locking in moisture and tenderness within the chicken itself. The intense heat initiates the Maillard reaction quickly, giving you that desirable “fried” finish without drying out the meat.
By combining these three elements, this recipe consistently delivers oven-fried chicken that will impress even the most discerning palates, proving that you don’t need a deep fryer for truly fantastic results.
Simple Ingredients for Outstanding Oven Fried Chicken
You’ll be delighted by how few ingredients are required to create this incredibly flavorful dish. Most of these are likely staples in your pantry and fridge, making this a convenient option for any day of the week. Quality ingredients will always elevate your cooking, so opt for fresh chicken and good butter when possible.
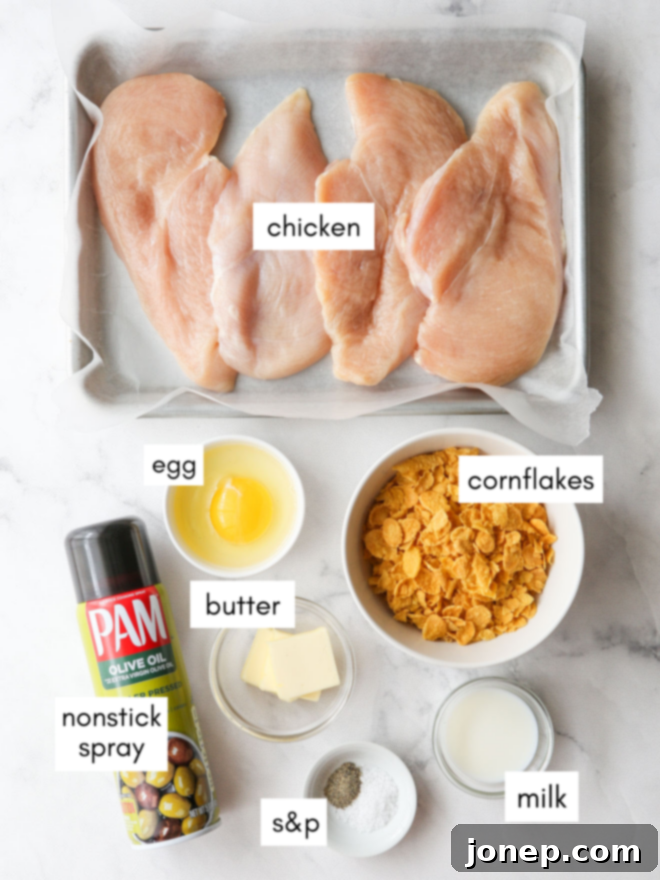
Here’s what you’ll need to gather to get started:
- Boneless, Skinless Chicken Breasts: The foundation of our dish, these cook quickly and evenly.
- Salt and Pepper: Basic seasonings that lay the groundwork for flavor.
- Large Egg & Milk: These create the “wet” dredge, helping the cornflake coating adhere perfectly.
- Unsweetened Cornflakes: The star ingredient for that unbeatable crisp.
- Melted Butter: For rich flavor and a beautiful golden-brown crust.
- Nonstick Cooking Spray: Ensures every crumb gets moistened and crisps up evenly.
Why Cornflakes are the Secret to Superior Crispy Oven Fried Chicken
It’s natural to wonder, why cornflakes? when thinking about making “fried” chicken. The answer is delightfully simple and incredibly effective: cornflakes produce a significantly crispier and more satisfying “breading” for chicken baked in the oven than traditional options. Unlike panko or standard breadcrumbs, which can sometimes result in a softer or less pronounced crunch when baked, cornflakes maintain their inherent crispiness through the cooking process.
The unique texture of crushed cornflakes creates a light, airy, yet incredibly crunchy coating that truly mimics the experience of deep-fried chicken. They are already designed to be crispy, which makes them incredibly easy and foolproof to use. This isn’t just a hack; it’s a superior method for achieving that coveted golden-brown, shattering crust without the need for excessive oil. Furthermore, cornflakes are an unsweetened cereal, so they don’t add any unwanted sweetness to your savory chicken. If you don’t have cornflakes on hand, other unsweetened, crispy cereals like Chex or Wheaties can also be used to achieve a similar fantastic result.
How to Make Oven Fried Chicken Step-by-Step
Follow these straightforward steps to create perfectly crispy and delicious oven-fried chicken in under 30 minutes. Precision in each step ensures the best possible outcome.
-

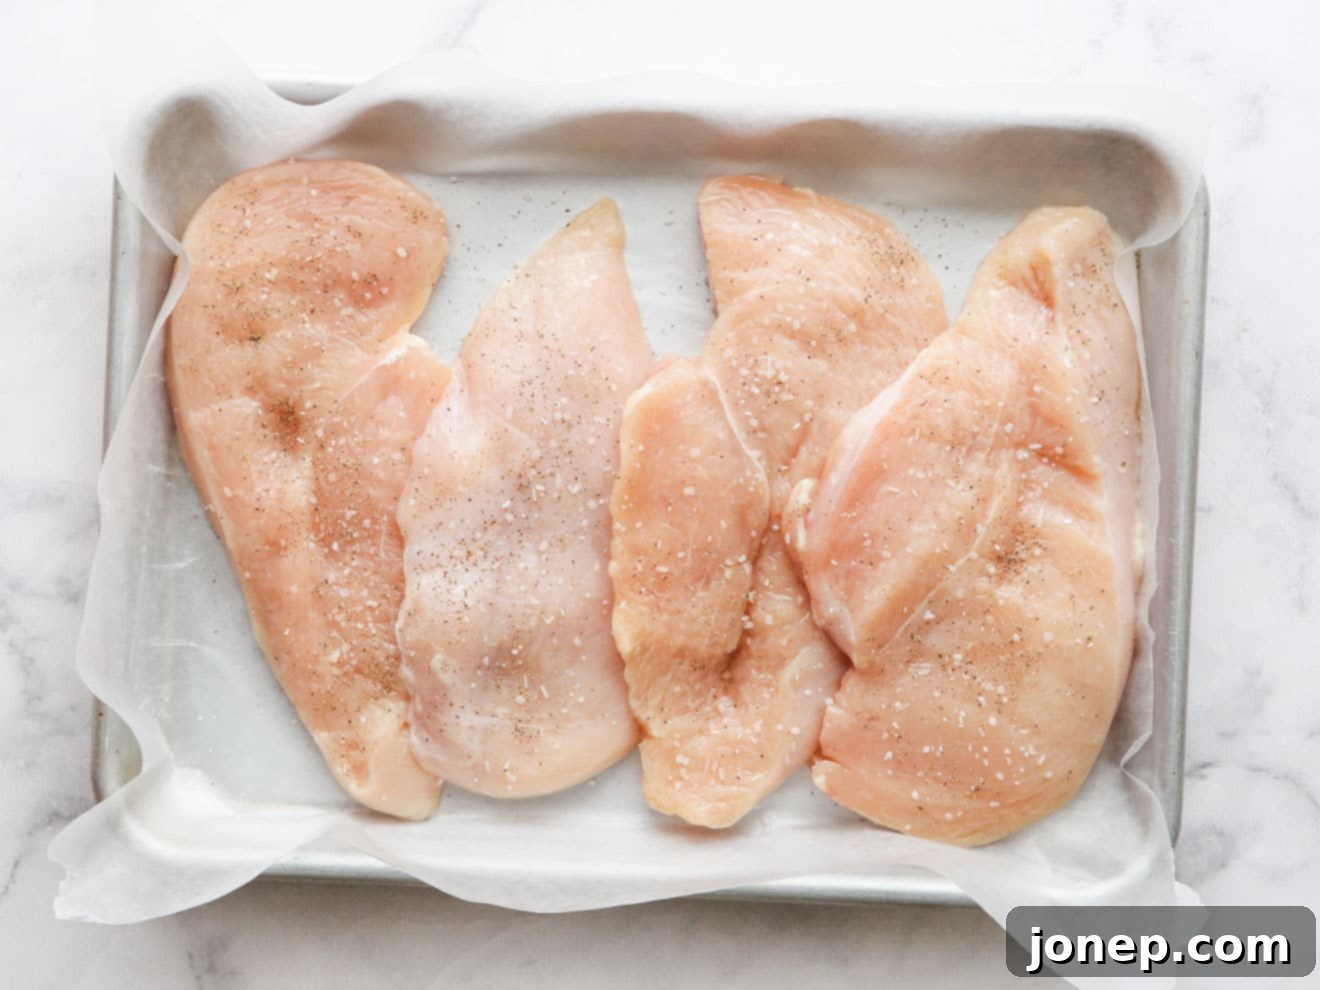
Prep Chicken Cutlets for Even Cooking. For optimal and consistent cooking, it’s vital that your chicken breasts are about 1 inch thick. Thicker parts will cook slower and could leave thinner parts dry. You can achieve this even thickness by carefully pounding the breasts thin using a meat mallet, or by slicing thicker chicken breasts horizontally in half with a sharp knife (my preferred method for cleaner cutlets). Here’s a helpful how-to video if you need guidance on slicing chicken cutlets. Once prepped, generously sprinkle both sides of the chicken with salt and freshly ground black pepper to season them thoroughly. -

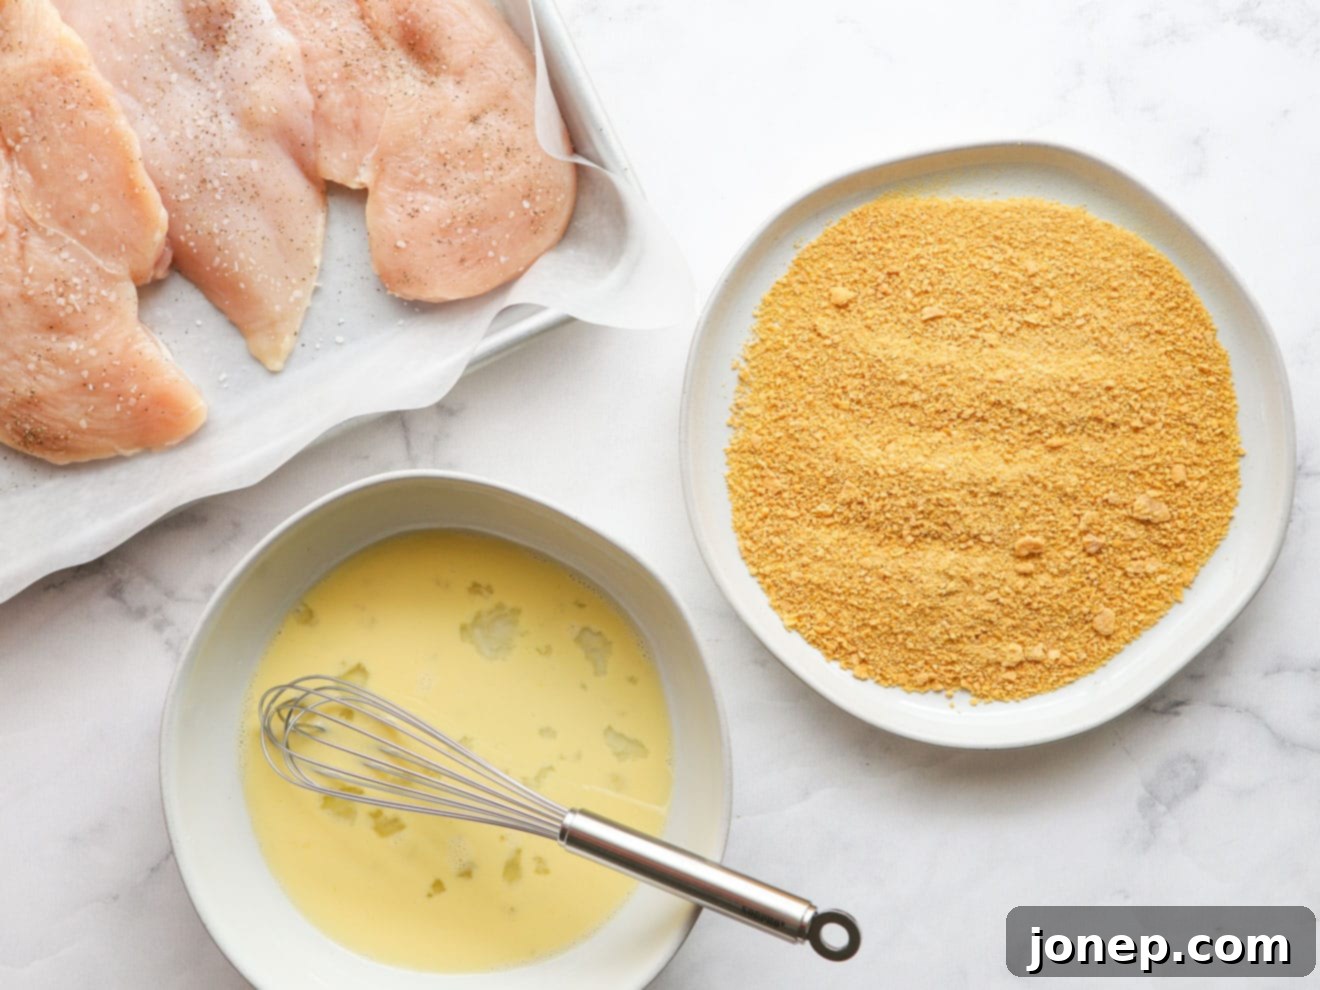
Set Up a “Breading” Station for Efficiency. To make the coating process smooth and mess-free, prepare two separate wide, shallow bowls. In the first bowl, whisk together the egg and milk until well combined – this will be your “wet” dredge. In the second bowl, add your finely crushed cornflake crumbs. Having these stations ready streamlines the breading process. -

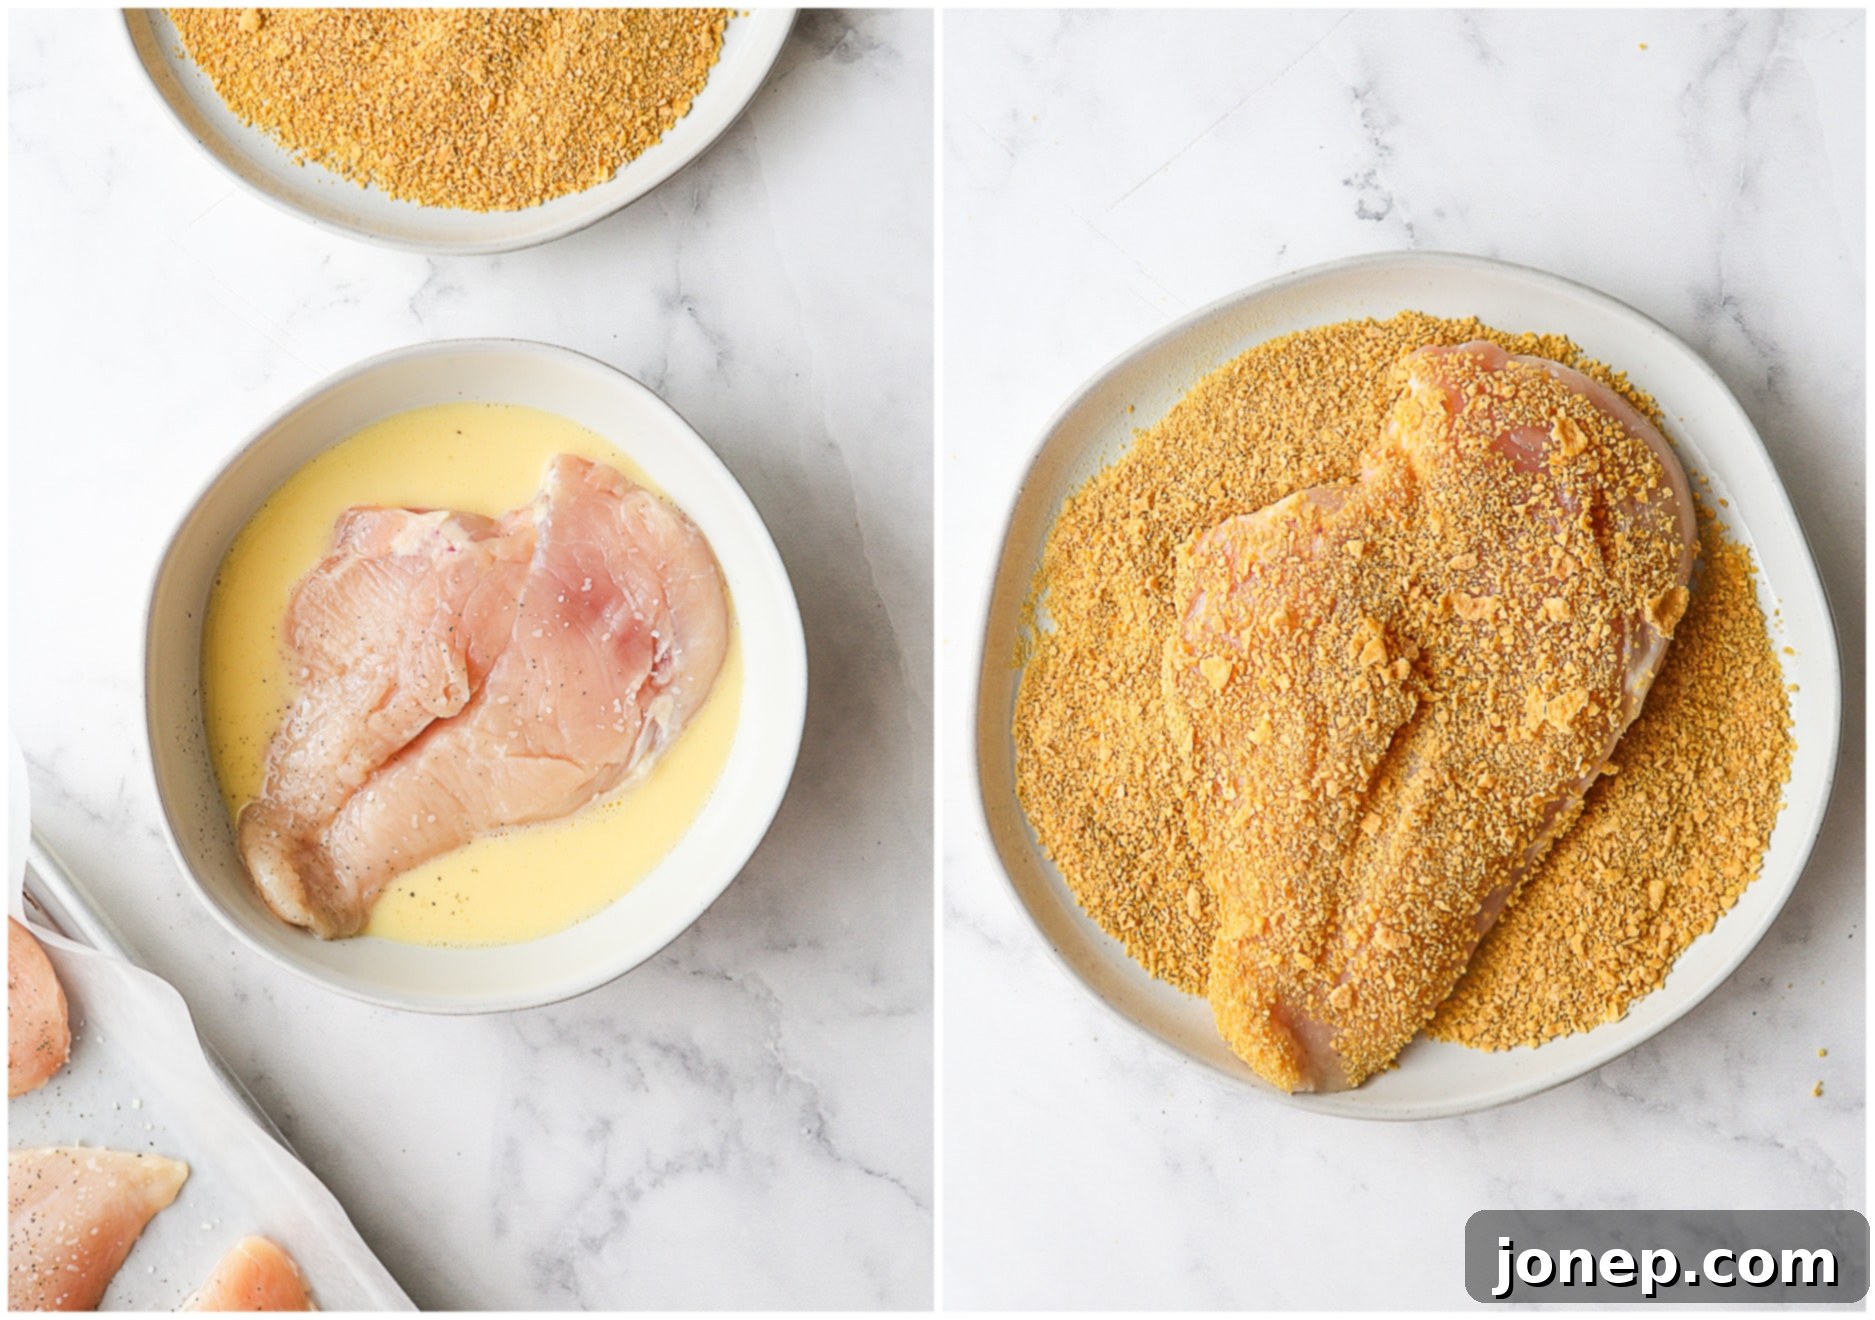
“Bread” the Chicken for Maximum Coverage. Take each chicken piece individually and first dip it into the egg mixture, ensuring it’s fully coated. Let any excess drip off. Then, transfer the chicken to the bowl of cornflake crumbs, pressing gently to make sure each piece is thoroughly and evenly coated on all sides. A complete coating is key for ultimate crispiness and flavor. Remember the “wet hand/dry hand” tip (see below) for cleaner hands! -

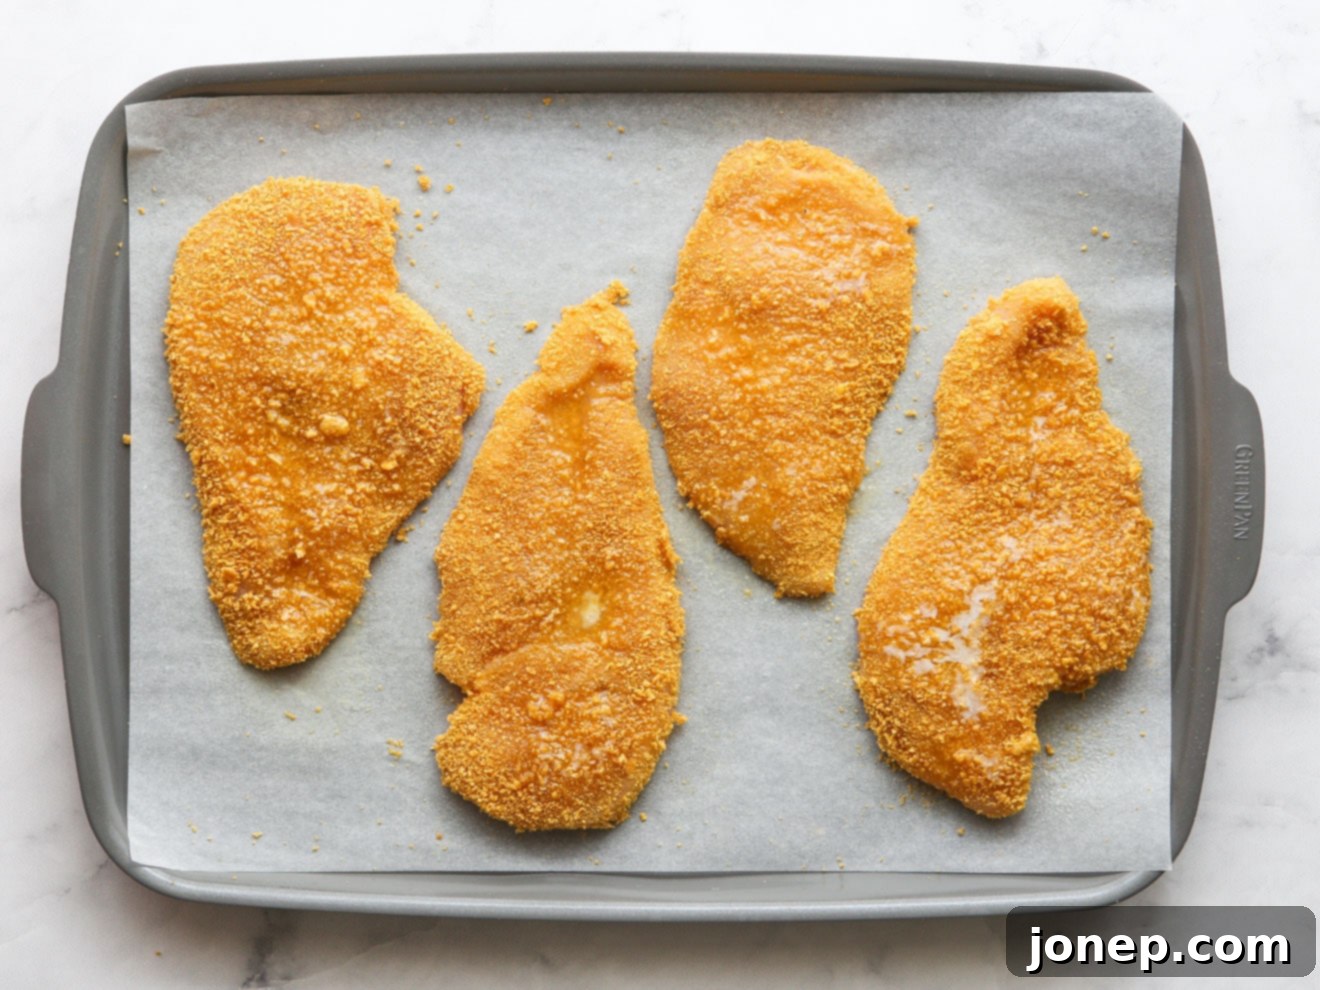
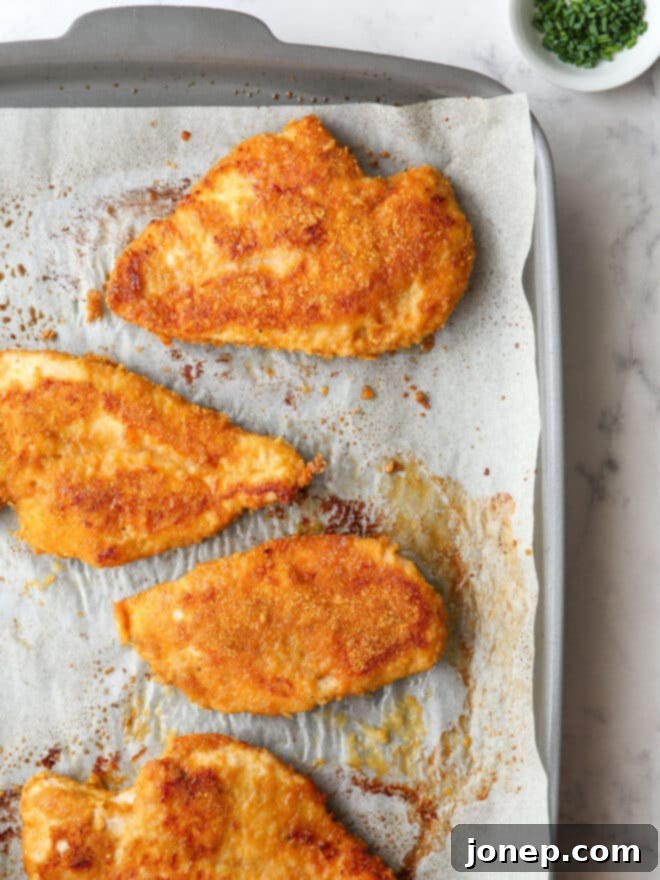
Drizzle with Melted Butter and Moisten with Nonstick Spray. Arrange the prepared, breaded chicken pieces on a baking sheet pan that has been lined with parchment paper or greased aluminum foil. Carefully drizzle the melted butter over the chicken, trying your best to cover as much of the cornflake coating as possible. This butter is vital for browning and flavor. Finally, give the coating a quick, even spritz of nonstick cooking spray. This extra step helps moisten any remaining dry crumbs and ensures an all-over crispy, golden finish. - Bake in the Oven to Golden Perfection. Place the baking sheet into your preheated oven at 425°F (220°C). Bake for approximately 15-20 minutes, or until the chicken is cooked through and reaches an internal temperature of 165°F (74°C) when measured with an instant-read thermometer. If you notice uneven browning, you can carefully flip the chicken halfway through the baking time to ensure both sides achieve a beautiful golden crisp.
- Serve Immediately for Best Results! This oven-fried chicken is at its absolute peak of crispiness and deliciousness when enjoyed straight from the oven. The crunchy coating will be most pronounced and satisfying while hot, so don’t delay in serving this fantastic meal!
Expert Tips for Perfect Oven-Baked Fried Chicken
Achieving restaurant-quality results with your oven-fried chicken is easy with a few simple techniques. These tips will help ensure your chicken is perfectly crispy, juicy, and flavorful every time.
- Use Boneless, Skinless Chicken for Best Results. While this recipe can be adapted, boneless, skinless chicken breasts are ideal because they cook quickly and evenly without the need to worry about skin crisping or bones affecting cooking time. Chicken tenders and even boneless, skinless chicken thighs can also be used, though you may need to adjust the cooking time slightly, especially for smaller tenderloins or thicker thighs.
- Start with Dry Chicken Cutlets. Before you begin the breading process, it’s crucial to pat your chicken pieces thoroughly dry with paper towels. Any excess moisture on the surface of the chicken will create a barrier, preventing the egg wash and cornflake coating from adhering properly, which can lead to a less crispy result.
- How to Crush Cornflakes to Crumbs: Achieving the right consistency for your cornflake coating is key. You can easily crush cornflakes by pulsing them for a few seconds in a food processor until they resemble coarse breadcrumbs. Alternatively, for a no-fuss method, place them in a sturdy ziplock bag and crush them with a rolling pin or the bottom of a heavy skillet until they are finely broken down.
- How to Keep Your Fingers Clean While Breading the Chicken: The “wet hand, dry hand” technique is a game-changer for a cleaner breading experience. Dedicate one hand for dipping the chicken cutlets into the wet ingredients (the egg mixture) and the other hand solely for dipping into the dry ingredients (the crushed cornflakes). This simple but effective trick prevents your fingers from becoming clumpy with breading. This video quickly explains this simple but important tip. No more mess!
- Don’t Overcrowd the Baking Sheet. It’s essential to arrange the breaded chicken in a single layer on the baking sheet, ensuring there’s a little space between each piece. Overcrowding the pan will cause the chicken to steam rather than crisp, leading to a soggy coating. If necessary, use two baking sheets to give each piece enough room.
- Know When the Chicken is Done. For food safety and optimal texture, always cook chicken until it reaches an internal temperature of 165°F (74°C). An instant-read thermometer is an invaluable tool for accurately checking doneness, ensuring your chicken is perfectly cooked and safe to eat.
- Do Not Overbake the Chicken! While it might be tempting to leave the chicken in the oven “just a little longer” for safety, overbaking is the quickest way to end up with tough, dry chicken. Rely on your instant-read thermometer and feel confident pulling the chicken out as soon as it hits that 165°F mark.
- Want to Make This Fried Chicken Gluten Free? Easily adapt this recipe by using a gluten-free unsweetened crispy cereal in place of traditional cornflakes. Many brands offer suitable alternatives that will still provide that satisfying crunch.
- To Make This Recipe Ahead: For the absolute best crispiness, this chicken is truly best served immediately after baking. However, you can certainly prep elements of the recipe for easier baking later. Slice, pound, and season the chicken, then store it in an airtight container in the fridge for up to 24 hours. Crush your cornflakes to crumbs and store them in a separate airtight container at room temperature until you’re ready to assemble and bake.
- How to Reheat Fried Chicken for Maximum Crispiness: Store any leftover oven-fried chicken in an airtight container in the fridge for up to 5 days. To bring back its crispy glory when reheating, avoid the microwave! Instead, warm the chicken in a single layer in an air fryer at 300°F (150°C) for about 5-7 minutes, or place it on a wire rack set inside a baking sheet pan and bake in a preheated oven at 350°F (175°C) for 10-15 minutes until heated through and crisp.
Serving Suggestions for Your Crispy Oven Fried Chicken
This crispy oven-fried chicken makes a fantastic main dish that’s versatile enough to pair with a variety of sides. Whether you’re looking for classic comfort food pairings or something fresh and light, here are a few suggestions to complete your meal:
Get the Full Oven Fried Chicken Recipe Card
Ready to try this amazing recipe for yourself? Below you’ll find the complete recipe card with precise measurements, detailed instructions, and nutritional information. This recipe was originally created in partnership with Go Bold With Butter, celebrating the rich flavor that butter brings to home cooking. You can also view the original recipe on their website here.

Oven Fried Chicken
Pin Recipe
Leave a Review
Ingredients
- 1½-2 lbs boneless skinless chicken breasts (2 large or 4 small)
- Salt and pepper
- 1 large egg
- 2 Tablespoons milk
- 2 cups unsweetened cornflakes (about 1 cup crushed)
- 3 Tablespoons butter , melted
- Nonstick cooking spray , as needed
Equipment
Instructions
-
Preheat oven to 425°F (220°C). Line a sheet pan with parchment paper or greased aluminum foil.
-
If chicken breasts are large and/or thick, cut in half horizontally to create thinner cutlets. Cover chicken breasts with a layer of plastic wrap and pound with a meat mallet or heavy skillet to about 1 inch thick. This will help them bake evenly and prevent drying out.
-
Sprinkle chicken generously with salt and pepper on all sides.
-
In a wide, shallow bowl, whisk together the egg and milk. Add crushed cornflakes to a second wide, shallow bowl. Dip each chicken breast in the egg mixture first, ensuring full coverage, then transfer to the cornflake crumbs, pressing gently to make sure the chicken is completely coated on all sides with the crumbs.
-
Place the coated chicken on the prepared sheet pan. Drizzle with the melted butter, trying to coat as much of the crumb topping as possible. Finish with a light, even spritz of nonstick cooking spray to ensure all of the crumbs are moistened and will crisp up nicely.
-
Bake until a thermometer inserted into the thickest part of the chicken breasts reads 165°F (74°C), about 15-20 minutes. Serve immediately for the crispiest results.
Notes
Watch this video for help cutting chicken “cutlets” for this recipe. You want the chicken to be the same even thickness so it will bake evenly and prevent dry spots.
Other unsweetened crunchy cereals such as Chex or Wheaties can be used as a substitute for cornflakes. Panko breadcrumbs may also be substituted, just note that the coating won’t be as crispy as with cornflakes.
