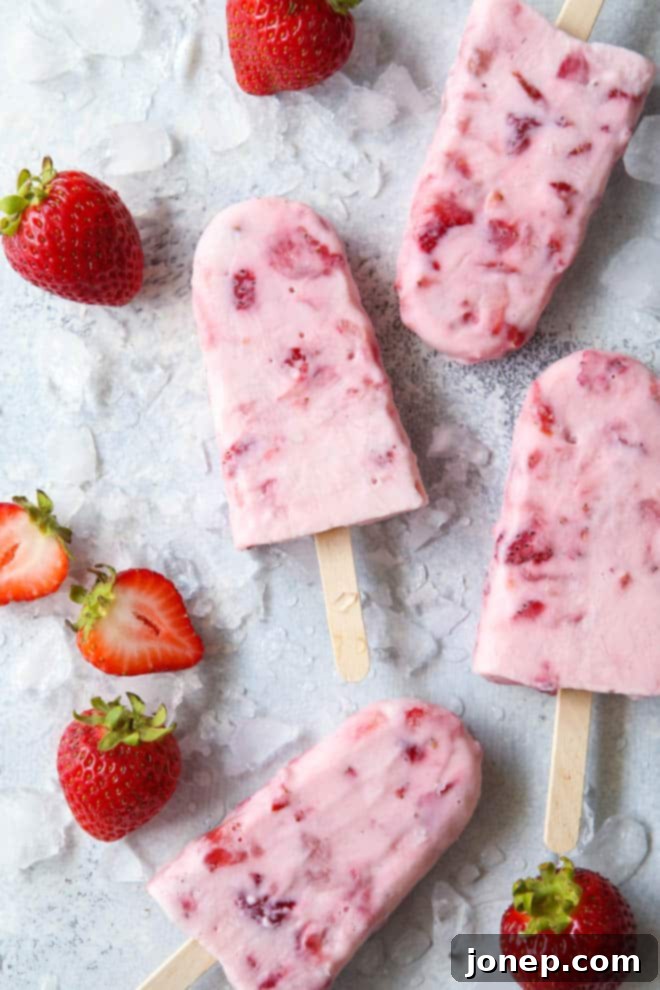
Homemade Bliss: Easy 4-Ingredient Roasted Strawberry Yogurt Pops
Get ready for the ultimate summer treat! As the days grow longer and temperatures rise, there’s nothing quite like a refreshing, healthy popsicle to cool you down. We’re officially declaring this “The Summer of Popsicles,” and we’re starting strong with a recipe that’s as simple as it is delicious: 4-ingredient healthy popsicles made with roasted strawberries and yogurt!
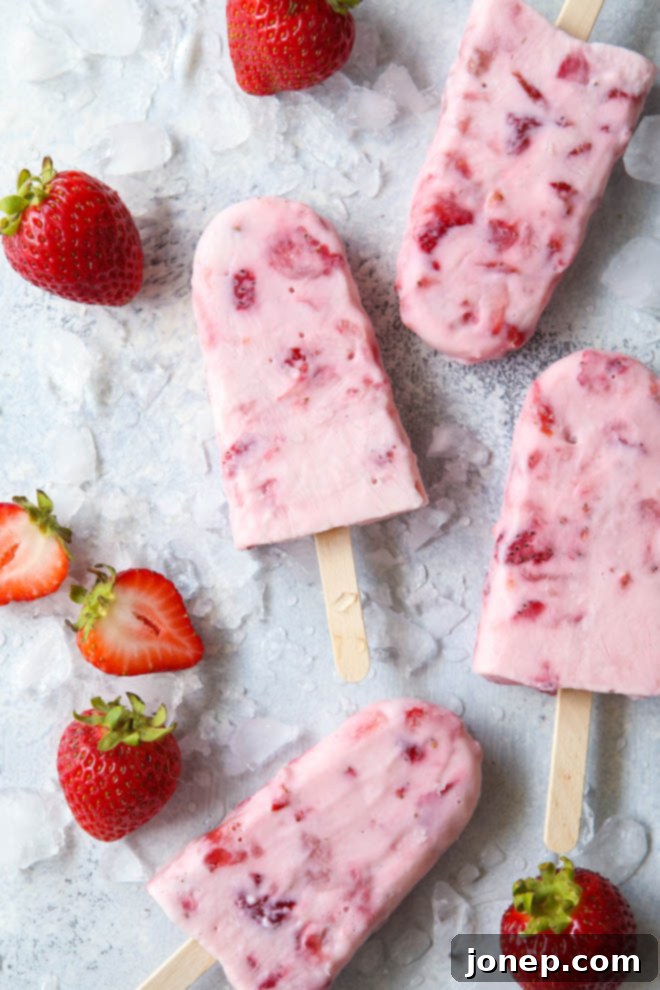
Long before summer officially begins, we’re already fully immersed in the season’s joy, and that means multiple batches of homemade popsicles have already graced our freezer. My children can’t get enough of them, and truthfully, neither can I. There’s a certain magic in creating your own frozen treats, knowing exactly what goes into them and tailoring them to perfection.
Why Choose Homemade Popsicles?
Once you invest in a popsicle mold, a world of possibilities opens up right in your kitchen. Imagine transforming any juice, smoothie, ice cream base, or even your favorite cocktail into a delightful frozen pop! The process is incredibly simple: blend or mix your ingredients, pour them into molds, give them a few hours to chill in the freezer, and voilà – you have a ready-to-enjoy treat!
Beyond the sheer fun, making your own popsicles offers numerous advantages. You gain complete control over the ingredients, allowing you to prioritize health and dietary needs. Say goodbye to artificial flavors, excessive sugars, and unknown additives often found in store-bought versions. Homemade popsicles are a fantastic way to sneak in extra fruits and dairy, making them a genuinely wholesome and fun cool treat for the entire family. These roasted strawberry yogurt pops, for instance, are made with just four simple ingredients, ensuring a completely natural and nutritious snack.
The Secret Ingredient: Perfectly Roasted Strawberries
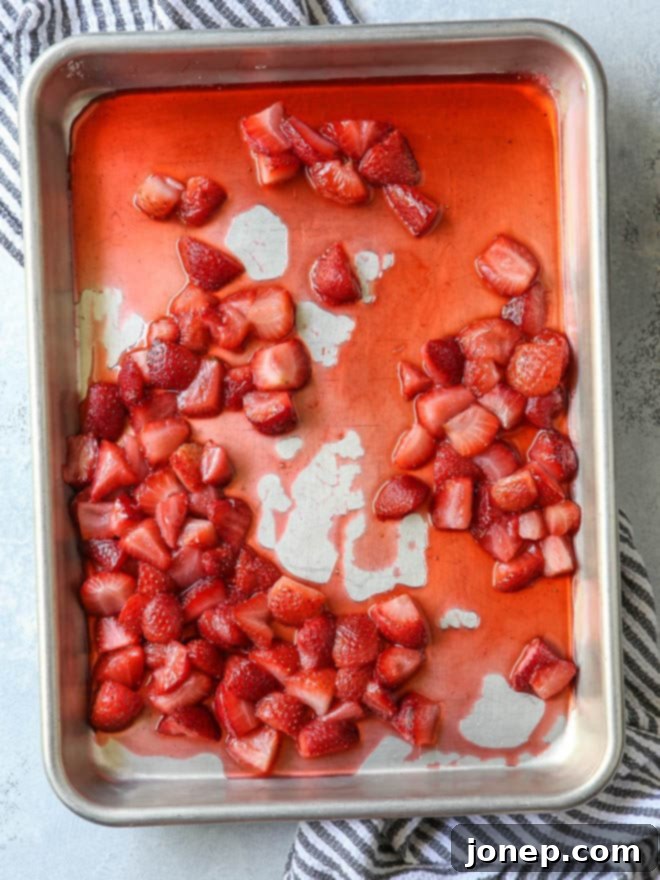
These incredibly delicious popsicles are essentially a frozen rendition of my popular roasted strawberry vanilla bean frozen yogurt, now conveniently served on a stick! The star of this recipe is, without a doubt, the strawberries themselves, which undergo a magical transformation when roasted with a touch of sugar. This simple step deepens their natural sweetness and intensifies their vibrant flavor in a way that fresh strawberries simply can’t achieve.
If you’ve never roasted strawberries before, you are in for a delightful culinary discovery! It’s an effortlessly easy process, and the results are truly spectacular. The heat caramelizes their sugars, creating a rich, syrupy consistency and a more complex, almost jam-like flavor profile. This not only makes for an incredible popsicle base but also opens up a world of other culinary uses. Enjoy roasted strawberries not just in these irresistible ice pops, but also spooned over vanilla ice cream, swirled into cocktails, blended into smoothies, or simply devoured straight from the pan – they’re *that* good!
Crafting Your Ideal Popsicle: Customization is Key
The beauty of this recipe lies in its flexibility. While we provide a clear guideline, feel free to adjust the quantities and components to perfectly match your preferences. You are the chef, and this kitchen is your playground!
- Sugar Level: Control the sweetness by using as much or as little granulated sugar as you desire during the roasting process. You can also experiment with natural sweeteners like honey or maple syrup for a different flavor profile, or use your favorite sugar substitute if preferred.
- Yogurt Choice: The type of yogurt you use can significantly impact the final texture and tanginess. Any plain yogurt will work beautifully – whether it’s non-fat, low-fat, or full-fat. Greek yogurt will yield a thicker, creamier pop with a more pronounced tang, while regular plain yogurt will create a slightly softer texture. For an extra layer of flavor, you could even use a lightly sweetened or vanilla-flavored yogurt, just remember to reduce the added sugar for roasting the strawberries accordingly (about 2 tablespoons should suffice). Dairy-free yogurts like almond or coconut yogurt also make excellent substitutes for those with dietary restrictions.
- Strawberry Texture: Do you prefer a smooth, uniform popsicle, or do you love biting into chunks of real fruit? After roasting, you can easily puree the strawberries in a blender for a silky-smooth consistency, or leave them whole and chunky for a more rustic, textured pop. The choice is entirely yours!
- Vanilla Extract: A splash of vanilla extract (or even vanilla bean paste for a more intense flavor) is crucial. It doesn’t just add its own wonderful aroma and taste; it also enhances and rounds out the natural sweetness of the strawberries and the creaminess of the yogurt.
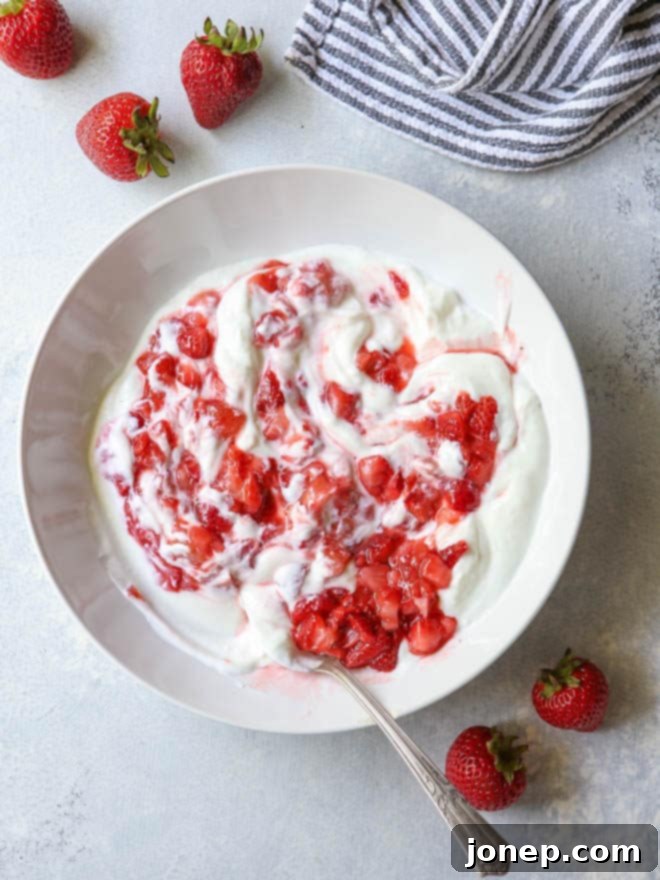
No matter how you choose to customize this recipe, it’s genuinely hard to go wrong. These homemade ice pops are a guaranteed hit. In our household, they barely last a few hours in the freezer before being eagerly devoured!
Baking Tip: DIY Popsicle Molds
Don’t have a dedicated popsicle mold? No problem! While you can readily purchase popsicle molds online, at kitchen supply stores, or even in most grocery stores during the summer season, you can also easily create your own DIY molds using items you likely already have at home.
- Prepare your “molds”: Fill miniature paper or plastic disposable cups (8 oz or smaller works best) with your popsicle mixture, leaving at least 1/2 inch of headspace at the top for expansion.
- Cover and stabilize: Place the filled cups on a small sheet pan to keep them stable. Cover the entire sheet pan tightly with aluminum foil, ensuring the foil is taut over the top of the cups.
- Insert sticks: Carefully poke wooden popsicle sticks through the center of the foil into each cup, pushing them halfway down. The foil acts as a fantastic stabilizer, holding the sticks upright as the popsicles freeze.
- Freeze: Transfer the sheet pan to the freezer and allow the popsicles to freeze for at least 2 hours, or until they are completely solid.
- Enjoy: When you’re ready to enjoy your homemade treat, simply remove the foil. If using paper cups, peel the paper away. For plastic cups, run them under warm water for a few seconds to gently loosen the frozen pop. Then, simply pull out your delicious popsicle and savor every bite!
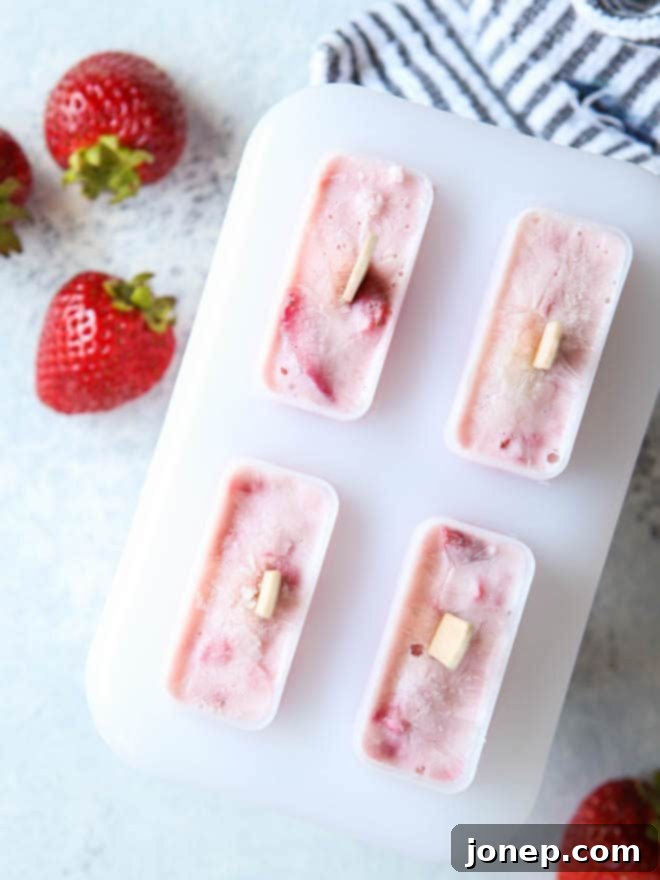

Roasted Strawberry Yogurt Pops
Pin Recipe
Leave a Review
Ingredients
- 1 lb strawberries , sliced and hulled (455 grams)
- ⅓ – ¾ cup granulated sugar , to your taste (100-150 grams)
- ½ teaspoon vanilla extract
- 1 ½ cup plain yogurt , see Notes (340 grams)
Instructions
-
Preheat your oven to 375 degrees F (190 degrees C).
-
In a bowl, gently toss the sliced and hulled strawberries with your chosen amount of granulated sugar. Spread the mixture into a single layer on a small sheet pan or baking dish.
-
Bake in the preheated oven for approximately 15 minutes, or until the strawberries are softened and their juices are bubbling and slightly syrupy. Remove from oven and let cool completely.
-
Once cooled, decide on your preferred strawberry texture: you can puree the roasted strawberries and their juices in a blender for a smooth consistency, or leave them whole/mashed for a more chunky pop. Stir the prepared strawberries and their flavorful juices into the plain yogurt, along with the vanilla extract, until well combined.
-
Carefully pour or spoon the mixture into your popsicle molds, leaving about 1/2 inch of headspace at the top for expansion. Insert popsicle sticks, and freeze for at least 2 hours, or until completely solid.
Notes
- The amount of sugar is entirely up to your personal taste preference. Feel free to adjust it to make your popsicles sweeter or less sweet. Natural sweeteners or sugar substitutes can also be used.
- Any type of plain yogurt will work wonderfully: non-fat, low-fat, or regular. If you opt for a flavored or pre-sweetened yogurt, you’ll still want to roast the strawberries with a little sugar (about 2 tablespoons is usually sufficient) to achieve that deep, caramelized flavor. Dairy-free yogurts are also a great option!
This recipe is thoughtfully adapted from my beloved roasted strawberry vanilla bean frozen yogurt recipe.
More Creative Variations & Serving Suggestions
While these roasted strawberry yogurt pops are perfect as is, they also serve as an excellent base for endless creativity. Here are a few ideas to inspire your next batch:
- Layered Pops: For a visually stunning effect, consider layering the strawberry yogurt mixture with plain yogurt, or even a different fruit puree. Freeze each layer for about 30-45 minutes before adding the next to keep them distinct.
- Add-ins: Incorporate some texture! A sprinkle of granola, chopped nuts (like pistachios or walnuts), or mini chocolate chips added to the mixture before freezing can provide a delightful crunch.
- Spice it Up: A tiny pinch of ground cinnamon, cardamom, or even a whisper of black pepper (which surprisingly complements strawberries) can add an unexpected depth of flavor.
- Citrus Zest: Brighten the flavors with a bit of lemon or orange zest mixed into the yogurt. The citrus beautifully enhances the sweetness of the strawberries.
- Herbaceous Twist: Muddle some fresh mint or basil leaves into a small portion of the strawberry mixture before combining with yogurt for a sophisticated, refreshing note.
- Sweetener Swap: Instead of granulated sugar, consider roasting the strawberries with a drizzle of honey or maple syrup for a more nuanced sweetness.
Storage Tips for Your Homemade Popsicles
Once your roasted strawberry yogurt pops are perfectly frozen and ready, proper storage is key to keeping them fresh and preventing freezer burn. Carefully remove the popsicles from their molds and wrap each one individually in parchment paper, wax paper, or plastic wrap. This step helps prevent them from sticking together and protects them from absorbing any unwanted freezer odors. Store the wrapped popsicles in an airtight freezer bag or container. They will keep well in the freezer for up to 2-3 weeks, though in our experience, they rarely last that long!
Whether you’re making them for a quick after-school snack, a refreshing pool-day treat, or a healthy dessert option, these 4-ingredient roasted strawberry yogurt pops are a delicious and wholesome choice. Simple to prepare and bursting with natural flavor, they’re sure to become a cherished recipe in your summer rotation. Happy freezing!
