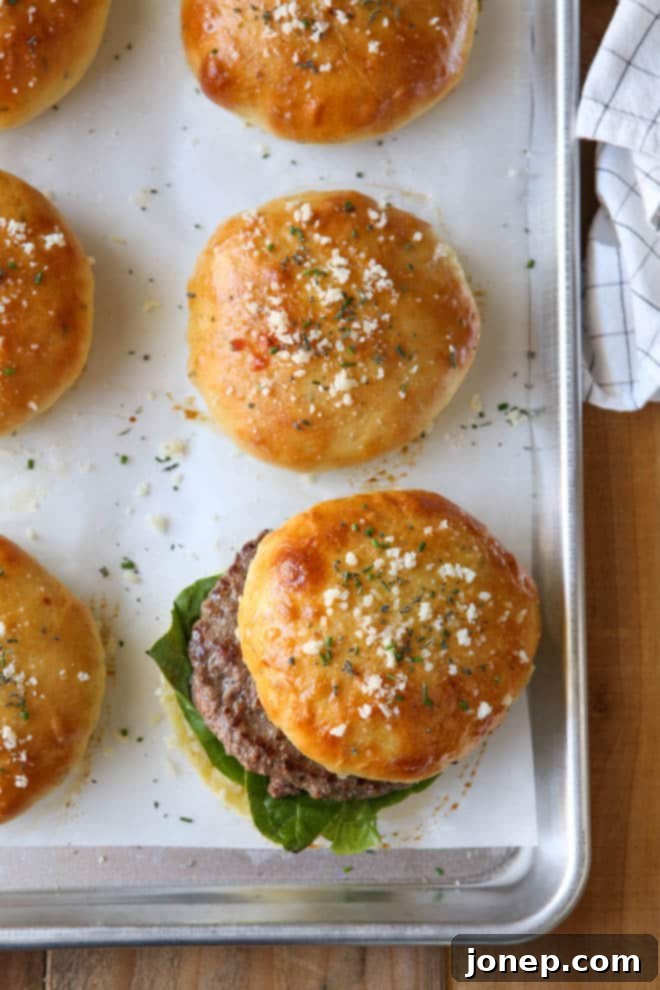
Homemade Cheesy Herb Burger Buns: The Ultimate Recipe for Your Next Cookout
Are you ready to transform your backyard cookouts and take your burgers from good to absolutely unforgettable? Forget the bland, store-bought buns that often crumble under the weight of a juicy patty. It’s time to embrace the art of homemade baking with these incredible cheesy herb burger buns!
Imagine biting into a perfectly golden, incredibly soft bun, rich with the savory notes of Parmesan cheese and fragrant fresh herbs. These aren’t just burger holders; they’re an integral part of the flavor experience, designed to elevate every single bite. With this recipe, you’ll discover how simple it is to bake your own show-stopping burger buns that will have everyone asking for your secret.
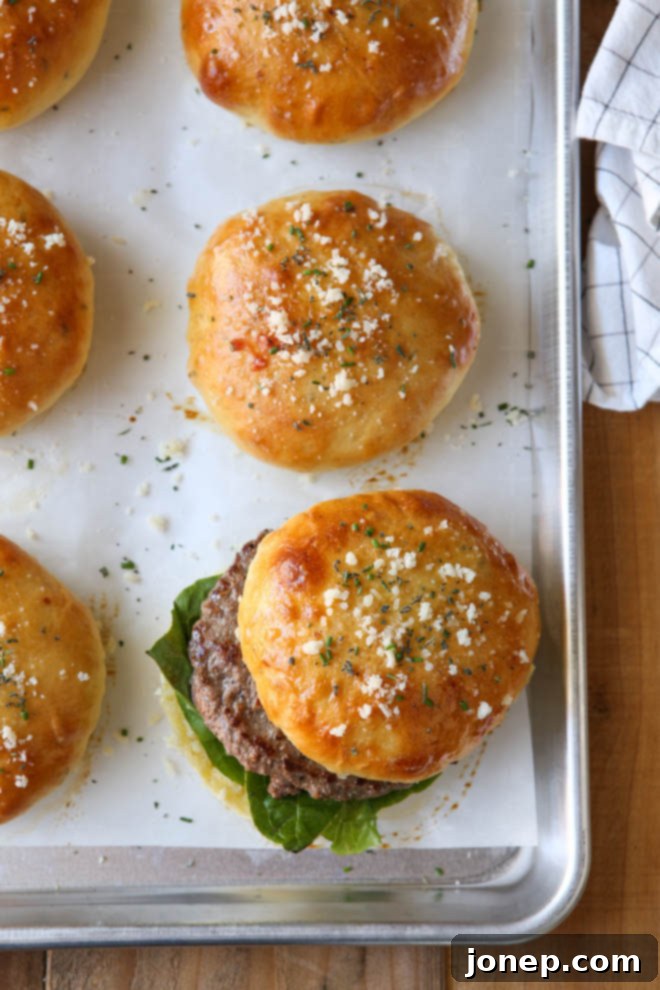
This recipe is proudly sponsored by Red Star Yeast, a brand I trust implicitly for all my baking adventures.
Why Homemade Cheesy Herb Burger Buns Are a Game Changer
Grilling season is synonymous with sunshine, good company, and, of course, delicious burgers! While we often spend countless hours perfecting our patties and crafting gourmet toppings, the bun often gets overlooked. It’s relegated to a mere vehicle, a utilitarian afterthought. But what if the bun itself could be a star? What if it could add an extra layer of flavor and texture that truly completes your burger masterpiece?
That’s precisely what these homemade cheesy herb burger buns achieve. They offer a significant upgrade from your average grocery store bun in several key ways:
- Unmatched Freshness: There’s nothing quite like the aroma and taste of freshly baked bread. These buns are incredibly soft, tender, and far more flavorful than anything you can buy pre-packaged.
- Superior Texture: Say goodbye to dry, crumbly buns! Our recipe yields buns that are wonderfully pillowy and resilient, perfectly capable of holding up to even the juiciest burger without falling apart.
- Bursting with Flavor: Infused with sharp Parmesan cheese and a medley of fresh herbs, these buns bring a vibrant, savory dimension to your burger. Every mouthful is a delightful blend of rich cheese and aromatic herbs.
- Customization at Your Fingertips: When you bake at home, you control the ingredients. Want more cheese? Different herbs? A sprinkle of garlic powder? The possibilities are endless, allowing you to tailor them perfectly to your taste.
- Impress Your Guests: Serving homemade buns is a sure-fire way to elevate your cookout and impress your friends and family. It shows a level of care and culinary skill that truly stands out.
Next time you’re planning a burger night, ditch the mediocre value pack and opt for these sensational cheesy herb buns instead. Your taste buds (and your guests) will thank you!
Conquering Yeast Baking: You’ve Got This!
If the thought of baking with yeast makes you a little nervous, you’re not alone. Many home bakers feel intimidated by yeast, but I’m here to tell you that it’s far simpler than you might imagine. In fact, if you can make a batch of dinner rolls, you absolutely have the skills to make these burger buns – because they’re essentially the same thing!
My journey to becoming a confident bread baker largely owes itself to Red Star Yeast. Their commitment to quality products and comprehensive resources has been invaluable. I’ve spent countless hours on their website, which is a treasure trove of dozens of recipes, expert tips, and helpful information. Their dedicated yeast baking lessons section is particularly fantastic for beginners and seasoned bakers alike, offering clear, easy-to-follow guidance.
Using a reliable yeast like Red Star Platinum ensures consistent results, giving you the confidence to experiment and create delicious homemade breads. So, take a deep breath, trust the process, and get ready to enjoy the satisfying experience of baking your own bread!
Customizing Your Cheesy Herb Burger Buns
This recipe builds upon my tried-and-true standard homemade burger bun base, with the delightful additions of cheese and fresh herbs. The beauty of this recipe lies in its flexibility, allowing you to tailor the flavors to your preference:
- Cheese Choices: While I’ve used grated Parmesan for its salty, nutty flavor and crisp texture when baked, feel free to experiment with other grate-able cheeses. Sharp cheddar, Gruyère, or a blend of Italian cheeses would also be fantastic. Consider the melt and flavor profile you desire.
- Herb Combinations: My preferred blend for these buns includes rosemary, sage, thyme, and chives, creating a wonderfully aromatic and balanced profile. However, you can certainly mix and match based on what you have on hand or what herbs you love most. Fresh parsley, oregano, or a touch of basil could also be excellent additions.
- Fresh vs. Dried Herbs: Fresh herbs always offer a more vibrant flavor, but don’t let a lack of fresh options deter you. If you only have dried herbs, they will work too! Just remember to decrease the quantity, as dried herbs are more potent than fresh ones. A general rule of thumb is to use about one-third the amount of dried herbs compared to fresh. For this recipe, if using dried herbs, reduce the quantity to 1 tablespoon.
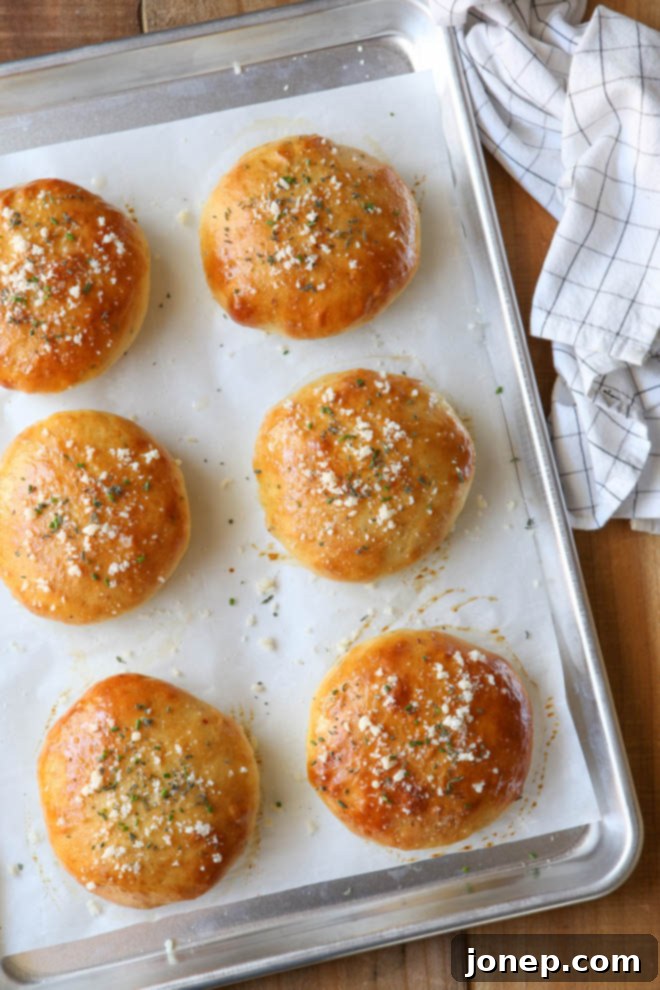
- Optional Toppings for Extra Flair: To take these buns over the top, I highly recommend brushing the tops with melted butter immediately after baking, then sprinkling with a little extra grated cheese and fresh herbs. This not only enhances the flavor but also adds a beautiful visual appeal that makes them even more irresistible.
No matter which burger you decide to nestle between these flavorful buns, you can be sure it’s going to be an amazing culinary experience.
Tips for Perfect Homemade Burger Buns
Achieving light, fluffy, and perfectly shaped burger buns is all about understanding a few key principles:
- Temperature is Key for Yeast: When combining water, milk, and butter, ensure the liquid mixture is between 120-130 degrees F (49-54 degrees C). This temperature is warm enough to activate the yeast without killing it. A kitchen thermometer is your best friend here!
- Don’t Rush the Kneading: Kneading develops the gluten in the flour, which gives the buns their structure and elasticity. Whether you’re using a stand mixer or kneading by hand, take your time. You want the dough to be smooth and elastic, and to clear the sides of the bowl (if using a mixer). It should still be slightly sticky to the touch, but not so wet that it clings excessively.
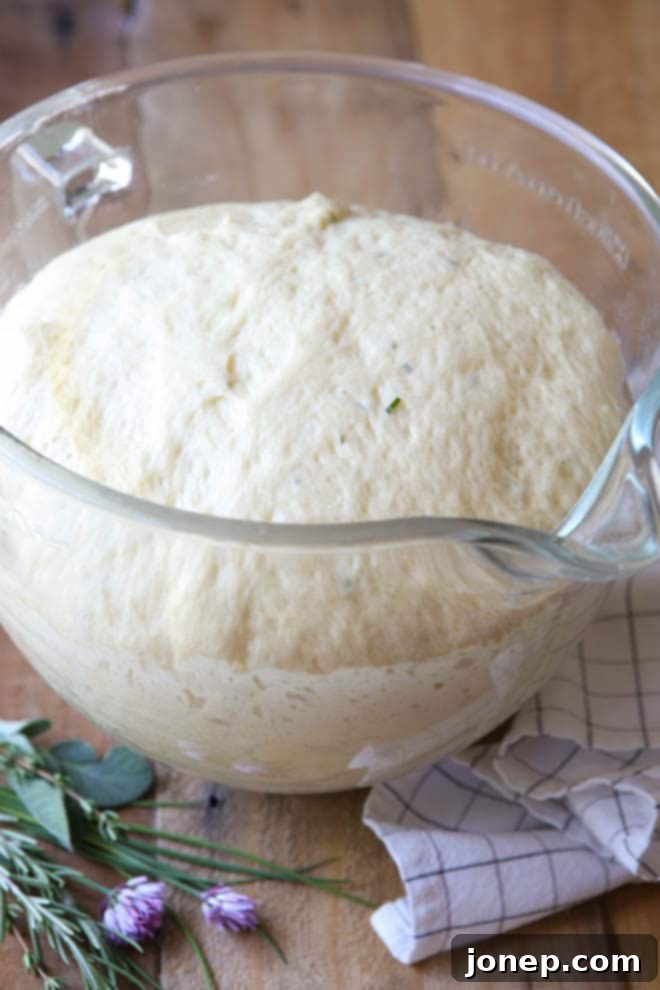
- The Importance of Rising: Yeast needs warmth and time to do its magic. Let the dough rise in a warm, draft-free place until it doubles in size. This can take anywhere from 1 to 1.5 hours, depending on your kitchen’s temperature. The second rise after shaping is equally important for a light, airy texture.
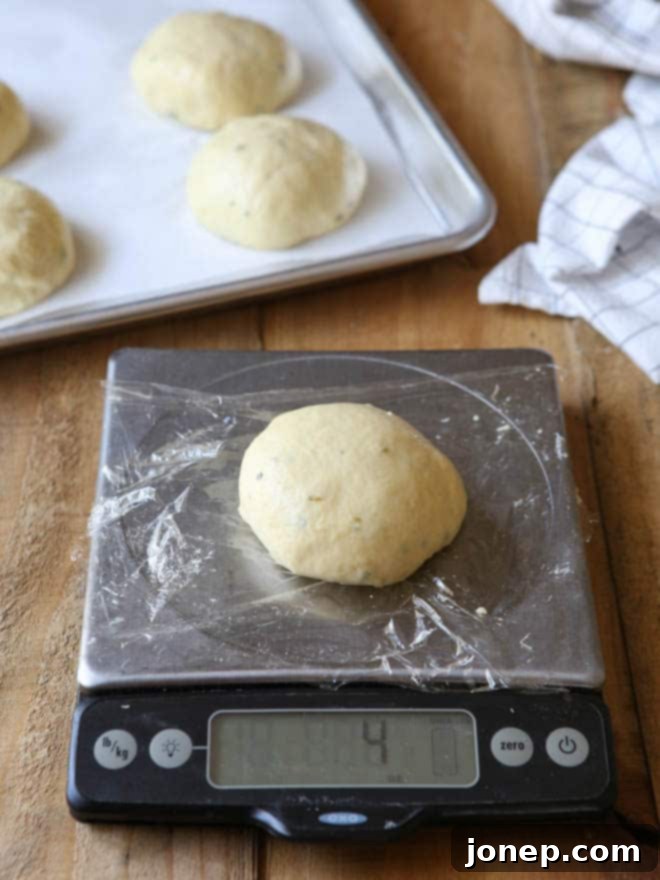
- Shaping for Uniformity: To ensure all your buns bake evenly and look professional, divide the dough into equal portions. I highly recommend using a digital kitchen scale for this – it makes a noticeable difference in consistency. Shape each piece into a tight, smooth ball.
- Encourage Lateral Rise: During the second rise, gently patting the tops of the buns a couple of times encourages them to spread outwards rather than rise too high, giving you that classic burger bun shape.
- Egg Wash for Golden Perfection: Brushing the buns with an egg wash (egg beaten with a bit of water) before baking gives them that beautiful golden-brown crust and a lovely sheen.
Follow these tips, and you’ll be well on your way to baking bakery-quality burger buns right in your own kitchen.

Cheesy Herb Burger Buns
Pin Recipe
Leave a Review
Ingredients
- 1 cup water (250 ml)
- 3 tablespoons milk
- 3 tablespoons unsalted butter
- 3 ½ cups bread flour (420 grams)
- 1 packet Red Star Platinum Yeast
- 2 tablespoons granulated sugar
- 1 ½ teaspoons coarse salt
- 2 large eggs , lightly beaten
- 1 cup grated Parmesan cheese, or cheese of your choice (100 grams)
- 2 tablespoons chopped fresh herbs such as rosemary sage, thyme, and chives
- 1 large egg + 1 teaspoon water , beaten for egg wash
Optional topping:
- 2 tablespoons butter , melted
- 2 tablespoons grated Parmesan cheese
- 2 teaspoons chopped fresh herbs
Instructions
-
Combine the water, milk, and butter in a small saucepan and warm over medium low heat to 120-130 degrees F.
-
Meanwhile, combine 2 cups of the bread flour, yeast, sugar, and salt in the bowl of a stand mixer, or in a large bowl if you plan to mix by hand.
-
Pour the warm water mixture into the bowl and stir with a dough whisk or wooden spoon until combined.
-
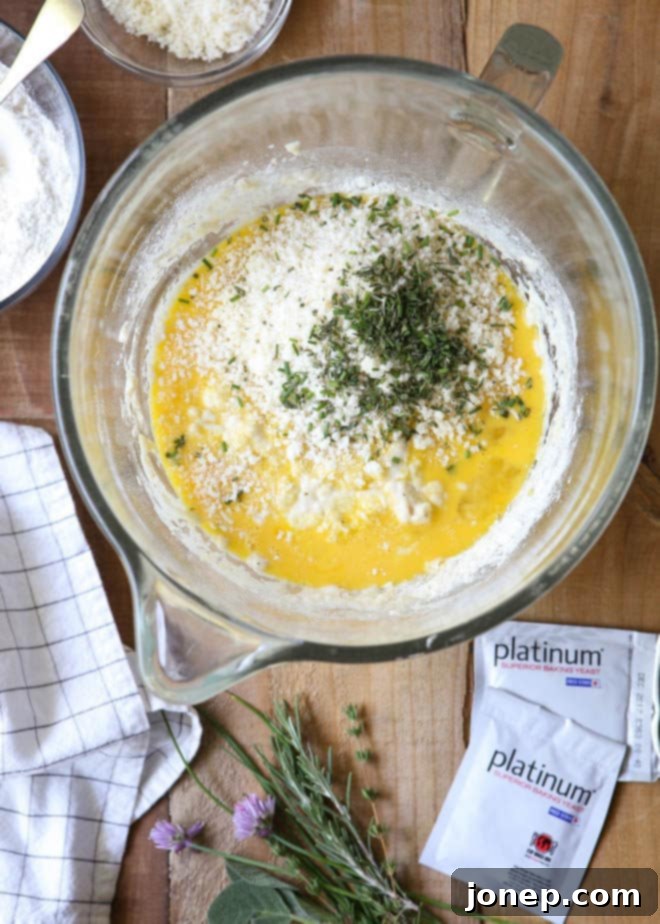
Add the beaten eggs, cheese, and herbs and stir until combined.
-
Use dough hook to knead dough on low speed. Add the remaining flour 1/4 cup at a time until dough comes together into a ball and begins to clear the sides of the bowl, but is still sticky to the touch. You may not need all of the flour.
-
Continue to knead the dough until smooth and elastic, about 5 minutes.
-
Cover with plastic wrap and let rise in a warm place until doubled in size, about 1 hour.
-
Gently punch down dough and divide into 8 equal portions. Shape into rounds and place on a sheet pan lined with parchment paper or a silicone baking mat.
-
Cover with plastic wrap and let rise until doubled, about 30 minutes more. Once or twice while rising, gently pat the tops of the buns, encouraging them to rise laterally.
-
Preheat oven to 400 degrees F. Brush the tops of the buns with the egg wash and bake until golden, about 10-12 minutes.
-
If desired, brush tops of the warm buns with melted butter and top with grated cheese and fresh herbs.
-
Buns are best enjoyed the day they are baked, but will keep at room temperature for 3 days.
Notes
- If you’d rather use dried herbs, decrease amount to 1 tablespoon.
- I like to use a digital kitchen scale to ensure all my buns are the same size.
- These buns freeze very well. Wrap tightly in foil and freeze for up to 1 month. Warm in a 350 degree oven for 30 minutes until warm.
Tools for Baking Success
Having the right tools can make all the difference in your baking journey. Here are a few items that will help you create these perfect cheesy herb burger buns:
- Digital Kitchen Scale: Essential for precise ingredient measurements, especially flour, and ensuring evenly sized buns for consistent baking.
- Stand Mixer with Dough Hook: While hand-kneading is possible, a stand mixer makes the process effortless and ensures thorough dough development.
- Saucepan: For warming the liquid ingredients to the ideal temperature for yeast activation.
- Dough Whisk or Wooden Spoon: Great for initially combining ingredients before kneading.
- Parchment Paper or Silicone Baking Mat: Prevents sticking and makes cleanup a breeze.
- Instant-Read Thermometer: Crucial for verifying the liquid temperature for your yeast.
- Large Mixing Bowls: For rising the dough.
(Affiliate links)
Storage and Freezing Instructions
One of the best things about homemade bread is that you can make extra and enjoy it later! These cheesy herb burger buns are best enjoyed fresh on the day they are baked, when they are at their softest and most aromatic. However, they will remain delicious and soft for up to 3 days when stored properly at room temperature in an airtight container or bag.
For longer storage, these buns freeze beautifully. This is a fantastic way to prepare ahead for future cookouts or to ensure you always have gourmet burger buns on hand. To freeze:
- Allow the baked buns to cool completely. This is crucial to prevent ice crystals from forming.
- Once cool, wrap each bun individually in plastic wrap, then wrap them together tightly in aluminum foil. This double layer of protection helps prevent freezer burn.
- Place the wrapped buns in a freezer-safe bag.
- Freeze for up to 1 month.
When you’re ready to enjoy them, simply remove the desired number of buns from the freezer. You can thaw them overnight in the refrigerator, or for a quicker method, place the foil-wrapped buns directly into a preheated 350-degree F (175-degree C) oven for about 20-30 minutes, or until warmed through and soft.
A Final Note of Appreciation
Disclosure: This delicious recipe for cheesy herb burger buns was developed in partnership with Red Star Yeast. I am incredibly grateful for their sponsorship, which enables me to continue creating and sharing fresh, exciting content with you. Please know that all opinions expressed are always my own, and I only collaborate with brands that I genuinely love and believe in.
I encourage you to connect with Red Star Yeast on their social media channels for more baking inspiration: find them on Twitter, Facebook, Pinterest, and Google+. And don’t forget to visit their comprehensive website, where you’ll find an abundance of recipes, invaluable bread baking tips, and so much more to fuel your passion for baking!
