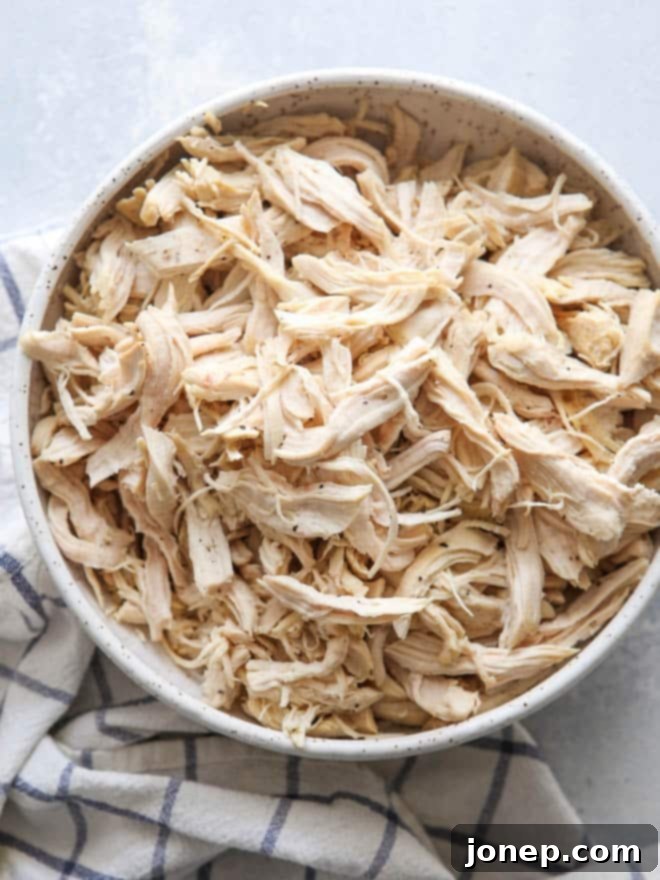
How to Make Perfect Shredded Chicken: Slow Cooker, Instant Pot, & Stovetop Methods for Easy Meal Prep
Unlock the secret to effortless meal planning with perfectly cooked shredded chicken! Having a batch of tender, flavorful chicken ready in your fridge or freezer is an absolute game-changer for busy individuals and families. Whether you’re aiming for quick weeknight dinners, healthy lunches, or versatile ingredients for a variety of dishes, this guide covers everything you need to know. We’ll explore three incredibly easy and popular methods for cooking chicken – the slow cooker, Instant Pot, and stovetop – ensuring you have delicious shredded chicken on hand whenever inspiration strikes.
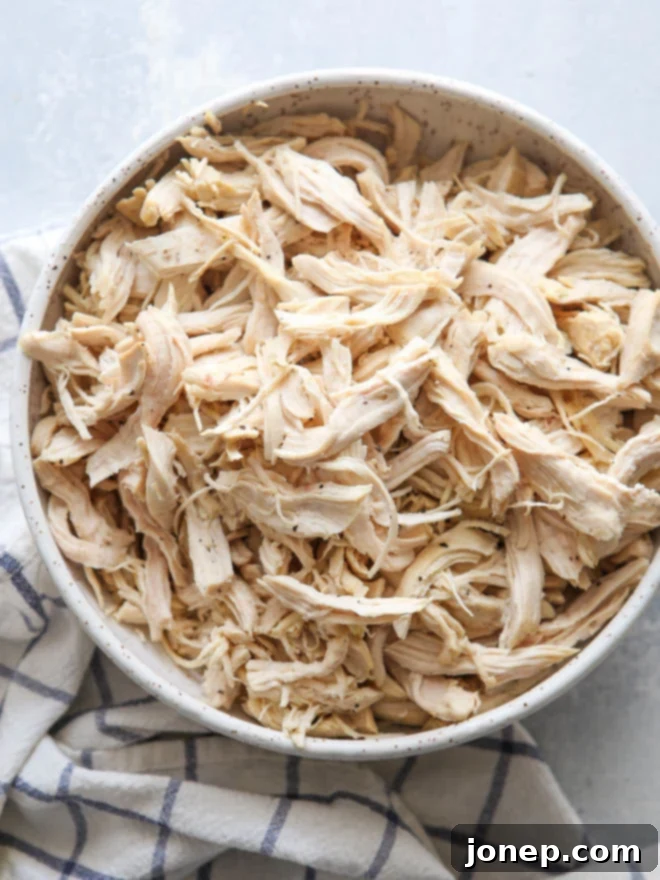
Imagine whipping up a wholesome salad in minutes, stirring a generous amount of protein into a hearty soup, or assembling quick tacos without the fuss of cooking chicken from scratch. This level of convenience significantly reduces stress in the kitchen and makes healthy eating more achievable. I regularly cook chicken breasts in large batches, knowing that this single time-saving step will streamline countless meals throughout the week. It’s truly amazing the difference it makes when you’re prepared!
In this comprehensive guide, we’ll walk you through the three best ways to achieve perfectly shredded cooked chicken: using your slow cooker for hands-off convenience, the Instant Pot for lightning-fast results, and the stovetop for a reliable, no-special-equipment approach. For each method, you’ll find detailed instructions, along with an honest look at the pros and cons, helping you choose the best option for your schedule and preferences. Let’s dive in and revolutionize your meal prep!
Table of Contents
- Adding Flavor to Basic Cooked Chicken
- How to Cook Chicken in the Slow Cooker
- How to Cook Chicken in the Instant Pot
- How to Cook Chicken on the Stovetop
- How to Shred Cooked Chicken
- How to Store Shredded Chicken
- Uses for Shredded Chicken
- Easy Shredded Chicken Recipe
Adding Flavor to Basic Cooked Chicken
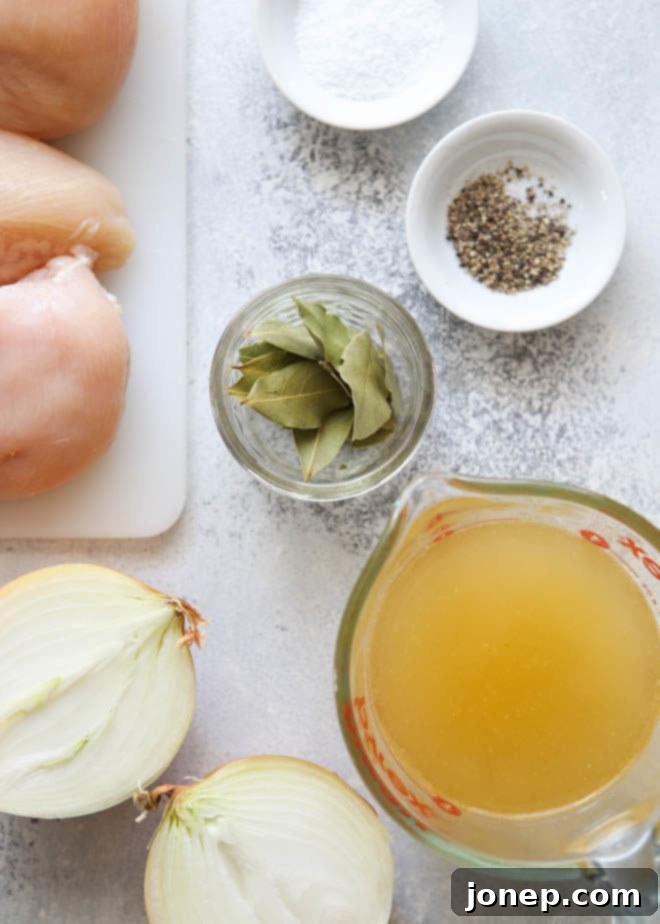
While boneless, skinless chicken breasts, salt, pepper, and water are all you truly *need* to cook chicken, a few extra pantry staples can elevate the flavor significantly. These simple additions infuse the chicken with a wonderful aromatic depth, making it more delicious for any application without adding much extra effort to your cooking process. Here’s what I typically add to my chicken breasts before cooking to boost flavor (find the full recipe details at the bottom of this post):
- Halved Onion: A simple onion adds a foundational savory sweetness as it simmers or pressure cooks, creating a rich base.
- Bay Leaves: These aromatic leaves impart a subtle, herbaceous note that complements the chicken beautifully, adding complexity without being overpowering.
- Salt: Essential for seasoning the chicken from the inside out, ensuring it’s never bland.
- Pepper: A touch of black pepper adds a mild, sharp flavor that enhances the overall taste profile.
- Chicken or Vegetable Broth: Using broth instead of water is a fantastic way to layer in more savory flavor. It also helps keep the chicken moist and tender.
The beauty of this basic recipe is its adaptability. Depending on what you plan to use the shredded chicken for, you can easily customize the flavor profile. For instance, add a few cloves of crushed garlic and some dried Italian herbs for a Mediterranean-inspired dish. For Mexican cuisine, consider adding cumin, chili powder, and a squeeze of lime juice. If you’re going for an Asian twist, a slice of ginger and a splash of soy sauce can work wonders. The options are truly endless, allowing you to tailor your shredded chicken to perfectly match your culinary vision!
How to Cook Chicken in the Slow Cooker
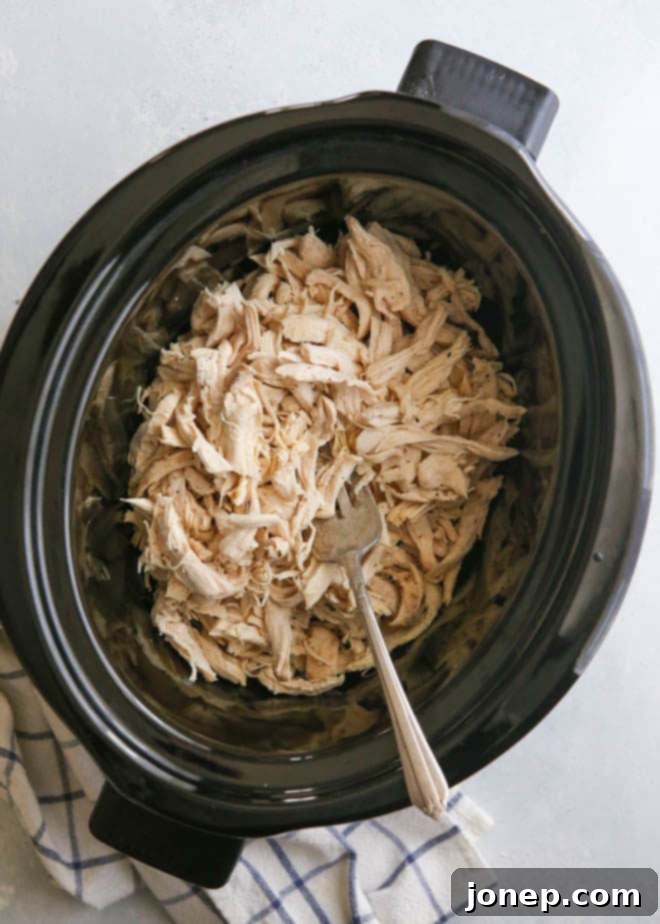
The slow cooker is your best friend for hands-off, fuss-free meal prep. This method consistently yields incredibly tender, juicy chicken that practically shreds itself.
Instructions: Simply place your boneless, skinless chicken breasts along with your chosen flavor enhancers (halved onion, bay leaves, salt, pepper, and broth or water) into your slow cooker. Ensure there’s about ½ cup of liquid per pound of chicken. Cover the slow cooker with its lid and cook on high for 2-3 hours or on low for 4-5 hours. The cooking time can vary slightly depending on the size and thickness of your chicken breasts, so always check that the chicken is completely cooked through and reaches an internal temperature of 165°F (74°C) with a meat thermometer. Once cooked, remove the chicken and let it cool slightly before shredding.
Pros— The ultimate “set it and forget it” method. The low, slow cooking process ensures moist and tender chicken every time, with minimal effort required from you. It’s perfect for when you need to be out of the house or busy with other tasks. The gentle cooking also tends to break down the fibers more effectively, resulting in chicken that’s incredibly easy to shred.
Cons— This method definitely takes the longest. If you’re in a time crunch and need shredded chicken within an hour, the slow cooker isn’t the ideal choice. Additionally, while it’s hands-off, you still need to plan ahead by several hours. Overcooking can also lead to a slightly drier texture, so keep an eye on your cooking times, especially if your slow cooker runs hot.
Tips for Best Results: Don’t overcrowd the slow cooker; allow for even heat distribution. Use bone-in chicken thighs for even more flavor and moisture, if preferred, though cooking time might increase slightly. If you’re using very large chicken breasts, consider cutting them in half to ensure they cook evenly and thoroughly within the suggested timeframe.
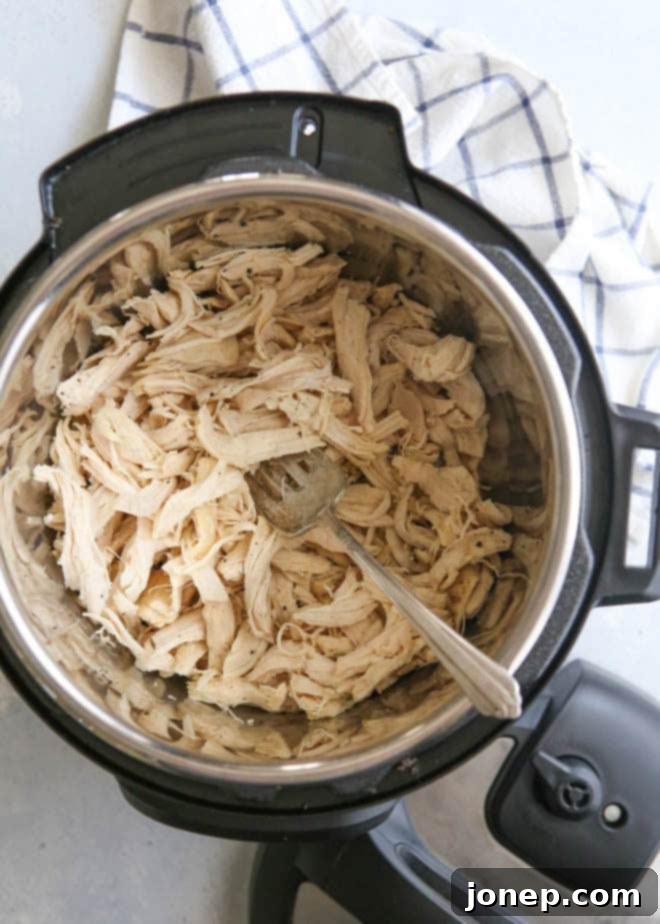
How to Cook Chicken in the Instant Pot
For speed and efficiency, nothing beats the electric pressure cooker, like an Instant Pot. You can go from raw chicken to perfectly shredded in mere minutes!
Instructions: Place your chicken breasts and other desired ingredients (onion, bay leaves, salt, pepper, and broth or water) into your electric pressure cooker. Add about ½ cup of liquid per pound of chicken. Secure the lid, making sure the valve release is sealed. Cook at high pressure for 8 minutes. Once the cooking cycle is complete, perform a quick release of the pressure. Carefully open the lid away from your face and check that the chicken is fully cooked, reaching an internal temperature of 165°F (74°C). If for any reason it’s not quite done, simply reseal the lid and cook on high pressure for an additional 1-2 minutes, then quick release again. Remove the chicken and let it cool briefly before shredding.
Pros— The biggest advantage of the Instant Pot is its incredible speed. The entire process, from putting ingredients in to having cooked chicken ready to shred, takes just about 10-15 minutes total, including pressure build-up and release time. This makes it ideal for last-minute meal prep or when you’re short on time but still want a homemade, healthy option. The pressure cooking also locks in moisture, resulting in very tender and juicy chicken.
Cons— One minor drawback is that it can be a little harder to gauge doneness without opening the pot. While the 8-minute high-pressure setting almost always works for boneless, skinless chicken breasts, there’s a small chance you might need an extra minute or two, requiring you to reseal and repressurize. However, with these instructions, I’ve personally never encountered an issue with undercooked chicken. Another consideration is the initial investment in the appliance itself.
Tips for Best Results: Ensure you have at least ½ cup of liquid to allow the Instant Pot to come to pressure properly. Don’t stack chicken breasts too high; arrange them in a single layer if possible for more even cooking. For thicker breasts, you might add 1-2 minutes to the cooking time.
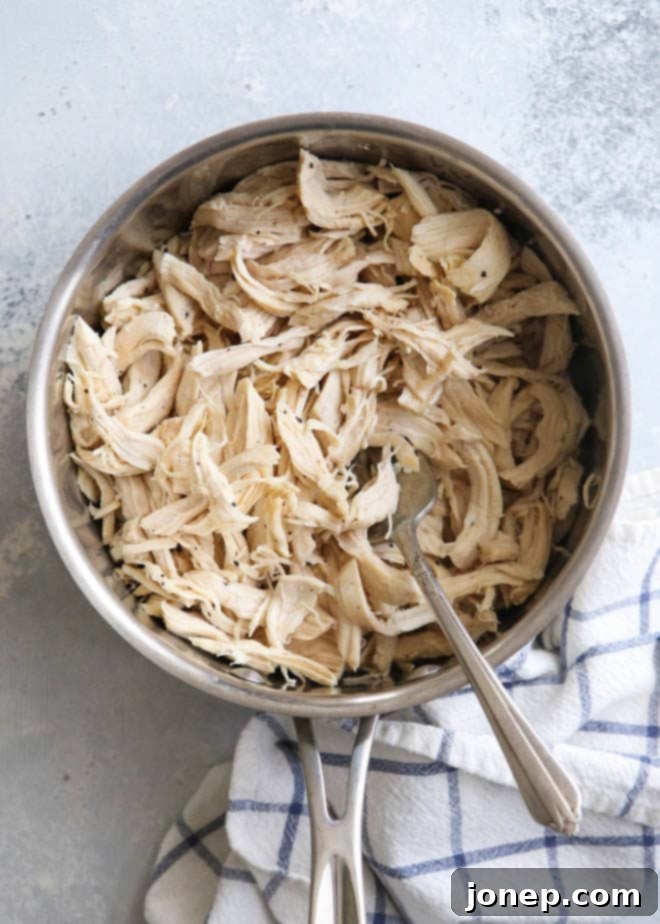
How to Cook Chicken on the Stovetop
The stovetop method is a classic for a reason: it’s straightforward, effective, and doesn’t require any specialized counter-top appliances. All you need is a good pot and a burner.
Instructions: Place your boneless, skinless chicken breasts and your chosen flavor-enhancing ingredients (salt, pepper, bay leaves, and onion if using) into a saucepan or pot. Unlike the slow cooker or Instant Pot, you’ll need enough water or broth to completely cover the chicken breasts. This ensures even cooking and keeps the chicken submerged and moist. Bring the liquid to a rolling boil over medium-high heat. Once boiling, reduce the heat to a gentle simmer, cover the pot with a lid, and let it cook for about 20 minutes. The exact simmering time will depend on the thickness of your chicken breasts; thicker pieces may need a few more minutes. Always check for doneness by ensuring the internal temperature reaches 165°F (74°C) and the chicken is no longer pink in the middle. Remove the chicken from the pot and allow it to cool slightly before shredding.
Pros— This method is incredibly accessible as it requires no fancy equipment – just a basic pot and stove. It also offers a good balance of speed and control, generally being faster than a slow cooker and allowing you to visually monitor the cooking process. You can easily scale this method up or down depending on how much chicken you need.
Cons— Compared to the “set it and forget it” nature of the slow cooker or Instant Pot, the stovetop method requires a bit more active attention. You need to manage the heat, ensure the chicken remains covered by liquid, and actively check for doneness. There’s also a slightly higher risk of the chicken drying out if it simmers for too long or if the heat is too high, although using enough liquid helps mitigate this.
Tips for Best Results: Make sure the chicken is completely submerged in liquid to cook evenly. Avoid over-boiling; a gentle simmer is sufficient to cook the chicken without toughening it. You can also use this method to poach chicken, which yields a very delicate texture. For extra flavor, consider adding aromatics directly to the poaching liquid.
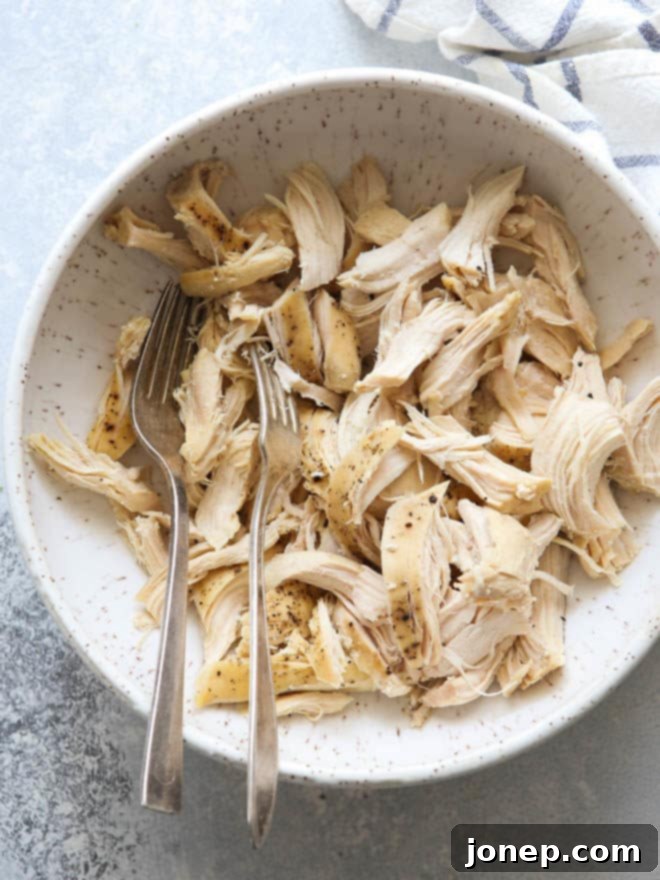
How to Shred Cooked Chicken
Shredding cooked chicken is simple, and it’s easiest to do while the chicken breasts are still warm. However, for easier handling and to prevent burning your fingers, I recommend letting them cool for about 5-10 minutes after cooking. This brief cooling period makes the chicken easier to manage without losing its shreddable tenderness.
You have a few excellent options for shredding, each with its own advantages:
- By Hand: For a rustic, chunky shred, simply use your fingers to pull the chicken apart. This method gives you maximum control over the size and texture of your shredded chicken. It’s great for salads or dishes where you want more substantial pieces.
- With Two Forks: This is my go-to method and a favorite for many home cooks. Hold one fork steady to anchor the chicken and use the other fork to pull and separate the meat into shreds. It’s quick, effective, and results in a nice, consistent shred without too much effort. It also keeps your hands clean!
- With a Stand or Hand-Held Electric Mixer: If you’re dealing with a large batch of chicken and want the fastest, most effortless way to shred, an electric mixer is your secret weapon. Place the slightly cooled chicken breasts in a large bowl, and using the paddle attachment (for a stand mixer) or beaters (for a hand-held mixer), turn it on low speed. The chicken will shred in less than a minute! The only downside is that it creates an extra dish to wash, and sometimes the chicken can become very finely shredded, which might not be ideal for all recipes. However, for tacos, sandwiches, or mixing into casseroles, it’s perfect.
Choose the method that best suits the amount of chicken you’re shredding and your personal preference for texture. No matter which way you choose, you’ll end up with perfectly shredded chicken ready for your meals!
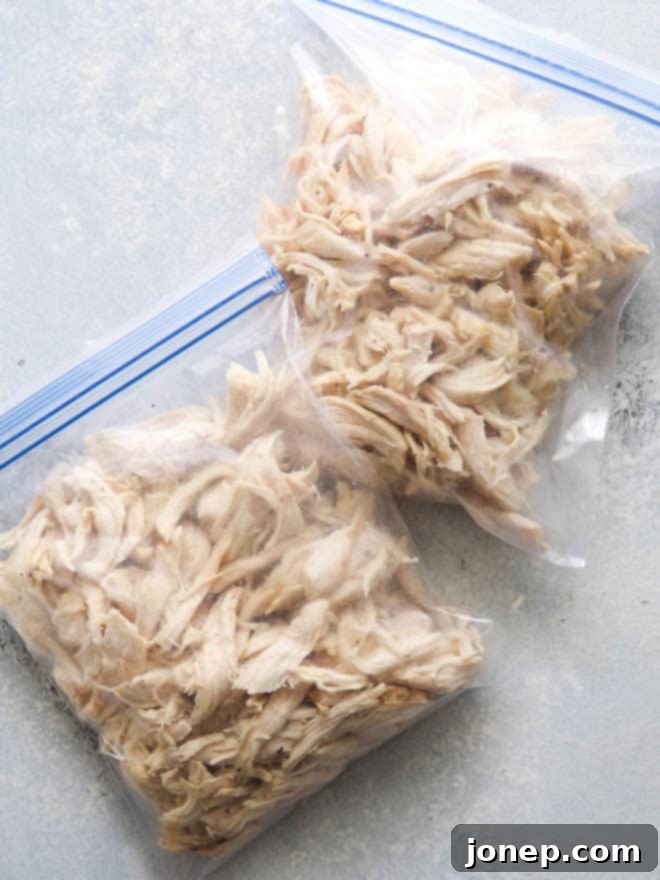
How to Store Shredded Chicken
Proper storage is key to maximizing the convenience and shelf life of your meal-prepped shredded chicken. Once cooked and shredded, allow the chicken to cool completely before storing.
Shredded cooked chicken will keep beautifully in an airtight container in the refrigerator for up to 1 week. This makes it perfect for quick weekday lunches and dinners without any additional cooking. For longer storage, the freezer is your best friend. Shredded chicken can be safely stored in the freezer for several months, typically 2-3 months for optimal quality, though it remains safe to eat beyond that.
When freezing, I highly recommend portioning out the chicken rather than freezing it all in one large bulk container. This allows you to thaw only the amount you need for a specific meal, preventing waste and making meal prep even more efficient. I like to use quart-sized, heavy-duty zip-top freezer bags or small airtight containers. Flatten the chicken in the bags to remove excess air, which helps prevent freezer burn and allows for quicker thawing. Don’t forget to label your bags or containers with the date so you can keep track of freshness!
To thaw frozen shredded chicken, simply transfer it to the refrigerator overnight. For quicker thawing, you can place the sealed bag of chicken in a bowl of cold water for 30-60 minutes, changing the water every so often. Avoid thawing at room temperature for food safety reasons.
Uses for Shredded Chicken
The versatility of shredded chicken is truly unmatched, making it a staple for any meal prep enthusiast. Its mild flavor profile and tender texture allow it to be seamlessly incorporated into a vast array of dishes, from quick snacks to elaborate dinners. Here are just a few ideas to get your culinary creativity flowing:
- Salads & Bowls: Instantly upgrade any green salad, grain bowl, or power bowl by tossing in a handful of shredded chicken for a protein boost.
- Tacos, Burritos & Enchiladas: A classic use! Shredded chicken makes a fantastic, flavorful filling for all your favorite Mexican-inspired dishes. For example, try these Sour Cream Chicken Enchiladas.
- Soups & Stews: Stir shredded chicken into almost any soup for added heartiness. It’s perfect for chicken noodle soup, tortilla soup (Chicken Tortilla Soup is a great option!), or a rich chicken stew.
- Sandwiches & Wraps: Create delicious chicken salad sandwiches, BBQ chicken sandwiches, or healthy chicken wraps for a quick lunch or light dinner.
- Casseroles: Shredded chicken is a natural fit for casseroles, adding protein and texture. Think chicken and rice casserole, chicken divan, or this comforting Chicken Broccoli Macaroni and Cheese.
- Pasta Dishes: Mix it into pasta sauces, stir-fries with noodles, or even a simple pesto pasta for a complete meal.
- Pizza & Flatbreads: Use it as a topping for homemade pizzas or flatbreads, especially when combined with BBQ sauce or buffalo sauce.
- Stuffed Sweet Potatoes or Bell Peppers: A healthy and satisfying meal. Fill roasted sweet potatoes or bell peppers with shredded chicken mixed with your favorite seasonings and toppings.
- Breakfast & Brunch: Don’t forget breakfast! Add shredded chicken to scrambled eggs, omelets, or breakfast burritos for a savory start to your day.
- Grain Dishes: Combine with your favorite grains like quinoa, couscous, or farro for a nutritious and satisfying meal, such as this Farro with Chicken, Sweet Potatoes and Kale.
With a batch of shredded chicken prepped, your meal possibilities are truly endless, making healthy and delicious eating incredibly easy and convenient!
Easy Shredded Chicken Recipe

Easy Shredded Chicken
Pin Recipe
Leave a Review
Ingredients
- 1 lb boneless skinless chicken breasts , 2-4 breasts depending on size
- ½ cup water or chicken/veggie broth (125 ml), see Notes
- ½ teaspoon salt
- ¼ teaspoon ground pepper
- 2 bay leaves , optional
- 1 onion , halved (optional)
Instructions
Slow cooker:
-
Place chicken breasts, water or broth, salt, pepper, bay leaves and onion (if using) in a slow cooker and cover.
-
Cook on high for 2-3 hours or on low for 4-5 hours, or until chicken is completely cooked through (internal temperature reaches 165°F).
-
Remove chicken from slow cooker and let cool a few minutes, then shred using your preferred method.
-
Store in an airtight container in the fridge for up to 1 week, or in the freezer for several months.
Electric pressure cooker (instant pot):
-
Place chicken breasts, water or broth, salt, pepper, bay leaves and onion (if using) in an electric pressure cooker, secure lid, and make sure valve release is sealed.
-
Cook at high pressure for 8 minutes, then do a quick release. Open lid and make sure chicken is cooked through (internal temperature reaches 165°F). If needed, cook on high pressure for an additional 1-2 minutes.
-
Remove chicken from pressure cooker and let cool a few minutes, then shred using your preferred method.
-
Store in an airtight container in the fridge for up to 1 week, or in the freezer for several months.
Stovetop:
-
Place chicken breasts, salt, pepper, bay leaves and onion (if using) in a saucepan or pot. Add enough water or broth to barely cover the chicken.
-
Bring to a boil, then reduce heat and simmer for 20 minutes, or until chicken is completely cooked through (internal temperature reaches 165°F).
-
Remove chicken from pot and let cool a few minutes, then shred using your preferred method.
-
Store in an airtight container in the fridge for up to 1 week, or in the freezer for several months.
Notes
- For the stovetop method, it is crucial to add enough water or broth to fully cover the chicken breasts, ensuring they poach evenly and remain moist.
- Chicken is safely cooked through when the internal temperature reaches 165°F (74°C) as measured by a meat thermometer. Ensure there is no pink remaining in the middle.
- This recipe is incredibly versatile and can be scaled up or down with ease. When adjusting quantities for the slow cooker and Instant Pot methods, maintain a ratio of approximately 1 lb of chicken to ½ cup of liquid for optimal results. For stovetop, ensure chicken is always fully submerged.
- Customize your chicken’s flavor profile by adding garlic cloves, fresh herbs like thyme or rosemary, lemon slices, or spices like paprika or chili powder to the cooking liquid.
