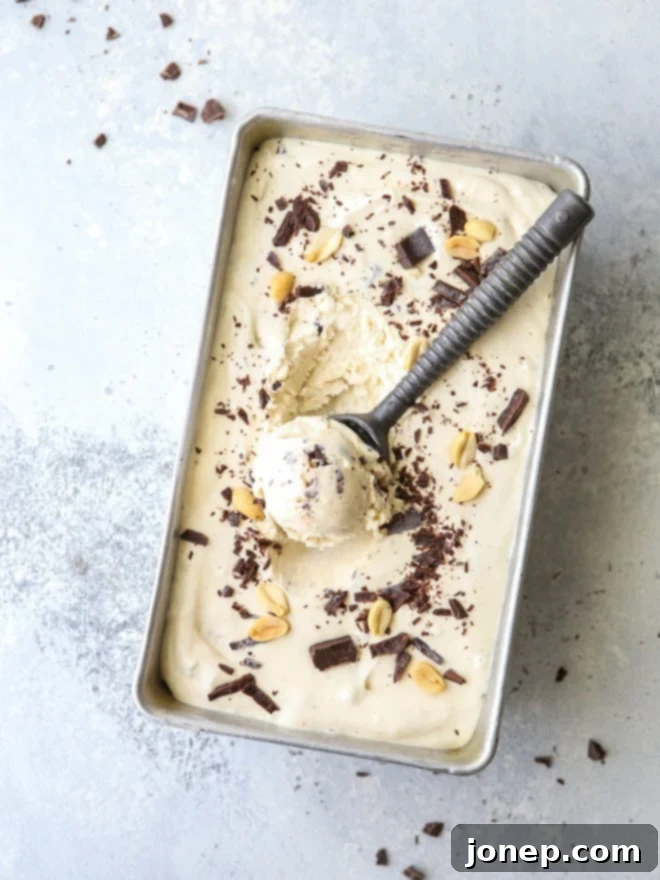
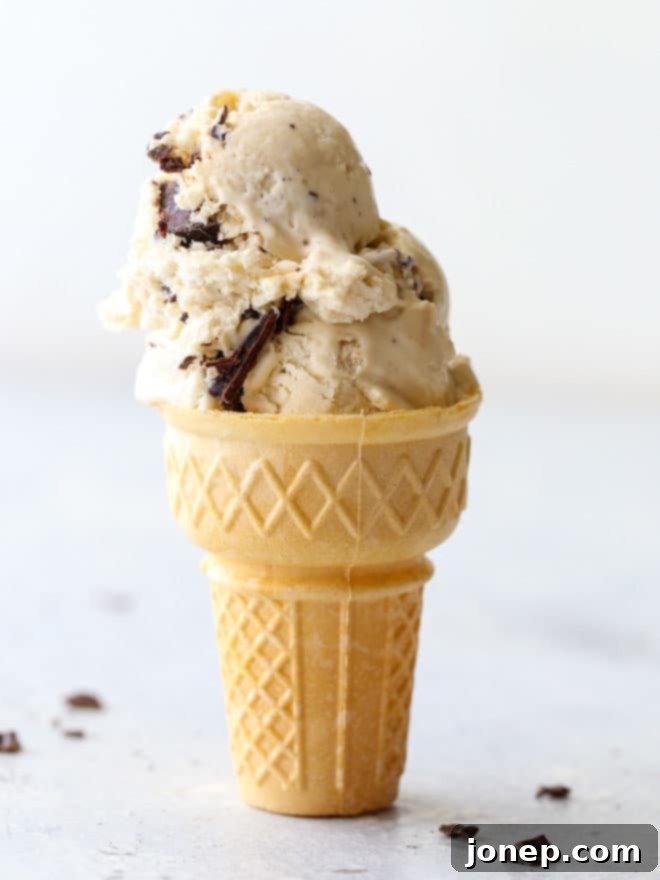
The Ultimate Guide to Easy No-Churn Peanut Butter Chocolate Chunk Ice Cream
Prepare to embark on a delightful culinary journey with this incredible no-churn peanut butter chocolate chunk ice cream recipe. Requiring just six simple ingredients and mere minutes of hands-on preparation, this dessert is a game-changer for anyone craving homemade ice cream without the fuss of an ice cream maker. Get ready to experience rich, creamy, and utterly irresistible flavors that will make you question why you ever bothered with traditional methods!
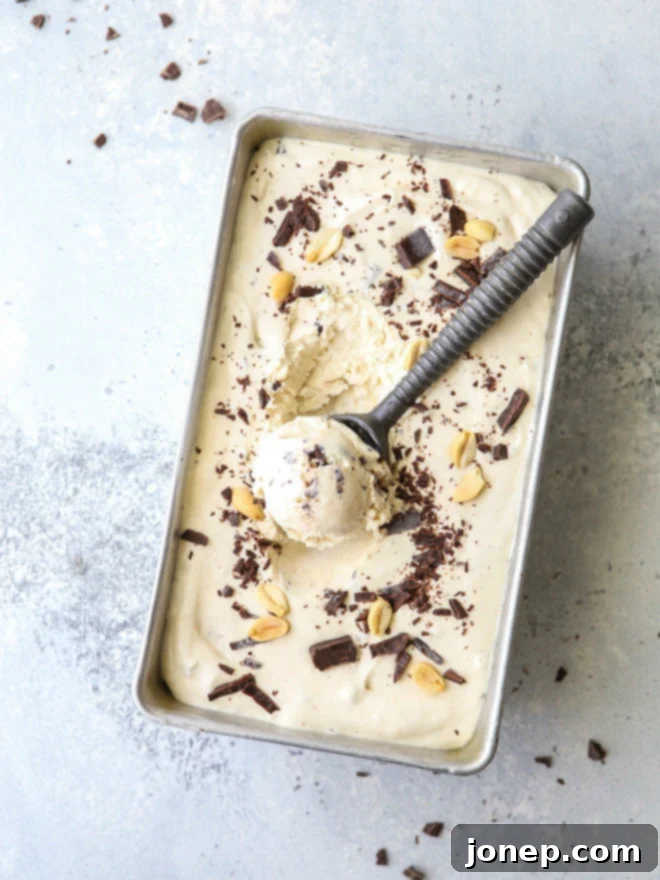
For a long time, I was a firm believer that truly exceptional homemade ice cream could only be achieved with a dedicated ice cream machine. I owned one, used it regularly, and cherished the results. However, a newfound passion for no-churn ice cream has completely shifted my perspective, proving that you can achieve astonishingly creamy and delicious results without any specialized equipment. This revelation has made me a complete convert, and I’m excited to share this simplified path to frozen dessert perfection with you.
The beauty of no-churn ice cream lies in its remarkable ease. It bypasses the lengthy prep times, the cooking of a custard base, and the need for an expensive, bulky appliance. Instead, it relies on clever ingredient combinations to mimic the texture and richness of churned ice cream. The minimal effort involved means you can whip up a batch on a whim, satisfying those sudden cravings for something sweet, decadent, and homemade. It’s the ideal solution for busy weeknights, last-minute gatherings, or simply when you want a treat without the extensive kitchen work.
This particular recipe elevates the no-churn concept with a classic flavor pairing: creamy peanut butter and generous chunks of semi-sweet chocolate. The result is an ice cream that’s wonderfully rich, unbelievably smooth, and speckled throughout with delightful pockets of chocolate. Each spoonful offers a harmonious blend of salty-sweet peanut butter and deep chocolate, creating a truly indulgent experience. Whether you prefer it scooped into crispy cones, elegant cups, or, like me, enjoyed straight from the container with a spoon, this irresistible frozen treat is guaranteed to become a household favorite. It’s perfect for any occasion, from a casual dessert after dinner to a special celebration.
What Exactly is No-Churn Ice Cream? The Secret Revealed
To truly appreciate the genius of no-churn ice cream, it helps to understand how it differs from its traditional counterpart. Classic ice cream often begins with a custard base, meticulously cooked on the stovetop until thickened, then chilled for hours before being churned in an ice cream machine. This churning process is crucial; it incorporates air into the mixture, creating that signature light and creamy texture, and also prevents the formation of large ice crystals, which would make the ice cream icy rather than smooth.
No-churn ice cream cleverly sidesteps these time-consuming and equipment-intensive steps by utilizing two essential, transformative ingredients: **sweetened condensed milk** and **whipped heavy cream**. These two components are the heroes of this simplified method, enabling you to achieve remarkable results with minimal effort. Let’s delve into their magical properties:
- Sweetened Condensed Milk: This isn’t just any sweetener; it’s a game-changer. Unlike granulated sugar, which needs to be heated and dissolved to prevent a gritty texture in a cold base, sweetened condensed milk is already liquid and perfectly smooth. It provides both the necessary sweetness and a substantial body to the ice cream base without any cooking required. Its rich, thick consistency also contributes to the overall creamy mouthfeel of the finished product, helping to keep it smooth and delicious once frozen.
- Whipped Heavy Cream: This ingredient is the ingenious substitute for the churning process. When heavy cream is whipped, it incorporates air, transforming into a light, airy, and voluminous foam. This trapped air is precisely what a traditional ice cream machine aims to achieve during churning. Once folded into the sweetened condensed milk, the whipped cream maintains its airy structure, ensuring the final frozen product has that desirable light and fluffy texture, rather than a dense, solid block of ice. The fat content in the heavy cream also plays a critical role in preventing ice crystal formation, further enhancing the creaminess.
By combining these two incredible ingredients, along with your chosen flavorings, you create a base that’s naturally rich, sweet, and airy. Once frozen, it sets into an astonishingly creamy and scoopable ice cream that rivals any churned variety. It’s truly a testament to culinary innovation, bringing the joy of homemade ice cream to every kitchen, regardless of equipment.
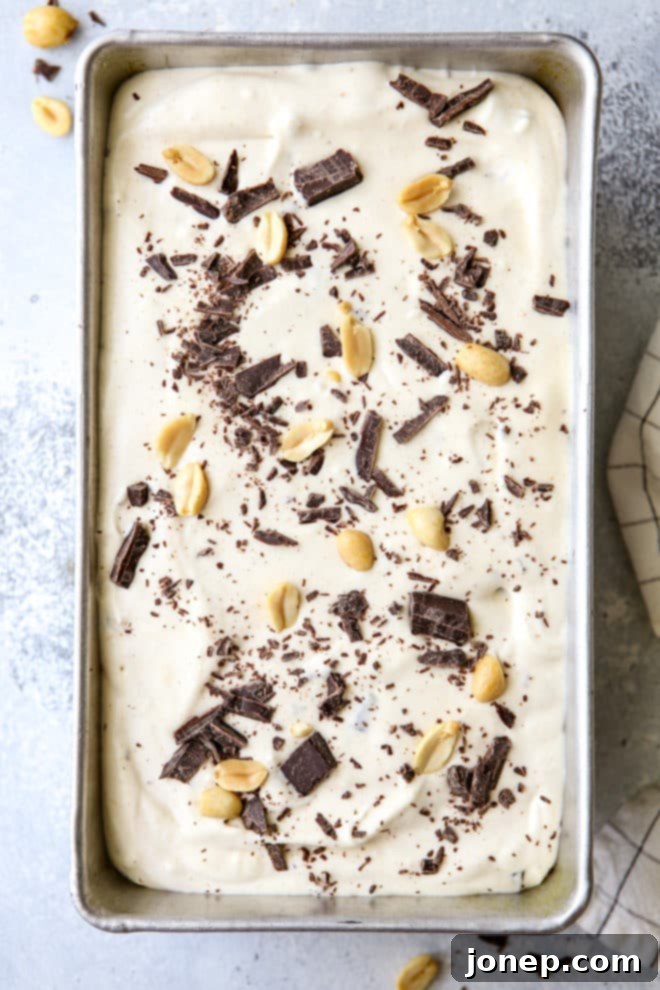
Crafting Your No-Churn Peanut Butter Chocolate Chunk Ice Cream: A Step-by-Step Guide
Making this delightful no-churn ice cream is surprisingly straightforward, and the process is just as rewarding as the final taste. With just a few basic kitchen tools and a short amount of time, you’ll be on your way to a gourmet dessert. Here’s a detailed look at the components and steps involved:
The Creamy No-Churn Peanut Butter Base
The foundation of this luscious ice cream is its incredibly easy homemade peanut butter base. To prepare it, you’ll need a reliable electric mixer (either a hand mixer or a stand mixer with a whisk attachment will work beautifully), a couple of mixing bowls, and approximately 5 minutes of active preparation time. The key is to ensure your ingredients are ready, and then the assembly is a breeze. Here’s the complete list of ingredients for this rich base:
- Creamy Peanut Butter: Opt for a smooth, processed creamy peanut butter (like Jif or Skippy) for the best results. Natural peanut butter, while delicious, can sometimes separate or result in a slightly different texture due to its oil content.
- Softened Cream Cheese: This secret ingredient adds an incredible richness and a subtle tang that balances the sweetness of the condensed milk. It also helps stabilize the mixture, contributing to the ice cream’s smooth consistency. Ensure it’s at room temperature for easy beating and incorporation.
- Vanilla Extract: A touch of pure vanilla extract enhances all the other flavors, adding a warm, aromatic depth that is essential for a truly delicious ice cream.
- Heavy Whipping Cream: This is where the magic happens! When whipped to stiff peaks, it creates the airy volume necessary for that classic ice cream texture. Make sure it’s very cold for optimal whipping.
- Sweetened Condensed Milk: As discussed, this provides the perfect balance of sweetness and body without any cooking. It’s the essential base that binds everything together.
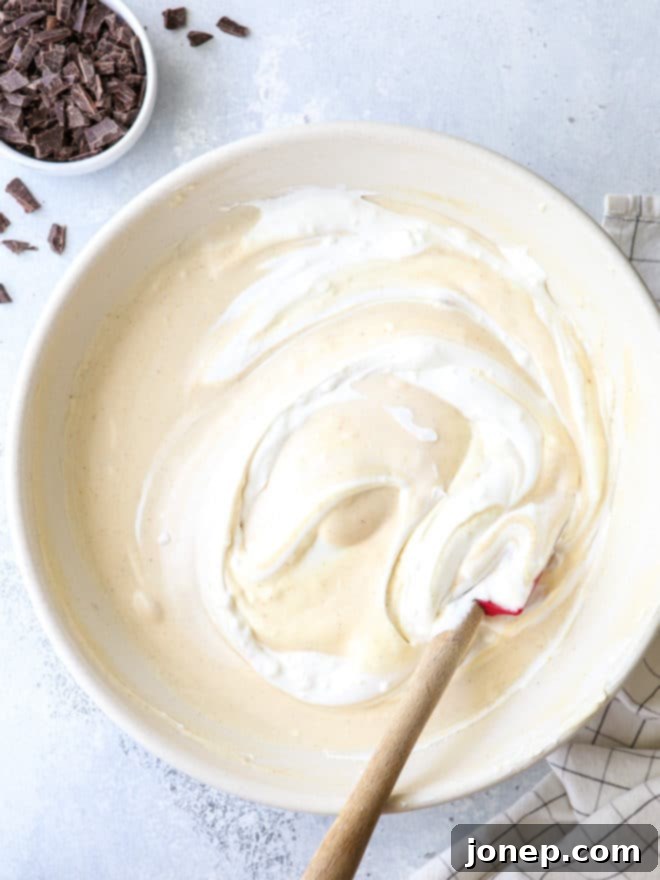
The process involves first combining the sweetened condensed milk, peanut butter, and vanilla. In a separate bowl, the softened cream cheese is beaten until smooth before the heavy whipping cream is slowly added and whipped until thick. The critical step is then gently folding the whipped cream mixture into the peanut butter mixture. This gentle action is vital to retain the air incorporated into the cream, ensuring your ice cream stays light and creamy. Over-mixing at this stage can deflate the whipped cream, leading to a denser, icier texture.
The Delicious Semi-Sweet Chocolate Chunks
No peanut butter ice cream is complete without its perfect partner: chocolate! To finish this sensational ice cream, I recommend incorporating generous chunks of high-quality semi-sweet chocolate. The choice of chocolate can significantly impact the final flavor, so don’t hesitate to use your favorite variety.
- Chocolate Type: While semi-sweet is a classic choice, feel free to experiment with dark chocolate for a more intense cocoa flavor, or milk chocolate for a sweeter, creamier contrast. Whatever you choose, ensure it’s a quality chocolate bar, not just chocolate chips, as chips often contain stabilizers that prevent them from melting as smoothly.
- Preparation: Chopping a chocolate bar yourself yields irregular, delicious chunks that offer a more satisfying bite and melt beautifully in your mouth compared to uniform chocolate chips.
As an entirely optional, but highly recommended, addition, consider folding in a handful of roasted, chopped peanuts. They will amplify the peanut butter flavor and add an extra layer of crunch and texture, making each bite even more exciting. A tiny sprinkle of flaky sea salt on top before freezing can also elevate the flavors by providing a delightful salty contrast.
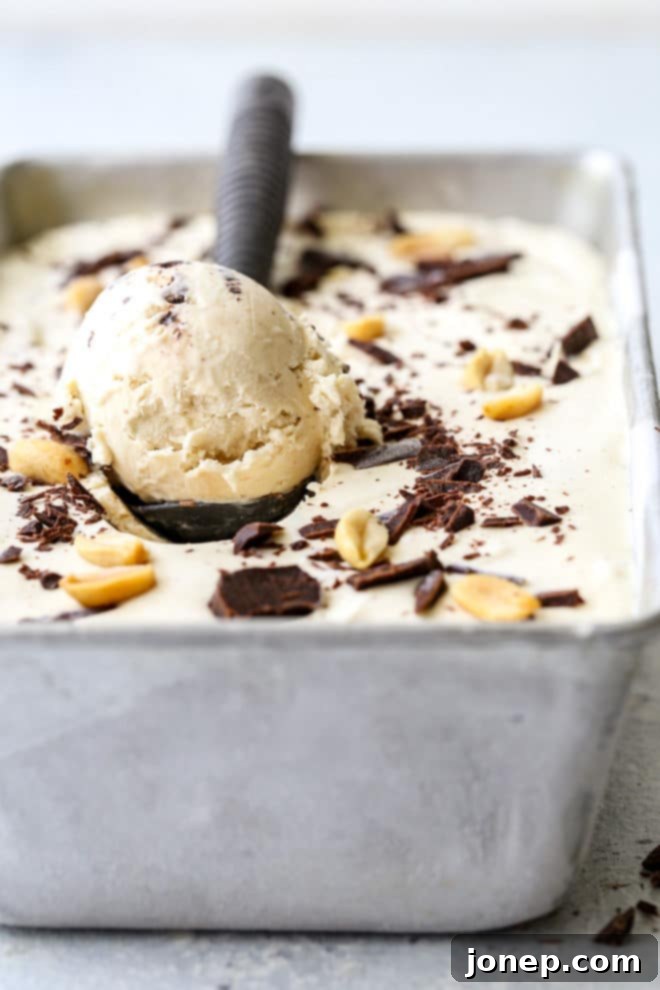
Tips for No-Churn Ice Cream Success
While this recipe is incredibly forgiving, a few tips can help ensure your no-churn peanut butter chocolate chunk ice cream turns out perfectly every time:
- Cold Cream is Key: Always start with very cold heavy whipping cream. This allows it to whip up faster and achieve stiffer peaks, which are essential for the airy texture.
- Room Temperature Cream Cheese: Ensure your cream cheese is properly softened to room temperature. This prevents lumps and ensures it incorporates smoothly into the mixture.
- Gentle Folding: This cannot be stressed enough. Once your heavy cream is whipped, gently fold it into the peanut butter mixture in two additions. Use a spatula and an upward, circular motion to combine without deflating the precious air you’ve incorporated.
- Quality Ingredients: Since there are so few ingredients, the quality of each really shines through. Use a peanut butter you love and good quality chocolate for the best flavor.
- Freezing Time: Patience is a virtue here! While prep is quick, the freezing time is crucial for the ice cream to set properly and develop its ideal texture. Don’t rush it; at least 6 hours (or preferably overnight) ensures it’s perfectly firm and scoopable.
- Storage: Store your homemade ice cream in an airtight container to prevent freezer burn and the formation of ice crystals on the surface. A loaf pan covered tightly with plastic wrap or foil, or a dedicated ice cream tub, works perfectly.
Delicious Variations and Serving Suggestions
This no-churn peanut butter chocolate chunk ice cream is fantastic as is, but it also serves as a wonderful base for creative variations:
- Extra Crunch: Add chopped roasted peanuts, mini pretzels, or even some crushed butter cookies for additional texture.
- Different Chocolates: Mix in white chocolate chips, milk chocolate chunks, or even some chocolate syrup swirls.
- Caramel Swirl: Swirl in some homemade or store-bought caramel sauce for a peanut butter caramel delight.
- Banana Boost: For a twist, blend a ripe banana into the peanut butter mixture before folding in the whipped cream.
Serve your ice cream in classic cones, elegant dessert bowls, or turn it into a decadent sundae with whipped cream, extra chocolate sauce, and a cherry on top. It also pairs wonderfully with warm brownies or a slice of your favorite cake.
Other Homemade Ice Cream Recipes to Try
If you’ve fallen in love with the ease and deliciousness of homemade ice cream, consider exploring these other fantastic recipes from our collection:
- Blueberry Pie Ice Cream
- Mint Chocolate Chip Ice Cream
- Raspberry Rosé Sorbet
- Butterscotch Pecan Ice Cream

Shop Essential Tools for This Recipe
No-Churn Peanut Butter Chocolate Chunk Ice Cream
Pin Recipe
Leave a Review
Ingredients
- 14 oz can sweetened condensed milk (400 grams)
- ⅓ cup creamy peanut butter (90 grams)
- 1 tablespoon vanilla extract
- 2 ounces cream cheese (56 grams), softened to room temperature
- 2 cups heavy whipping cream (500 ml)
- 4 ounces semi-sweet chocolate (113 grams), chopped
Instructions
-
In a large bowl, whisk together the sweetened condensed milk, peanut butter, and vanilla until smooth and well combined.
-
In a separate, clean, large bowl, beat the softened cream cheese with an electric mixer on medium speed until it is light, fluffy, and completely smooth.
-
With the mixer still running on medium speed, slowly pour in the cold heavy whipping cream. Once all the cream is incorporated, increase the speed to high and beat for 2-3 minutes, or until the mixture becomes very thick and holds stiff peaks. Be careful not to overbeat.
-
Gently fold the whipped cream mixture into the peanut butter mixture in two additions. Use a spatula and a light, upward motion, mixing just until no more streaks of white or peanut butter remain. This gentle folding ensures the air is preserved, resulting in a light and creamy ice cream. Avoid over-stirring, as this can deflate the whipped cream.
-
Carefully fold in the chopped semi-sweet chocolate chunks, distributing them evenly throughout the ice cream base. If desired, you can also fold in roasted peanuts at this stage.
-
Transfer the entire mixture into a loaf pan (9×5 inches works well) or a dedicated airtight ice cream container. Smooth the top with a spatula. Cover tightly with a lid or plastic wrap, ensuring the wrap touches the surface of the ice cream to prevent ice crystal formation. Chill in the freezer until completely firm, which will take at least 6 hours, but ideally overnight for the best texture.
Notes
In conclusion, this no-churn peanut butter chocolate chunk ice cream recipe offers an unparalleled combination of ease, speed, and flavor. It’s a perfect solution for anyone who loves the idea of homemade ice cream but dreads the traditional methods. With just a few basic ingredients and simple steps, you can create a luxurious, creamy, and intensely satisfying dessert that will impress family and friends alike. So, gather your ingredients, follow these straightforward instructions, and prepare to indulge in a frozen treat that’s truly a delight to make and even more delightful to eat. Happy scooping!
