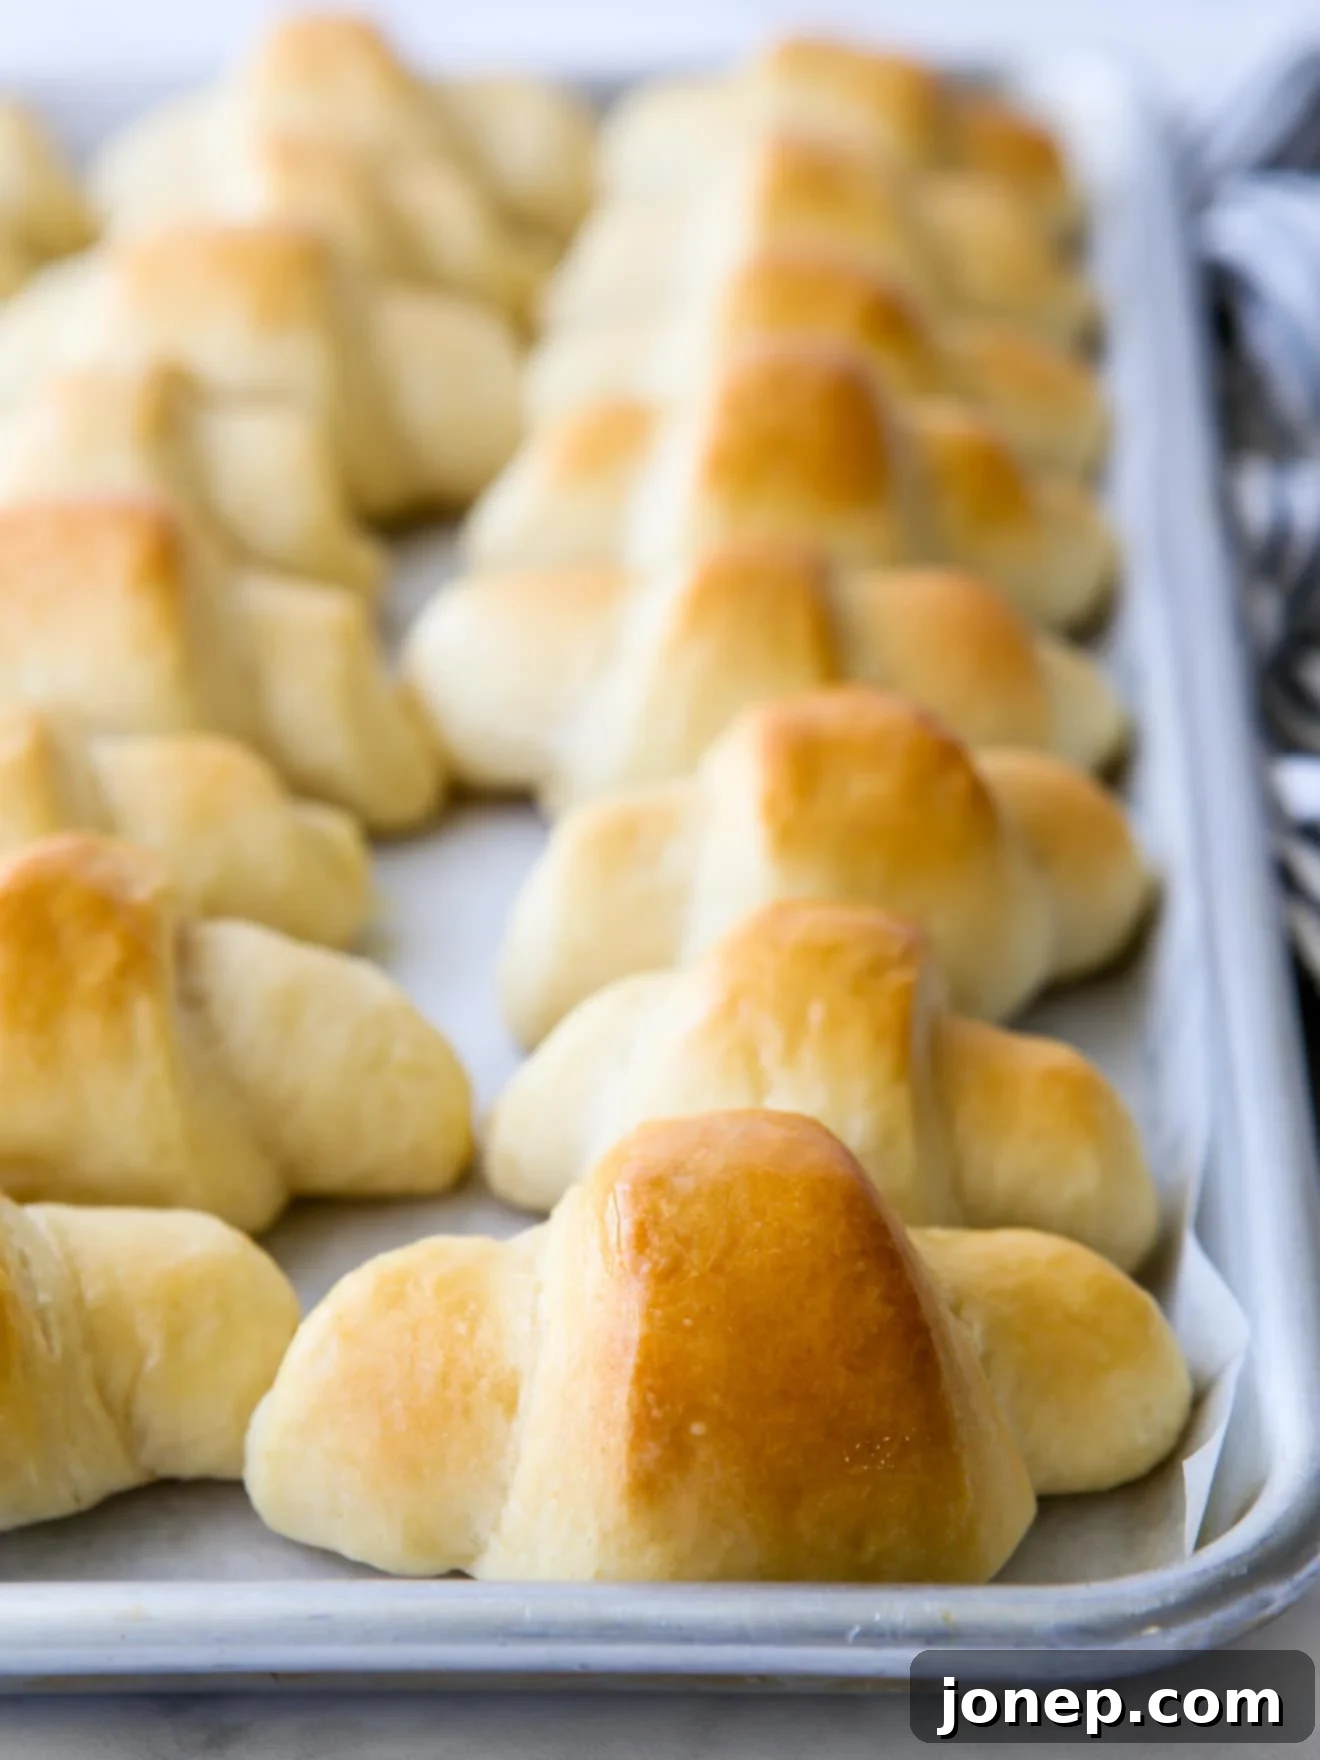
Easy No-Knead Fairy Crescent Rolls: The Ultimate Guide to Fluffy, Simple Dinner Rolls
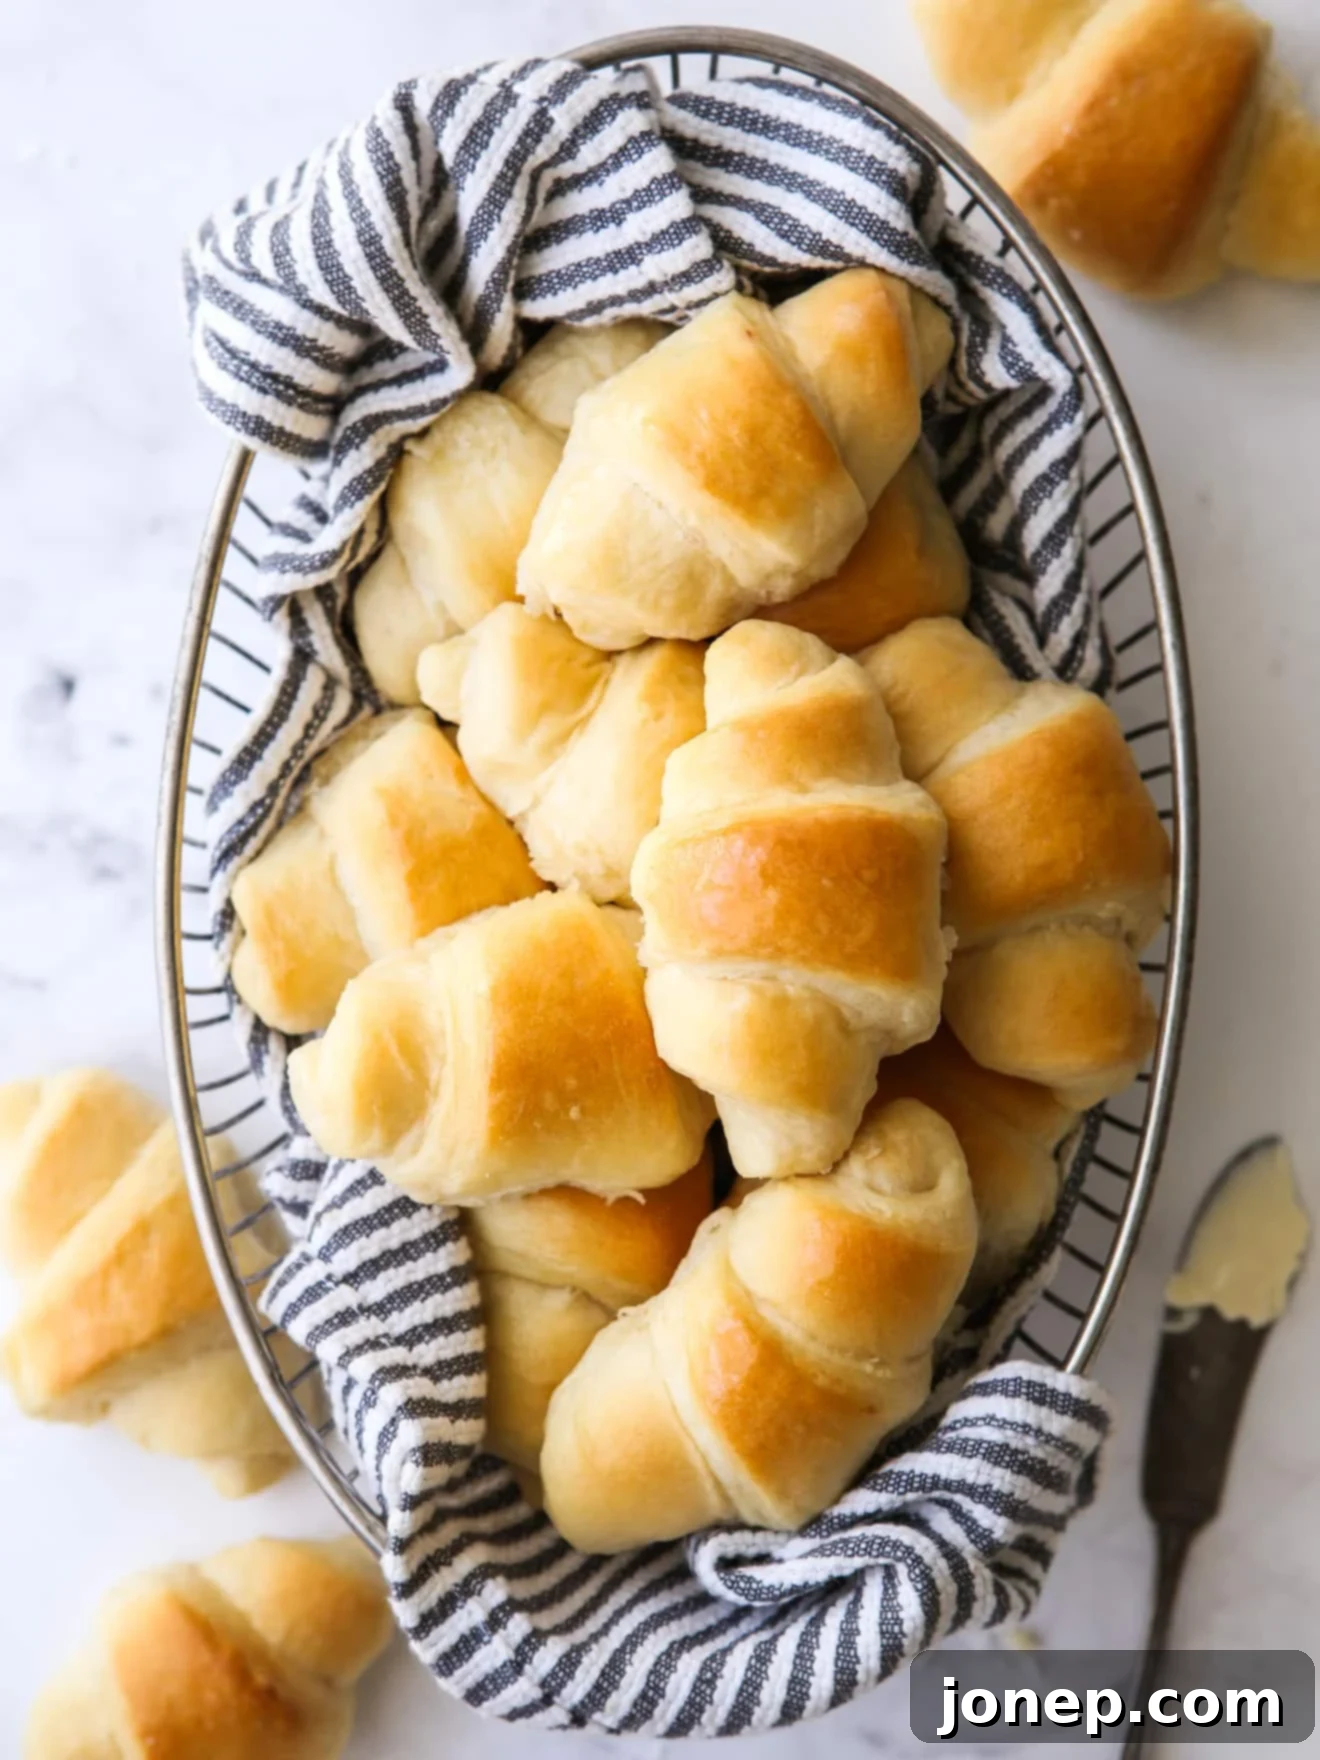
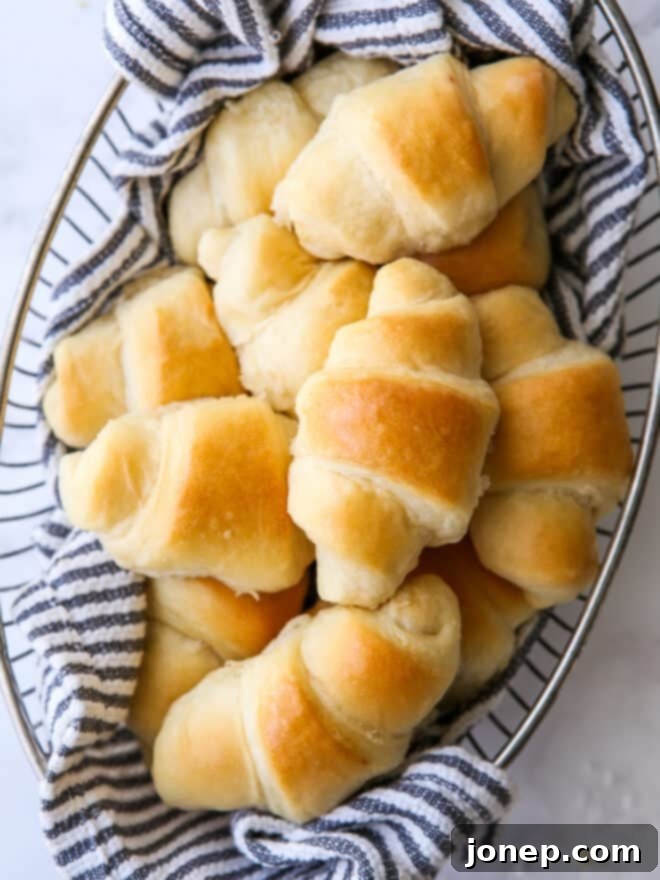
There’s nothing quite like the aroma of freshly baked bread filling your home, and these **easy no-knead “fairy” crescent rolls** are no exception. This beloved family recipe, passed down from my mom, consistently produces the lightest, fluffiest white dinner rolls you could ever imagine. They’re so incredibly simple to prepare, yet yield such a divine result that they’ve become an indispensable part of every family gathering. From holiday feasts to casual weeknight meals, these irresistible rolls are always the first to disappear from the bread basket.
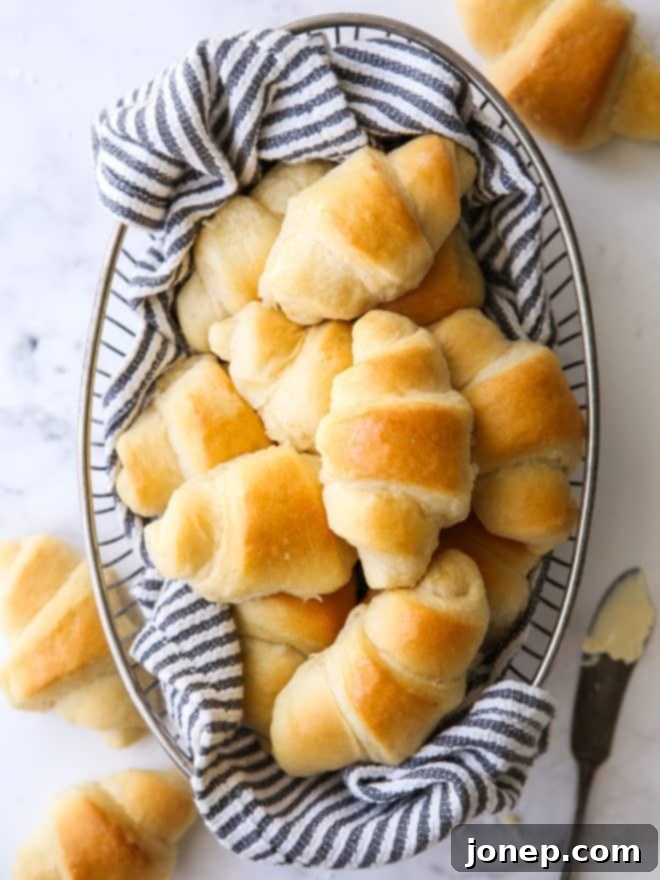
Every home cook needs a reliable, delicious go-to roll recipe, one that effortlessly complements a wide array of dishes. Whether you’re serving a succulent holiday roasted turkey, a hearty stew, or a comforting weeknight soup, these no-knead crescent rolls rise to the occasion, and then some! Their versatile flavor and unbelievably tender texture make them the perfect accompaniment to any meal.
Our family has cherished these little pillows of heaven for generations. They are incredibly buttery, delicately sweet, and boast a melt-in-your-mouth texture that will have everyone reaching for seconds (or thirds!). The best part? Despite their gourmet taste and appearance, these rolls are remarkably easy to make. The “no-knead” aspect means that the dough comes together quickly in a single bowl, requiring minimal effort and no special equipment. This fuss-free approach to homemade bread baking makes them a perfect choice for both seasoned bakers and beginners alike.
Table of Contents
- Why You’ll Adore These No-Knead Fairy Crescent Rolls
- Essential Ingredients for Fluffy Dinner Rolls
- Step-by-Step Guide: Crafting Easy No-Knead Crescent Rolls
- Expert Tips for Perfect Homemade Rolls
- Advance Preparation Tips for Convenience
- Explore More Delicious Roll Recipes
- Get the Full No-Knead Fairy Rolls Recipe
Why You’ll Adore These No-Knead Fairy Crescent Rolls
If the promise of unbelievably fluffy, buttery, and easy homemade dinner rolls hasn’t fully captivated you yet, here are even more reasons why these no-knead crescent rolls will quickly become your new favorite:
- Irresistible Flavor: Each bite delivers a rich, buttery taste with a subtle sweetness that perfectly complements both savory and sweet dishes. These aren’t just any plain rolls; they have a depth of flavor that sets them apart.
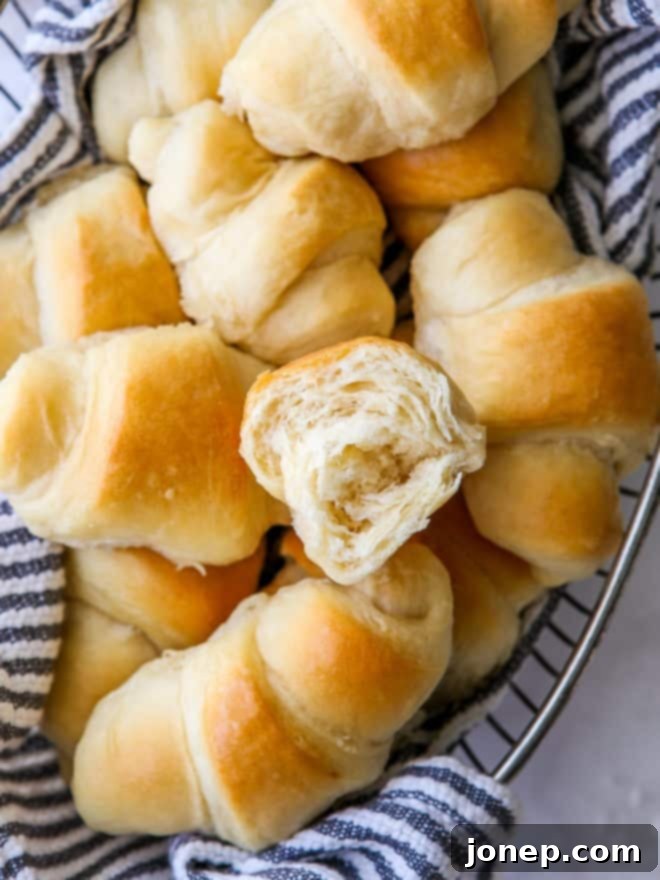
- Dreamy Texture: Prepare for a truly light and airy texture. These rolls are so soft and delicate, earning them the nickname “fairy” rolls. They practically melt in your mouth, making them utterly delightful.
- Effortless Preparation: Forget the stand mixer and the strenuous kneading! This recipe is genuinely no-knead, meaning you simply mix the ingredients in a bowl with a spoon until combined. It’s a game-changer for busy schedules or those new to baking bread.
- Elegant Appearance: Shaped into beautiful crescent moons, these rolls have a charming rustic elegance that makes them perfect for any table setting, from casual weeknight dinners to special holiday meals. They look far more complicated than they are!
- Practically Foolproof: With straightforward instructions and forgiving dough, this recipe minimizes the chances of baking mishaps. It’s designed for success, ensuring even novice bakers can achieve perfect results every time.
- Versatile Pairing: These versatile rolls are excellent with everything. Serve them with butter and jam for breakfast, alongside a steaming bowl of soup for lunch, or as the ideal companion to your holiday roast or family dinner.
- A Touch of Nostalgia: For many, these rolls evoke cherished memories of family meals and homemade goodness. There’s a comforting, classic feel to them that warms the soul.
Essential Ingredients for Fluffy Dinner Rolls
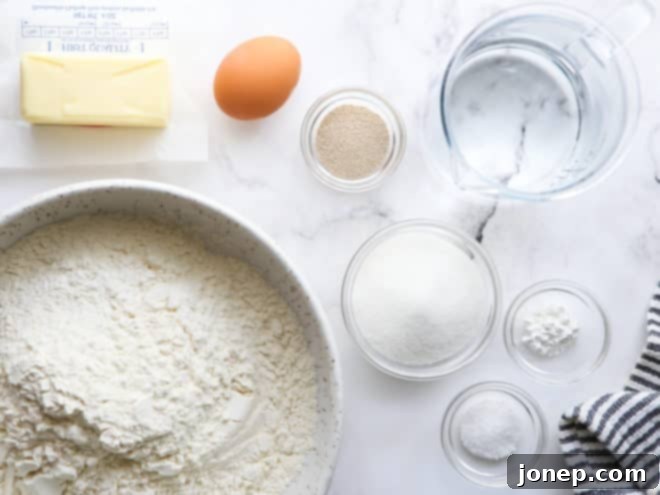
Ready to bake some magic? Here’s a detailed look at the simple yet essential ingredients you’ll need for these incredible fairy crescent rolls. Remember to check the full recipe in the recipe card below for precise measurements and instructions:
- All-purpose flour: The foundation of our rolls, providing structure and texture. While specific flours like bread flour can be used, all-purpose keeps this recipe accessible and yields a wonderfully tender crumb.
- Butter: Essential for that rich, moist, and utterly delicious flavor. Melted butter is incorporated into the dough and also brushed on top after baking for an extra layer of indulgence.
- Active-dry yeast: The primary leavening agent that gives our rolls their signature light and airy rise. Ensure your yeast is fresh and active for best results.
- Egg: Adds richness, helps with binding, and contributes to the golden color and soft texture of the rolls.
- Granulated Sugar: Provides a subtle sweetness that balances the savory notes and aids in the browning of the crust, giving it that beautiful golden hue. It also feeds the yeast, helping it activate effectively.
- Salt: A crucial ingredient that enhances all the other flavors in the dough. It also helps control the yeast activity and strengthens the gluten structure.
- Baking powder: This is a unique addition that works in conjunction with the yeast for an exceptional rise and texture.
- Warm Water: Activates the yeast and brings the dough together. The water should be warm (around 105-115°F or 40-46°C) but not hot, to avoid killing the yeast.
Why use both yeast and baking powder in this recipe? This combination might seem unconventional, but it’s a secret to these rolls’ incredible success. While yeast provides a slow, flavorful rise, baking powder offers a quicker, additional lift. This dual-leavening approach ensures a rapid and impressive rise, resulting in an exceptionally light, tender, and fluffy crumb that’s hard to achieve with yeast alone. The baking powder effectively gives a boost, making the rolls airy without compromising on the depth of flavor developed by the yeast. It’s a brilliant technique for achieving that signature “fairy” lightness.
Step-by-Step Guide: Crafting Easy No-Knead Crescent Rolls
Making these no-knead crescent rolls is a straightforward process, broken down into simple, manageable steps. Follow along to create your own batch of these delightful dinner rolls.
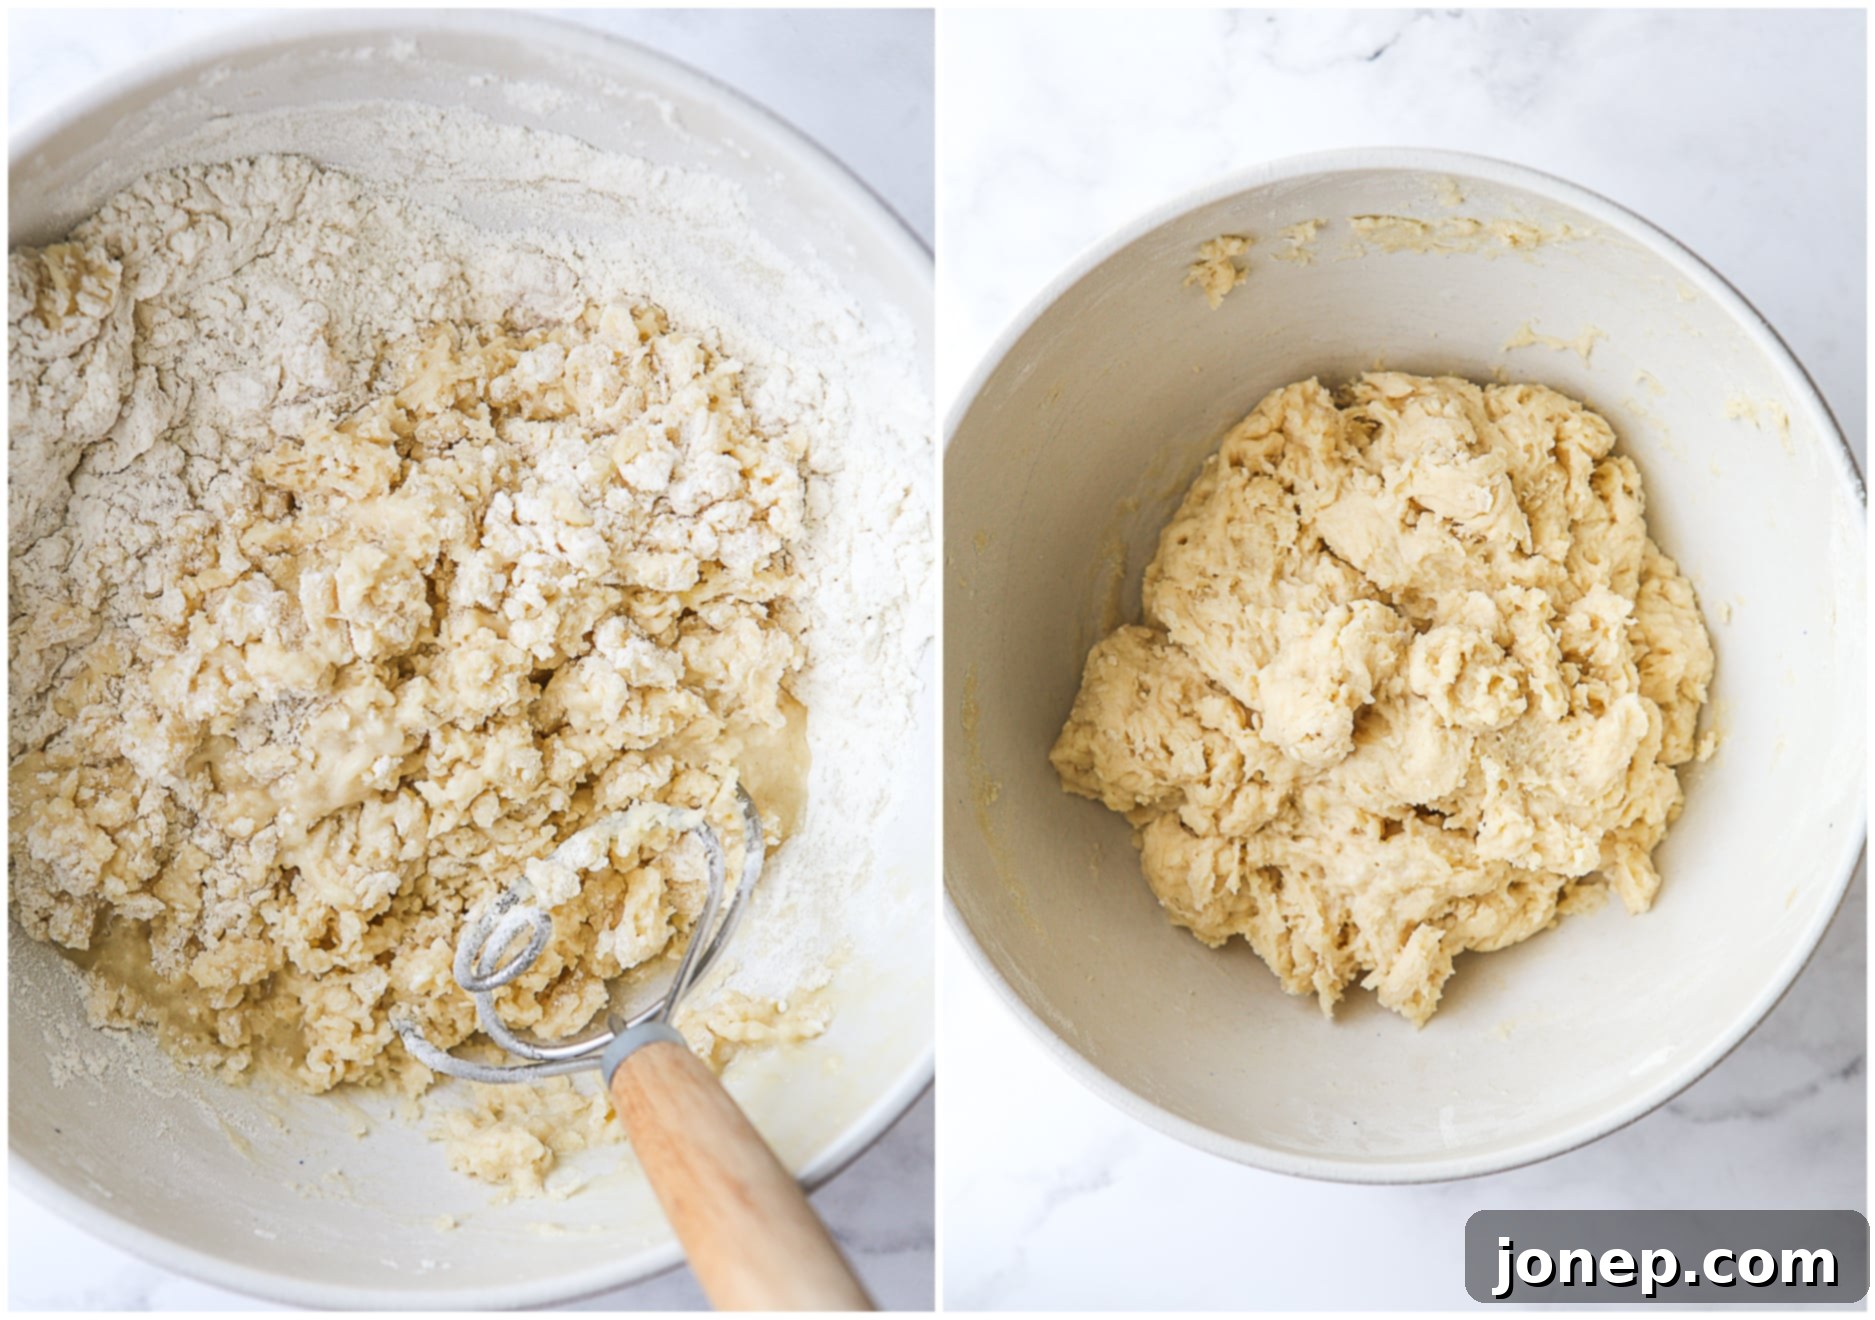
- Activate Yeast & Mix Dough: Begin by combining warm water and active dry yeast in a large bowl. Let this mixture sit for about 5 minutes until it becomes foamy, indicating the yeast is active. This is a crucial step for a good rise! Next, add the melted and cooled butter, granulated sugar, and egg to the yeast mixture, stirring well to combine thoroughly. Gradually incorporate the all-purpose flour, baking powder, and salt. Stir with a sturdy wooden spoon or a dough whisk until all ingredients are just combined and a shaggy dough forms. Overmixing isn’t necessary for these no-knead rolls.

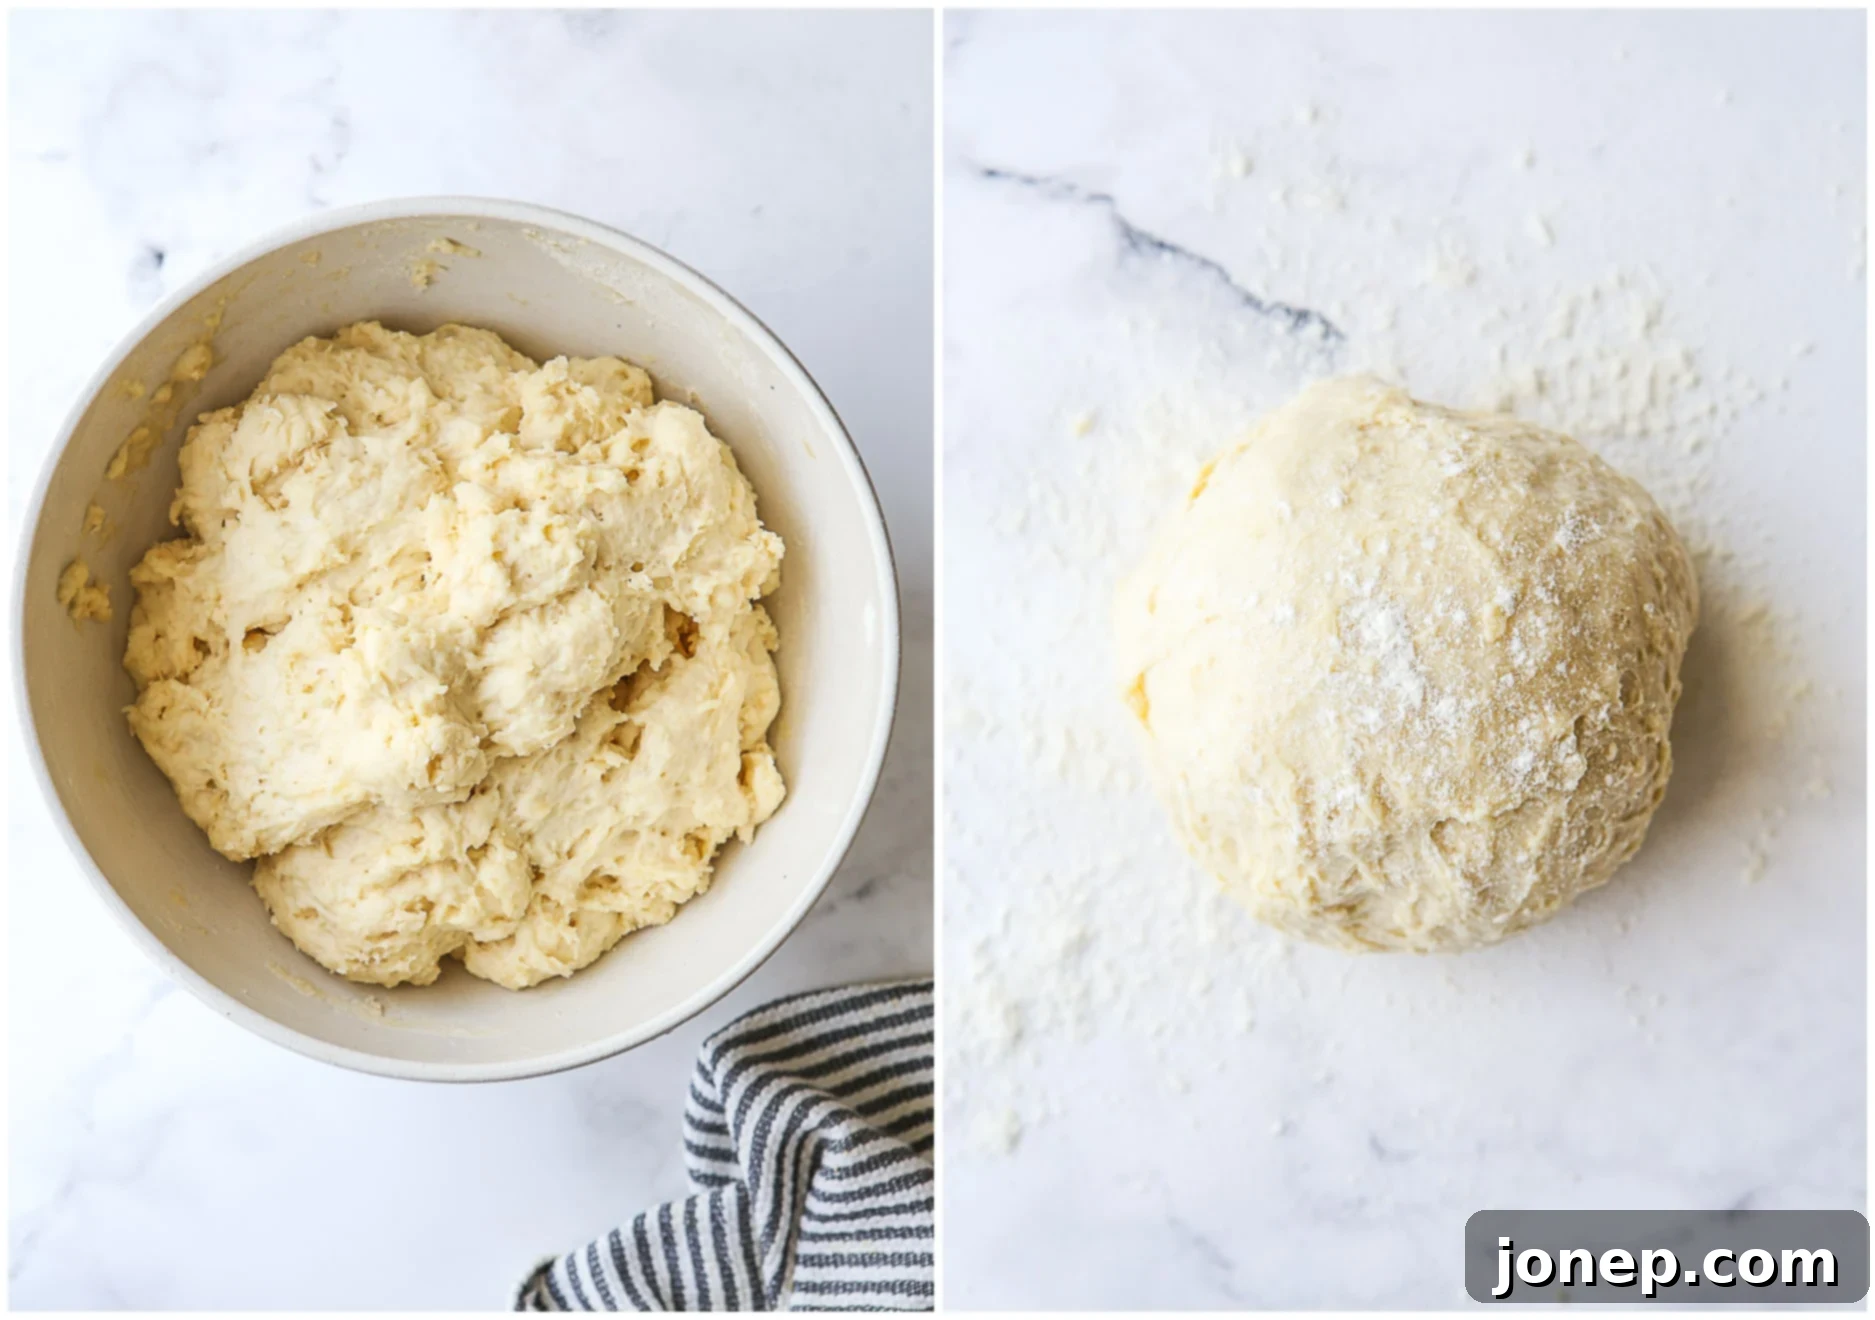
- First Rise for Fluffiness: Once your dough is mixed, cover the bowl loosely with plastic wrap or a clean kitchen towel. Place it in a warm place to rise for approximately 1 hour, or until the dough has roughly doubled in size. A warm, draft-free environment is key here. After the first rise, gently punch down the dough to release the air, then use your hands to shape it into a cohesive ball, preparing it for the next step.

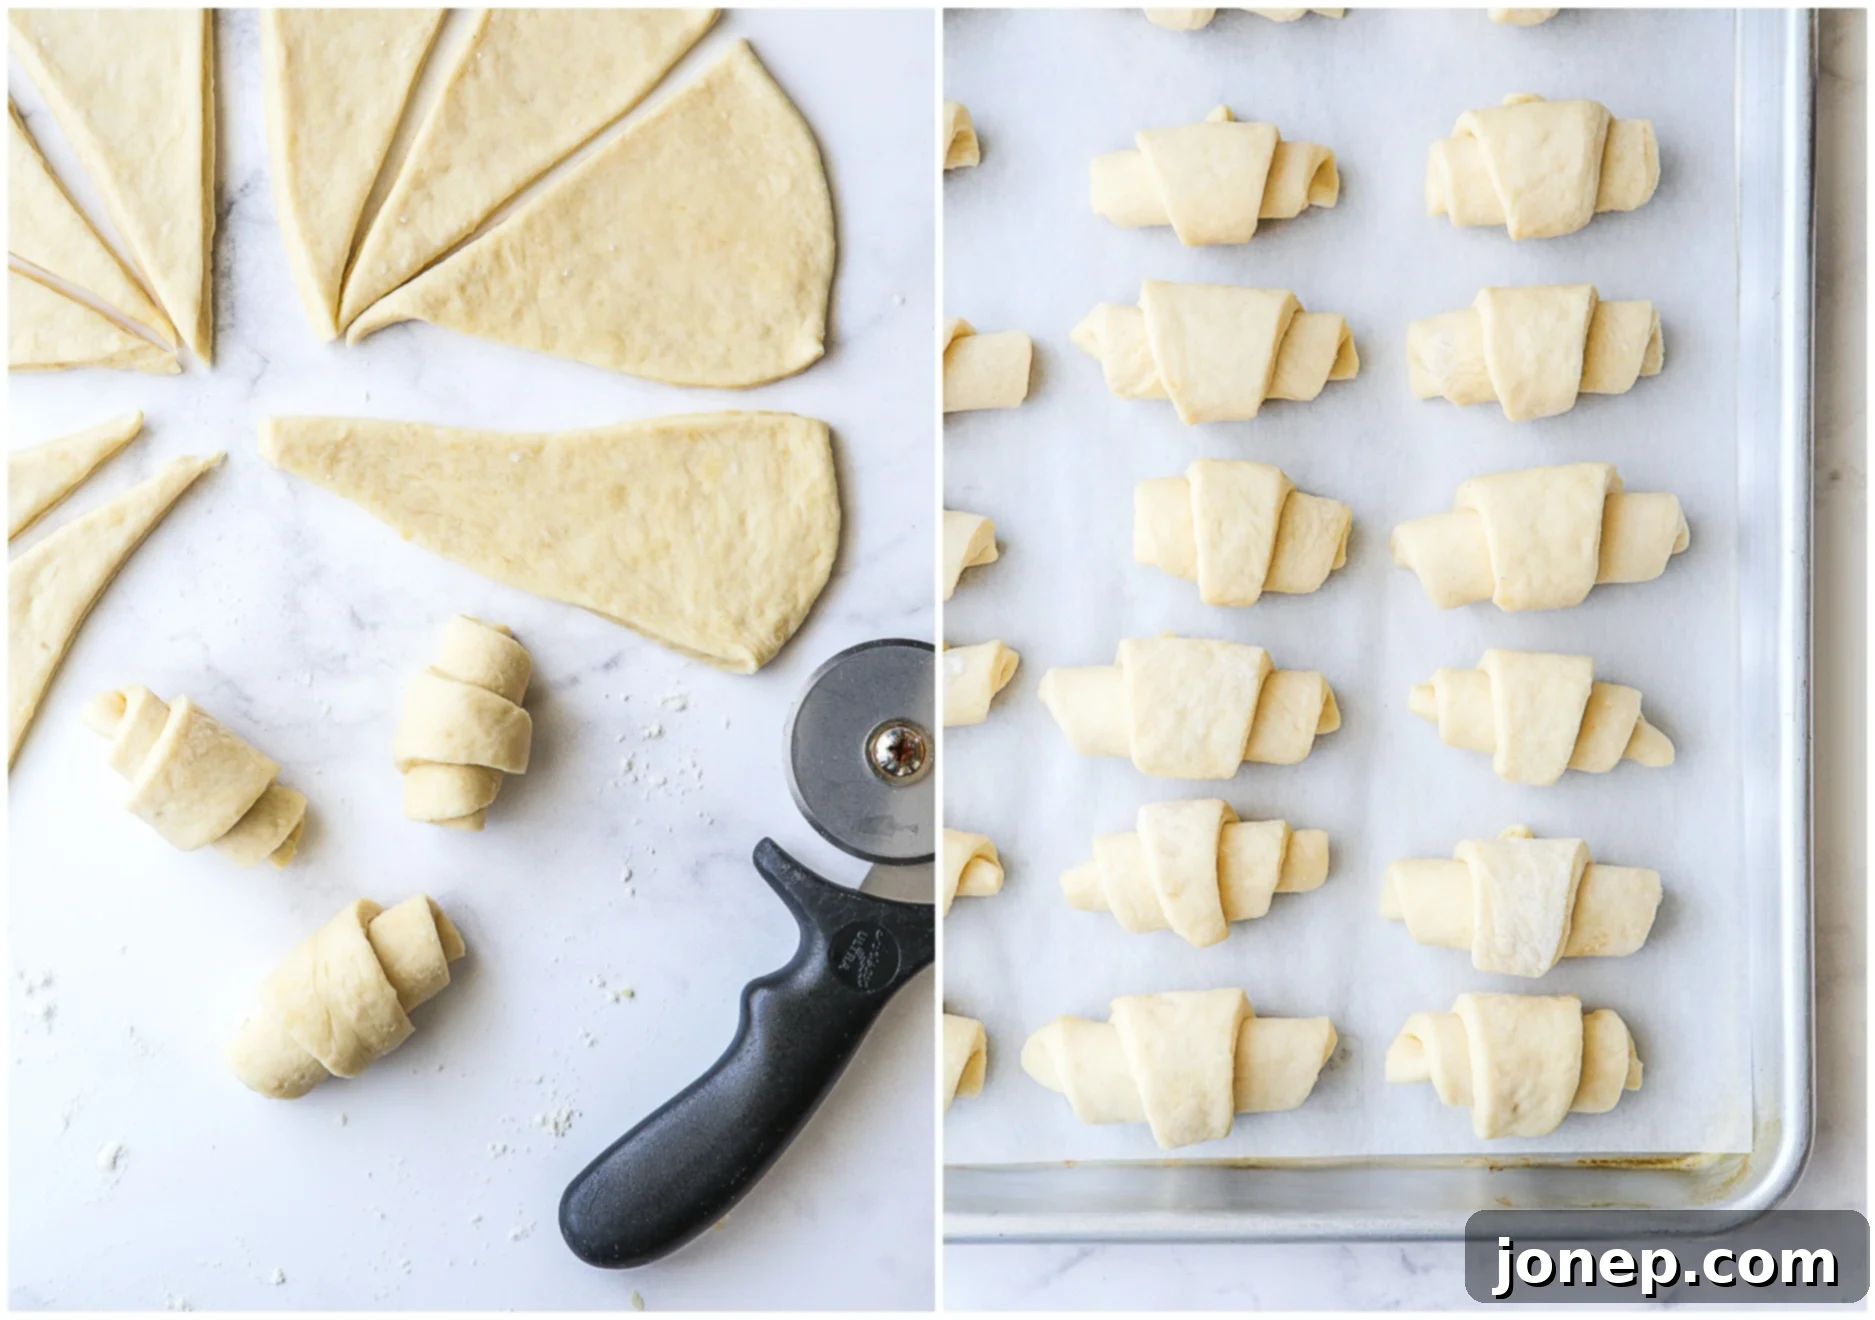
- Roll, Cut, and Shape into Crescents: Divide the dough ball in half. Take one portion and roll it out on a lightly floured surface into a large circle, about 12 inches in diameter. Using a pizza cutter or a sharp knife, cut the circle into 12 equal pizza-shaped wedges. Starting from the wider end of each wedge, gently roll the dough tightly towards the pointy end, creating the classic crescent shape. Place the shaped rolls on a parchment-lined baking sheet, tucking the pointy end underneath to secure the shape. Repeat this process with the remaining half of the dough. You should end up with a total of 24 beautiful crescent rolls, ready for their second rise.

- Second Rise & Preheat Oven: Loosely cover the shaped rolls with greased plastic wrap or a clean towel. Let them rise again for about 30 minutes while your oven preheats to 375°F (190°C). This second rise will ensure your rolls are extra light and airy.
- Bake to Golden Perfection: Place the baking sheets with the risen crescent rolls into the preheated oven. Bake for approximately 20 minutes, or until the rolls are beautifully golden brown and puffed up. Keep an eye on them towards the end of the baking time, as oven temperatures can vary.
- Finish with Buttery Glaze: The moment these glorious rolls emerge from the oven, immediately brush them generously with melted butter. This final touch adds an incredible sheen, enhances the rich flavor, and keeps them wonderfully soft. These no-knead fairy crescent rolls are truly best enjoyed warm, straight from the oven!

Expert Tips for Perfect Homemade Rolls
Achieving bakery-quality no-knead crescent rolls at home is easier than you think, especially with these helpful tips and tricks:
- Portion Size: Don’t be alarmed by the yield of 24 rolls (my Mom’s original recipe made a whopping 48!). These are not overly large rolls, and guests often enjoy more than one with their meal. If you’re feeding a crowd, this quantity is perfect.
- Halving the Recipe: If you’re baking for a smaller group and prefer to make fewer rolls, most ingredients can be easily halved. However, for best results with the leavening and richness, use 1 egg yolk instead of half an egg, and keep the sugar at 2 tablespoons. This ensures the balance of ingredients remains optimal for texture and flavor.
- Yeast Selection: My personal preference for bread baking is Red Star Platinum Yeast, but you can successfully use either active-dry or quick-rise/rapid-rise/instant yeast for this recipe. The primary difference will be in the rising times. Instant yeast typically cuts the rise times approximately in half, allowing for an even quicker preparation if you’re in a hurry. Just be sure to follow the package instructions for your specific yeast if they differ significantly.
- Mixing Tools: While a large spoon or spatula works perfectly fine for mixing this no-knead dough, I find a dough whisk to be incredibly efficient. It helps combine the ingredients thoroughly without overworking the gluten, resulting in a perfectly shaggy dough. A regular wire whisk can be helpful for blending the wet ingredients initially.
- Optimal Rising Environment: A warm, draft-free place is crucial for yeast activation and dough rising. My favorite method is to use my oven: simply heat the oven to its lowest setting for a few minutes, then turn it off completely. Place the covered dough bowl on the center rack and close the door. The residual warmth creates an ideal proofing environment. For more detailed tips on rising and proofing yeast breads, refer to this comprehensive guide.
- Buttering the Rolls: For that final flourish, you can certainly brush the warm rolls with melted butter using a pastry brush. However, my mom’s secret (and my preferred method) is to take a stick of butter, unwrap it partially, and simply rub it all over the hot rolls. The heat from the rolls melts the butter instantly, ensuring every crevice is coated with rich, buttery goodness. It’s an old-school trick that truly works wonders!
baking tip: 4 Ways to Prepare No-Knead Crescent Rolls in Advance
These fairy crescent rolls are fantastic fresh, but they’re also incredibly adaptable for making ahead. This makes them perfect for holiday meals, entertaining, or just ensuring you always have delicious homemade rolls on hand. Here are four convenient ways to prepare them in advance:
- Option 1: Rise the Bulk Dough in the Fridge Overnight: If you want to spread out your baking process, this method is ideal. After mixing your no-knead dough, place it in a lightly greased bowl, cover it tightly with plastic wrap, and refrigerate it overnight (up to 12-18 hours). The cold temperature will slow down the yeast activity, allowing for a long, slow fermentation that often enhances flavor. The next morning, simply remove the dough from the fridge, shape it into rolls, let it rise at room temperature until puffy, and then bake as directed.
- Option 2: Rise the Shaped Rolls in the Fridge Overnight (Cold Proof): For maximum convenience, you can shape the rolls the day before. After shaping your crescent rolls, arrange them in a greased baking dish or on a parchment-lined pan. Cover them snugly with plastic wrap and refrigerate overnight. On baking day, take the pan out of the fridge and let the rolls come to room temperature and puff up (this usually takes 1 to 1.5 hours, depending on your kitchen’s warmth) before baking.
- Option 3: Freeze Unbaked Shaped Rolls (Freezer-to-Oven Potential): This is a fantastic option for having fresh-baked rolls ready anytime. After shaping your rolls, place them on a parchment-lined baking sheet, ensuring they aren’t touching. Flash freeze them for about 1 hour until solid. Once frozen, transfer the rolls to a heavy-duty freezer-safe ziplock bag or airtight container, and store for up to 2 months. When you’re ready to bake, arrange the frozen rolls in a greased baking dish or on a parchment-lined pan. Thaw them at room temperature for a few hours, allowing them to rise until visibly puffy, then bake as per the recipe instructions.
- Option 4: Freeze Baked Rolls (Reheat and Serve): If you prefer to bake all your rolls at once and have leftovers, or want to prep completely in advance, freezing baked rolls is a great solution. Bake the rolls as normal and let them cool completely on a wire rack. Once cooled, wrap them tightly in aluminum foil, then place the foil-wrapped rolls into a ziplock freezer bag. Store them in the freezer for up to 1 month. To serve, remove the rolls from the bag, loosen the foil slightly, and warm them in a 300°F (150°C) oven for 20-25 minutes, or until heated through and soft. They’ll taste almost as good as freshly baked!
Explore More Delicious Roll Recipes
If you’ve fallen in love with homemade bread after trying these easy no-knead fairy crescent rolls, you’ll be delighted to know there are many more wonderful roll recipes to explore. Expand your baking repertoire with these other fantastic options, perfect for any occasion:
Get the Full No-Knead Fairy Rolls Recipe
Ready to bake these incredible no-knead fairy crescent rolls? Below you’ll find the complete recipe card, including exact measurements, detailed instructions, and nutritional information. This recipe is designed to make baking homemade dinner rolls an absolute joy.
Easy No-Knead Fairy Rolls
Pin Recipe
Leave a Review
Ingredients
- 1 cup (237 ml) warm water
- 2 ¼ teaspoons (7 grams) active dry yeast
- ½ cup (113 grams) unsalted butter , melted and cooled
- ⅓ cup (66 grams) granulated sugar
- 1 large egg
- 4 cups (480 grams) all-purpose flour
- ½ teaspoon baking powder
- 1 teaspoon salt
- Additional butter , for brushing
Instructions
-
In a large mixing bowl, combine the warm water and active dry yeast. Allow it to sit undisturbed for five minutes. This step is crucial for activating the yeast and ensuring your rolls rise beautifully.
-
To the activated yeast mixture, add the melted and cooled unsalted butter, granulated sugar, and the large egg. Stir vigorously with a wooden spoon or a dough whisk until all these wet ingredients are well combined. Then, gradually add the all-purpose flour, baking powder, and salt. Continue stirring until the mixture comes together into a shaggy, cohesive dough ball. Remember, no kneading is required!
-
Cover the bowl with a clean kitchen towel or plastic wrap. Place it in a warm, draft-free location and allow the dough to rise for approximately 30 minutes, or until it has noticeably puffed up. This first rise develops flavor and texture.
-
Once risen, gently punch down the dough to release the air. Transfer the dough to a lightly floured surface and divide it into two equal pieces. Return one half to the bowl and cover it while you work with the first portion. Roll out the first half of the dough into a circle about 12 inches in diameter.
-
Using a pizza cutter or sharp knife, cut the 12-inch circle into 12 equal-sized triangles, much like slicing a pizza. Starting from the wider, outer edge of each triangle, roll the dough tightly towards the point, forming a crescent shape. Place the shaped rolls in a buttered baking pan or on a parchment-lined baking sheet, tucking the pointy end underneath. Repeat this entire process with the second half of the dough.
-
Cover the baking pan(s) with a towel and let the shaped rolls rise for an additional 20-30 minutes. During this second rise, preheat your oven to 375°F (190°C).
-
Bake the rolls in the preheated oven for about 20 minutes, or until they achieve a beautiful golden brown color and are puffed and tender. Remove them from the oven immediately.
-
As soon as the rolls come out of the oven, brush them generously with additional melted butter. For an authentic touch, you can rub a stick of butter directly over the hot rolls, just like Grandma used to do! Serve warm for the best experience. Rolls will remain fresh and soft in an airtight container at room temperature for up to 3 days.
Video Tutorial
This recipe was originally published in November 2014 and has been updated with enhanced details and baking tips for the best possible results.
