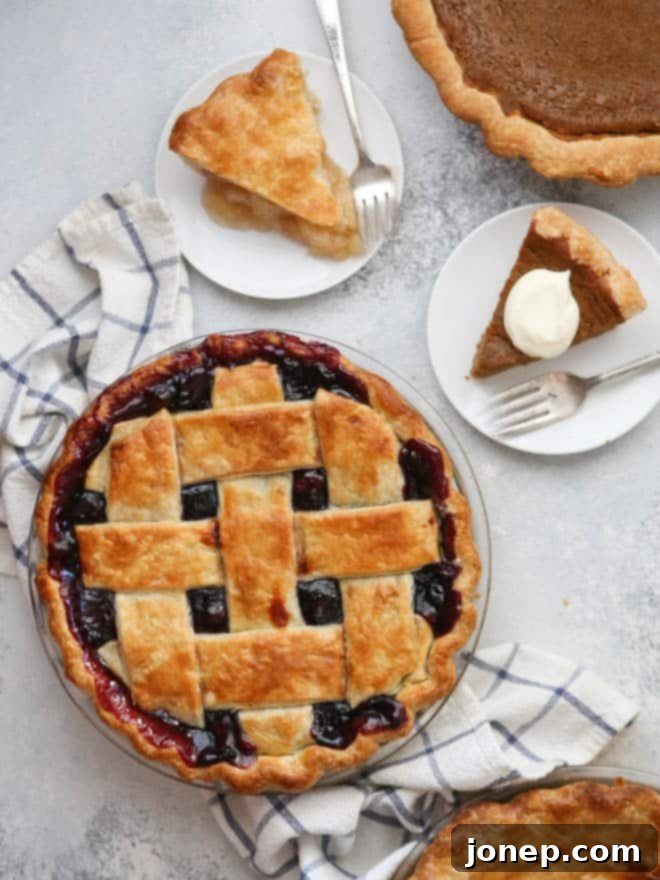
Mastering the Art of Pie Baking: Solving the 8 Most Common Pie Problems for Perfect Results Every Time
Baking a homemade pie can be one of the most rewarding kitchen experiences, but it also comes with its unique set of challenges. Few culinary frustrations are as disheartening as a pie that doesn’t quite turn out as envisioned – we’ve all been there! From a stubbornly sticky dough to a disappointingly runny filling, these common issues can make even seasoned bakers scratch their heads.
Over the years, through countless pies and a fair share of trial and error, I’ve gathered a wealth of practical tips and tricks that make a world of difference. This isn’t about complicated techniques or secret ingredients; it’s about understanding the fundamentals and applying simple solutions to common problems. Whether you’re a novice baker attempting your first pie or a seasoned pro looking to refine your skills, this comprehensive guide will equip you with the knowledge to troubleshoot and prevent the most frustrating pie-baking mishaps. Get ready to bake perfectly flaky crusts and beautifully set fillings every single time!
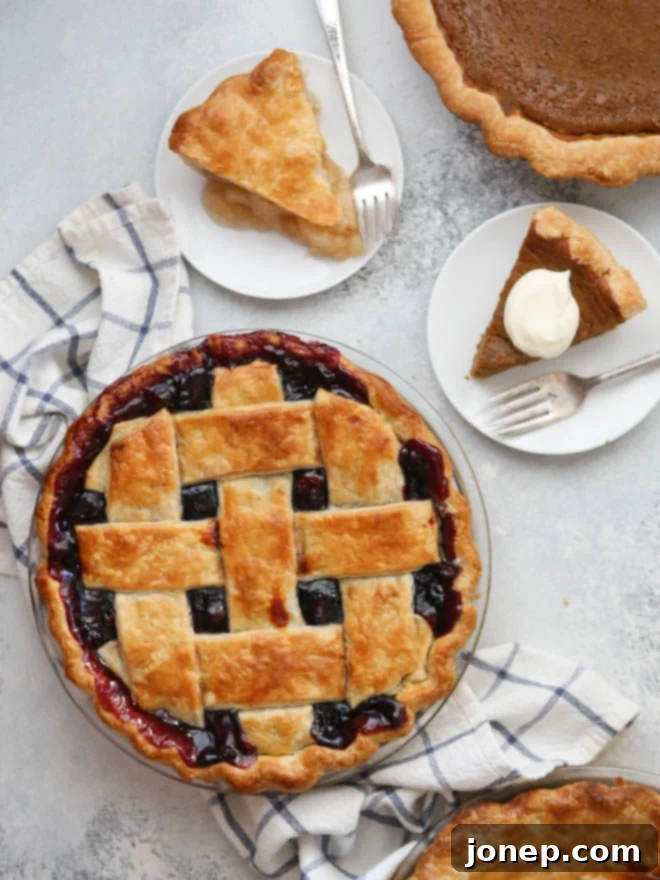
The journey to a perfect pie often involves navigating a few tricky spots. Fortunately, with the right approach, these common pie problems are entirely fixable. I’ve distilled my best tried-and-true advice into easy-to-follow steps designed to ensure your pies emerge from the oven looking and tasting spectacular. Let’s dive into the solutions that will transform your pie-baking experience.
Table of Contents
- Identifying Common Pie Baking Challenges
- Preventing Cracked Pie Dough
- Keeping Pie Dough from Sticking to Your Work Surface
- Effortlessly Transferring Pie Dough into a Pie Dish
- Preventing Pie Crust Shrinkage in the Oven
- Knowing Precisely When Your Pie is Done
- Protecting Pie Crust from Burning
- Say Goodbye to Soggy Bottom Pie Crusts
- Ensuring a Perfectly Set, Non-Runny Pie Filling
- Essential Pie Baking Resources
- Delicious Pie Recipes to Try
Note: This post contains affiliate links, which means I may earn a small commission if you make a purchase through them, at no extra cost to you.
Identifying Common Pie Baking Challenges
To truly master pie baking, it’s crucial to address the most common frustrations faced by home bakers. I recently polled my Facebook community, and with hundreds of responses, these 8 issues emerged as the top culprits for pie-baking woes:
- Cracked Pie Dough: Dough that crumbles and cracks during the rolling process.
- Sticky Dough: Pie dough that stubbornly adheres to the counter while you’re trying to roll it out.
- Tricky Transfer: Difficulty moving the rolled-out dough from your work surface into the pie dish without tearing or stretching.
- Shrinking Crust: Pie crust that slumps down the sides of the pan or shrinks significantly during baking.
- Uncertain Doneness: Not knowing precisely when the pie has finished baking.
- Burned Crust: The crust browning too quickly, or even burning, before the filling is fully cooked.
- Soggy Bottom: A pie with a wet, under-baked, or gummy bottom crust.
- Runny Filling: A pie filling that remains liquid or doesn’t set properly after slicing.
These are the exact problems we’ll tackle head-on in this detailed article. Each section offers practical, easy-to-implement solutions, turning your pie-baking challenges into triumphs. Let’s get started on our journey to baking the perfect pie!
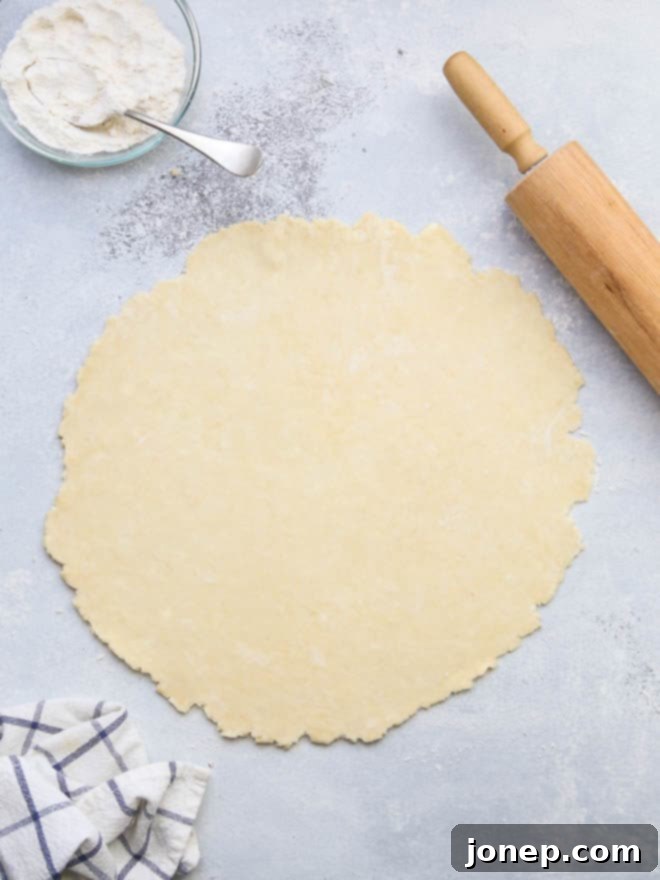
Preventing Cracked Pie Dough
A crumbly or cracked pie crust can be incredibly frustrating to work with, making it difficult to roll out evenly and nearly impossible to transfer without further damage. This often happens when the dough is too dry, too cold, or has been overworked.
Expert Tips to Keep Pie Dough from Cracking:
- Proper Hydration is Key: Ensure you add just enough liquid to your dough. It should be moist enough to come together into a shaggy ball when squeezed, with only a few loose crumbs remaining. All dry ingredients must be fully incorporated. Add liquid slowly, a tablespoon at a time, until this consistency is achieved. Too little liquid results in a dry, brittle dough, while too much can make it tough.
- Temper Your Dough: Cold dough is stiff dough. Allow your pie dough to sit at room temperature for about 10-15 minutes before rolling. This subtle warming softens the butter or fat slightly, making the dough more pliable and easier to roll without cracking. Don’t let it get too warm, though, or it will become sticky.
- Repair Cracks with Moisture and Flour: If cracks appear while rolling, don’t panic! Dip your fingers in a little water, gently moisten the cracked edges, and press the dough together to seal the break. Once repaired, sprinkle a touch of flour over the area and continue rolling. This technique helps the dough adhere without compromising its texture. For larger cracks, you can even patch with a small piece of dough from the edge.
Keeping Pie Dough from Sticking to Your Work Surface
A sticky pie crust is a nightmare to handle. It rips, tears, and makes rolling out a nightmare. Beyond the handling difficulties, excessive stickiness can also indicate that your dough has too much liquid, potentially leading to a tough rather than flaky baked crust. This issue is often a balance between hydration and proper flouring.
How to Keep Pie Dough from Sticking While Rolling It Out:
- Precision with Liquid: During dough preparation, be very precise with the amount of liquid. Add water or milk in small increments (teaspoon by teaspoon) until the dough just comes together. The goal is to avoid over-hydrating the dough, which is the primary cause of excessive stickiness and can lead to a less tender crust.
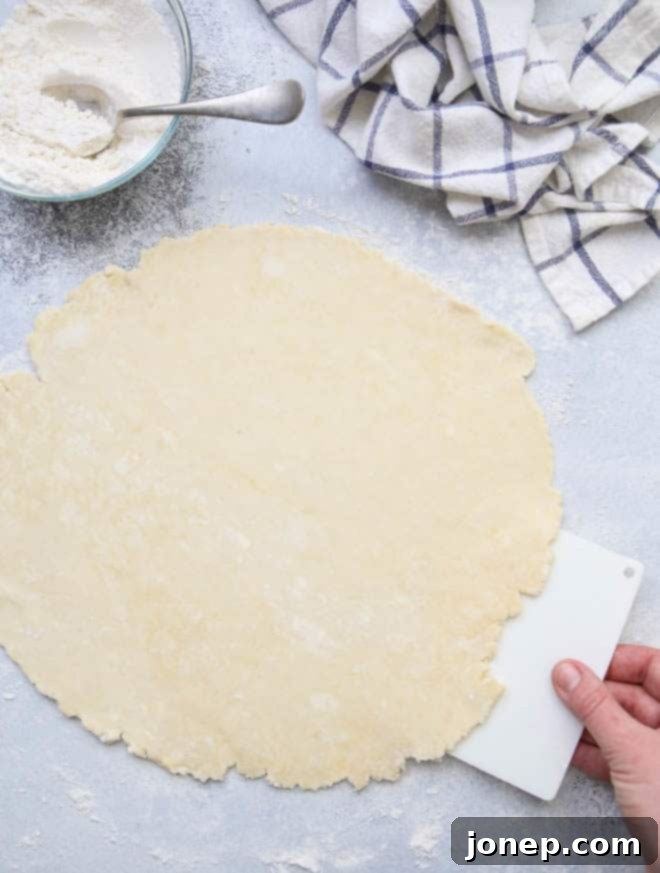
- Generous, Even Flour Dusting: Liberally flour your work surface, the top of your pie dough, and your rolling pin. Don’t be shy, but also don’t use so much that it’s incorporated into the dough, making it tough. Keep a small bowl of flour nearby for easy re-dusting. The flour creates a barrier, allowing the dough to glide.
- The “Lift and Rotate” Technique: This is a game-changer! After a few rolls, gently lift the dough from the counter, rotate it a quarter turn, and then place it back down before rolling again. This continuous movement prevents the dough from bonding to the surface and allows you to add more flour underneath if needed. It also helps achieve an even, round shape.
- Utilize a Bench Scraper: For any stubborn spots where the dough might stick, a bench scraper is your best friend. Its thin, flat edge allows you to easily and gently loosen the dough from the counter without tearing it, providing a clean release.
Effortlessly Transferring Pie Dough into a Pie Dish
Moving a large, fragile circle of rolled-out pie dough from your counter to the pie pan can feel like a high-stakes operation. One wrong move, and you risk stretching, tearing, or deforming the crust. However, with a couple of clever techniques, this step becomes surprisingly easy and stress-free, ensuring your beautiful, even dough makes it into the dish intact and ready for filling.
Two Foolproof Ways to Transfer Rolled-Out Pie Dough:
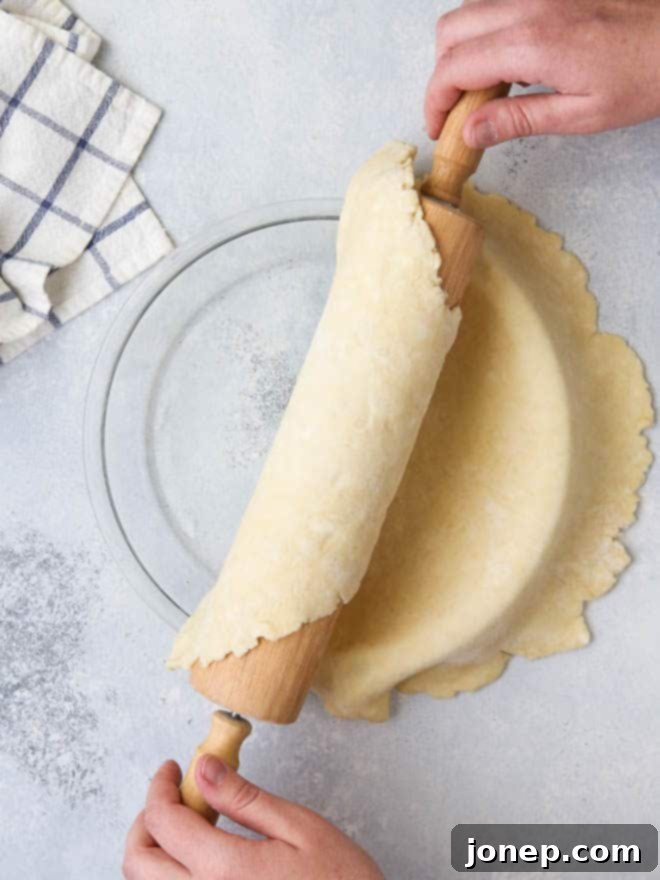
- The Rolling Pin Method: This is my preferred technique for its simplicity and effectiveness. Once your dough is rolled to the desired size and thickness, gently place your rolling pin across one edge of the dough. Carefully and loosely roll the entire sheet of dough up onto the rolling pin. Lift the rolling pin, position it over one edge of your pie dish, and then slowly unroll the dough, letting it drape smoothly into the pan. This method minimizes stretching and tearing, allowing the dough to settle naturally.
- The Quarter-Fold Method: For a slightly more compact transfer, gently fold your rolled dough in half, then fold it in half again (into quarters). Carefully lift the folded dough with both hands and position it over the center of your pie dish. Once centered, gently unfold the dough, first in half, then completely open, allowing it to relax into the contours of the pan. Be sure to avoid pulling or stretching the dough as you unfold it, as this can lead to shrinkage during baking.
Once the dough is in the pan, gently press it into the bottom and up the sides without stretching it. Any stretching at this stage will cause the crust to pull back and shrink during baking.
Preventing Pie Crust Shrinkage in the Oven
Pie crust shrinkage is a common and vexing problem, particularly when blind baking or par-baking a crust for fillings that don’t provide structural support. Without a filling to hold up the sides, the crust often slips down the edges of the pan, resulting in a thick, uneven bottom and a lack of elegant height. This phenomenon is usually due to gluten relaxing and contracting when exposed to heat, or simply not chilling the dough sufficiently.
Effective Steps to Prevent Pie Crust from Shrinking:
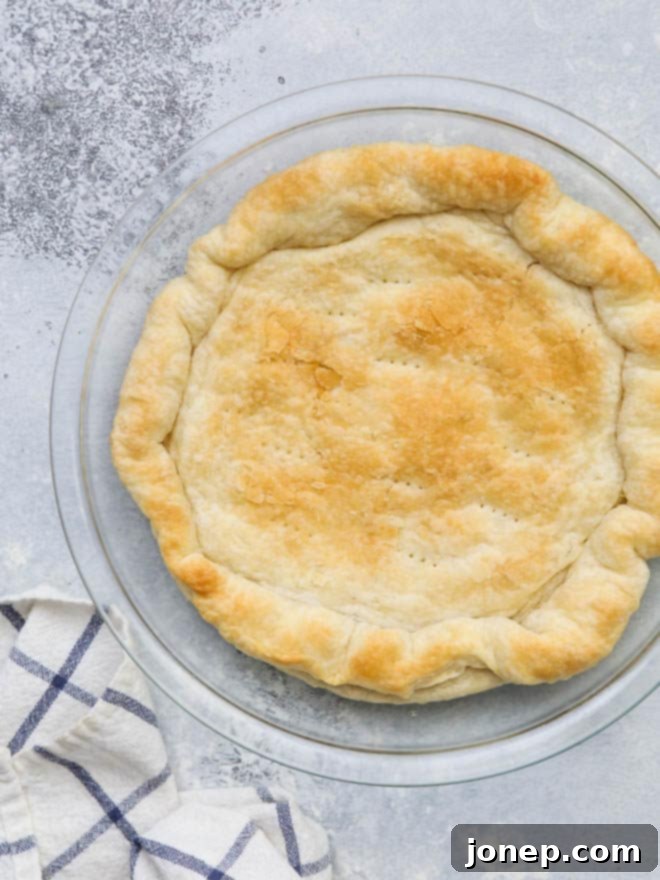
- Chill and Freeze the Dough: After fitting the dough into the pie dish and crimping the edges, place the entire pie dish in the freezer for at least 30 minutes (or up to several hours). This critical step thoroughly chills the butter or fat, solidifying it and firming up the gluten structure, which helps to lock the dough’s shape in place before it hits the heat of the oven.
- Use a Properly Weighted Liner: Before baking, line the frozen crust with parchment paper or heavy-duty aluminum foil. Ensure the liner is pressed snugly against the bottom and sides of the dough to prevent air pockets. Then, fill the liner generously with ceramic pie weights, dried rice, or dried beans. These weights provide essential support, holding the crust’s shape and preventing the sides from slumping as the butter melts and the gluten relaxes.
- Initial Blind Bake with Weights: Bake the weighted crust in a preheated oven (usually around 400-425°F or 200-220°C) for about 15-20 minutes, or until the edges are set and lightly golden. The initial high heat helps to quickly set the crust structure.
- Second Blind Bake Without Weights: Carefully remove the foil liner and pie weights. Continue baking the crust for another 10-15 minutes, or until the bottom of the crust appears dry, set, and lightly golden. This second phase ensures the bottom crust is fully cooked and less prone to becoming soggy once filled.
For a more detailed visual guide and in-depth instructions, refer to my comprehensive tutorial on how to blind bake a pie crust.
Knowing Precisely When Your Pie is Done
One of the trickiest aspects of pie baking is knowing when to pull it from the oven. Pies often bake for extended periods (typically 45-75 minutes), leading to anxiety about under-baking or, conversely, over-baking “just to be sure.” The key to perfect doneness lies in evaluating both the crust and, crucially, the filling, as different filling types have distinct indicators.
Key Indicators to Determine When a Pie is Done:
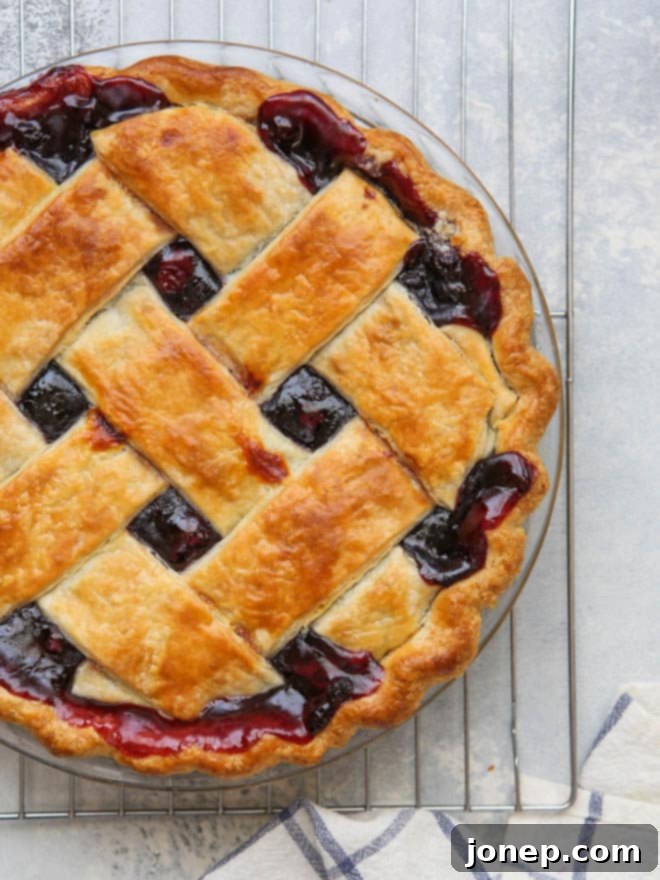
- For Fruit-Filled Pies: If you’re baking a fruit pie, such as a classic apple pie or a vibrant berry pie, the most reliable sign of doneness is when the filling is visibly bubbling thickly, not just around the edges, but also in the center. This robust bubbling indicates that the thickening agent (whether it’s flour, cornstarch, tapioca, or pectin) has been fully activated by the heat, ensuring the filling will set properly as it cools. You can also gently pierce a fruit piece with a knife through a vent to check for tenderness.
- For Egg or Custard-Based Pies: Pies like pumpkin pie, pecan pie, or custard pie require a different approach. These are done when the edges of the pie appear fully set and firm, while the center still has a slight, barely perceptible jiggle when gently shaken. Resist the urge to bake until the center is completely firm in the oven; it will continue to set and firm up significantly as the pie cools due to carryover cooking. Overbaking can lead to a dry, cracked custard.
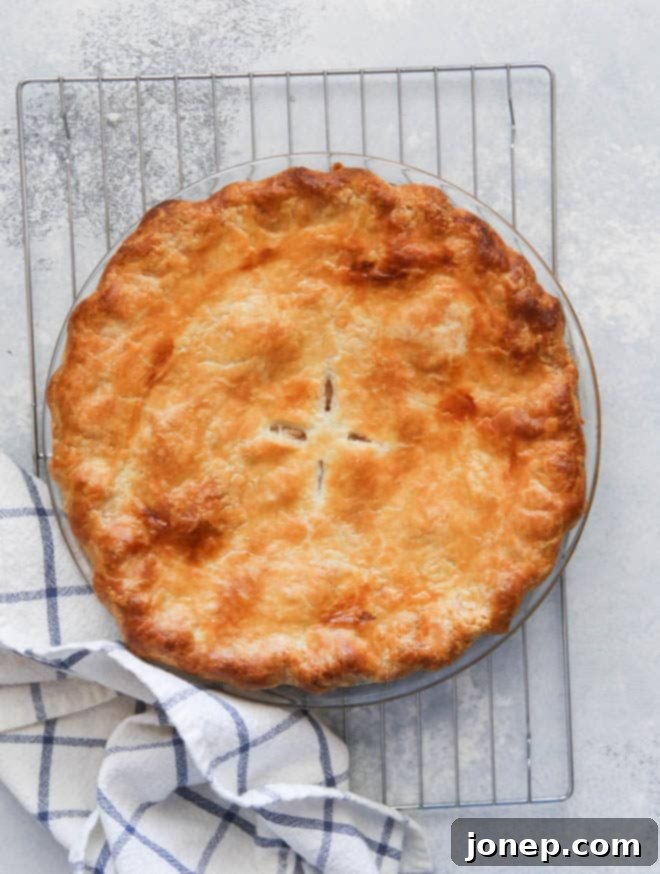
- The Golden Crust Standard: Regardless of the filling, a perfectly baked pie should always boast a beautifully golden-brown crust. This color indicates proper caramelization and crispness. If your crust is still pale, it likely needs more time, even if the filling appears done (though you might need to shield it, as discussed below).
Protecting Pie Crust from Burning
It’s a common baking conundrum: the pie crust browns beautifully, sometimes even too quickly, while the filling still needs more time to fully cook and set. Pulling the pie too early results in an under-baked, often runny filling, but leaving it in means risking a burnt, bitter crust. The key is to protect the crust without inhibiting the filling’s progress.
Effective Strategies When Pie Crust is Browning Too Quickly:
- Tenting the Entire Pie with Foil: If the entire top crust or a lattice topping is turning golden brown well before the filling is expected to be done, loosely cover the entire pie with a sheet of aluminum foil. Create a tent shape so the foil doesn’t press down on the crust. The foil reflects heat, slowing down the browning process of the crust while allowing the internal temperature of the filling to continue rising.
- Shielding Just the Edges: Often, it’s just the delicate edges of the pie crust that brown faster than the rest. To address this, you have two excellent options:
- DIY Foil Ring: Take a large sheet of aluminum foil, fold it into quarters, and then carefully cut out the center point to create a circular hole. When unfolded, this will form a ring. Place this foil ring over the pie, ensuring the edges of the crust are covered while the center of the pie (where the filling is still cooking) remains exposed.
- Commercial Pie Crust Shield: For a reusable and convenient solution, invest in a silicone or metal pie crust shield. These are designed to fit perfectly around the edges of a pie, offering superior protection from over-browning.
Once the crust is shielded, continue baking until the filling reaches its ideal doneness.
Monitoring your pie closely throughout the baking process, especially in the last third of the baking time, will allow you to intervene with these methods before any burning occurs, ensuring both a perfectly cooked filling and a beautifully golden, unburnt crust.
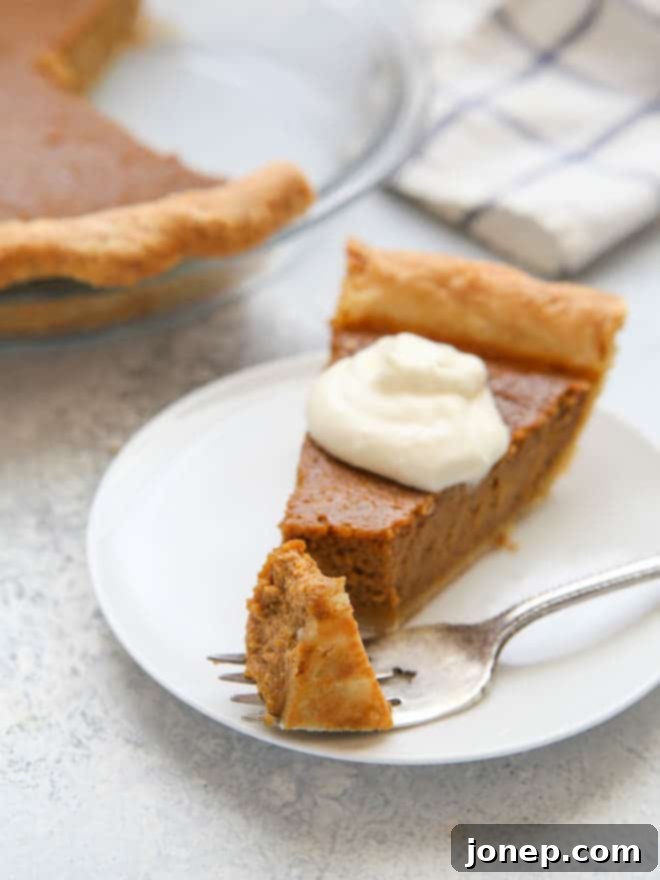
Say Goodbye to Soggy Bottom Pie Crusts
A gummy, under-baked, or downright soggy bottom crust is one of the most common and disappointing pie faults. It can ruin an otherwise delicious pie, turning a flaky foundation into a sad, unappetizing layer. This usually occurs when the bottom crust absorbs too much moisture from the filling before it has a chance to fully cook and crisp up. The good news is, a perfectly crisp bottom crust is entirely achievable with a few smart techniques.
Tried-and-True Tips for Keeping Pie Crust from Getting Soggy:
- Assemble and Bake Immediately: Once your pie filling is ready and your crust is in the pan, do not delay! Fill and assemble the pie right before it goes into a preheated oven. If using a top crust, have it rolled out and ready. This minimizes the time the liquid from the filling has to soak into the bottom crust, preventing it from becoming soggy before baking even begins.
- Blind Bake the Crust (Especially for Wet Fillings): For pies with very wet fillings (like pumpkin, custard, or fresh fruit with high moisture content), blind baking (or par-baking) the crust beforehand is essential. As detailed in the “Preventing Pie Crust Shrinkage” section, this process bakes the crust until it’s set and lightly golden before the filling is added, creating a barrier against moisture.
- Bake on the Bottom Rack: Position your pie on the bottom rack of your oven. This allows the direct heat from the oven’s heating element to reach the bottom of the pie dish more intensely, promoting a crispier bottom crust. If your pie’s topping is browning too quickly, you can move it down to the bottom rack after the top is golden.
- Choose the Right Pie Dish: The material of your pie dish plays a significant role in heat conduction. Metal pie dishes (especially dark metal) and ceramic pie dishes tend to conduct heat more efficiently than glass. Better heat conduction means the bottom crust cooks and crisps up more effectively. If using glass, ensure your blind baking technique is impeccable.
- Hot Oven Start: Many pie recipes call for a relatively high initial baking temperature (e.g., 425°F/220°C for 15-20 minutes) before reducing it. This burst of high heat helps to quickly set the crust and begin the browning process on the bottom before the filling has a chance to thoroughly moisten it.
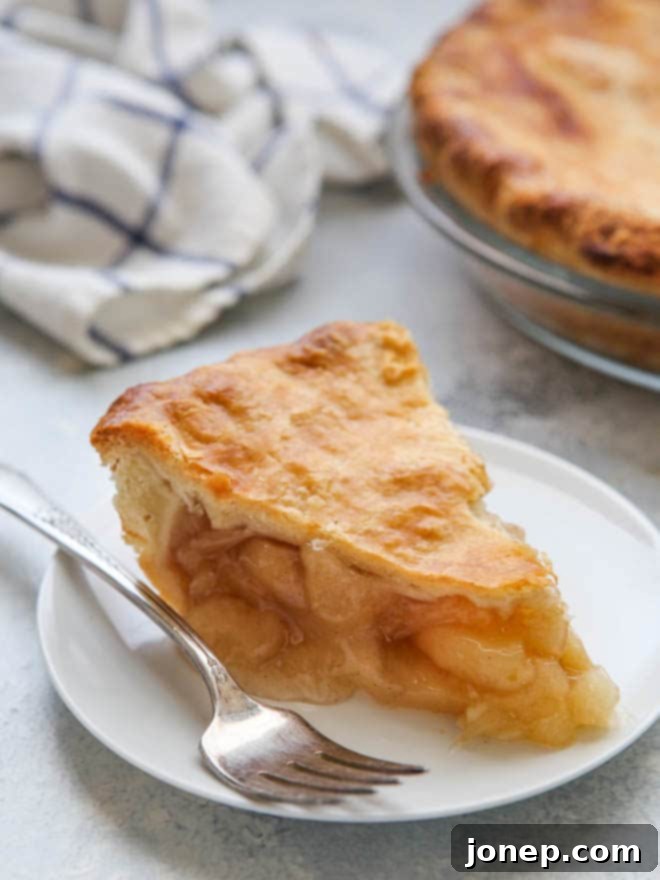
Ensuring a Perfectly Set, Non-Runny Pie Filling
There’s nothing quite as deflating as slicing into a beautifully baked pie only to find a liquid, runny filling that spills out rather than holding its shape. This not only makes for messy servings but often contributes to a soggy bottom crust as well. Achieving a perfectly set filling is crucial for both presentation and texture, and it primarily depends on proper thickening and adequate cooling.
Key Strategies to Prevent a Runny Pie Filling:
- Adhere Strictly to the Recipe: The most crucial step is to follow the recipe instructions precisely as written. The amounts of thickening agents (like flour, cornstarch, tapioca, or even eggs in custard pies) are carefully calibrated to set the filling. Altering these quantities, or changing other ingredient amounts like sugar (which can draw out moisture), will directly impact the filling’s texture and its ability to properly set.
- Exercise Caution with Ingredient Substitutions: If you’re considering substituting a key ingredient (e.g., honey for corn syrup, or tapioca for cornstarch), be extremely cautious. Different thickeners and sweeteners behave differently. Instead of guessing, it’s always best to find another reliable, tested recipe that specifically uses your desired substitute to ensure proper results.
- Patience is a Virtue: Allow Complete Cooling: This is arguably the most common mistake leading to runny fillings! It’s incredibly tempting to slice into a warm, fragrant pie, but resisting this urge is absolutely vital. Pie fillings, especially those thickened with starches or eggs, continue to set and firm up significantly as they cool. Cutting into a warm pie interrupts this setting process, resulting in a runny, messy slice.
- Cooling Time: Most pies need to cool for several hours at room temperature, sometimes even overnight, to fully set. For fruit pies, 4-6 hours is often sufficient. Custard and cream pies may benefit from an hour or two on the counter followed by refrigeration until firm.
- Speed Up Cooling: If you’re short on time, you can carefully place a cooled pie in the refrigerator for an hour or two to speed up the setting process.
- Re-warming for Serving: If you wish to serve a warm slice, allow the pie to cool completely first. Then, you can re-warm individual slices (or the whole pie, covered loosely with foil) in a 350°F (175°C) oven for about 20-30 minutes. This method ensures your filling is perfectly set, yet still warm and comforting.
By understanding these principles and practicing patience, you’ll consistently achieve beautifully set pie fillings that hold their shape and delight your taste buds.
Essential Pie Baking Resources
To further enhance your pie-making skills and explore more delicious recipes, delve into these helpful resources:
- How to Make Foolproof Flaky Pie Crust
- How to Blind Bake Pie Crust: A Step-by-Step Guide
- Making Pie Crust in the Food Processor: Quick & Easy Method
- How to Prep and Store Pie Crust in Advance
- My Favorite Essential Pie Baking Tools
Delicious Pie Recipes to Try
Now that you’re armed with the knowledge to conquer common pie problems, it’s time to put your skills to the test! Explore these incredible pie recipes and bake with confidence.
