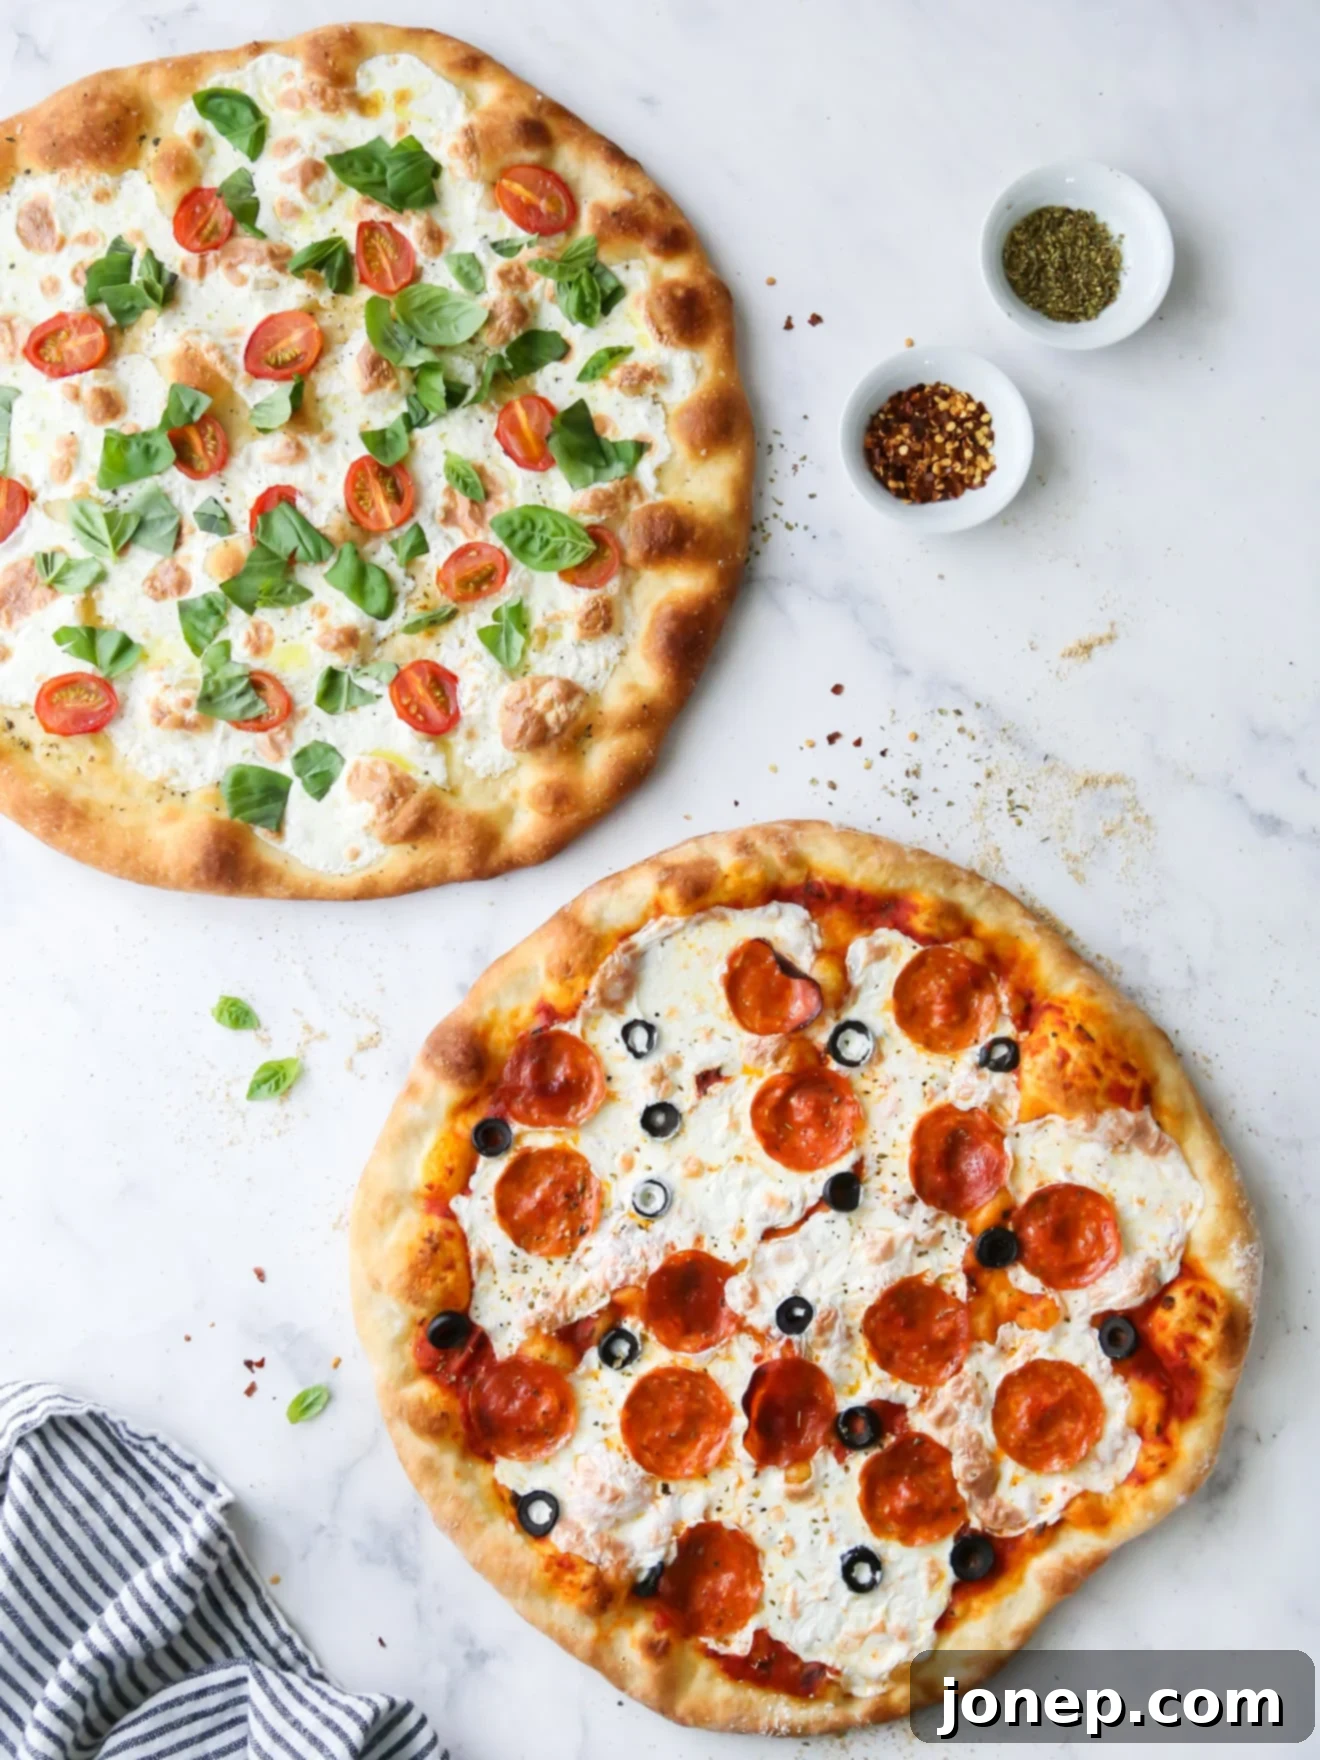
Mastering Homemade Pizza: Your Guide to Easy No-Knead Dough & Perfect Oven Baking
Say goodbye to complicated pizza recipes and hello to effortless pizza nights! This incredible no-knead pizza dough recipe is a game-changer, simplifying your homemade pizza experience from start to finish. We’re not just sharing a dough recipe; we’re also diving deep into all my best-kept secrets for crafting pizzeria-quality pies right in your own kitchen oven. Get ready to impress your family and friends with delicious, crispy, and perfectly topped pizzas with minimal effort.
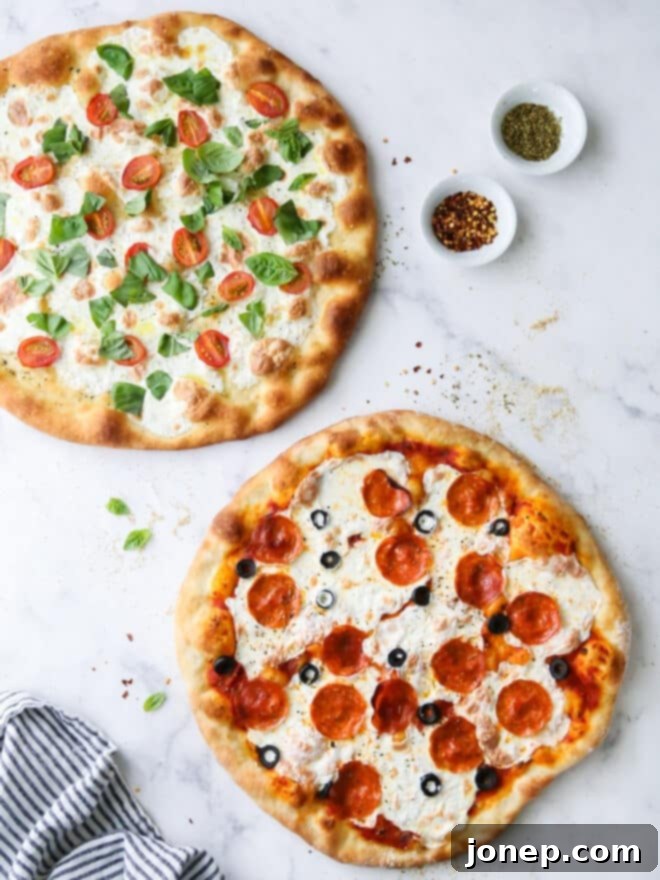
This recipe is proudly sponsored by Red Star Yeast.
For years, Friday night pizza has been a beloved tradition in our home. While my previous basic pizza dough recipe served us well, I’ve discovered a truly revolutionary method: this fantastic no-knead pizza dough. Once you try it, you’ll understand why I’m never looking back.
This simple recipe calls for just five staple ingredients and takes less than five minutes of active preparation. After a quick mix, the dough rests patiently on your counter, developing incredible flavor and texture until you’re ready to transform it into culinary magic! The resulting crust is wonderfully chewy, boasting a rich depth of flavor that provides the perfect foundation for any of your favorite pizza topping combinations. Get ready for a delicious journey to homemade pizza perfection.

Why Homemade Pizza Night is a Must for Your Family
There’s something truly special about gathering around a homemade pizza, and this recipe makes it easier than ever to incorporate this delightful tradition into your weekly routine. Here’s why bringing pizza night home is always a fantastic idea:
- Better Than Takeout: While takeout is convenient, nothing beats the fresh taste, customizable options, and quality ingredients of a pizza made from scratch. You control everything that goes into it!
- Easy & Foolproof Dough: This no-knead pizza dough recipe is designed for success, even for those who might feel intimidated by baking with yeast. The simplicity of the method means you’ll achieve a perfect crust without any fuss or complicated techniques.
- Quick Learning Curve: You don’t need to be a professional pizzaiolo to master homemade pizza. The fundamentals are simple, and with just a few attempts, you’ll quickly become proficient at creating delicious pizzas tailored to your taste.
- Endless Fun & Creativity: Homemade pizza is a wonderfully interactive and creative activity for the whole family. Experimenting with different sauce bases, cheese blends, and a vast array of toppings ensures that no two pizza nights are ever the same. It’s a fantastic way to bond and explore new flavors together.
- Cost-Effective: Making pizza at home is significantly more budget-friendly than ordering takeout or delivery, allowing you to enjoy gourmet flavors without breaking the bank.
Convinced yet? Let’s roll up our sleeves and get baking!
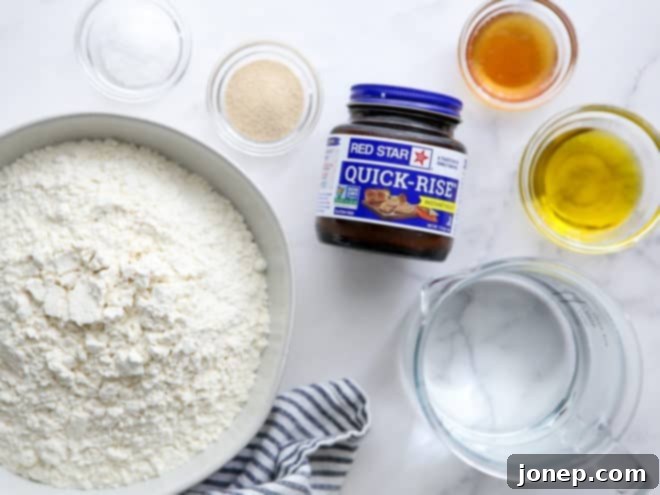
Essential Ingredients for Your No-Knead Pizza Dough
This incredibly simple recipe yields enough dough for two generously sized 14-inch pizzas, perfect for feeding a family or having leftovers. Gather these minimal ingredients to get started:
- Red Star Quick-Rise Instant Yeast: The magic behind our quick and efficient rise. Instant yeast doesn’t require proofing, making the process even simpler.
- Warm Water: Crucial for activating the yeast. Ensure it’s warm, not hot, to keep the yeast happy and active.
- Olive Oil: Adds flavor, tenderness, and a lovely golden hue to the crust.
- Honey: A touch of sweetness that also helps to feed the yeast, contributing to a more robust rise and flavor.
- Coarse Salt: Essential for seasoning the dough and enhancing all the other flavors. Don’t skip it!
- All-Purpose Flour: The structural backbone of our dough, providing the perfect chewiness.
- Your Favorite Pizza Toppings: Because a great crust deserves equally great toppings! (We’ll get to suggestions later.)
Why Red Star Yeast is My Go-To for Baking
While this recipe can certainly be made with active-dry yeast, my preference for Red Star Quick-Rise Instant Yeast is rooted in its remarkable efficiency and reliability. Many traditional no-knead recipes demand an extended, often overnight, rise time. However, using instant yeast dramatically shortens this period, allowing you to prepare and enjoy your homemade pizza in as little as an hour. This means that spontaneous pizza nights are entirely within reach!
Beyond its convenience in pizza dough and other delectable bread recipes, Red Star Yeast stands out for its unwavering commitment to supporting and educating home bakers. They are more than just a product; they are a resource. I highly recommend exploring Red Star’s comprehensive Yeast and Baking Lessons section on their website. It’s packed with invaluable information, expert tips, and helpful guides covering everything from product usage to mastering every single step of the bread baking process. It’s an invaluable tool for anyone looking to improve their baking skills and confidence.
Step-by-Step Guide: Crafting Your Easy No-Knead Pizza Dough
You won’t believe how straightforward this process is. Seriously, it truly couldn’t be easier to achieve a fantastic pizza crust:
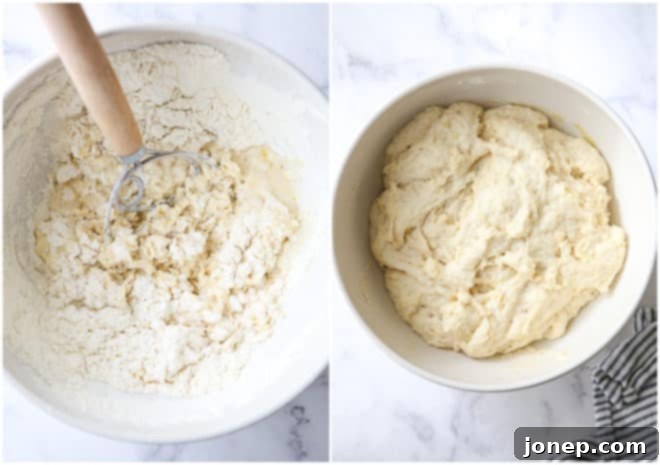
- Combine All Ingredients: In a large mixing bowl, simply add the warm water, instant yeast, salt, honey, olive oil, and all-purpose flour. Using a sturdy spoon or a dedicated dough whisk, mix everything until just combined. The mixture will look a bit shaggy and sticky – this is exactly what you want! Avoid overmixing; just ensure all the flour is incorporated.
- Allow to Rise: Once mixed, cover the bowl tightly with plastic wrap or a clean kitchen towel. Let the dough rest and rise at room temperature for 1 to 3 hours. I personally find a 2-hour rise yields the best flavor and texture, but thanks to the instant yeast, you have flexibility. If you’re short on time, it can be used sooner (around 1 hour), and if you let it go a bit longer, it will still produce excellent results. This dough is incredibly forgiving!
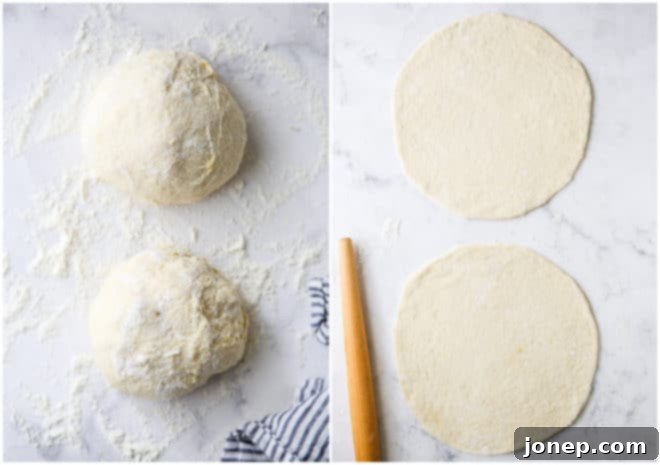
- Portion and Gently Shape: Once risen, gently deflate the dough and turn it out onto a lightly floured surface. Divide the dough into two equal portions. With floured hands, lightly and quickly shape each portion into a loose ball. The goal here is to create a taut surface on top without overworking the dough. If you’d like a visual guide, this video demonstrates the simple shaping method I use.
- Roll Out the Dough: Lightly flour your countertop and the top of a dough ball. Using a rolling pin, carefully roll the dough out from the center outwards, rotating it frequently to maintain a round shape. Aim for a round approximately 12 inches wide for a standard crust. If you prefer a wonderfully thin, crispy crust, roll it out to about 14 inches. Don’t stress about achieving a perfect circle; rustic shapes add character! If the dough starts to resist and springs back, simply let it rest for 5 minutes. This allows the gluten to relax, making it easier to roll again without tearing.
Now that your perfect dough is ready, we can move on to the most exciting part: adding your favorite toppings and getting ready to bake!
Elevate Your Pizza with Your Favorite Toppings
This is where your creativity truly shines! The possibilities are endless when it comes to pizza toppings. Here are some tried-and-true suggestions and tips to inspire your next masterpiece:
- Sauce: The foundation of flavor! Classic red marinara sauce is always a winner, but don’t shy away from alternatives like creamy white sauce (Alfredo), a drizzle of high-quality olive oil with garlic, or vibrant pesto for a unique twist. For convenience, a good quality store-bought sauce works perfectly.
- Cheese: Mozzarella is the traditional choice for its melting qualities. You can use sliced fresh mozzarella for a creamier, slightly more watery result, or shredded brick mozzarella for a more even melt and less moisture. Beyond mozzarella, consider adding accents like salty Parmesan, tangy feta, or rich goat cheese – either in addition to or as a substitute for mozzarella.
- Vegetables: The sky is truly the limit! Think bell peppers, onions, mushrooms, olives, spinach, artichoke hearts, zucchini, or even roasted broccoli. Remember to slice veggies thinly to ensure they cook thoroughly during the pizza’s short baking time. For items like onions and mushrooms, pre-cooking them slightly beforehand will concentrate their flavors and create a wonderful caramelized sweetness.
- Meats: Popular choices include pepperoni, ham, crumbled bacon, sausage, or even seasoned ground turkey or beef. It’s crucial that all raw meats (like sausage or ground beef) are fully cooked and drained of excess fat before being added to the pizza. The high heat and short baking time of pizza are not sufficient to safely cook raw meat.
- Greens & Herbs: Delicate leafy greens and fresh herbs like arugula, fresh basil, or cilantro are best added *after* the pizza comes out of the oven. This preserves their vibrant color and fresh flavor. Spinach, however, can be added before or after baking, depending on your preference for wilted or fresh greens.
A Crucial Topping Tip: Don’t Overload! One of the most common mistakes is adding too many toppings. An overcrowded pizza crust will become weighed down, making it challenging to transfer to the oven. More importantly, excessive toppings prevent the crust from rising and baking properly, leading to a dense, undercooked center. Overcrowded toppings also release steam and moisture, resulting in a soggy pizza. As a general rule, in addition to your sauce and cheese, aim for no more than 3 distinct toppings for optimal results.
Alright, your pizzas are beautifully topped and ready for their fiery transformation. Time to bake!

Achieving Pizzeria-Quality Pizza in Your Home Oven
After years of tireless experimentation and perfecting the art of homemade pizza in a standard kitchen oven, I’ve refined a set of recommendations that will consistently deliver fantastic results:
- Adjust Oven Rack Position: For optimal browning and crispness, place your top oven rack approximately 6 inches from the top heating element of your oven. This strategic placement ensures your pizza is closer to the intense heat, facilitating a beautifully browned and bubbly top crust.
- Bake at the Highest Possible Temperature: High heat is key to authentic pizza. I bake my pizzas at a scorching 500°F (260°C). This extreme temperature causes the gases trapped within the dough to expand very rapidly, resulting in that desirable light, airy, and fluffy crust with a crisp exterior.
- Extend Your Preheat Time: Don’t rush the preheating process. While your oven might beep to indicate it’s reached temperature, give it at least 30 minutes (or even an hour if using a stone/steel) to thoroughly preheat. This ensures that every surface inside the oven, especially your pizza stone or steel, is uniformly super hot and ready to cook your pizza instantly.
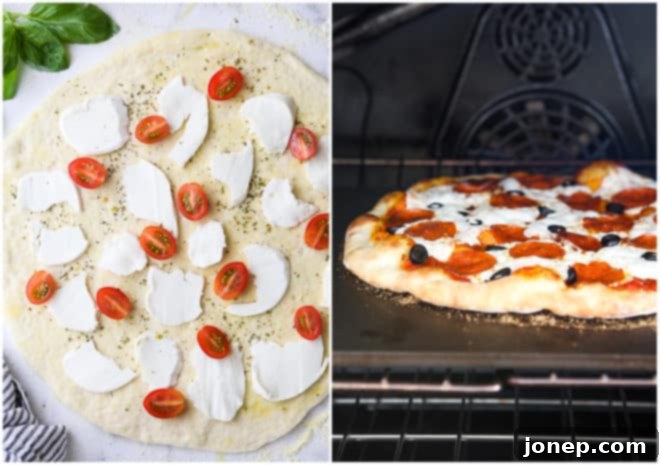
- Utilize a Pizza Stone or Pizza Steel: This is arguably the most impactful tip for oven-baked pizza. Baking your pizza directly on a preheated pizza stone or pizza steel mimics the effect of a traditional brick pizza oven. The intense, direct heat instantly cooks the dough from the bottom up, creating an incredibly crispy and golden crust in a fraction of the time. Your pizza will cook much faster, typically in about 8 minutes, yielding that perfect balance of light, fluffy interior and golden, crisp exterior. Make sure your stone or steel preheats with the oven for the entire duration.
- Finish with the Broiler (Optional, but Recommended): For an extra boost of browning and bubbly cheese, consider turning on your oven’s broiler for the last minute or two of cooking. Keep a close eye on it, as things can go from perfectly golden to burnt very quickly under the broiler! This step adds a professional touch to your homemade pie.
Even More Insider Tips for Perfect Homemade Pizza
Beyond the baking process, here are additional insights to make your homemade pizza endeavors even more successful and enjoyable:
- Dough Storage Flexibility: After its initial rise, this versatile no-knead pizza dough can be stored in the refrigerator for up to a week. This is an excellent option for meal prep, allowing you to make your dough well in advance, or to save one portion for another impromptu pizza night later in the week. Always remember to let chilled dough come to room temperature for about 30-60 minutes before attempting to roll it out; this makes it much more pliable and easier to work with.
- Pizza Stone vs. Pizza Steel: For years, I relied on a ceramic pizza stone, which produced consistently great pizza. More recently, I upgraded to a pizza steel, and I’ve been genuinely amazed by the difference. Pizza steels conduct heat more efficiently and retain it better, resulting in an even crispier and more professional-grade crust. However, they are generally more expensive and considerably heavier and more cumbersome to move around in your oven. Both are excellent investments, and the links provided are to the specific products I personally own and recommend.
- Alternatives to Stone or Steel: If you’re not quite ready to invest in a pizza stone or steel, you can still make fantastic pizza. Simply use an inverted sturdy baking sheet (flip it upside down to create a flat surface for sliding the pizza) and make sure to preheat it along with the oven for at least 30 minutes. While it won’t replicate the intense heat of a stone or steel, it will still yield a delicious, crisper crust than baking on a cold pan. You might also enjoy my alternative sheet pan pizza recipe for a different style!
- Seamless Pizza Transfer to the Oven: To easily slide your prepped pizza from the countertop to the hot oven, a well-floured surface is crucial. Add your toppings just before baking to minimize the time the dough sits weighted down on your counter. The longer it sits, especially with moist toppings, the more it will stick. For an extra layer of non-stick protection, consider sprinkling a thin layer of cornmeal in addition to flour on your work surface; this creates tiny ball bearings that help the pizza slide effortlessly.
- The Indispensable Pizza Peel: A pizza peel is an invaluable tool for safely and easily transferring your assembled pizza into and out of the hot oven. While a wood pizza peel is a classic choice, I personally prefer a metal pizza peel. Its thinner edge allows it to slide more easily and smoothly under the pizza, making transfers less nerve-wracking.
- No Pizza Peel? No Problem: If you don’t own a pizza peel, or if you’re nervous about the pizza sticking to your counter and struggling with the transfer, a simple trick is to assemble and bake your pizza directly on a sheet of parchment paper. You can slide the parchment paper with the pizza right onto your preheated stone, steel, or inverted baking sheet. The crust won’t be quite as browned or crispy on the bottom compared to direct contact with a hot surface, but it’s a perfectly fine starting point for beginners.
- Oven Temperature Flexibility: If your oven doesn’t reach the recommended 500°F (260°C), simply use its highest possible setting. The goal is to get as much heat as possible into the dough quickly.
- Summer Grilling Option: In the warmer months, we often opt to make our pizza on the grill to avoid heating up the kitchen. Grilling pizza creates an incredible smoky flavor and a beautifully charred crust. Explore my complete guide on How to Grill Pizza for another fantastic homemade pizza experience.
Shop Essential Pizza Tools

No-Knead Pizza Dough
Pin Recipe
Leave a Review
Ingredients
- 1 ¼ cup (270 grams) warm water
- 2 ¼ teaspoons (7 grams) Red Star Quick Rise Instant Yeast
- 2 teaspoons (10 grams) salt
- 1 tablespoons (20 grams) honey
- 2 tablespoons (17 grams) olive oil
- 3 ¼ cup (390 grams) all-purpose flour
- Additional flour or cornmeal , for dusting
- Pizza toppings , as desired
Instructions
-
In a large bowl, combine the warm water, Red Star Quick Rise Instant Yeast, salt, honey, olive oil, and all-purpose flour. Stir everything together with a sturdy spoon or a dough whisk until all the ingredients are just combined and form a thick, shaggy dough. Avoid overmixing.
-
Cover the bowl tightly with plastic wrap or a clean kitchen towel. Allow the dough to rise at room temperature for 1 to 3 hours, or until visibly doubled in size. A 2-hour rise is ideal for optimal flavor.
-
Once risen, gently turn the dough out onto a lightly floured surface. Divide the dough in half and, using lightly floured hands, quickly shape each half into a loose ball. The aim is to create a slightly taut surface without deflating the dough too much.
-
Dust your countertop and the dough with additional flour or cornmeal as needed. Roll out each dough ball into a round, aiming for approximately 12 inches in diameter for a classic crust, or up to 14 inches for a thinner, crispier crust. Don’t worry about perfection. If the dough springs back and resists rolling, let it rest for 5 minutes before trying again.
-
Carefully transfer the rolled dough to a preheated pizza stone, steel, or inverted baking sheet. Add your desired pizza toppings, remembering not to overload. Bake in a preheated 500°F (260°C) oven for about 8 minutes, or until the crust is golden brown and crispy, and the cheese is melted and bubbly. For extra browning, you can use the broiler for the last minute, watching carefully.
-
Remove from the oven, slice, and serve your delicious homemade pizza immediately!
Video
Notes
Notes
- This recipe makes two generously sized 14-inch pizzas.
- For convenience, this no-knead pizza dough can be stored in the refrigerator for up to a week after its initial rise. Before rolling and baking, remember to allow the chilled dough to come to room temperature.
- Please note that the nutritional information provided is for the crust only and does not include any toppings.
Disclosure: This recipe was developed in partnership with Red Star Yeast. All opinions expressed are entirely my own, as always. Your support for the brands I believe in helps to make content like this possible. Thank you for being a part of our culinary journey.
For more fantastic baking resources and to discover their full range of products, be sure to visit Red Star Yeast on their official website. You can also connect with them and find more inspiration by following them on Instagram, Twitter, Facebook, Pinterest, and YouTube.
