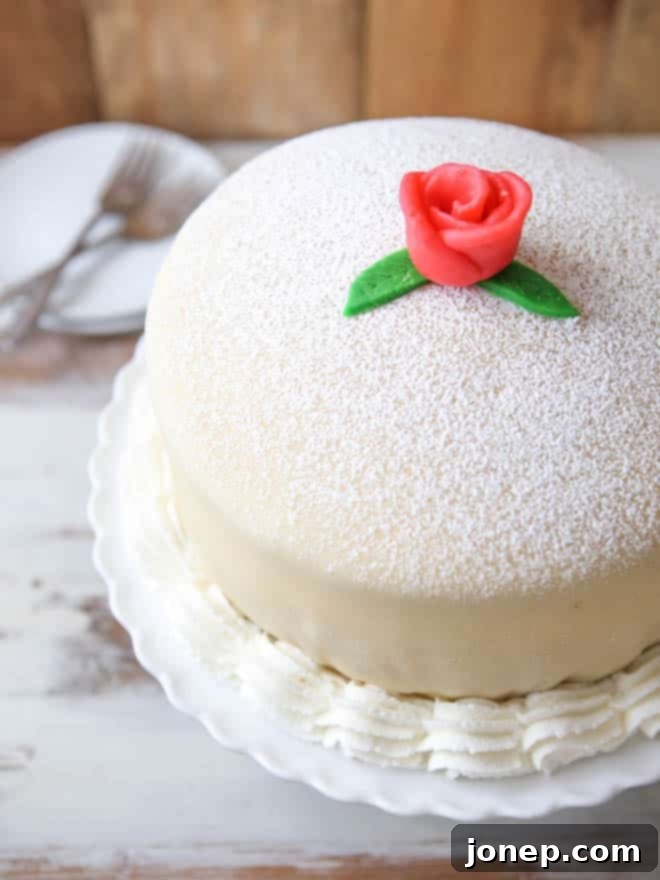
Classic Swedish Princess Cake (Prinsesstårta): A Regal Dessert to Master
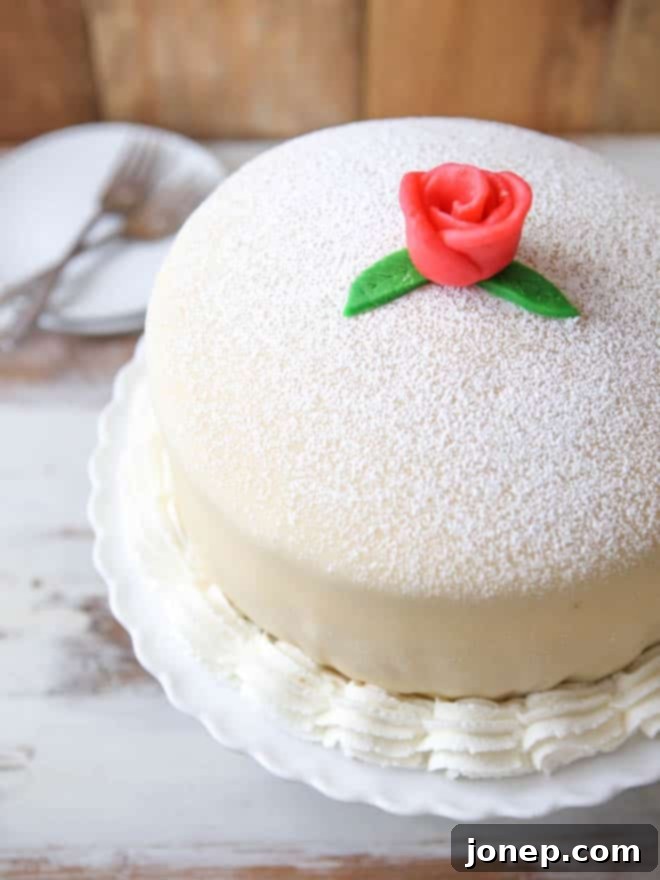
Prepare to be enchanted by the Princess Cake, or Prinsesstårta, a truly iconic Swedish dessert that beautifully combines delicate layers of sponge cake with a luscious vanilla custard, vibrant raspberry jam, and generous dollops of whipped cream, all elegantly encased in a smooth blanket of marzipan. This isn’t just a cake; it’s a culinary masterpiece, a celebration of flavors and textures that has captivated hearts for generations.
The Royal History of Prinsesstårta: A Swedish Culinary Gem
The Prinsesstårta hails from the picturesque landscapes of Sweden, where it has reigned as a national icon since the mid-1900s. Its charming name is said to have been bestowed upon it in honor of three Swedish princesses – Princess Margaretha, Princess Märtha, and Princess Astrid – who, according to legend, adored this delightful confection. Originally published in a 1948 cookbook by Jenny Åkerström, a teacher to the princesses, the cake was initially called “Grön Tårta” (Green Cake) due to its traditionally green marzipan covering. It quickly gained popularity and its royal association cemented its place as a beloved symbol of Swedish celebrations and the cherished tradition of “fika,” the Swedish coffee break.
And truly, what’s not to love about such a confection? Each bite offers a symphony of textures and tastes: the airy, delicate sponge cake, the velvety smoothness of rich vanilla custard, the bright tang of raspberry jam, the cloud-like lightness of whipped cream, and the sweet, pliable marzipan shell. It’s a cake that embodies both elegance and pure comfort, making it a staple for birthdays, anniversaries, and any occasion that calls for a touch of regal sweetness.
A Treasured Memory: My Mother’s Favorite Princess Cake
This particular cake holds a deeply special place in my heart, deeply intertwined with memories of my beloved mother. It was unequivocally her favorite dessert. For every special occasion, whether a birthday, an anniversary, or simply a day that called for a little extra joy, she would invariably seek out a Princess Cake from her favorite local bakery. The anticipation of cutting into its vibrant layers and savoring its unique blend of flavors was always a highlight.
One anecdote, in particular, perfectly illustrates her affection for this cake. When I was expecting my first baby, my mother undertook an extraordinary journey. She drove a precious Princess Cake all the way from Seattle to Salt Lake City, meticulously keeping it cool and safe, just to ensure we could celebrate the arrival of her first grandchild with her cherished dessert. It was a gesture of love that speaks volumes about her generous spirit and the profound significance this cake held for her, and consequently, for our entire family.
Today marks my mother’s birthday, and in just a few days, it will be the first anniversary of her sudden passing. Sharing this recipe, and the story behind it, is my way of honoring her memory, celebrating her life, and cherishing the sweet traditions she created for us. It’s a bittersweet moment, but one filled with the warmth of her love, eternally linked to this beautiful cake.
My Journey to Perfecting the Princess Cake: From Fiasco to Fabulous
My first attempt at making a Princess Cake for my mother’s birthday a few years ago was, to put it mildly, a miserable failure. I had envisioned a perfectly smooth, domed creation, but what I ended up with was a chaotic mess of overflowing whipped cream and hopelessly torn marzipan. It was a stark reminder that some cakes demand a certain respect and a proper understanding of technique. The memory lingered, a challenge I knew I had to conquer.
This year, fueled by a desire to get it right and to truly honor my mother, I vowed to perfect the Prinsesstårta. I embarked on extensive research, consulting numerous online sources and adapting a recipe from the renowned Martha Stewart. My deep dive into the world of Princess Cake led me to incredible resources like the blogs SemiSwede and Global Table Adventure, which offered not only stunning visual examples but also invaluable tips and tricks. I even found myself engrossed in a Swedish video tutorial, which proved exceptionally helpful in demystifying the intricate assembly process. Armed with this wealth of knowledge, I felt ready to give it another go, confident that I could achieve a result worthy of its name.
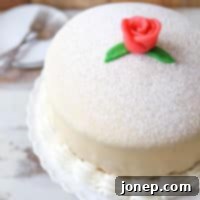
Traditionally, the Princess Cake is recognized by its signature vibrant green marzipan covering, often adorned with a delicate pink marzipan rose. However, my mother’s cherished bakery had always presented their Prinsesstårta with un-tinted marzipan, a creamy, natural hue that I’d come to associate with her favorite version. To keep this tribute as authentic to her memory as possible, I chose to follow suit, opting for the elegant, natural color of the marzipan.
Demystifying the Process: Simple Steps for a Stunning Result
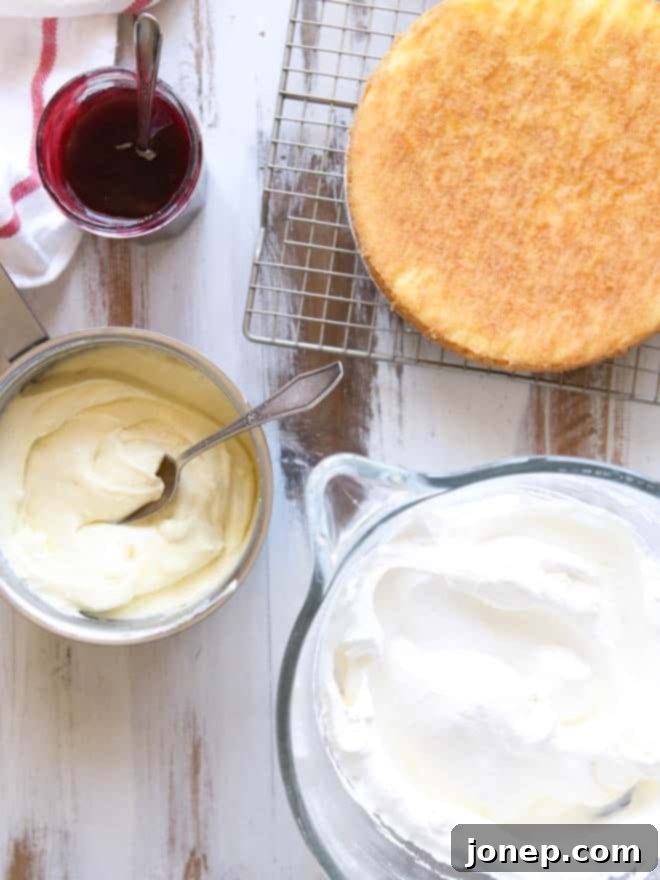
While the Princess Cake might appear intimidating with its multiple layers and delicate marzipan shroud, the reality is that its creation involves several separate, yet individually simple and highly manageable steps. Baking the light sponge cake, preparing the creamy vanilla custard, whipping the fresh cream to perfection, and even rolling out the marzipan are all very doable tasks, accessible to bakers of all experience levels. It does take time and a little patience, but the process itself is a rewarding culinary journey.
The assembly, however, can be the trickiest part, especially if you’re new to working with marzipan, as I once was! But don’t let that deter you. The key is to take your time, be gentle, and embrace the process. I highly recommend reviewing the linked resources above, particularly the Swedish video tutorial, which offers excellent visual guidance. Remember, practice makes perfect, and even if your first attempt isn’t flawless, the taste will still be absolutely divine. If the thought of marzipan feels too daunting, you can always skip it entirely and simply frost the entire cake generously with whipped cream. It will still be incredibly delicious, elegant, and sure to impress!
Embracing Imperfection and the Joy of Baking
My most recent Princess Cake, though a vast improvement from my first attempt, was still far from what one might call “perfect” in a professional bakery sense. There were small wrinkles in the marzipan, and the dome wasn’t quite as symmetrical as I had imagined. Yet, as I stood back and admired my creation, I felt a profound sense of accomplishment and joy. It was *my* Princess Cake, made with love, care, and a deep connection to a cherished memory.
And I know, with absolute certainty, that my Mom would have loved it fiercely. She always appreciated the effort and the love poured into homemade goods far more than any superficial flaw. This cake, imperfect as it may be, brought a piece of her back into my kitchen and heart, reminding me of her warmth and the sweet legacy she left behind.
Before diving into the full recipe, I want to extend a huge thank you to all of my friends, family, and readers who have offered so much love and support over the past year. Your kindness has truly made this challenging time a little bit better, and that means a whole lot. It’s comforting to know that even through grief, we can find solace and connection in shared passions, like the joy of baking and the celebration of life’s sweetest moments.
baking tip:How to Temper Eggs for Perfect Custard
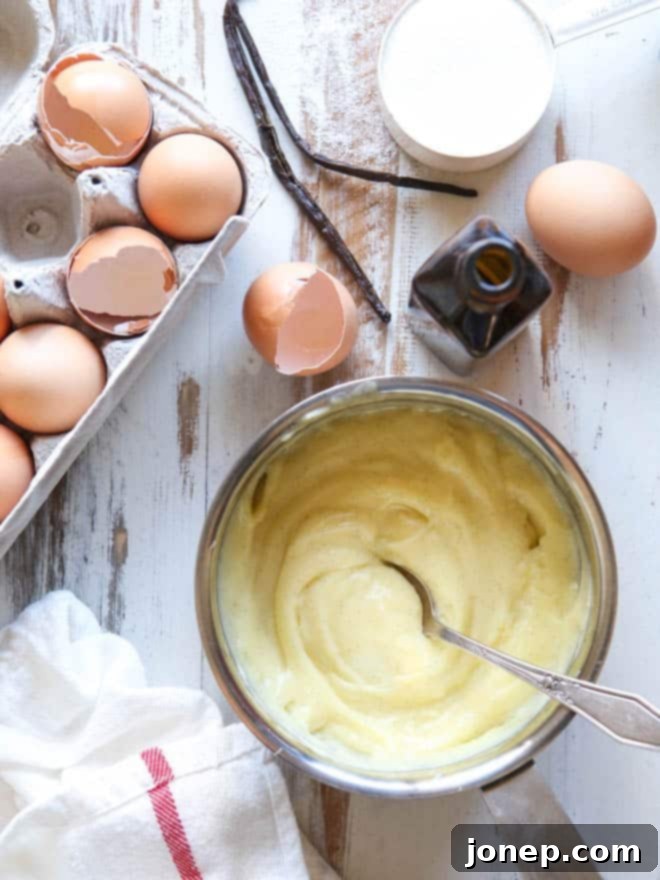
Tempering eggs is a crucial technique in creating silky smooth custards, like the vanilla pastry cream in this Princess Cake, or any recipe where eggs are cooked over heat (e.g., ice cream bases, lemon curd, pudding). Essentially, “tempering” means gradually and gently raising the temperature of cold eggs by slowly introducing a hot liquid. This slow process prevents the eggs from scrambling, ensuring a smooth, emulsified mixture. Without tempering, you risk ending up with unappealing lumps or scrambled egg bits in your delicate custard.
To temper, first gently heat your liquid (milk, cream, etc.) in a saucepan until it just begins to steam, but not boil. In a separate bowl, whisk your eggs until combined. Then, very slowly, in a thin, steady stream, pour about a third of the hot liquid into the whisked eggs, whisking constantly and vigorously to prevent the eggs from cooking too quickly. Once this portion is incorporated, you can add the warmed egg mixture back into the saucepan with the remaining hot liquid. Continue to cook over medium-high heat, stirring almost constantly with a whisk or rubber spatula, until the mixture thickens to your desired consistency – usually when it coats the back of a spoon. Finally, for an extra-smooth finish, I highly recommend straining the cooked custard through a fine-mesh sieve to catch any tiny bits of cooked egg or vanilla bean fragments. This step guarantees a truly luxurious and professional-looking pastry cream.
Princess Cake
Pin Recipe
Leave a Review
Ingredients
Sponge cake:
- 1 ¼ cup cake flour (141 grams)
- ¼ cup + 2 tablespoons almond meal/flour ( 96 grams)
- ½ teaspoon salt
- 6 large eggs , room temperature
- 4 large egg yolks , room temperature
- 1 cup granulated sugar (200 grams)
- ½ cup unsalted butter , melted (113 grams)
Vanilla pastry cream:
- 2 cups whole milk (500 ml)
- ½ cup granulated sugar , divided (100 grams)
- Pinch salt
- 1 split vanilla bean , seeds scraped
- 3 large egg yolks
- 3 tablespoons cornstarch
- 1 tablespoon butter
- 2 teaspoons vanilla extract
Whipped cream:
- 2 cups heavy whipping cream (500 ml)
- ⅓ cup powdered sugar (66 grams)
- 2 teaspoons vanilla extract
To assemble cake:
- ½ cup grams seedless raspberry jam
- 2 7- ounce packages marzipan
- Pink gel food coloring , optional
- Green gel food coloring , optional
- Powdered sugar , for dusting
Instructions
To make the cake:
-
Preheat oven to 350 degrees F (175 C). Grease and flour 3 8-inch cake pans and line the bottoms with parchment paper for easy removal.
-
In a medium bowl, whisk together the cake flour, almond flour, and salt. Set this dry mixture aside.
-
In a large heat-proof bowl placed over a pot of simmering water (creating a double-boiler effect, ensuring the bowl does not touch the water), combine the eggs, egg yolks, and granulated sugar. Whisk continuously until the mixture is warm to the touch and the sugar has completely dissolved. This helps create a stable, airy foam.
-
Remove the bowl from the heat. Using an electric mixer, beat the egg mixture on medium-high speed until it becomes very pale in color, thick, and has doubled in volume (this usually takes about 4-5 minutes). Gently fold in the prepared flour mixture in two additions until just combined, being careful not to deflate the airy egg mixture. Finally, fold in the melted butter until fully incorporated.
-
Divide the batter evenly among the three prepared cake pans. Bake for approximately 12-15 minutes, or until the tops are lightly golden and spring back when gently pressed. Allow the cake layers to cool in their pans for about 10 minutes before carefully inverting them onto a wire rack to cool completely.
-
These delicate cake layers can be prepared in advance. Once completely cool, wrap them tightly in plastic wrap and store them in the fridge for up to 5 days, or freeze for longer storage.
To make the pastry cream:
-
In a medium saucepan, combine the whole milk, 1/4 cup of the granulated sugar, salt, and the scraped seeds from the vanilla bean (you can also add the pod itself for more flavor, removing it later). Heat over medium heat, stirring occasionally, until the mixture is barely steaming around the edges. Do not boil.
-
In a separate medium bowl, whisk together the egg yolks, the remaining 1/4 cup of granulated sugar, and the cornstarch until smooth and pale. This is your tempering base. Slowly and steadily, pour about one-third of the warm milk mixture into the egg yolk mixture while whisking constantly. This crucial tempering step prevents the eggs from scrambling. Once fully incorporated, return the tempered egg mixture to the saucepan with the remaining warm milk. Place the saucepan back over medium-high heat and stir constantly with a whisk until the mixture thickens considerably, which typically takes about 4-5 minutes. Reduce the heat to low and continue to cook, stirring for 1 minute more to ensure the cornstarch is fully cooked. Remove from heat and stir in the butter and vanilla extract until smooth.
-
For an exceptionally smooth pastry cream, immediately pass the hot mixture through a fine-mesh strainer into a clean bowl. Cover the surface of the pastry cream directly with plastic wrap to prevent a skin from forming. Chill completely in the fridge for at least 2-3 hours, or until firm.
-
Like the cake layers, the pastry cream can be made ahead. Store it covered in the fridge for up to 5 days.
To make the whipping Cream:
-
In a large, chilled bowl, using an electric mixer fitted with a whisk attachment, beat the heavy whipping cream on medium-high speed until it begins to thicken and soft peaks form. Gradually add the powdered sugar and vanilla extract, then continue to beat until stiff peaks are achieved. Be careful not to overbeat, or it may turn grainy.
-
While whipped cream can be made a few hours ahead and stored in the fridge, it’s best to use it within 24 hours for optimal freshness and stability.
To assemble the cake:
-
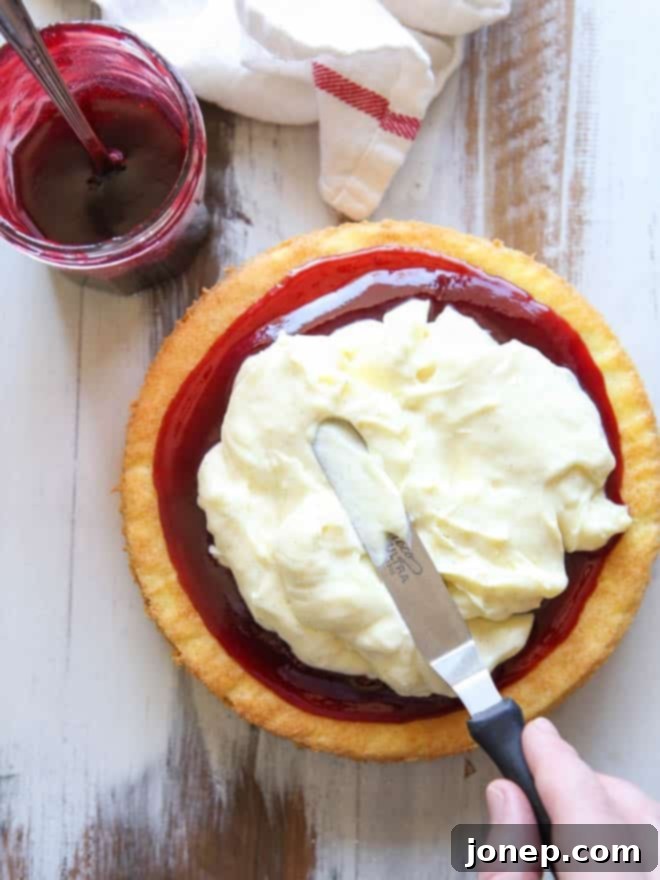
Place one cooled cake layer on your serving plate or cake stand. Spread the raspberry jam evenly over the top, leaving a 1-inch border around the edge of the cake.
-
Next, spread the chilled vanilla pastry cream over the jam layer. If your pastry cream is too stiff to spread easily after chilling, you can gently whisk in a small amount of the whipped cream (1-2 tablespoons) to loosen its consistency.
-
Carefully place a second cake layer on top of the pastry cream.
-
Now, pile about half of the remaining whipped cream onto the center of this second cake layer. Using an offset spatula, gently shape the whipped cream into a smooth, even dome, extending towards the edges but leaving a slight space for the final cake layer.
-
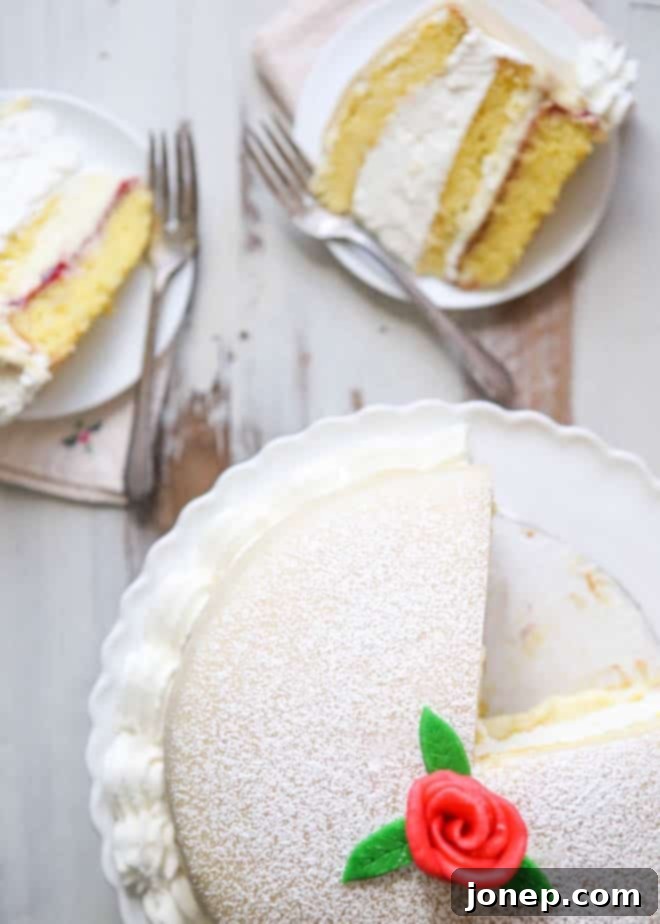
Carefully position the final cake layer on top of the whipped cream dome. Gently press down around the edges of this top layer, allowing the whipped cream to naturally push up and create the characteristic domed shape of the Princess Cake. It helps if your cake layers are at room temperature for this step, as they will be more pliable.
-
Use the remaining whipped cream to cover the entire cake – the top dome and the sides – in a thin, even layer. This creates a smooth base for the marzipan. Chill the assembled cake in the fridge for at least 30 minutes, or preferably overnight, to allow the layers to set and firm up. This makes the marzipan application much easier.
To cover the cake with marzipan:
-
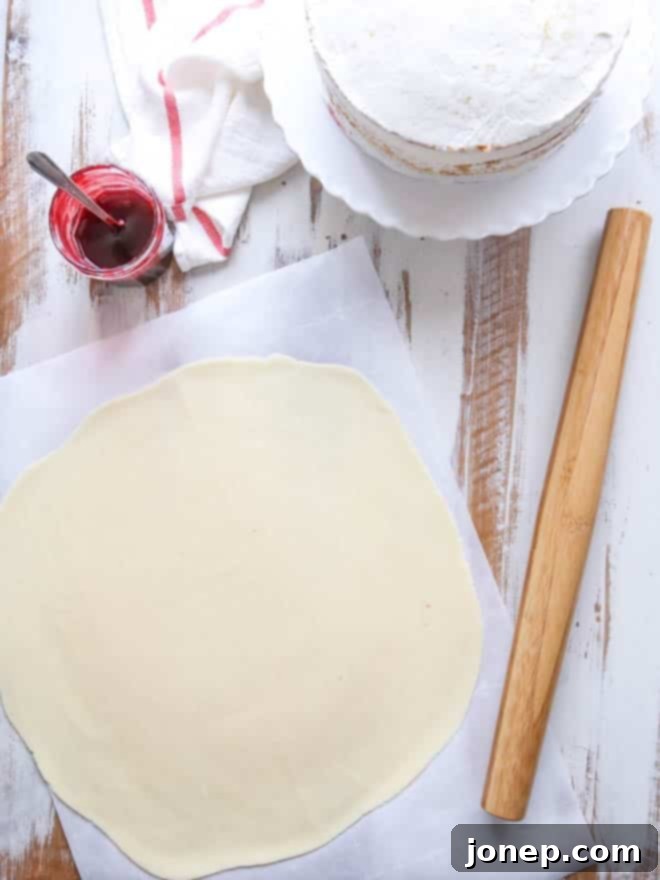
On a clean work surface, generously sprinkle powdered sugar. Knead the marzipan with your hands until it becomes pliable and forms a smooth ball. Using a rolling pin, roll the marzipan out into a large, thin disk, approximately 1/4 inch thick. Aim for a diameter large enough to comfortably cover the entire cake. Be careful not to roll it too thin, as this can cause it to tear. If the marzipan starts to stick to your work surface or rolling pin, simply add more powdered sugar.
-
Carefully roll the marzipan sheet onto your rolling pin (using a little more powdered sugar on the pin to prevent sticking). Position the rolling pin over the chilled cake and gently unroll the marzipan, draping it evenly over the cake, starting from the center of the dome.
-
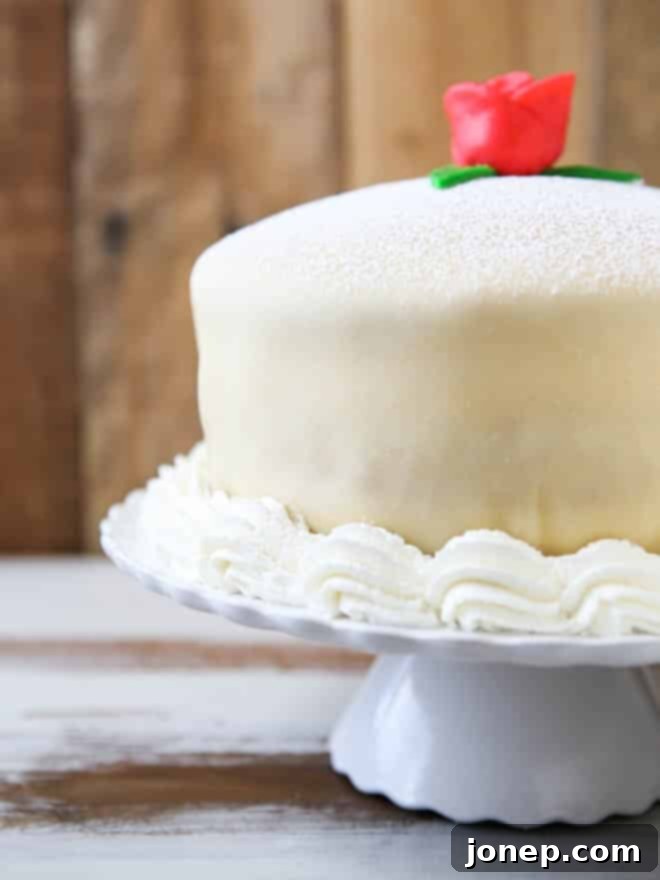
Using your hands, gently smooth the marzipan over the cake, working from the top down and outwards, ensuring it adheres neatly to the whipped cream and follows the contours of the dome and sides. Trim any excess marzipan at the base of the cake with a sharp knife and set the trimmings aside. Liberally dust the entire marzipan-covered cake with powdered sugar for a classic finish. If there are any small imperfections at the base, you can pipe a decorative border of extra whipped cream around the bottom edge (this is a handy trick I often use!).
-
(Optional) To create a traditional marzipan rose for the top: Take some of the marzipan trimmings. For a pink rose, knead a tiny amount of pink gel food coloring into a portion of the marzipan until the color is even. Roll this into 5 small, marble-sized balls, then flatten each into a thin disk with your fingers to form petals. Roll one disk tightly to form the center bud, then wrap the remaining petals around it, gently flaring them outwards as you add the last few to create an open rose effect. Pinch the bottoms together to secure and trim any excess marzipan. For green leaves, tint another small portion of trimmings with green gel food coloring, roll it out thin, and cut out leaf shapes. Gently attach the leaves to the base of the rose and delicately press the finished rose onto the top of the cake.
Notes
- Marzipan can usually be found in the baking aisle of well-stocked grocery stores or specialty food shops. Alternatively, you can easily purchase it online. Ensure you get good quality marzipan for the best flavor and workability.
- For visual guidance on the assembly, particularly draping the marzipan, I found this video tutorial extremely helpful. Watching someone demonstrate the technique can make all the difference!
- Don’t rush the chilling steps. A well-chilled cake and pastry cream are essential for successful assembly and a clean finish.
