Mastering the Creaming Method: The Secret to Light & Fluffy Baked Goods
Unlock the secrets behind perfectly tender cakes and delightfully chewy cookies by mastering the essential baking technique known as the creaming method. This fundamental process is more than just mixing; it’s a science that dictates the texture, rise, and overall structure of your baked treats. Understanding how to properly cream butter and sugar can elevate your baking from good to extraordinary, ensuring consistently delicious results every time. Get ready to dive deep into the mechanics, best practices, and expert tips that will transform your baking prowess and lead to truly spectacular desserts!
What is the Creaming Method?
At its core, the creaming method is a specific technique for combining fat (most commonly butter) and sugar. Whenever a recipe instructs you to “cream” or “beat together” softened butter and sugar until light and fluffy, you are employing this crucial baking method. The magic happens as the sharp edges of the sugar crystals cut into the softened butter, creating countless tiny air pockets. As you continue to beat, these air pockets become more numerous and stable, incorporating air into the mixture.
This aeration is vital because these trapped air bubbles expand when exposed to the heat of the oven, contributing significantly to the lift and texture of your baked goods. This process, often referred to as mechanical leavening, works in conjunction with chemical leaveners like baking powder or baking soda. The result? Cakes that are beautifully light and tender, and cookies that maintain their shape without spreading excessively, offering that perfect balance of chewiness and softness. Without proper creaming, your cakes might turn out dense and heavy, and your cookies could be flat and brittle.
The creaming method is a cornerstone for many classic baked goods, especially cakes, cupcakes, and cookies. It’s arguably the most important initial step in many recipes, as it lays the foundation for the final texture. Getting it right ensures a superior end product, so let’s explore how to execute this technique flawlessly!
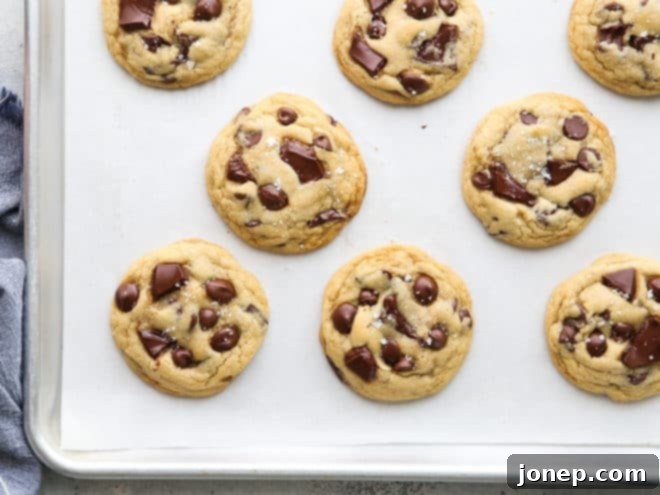
Table of Contents
- What is the Creaming Method?
- Essential Ingredients and Tools for Creaming
- Step-by-Step Guide: How to Use the Creaming Method
- Knowing When to Stop Mixing for Perfect Results
- Completing Your Batter or Dough After Creaming
- Top Tips for Creaming Method Success
- Exploring the Reverse Creaming Method
- Delicious Recipes Utilizing the Creaming Method
- Further Reading on Baking
Essential Ingredients and Tools for Creaming
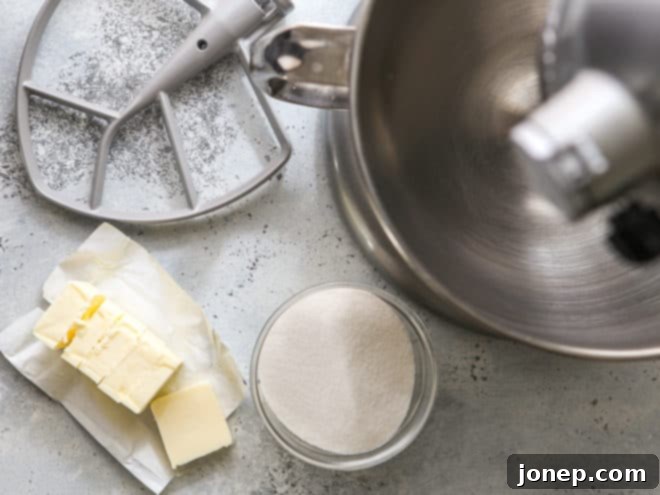
Successfully executing the creaming method relies not only on technique but also on having the right ingredients at the proper temperature and the correct equipment. Here’s what you’ll need to set yourself up for success:
- Fat: The most common fat used is unsalted butter, but shortening or even some non-liquid fats like coconut oil can be used. The key is its temperature and consistency. Butter should be slightly softened to a cool room temperature, ideally around 65°F (18°C). It should yield slightly to a gentle press but still hold its shape; it should not be greasy, shiny, or melted in any way. If your butter is too cold, it won’t incorporate enough air. If it’s too warm or melted, it will struggle to hold the air, leading to a greasy mixture and potentially dense baked goods. (Learn more about why butter temperature matters!)
- Sugar: Granulated sugar is the most frequent choice due to its crystalline structure, which is perfect for cutting into the butter and creating air pockets. Brown sugar (light or dark) can also be used, offering a molasses flavor and a slightly chewier texture. Powdered sugar (confectioners’ sugar) can also be creamed, often resulting in a finer crumb. Granular non-traditional sugar substitutes, like coconut sugar, will also work similarly. However, liquid sweeteners such as honey, maple syrup, or agave will not work for the creaming method because they lack the necessary crystalline structure to create the air pockets in the fat. If your recipe calls for liquid sweeteners with fat, it will utilize a different mixing technique.
- Electric Mixer: While possible to do by hand with a sturdy whisk and a lot of arm strength, an electric mixer is highly recommended for efficient and consistent results.
- Stand Mixer: A stand mixer fitted with a paddle attachment is the most efficient and recommended tool. The paddle attachment is designed to incorporate air effectively without overworking the mixture.
- Hand Mixer: A hand-held electric mixer can also be used, though it may take a bit longer and require more effort to achieve the desired light and fluffy consistency.
(Yes, you can also do this by hand, but be prepared to use a lot of elbow grease and patience!)
Step-by-Step Guide: How to Use the Creaming Method
Follow these steps carefully to ensure your butter and sugar are perfectly creamed, laying the foundation for an outstanding baked good:
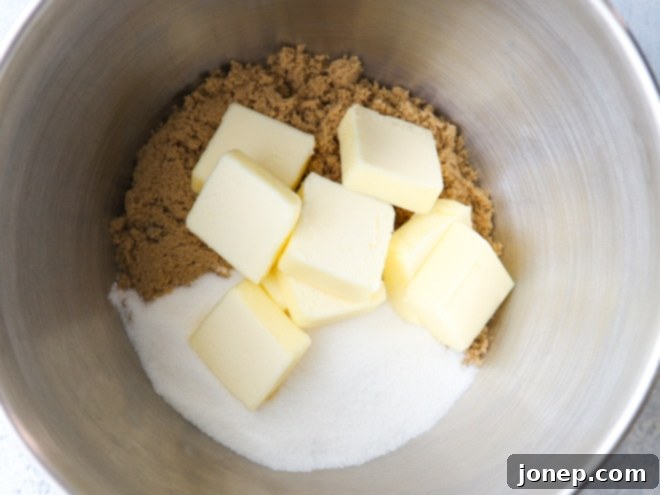
- Prepare Your Bowl: Place the softened butter (or other fat) and sugar into the bowl of your stand mixer, or a large mixing bowl if you are using a hand-held mixer. Ensure your butter is at the correct, cool room temperature – soft enough to make an indent with your finger, but still cool to the touch and holding its shape.
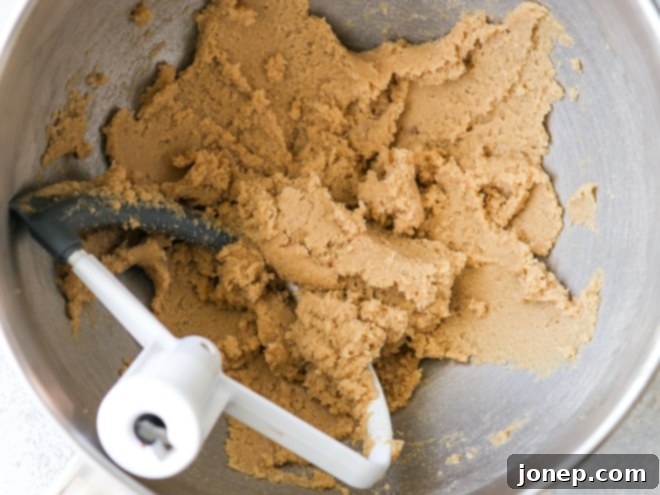
- Initial Mixing: Begin mixing on a medium-low speed to combine the butter and sugar without scattering ingredients. Once mostly incorporated, increase the speed to medium-high. Scrape down the sides of the bowl and the paddle attachment once or twice during this initial phase to ensure all ingredients are evenly mixed. This step typically takes less than a minute, just until no dry sugar streaks are visible, and the mixture forms a cohesive mass.

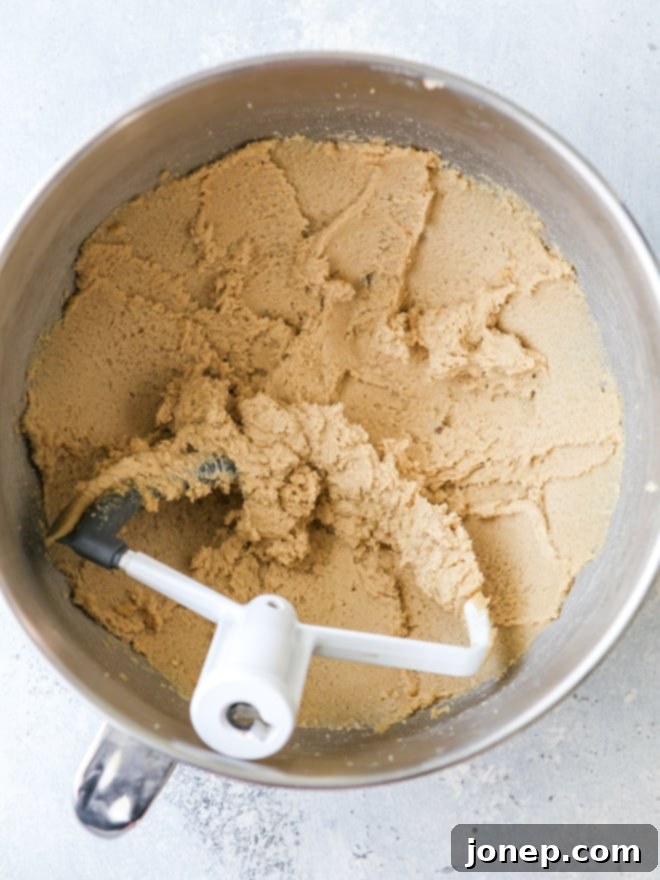
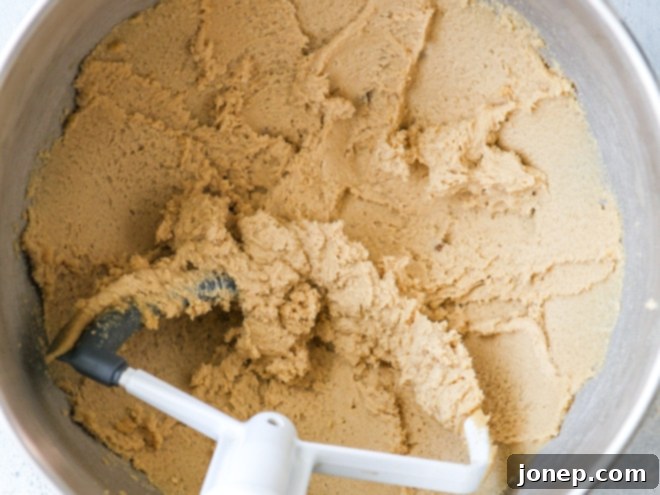
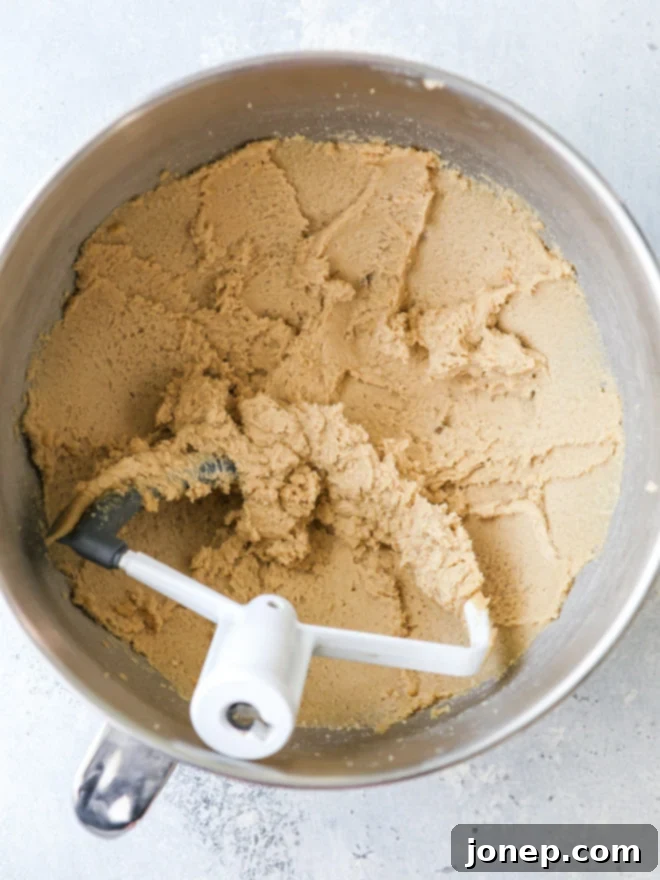
- Continue Beating for Aeration: Keep beating the mixture on medium-high speed. This is where the magic of aeration truly happens. The sugar granules actively cut into the butter, creating and trapping tiny air bubbles. You will observe a significant transformation: the mixture will lighten in color, becoming visibly paler and creamier, and it will increase in volume, appearing much fluffier. This process can take several minutes.

- Monitor for Desired Consistency: The exact time required will vary based on your mixer, butter temperature, and the specific recipe. Always refer to your recipe for visual cues or specific timings. Generally, you’re aiming for a mixture that has significantly lightened in color, almost doubled in volume, and has a visibly fluffy, whipped texture. Continue to scrape down the bowl periodically to ensure even creaming.

Knowing When to Stop Mixing for Perfect Results
Deciding when your butter and sugar are perfectly creamed is critical. Over-mixing or under-mixing can both negatively impact the final texture of your baked goods. While exact times depend on your mixer speed, butter temperature, and the specific recipe, here are the key indicators that your mixture is properly creamed:
- Color: The mixture will appear very light, almost pale yellow or off-white, significantly lighter than the original butter color.
- Texture: It will be visibly fluffy and airy, resembling whipped cream. The consistency will be smooth and uniform.
- Volume: The mixture will have almost doubled in volume due to the incorporated air.
- Sugar Granules: While individual sugar granules should no longer be distinctly visible, you should still be able to feel a slight grittiness if you rub a tiny bit of the mixture between your fingers. This indicates that the sugar has effectively cut into the butter without fully dissolving.
The Dangers of Under-mixing and Over-mixing:
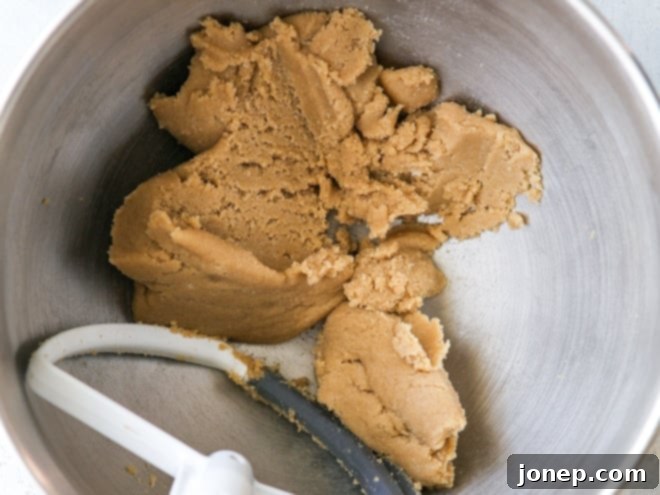
Under-mixed butter and sugar will remain dense, thick, and darker in color. It won’t have enough air incorporated, leading to baked goods that are flat, dense, and heavy, lacking that desirable light and airy texture. The leavening power will be compromised, resulting in a poor rise.
Over-mixed butter and sugar, on the other hand, can incorporate too many or too large air bubbles. While seeming counterintuitive, these excessive or large air pockets can become unstable and deflate during baking or cooling, causing cakes to collapse or develop large, undesirable holes or tunnels. This can also lead to a greasy, separated mixture where the butter and sugar have emulsified poorly, compromising the structure of your final product.
Always aim for that “light and fluffy” sweet spot as described by your recipe, paying close attention to visual cues and texture rather than just time.
Completing Your Batter or Dough After Creaming
Once you have successfully creamed your butter and sugar, the foundation of your baked good is set. Now you can proceed with adding the remaining ingredients to complete your batter or dough. The approach will differ slightly depending on whether you’re making a cake or cookies:
If you’re making a cake (or cupcakes):
- Add Eggs Gradually: Incorporate eggs one at a time, mixing well after each addition until fully combined. Adding eggs gradually allows them to emulsify properly with the fat in your creamed mixture. This creates a stable emulsion, essential for a smooth batter and a tender, moist cake. If added all at once, the mixture can curdle or separate.
- Alternate Dry and Wet Ingredients: Once the eggs are in, add your combined dry ingredients (flour, salt, leavening agents like baking powder/soda, spices) in separate additions, alternating with any liquid ingredients (like milk, buttermilk, or sour cream). Start and end with the dry ingredients. This method prevents gluten from over-developing and helps to maintain the delicate air structure built during creaming. It also ensures even distribution of all ingredients without overwhelming the batter.
- Mix Until Just Combined: Mix only until the cake batter is combined and no streaks of dry ingredients remain. Be careful not to overmix, as this will develop too much gluten, resulting in a tough, rubbery cake.
If you’re making cookies:
- Add Eggs and Flavorings: Similar to cakes, add eggs one at a time, mixing after each until just incorporated. Then, mix in vanilla extract or any other liquid flavorings your recipe calls for.
- Add Dry Ingredients: Add all combined dry ingredients (flour, salt, leavening) at once to the creamed mixture.
- Mix Until Mostly Combined: Mix on low speed until the dough is mostly combined, but a few streaks of dry ingredients might still be visible. Overmixing cookie dough can lead to tough cookies.
- Fold in Mix-ins: Gently fold in any mix-ins like chocolate chips, nuts, or dried fruit until just incorporated. Overmixing after adding mix-ins can also develop gluten and lead to a less tender cookie.
While cakes and cookies are the most common applications, the creaming method can also be found in recipes for certain frostings, quick breads, and other sweet treats, where aeration and a tender crumb are desired.
Top Tips for Creaming Method Success
Achieving consistently perfect results with the creaming method involves paying attention to a few crucial details. Keep these expert tips in mind to enhance your baking:
- Always Follow Your Recipe’s Specifics: While this article provides a comprehensive guide to understanding the creaming method, remember that every recipe is unique. The specific instructions regarding mixing times, ingredient temperatures, and visual cues in your recipe should always take precedence. Recipes are tested with specific ratios and techniques in mind to achieve a particular outcome.
- Utilize a Paddle Attachment for Stand Mixers: If you’re using a stand mixer, the paddle attachment is your best friend for creaming. Its design effectively incorporates air into the fat and sugar mixture without overworking it. A wire whisk attachment, while great for whipping egg whites or cream, will not produce the same results for creaming and may actually deflate the mixture. Using a hand-held mixer is perfectly acceptable, but be prepared for it to take a bit longer to achieve the desired fluffy consistency.
- Regularly Scrape Down the Bowl: This seemingly small step is incredibly important for uniformity. Butter and sugar tend to cling to the sides and bottom of the mixing bowl. Stopping the mixer and using a spatula to scrape down the bowl at least once, and often multiple times, ensures that all ingredients are thoroughly combined and evenly aerated. This prevents pockets of uncreamed butter or unmixed sugar, which can lead to inconsistencies in your final product’s texture.
- Use Room Temperature Dairy and Eggs for Cakes: For cake batters, incorporating room temperature dairy (like milk or buttermilk) and eggs into your creamed mixture is essential for creating a smooth emulsion and optimal rise. Cold ingredients can cause the butter to seize up, resulting in a lumpy, curdled batter. Room temperature ingredients combine more efficiently and smoothly, ensuring a more uniform batter and a lighter, airier crumb in your finished cake.
Exploring the Reverse Creaming Method
While the traditional creaming method is a staple, some recipes employ an alternative approach known as the reverse creaming method. This technique flips the order of ingredient incorporation: all the dry ingredients (flour, sugar, leavening, salt) are first beaten together with the butter or fat, forming a sandy, crumbly mixture. Only then are the eggs and other liquid ingredients gradually added at the very end.
The primary advantage of the reverse creaming method is that the butter coats the flour particles before they come into contact with liquids. This coating acts as a barrier, preventing excessive gluten development. The result is often a cake with an exceptionally fine, velvety, and tender crumb, coupled with a sturdy, less fragile structure. This method is particularly favored for cakes where a very soft and delicate texture is desired, as it significantly reduces the risk of over-mixing the flour.
Many acclaimed bakers prefer this method for its ability to produce incredibly light and velvety cakes. You’ll find this variation in many of my cake recipes, such as my Southern Coconut Cake or Brown Sugar Cinnamon Layer Cake, which showcase the beautiful texture this technique can create.
Delicious Recipes Utilizing the Creaming Method
Now that you’re a pro at the creaming method, it’s time to put your skills to the test! Here are some fantastic recipes that rely on this fundamental technique to achieve their perfect texture and flavor:
Further Reading on Baking
Expand your baking knowledge even further with these helpful articles:
- How to Measure Flour Correctly for Consistent Results
- Expert Guide: How to Build a Layer Cake Flawlessly
- Ingredient Spotlight: Baking with Butter – A Complete Guide to Fats in Baking
- Achieving Perfection: How to Bake Picture-Perfect Cookies
