Ultimate Strawberry Shortcake Layer Cake: A Delightful Summer Masterpiece
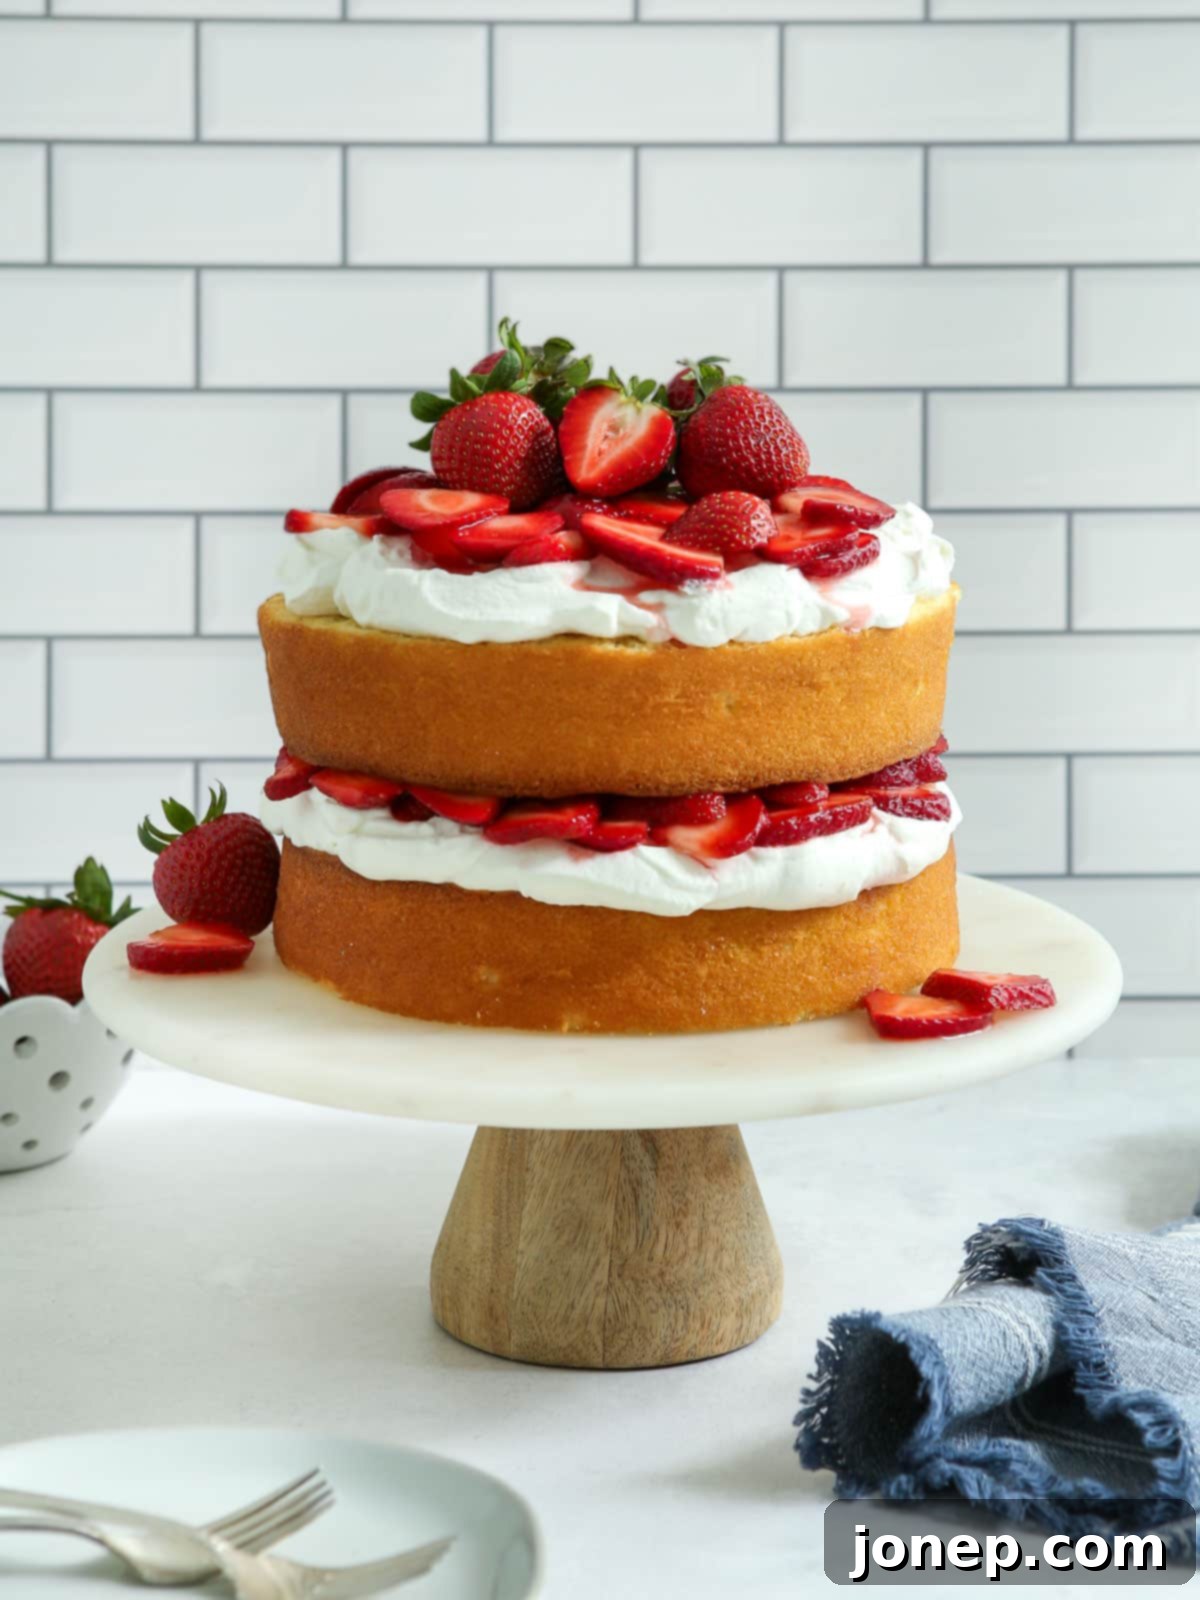
Prepare to be enchanted by the ultimate summer dessert: this stunning Strawberry Shortcake Layer Cake. It’s a symphony of textures and flavors, featuring soft and tender homemade vanilla cake layers, generously piled with fluffy, barely-sweetened whipped cream, and bursting with juicy, fresh strawberries. This cake is more than just a dessert; it’s a celebration of summer’s bounty, elevated into an impressively beautiful centerpiece.
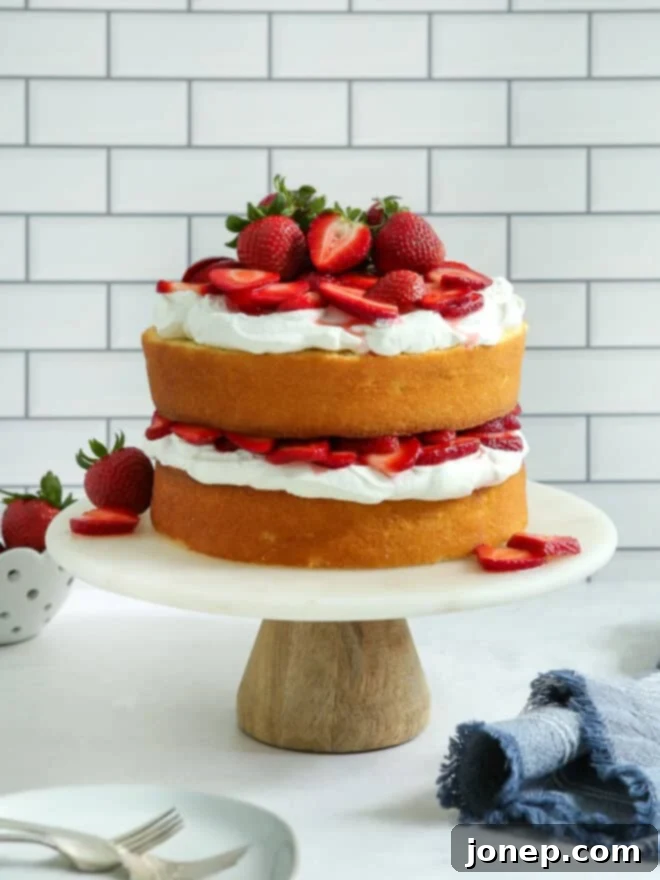
Strawberry shortcake has always held a special place in my heart as the quintessential summertime treat. There’s truly nothing that captures the essence of summer quite like a bowl filled with light, golden cake, clouds of whipped cream, and vibrant, sliced strawberries. Ideally, it’s enjoyed outdoors, surrounded by laughter and good company among family and friends, making every bite a memory.
While the classic shortcake is undeniably charming, this layer cake variation takes that beloved combination to new heights of elegance and deliciousness. It requires only a little extra effort compared to its simpler cousin, but the payoff is immense. You get all the familiar, comforting flavors we cherish, presented in a slightly more sophisticated form that’s perfect for any kind of summertime gathering, from casual backyard BBQs to more formal celebrations like birthdays or anniversaries.
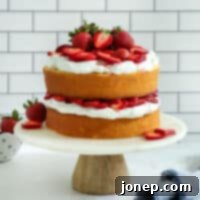
Imagine slicing into this magnificent cake, revealing perfect layers of golden vanilla sponge, creamy white whipped cream, and ruby-red strawberries. Each forkful delivers a delightful balance of sweet, creamy, and fruity, making it an irresistible indulgence. This recipe isn’t just about baking a cake; it’s about crafting an experience that will leave a lasting impression on your guests and become a cherished part of your summer traditions.
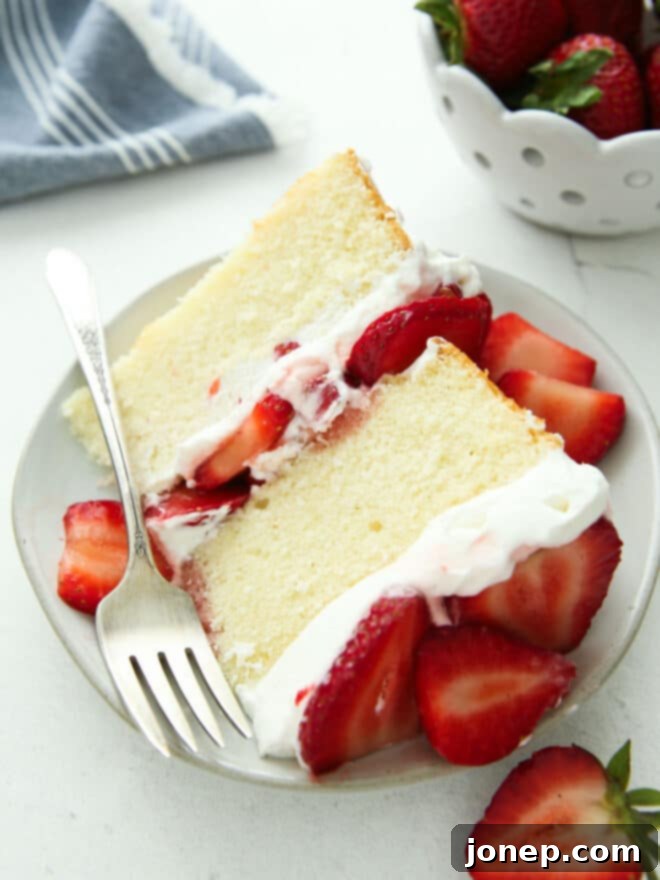
Table of Contents
- The Three Essential Components of This Strawberry Shortcake Cake
- How to Assemble Your Layer Cake, Step-by-Step
- Preparation Tips: Make it Ahead of Time
- Expert Baking Tip: How to Bake Flat Cake Layers
- Delicious Recipe Variations
- More Ways to Enjoy Strawberry Shortcake
- Get the Full Recipe
The Three Essential Components of This Strawberry Shortcake Cake
Buttery Vanilla Cake Layers: The Perfect Foundation
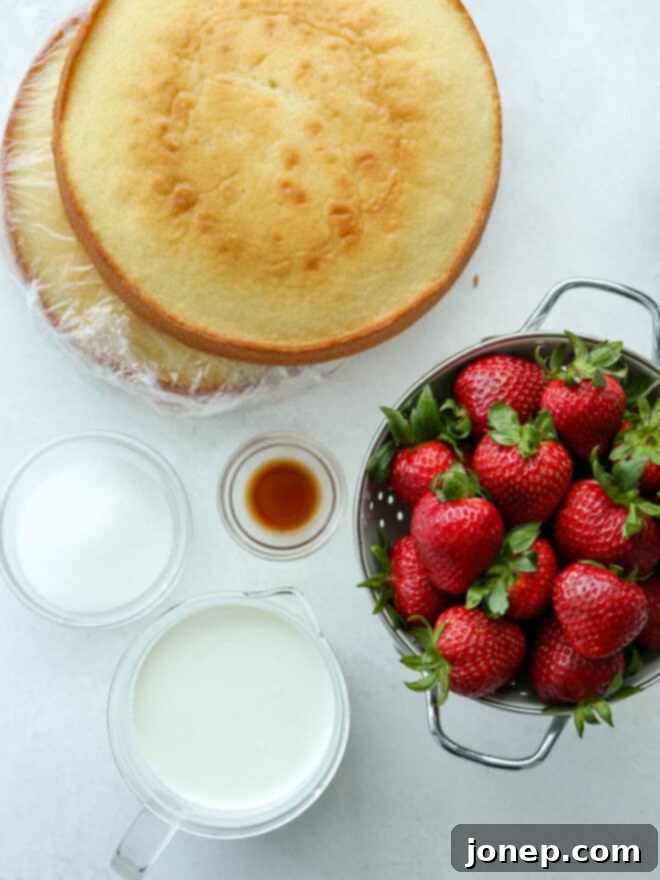
For this layer cake, we move beyond traditional biscuits and embrace a truly exceptional buttery vanilla cake. I proudly borrowed my yellow cake recipe here, and trust me, there are zero regrets! It provides the ideal sturdy yet incredibly soft and tender base for this dessert. The cake boasts a rich, buttery vanilla flavor that perfectly complements the fresh fruit and cream without overpowering them. The use of cake flour contributes to its delicate crumb, while buttermilk ensures a moist and tangy depth that makes every bite heavenly. Remember, for the best results, ensure your butter, eggs, and buttermilk are at room temperature to create a smooth, emulsified batter that bakes up beautifully even.
Sweetened Vanilla Whipped Cream: The Cloud-Like Filling
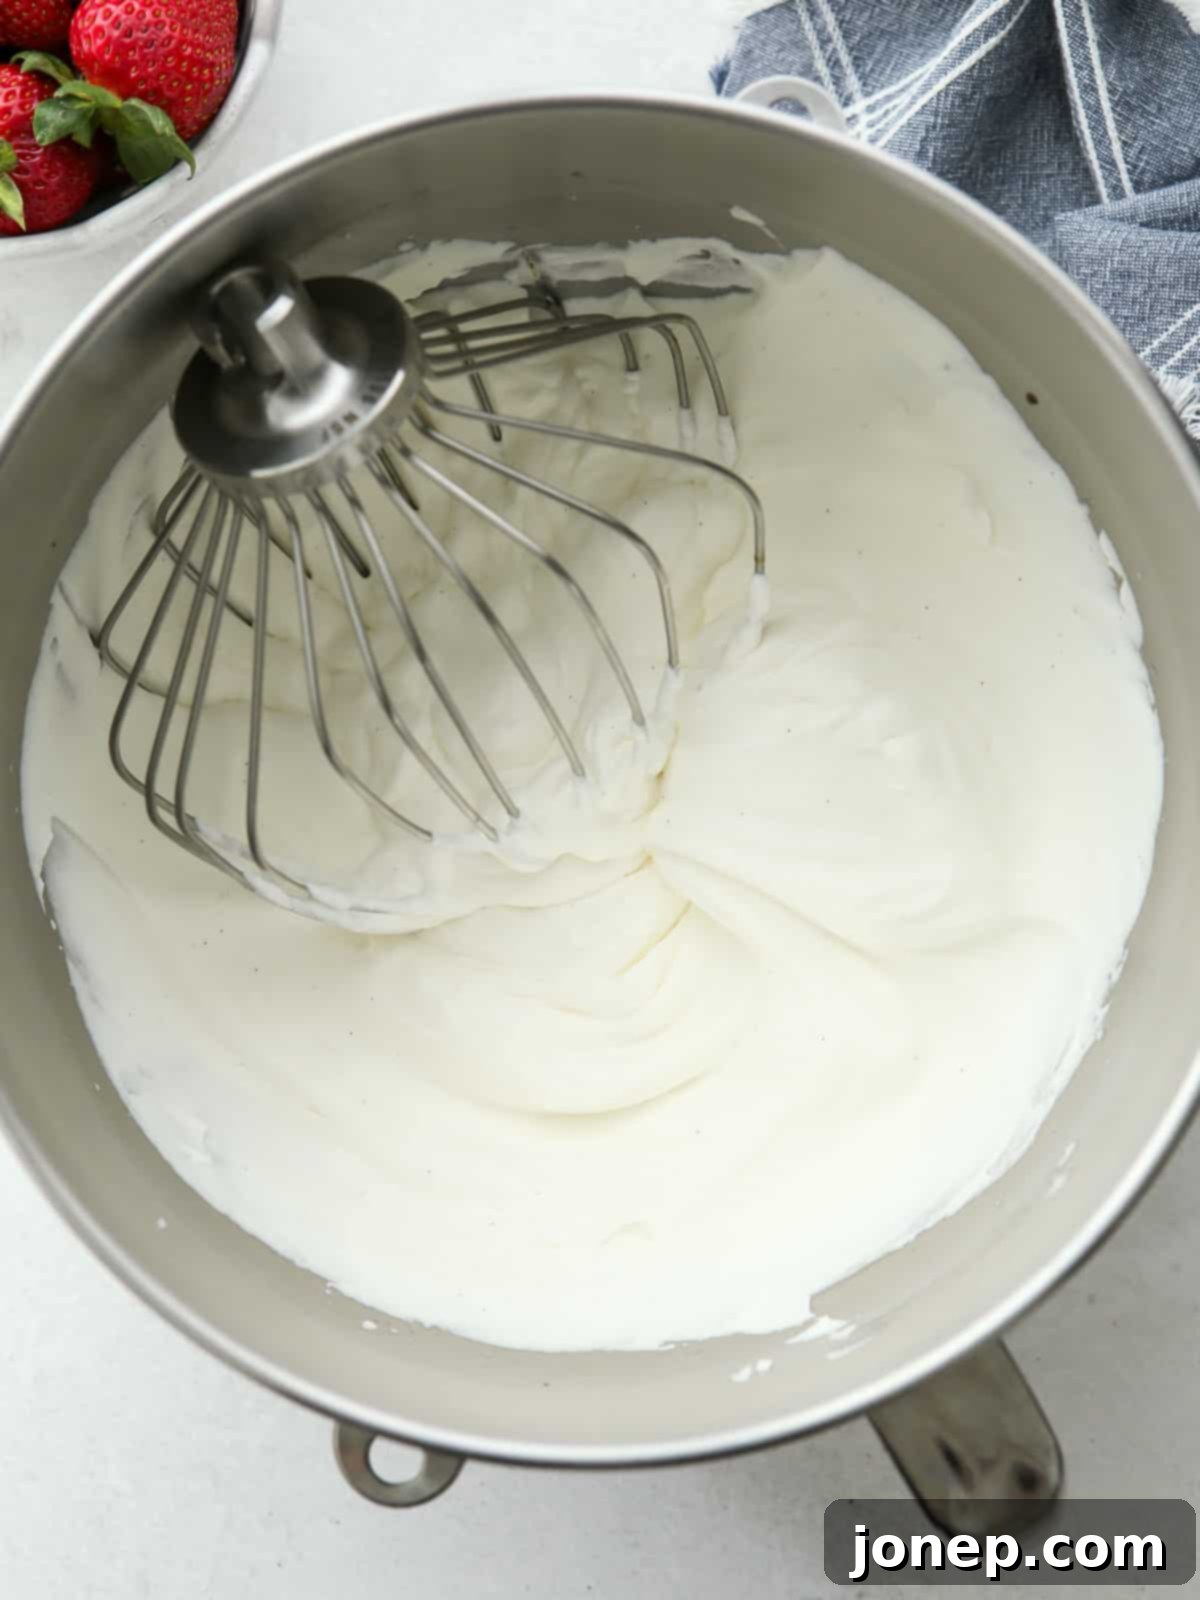
The best strawberry shortcake, in any form, absolutely demands homemade whipped cream—no exceptions! Its light, airy texture and subtle sweetness are incomparable to anything store-bought. I even have an entire post dedicated to how to make perfectly whipped cream, but the core principles are simple: always start with very cold heavy cream and whip it just until it reaches medium peaks. This ensures it’s still wonderfully soft and holds its shape without becoming stiff or grainy. We add just enough granulated sugar to give it a very subtle sweetness that enhances, rather than masks, the natural flavors of the strawberries. A generous splash of pure vanilla extract or a touch of vanilla bean paste rounds out the flavor, adding that classic, comforting aroma.
Fresh Strawberries: The Star of the Show
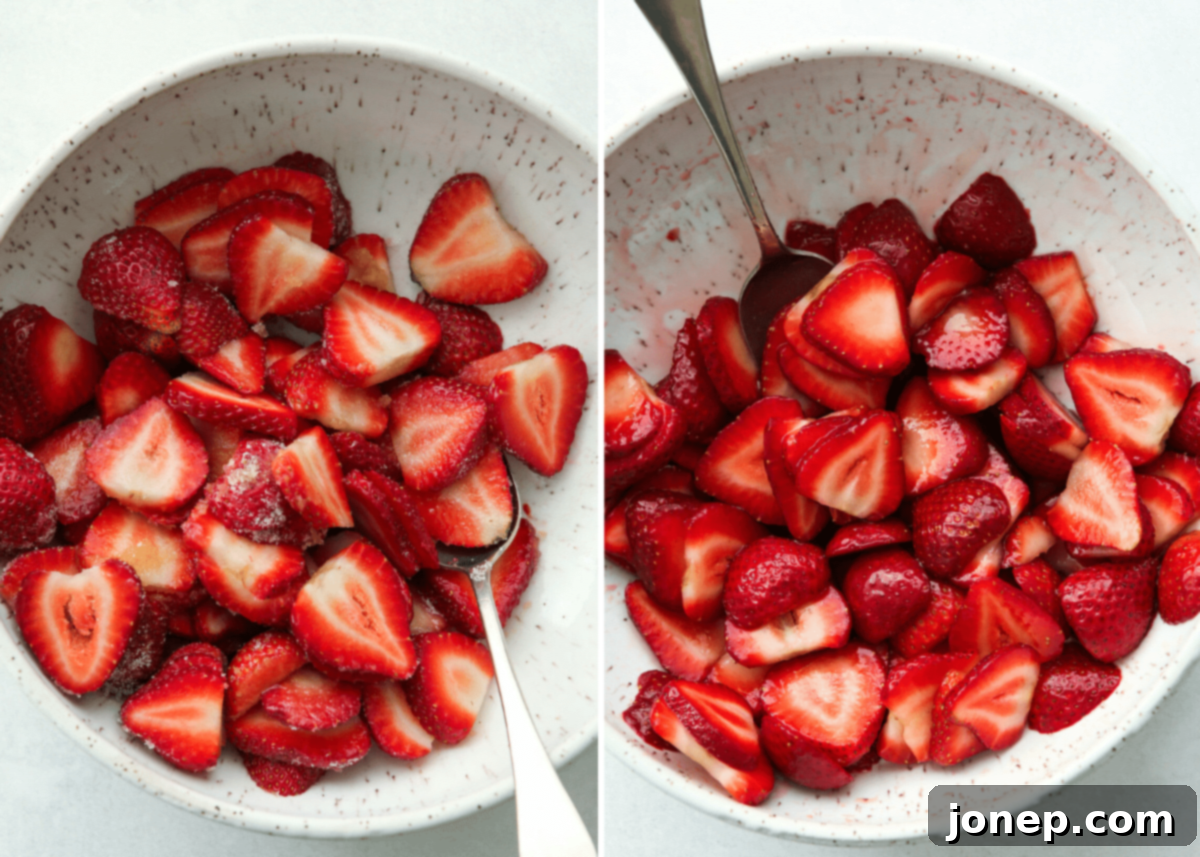
Naturally, the success of this cake hinges on the quality of its namesake fruit. Whenever possible, use peak in-season strawberries for optimal flavor and sweetness. These berries are then “macerated,” a fancy term for a simple, magical process. We thinly slice them and let them sit with a sprinkle of sugar and a hint of vanilla until they release their natural juices and soften slightly. This step is absolutely crucial and makes a huge difference compared to simply using plain sliced strawberries. The maceration process intensifies their flavor, creates a luscious syrup that soaks into the cake layers, and ensures a wonderfully tender texture that melts in your mouth with every bite.
How to Assemble Your Layer Cake, Step-by-Step
-
Prepare Cake Layers and Cool: Begin by baking your buttery vanilla cake layers as per the recipe instructions. I typically use 8-inch cake pans, which yield a lovely height. However, for a slightly more generous cake-to-filling ratio, you might consider 9-inch pans next time to provide a broader surface area for whipped cream and strawberries. Ensure your cake layers are completely cooled before assembling; attempting to frost a warm cake will lead to a melty mess!
-
Macerate Strawberries: While your cakes are cooling, thinly slice your beautiful fresh berries. Place them in a bowl and toss gently with granulated sugar and vanilla extract. This simple step transforms the strawberries, encouraging them to release their delicious natural juices and soften. Let them sit and do their magic while you prepare the remaining components.

-
Make Whipped Cream: Using an electric mixer (a stand mixer with a whisk attachment is ideal) on medium-high speed (not the highest setting, as this can over-whip quickly), beat your very cold heavy cream. Gradually add the sugar and vanilla extract as it starts to thicken. Continue beating for a few minutes until soft, distinct peaks form. The goal is a light, airy, and soft consistency, not stiff and overly firm. Keep a close eye on it to avoid over-whipping, which can result in a grainy texture.

-
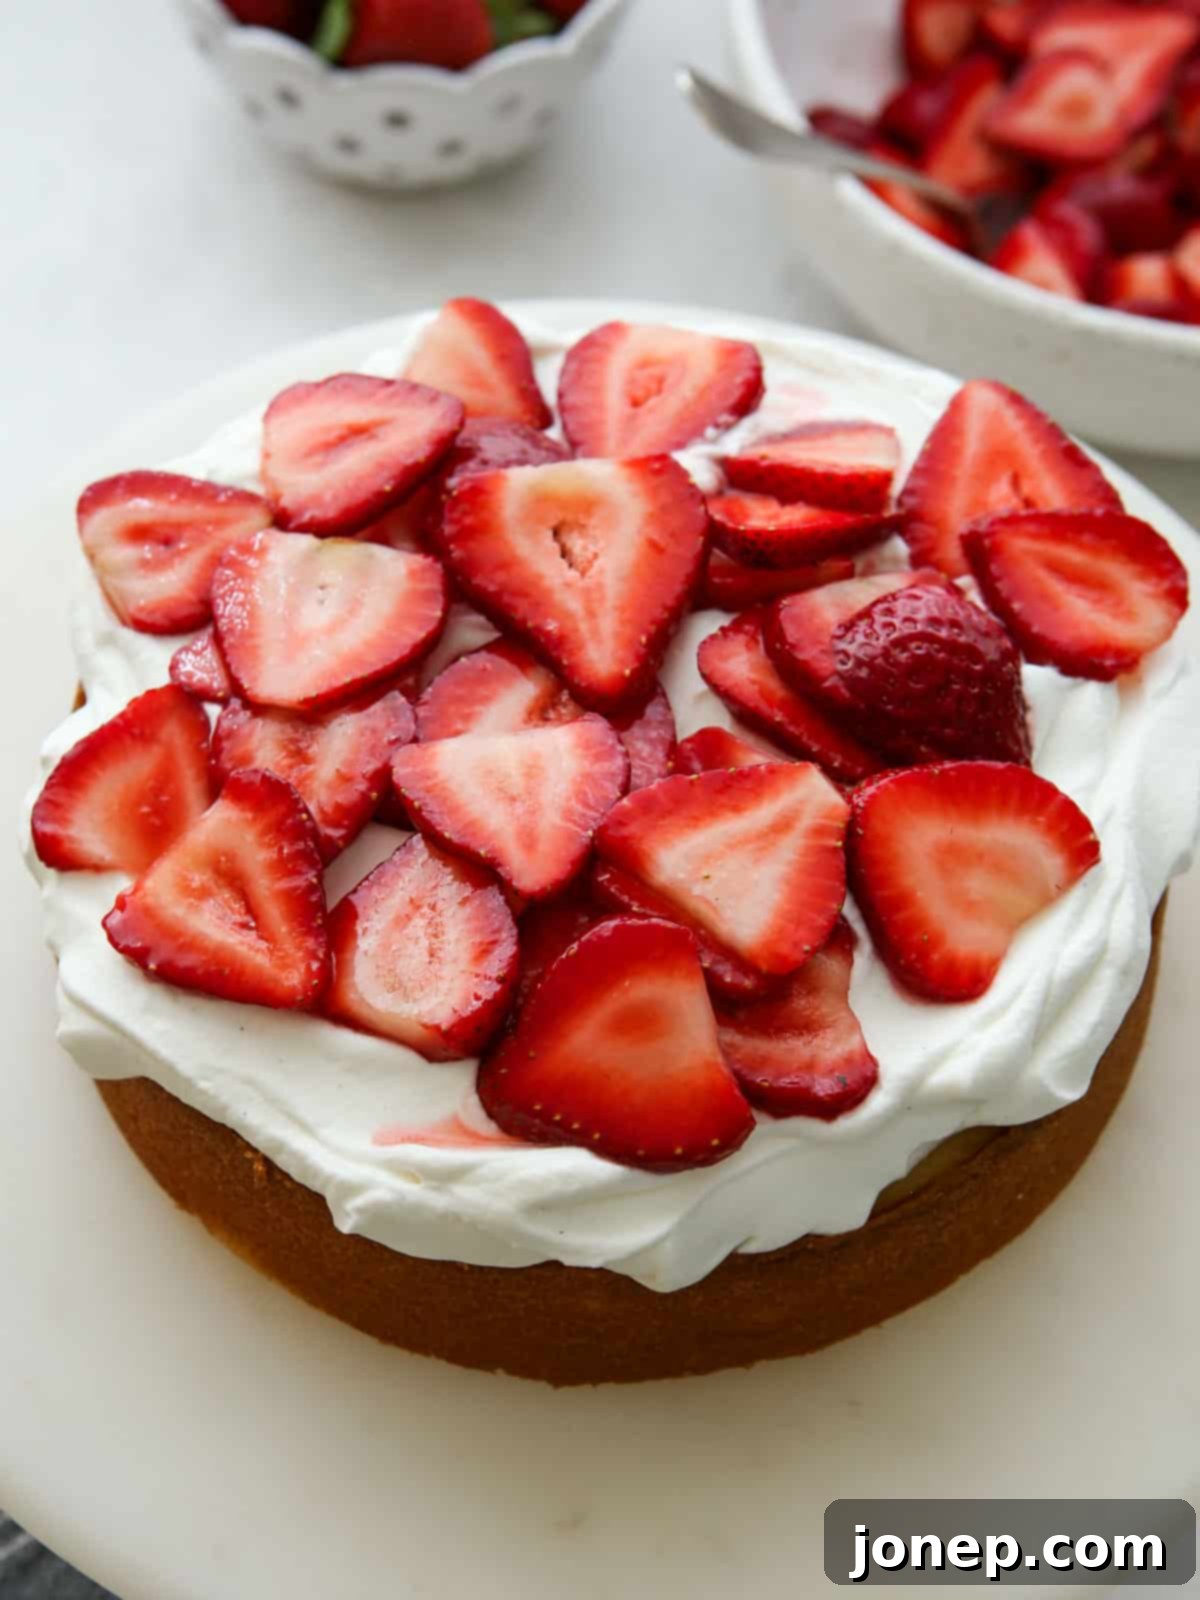
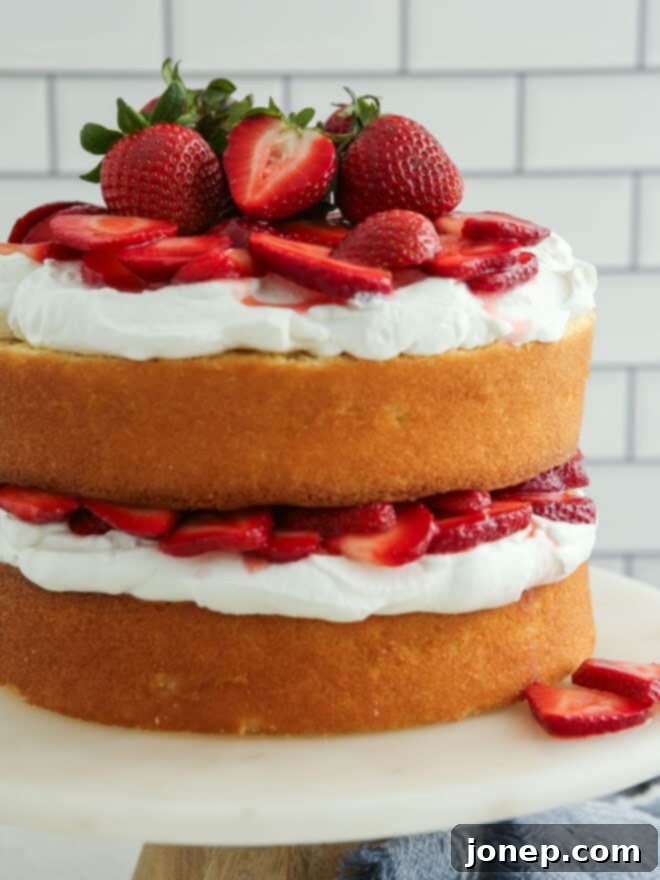
Put It All Together: If your cake layers have any significant dome, use a serrated knife to gently level them for a flat, even surface. Place your first cake layer on your chosen serving plate or cake stand. Spread half of the freshly whipped cream evenly over this layer, extending almost to the edges. Next, spoon half of the macerated strawberries over the cream, making sure to include plenty of the delicious juices that have collected at the bottom of the bowl. These juices will lightly moisten the cake, adding another layer of flavor. Carefully place the second cake layer on top, then repeat the process with the remaining whipped cream and strawberries. For an extra touch of visual appeal, you can artfully arrange a few whole, pristine strawberries on the very top of the cake.

-
Serve Immediately: For the absolute best presentation and flavor, this Strawberry Shortcake Layer Cake is truly at its peak right after assembly. The layers are fresh, the cream is perfectly fluffy, and the strawberries are vibrant. While it’s tempting to let it chill, prompt serving is highly recommended! However, if you need to plan ahead, I’ve got some helpful tips below.
Preparation Tips: Make it Ahead of Time
While this cake is best served immediately after assembly for optimal freshness and appearance, you can certainly prep components in advance to make your life easier on the day of serving. The cake layers are quite robust; they can be baked several days in advance and stored, tightly wrapped in plastic wrap, in the fridge. For even longer storage, double-wrap them and freeze for up to three months. Just remember to thaw frozen layers in the refrigerator overnight while still wrapped.
The strawberries can be macerated and stored in an airtight container in the fridge up to 1-2 hours before assembly. The whipped cream is a bit more delicate; for the fluffiest texture, it’s best made just before you plan to assemble and serve. If it sits too long, it can deflate or become watery. As the assembled cake sits, the macerated strawberries continue to release juices, which can make them a little mushy and cause the whipped cream to soften. That being said, leftovers are still absolutely delicious, even if the cake no longer looks quite as picture-perfect. Store any remaining slices in an airtight container in the fridge and enjoy within a day or two.
baking tip: How to bake flat cake layers
- Measure your cake batter and make sure all of your pans have the same amount. Precision here is key for even baking. You can use a spring-loaded scoop to portion out even amounts, or for ultimate accuracy, use a digital kitchen scale (my preferred and highly recommended method!).
- Bake the cakes at a lower temperature for longer. This technique is a game-changer! Baking at a slightly reduced oven temperature slows down the spring in the leavening agents, which effectively prevents a large dome from forming on your cake. Try reducing your oven temperature to 325°F (160°C) and increasing the baking time by approximately one-half. Keep an eye on them for doneness.
Delicious Recipe Variations
-
Use a Store-Bought Shortcut for One (or More) Component: While I highly recommend following this recipe as written for the ultimate homemade flavor, sometimes time is of the essence. If you need a slightly easier path, feel free to incorporate some smart shortcuts. You could start with a quality store-bought angel food cake, pound cake, or even a pre-baked yellow cake from your local bakery. If it’s a loaf or sheet cake, simply slice it into layers. Alternatively, opt for a reliable store-bought whipped topping (like Cool Whip) or even canned whipped cream if you’re truly pressed for time, though homemade remains superior in taste and texture.
-
Replace the Strawberries with Another Summer Fruit: This cake is incredibly versatile, and almost any peak-season summer fruit would make a fantastic substitute for strawberries. Peaches, nectarines (peeled and thinly sliced), or halved cherries are particularly excellent choices. They respond beautifully to the maceration process, releasing their own delicious juices and softening just like strawberries do, creating a wonderfully moist and flavorful filling.
-
Add a Hint of Citrus: For an extra bright flavor, consider adding a tablespoon of fresh lemon or orange zest to your cake batter or even a teaspoon to your whipped cream. A squeeze of citrus juice over the macerating fruit can also elevate their natural sweetness.
-
Introduce a Textural Element: For a delightful crunch, sprinkle toasted slivered almonds or finely chopped pistachios between the layers, or as a garnish on top. This adds another dimension to the cake’s already appealing qualities.
More Ways to Enjoy Strawberry Shortcake
My love for strawberry shortcake runs deep, which is why I’ve developed several other delightful recipe variations that you might enjoy exploring:
Get the Full Recipe
Strawberry Shortcake Layer Cake
Ingredients
For the vanilla cake:
- 3 cups (375 grams) cake flour
- 2 cups (400 grams) granulated sugar
- 2 ½ teaspoons baking powder
- 1 teaspoon salt
- ¼ teaspoon baking soda
- ¾ cup (170 grams) salted butter , softened to room temperature
- ¼ cup (56 grams) vegetable oil (or other neutral-flavored oil)
- 1 ¼ cups (300 grams) buttermilk , at room temperature, divided
- 2 large whole eggs , at room temperature
- 4 large egg yolks , at room temperature
- 2 teaspoons pure vanilla extract
For the strawberries:
- 1 lb (455 grams) fresh strawberries
- 2-4 tablespoons granulated sugar , depending on berry sweetness
- ½ teaspoon vanilla extract
For the whipped cream:
- 2 cups (455 grams) cold heavy cream
- ¼ cup (50 grams) granulated sugar
- 2 teaspoons vanilla extract or vanilla bean paste
- Additional strawberries , for decoration
Equipment
Instructions
To make the cake:
-
Preheat oven to 350°F (175°C). Prepare two 8 or 9-inch cake pans by greasing them thoroughly with nonstick baking spray or butter and flour, then lining the bottoms with parchment paper for easy release.
-
In the bowl of a stand mixer fitted with a paddle attachment, combine the dry ingredients: cake flour, granulated sugar, baking powder, salt, and baking soda. Add the softened butter, vegetable oil, and 1 cup of the buttermilk. Mix on low speed until all the dry ingredients are just moistened. Then, increase the speed to medium-high and beat for about 4 minutes total, until the mixture is light, fluffy, and creamy. Remember to stop and scrape down the sides of the bowl at least once during this process to ensure everything is well combined.
-
In a separate bowl or liquid measuring cup, whisk together the large whole eggs, egg yolks, the remaining ¼ cup of buttermilk, and the pure vanilla extract until just combined.
-
With the mixer on low speed, gradually add the egg mixture to the cake batter in 3 additions, mixing only until each addition is incorporated. Scrape the bowl down between each addition to ensure a homogeneous batter. Be careful not to overmix at this stage.
-
Divide the batter evenly between your two prepared cake pans. For precision, aim for approximately 1 lb 8 oz (680 grams) of batter in each pan. Bake for 32-35 minutes, or until the tops are golden brown and slightly domed. To check for doneness, gently press the center of the cake with your finger; it should spring back. Let the cakes cool in their pans on a wire rack for 5 minutes before carefully inverting them onto the rack to cool completely. Cooling completely is essential before assembly.
To prepare the strawberries:
-
Thinly slice the fresh strawberries and place them in a bowl. Toss them gently with the granulated sugar (adjusting the amount based on the natural sweetness of your berries) and ½ teaspoon of vanilla extract. Let this mixture sit for at least 20 minutes at room temperature, allowing the sugar to draw out the natural juices from the strawberries, creating a rich, flavorful syrup and softening the fruit slightly.
To make the whipped cream:
-
Using an electric mixer with the whisk attachment, beat the very cold heavy cream, ¼ cup granulated sugar, and 2 teaspoons of vanilla extract (or vanilla bean paste) on medium-high speed. Continue beating for several minutes until medium peaks form. It’s crucial to watch carefully during this stage; you want the whipped cream to be light and fluffy, holding its shape but still quite soft and airy, not stiff or over-whipped.
To assemble the cake:
-
If your cooled cake layers have any significant doming, carefully use a serrated knife to level the tops so they are flat. Place one cake layer on your desired serving plate or cake stand. Evenly cover this layer with half of the prepared whipped cream. Next, spoon half of the macerated strawberries over the cream, making sure to drizzle some of the flavorful juices from the bottom of the bowl over the cake.
-
Carefully place the second cake layer on top of the first. Spread the remaining whipped cream over this layer, and then spoon the rest of the macerated strawberries, including their juices, on top. For an elegant final touch and extra visual appeal, you can artfully arrange a few whole, fresh strawberries on the very top of the cake.
-
This stunning cake will look its absolute best and offer the most delightful texture right after assembly, so it should be served immediately. Any leftovers should be stored in an airtight container in the fridge. While the texture of the fruit and cream might soften slightly, the cake will still be incredibly delicious.
Notes
-
How to make ahead:
- Prep cake layers in advance and store wrapped in plastic wrap in the fridge for up to 2 days and in the freezer (double wrapped) for up to 3 months. Thaw frozen cakes in the fridge overnight still in their plastic wrap before using. See my tutorial on how to store cake layers for more detailed info.
- Prep the strawberries use within 2 hours. For best results, make whipped cream and assemble the cake right before serving.
Note: This recipe was originally published in May 2016 in partnership with the American Butter Institute. My recipe has been improved and simplified, with more perfect cake layers and better instructions for cake assembly. You can see the original recipe on the Go Bold With Butter website.
