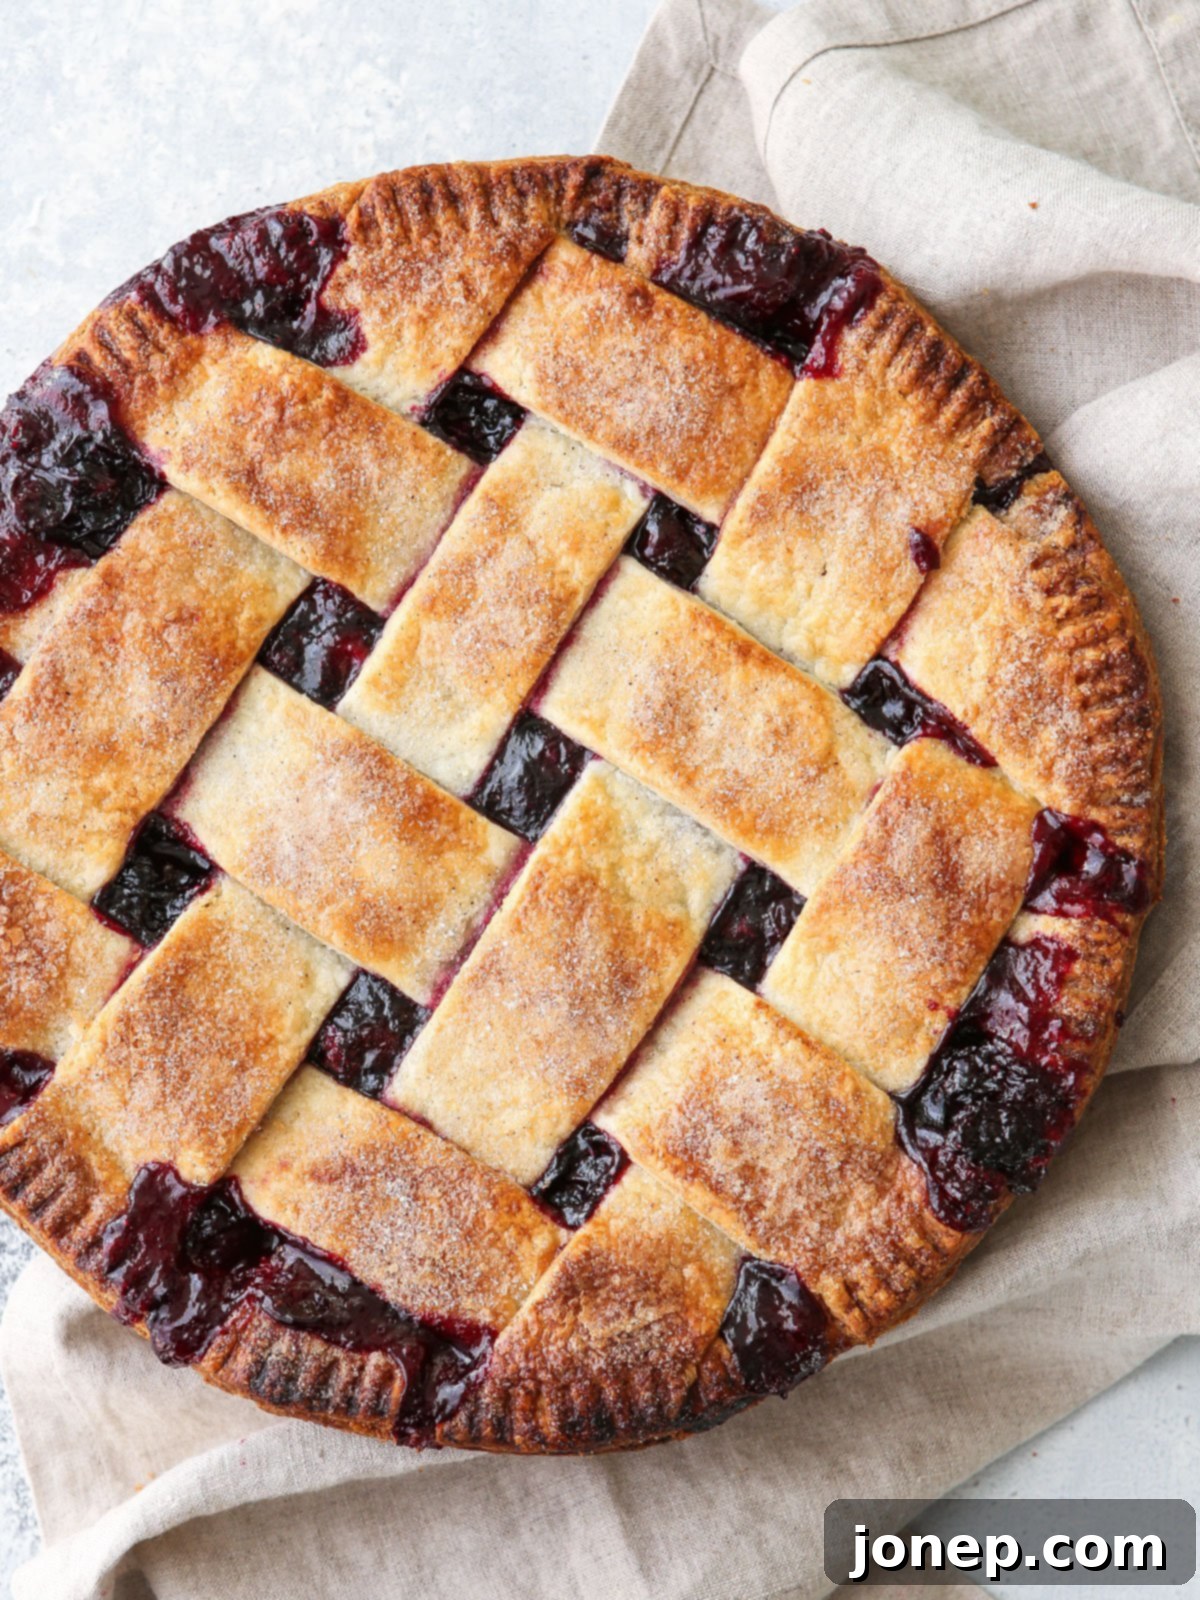
The Ultimate Foolproof Flaky All-Butter Pie Crust Recipe for Perfect Homemade Pies
Welcome to your definitive guide to crafting the most exquisite, flaky, and buttery pie crust you’ve ever imagined. This isn’t just another pie crust recipe; it’s a foolproof method designed for bakers of all skill levels, ensuring a perfect result every single time. If you’ve ever dreamt of creating a homemade pie crust that’s both tender and incredibly flaky, bursting with rich butter flavor, then your search ends here. This all-butter pie crust recipe is your secret weapon for elevating any pie, turning it into an unforgettable culinary masterpiece.
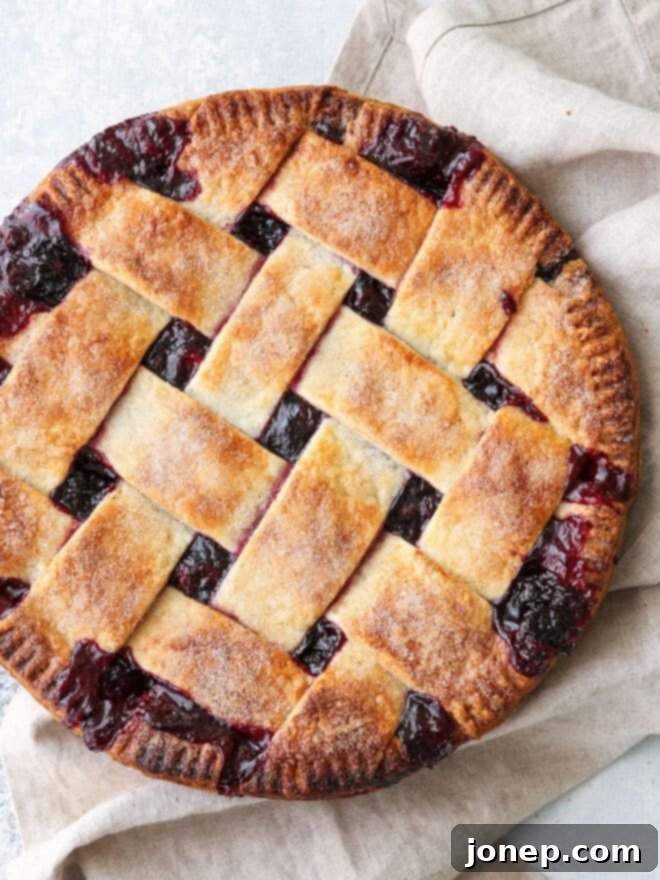
Over the past decade, this particular flaky pie crust recipe has become my absolute staple for all my pie endeavors. I’ve personally made it hundreds of times, and it consistently delivers exceptional results. While the world of baking offers countless pie crust recipes and diverse opinions, this is undeniably the one that has never once let me down. Its reliability and consistent excellence are why I wholeheartedly recommend it to you.
What makes this pie crust truly stand out isn’t just its incredible flakiness and tender texture; it’s also the deep, delicious buttery flavor that shines through on its own. This crust doesn’t just hold your filling; it enhances it, creating a harmonious blend of flavors and textures that is truly a match made in heaven. If the thought of making homemade pies has ever seemed daunting or intimidating, consider this comprehensive tutorial your perfect starting point. We’ll walk through each step with clarity and simplicity, ensuring your success.
“I’ve always had a hard time getting a flaky pie crust, and this recipe is now my go-to. Delicious!!!” — from reader Marisa
“Ever since I found your sheeting technique several years ago, I’ve made all my crusts this way. I’ve used it for sweet/dessert pies, chicken pot pies, hand pies, and my favorite…pie crust cookies. The crust comes out so flaky and tender every time. Thanks so much!” — from reader KDub
Table of Contents
- Key Ingredients for Flaky Pie Crust
- Mastering Homemade Pie Crust: Step-by-Step Guide
- Step 1: Combine Dry Ingredients and Integrate Cold Butter
- Step 2: The Rolling Technique for Perfect Butter Distribution
- Step 3: Gradually Adding Ice Water for Optimal Dough Hydration
- Step 4: Shaping and Chilling Your Pie Dough Disks
- How to Successfully Roll Out Pie Crust Dough
- Essential Tips for a Foolproof Flaky Pie Crust
- Delicious Pies to Make with This Flaky Pie Crust
- Get the Full Flaky Pie Crust Recipe Card
Key Ingredients for Flaky Pie Crust
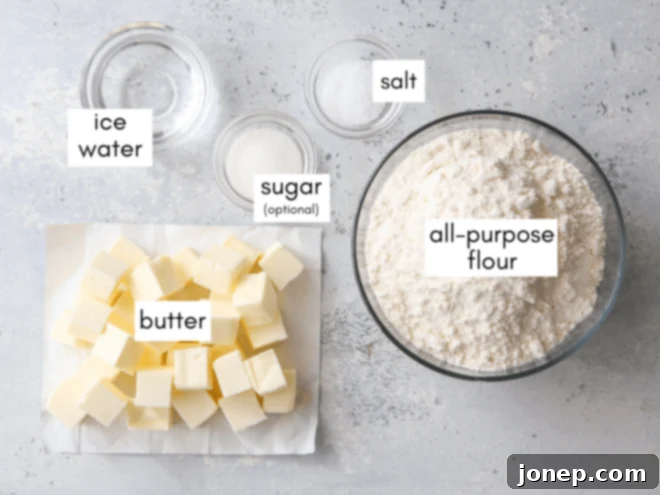
Creating the most basic, yet incredibly delicious, all-butter pie crust requires just a handful of simple ingredients. The quality and temperature of these components are crucial to achieving that desirable flaky texture and rich flavor. Here’s what you’ll need (for the full measurements, please refer to the complete recipe card below):
- All-Purpose Flour: The foundation of our crust. Standard all-purpose flour works wonderfully, providing the necessary structure without being too strong or too weak.
- Unsalted Butter: This is where the magic happens! Using high-quality unsalted butter ensures a rich, pure flavor. It must be very cold and cut into cubes, as cold butter is essential for creating those coveted flaky layers.
- Granulated Sugar (optional): A touch of sugar can be added if you’re making a sweet or dessert pie. It subtly enhances the flavor and contributes to a beautiful golden-brown crust. For savory pies, you can omit it.
- Coarse Salt: A pinch of salt is vital for balancing the flavors and bringing out the richness of the butter. Don’t skip it, even in sweet pies!
- Ice Cold Water: Just like the butter, the water must be as cold as possible. Cold water helps keep the butter solid, preventing it from melting into the flour too quickly, which is key to flakiness.
Give your pie crust a flavor boost! For an even richer and more tender crust, I highly recommend using buttermilk instead of plain cold water. Buttermilk adds a subtle tang and an incredible depth of flavor that complements fruit pies beautifully, while also contributing to an exceptionally tender texture. Click here to explore my buttermilk pie crust variation and discover this delightful alternative!
baking tip:What causes flaky layers in a pie crust?
Mastering Homemade Pie Crust: Step-by-Step Guide
There are several tried-and-true methods for preparing pie dough, each with its own merits:
- Using a Pastry Blender: This is arguably the most traditional and common method, where a pastry blender is used to cut solid butter into the dry ingredients, aiming for pea-sized pieces.
- Employing a Food Processor: An excellent option when you’re pressed for time, a food processor can quickly combine ingredients. However, it requires careful handling to avoid overworking the dough. (Click here for my food processor tutorial).
- The Rolling Technique: This is the method I’ll be demonstrating today, where you physically roll the butter into the dry ingredients. While it might take a few extra minutes and a little more effort, this technique virtually guarantees the most consistently flaky results. It’s my personal favorite for achieving that perfect pie crust texture every single time.
All these methods can yield good results, but I specifically want to guide you through the rolling method because it’s an exceptionally reliable way to achieve truly outstanding flakiness. This technique might add about 5 extra minutes to your prep time, but the superior texture it produces is well worth the minimal additional effort. It creates distinct sheets of butter, which are the foundation of those glorious layers.
Step 1: Combine Dry Ingredients and Integrate Cold Butter
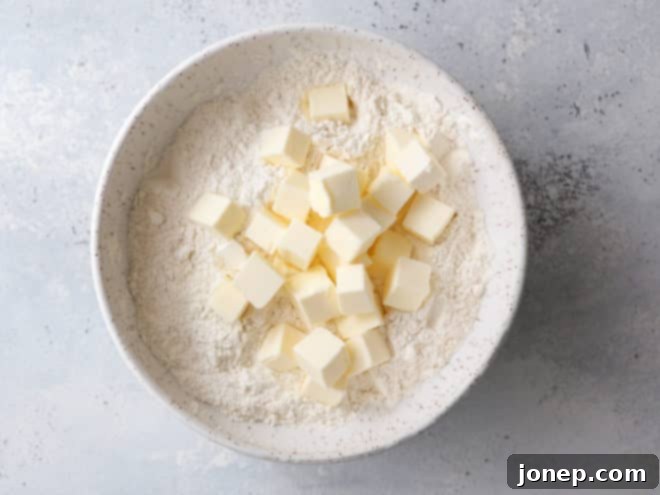
Begin by combining your all-purpose flour, coarse salt, and granulated sugar (if using) in a large mixing bowl. Whisk them together briefly to ensure they are well combined. Next, add your cold, cubed butter. It’s crucial that the butter is very cold to maintain its solid structure. Toss the butter cubes gently with the dry ingredients until each piece is thoroughly coated in flour. This flour coating prevents the butter from sticking to itself and helps it incorporate evenly into the dough later.
Step 2: The Rolling Technique for Perfect Butter Distribution
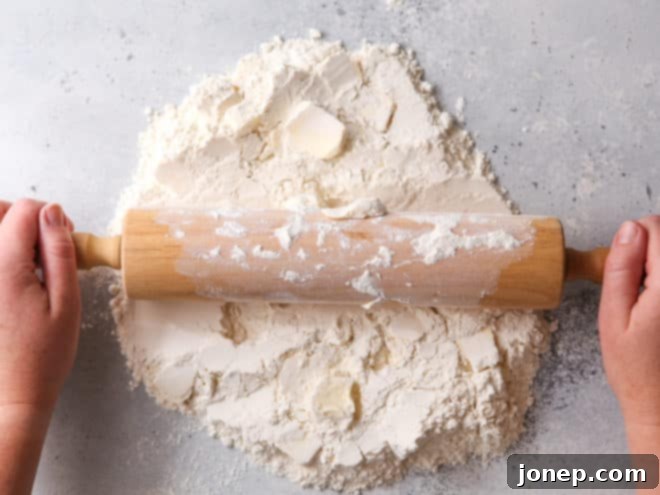
Now, gently dump the entire mixture out onto a clean, lightly floured work surface. Using a rolling pin, begin to flatten the cold butter cubes and roll them directly into the dry ingredients. This process will naturally break down the butter into thin, flat sheets, which is the cornerstone of our flaky crust. It might get a bit messy, but embrace the process! A bench scraper is an invaluable tool here; use it to scrape any butter clinging to your rolling pin and to gather the mixture back into a pile as you work. This ensures even incorporation and prevents stray butter bits.
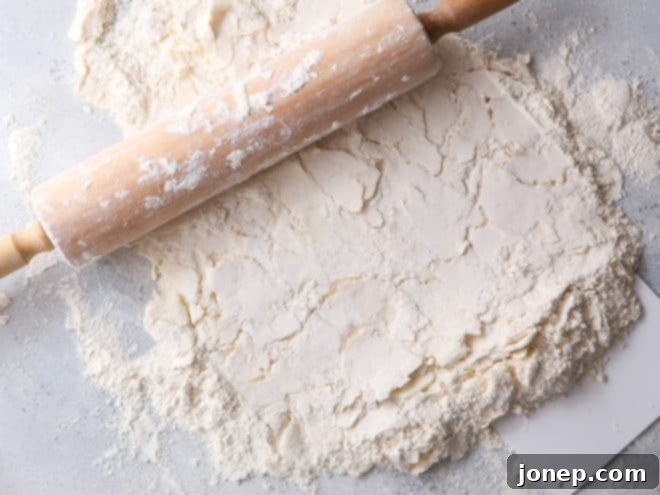
Continue this rolling and gathering process until all of the butter has been fully integrated and flattened into the dry ingredients. The key visual cue is to see numerous thin sheets of butter distributed throughout the flour mixture, rather than large, distinct cubes. Don’t worry if it looks like a shaggy, floury mess – that’s exactly what you want! If you encounter any excessively long sheets of butter, simply break them up with your bench scraper to ensure more uniform flakiness.
Step 3: Gradually Adding Ice Water for Optimal Dough Hydration
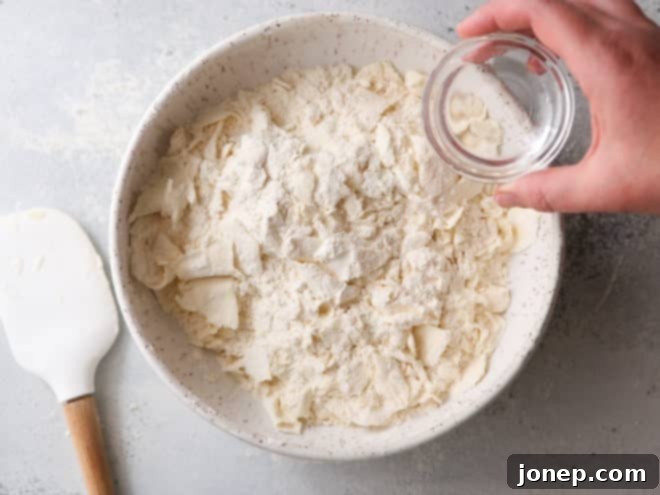
Once the butter is fully incorporated, gather the mixture and return it to your bowl. If at any point the butter seems to be getting too warm or soft, place the bowl in the freezer for 5-10 minutes to chill everything down again. This step is critical for maintaining the integrity of the butter sheets. Create a small well in the center of the mixture and add about 2-3 tablespoons of ice-cold water (or buttermilk if you’re using that variation). Start with a small amount because you can always add more, but you can’t easily remove it!
Using a large spoon, and then your hands, gently bring the mixture together into a cohesive ball. The goal is to hydrate the flour just enough for it to come together, but not to overwork the gluten. If the mixture still feels too dry and crumbly, add more cold water, one tablespoon at a time, mixing gently after each addition. The amount of water needed can vary due to humidity and flour type, typically ranging from ¼ cup to ½ cup total. Be patient and add slowly. Over-hydrating the dough will lead to a sticky, difficult-to-handle dough and, ultimately, a tough crust, so err on the side of slightly less water if unsure.
Step 4: Shaping and Chilling Your Pie Dough Disks
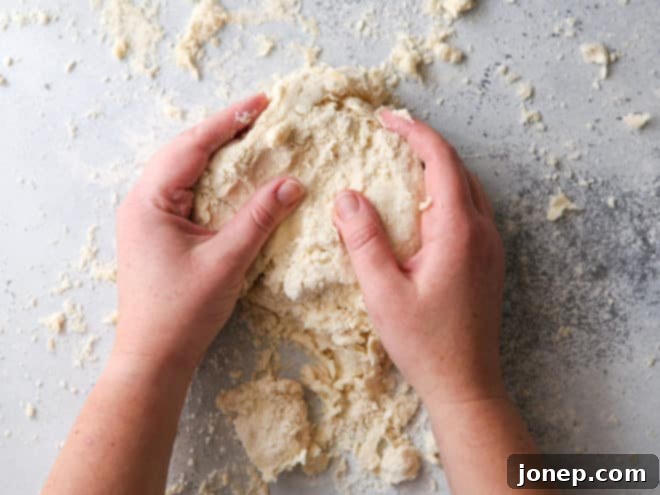
The dough should hold together in a ball, though it’s perfectly fine to have a few loose crumbs remaining – this indicates you haven’t overmixed. I find it easiest to turn the mixture out onto a clean work surface and gently press and gather the dough together with my hands. Remember, you want to bring it together, not extensively knead it, to avoid developing too much gluten which can lead to a tough crust. A little handling is necessary and completely fine.
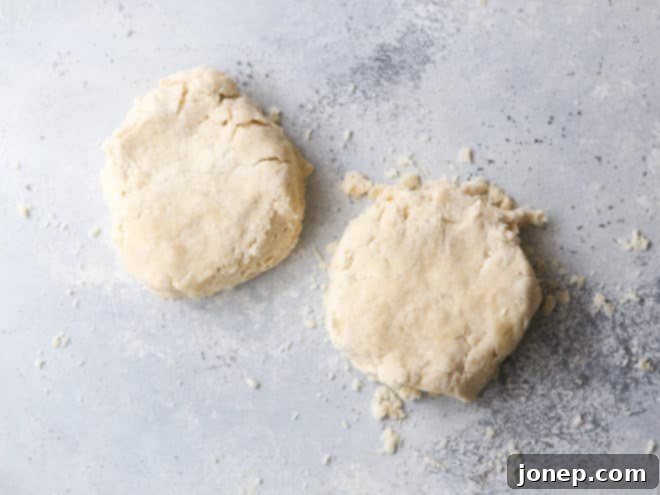
Once the dough is cohesive, divide it into two equal halves. Gently flatten each half into a disk shape, about 1-inch thick. This disk shape makes rolling out the dough much easier later on. Wrap each disk tightly in plastic wrap to prevent it from drying out, and then chill them in the refrigerator for a minimum of 2 hours. Chilling allows the gluten to relax, the butter to firm up completely, and the flavors to meld, all of which contribute to a tender, flaky crust. After chilling, your pie dough will be perfectly ready for rolling and baking!
How to Successfully Roll Out Pie Crust Dough
Rolling out pie crust can sometimes feel like a delicate operation, but with a few simple techniques, you’ll achieve a perfect circle every time. Always work with one disk of dough at a time, keeping the other in the refrigerator to stay cold until you’re ready for it.
- Temper the Dough: Remove one disk of dough from the refrigerator and let it rest at room temperature for 5-10 minutes on a lightly floured surface. This slight warming helps prevent cracking without allowing the butter to become too soft.
- Start Rolling: Begin rolling out the disk from the center outwards, rotating the dough a quarter turn every few rolls. Initial resistance is normal when the dough is cold and thick, but it will gradually soften and expand. Ensure your surface remains lightly floured to prevent sticking, but avoid using excessive flour, which can toughen the crust.
- Maintain Shape and Thickness: Continue rolling until your dough reaches the desired size for your pie plate (usually about 12-13 inches for a 9-inch pie) and is evenly thin, about ⅛-inch thick. Gently encourage the dough into a circular shape as you roll. If the edges crack, simply press them back together with your fingers.
- Transfer to Pie Plate: Carefully roll the flattened pie crust onto your rolling pin. This makes transferring it to the pie plate much easier and less prone to tearing. Unroll it over your pie plate, gently nestling it into the bottom and sides. Trim any excess dough, leaving about a ½-inch overhang, and then crimp or flute the edges as desired.
- Bake as Directed: Use the prepared crust according to your specific pie recipe’s instructions, whether it calls for blind baking, par-baking, or filling and baking immediately.
Essential Tips for a Foolproof Flaky Pie Crust
Achieving a truly flaky and tender pie crust consistently relies on understanding a few key principles. These tips will help you master the art of pie making and troubleshoot any potential issues:
- Embrace Bigger Butter Chunks for Maximum Flakiness: Remember, the distinct pockets of steam created by melting butter are what produce flakiness. Larger, flatter pieces of butter (like those achieved with the rolling method) will result in more pronounced and airy layers. Don’t be afraid to see visible, marble-sized or slightly larger pieces of butter in your dough before adding water – this is a sign of success!
- Temperature is Your Best Friend – Keep Everything Cold: This is arguably the most critical rule for flaky pie crust. To prevent the butter from melding with the flour and creating a tough, dense crust, it must remain solid until it hits the hot oven. Always start with very cold butter and ice-cold water. If your kitchen is warm, or you’re taking a break, don’t hesitate to chill the dough mixture or formed disks in the fridge or even freezer as needed. Cold ingredients ensure the butter remains in distinct pieces, leading to those desirable layers.
- Adjust Recipe for Single vs. Double Crust Pies: This recipe yields enough dough for one double-crust 9-inch pie or two single-crust pies. If you only need a single crust, simply halve the recipe. Alternatively, you can make the full recipe and freeze the second disk of dough for future use, making your next pie even quicker to prepare.
- Achieve a Golden Glow with an Egg Wash: For a beautifully shiny, golden-brown crust once baked, a simple egg wash is your secret. Whisk together one egg with one tablespoon of water, and lightly brush this mixture over the top crust or crimped edges before baking. This not only adds color but can also help create a crispier finish.
- Proper Pie Crust Storage for Convenience: Prepared pie crust dough is incredibly versatile and can be made ahead of time. It will keep well in the refrigerator for up to 5 days, tightly wrapped in plastic. For longer storage, double-wrap the disks in plastic wrap and then aluminum foil, and store them in the freezer for up to 2 months. When you’re ready to use frozen dough, simply thaw it overnight in the refrigerator before rolling.
- Plan Ahead for Stress-Free Baking: Making pie crusts in advance is a fantastic time-saver, especially during busy holidays or when entertaining. For instance, I often prepare my Thanksgiving pie crusts 1-2 weeks beforehand. This small step significantly reduces the workload on the busiest days, allowing me to focus on other aspects of meal preparation without feeling rushed.
Expand Your Pie Making Knowledge:
- Discover My Favorite Pie Tools for Effortless Baking
- Learn to Fix the Most Common Pie Mistakes
- Quick Guide: How to Make Pie Crust in a Food Processor
- Master the Art of Blind Baking Pie Crust
- Step-by-Step: How to Make a Beautiful Lattice Pie Crust
Delicious Pies to Make with This Flaky Pie Crust
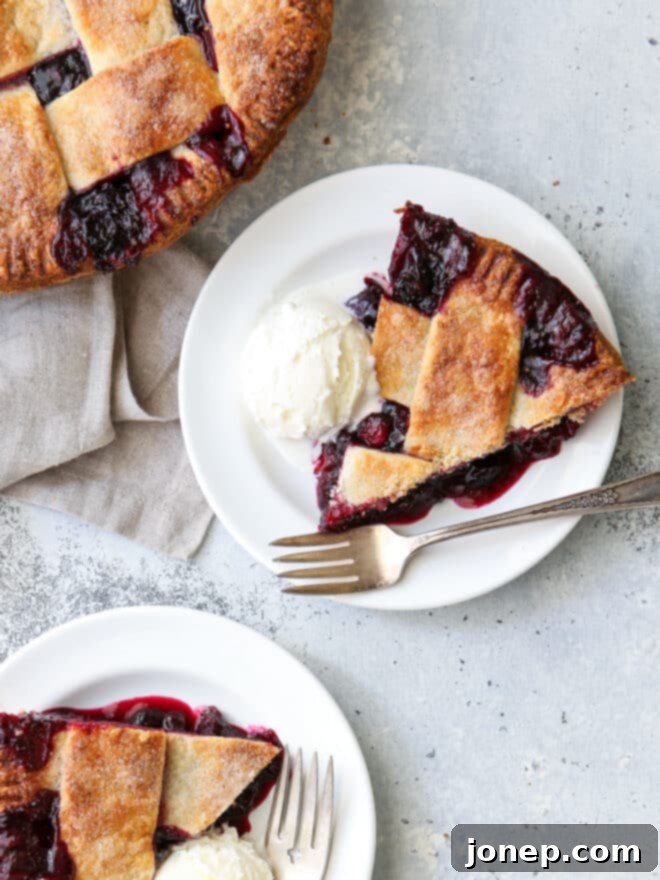
This versatile all-butter flaky pie crust is the perfect foundation for an endless variety of sweet and savory pies. Its rich flavor and tender texture complement almost any filling imaginable. Here are some of my all-time favorite recipes that truly shine when paired with this perfect crust:
Get the Full Flaky Pie Crust Recipe Card
Ready to bake? Below is the complete recipe card for this foolproof flaky pie crust. Follow these instructions precisely for a perfect base to your next incredible homemade pie. This recipe makes enough dough for one double-crust pie or two single-crust pies, offering flexibility for your baking needs.

The Best Flaky Pie Crust
Pin Recipe
Leave a Review
Ingredients
- 2 ½ cups (300 grams) all-purpose flour
- 1 tablespoon granulated sugar , optional (for sweet pies)
- 1 teaspoon salt
- 1 cup (226 grams) unsalted butter , very cold and cut into ½-inch cubes
- ¼-½ cup (56-113 grams) ice cold water , or cold buttermilk, as needed (see Notes below for buttermilk usage)
Equipment
Instructions
-
In a large bowl, whisk together the all-purpose flour, granulated sugar (if using for sweet pies), and salt. Add the very cold, cubed unsalted butter and toss gently until all the butter pieces are well coated in flour.
-
Turn the mixture out onto a clean, lightly floured work surface. Use a rolling pin to flatten the butter cubes into thin sheets, incorporating them into the dry ingredients. Continuously use a bench scraper to gather the mixture back into a pile and to clean butter from your rolling pin as needed. Continue this process until all butter is visibly flattened into thin sheets and evenly distributed throughout the flour mixture. The mixture will appear quite flaky and shaggy.
-
Return the mixture to the bowl. If the butter feels soft, place the bowl in the freezer for about 10 minutes to re-chill the butter, ensuring maximum flakiness.
-
Remove from the freezer and create a well in the center. Add ¼ cup of the ice-cold water (or buttermilk). Using a large spoon and then your hands, gently mix and press the dough until it just comes together into a cohesive ball. If the mixture is still too dry and crumbly to form a ball, add additional cold water, one tablespoon at a time, mixing minimally after each addition. It’s okay if a few dry bits remain; you should be able to gather the dough without it being sticky.
-
Divide the dough in half and gently flatten each half into a disk, about 1-inch thick. Wrap each disk tightly in plastic wrap to prevent drying. Chill in the refrigerator for at least 1 hour (2+ hours is highly preferred for best results) and up to 5 days. This chilling period allows the gluten to relax and the butter to firm up, crucial for a tender, flaky crust.
-
To freeze pie crust dough for longer storage, double-wrap each disk in plastic wrap, then an additional layer of aluminum foil. Store in the freezer for up to 2 months. Thaw overnight in the refrigerator before using as directed.
Video Tutorial
Notes
- This recipe yields enough dough for one standard 9-inch double-crust pie or two single-crust pies. For a single-crust pie, you can simply halve all the ingredients.
- For an incredible flavor enhancement, particularly for fruit pies, consider using my buttermilk pie crust variation. You can find the detailed recipe here. If substituting buttermilk for water, you will likely need closer to ½ cup of liquid due to its thicker consistency.
- If you’re looking for a faster method without compromising too much on quality, explore my tutorial on how to make pie crust using a food processor here. This is a great option when time is of the essence.
