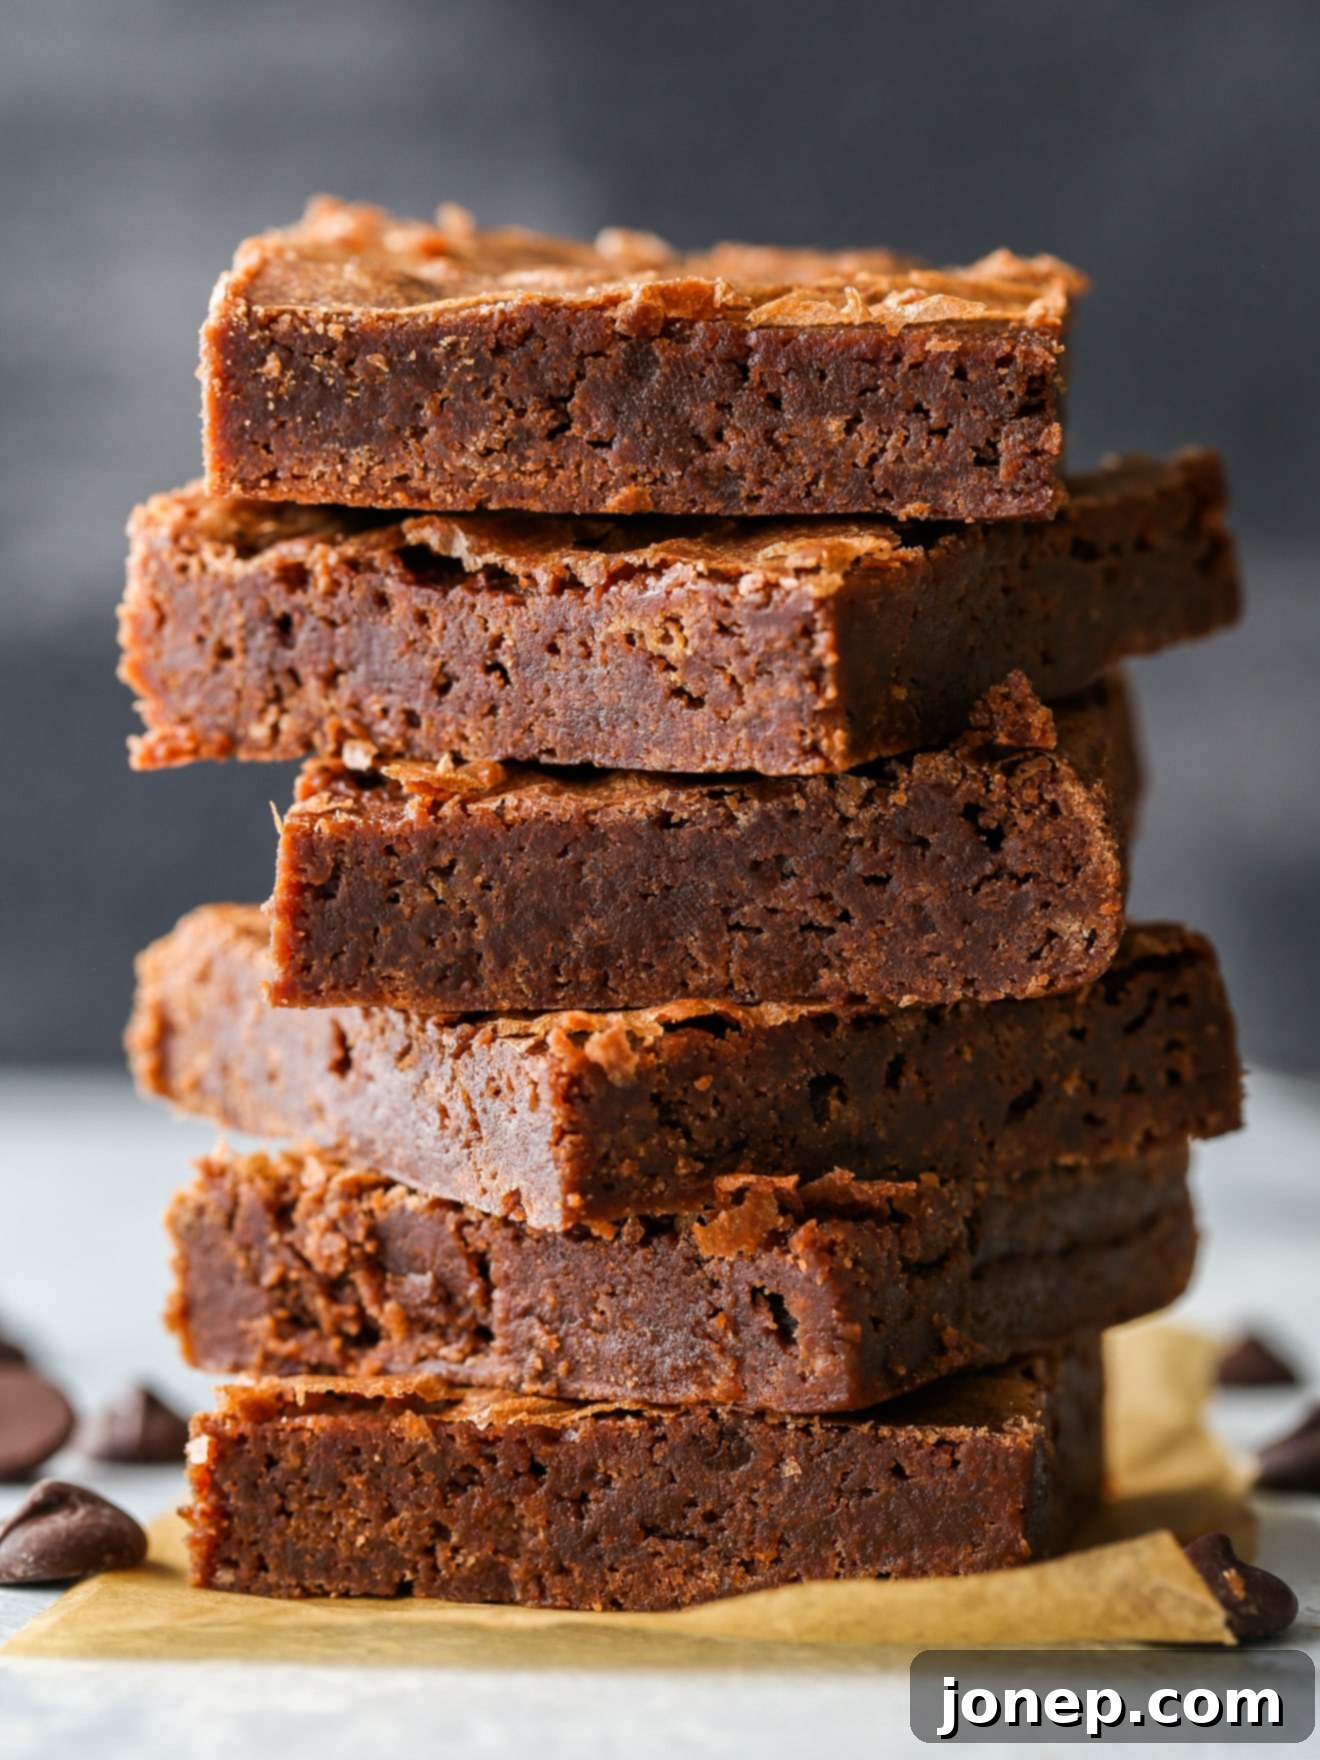
Ultimate Classic Fudge Brownies: Your Guide to Chewy, Rich, and Perfectly Homemade!
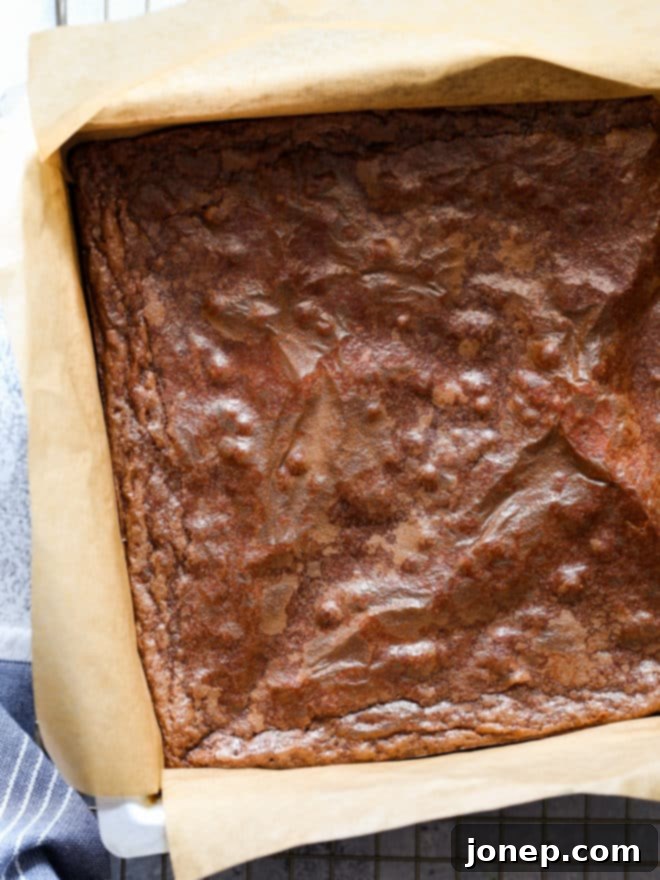
Prepare yourself for the ultimate brownie experience! These classic fudge brownies are a true revelation – entirely homemade, surpassing any boxed mix with their unparalleled depth of flavor and texture. Each bite delivers a deeply satisfying chewy, fudge-like consistency, an intense chocolate flavor that lingers, and that coveted shiny, crackly crust that signals perfection.
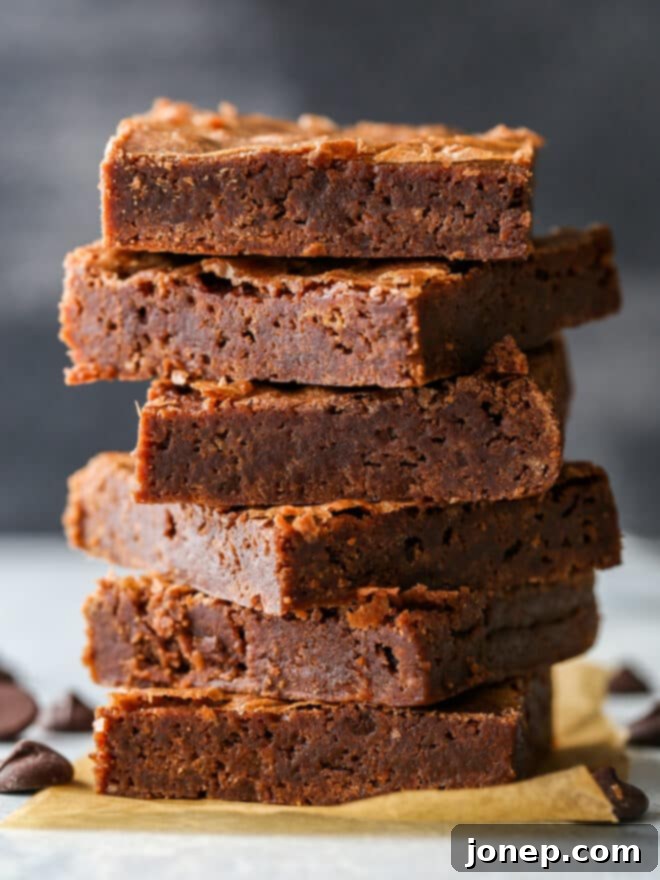
One of the many joys of baking brownies, especially this recipe, is how effortlessly they come together. Even from scratch, these homemade fudge brownies demand minimal prep time, making them an ideal choice for last-minute potlucks, elegant dinner parties, or simply a cozy night at home when a sweet craving strikes. Let’s be honest, who can ever resist the allure of a perfectly baked brownie?
This isn’t just any recipe; it’s a timeless, no-frills approach to making the absolute best brownie recipe. Crafted entirely from scratch with real melted chocolate and a generous amount of butter, these classic fudge brownies are a testament to simplicity achieving perfection. They are intensely rich, wonderfully fudgy, and boast an incredibly profound chocolate flavor that will have you reaching for a second, or even a third, square.
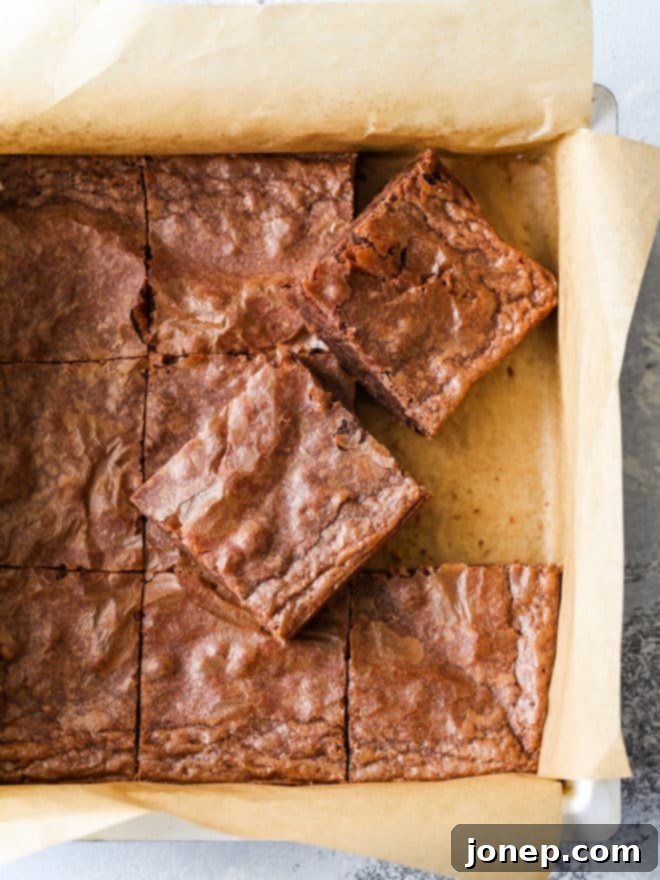
Table of Contents
- Why this is the BEST brownie recipe
- Ingredients you’ll need for perfect fudge brownies
- How to make classic fudge brownies step-by-step
- Expert tips for making the best homemade brownies
- Classic Fudge Brownie Recipe FAQs
- More must-try brownie recipes from our kitchen
- Full Classic Fudge Brownie Recipe
Why this is the BEST Brownie Recipe for Fudgy Perfection
You might have tried countless brownie recipes, but I’m confident that these classic fudge brownies will quickly become your absolute favorite. Here’s why this recipe stands out as the best, consistently delivering a dessert that truly delights:
- **Effortlessly Homemade with Minimal Ingredients:** Forget complicated processes or obscure ingredients. This recipe proves that homemade goodness can be incredibly simple. It requires just 7 essential ingredients, most of which are likely staples in your pantry right now. This means you can whip up a batch of these glorious brownies anytime the craving hits, without a special trip to the grocery store. It’s a testament to how simple, real ingredients can create something extraordinary.
- **Unbeatable Chewy, Fudgy Texture and Rich Chocolate Flavor:** The hallmark of a truly great brownie is its texture, and these deliver in spades. They boast a dense, moist, and delightfully chewy center that is the epitome of fudginess. This isn’t a cakey brownie; it’s a pure, unadulterated fudge experience. This rich texture is perfectly complemented by an intense, deep chocolate flavor, thanks to the use of real melted chocolate. Every bite is a harmonious blend of chewy satisfaction and decadent taste.
- **That Signature Shiny, Crackly Crust:** One of the most sought-after features of a perfect brownie is that thin, delicate, and beautifully shiny crackly crust on top. This recipe masterfully achieves it! This crust not only adds an appealing aesthetic but also provides a delightful textural contrast to the soft, fudgy interior. It’s the visual cue that signals you’re about to indulge in a truly exceptional batch of homemade fudge brownies.
Ingredients You’ll Need for Perfect Fudge Brownies
Creating these divine fudgy brownies requires a handful of basic, high-quality ingredients. Each plays a crucial role in achieving that coveted rich flavor and perfect texture. You’ll be surprised how something so simple can yield such decadent results. For precise measurements, always refer to the complete recipe card below.
- Unsalted Butter: We opt for unsalted butter to control the overall saltiness of the brownies. Butter is key for richness and moisture, contributing significantly to the fudgy texture. If you only have salted butter, you can use it, but reduce the added salt in the recipe by half a pinch.
- Bittersweet or Dark Chocolate: This is where the magic happens! Using real chopped chocolate (not just cocoa powder) is essential for the deep, complex chocolate flavor and the super fudgy consistency. Ensure you’re using chocolate that lists cocoa butter as an ingredient, as alternatives like palm oil can alter the texture and taste. Chocolate chips work well, but chopped bars of quality chocolate often yield even better results.
- Granulated Sugar: Beyond sweetness, sugar plays a vital role in achieving that iconic shiny, crackly crust. The interaction of sugar with the melted butter and chocolate, followed by proper mixing with the eggs, is the secret.
- Eggs: Eggs are crucial for structure and binding the ingredients. They also contribute to the richness and moistness of the brownies. Using large eggs is standard for most baking recipes.
- Vanilla Extract: A touch of pure vanilla extract enhances the chocolate flavor, adding a layer of aromatic depth that makes the brownies even more irresistible. Don’t skip this!
- All-Purpose Flour: Just enough flour is used to provide structure without making the brownies cakey. We want a fudgy, not fluffy, result, so the proportion of flour is carefully measured to achieve this.
- Salt: A small amount of salt is vital for balancing the sweetness and intensifying the chocolate flavor, making every bite taste richer and more nuanced.
How to Make Classic Fudge Brownies Step-by-Step
Making these homemade fudge brownies is surprisingly straightforward. Follow these simple steps to create a batch of perfectly rich, chewy, and irresistibly fudgy chocolate brownies that will impress everyone.
- Prepare Your Pan and Melt Butter and Chocolate: Begin by preheating your oven to 350°F (175°C) and prepare an 8-inch square baking pan. Greasing it thoroughly or lining it with parchment paper (leaving an overhang for easy removal) is crucial to prevent sticking. In a medium saucepan, combine your cubed unsalted butter and chopped bittersweet or dark chocolate. Melt them gently over low heat, stirring frequently, until the mixture is completely smooth and glossy. Be careful not to scorch the chocolate.
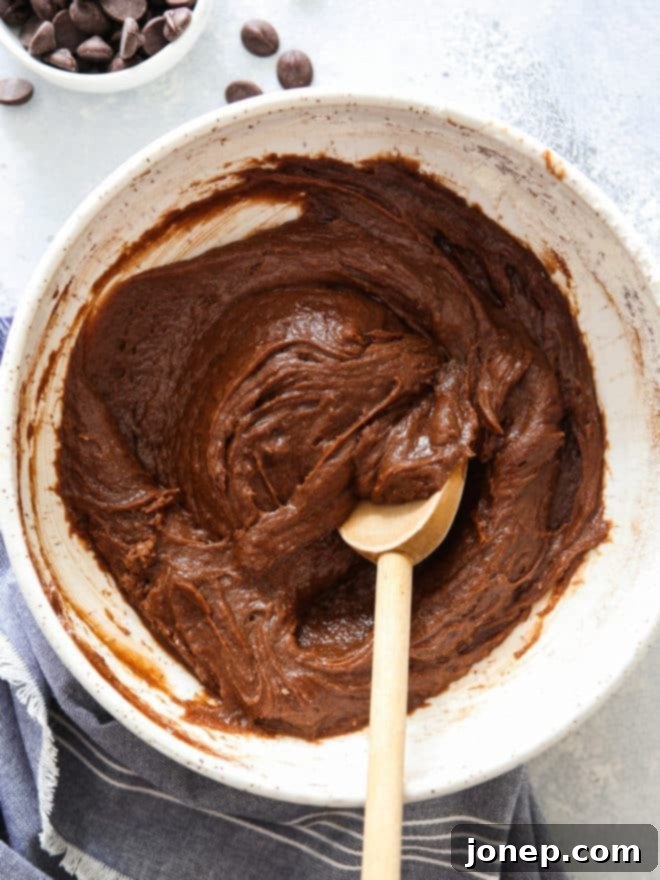
- Incorporate Sugar, Eggs, and Vanilla for That Signature Crust: Remove the melted chocolate and butter mixture from the heat. While it’s still warm (this is a key step for the shiny crust!), add the granulated sugar. Beat by hand with a whisk or spatula for about 30 seconds until well combined. This initial beating helps dissolve the sugar, which contributes to the crackly top. Next, add the eggs one at a time, beating well after each addition until fully incorporated. This emulsification helps create the meringue-like crust. Finally, stir in the vanilla extract for enhanced flavor.
- Gently Fold in Flour, Salt (and Optional Mix-ins): Add the all-purpose flour and salt to the wet ingredients. Mix just until no streaks of dry flour remain. The key here is to avoid overmixing, which can develop the gluten in the flour and lead to tough, cakey brownies instead of fudgy ones. If you’re incorporating optional additions like chocolate chips, nuts, or candy pieces (up to 1 cup total), gently fold them in now.
- Bake to Fudgy Perfection: Pour the luscious brownie batter evenly into your prepared 8-inch square pan. Place it in the preheated oven and bake for approximately 30-35 minutes. The baking time can vary slightly depending on your oven and desired texture. For a truly fudgy brownie, the edges should be set, but the center might still look slightly soft. A toothpick inserted into the center should come out with moist crumbs, not wet batter, and not completely dry.
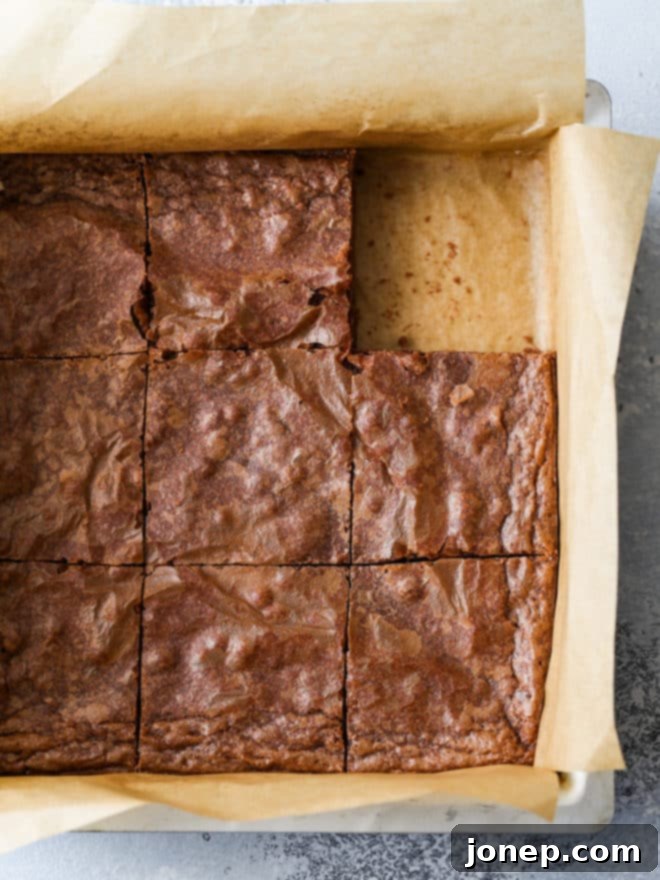
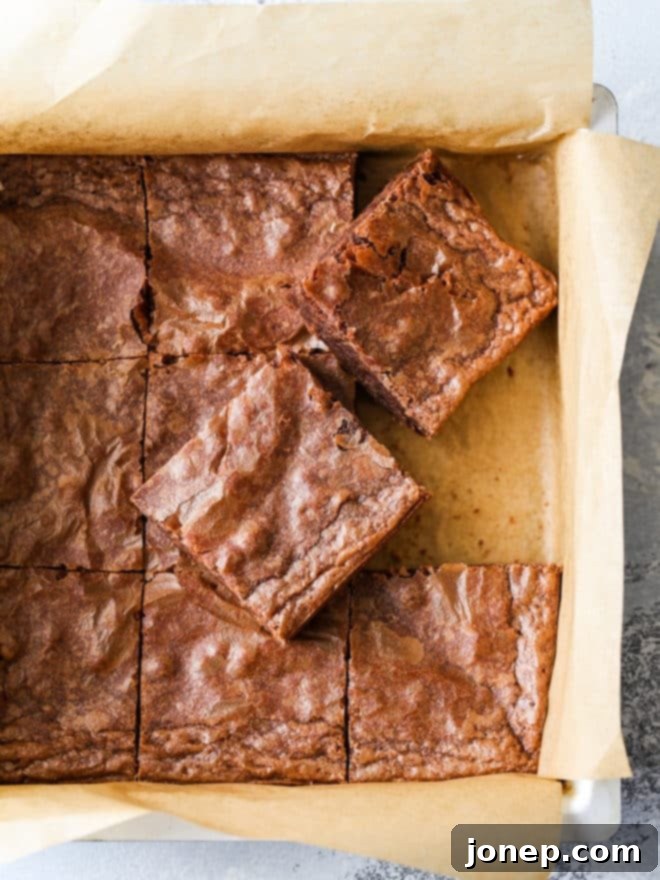
- Cool Completely Before Slicing: This step is arguably the most important for achieving perfectly structured, fudgy brownies with clean edges. Transfer the pan to a wire rack and allow the brownies to cool completely to room temperature. This can take at least an hour, or even longer. Resisting the urge to cut into warm brownies is hard, but patience will be rewarded with a superior texture and cleaner slices. Once fully cooled, use the parchment paper overhang to lift the brownies out of the pan, slice, and serve your delicious homemade classic fudge brownies!
Expert Tips for Making the Best Homemade Brownies
Elevate your classic fudge brownies from good to absolutely phenomenal with these expert tips and tricks. Understanding the “why” behind each step will help you achieve perfect results every single time.
- Invest in High-Quality Chocolate: The quality of your chocolate directly impacts the flavor of your brownies. While they’ll still taste amazing with standard chocolate, using a premium bittersweet or dark chocolate with a higher cocoa content and real cocoa butter will yield a richer, more complex chocolate flavor. Think of it as the soul of your brownie!
- Stick to Bittersweet or Dark Chocolate: This recipe is designed for the depth of flavor found in bittersweet or dark chocolate. Semi-sweet chocolate can be used if you prefer a sweeter brownie, but avoid adjusting the sugar content in the recipe. The sugar amount is carefully calibrated to ensure the perfect fudgy texture and the desired crackly crust, and altering it can throw off the balance.
- Patience is Key for Clean, Pretty Slices: It’s tempting to cut into warm brownies, but for those perfectly neat, photo-worthy squares, allow your brownies to cool completely to room temperature. Warm brownies are softer and gooier, leading to messier, albeit still delicious, portions. For extra clean cuts, use a sharp knife and wipe it clean with a damp cloth after each slice.
- Always Use Parchment Paper: Lining your baking pan with parchment paper, leaving an overhang on two sides, is a game-changer. This creates a convenient “sling” that allows you to easily lift the entire slab of cooled brownies out of the pan. This not only makes removal simple but also protects the brownie edges from getting stuck or torn.
- Adjust Bake Time for Your Preferred Texture: Brownie texture is a personal preference!
- For Ultra-Fudgy Brownies: Aim for the shorter end of the baking time, closer to 30 minutes. The center should still look slightly moist, and a toothpick inserted will come out with moist crumbs, not wet batter. This results in a denser, intensely fudgy experience.
- For Slightly More Cake-Like Brownies: Bake for a bit longer, closer to 35 minutes. The toothpick will come out mostly clean with just a few tiny crumbs attached. This yields a brownie that is still moist but has a slightly lighter, more cake-like crumb. Both are absolutely delicious, so experiment to find your sweet spot!
- Proper Storage for Lasting Freshness: These brownies store exceptionally well, making them perfect for meal prepping desserts!
- Room Temperature: Store cooled brownies in an airtight container at room temperature for up to one week.
- Freezing: For longer storage, slice the cooled brownies, wrap individual portions tightly in plastic wrap, and then place them in a freezer-safe bag or container. They can be stored in the freezer for a month or even longer. You can enjoy them directly from the freezer (they make a surprisingly good cold treat!) or let them thaw at room temperature before serving.
- Don’t Overmix the Batter: After adding the flour, mix only until just combined and no dry streaks remain. Overmixing develops gluten, which can lead to a tougher, chewier (in a bad way) brownie instead of the desired soft, fudgy texture.
- Use the Right Pan Size: An 8×8 inch square pan is ideal for this recipe. Using a larger pan will result in thinner brownies that bake faster and might dry out, while a smaller pan will yield thicker brownies that require a longer baking time.
Classic Fudge Brownie Recipe FAQs
Got questions about baking these classic fudge brownies? We’ve got answers to help you achieve the best results!
The primary difference lies in the fat-to-flour ratio and leavening agents. Fudgy brownies, like this recipe, contain a higher proportion of fat (from real melted chocolate and butter) and less flour, with minimal or no chemical leaveners like baking powder. This results in a dense, moist, and chewy texture. Cake-like brownies, on the other hand, typically use more flour, cocoa powder instead of melted chocolate, and often include baking powder or soda to create a lighter, airier, and more crumbly cake-like texture.
Absolutely! These classic fudge brownies are a perfect canvas for your favorite additions. You can stir in up to 1 cup total of various mix-ins. Popular choices include extra chocolate chips (milk, white, or dark), chopped nuts (walnuts, pecans, almonds), colorful candies or candy pieces (like M&M’s or chopped chocolate bars), or even shredded coconut. Add them in at the same time as the flour and salt.
For this specific fudgy brownie recipe, we highly recommend sticking to real melted chocolate. The cocoa butter in the chocolate is crucial for the rich flavor and incredibly fudgy texture that defines this recipe. While cocoa powder can make delicious brownies, they will typically result in a different, often more cake-like, texture. If you’re looking for cocoa powder brownies, it’s best to find a recipe specifically formulated for that ingredient.
Determining doneness for fudgy brownies can be tricky! You want the edges to be set, and the center to still look a little soft. Insert a toothpick or a thin skewer into the center of the pan. For fudgy brownies, it should come out with moist crumbs attached, but no wet batter. If it comes out completely clean, your brownies might be on the drier, more cake-like side. If it’s still wet, they need more time.
Baking Tip: How to make brownies with a shiny crackly crust
- **Use Melted Chocolate in Your Batter:** This recipe already incorporates real melted chocolate, which is fundamental. Brownies that rely solely on cocoa powder tend to bake up with a dull, matte finish. The fats and sugars in melted chocolate contribute to the crust’s development.
- **Properly Mix Sugar and Eggs into Warm Chocolate:**
- Mixing Sugar while Warm: After melting the butter and chocolate, stir in the granulated sugar while the mixture is still warm. This helps the sugar dissolve slightly, which is crucial for forming the crisp top.
- Vigorous Beating with Eggs: Once the eggs are added, beat the mixture by hand (with a whisk) vigorously for 1-2 minutes, or until the mixture lightens slightly in color and becomes somewhat airy. Beating the eggs with the sugar already in the batter incorporates air. This air, along with the dissolved sugar, rises to the surface during baking, creating a thin, meringue-like layer that becomes that beautiful, crackly crust. It’s a small step that makes a huge difference in the final appearance and texture of your fudgy brownies!
More Must-Try Brownie Recipes from Our Kitchen
Once you master these classic fudge brownies, you’ll find endless possibilities for customization. This incredible recipe serves as a versatile base for many other exciting brownie flavors and creations. Here are some of our favorite variations that you absolutely must try:
- Chocolate Chip Cookie Brownies aka “Brookies”: The best of both worlds! A layer of chewy chocolate chip cookie dough baked right on top of our fudgy brownie base.
- Pumpkin Cheesecake Swirl Brownies: Perfect for fall, these brownies feature a vibrant, spiced pumpkin cheesecake swirl that adds a creamy, tangy contrast to the rich chocolate.
- Nutella Brownies with Hazelnuts: Indulge in the irresistible combination of chocolate and hazelnut. A luscious Nutella swirl and crunchy hazelnuts elevate these brownies to a new level of decadence.
- Peanut Butter Swirl Brownies: A classic pairing! Rich peanut butter swirled through the fudgy chocolate batter creates a visually stunning and incredibly delicious treat.
Full Classic Fudge Brownie Recipe
Classic Fudge Brownies
Pin Recipe
Leave a Review
Ingredients
- ½ cup (113 grams) unsalted butter , cubed
- 3 ounces (85 grams) bittersweet or dark chocolate , chopped
- 1 cup (200 grams) granulated sugar
- 2 large eggs
- 1 teaspoon vanilla extract
- ¾ cup (90 grams) all-purpose flour (90 grams)
- ¼ teaspoon salt
- Optional add-ins: Up to 1 cup chocolate chips, nuts, candy pieces
Instructions
-
Preheat the oven to 350°F (175°C). Grease an 8-inch square pan or line it with parchment paper, leaving an overhang on two sides for easy removal.
-
In a medium saucepan over low heat, combine the chopped chocolate and cubed butter. Heat until melted and smooth, stirring frequently to prevent scorching.
-
Remove the saucepan from heat. While the mixture is still warm, stir in the granulated sugar. Beat by hand with a whisk or spatula for about 30 seconds to combine well and start dissolving the sugar.
-
Add the large eggs one at a time, beating vigorously after each addition until fully incorporated. Stir in the vanilla extract until just combined.
-
Add the all-purpose flour and salt. Mix gently until just incorporated and no streaks of dry flour remain. Be careful not to overmix. If using, fold in your optional add-ins like chocolate chips, nuts, or candy pieces.
-
Pour the brownie batter into the prepared pan and spread evenly. Bake for 30-35 minutes, or until the edges are set and a toothpick inserted into the center comes out with moist crumbs attached (not wet batter).
-
Transfer the pan to a wire rack to cool completely for at least an hour (or longer) before using the parchment paper overhang to lift the brownies out. Slice into squares and serve.
Video
Notes
This definitive recipe for classic fudge brownies was originally published in January 2010. It has since been thoroughly updated with fresh photos, enhanced baking tips, and additional information to ensure you get the most fudgy, chewy, and perfectly crusted brownies every time. Enjoy baking!
