The Ultimate Guide to Making Perfectly Silky Homemade Sweetened Whipped Cream
Forget the mediocre, store-bought canned versions; truly magnificent homemade sweetened whipped cream is an absolute game-changer. It’s an indispensable topping for an endless array of desserts, from classic pies and elegant cakes to fresh berries and cozy pancakes. While making whipped cream might seem like a simple task, achieving that perfectly silky texture and stable consistency can often feel like a culinary mystery to many home bakers. In my kitchen, whipping up a batch has become second nature, a testament to years of practice and perfected techniques. Now, I’m thrilled to unveil all my cherished secrets and expert tips, guiding you through every step – from selecting the ideal ingredients and nailing the perfect ratio to mastering the whipping process and even rescuing an over-beaten batch. Get ready to transform your desserts with the most delectable, cloud-like whipped cream you’ve ever tasted!
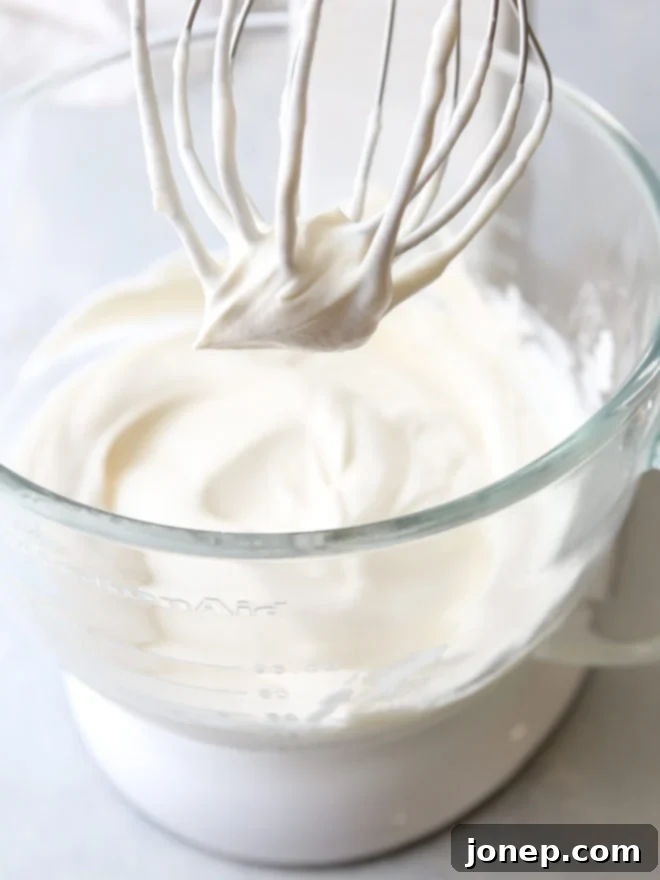
Table of Contents
- Essential Ingredients and Equipment
- Achieving the Perfect Ingredient Ratio
- Mastering the Low and Slow Whipping Technique
- Understanding Peak Stages: Soft, Medium, or Hard
- Troubleshooting: How to Save Over-Whipped Cream
- Storing Homemade Whipped Cream for Freshness
- Creative Uses for Sweetened Whipped Cream
- Our Signature Perfectly Whipped Cream Recipe
Essential Ingredients and Equipment for Perfect Whipped Cream
Creating sensational whipped cream starts with the right foundation. You don’t need a pantry full of exotic items, just a few key components and basic kitchen tools. Let’s break down what makes for a winning combination.
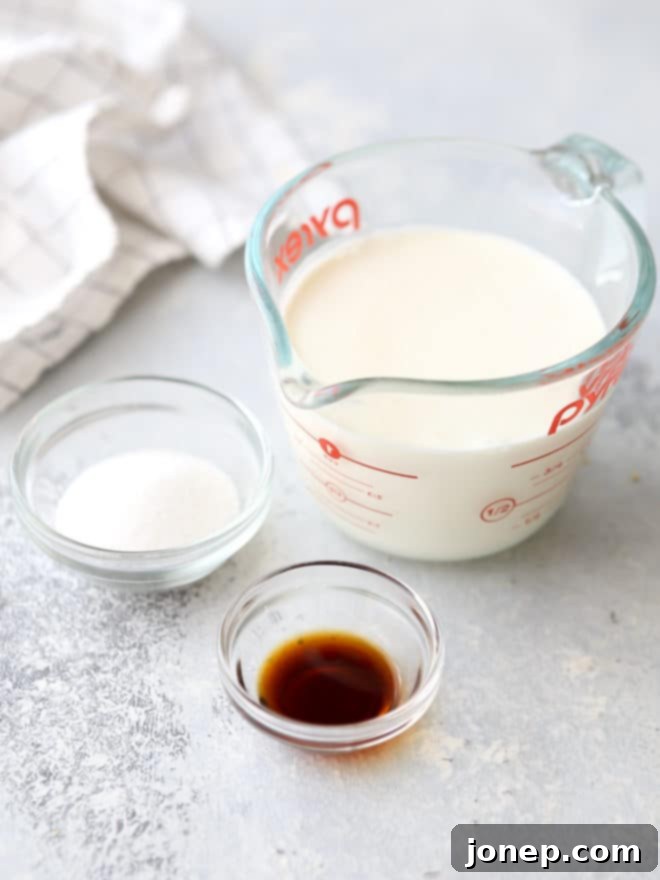
- Cold Heavy Whipping Cream: This is the star of the show. Heavy whipping cream, sometimes labeled simply “heavy cream,” typically contains at least 36% milk fat. This high-fat content is crucial for trapping air bubbles and creating a stable, luscious foam. The colder the cream, the faster and more efficiently it will whip, yielding a more stable result. Always ensure your cream is straight from the refrigerator when you start.
- Granulated or Powdered/Confectioner’s Sugar: Both types of sugar work beautifully, and your choice often comes down to personal preference for texture and stability.
- Granulated Sugar: My personal go-to, as it dissolves well and provides a clean sweetness without altering the texture. It results in a light, airy whipped cream.
- Powdered Sugar (Confectioner’s Sugar): Often contains a small amount of cornstarch, which can act as a natural stabilizer, helping the whipped cream hold its shape longer. If you’re concerned about stability or prefer an extra-smooth mouthfeel, powdered sugar is an excellent choice.
- Vanilla Extract: A splash of vanilla extract elevates the flavor profile, adding warmth and depth to the sweetness. High-quality pure vanilla extract makes a noticeable difference. You can also experiment with other flavorings like almond extract, peppermint extract, or citrus zest for different occasions.
- Equipment:
- A Whisk: If you’re feeling ambitious and want an arm workout, a good old-fashioned balloon whisk and a sturdy bowl will do the trick. This method requires consistent, vigorous effort but delivers perfectly acceptable results.
- An Electric Mixer: For speed and ease, an electric mixer is highly recommended. This could be a hand-held electric mixer, which offers portability and control, or a stand mixer with a whisk attachment, which allows for hands-free operation and consistent power.
Many culinary resources suggest chilling your mixing bowl and whisk/beaters beforehand, and while this is certainly a helpful tip, especially in unusually warm kitchens, I often skip this step without issue. The primary reason for chilling equipment is to keep the cream as cold as possible for as long as possible, preventing the fat from warming up and making it harder to whip. However, if your cream is sufficiently cold to begin with and your kitchen isn’t excessively hot, you’ll likely achieve fantastic results either way. Experiment to see what works best in your environment!
Achieving the Perfect Ingredient Ratio
Finding the right balance of ingredients is key to achieving whipped cream that is not only delicious but also beautifully textured. While some recipes call for more or less sugar, I’ve found the following ratio to be consistently perfect for a subtly sweet, versatile whipped cream that complements almost any dessert without being overly sugary:
- 1 cup (250 ml) heavy whipping cream: This forms the base of your whipped cream.
- 1-2 tablespoons sugar: This range allows you to customize the sweetness to your preference. Use 1 tablespoon for a mildly sweet cream that lets the natural flavor of the cream shine, or 2 tablespoons for a noticeably sweeter topping, ideal for less sweet desserts or those who enjoy a richer taste.
- 1/2 teaspoon vanilla extract: This amount provides a lovely aromatic backdrop without overpowering the other flavors.
This foundational ratio is incredibly flexible and can be easily doubled, tripled, or even quadrupled to meet your specific needs. It’s important to remember that heavy cream significantly increases in volume once whipped, almost doubling in size. So, 1 cup of heavy cream will typically yield approximately 2 cups of light, airy whipped cream. This expansion is due to the air incorporated during the whipping process, which is stabilized by the fat molecules in the cream. Knowing this will help you accurately gauge how much cream you need for your baking projects, preventing both shortages and excessive leftovers.
Mastering the Low and Slow Whipping Technique
The speed at which you whip your cream is far more important than many realize, and it’s a common area where home bakers can inadvertently go wrong. While the temptation might be to crank your electric mixer to its highest setting for a quick result, resist that urge! For truly stable, silky, and long-lasting whipped cream, the secret lies in beating it “low and slow.”
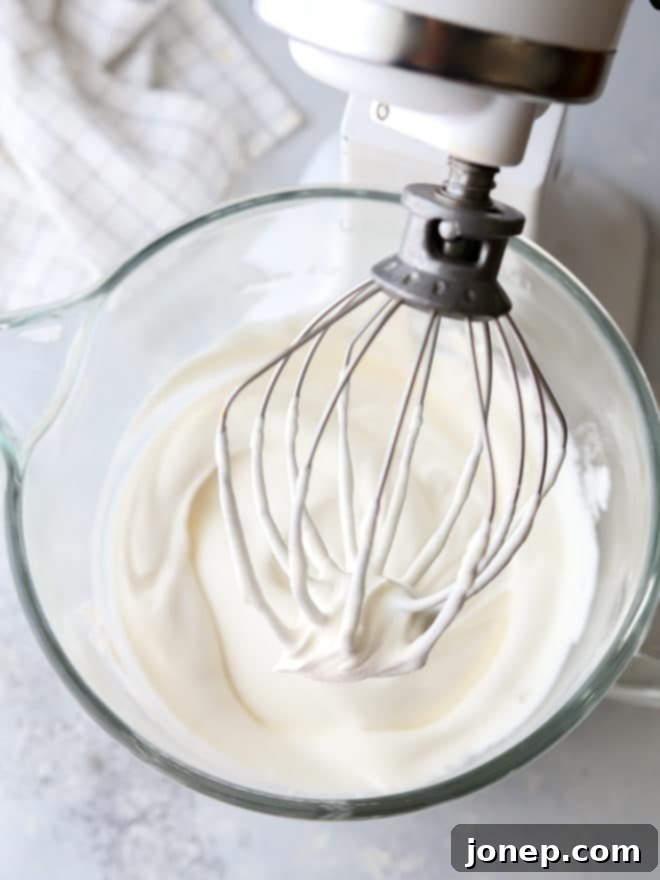
If you’re using an electric mixer, I recommend beating on a medium to medium-high speed. On my KitchenAid stand mixer, I typically use speed setting 6. This moderate speed is crucial because it allows for the gradual incorporation of smaller air bubbles throughout the cream. When fat molecules in the cream are gently agitated at a slower pace, they can effectively surround and stabilize these tiny air pockets. The result is a finely textured, incredibly stable foam that holds its shape beautifully and resists deflating quickly.
Conversely, whipping cream at a very high speed creates larger, less stable air bubbles. While it might seem faster in the short term, these larger bubbles are more prone to bursting, causing the whipped cream to deflate and weep much sooner. High speeds also significantly increase your risk of over-beating the cream, leading to a lumpy, curdled texture rather than smooth silkiness. By taking it a little slower, you gain much more control over the process, allowing you to stop precisely when the cream reaches your desired consistency and significantly reducing the chance of an undesirable outcome. Patience truly pays off in the world of whipped cream!
Understanding Peak Stages: Soft, Medium, or Hard Peaks
The ideal consistency of your whipped cream largely depends on its intended use and your personal preference. There’s no single “correct” stage; instead, you’ll learn to recognize different “peak” stages, each with its own characteristics and best applications. The key is to watch the cream itself, rather than relying on a timer, as whipping times can vary based on cream temperature, fat content, and mixer power.
- Soft Peaks: At this stage, a dollop of whipped cream lifted on your whisk or beater will hold its shape briefly but then gently flop over, resembling a soft, fluffy cloud. The texture is slightly looser and creamier than sour cream, with a beautiful sheen. Soft peaks are perfect for light mousses, folding into delicate desserts, or as a very tender topping for fresh fruit where a less defined shape is desired.
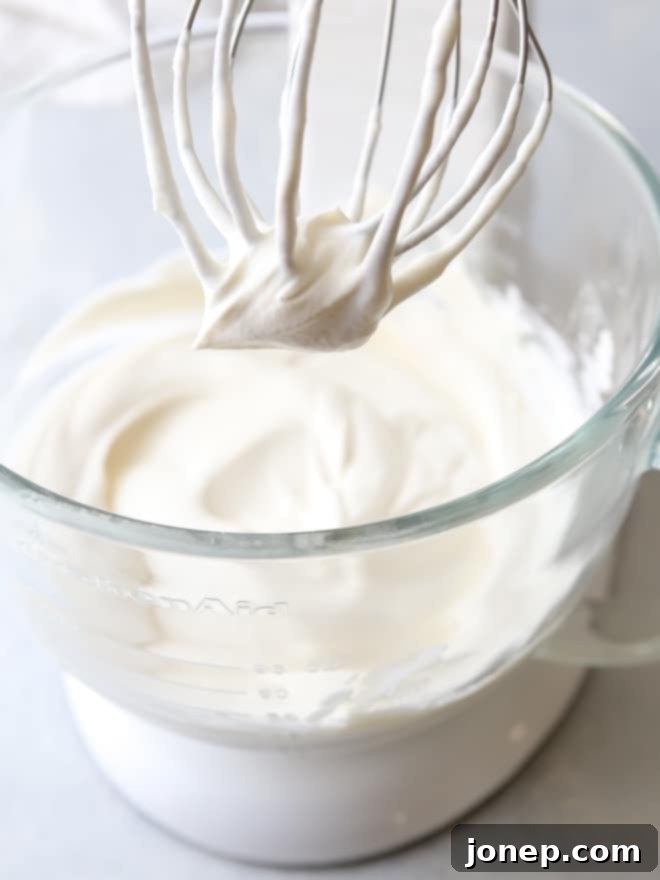
- Medium Peaks: This is often considered the most versatile stage. When you lift the whisk, the whipped cream will form a distinct point, but the very tip will still gently curl or slump over. The cream holds its shape well, making it ideal for piping onto cakes, pies, or hot beverages. It maintains a lovely balance of structure and softness, offering a satisfying mouthfeel without being too firm. I typically aim for the softer side of medium peaks (as showcased in this post), as I adore its pillowy, cloud-like texture and elegant appearance.
- Hard (or Stiff) Peaks: When the cream reaches this stage, it will form very firm, sharp peaks that stand straight up when the whisk is removed. The texture is dense and robust, holding its shape almost completely. Hard peaks are excellent for intricate piping work, decorating desserts that need a stable topping, or when you need whipped cream to hold up against heavier ingredients. Be careful not to over-whip beyond this point, as you’ll quickly move towards a curdled texture and eventually butter.
Learning to identify these stages by sight is a skill that comes with practice. Start with soft peaks and gradually whip until you reach your desired firmness, stopping often to check the consistency. This mindful approach will ensure you achieve perfectly whipped cream every time.
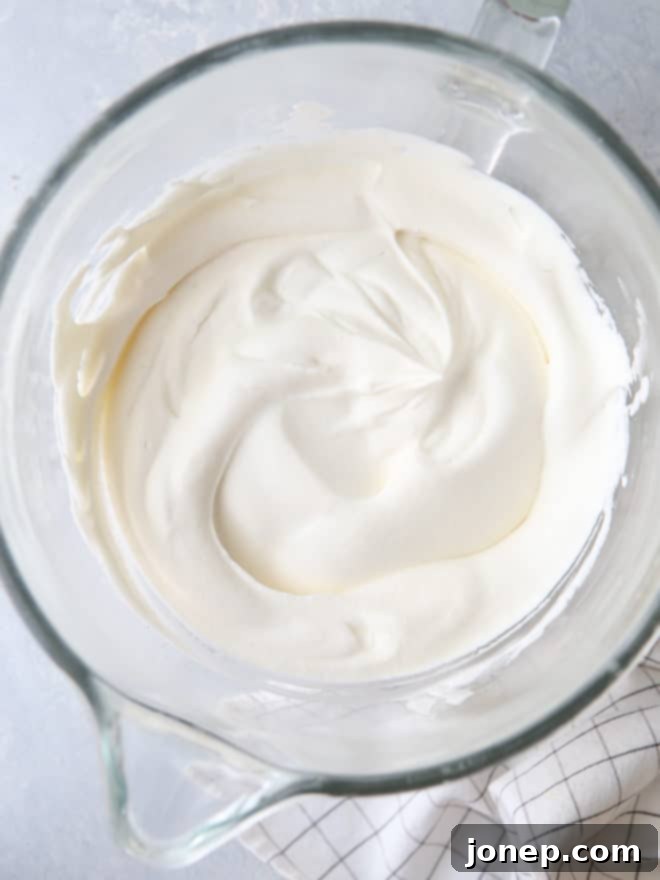
Troubleshooting: How to Save Over-Whipped Cream
It’s a common scenario that has happened to even the most seasoned bakers: you step away from the mixer for just a few seconds too long, and when you return, your once smooth, fluffy cream has transformed into a lumpy, slightly grainy mess. Don’t despair! As long as you haven’t gone so far as to completely separate the solids and liquids into butter (a distinct, yellow, and very firm state), your over-whipped cream can almost certainly be rescued. The key is to reintroduce some liquid cream to “relax” the over-agitated fat molecules.
To save your over-whipped batch, simply take a few tablespoons of cold, liquid heavy whipping cream and gently fold it into the lumpy cream by hand using a spatula or whisk. Start with 1-2 tablespoons for a typical batch (1-2 cups of whipped cream). The added liquid will help to re-emulsify the cream, loosening its structure and bringing back that desired silky-smooth consistency. Continue to fold gently, adding a little more liquid cream if needed, until the lumps disappear and the texture becomes perfectly smooth and pliable again. The exact amount of fresh cream you’ll need will depend on how much whipped cream you initially made and how far along the “over-whipped” spectrum it is. Start conservatively and add more as necessary, stopping once the desired texture is achieved. This simple trick can prevent a perfectly good batch of whipped cream from ending up in the bin!
Storing Homemade Whipped Cream for Freshness
While homemade whipped cream is undeniably at its peak freshness and fluffiness when served immediately, it is certainly possible to store leftovers for later enjoyment. Proper storage techniques will help maintain its texture and flavor for a few days.
To store, transfer your whipped cream to an airtight container and refrigerate it in the coldest part of your fridge (usually the back or bottom shelf). This helps keep it consistently cold, which is vital for its stability. When you’re ready to use it, you might notice that the whipped cream has lost a bit of its initial volume or appears slightly denser. This is normal. Gently stir the whipped cream by hand with a spoon or spatula to loosen it up and restore some of its light texture. If your cream was whipped to stiff peaks initially, it might require a touch more attention. In this case, you can gently whisk in a very small amount (perhaps a teaspoon or two) of fresh, cold heavy whipping cream to help bring it back to a lighter consistency.
For best quality and safety, aim to use refrigerated whipped cream within 2-3 days. Beyond that, its texture and flavor may start to degrade. If you anticipate needing whipped cream for an extended period or in large quantities, consider incorporating a stabilizer like a small amount of unflavored gelatin or cream of tartar during the whipping process (though these additions are beyond the scope of this basic recipe, they are options for advanced stability). Freezing whipped cream is also an option for longer storage (up to a month or two), though the texture will be slightly different upon thawing, often better suited for incorporating into drinks or other cooked dishes rather than as a standalone topping.
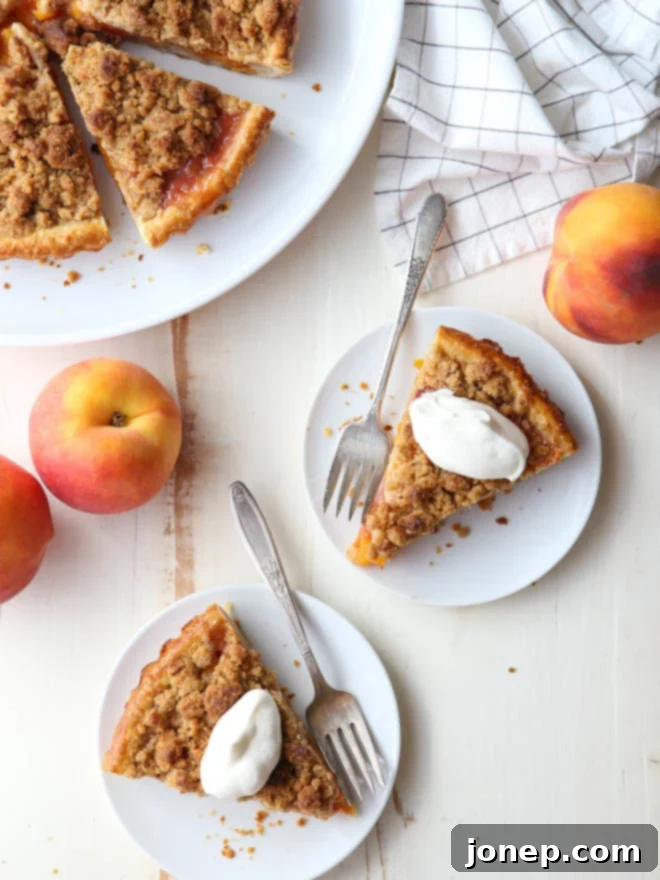
Creative Uses for Sweetened Whipped Cream
Once you’ve mastered the art of making perfectly silky sweetened whipped cream, a world of culinary possibilities opens up! Its light, creamy texture and delicate sweetness make it the ultimate companion for an incredible range of dishes. Here are just a few ideas to inspire your next dessert creation:
- Classic Fruit Desserts: A must-have for Strawberry Shortcakes, adding a luscious counterpoint to fresh berries and tender biscuits. It’s also heavenly spooned over fresh peaches, mixed berries, or any seasonal fruit salad.
- Elegant Cakes: Elevate simple cakes like Angel Food Cake with a generous dollop. It’s also fantastic as a light frosting for sheet cakes or layered sponge cakes, especially those with fruit fillings.
- Pies and Tarts: Transform any pie from good to extraordinary. Add a cloud-like swirl to comforting classics like Pumpkin Pie or a towering slice of Apple Pie. It’s the absolute perfect topping for rich, creamy pies like Banana Cream Pie or chocolate silk pie.
- Breakfast and Brunch Delights: Don’t limit whipped cream to just dessert! Serve it on Buttermilk Pancakes, Waffles, or French Toast for an indulgent weekend treat. It also pairs wonderfully with light and airy Crepes, especially with fruit or chocolate sauce.
- Hot Beverages: A swirl of sweetened whipped cream is the ultimate finish for hot chocolate, coffee, or even spiced cider, adding a luxurious touch.
- Puddings and Custards: Top off creamy puddings, rich custards, or even a simple bowl of chocolate mousse for an added layer of texture and sweetness.
- Cookies and Brownies: Serve alongside warm brownies, chocolate chip cookies, or fruit tarts for a delightful contrast.
The versatility of homemade sweetened whipped cream truly knows no bounds. Once you have this staple in your repertoire, you’ll find countless ways to enhance your favorite meals and desserts, making every bite a little more special.
Our Signature Perfectly Whipped Cream Recipe
Perfectly Whipped Cream
Pin Recipe
Leave a Review
Ingredients
- 1 cup heavy whipping cream (250 ml)
- 1-2 tablespoons granulated or powdered sugar
- ½ teaspoon vanilla extract
Instructions
-
Add cold heavy whipping cream to a chilled mixing bowl. Begin to beat it by hand with a whisk for a good arm workout, or use an electric mixer. If opting for an electric mixer, set it to medium to medium-high speed (for example, speed setting 6 on a KitchenAid stand mixer). This slower speed promotes smaller, more stable air bubbles, leading to a smoother, longer-lasting whipped cream.
-
Once the cream starts to visibly thicken and looks frothy (after a minute or two of beating), gradually add your sugar (granulated or powdered) and vanilla extract. Continue to beat, ensuring the sugar dissolves completely.
-
Continue beating for a few more minutes, carefully monitoring the consistency until it reaches your desired peak stage: soft, medium, or hard peaks. Remember to watch the cream’s texture, not the clock, as whipping times can vary.
-
For the best possible texture and freshness, use your perfectly whipped cream immediately. If you have any leftovers, store them in an airtight container in the refrigerator for several days. Before serving refrigerated whipped cream, gently stir to restore its fluffiness.
