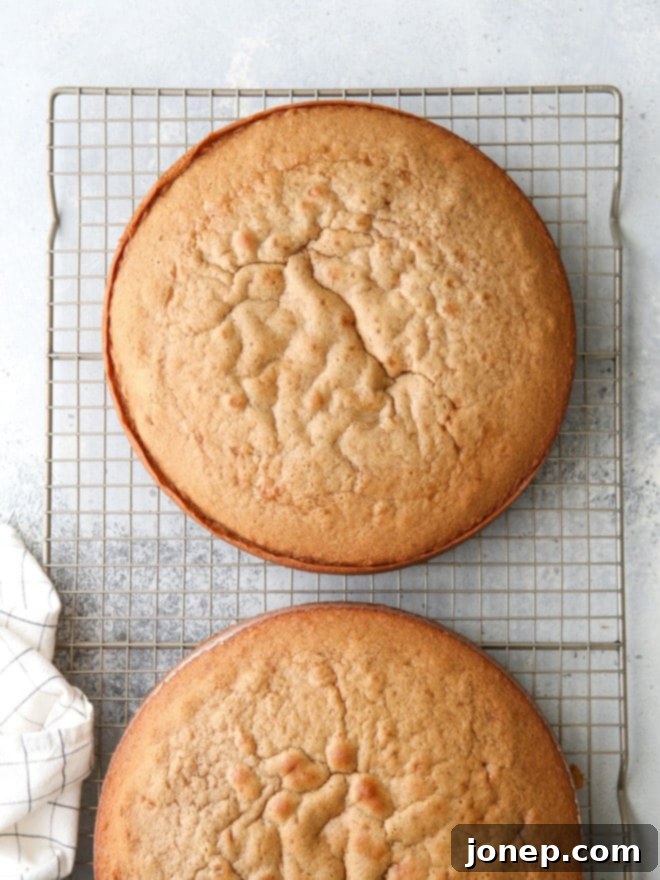
Flawless Cakes Guaranteed: The Ultimate Guide to Preventing Cake from Sticking
There are few moments in baking as disheartening as when your beautifully baked cake, full of promise and delicious aroma, refuses to release from its pan. You’ve poured in time, effort, and anticipation, only for it to emerge in frustrating, crumbly pieces. This common baking disaster can easily turn excitement into exasperation. But what if we told you it’s entirely preventable? With the right preparation, you can confidently flip your cakes out of the pan, perfectly intact, every single time.
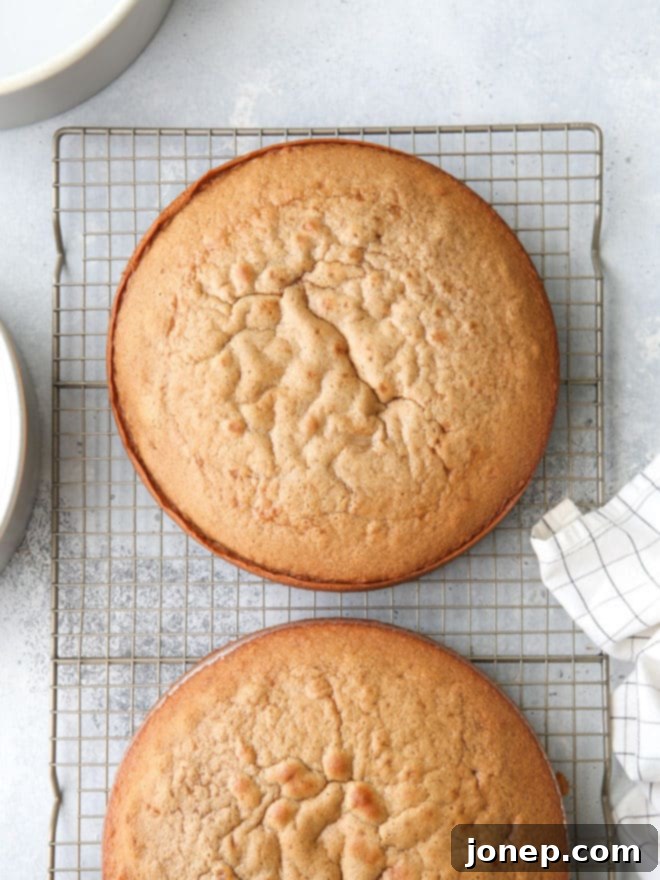
As an experienced baker, I’ve long since moved past the days of mourning over a stuck cake. I’ve honed the techniques that guarantee a clean release, and I’m thrilled to share this invaluable knowledge with you. Say goodbye to crumbly catastrophes and hello to perfectly preserved cakes ready for decorating. In this comprehensive guide, we’ll cover everything from essential lining methods to the best greasing options, ensuring your cakes come out clean and in one beautiful piece.
Table of Contents
- How to Keep Cake from Sticking to the Pan: An Overview
- Always Line Cake Pans with Parchment Paper
- Grease with Butter and Flour: The Classic Method
- Grease with Nonstick Baking Spray: The Convenient Choice
- How to Safely Remove Cake from the Pan
- How to Prevent Bundt Cakes from Sticking to the Pan
- Common Mistakes to Avoid When Preparing Your Pans
- More Cake Baking & Decorating Help
How to Keep Cake from Sticking to the Pan: An Overview
Preventing your cake from sticking boils down to creating an effective barrier between the cake batter and the surface of your baking pan. This barrier needs to be robust enough to withstand the heat of the oven and the delicate structure of a freshly baked cake. The most successful strategies combine two key elements: a physical liner and a slick, greased surface. By mastering these techniques, you’ll equip yourself with the confidence to tackle any cake recipe.
Always Line Cake Pans with Parchment Paper
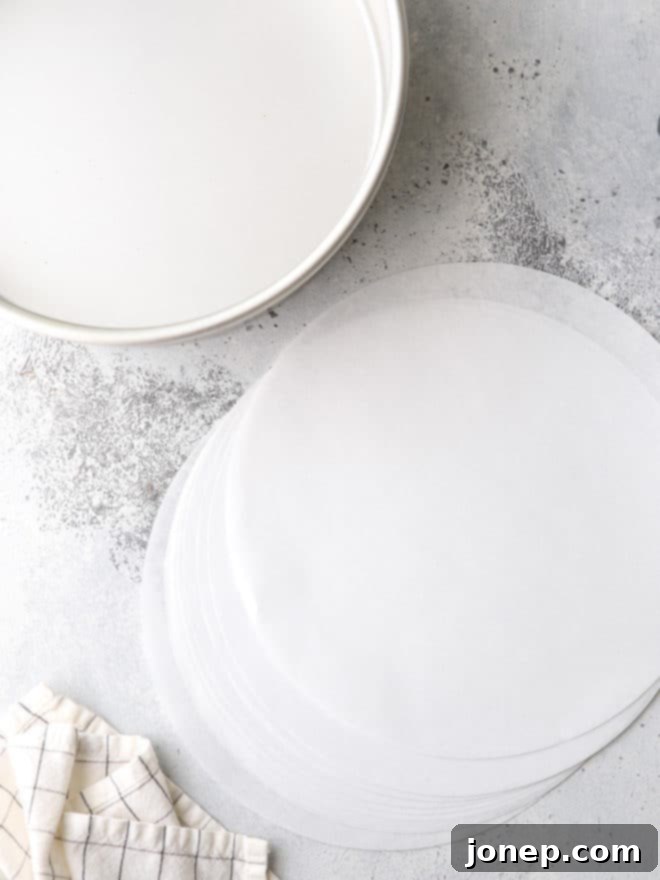
This is arguably the single most important step you can take to prevent a cake from sticking. Parchment paper (these are the pans that I use, and they work wonderfully with this method) provides an incredibly effective non-stick surface, ensuring that the bottom of your cake will never adhere to the pan. I simply cannot stress enough how vital parchment paper is; I never bake a cake without it! If you’re contemplating skipping this step to save a minute or two, resist the urge – it’s a decision you’ll likely regret.
You have a couple of options for using parchment paper. For convenience, you can purchase pre-cut parchment rounds that are specifically sized to fit standard cake pans. These are a great time-saver. Alternatively, you can easily cut your own: simply trace the outline of your cake pan onto a sheet of parchment paper using a pencil, then cut along the line. When placing these homemade rounds into your greased pan, always ensure the pencil side faces down, away from your cake batter, to avoid any transfer of lead.
Once your parchment paper is in place, we move on to greasing the pan’s sides and the parchment itself. This double layer of protection ensures maximum non-stick power. You can choose between the classic butter and flour method or a convenient nonstick baking spray with flour, both of which we’ll detail next.
Grease with Butter and Flour: The Classic Method
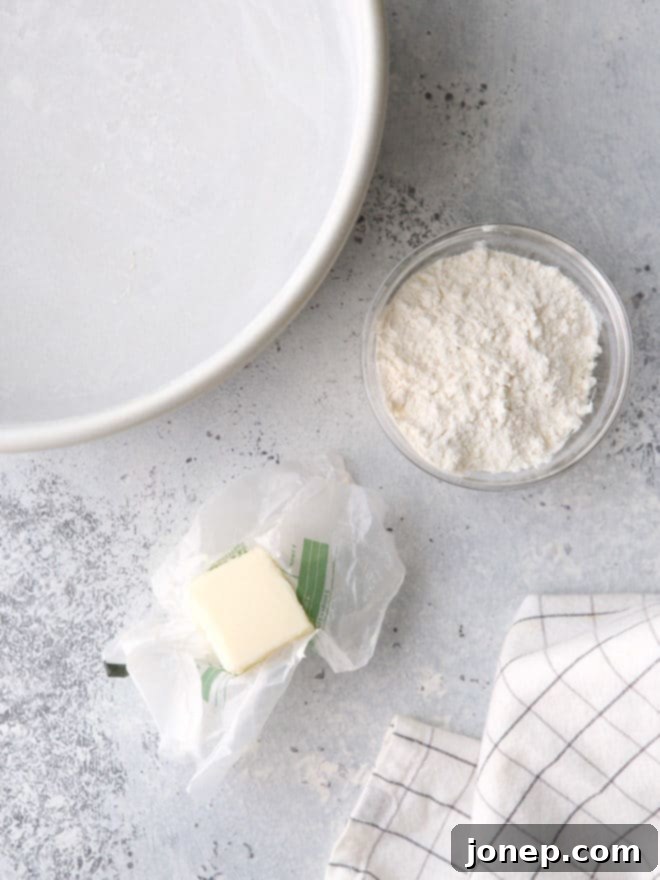
The butter and flour method is a time-honored technique that effectively creates a robust, non-stick barrier between your cake batter and the pan. The fat (butter, margarine, or shortening) coats the pan’s surface, while the flour adheres to the fat, forming a dry, slippery layer that prevents the cake from sticking. Here’s a detailed step-by-step guide to properly butter and flour your cake pans:
- Coat with Fat: Start by thoroughly coating the entire inside surface of your cake pan with butter, margarine, or shortening. Ensure you reach every corner and crevice.
Tip: A fantastic way to do this is to use the paper wrappers from the butter sticks you’ve already used in your cake batter. These wrappers often have enough residual butter to perfectly grease your pans, and they make an excellent, mess-free applicator. If you don’t have butter wrappers, use softened, room-temperature butter applied with a paper towel or your fingers. The goal is an even, thin layer of fat. - Add Parchment Paper: Place your cut parchment paper round securely at the bottom of the pan, pressing it down so it adheres to the butter.
- Grease the Parchment (Optional but Recommended): For extra security, lightly grease the surface of the parchment paper with a little more butter. This provides an additional layer of non-stick protection, especially important for delicate cakes.
- Dust with Flour: Sprinkle a generous amount of all-purpose flour over the greased pan. Make sure it’s enough to coat the entire surface.
- Coat Evenly: Gently shake and rotate the pan, tilting it in all directions, until the flour completely dusts the greased interior, including the sides and the parchment paper. The goal is an even, opaque coating.
- Remove Excess: Once the pan is fully coated, invert it over a sink or a trash can and gently tap out any excess flour. You want a thin, uniform coating, not thick clumps of flour. You can even tap the excess flour into your next pan if you’re preparing multiple.
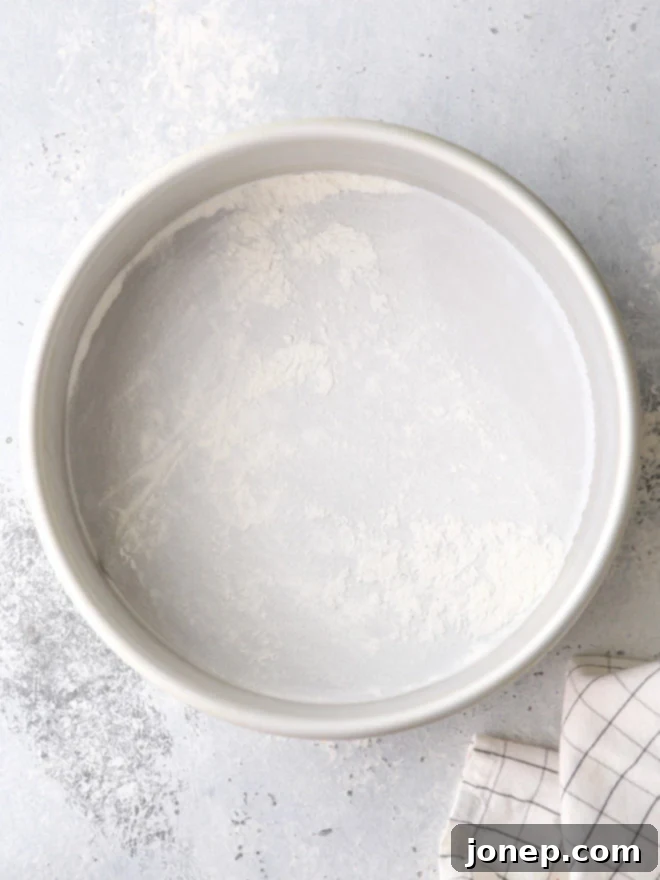
This method has been a staple in kitchens for generations and reliably delivers beautifully released cakes. For years, this was my go-to technique, and it truly worked wonders. However, a more convenient alternative exists that performs just as admirably, if not better, for everyday baking.
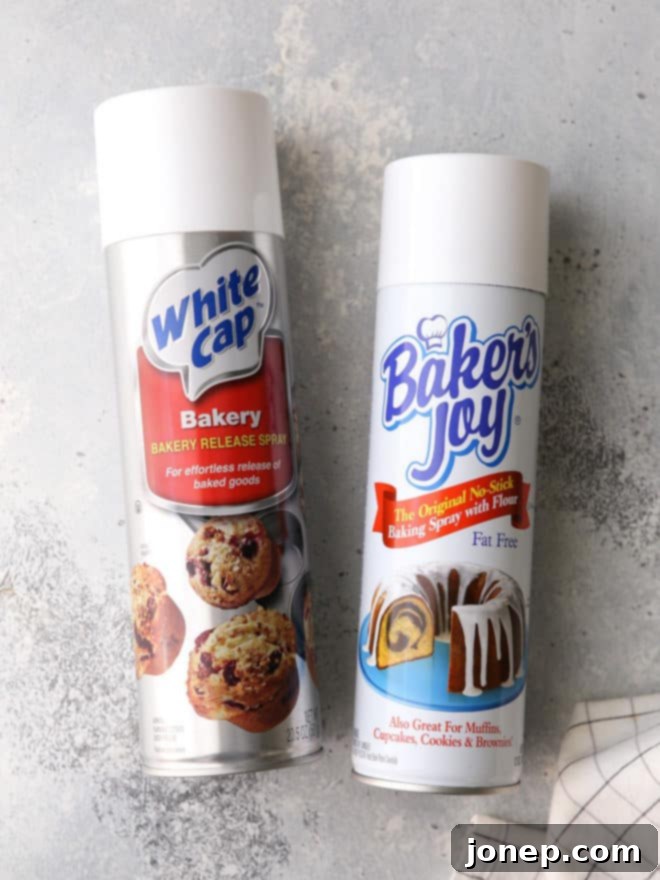
Grease with Nonstick Baking Spray: The Convenient Choice
For sheer convenience without sacrificing reliability, nonstick baking spray containing flour is an absolute game-changer. This powerful combination of grease and flour in an easy-to-use spray can provides an impenetrable non-stick barrier, making pan preparation incredibly quick and efficient. Remember, the magic combination for a clean release is flour + grease, and these sprays deliver exactly that in one simple step.
When selecting a baking spray, look specifically for brands that market themselves as “baking spray” or “nonstick spray with flour.” Popular and highly effective brands include Baker’s Joy, which is widely available in most grocery stores, or White Cap, often found in specialty baking stores or online, and known for its exceptional longevity. Avoid plain cooking sprays (like PAM original), as these typically lack the crucial flour component and won’t provide the same level of non-stick protection for cakes.
Here’s how to use nonstick baking spray for perfect pan preparation:
- Spray the Pan: Hold the baking spray about 6-8 inches from the pan and generously spray the entire inside surface. Ensure you get an even, opaque coating on the sides and into all corners. Don’t be shy – a thin, even layer is key, but make sure there are no dry spots.
- Add Parchment Paper: Carefully lay your parchment paper round in the bottom of the pan, pressing it down gently.
- Spray the Parchment: Give the surface of the parchment paper another light spritz of the nonstick baking spray. This ensures that even the very bottom of your cake has an extra layer of non-stick protection.
And that’s it! With just parchment paper and a good quality baking spray, your pans are perfectly prepared, and you can pour your cake batter in with absolute confidence.
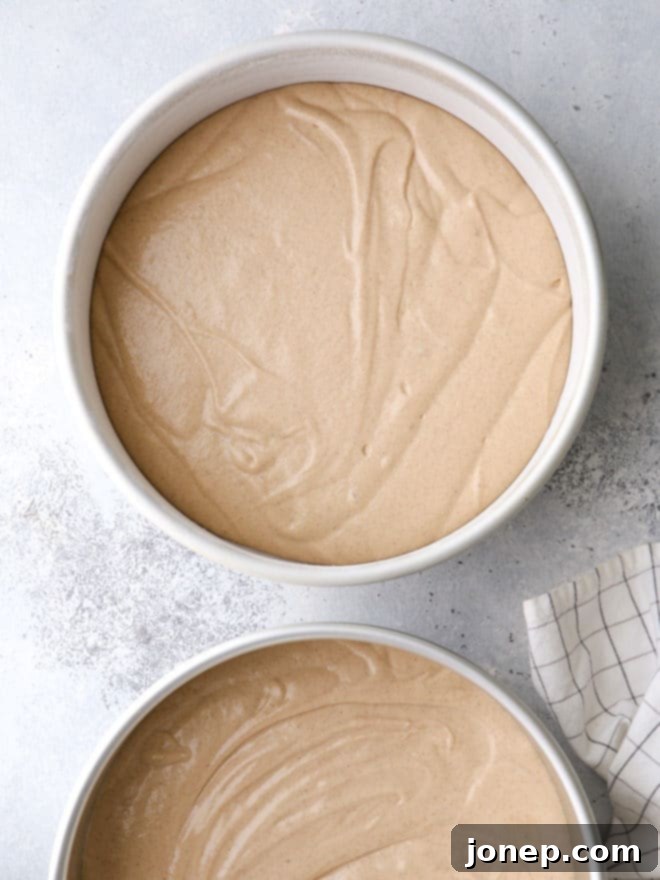
Regardless of whether you choose the classic butter and flour method or the convenient nonstick baking spray, the critical outcome is a well-coated pan that will allow your cake to release flawlessly. When you pour your carefully mixed cake batter into a pan prepared with these techniques, you can feel completely confident that your cake will emerge clean and in one perfect piece, ready for cooling and decorating.
How to Safely Remove Cake from the Pan
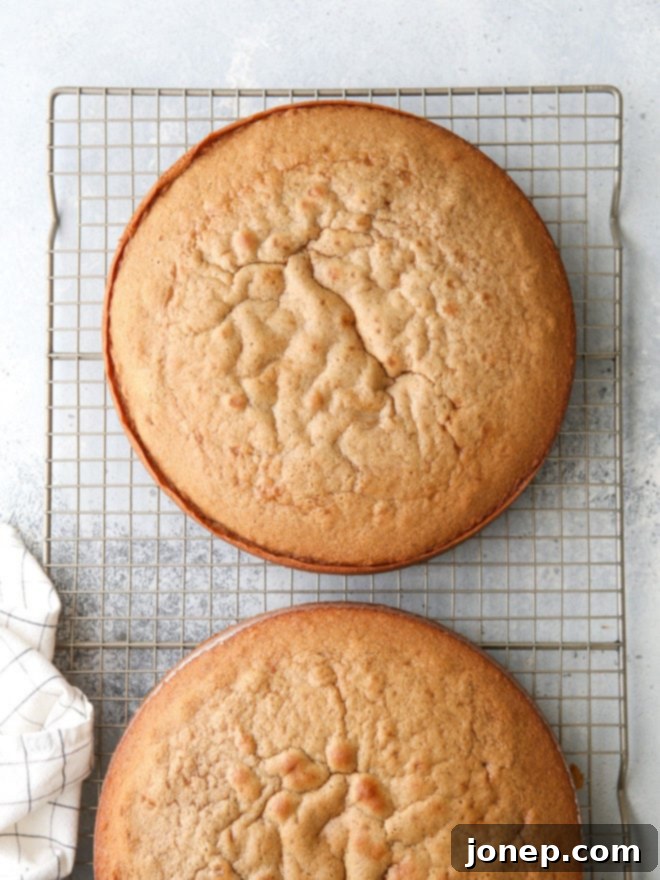
Even with impeccable pan preparation, the way you remove your cake from the pan plays a crucial role in its successful release. Patience is key! Once your cake is baked and out of the oven, resist the immediate urge to flip it out. Let it cool in the pans for a specific amount of time – typically 10 to 15 minutes for most layer cakes. This cooling period allows the cake’s structure to firm up slightly and helps it pull away from the pan edges naturally as it cools and contracts.
After this initial cooling period, gently check the edges of the cake. If any part appears to be sticking or clinging to the pan, carefully run a thin, flexible knife or an offset spatula around the perimeter of the cake to loosen it. Be gentle and keep the knife flush against the pan’s interior to avoid damaging the cake. Once loosened, place a wire cooling rack over the top of the cake pan, then, holding both the pan and the rack firmly together, swiftly invert them. The cake should slide out cleanly onto the rack. I usually prefer to flip the cake out onto my hand first, then quickly flip it back onto the wire rack so that it cools with the parchment paper side down. This is just my personal preference for stability, but either method works beautifully. Allow the cake to cool completely on the wire rack before attempting to frost or decorate it, as warm cake is prone to crumbling.
Ready to put these pan preparation tips into practice? Here are a couple of my favorite cake recipes that will shine with your newfound skills: This chocolate sour cream cake is a rich and decadent treat, and this bright and zesty lemon blueberry cake is always a crowd-pleaser.
How to Prevent Bundt Cakes from Sticking to the Pan
Bundt cakes, with their beautiful and often intricate designs, present a unique challenge when it comes to preventing sticking. This is why I frequently receive questions asking, “what about Bundt cakes?” My biggest piece of advice, before even discussing greasing, is to invest in a quality nonstick Bundt pan. A good pan makes an enormous difference and will simplify your baking life immensely! I’ve personally used this particular Bundt pan for years, and I can honestly say I’ve never had a cake stick, regardless of the recipe or how I’ve greased it. Cheap or older pans with scratched surfaces are far more prone to sticking.
Once you have a high-quality pan, the next step is to grease it exceptionally well, making sure to get into every single nook, cranny, and intricate detail of the design. You can use either the butter and flour method or a nonstick baking spray with flour. If using butter and flour, ensure you use a pastry brush or your fingers to press the butter and then the flour into all the crevices. If using baking spray, give the pan a very generous and thorough coating, ensuring the spray reaches all the way to the top and into every groove. You might need to spray from multiple angles to cover every part of the pan’s detailed surface.
After your Bundt cake has baked, allow it to cool in the pan for about 10-15 minutes, similar to layer cakes. This allows the cake to firm up and pull away from the pan. Before inverting, give the pan a gentle shake up and down. You should feel the cake subtly bouncing or moving slightly inside the pan. This sensation is your cue that the cake has released from the sides and is ready to be inverted. If it feels completely rigid, give it another minute or two, or gently run a thin knife around any visible edges that might still be clinging. Once you feel that gentle bounce, invert the pan onto a wire rack and lift slowly. Your perfectly shaped Bundt cake should slide out, showcasing its beautiful design.
Common Mistakes to Avoid When Preparing Your Pans
Even with the best intentions, certain pitfalls can lead to a sticky situation. Being aware of these common mistakes will further safeguard your cakes:
- Skipping Parchment Paper: As emphasized, this is the number one mistake. It provides a non-negotiable barrier for the bottom of your cake.
- Not Greasing Enough: A sparse or uneven layer of grease (or baking spray) is insufficient. Ensure a generous and consistent coating over all interior surfaces.
- Using Plain Cooking Spray: Standard cooking sprays lack flour, which is crucial for creating the dry, non-stick barrier needed for cakes. Always opt for baking sprays that contain flour.
- Over-Flouring: While you need enough flour, too much can create a gummy layer on your cake’s crust. Always tap out excess flour.
- Greasing Too Early: If you grease your pans much in advance, especially with butter, the fat can start to re-absorb into the pan or pool unevenly, reducing its effectiveness. Prepare your pans just before you’re ready to pour in the batter.
- Using Scratched Pans: Older pans, especially nonstick ones with scratches, lose their nonstick properties and are far more prone to sticking. Consider replacing heavily worn pans.
- Not Cooling Enough in the Pan: Removing a cake too soon can cause it to tear or crumble. The 10-15 minute cooling period is vital for the cake to set and naturally release.
More Cake Baking & Decorating Help
Mastering pan preparation is just one step on your journey to becoming a confident cake baker. If you’re building a layer cake or simply want to improve your overall cake-baking skills, I’ve got lots more tips and tutorials that can help you achieve professional-looking results every time!
- How to Bake Flat Cake Layers
- How to Store and Freeze Cake Layers
- How to Split Cake into Even Layers
- How to Build a Layer Cake
- How to Frost a Cake
By implementing these proven strategies for pan preparation, you can banish the frustration of stuck cakes from your baking adventures forever. Enjoy the satisfaction of effortlessly releasing beautifully intact cakes, ready to be adorned and enjoyed!
This post was originally published in June 2014 and has been thoroughly updated and expanded for clarity and comprehensiveness.
