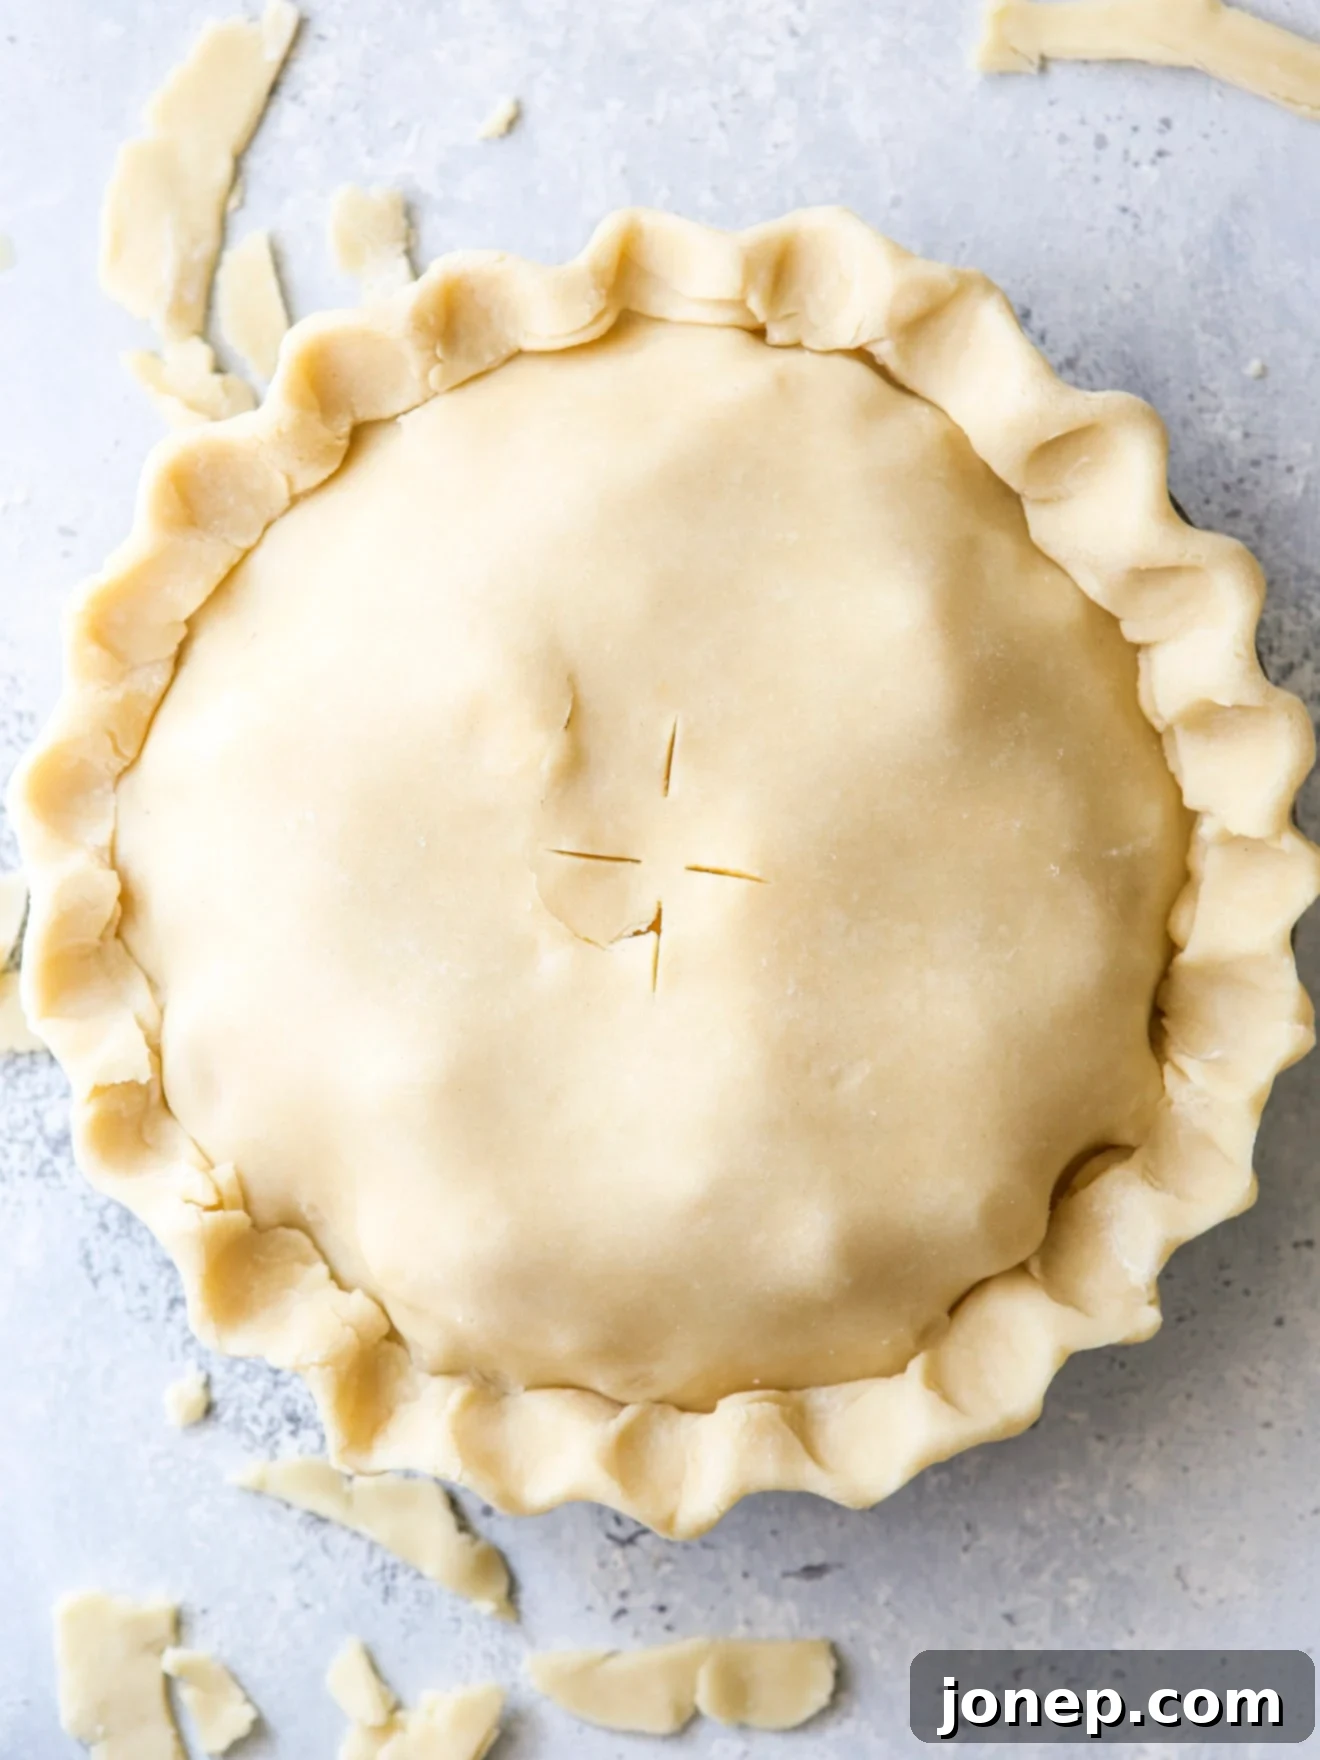
The Ultimate Buttermilk Pie Crust: Flaky, Flavorful & Foolproof Recipe
Prepare to elevate your pie-making game with this extraordinary buttermilk pie crust recipe. While many pie crusts play a supporting role, this variation steps into the spotlight as a true co-star, promising unparalleled flavor and an exquisitely tender, flaky texture that will make your pies shine. The secret lies in one simple ingredient swap: buttermilk instead of water. Once you experience the depth of flavor and incredible flakiness that buttermilk imparts, you’ll understand why this recipe is destined to become your new favorite. Guaranteed to impress, this crust will transform your homemade pies from delicious to absolutely unforgettable.
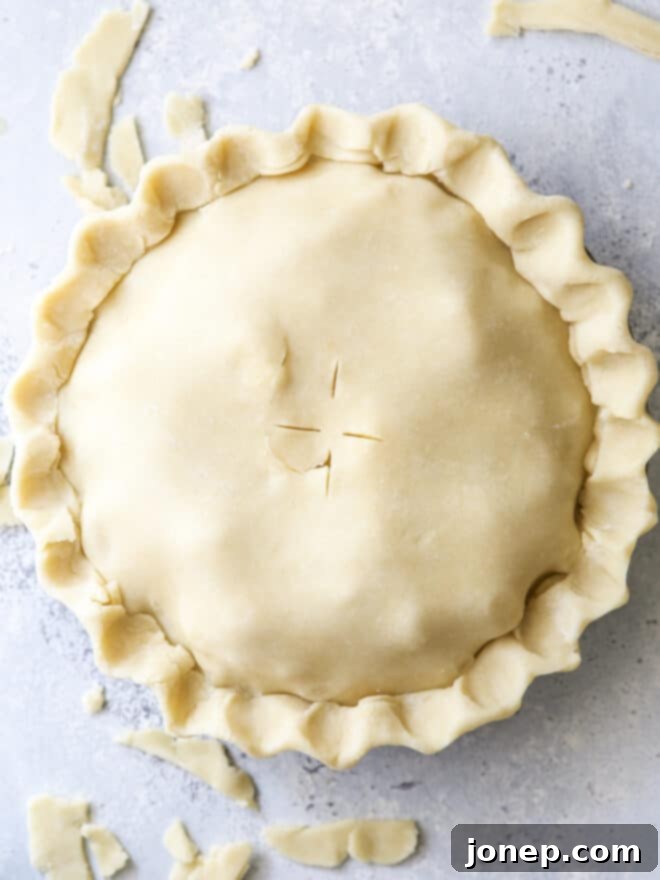
Why Buttermilk is a Game Changer for Your Pie Crust
You might be wondering, “What makes buttermilk so special in a pie crust?” The answer lies in its unique composition. Buttermilk, especially traditional cultured buttermilk, is slightly acidic and contains tiny fat globules. This acidity plays a crucial role in tenderizing the gluten in the flour, preventing the crust from becoming tough. Unlike water, which can encourage excessive gluten development, buttermilk ensures a more delicate and tender crumb. Furthermore, the residual fats in buttermilk contribute to a richer flavor profile and enhance the flakiness by creating additional layers and pockets within the dough as it bakes. This combination results in a crust that is not just flaky and buttery, but also boasts a subtle tangy depth that complements a wide array of sweet and savory fillings.
Many traditional pie crust recipes rely solely on cold water to bind the ingredients, and while effective, it often leaves the crust as a neutral base. By swapping in buttermilk, you infuse the dough with a distinctive taste that elevates the entire pie. It’s no longer just a vehicle for your filling; it becomes an integral part of the pie’s overall flavor experience, making every bite truly incredible.
Table of Contents
- Ingredients You’ll Need
- How to Make Buttermilk Pie Crust: A Step-by-Step Guide
- Tips for a Perfect Buttermilk Pie Crust Every Time
- Buttermilk Substitutes (If You’re in a Pinch!)
- Making Pie Crust Ahead of Time: Storage & Freezing
- Pies to Bake with This Amazing Crust
- Get the Full Recipe
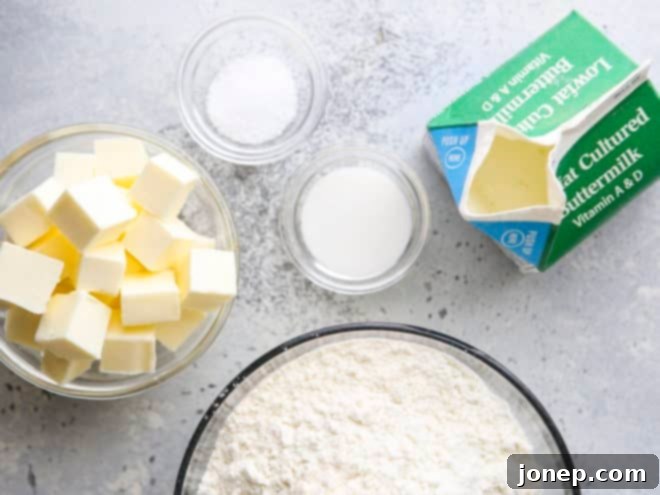
Ingredients You’ll Need
Crafting the perfect pie crust starts with high-quality ingredients. Here’s a closer look at what you’ll need and why each component is essential for this buttery, flaky buttermilk pie crust:
- All-purpose flour: This provides the primary structure for your crust. While other flours can be used, all-purpose offers the best balance of protein for tenderness and structure.
- Cold unsalted butter: The key to a flaky crust! Cold butter creates pockets of steam as it bakes, separating the layers of dough. Using unsalted butter gives you control over the overall saltiness of your pie. Ensure it’s very cold and cut into cubes before you start.
- Granulated sugar (optional): For dessert pies, a tablespoon of sugar adds a subtle sweetness and helps with browning, giving your crust that beautiful golden hue. For savory pies, you can omit it.
- Coarse salt: Crucial for enhancing all the other flavors in the crust, balancing the sweetness (if using sugar) and the richness of the butter. Don’t skip it!
- Cold buttermilk: The star ingredient! Cold buttermilk helps keep the butter firm and contributes to the tenderizing effect. Its slight tang also adds a wonderful depth of flavor.
How to Make Buttermilk Pie Crust: A Step-by-Step Guide
Making homemade pie crust might seem daunting, but it’s incredibly rewarding. This buttermilk pie crust recipe can be prepared using various methods – whether you prefer a traditional pastry blender, the quick convenience of a food processor, or even your hands. Whichever method you choose, the fundamental steps remain the same to achieve that perfect flaky, tender result.
Here’s a detailed breakdown of the basic steps involved in creating this divine pie dough:
- Combine dry ingredients: In a large mixing bowl, whisk together the all-purpose flour, coarse salt, and granulated sugar (if you’re making a dessert pie). Ensuring these ingredients are well combined provides an even base for your butter.
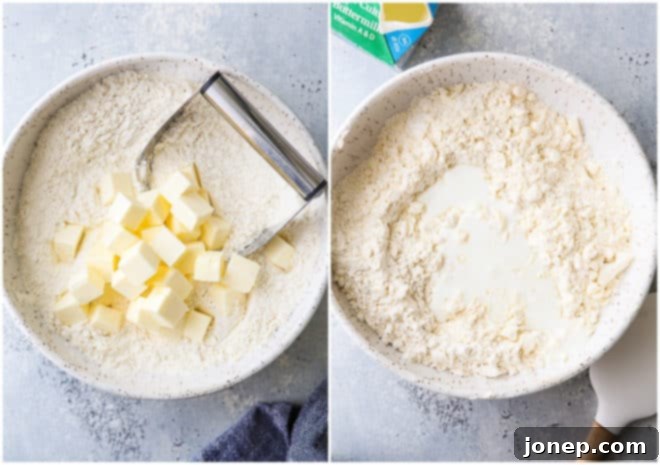
- Cut in butter: Add the cold, cubed unsalted butter to your dry ingredients. Using a pastry blender, two knives, or your fingertips, work the butter into the flour mixture until it resembles coarse meal with some pea-sized pieces of butter still visible. The key here is to keep the butter cold and to avoid overworking it, which is essential for creating those coveted flaky layers.
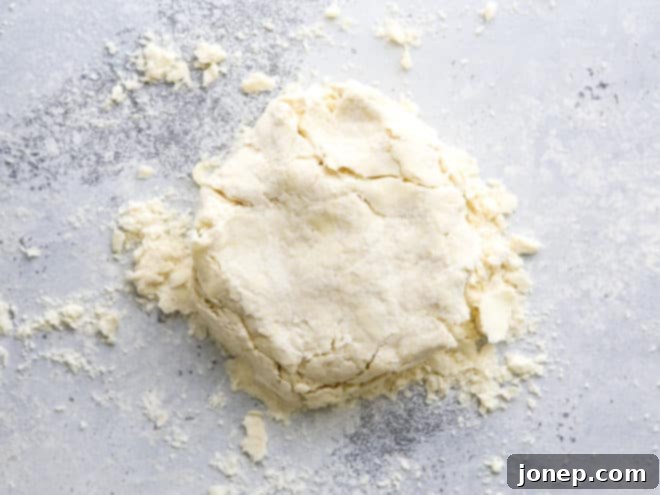
- Add buttermilk: Pour in the cold buttermilk. Begin by stirring the mixture with a spatula or spoon until it just starts to come together. Then, turn the mixture out onto a clean, lightly floured surface and gently bring it together with your hands. Mix just enough until the dough forms a cohesive ball. Be careful not to overmix, as this can develop the gluten too much and lead to a tough crust. If the dough feels too dry and crumbly, add a tiny bit more buttermilk, a teaspoon at a time, until it holds its shape.
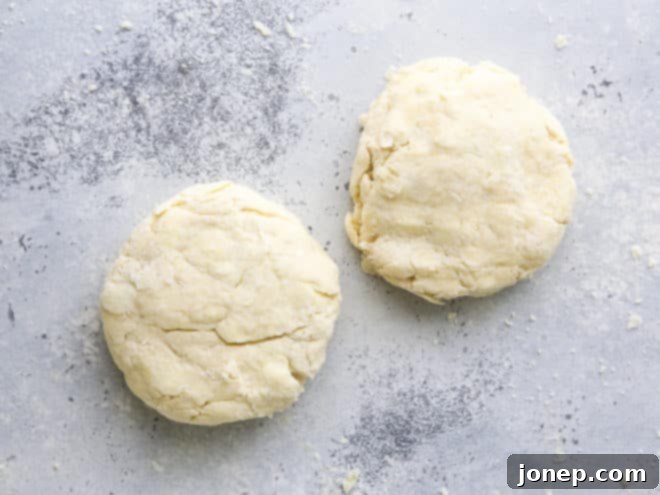
- Shape into disks: Divide the dough equally into two portions. Gently flatten each portion into a disk shape. This makes it much easier to roll out later and ensures even chilling.
- Chill completely: Wrap each disk tightly in plastic wrap. Refrigerate for at least 1 hour, or preferably longer, before using. Chilling allows the gluten to relax and the butter to firm up again, which are both crucial for a tender and flaky crust. Don’t rush this step!
Tips for a Perfect Buttermilk Pie Crust Every Time
Achieving a truly spectacular pie crust involves a few key principles. Following these tips will help ensure your buttermilk pie crust is consistently tender, flaky, and full of flavor:
- Always start with cold butter and buttermilk: This is arguably the most important rule for flaky pie crust. When cold butter pieces melt in the hot oven, they release steam, which pushes apart the layers of dough, creating those desirable airy pockets and a wonderfully flaky texture. If your butter is too warm, it will incorporate into the flour too much, leading to a more cookie-like, less flaky crust.
- Understand buttermilk consistency: Buttermilk is inherently thicker than water, which is why this recipe calls for a slightly larger quantity compared to a water-based crust. Its viscosity contributes to the dough’s tender texture without making it sticky or overly wet.
- Use “cultured buttermilk” for best results: I exclusively use “cultured buttermilk” in all my baking recipes. True, traditional buttermilk (the byproduct of churning butter) is difficult to find commercially. Cultured buttermilk, which is milk fermented with a bacterial culture, offers the same acidic properties and consistency that are ideal for baking. (For more on the differences, you can read here).
- Don’t overwork the dough: Once the buttermilk is added, mix the dough just until it comes together. Overworking the dough develops the gluten too much, resulting in a tough, chewy crust rather than a tender, flaky one. Handle it gently and minimally.
- Proper rolling technique: When it’s time to roll, start with a lightly floured surface and rolling pin. Roll from the center outwards, rotating the dough frequently to prevent sticking and ensure an even thickness. If the dough starts to crack, it might be too cold; let it sit at room temperature for an extra 5-10 minutes.
- Blind baking for certain pies: For custard-based pies or those with very wet fillings, blind baking (pre-baking) your bottom crust is essential to prevent a soggy bottom. Prick the bottom of the crust with a fork, line it with parchment paper, and fill with pie weights or dried beans. Bake until lightly golden before adding your filling.
Buttermilk Substitutes (If You’re in a Pinch!)
While using real or cultured buttermilk is highly recommended for the best flavor and texture, sometimes you find yourself without it. Don’t let that stop your pie-making! You can easily make a homemade buttermilk substitute that will work well in this recipe:
- DIY Buttermilk: To make your own buttermilk substitute, simply add ½ tablespoon of lemon juice or white vinegar to a liquid measuring cup. Then, fill the rest of the cup with regular milk (dairy or non-dairy, though whole milk works best for richness) up to the ½ cup mark. Stir gently and let it sit for 5-10 minutes until it slightly curdles and thickens. This acidic milk will mimic the properties of cultured buttermilk, providing a similar tenderizing effect. While it won’t taste *exactly* the same as genuine buttermilk, it’s an excellent stand-in for baking.
Making Pie Crust Ahead of Time: Storage & Freezing
One of the best things about this buttermilk pie crust recipe is how well it stores, making it perfect for meal prep or getting a head start on holiday baking. You can easily make a big batch and refrigerate or freeze it for later use, saving you valuable time when you’re ready to bake.
- How to store pie crust in the freezer: For longer storage, tightly double-wrap each dough disk in plastic wrap, then place them in an airtight freezer bag. Store in the freezer for up to 2 months. When you’re ready to use, transfer the frozen dough to the refrigerator overnight to thaw slowly and evenly. This gentle thawing prevents condensation and maintains the dough’s integrity.
- How to store pie crust in the fridge: If you plan to use the dough within a few days, simply wrap each disk tightly in plastic wrap and store it in the refrigerator for up to 5 days. For optimal results, allow the dough to sit at room temperature for about 10-15 minutes before rolling it out, as this makes it more pliable and easier to work with.
Pies to Bake with This Amazing Crust
This buttermilk pie crust is incredibly versatile and pairs beautifully with a wide variety of fillings, both sweet and savory. Its rich, tangy flavor and tender flakiness truly enhance any pie. Here are some of my all-time favorite recipes that perfectly showcase this crust:
- Mile High Apple Pie: The sturdy yet flaky nature of this buttermilk crust perfectly holds up to a mountain of tender apples, while its rich flavor beautifully complements the sweet-tart filling.
- Sweet Cherry Pie: The slight tang of the buttermilk crust provides a delightful counterpoint to the vibrant sweetness of a cherry filling, creating a balanced and irresistible dessert.
- Cranberry Blueberry Pie: With its robust berry flavors, this pie benefits immensely from a crust that can offer both texture and a subtle depth of flavor. The buttermilk here enhances the fruit’s brightness.
- Classic Pumpkin Pie: For a creamy, custardy filling like pumpkin, a tender and flavorful crust is paramount. This buttermilk crust provides the perfect base, holding its shape and adding a sophisticated touch to a holiday favorite.
- Consider savory pies too! Don’t limit this amazing crust to just desserts. Imagine a chicken pot pie or a quiche with this buttery, tangy crust – it adds an extra layer of gourmet flavor that will impress everyone.
Get the Full Recipe
Buttermilk Pie Crust
Pin Recipe
Leave a Review
Ingredients
- 2 ½ cups all-purpose flour (300 grams)
- 1 tablespoon granulated sugar , optional
- 1 teaspoon salt
- 1 cup unsalted butter , cold and cut into cubes (226 grams)
- ½ cup cold buttermilk (120 ml)
Instructions
-
Combine the flour, sugar (if using), and salt in a bowl. Add the cubed butter and toss to coat.
-
Use a pastry blender or two knives to cut the butter into the dry ingredients until butter is the size of peas.
-
Add buttermilk and use a spoon and then your hands to stir the mixture until it comes together into a ball. If mixture is too dry, add additional buttermilk a teaspoon at a time.
-
Divide the dough in two and flatten into disks. Wrap each disk in plastic wrap and chill in the fridge for at least 1 hour and up to 5 days. Dough can also be frozen (double-wrapped) for up to 2 months.
-
When ready to roll out, let the dough rest at room temperature for five minutes. On a lightly floured surface, use a rolling pin to roll out the dough into a rough 13 inch circle. Dough should be about 1/4 inch thick. Transfer dough to 9-inch pie dish. Fill pie with desired filling.
-
Repeat with the second disk of dough. Cut dough and make a lattice over the filling, or leave the circle intact and cover the filling completely, cutting a few vents with a sharp knife.
-
Fold the edges of the top and bottom crusts together and use your index fingers and thumb to pinch into a pattern. Brush with egg wash and sprinkle with sanding sugar, if desired.
-
Bake pie according to the instructions in your specific pie recipe. Different fillings will require different temperatures and time.
Notes
NOTES
- This recipe yields enough dough for one standard 9-inch double-crust pie or two single pie crusts.
- For best results, always measure your ingredients accurately, especially the flour, ideally using a kitchen scale.
- Remember, the key to flakiness is keeping the butter cold and not overworking the dough.
This recipe was originally published in October 2015 and has been updated and expanded to provide even more valuable insights and tips for perfecting your homemade pie crust.
Why This Buttermilk Pie Crust Will Be Your New Go-To
Ultimately, this buttermilk pie crust isn’t just another recipe; it’s a foundation for creating truly exceptional pies. The simplicity of substituting buttermilk for water yields such a profound difference in both taste and texture, offering a richness and tender flakiness that’s hard to achieve with standard recipes. Whether you’re baking for a special occasion, a family gathering, or simply want to treat yourself to a delicious homemade dessert, this crust will elevate your culinary creations.
So, gather your ingredients, follow these straightforward steps, and get ready to experience the magic of buttermilk in your next pie. You’ll be amazed at the depth of flavor and the perfectly crisp, melt-in-your-mouth texture that awaits you. Happy baking!
